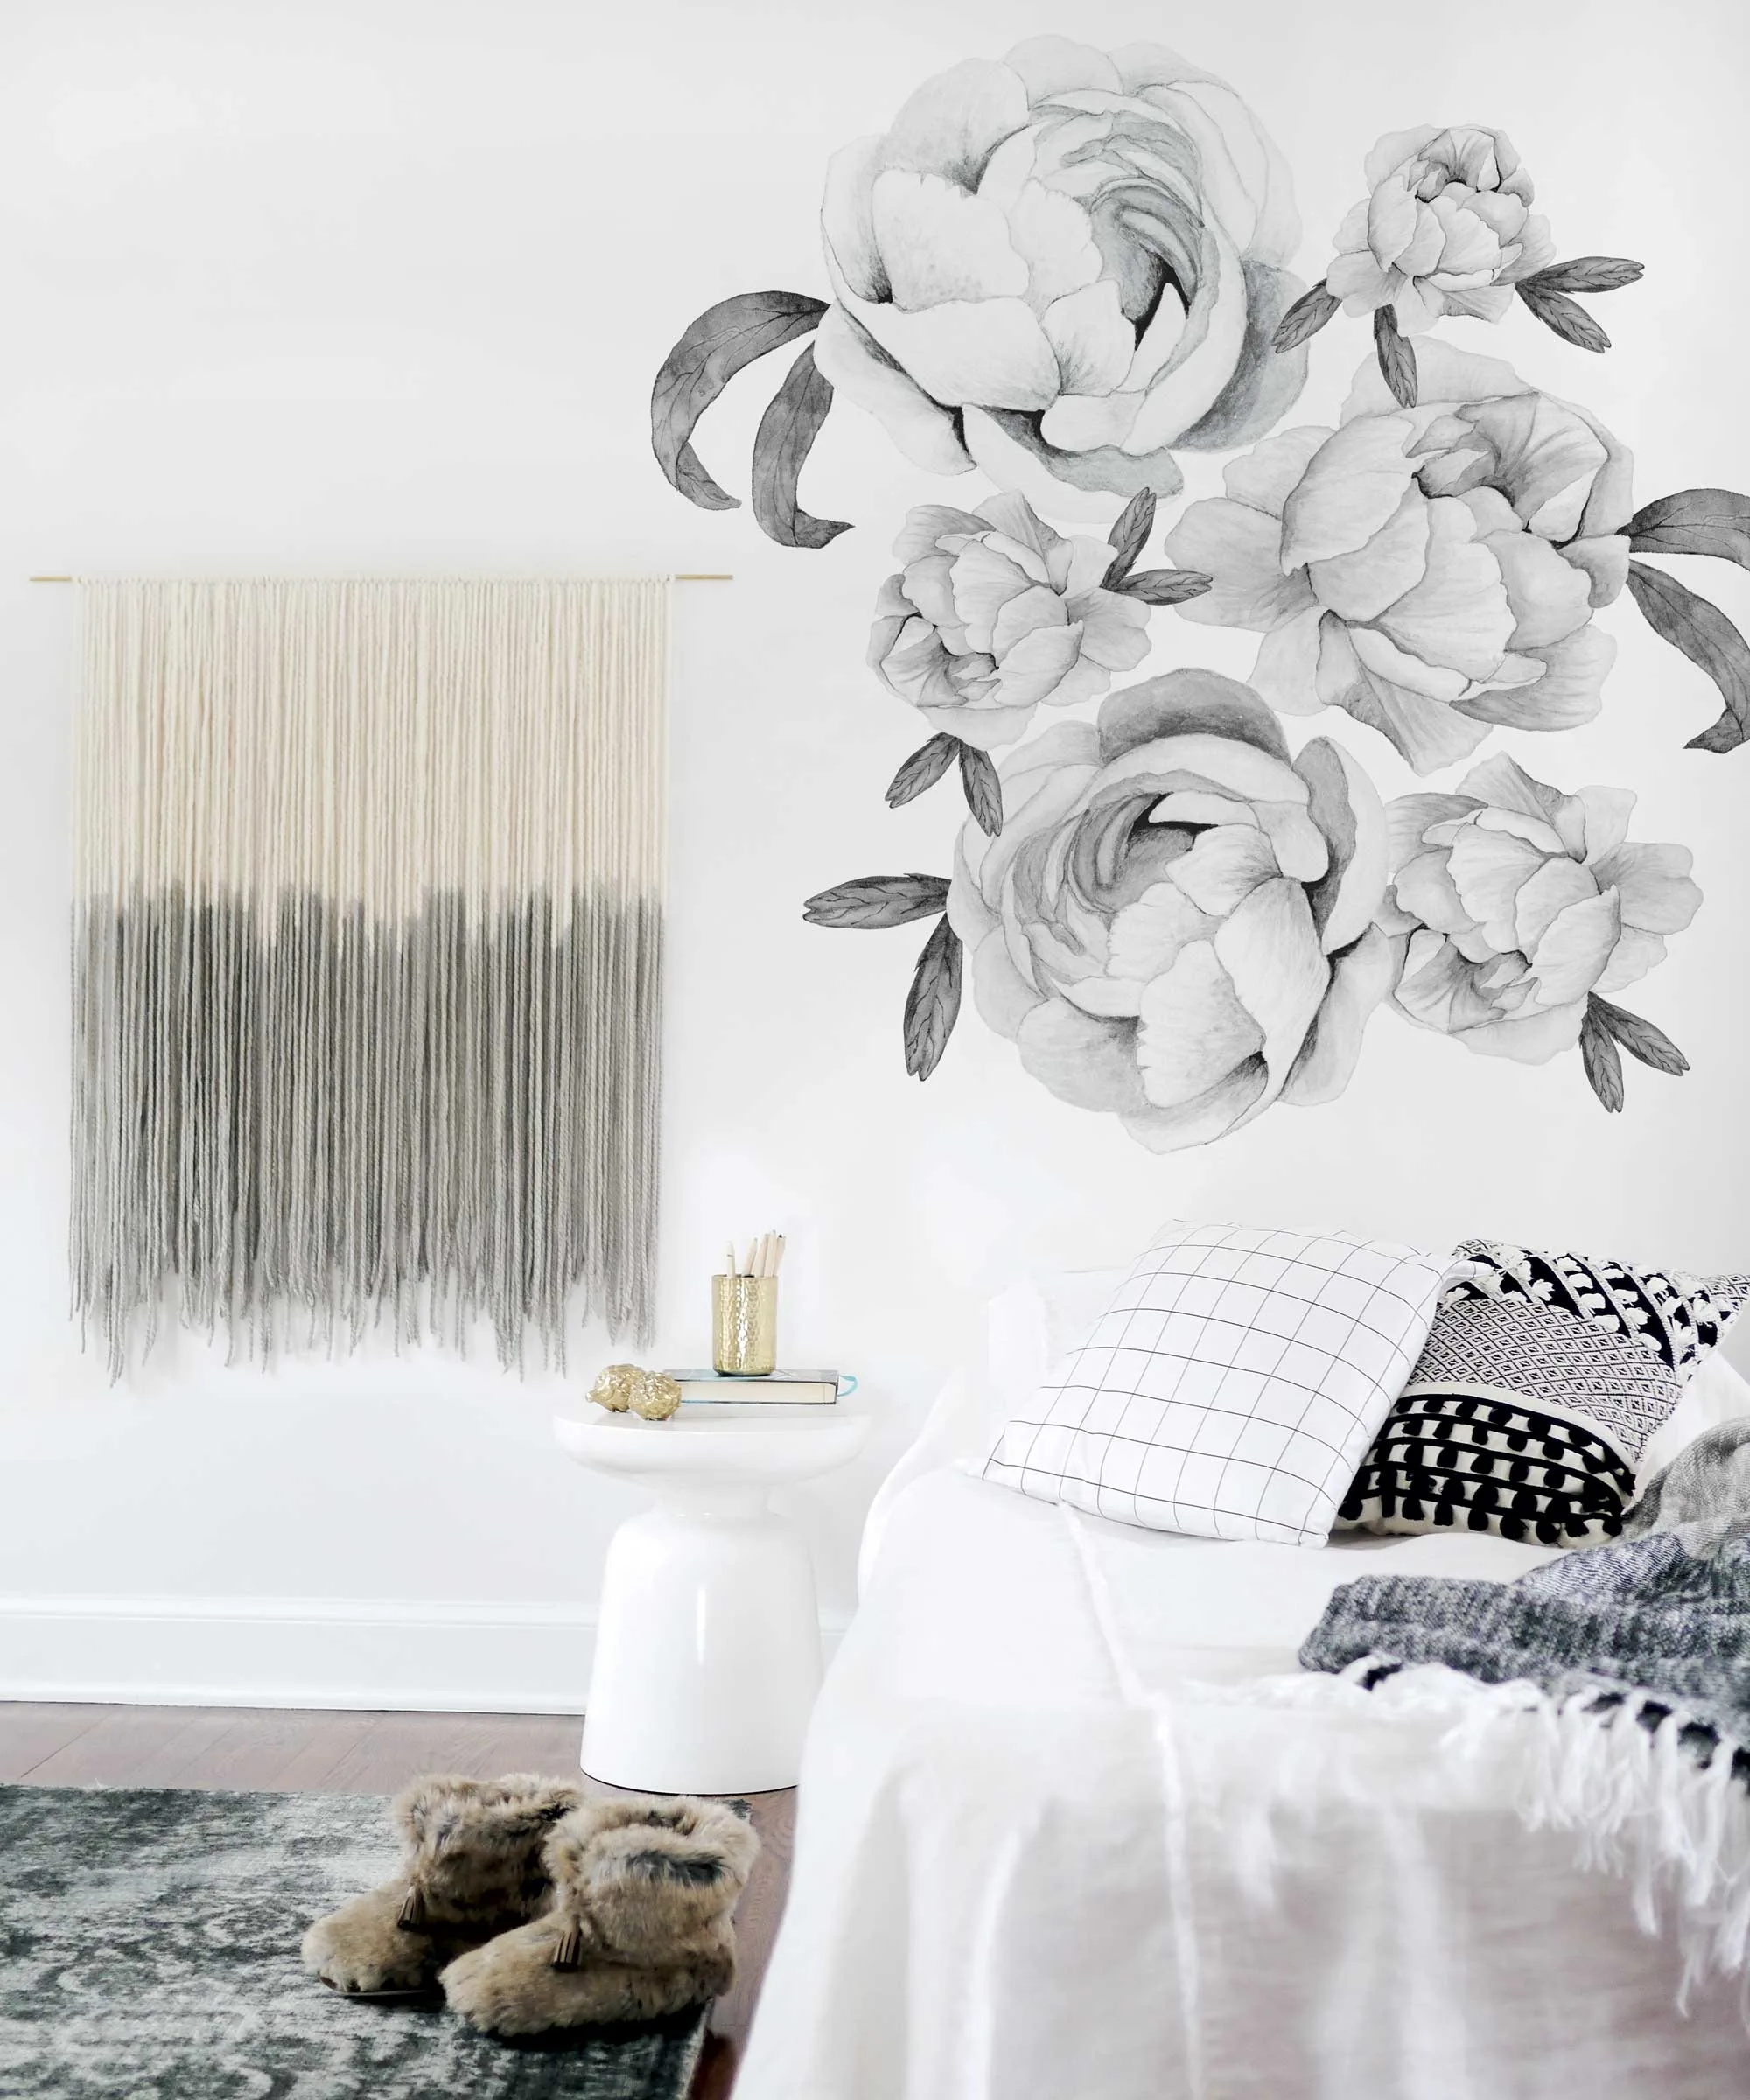
I have been wanting to work on a dip dye wall hanging piece for a couple of months now. I think wall hanging are a fantastic way to add color and texture to any room. I am thrilled to finally have tackled this DIY project because the final piece looks even better than I anticipated.
So get ready, because you are just moments away from creating a gorgeous decorative dip dye wall hanging for your home. All you need is three simple materials and some spare time.
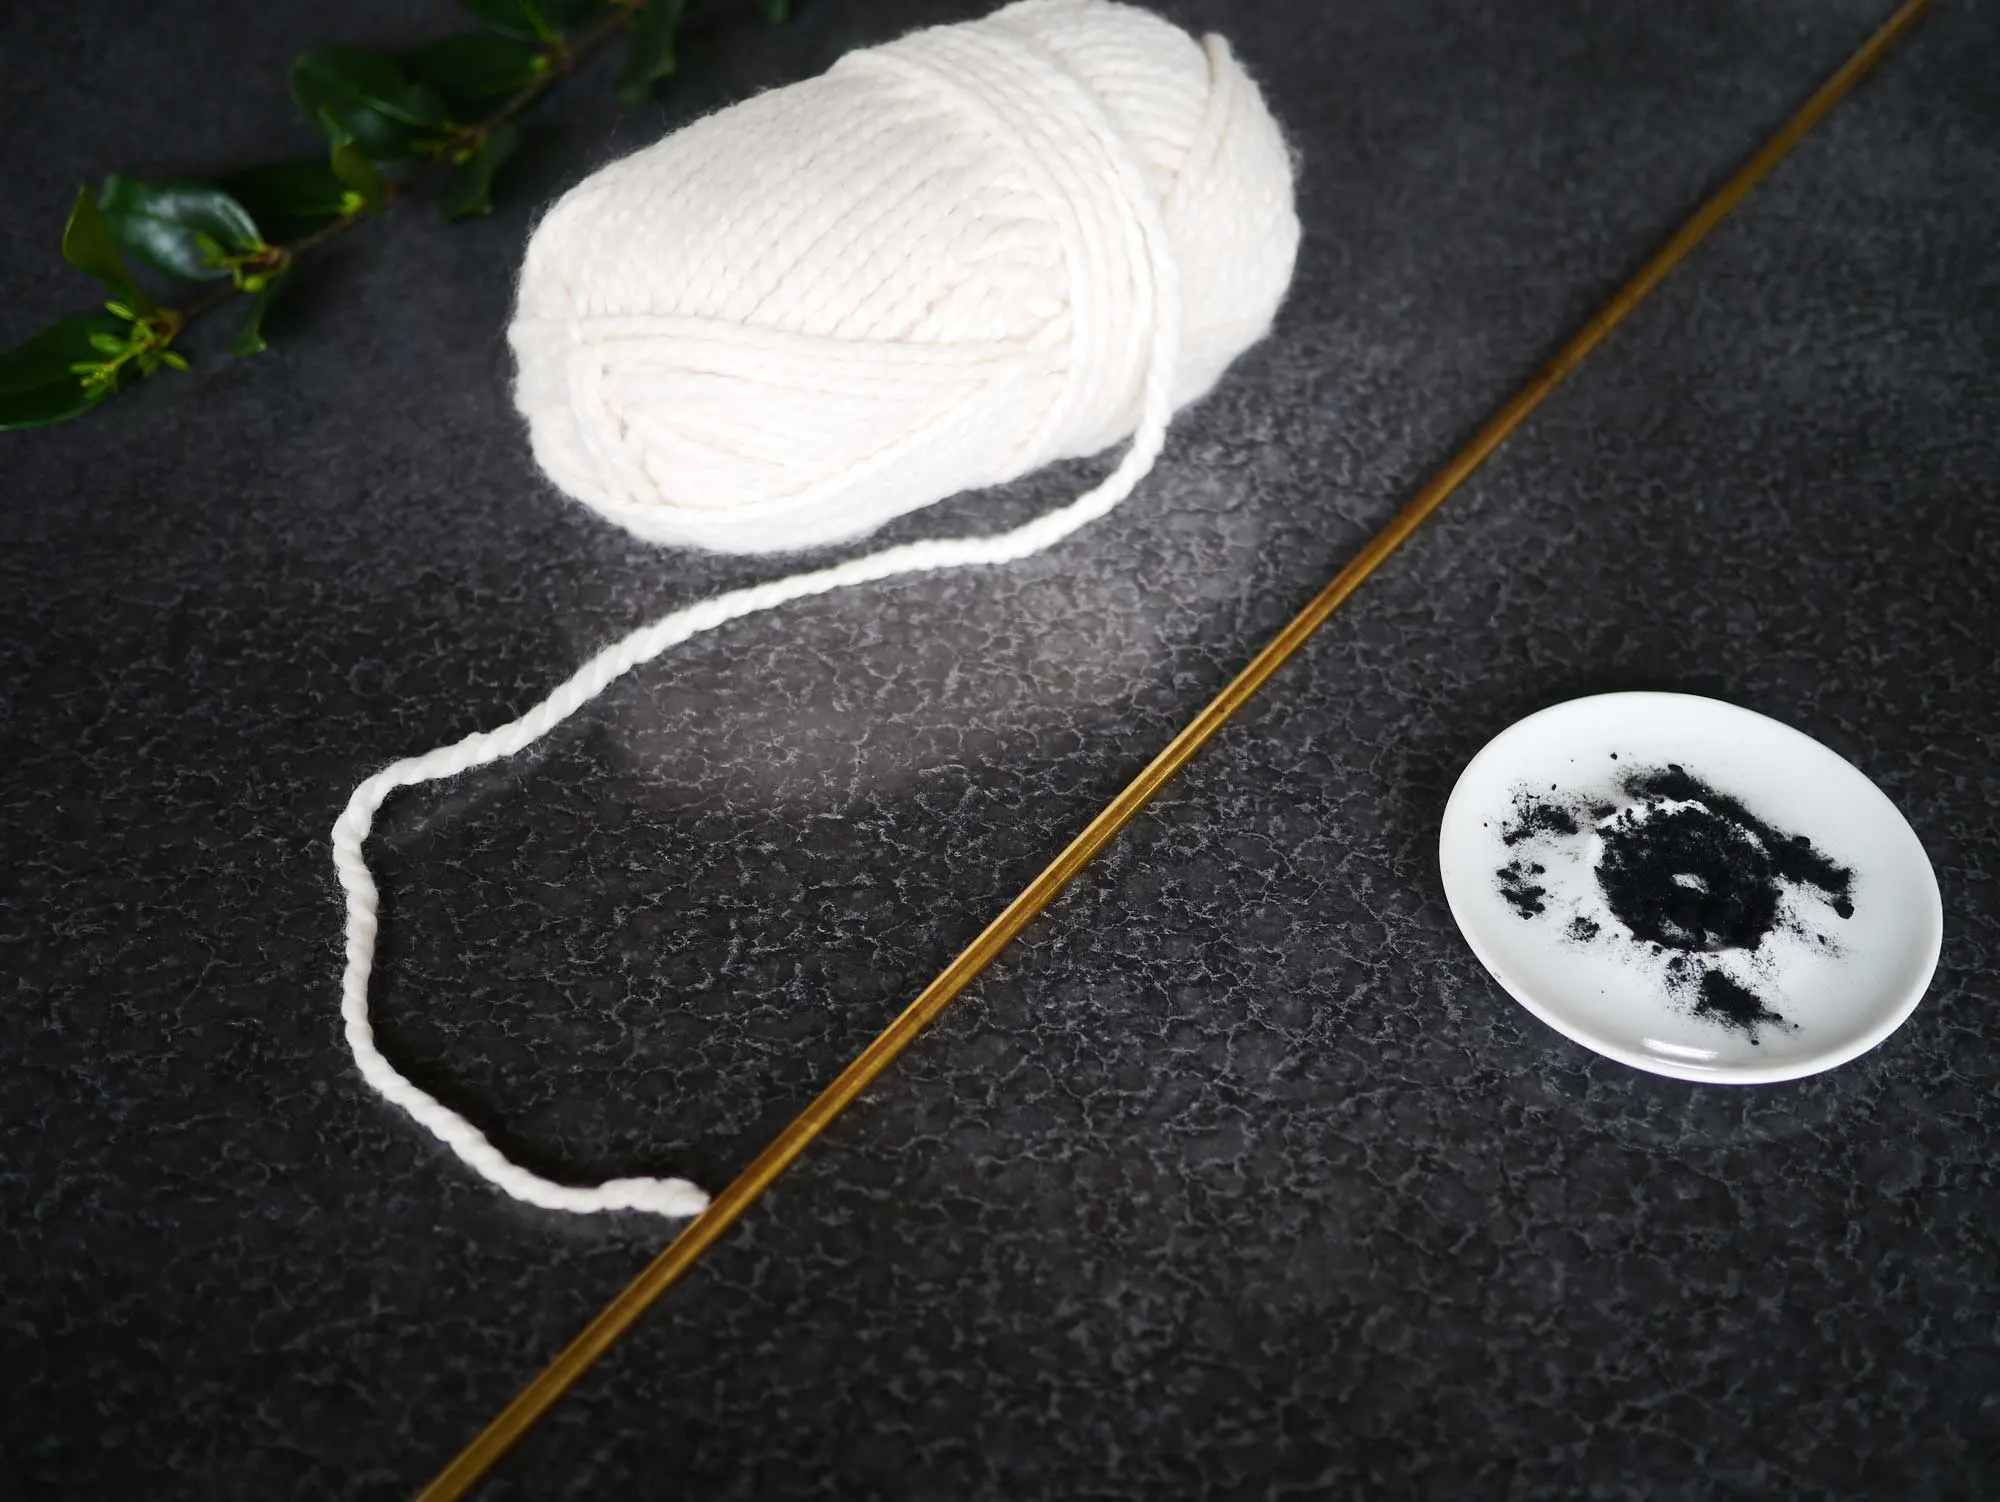
 Materials: natural-colored wool yarn (x2), dye packet (I used this one here), and a 36″ brass rod you can find at the hardware store

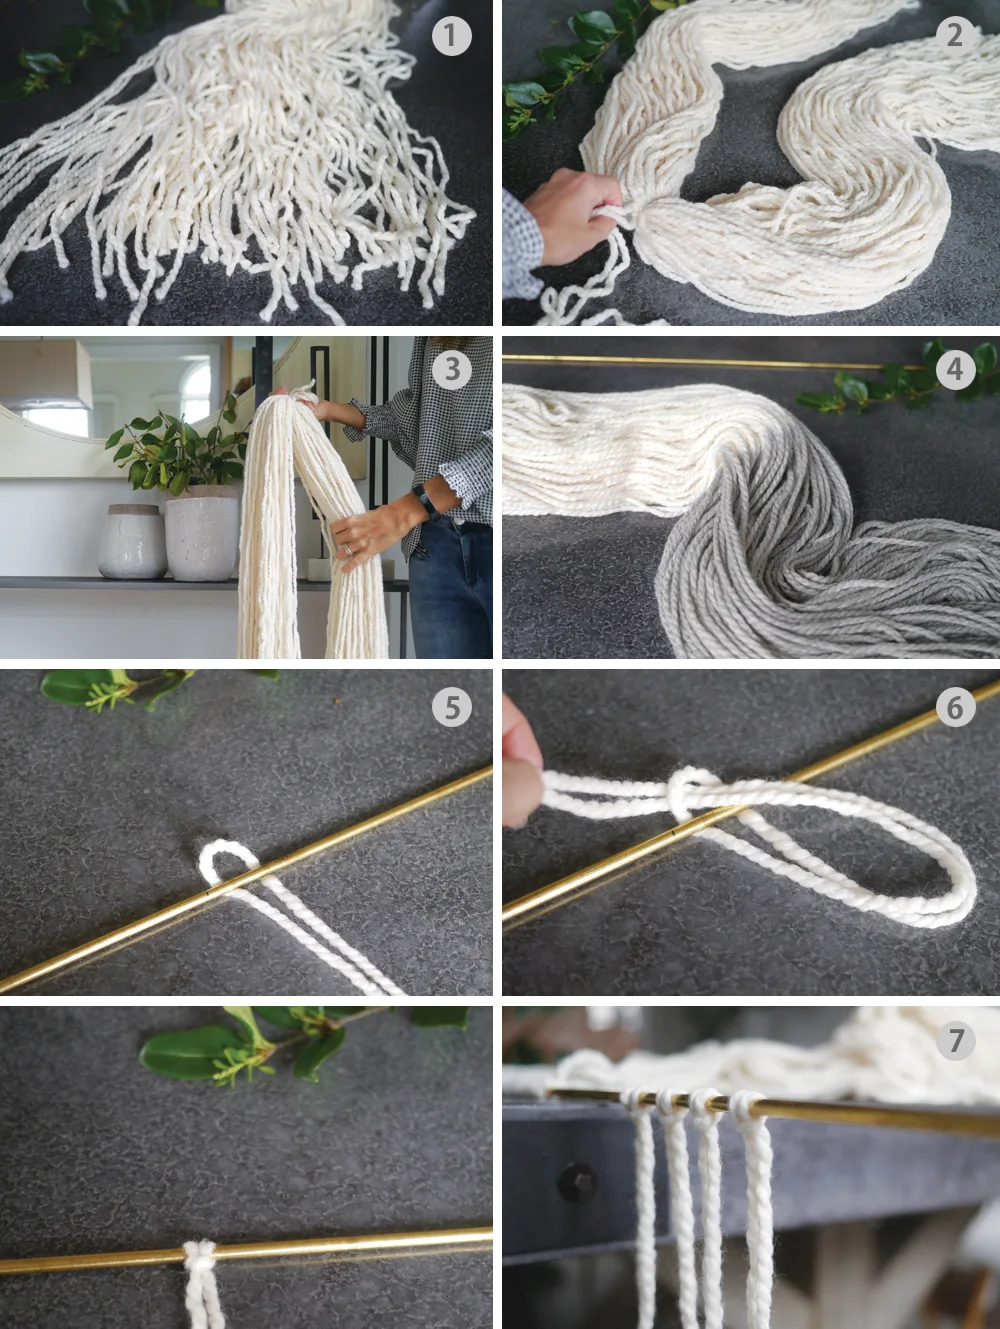
1. Start by cutting the strands of yarn. The length of each strand varies by how short or long the finished piece will be. For this particular wall hanging, each strand measures 72 inches. Keep in mind that after cutting each strand they will be folded in half, so the final length of the decorative piece will be half of the measurement of each strand. In this case, 36 inches.
2-3. Once all strands have been cut, bundle them together, fold them one time and tie a knot right in the middle using a piece of yarn. You want to make sure the edges are somewhat even.
4. Cover the part that won’t be dipped into the dye with a plastic bag and start preparing your dye by following the directions on the dye. I dyed my wool in a bucket and used this dye here. Once the dyeing process is complete, let the wool dry and then move on to step 5.
5-6. Photos 5 and 6 show you how to loop the yarn around the brass bar so you can secure each strand onto the bar. This part is time-consuming but super easy. One important thing to note is that you want to make sure when folding the strands in half that dyed parts of the wool are aligned like you see on photo 4.
7. Keep looping each strand of yarn until you have finished covering the brass bar. But don’t cover the entire bar with the strands. The brass bar is a nice detail and you probably want that show in your finished piece. So stop adding strands at about four inches from the edge of the bar.
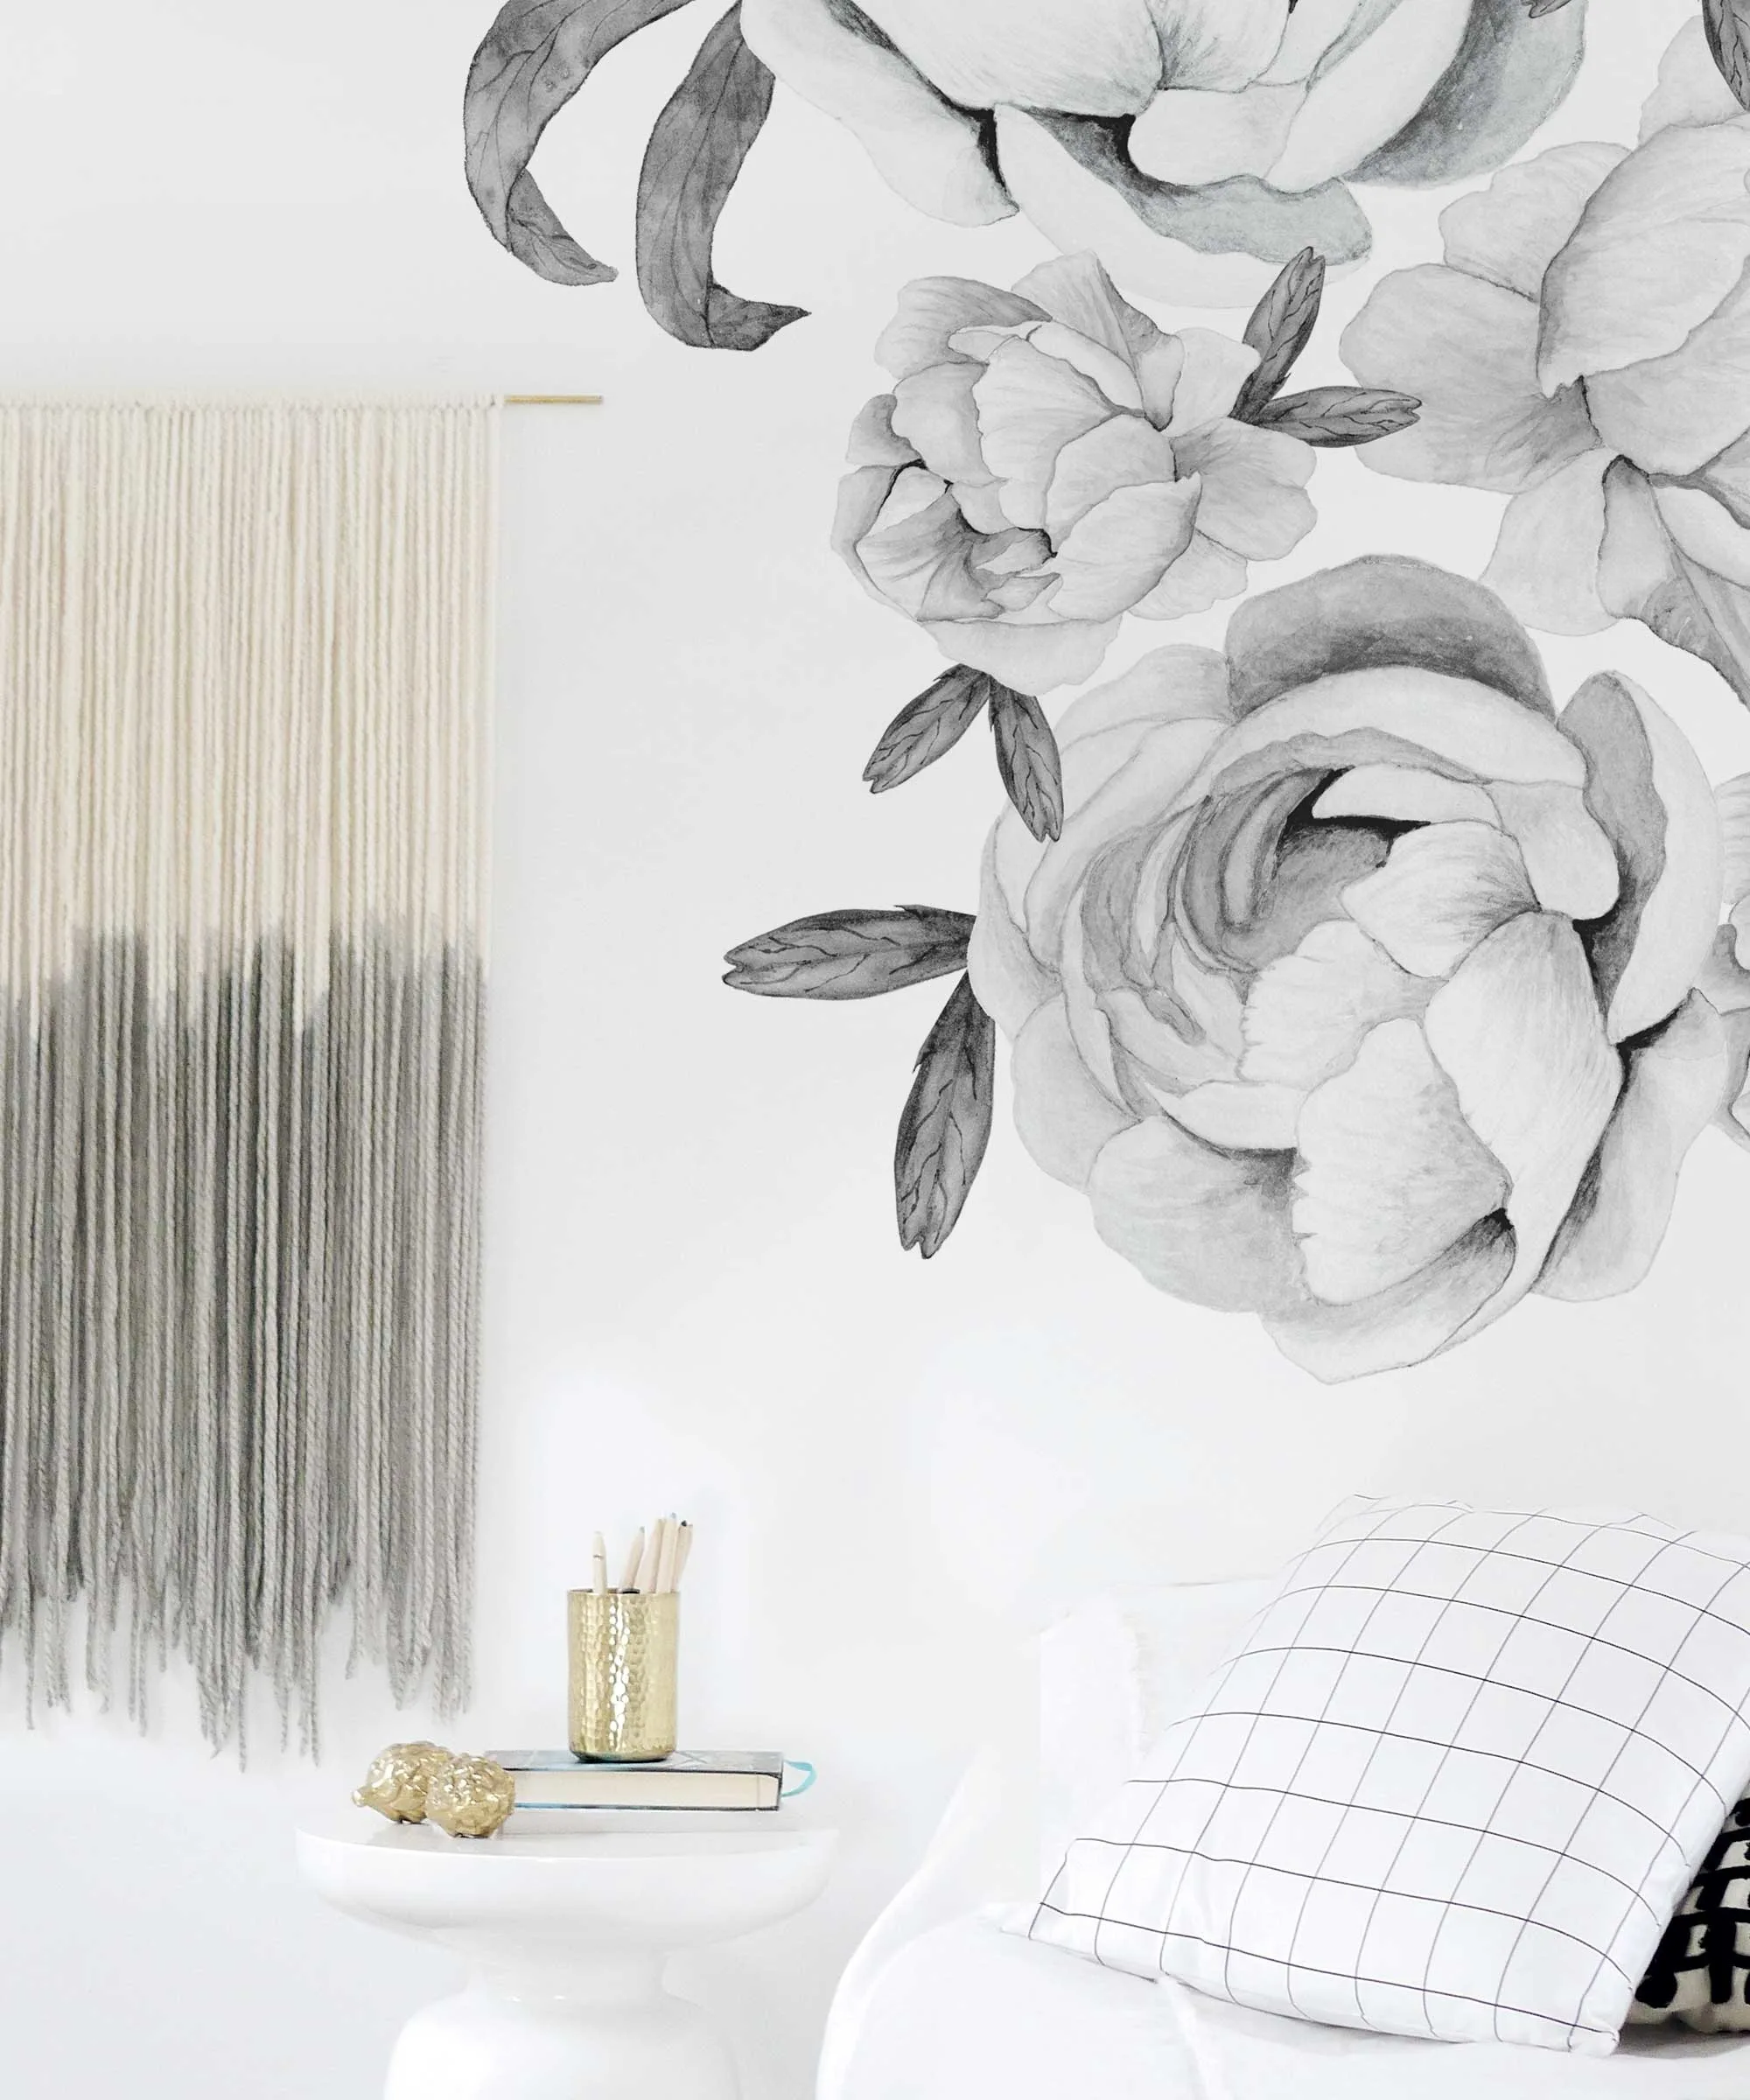
Once you have completed these steps, hang the piece on the wall and then trim it as you wish. You can have all the strands the same length, or have some longer than others like I did to create a more irregular look.
 Peonies Wall Decal | Grid Pillow
I really liked working on this piece, and I think I will be trying a couple different variations. This wall décor could be used in the kids’ room, nursery or even the living room. Do you think you will give it a try?
To see more DIY projects, visit here.
*this post contains affiliate links*


Angel
Monday 19th of March 2018
I don’t get it. It reminds me of a dirty mop...
M
Monday 19th of March 2018
I’m sure you could use a variety of options to hang it depending on the rod size you could use the same hardware they hang cafe rods for windows with. You could use anything that will accommodate the rod size and hold it up. Look for tiny hooks that screw in to hold plants but small ones I think they are called J hooks. Or again look for cafe rod hardware but base it on the size of the rod
Dawn
Monday 19th of March 2018
How do you hang it up on the wall though?