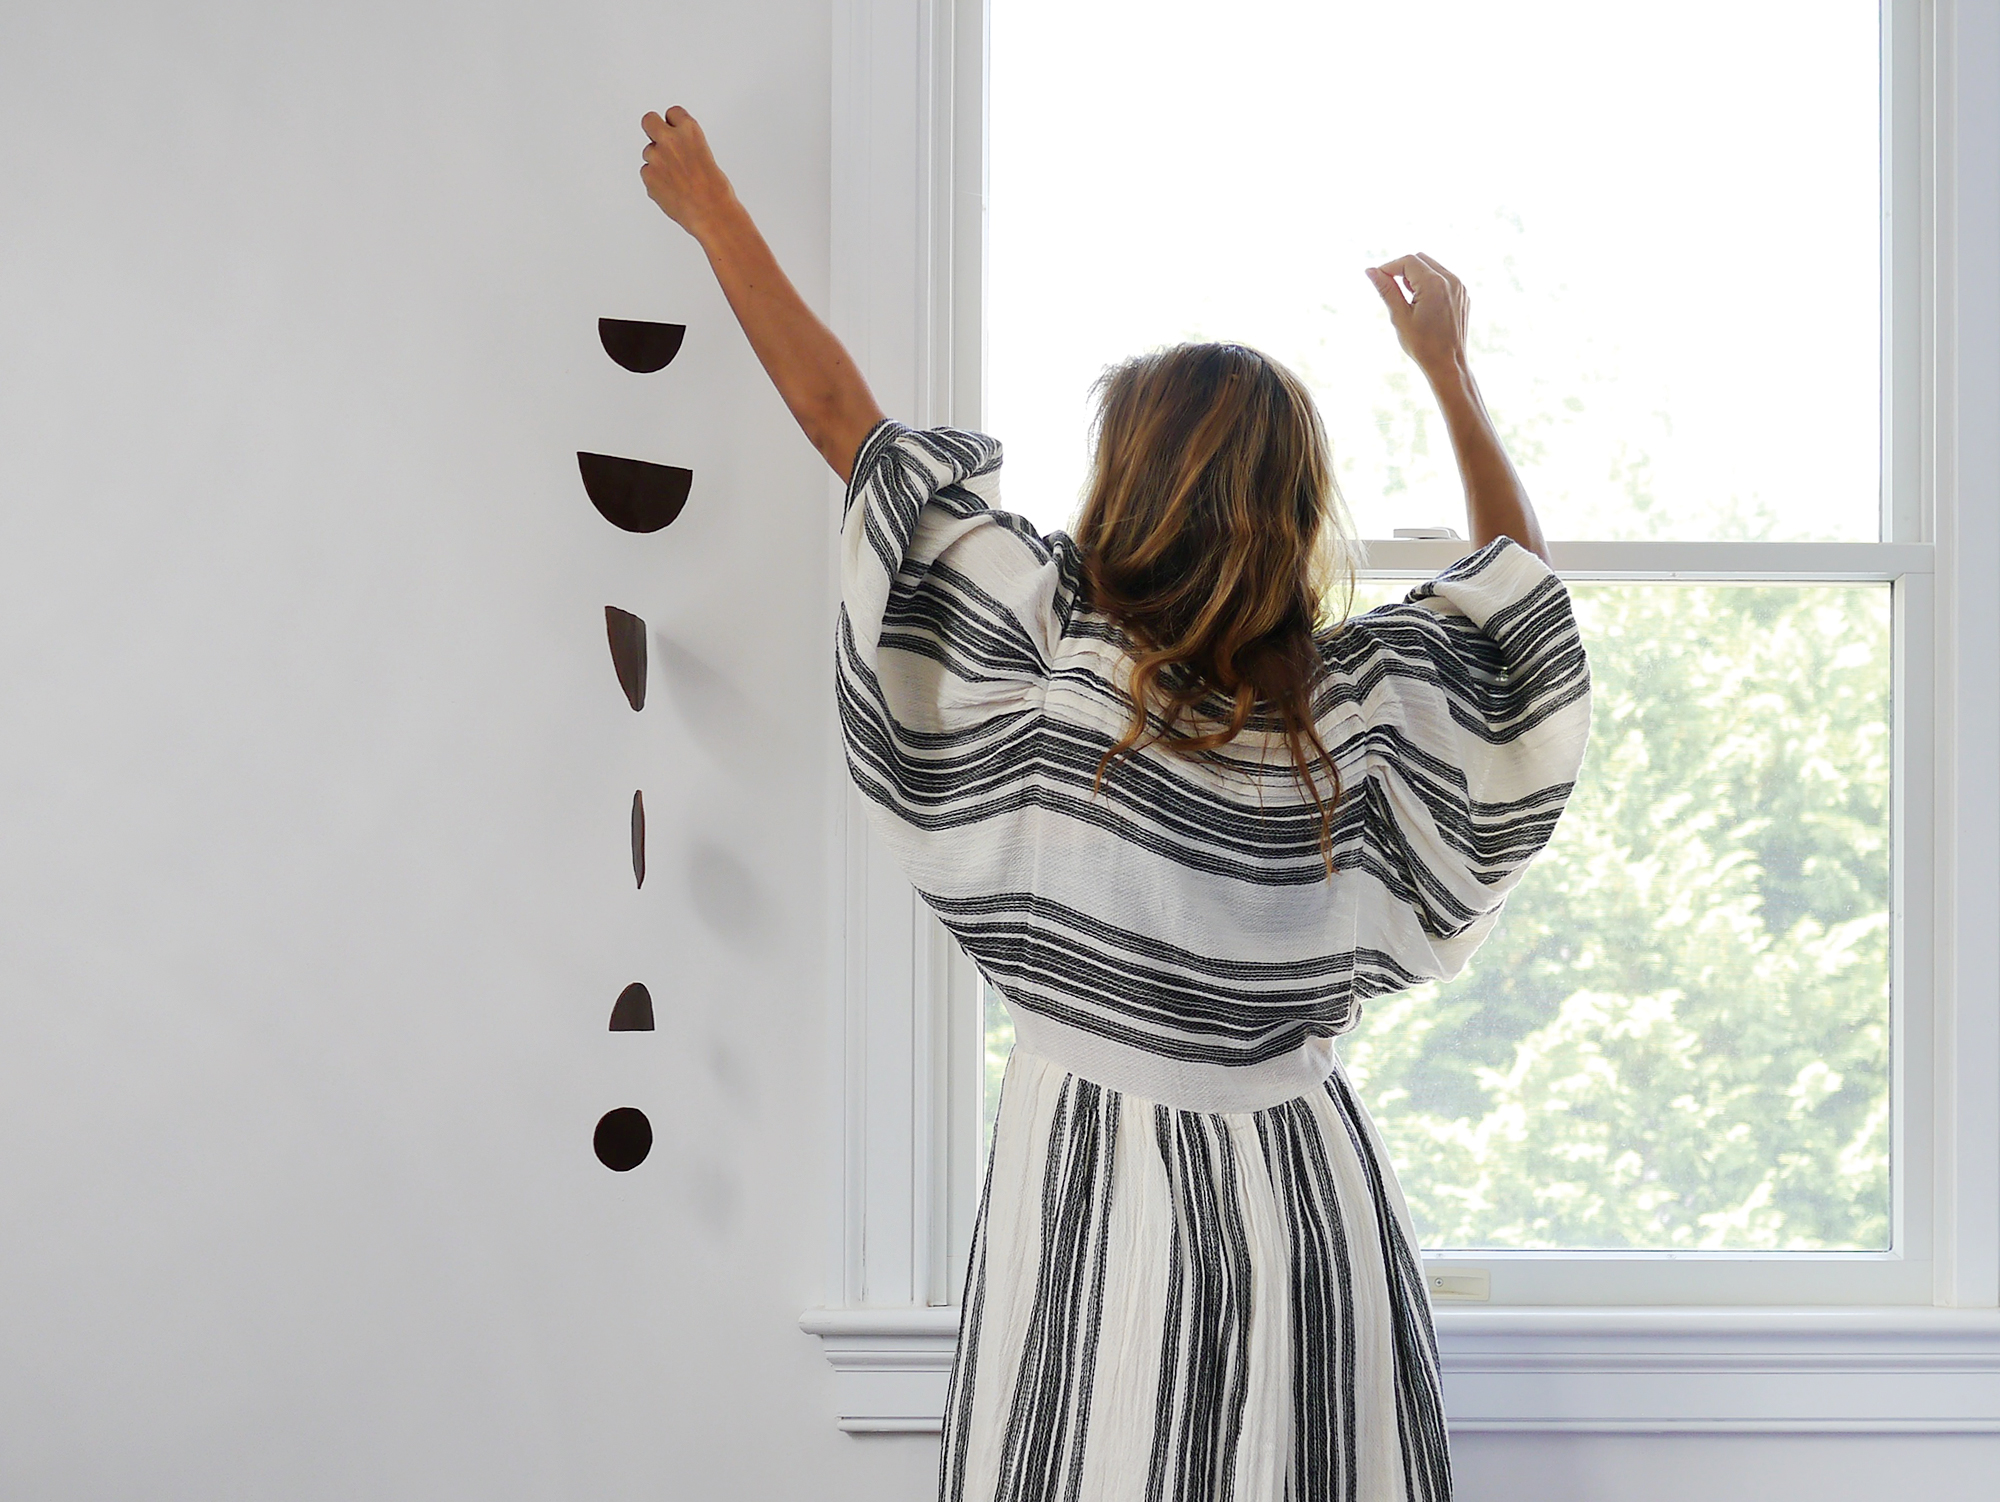
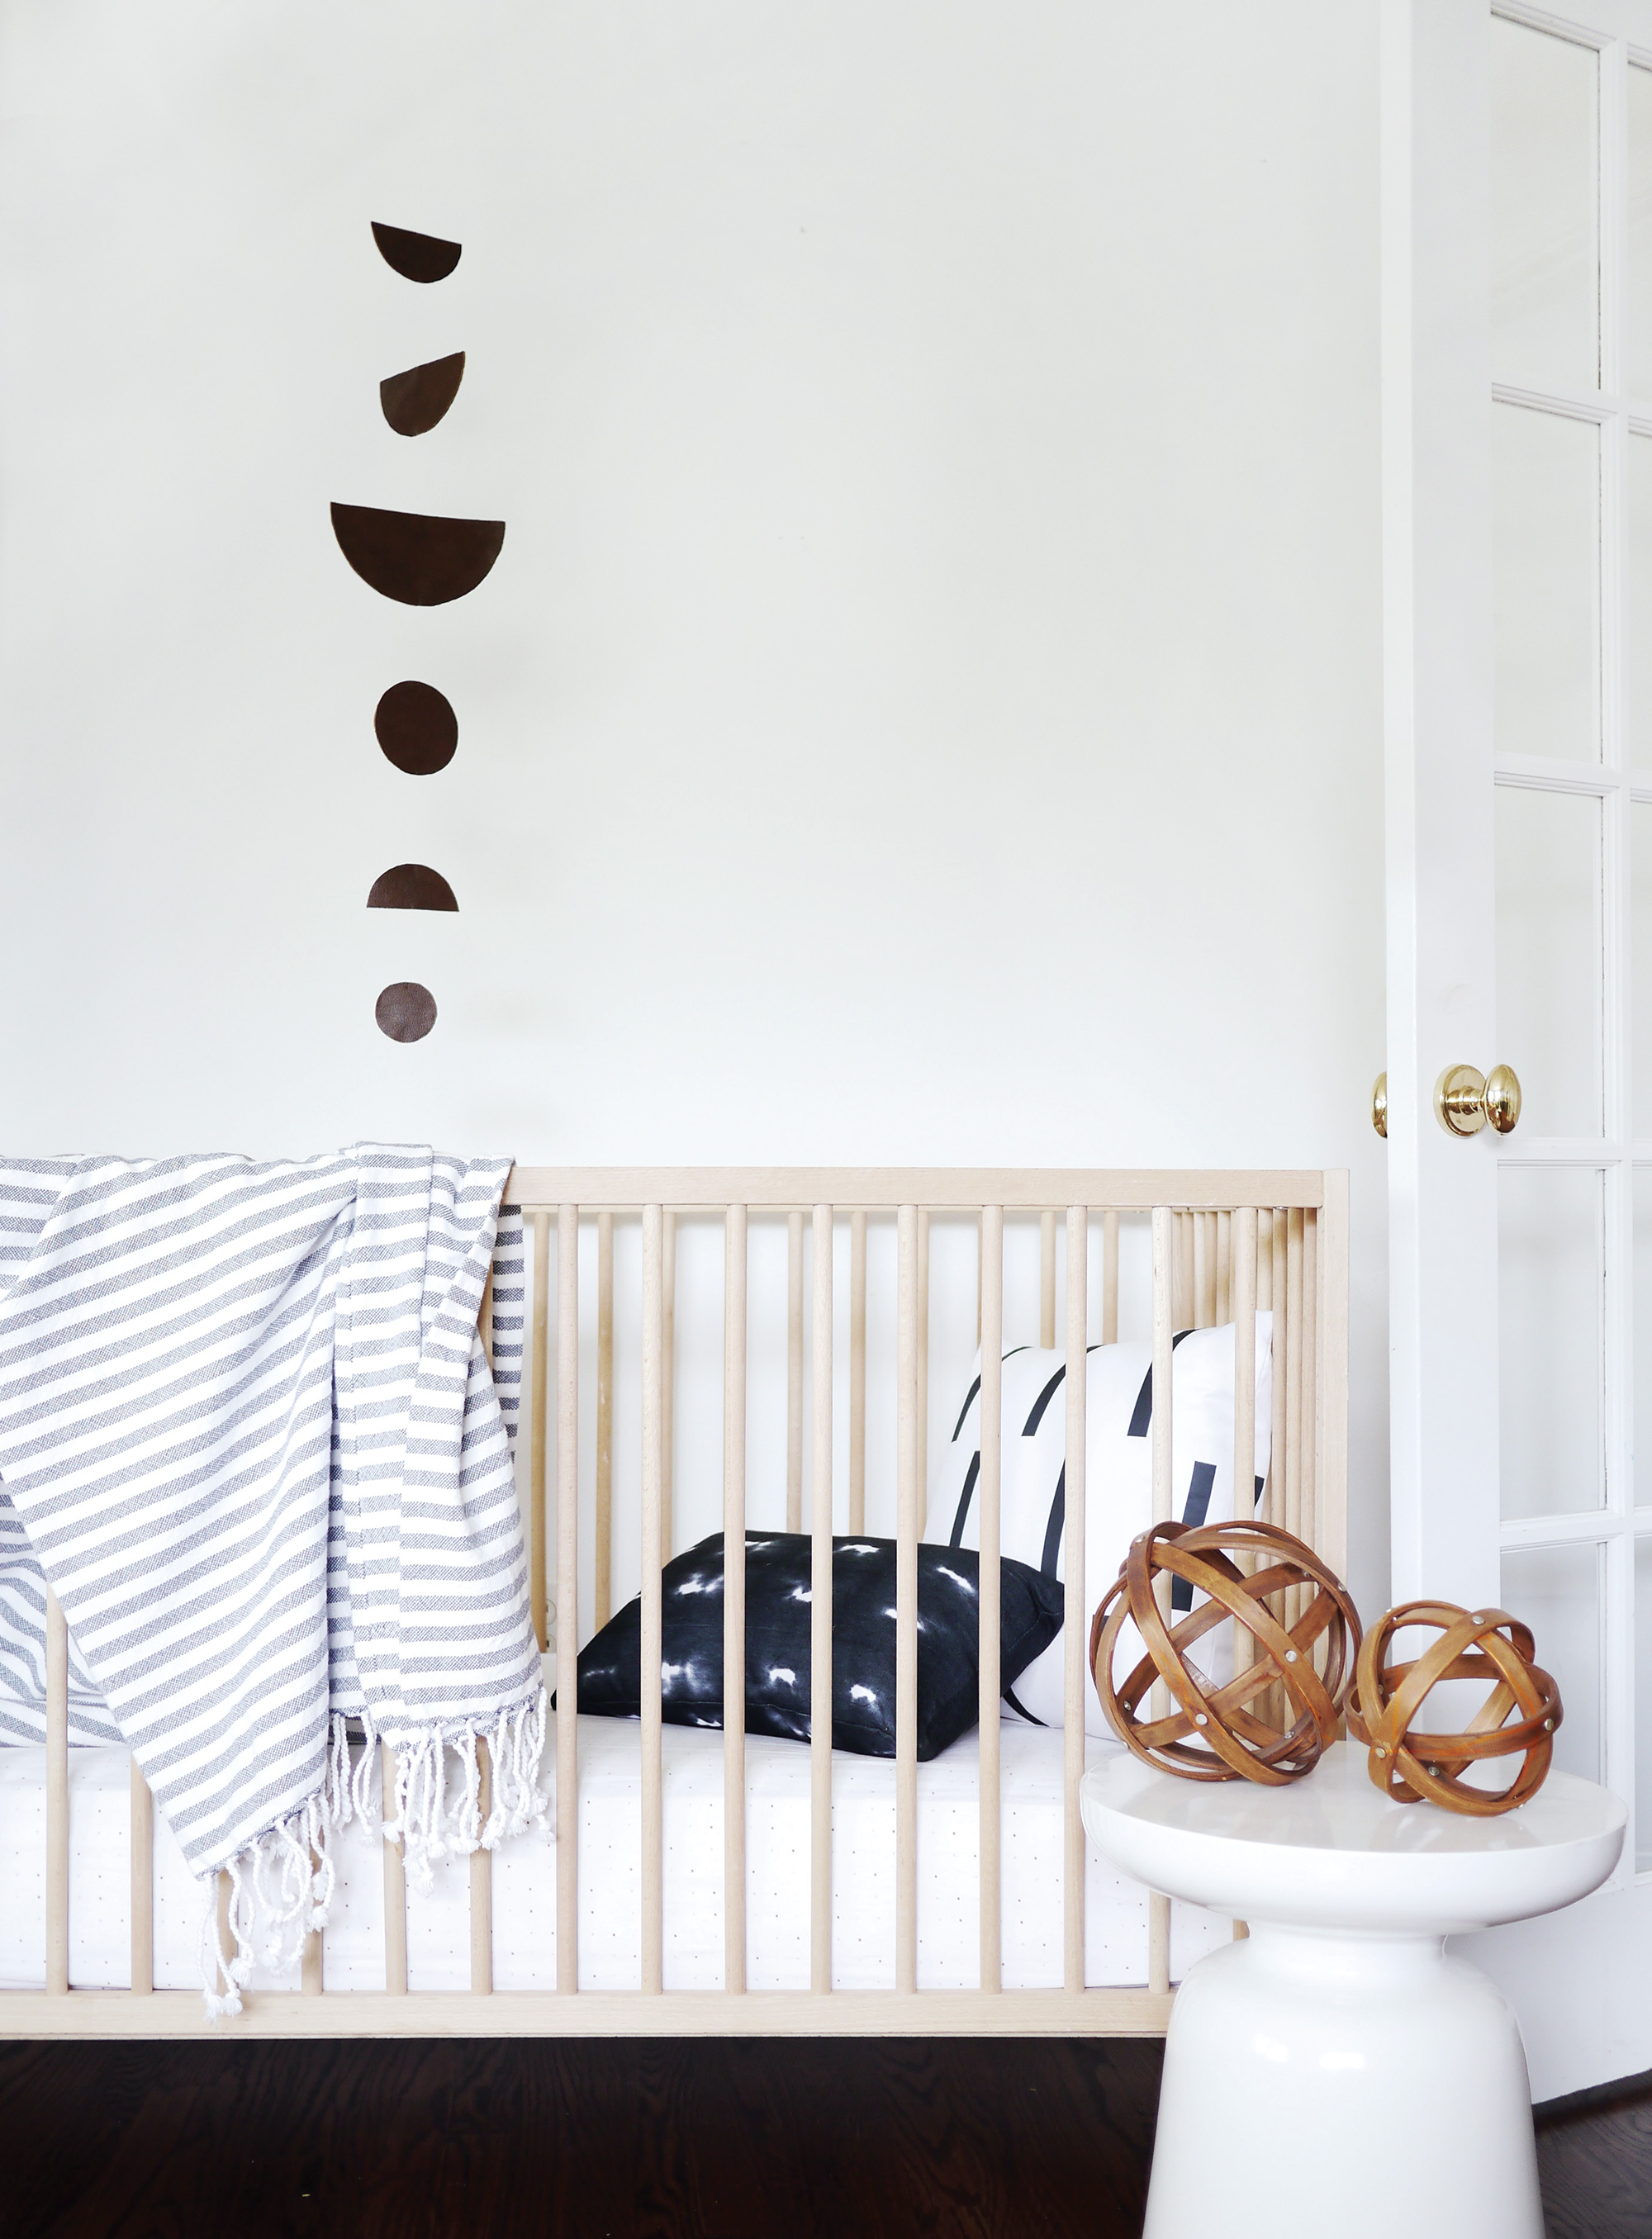
Lately, I feel like exploring new materials. Wood is always my go-to when coming up with new projects, like the wooden poster hanger we did last year or this super cute headboard. I have also worked a lot with copper, as you can see here, here, and here. So, this time around, I decided to try a new material for a change and chose leather to create a one-of-a-kind DIY mobile. This is a must-have item for the nursery and a great décor accessory. So what do you say, ready to try it with me?


MATERIALS: leather sheet, my shapes template (download it here), needle, nylon, scissors and double-sided tape.

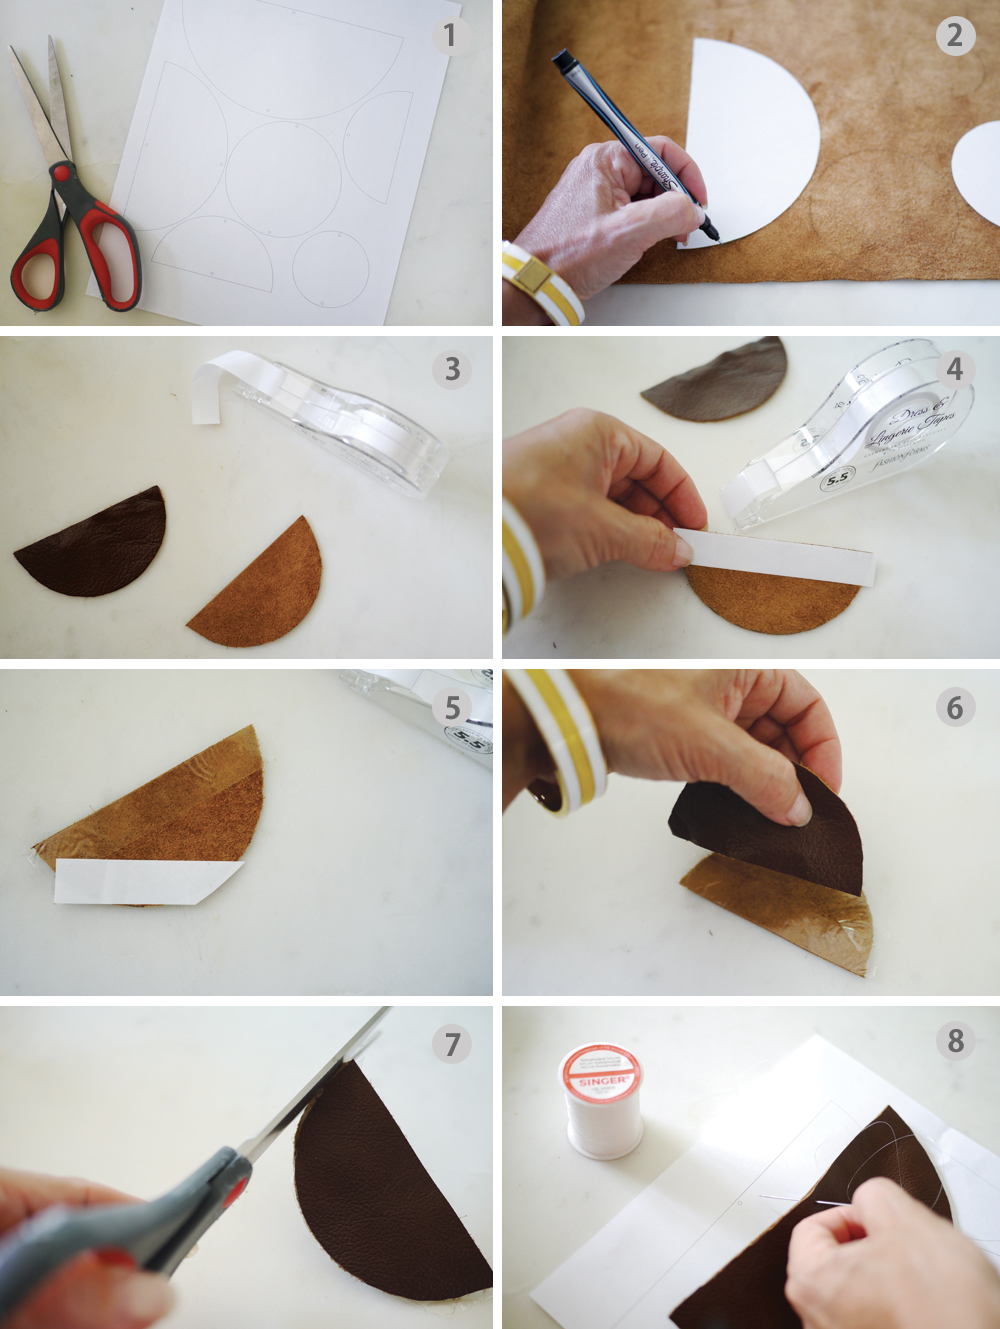
1. Download my shapes template here to use it as a guide.
2. Print the template to cut the six shapes. Trace each shape on the leather sheet. Each shape will need to be traced twice.
3, 4, 5, 6. Once all shapes have been cut, add the double-sided tape to all the edges of each leather shape. Then, tape it to its matching shape (wrong sides together).
7. After the front and back of each shape have been taped together, check to see if you need to trim any edges to create a nice finish.
8. The last step is to make a hole with the needle (where indicated on the template) so you can thread the nylon to each shape. A simple double knot is enough when tying the nylon to the leather shapes. Give it about 2 inches of nylon to the next shape to keep the look consistent. After you thread the last piece of nylon to the top shape, make sure you leave a long thread so that you have enough nylon to attach it to the ceiling.

This DIY leather nursery mobile can be attached to the ceiling using a small hook, or it could also work as a wall décor item if hung on the wall. In either case, please note that this is a decoration item and not a toy. The baby should never be able to reach it.

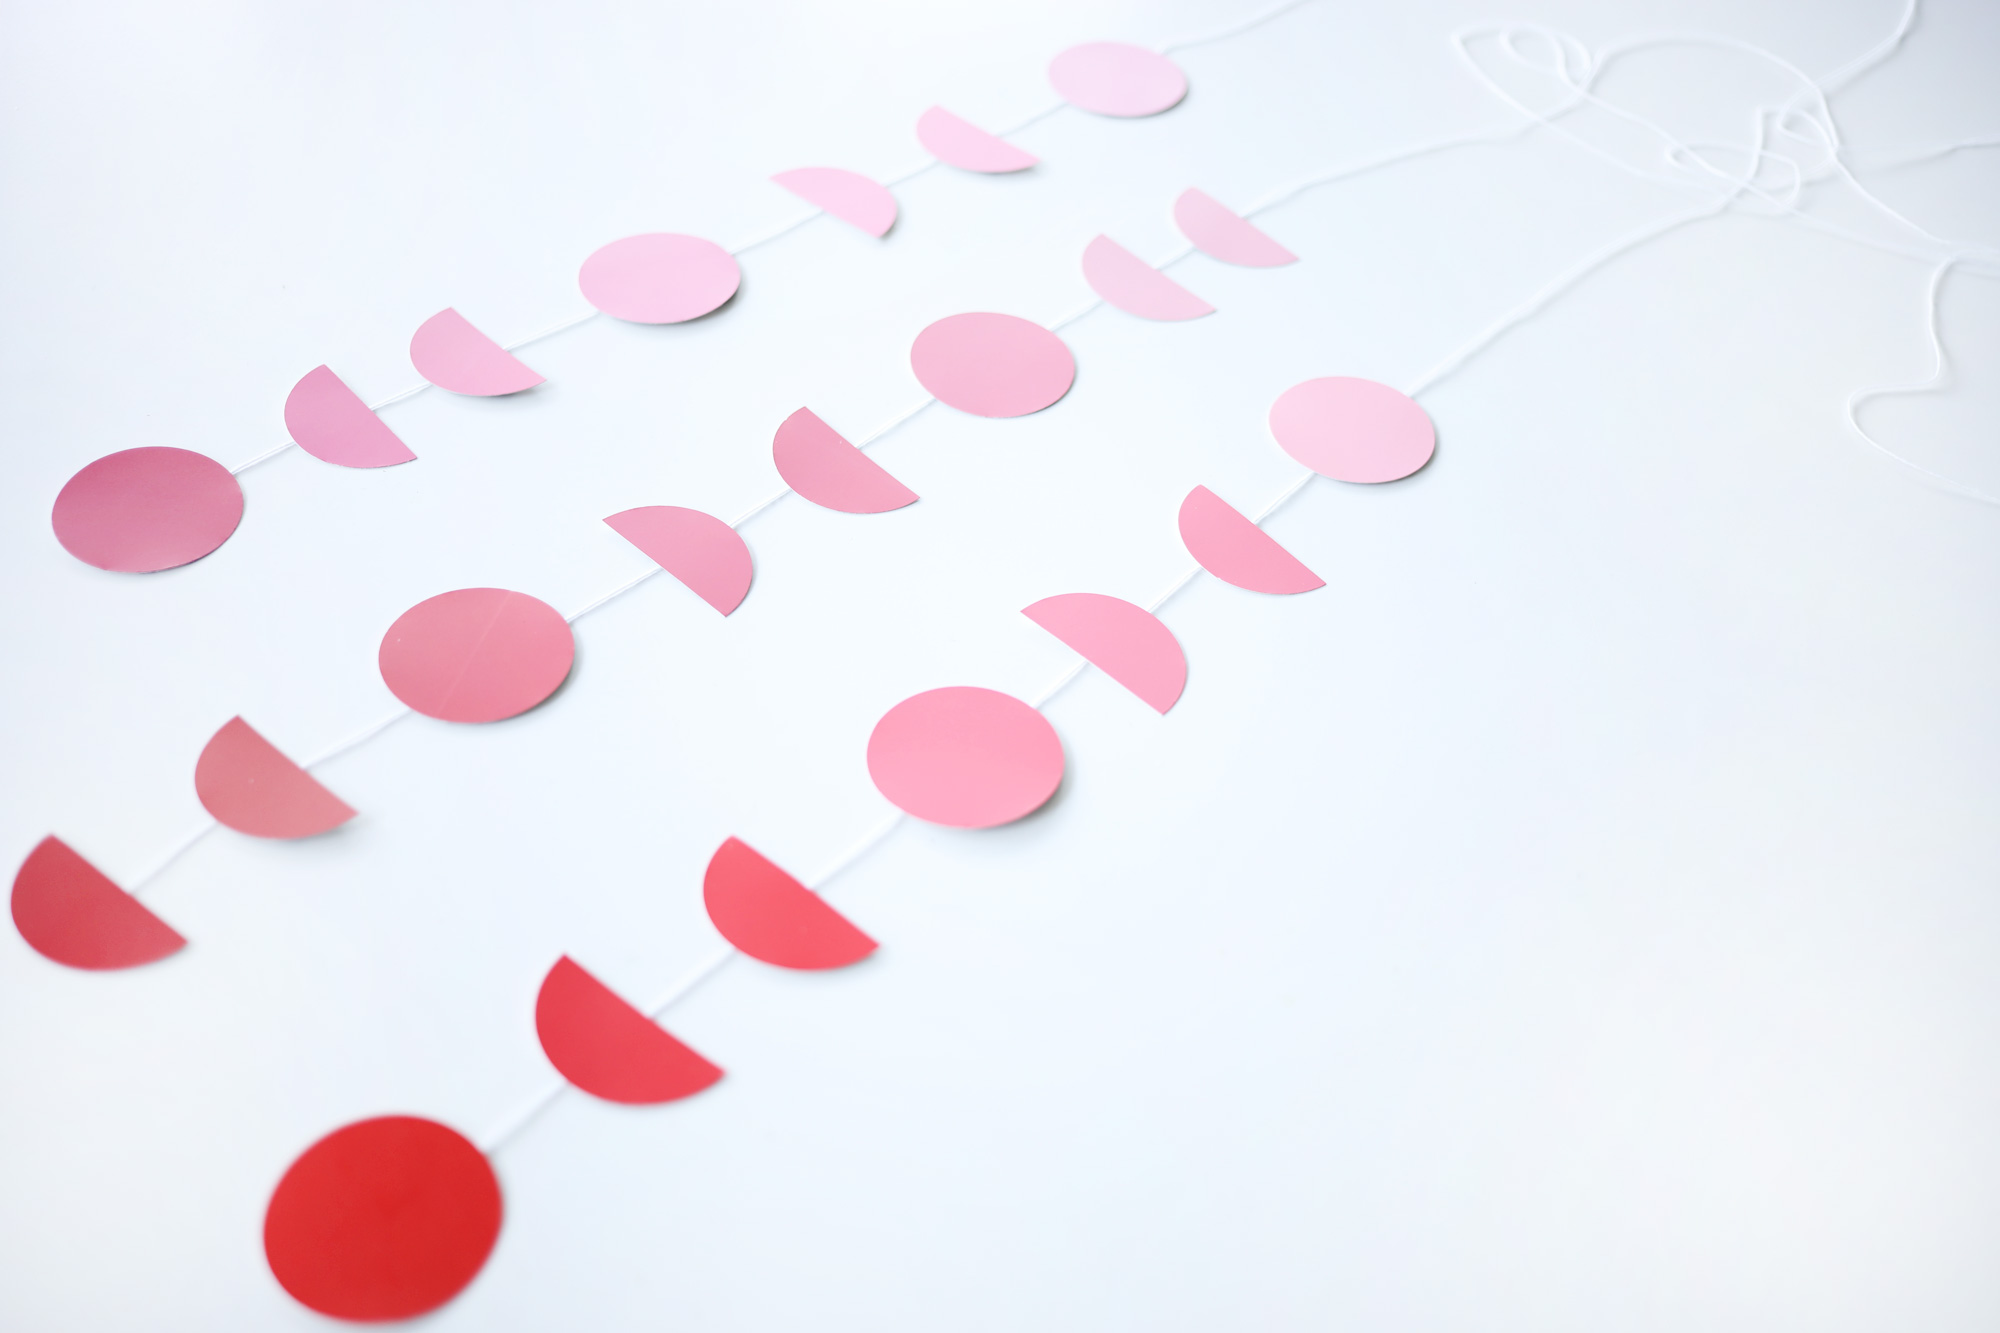
Are you looking for more DIY mobiles? Check out another option here.
*this post contains affiliate links*
SaveSave


Comments