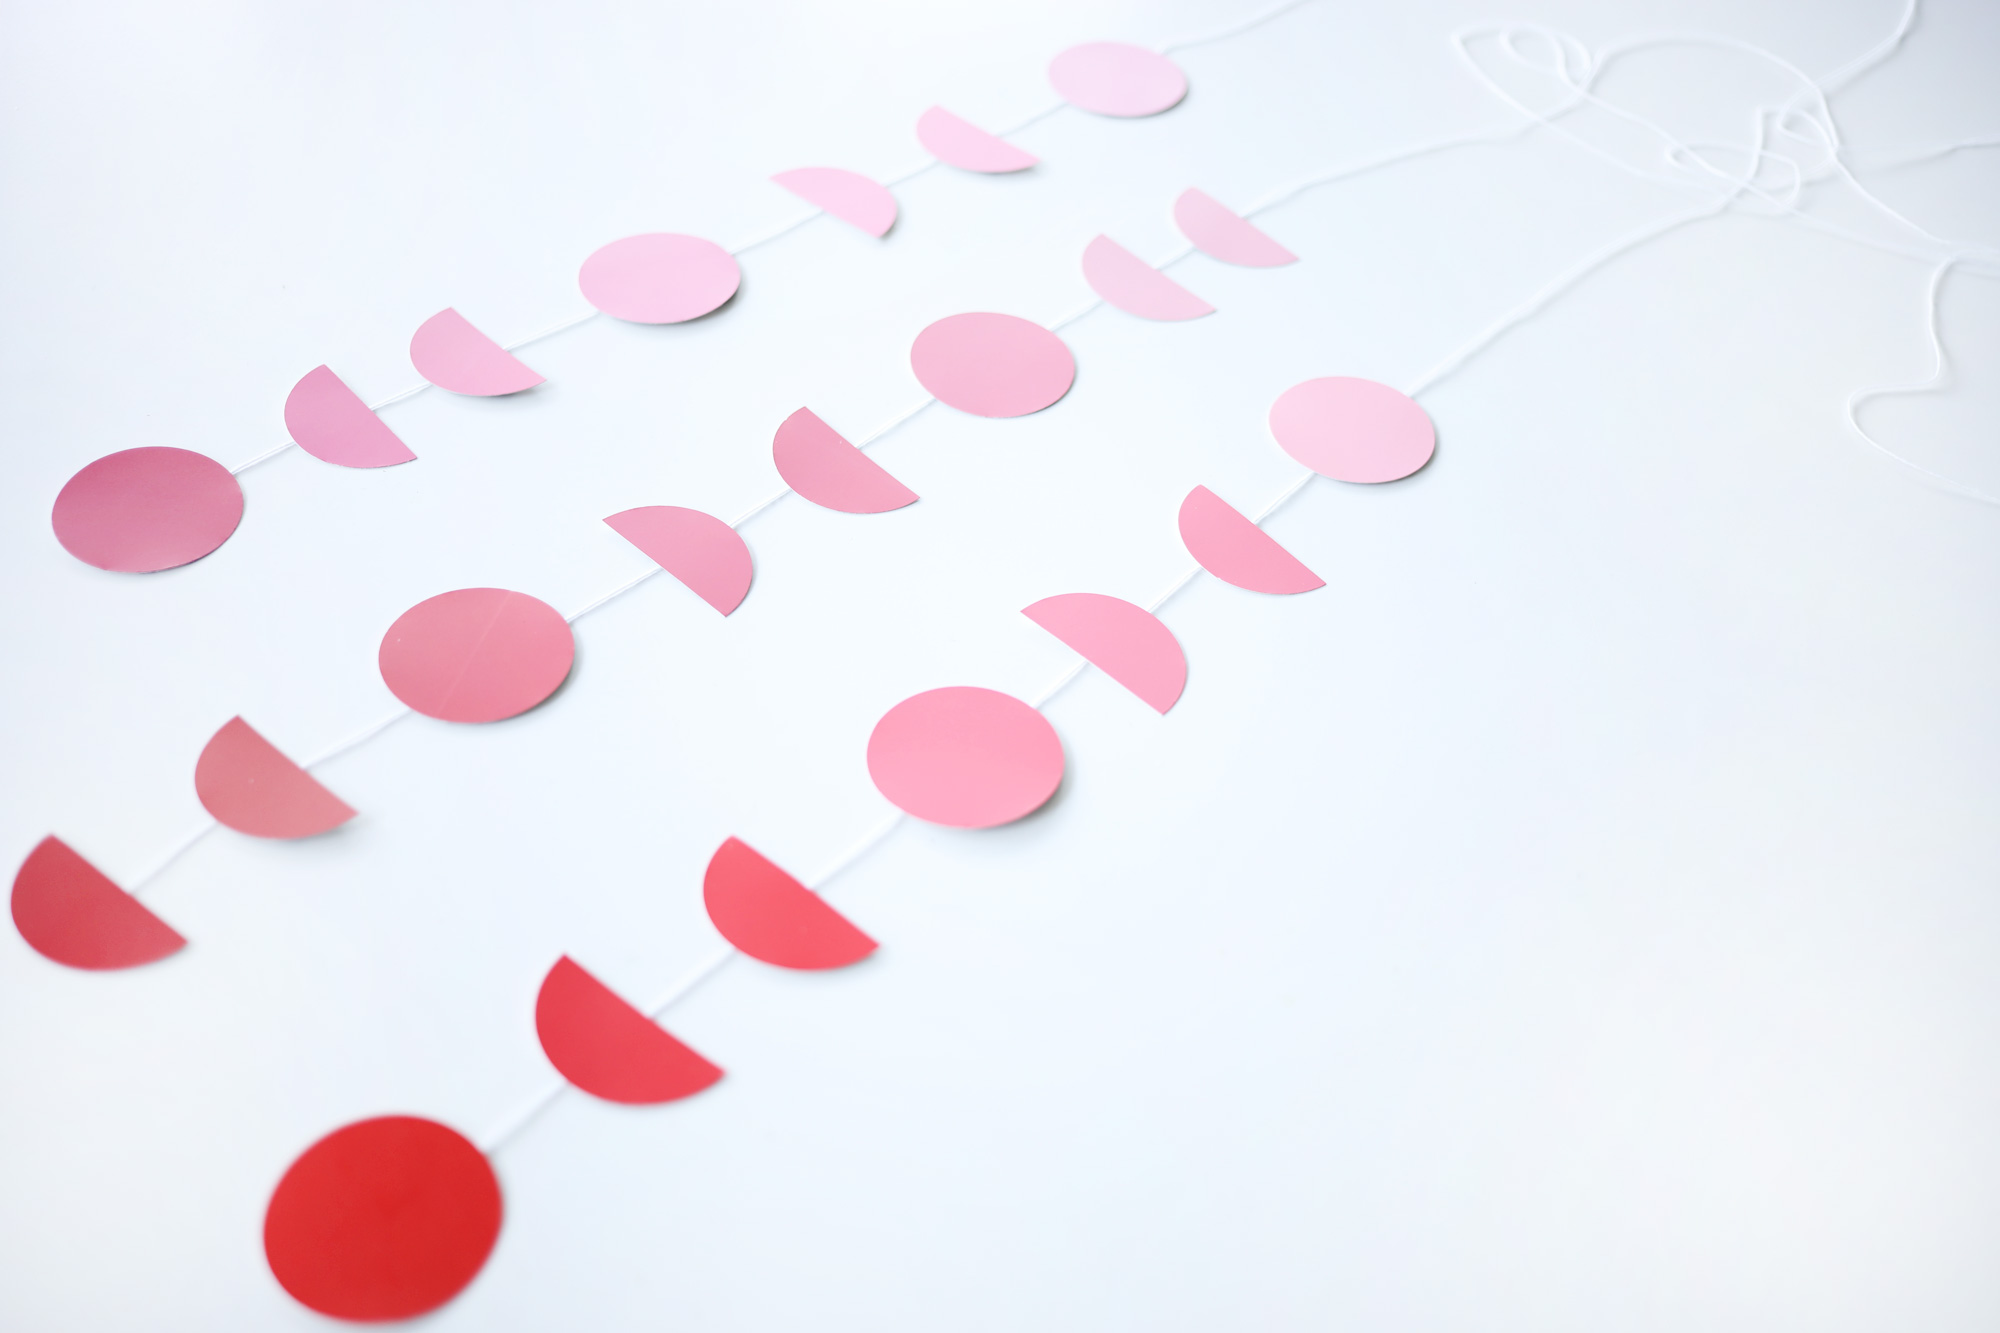
Do you love knot pillows as much as I do? I think they look great on a perfectly made bed, and it’s no wonder that this trend is still going strong. To make things fun, I decided to create a DIY knot pillow hanging decor piece using the adorable design. In order to create this piece, I made three miniature knot pillows using gray chunky yarn used for arm knitting. Once each mini knot pillow was done, I hung them from the ceiling, keeping them at different heights.

MATERIALS: All you need for this project is 25mm chunky yarn and some white string.
STEP-BY-STEP
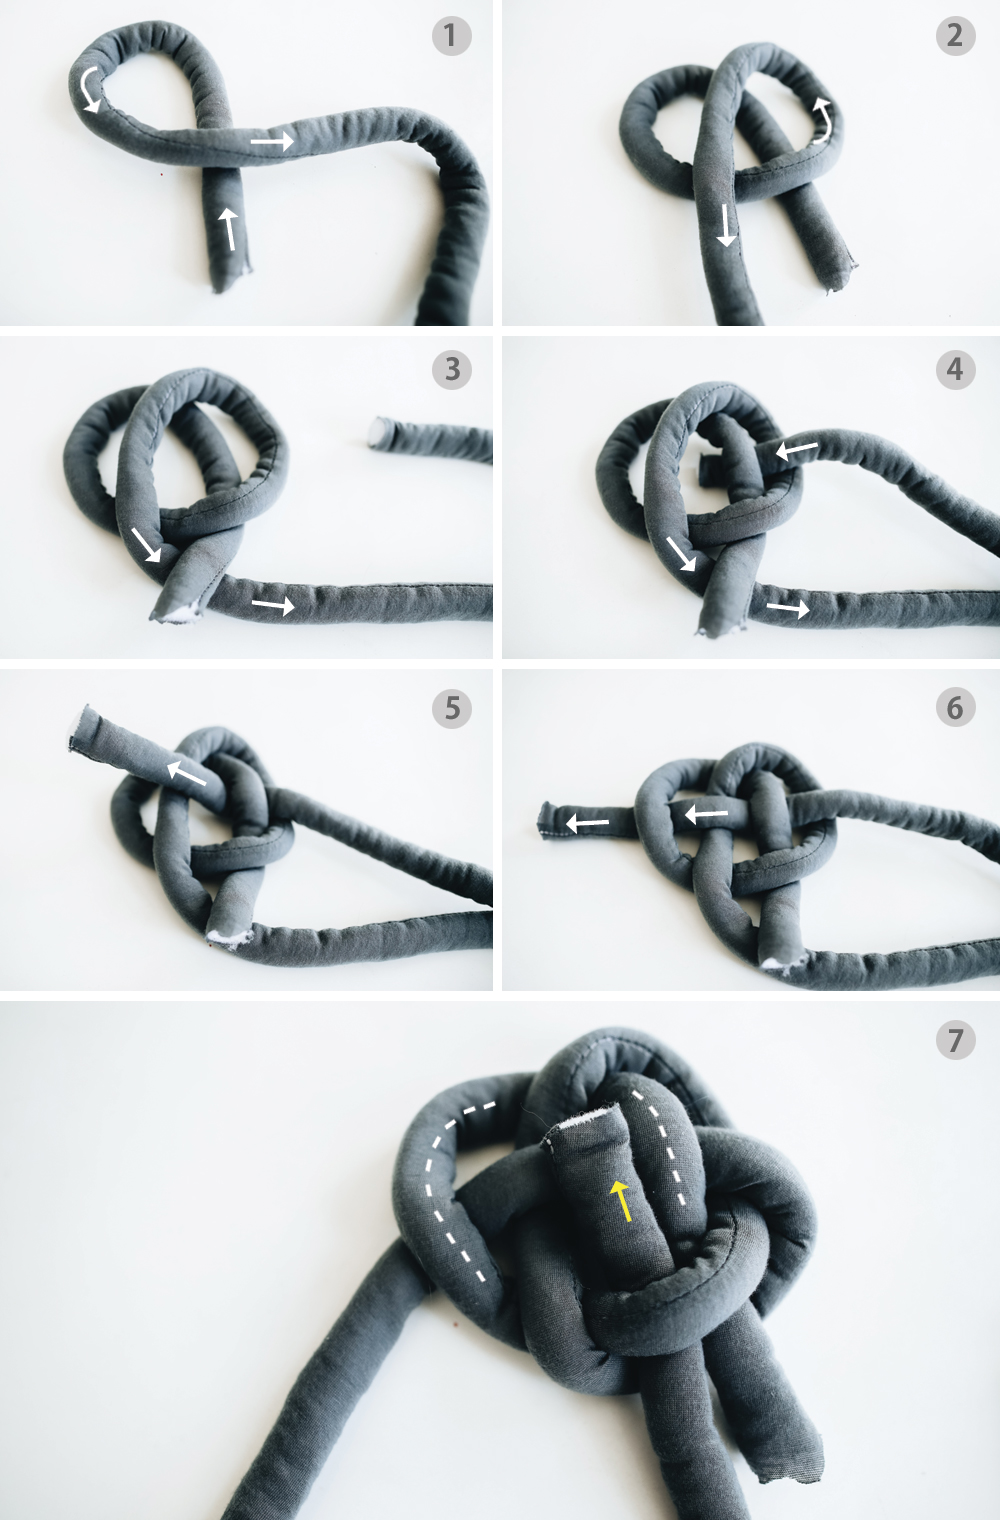
1. To start making your first knot, cut one strand (approx 140 inches long) of chunky yarn. Lay the first strand down and loop it around, like photo 1.
2. The second step is to create another loop while creating a pretzel shape, like photo 2.
3. Following photos 3-6, weave the strand in and out of the loops following the arrows.
4. Once your piece looks like photo 6, you will repeat all the previous steps two more times. The easiest way to do this is by following the dashed line as an initial guide. Keep on weaving the yarn until each face of the design has three lines of yarn.

5. After you completed the previous steps, your knot should look like the photo above with two ends hanging out. You can now tuck the ends in, one at a time.
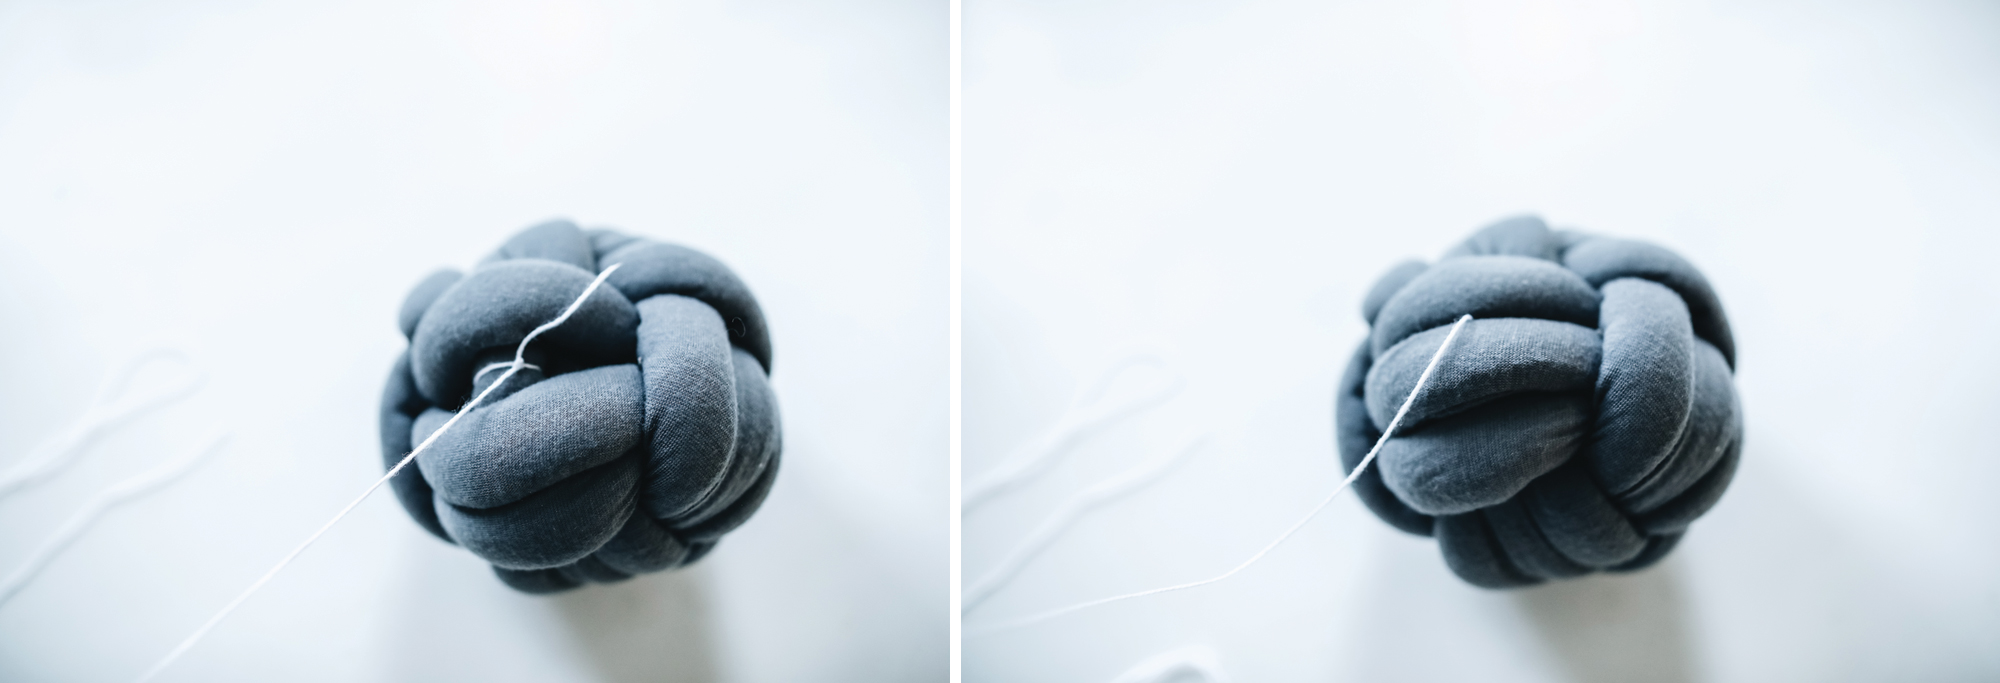
6. Once your knot is done, tie in the white string so you can hang them from the ceiling.

This would look great above the changing area, in your nursing nook or as a focal point near the crib. But please note, it should never be placed directly above the crib for safety reasons.
Did you like this DIY project? Visit us here to see more DIY proejcts.
*this post contains affiliate links*


