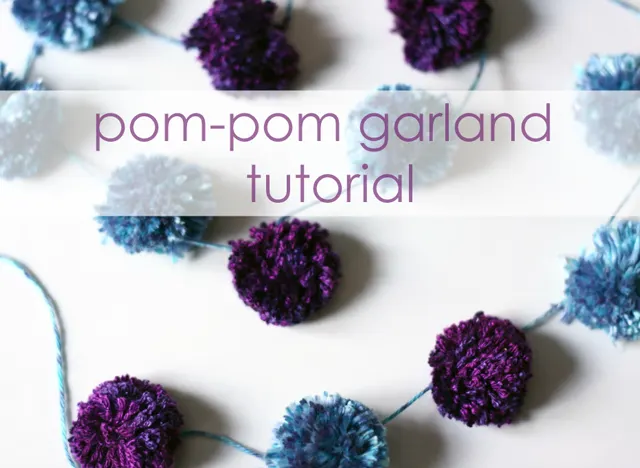
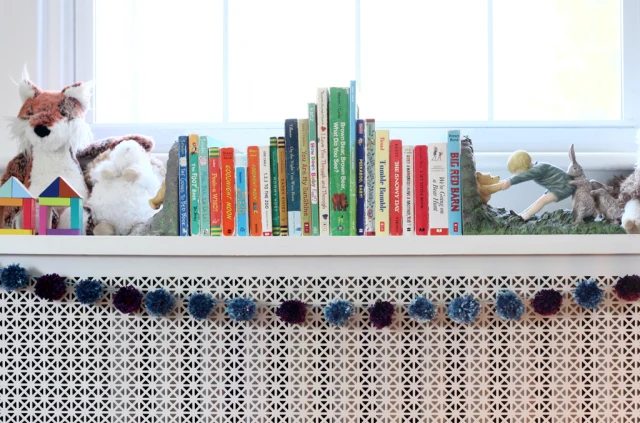
I live in an old house, which has many charms but also has things like big, bulky radiators, including one in my son’s nursery. Since we aren’t getting rid of them any time soon, I decided to dress up the radiator cover with a pom-pom garland. Here’s how I made mine.
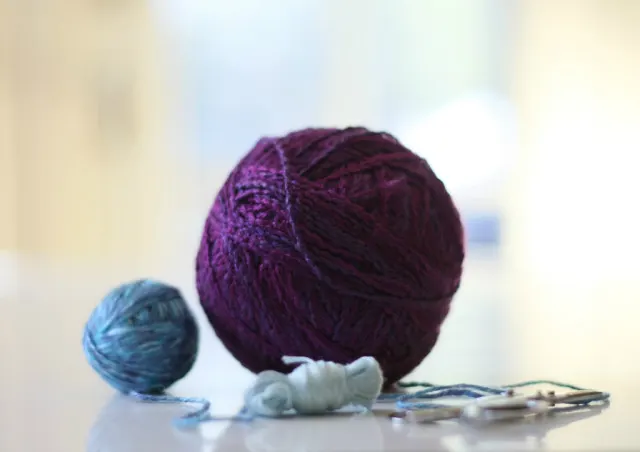
You’ll need yarn, scissors and a way to make pom-poms (that can be using your fingers, cardboard, a fork or a pom-pom maker).
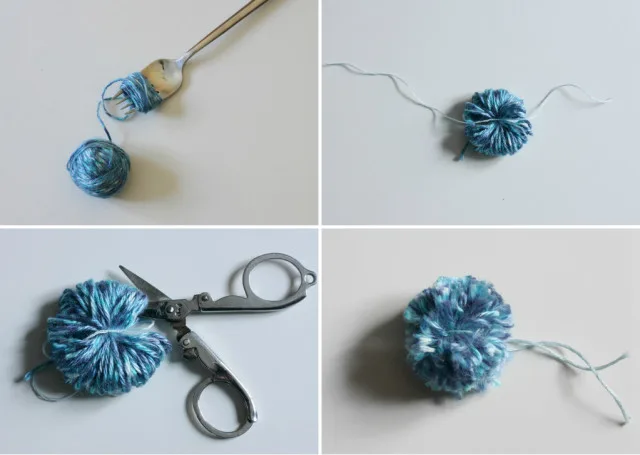
Select whatever yarn works with your baby room decor. I think yarn with a subtle variegation or slight texture adds nice dimension to pom-poms, but it’s up to you. Wrap your yarn around your fingers, cardboard, fork or pom-pom maker. My older son asked if I was making yarn spaghetti—HA! Be sure to count the number of wraps—this is how you keep the fullness of your pom-poms uniform from pom to pom. The more wraps, the denser the pom-pom will be.
If you’re using a pom-pom maker, follow the directions on how to complete the pom-pom. If you’re using cardboard, a fork or your fingers, carefully slip the yarn off, wrap another piece of yarn around the middle of the bundle and tie as tightly as you can. If you are using thick yarn, you can use embroidery floss to tie off the bundle. Snip all the loops of your pom on each side. Smoosh and fluff your pom-pom, and give it a haircut by trimming off any strays to get a rounded shape. Make sure to leave the main tie long enough to attach the pom-pom to the garland.
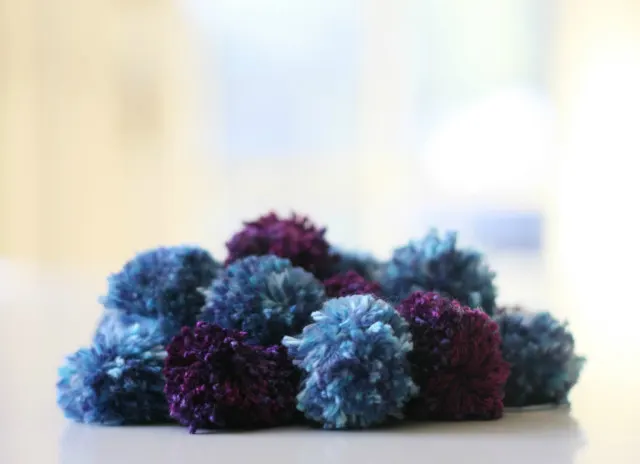
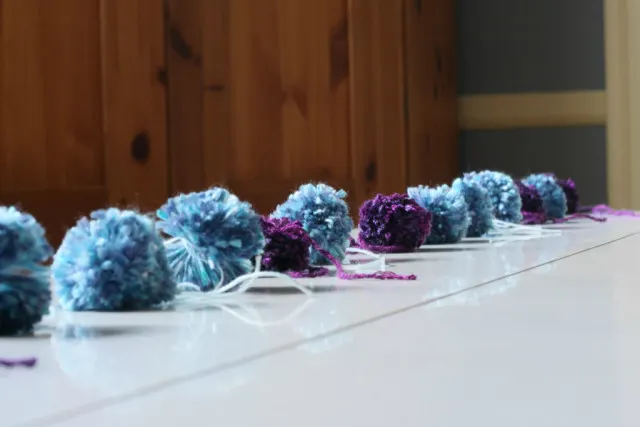
Make as many pom-poms as you want for your garland. Mine was 52″ long, and I used nineteen 1″ pom-poms, but it really depends on how close together you want them. They look so cute all piled up.
Cut a piece of yarn to the length you want your garland to be. I laid out all my poms in a pattern first and then tied them with a simple double knot to the long piece of yarn. You can slide your pom-poms along the yarn once they are tied on to adjust the spacing.
Once you’ve tied all the pom-poms on, you can trim the tails of the center tie down so it blends in with the rest of the yarn.
Hang your garland and enjoy! What do you think? I know the radiator cover is still ugly, but I really think the pom-pom garland helps dress it up.
Remember to keep all garlands out of baby’s reach and nowhere near the crib.

39 DIYs to Make a Pom Pom Garland | Guide Patterns
Friday 1st of March 2019
[…] 21. How to Make a Blue Pom Pom Garland […]
Pom Pom Power – The Home Spirit
Tuesday 26th of July 2016
[…] fun art. No matter how you decorate with them, they’ll look really modern and fun. Follow this tutorial for more […]
DIY Pom Pom Garland …. So Cute! | Parents of Color Seek Newborn to Adopt
Monday 27th of June 2016
[…] Here’s the tutorial for a multi-colored pom pom garland […]
Deep
Tuesday 23rd of February 2016
Great DIY tutorial. Thank you for sharing.
Allison
Thursday 19th of February 2015
I love the pom poms! Great tutorial! But I would LOVE to know where you found that adorable Pooh bear bookend set. Our nursery theme is the illustrated Winnie the Pooh and that bookend is amazing!!