We’ve been preparing for another nursery photo shoot, and after shooting so many nurseries over the years, it has become second nature to us to style a nursery so that it looks good in photos. Many new parents and parents-to-be like to have photos of their new adorable space to show family and friends—or even to upload to the gallery—but they don’t necessarily need a professional photographer to capture it. We’ve put together some tips on how to style and photograph your nursery so you can savor the memories for years to come!
Choose the right time of day. Photographing any indoor space requires natural light, so choose a time of day in which your room has nice even natural light. Try to avoid harsh or direct light too.
Play around with lighting. Even if you pick the perfect time of day, the lighting situation in the room will always vary. Try taking a few test shots with the lamps on, lamps off, overhead lights dimmed, etc., until you achieve just the right lighting. This nursery has that nice even natural lighting we were talking about—notice that the ceiling fixture isn’t even on.
 Transitional Gray, Mint and Navy Baby Boy Nursery
Clean up. Of course your nursery probably doesn’t look absolutely perfect on any given day, so you’ll want to start by cleaning and tidying up the space. Make sure that the crib bedding is made, the diapers are put away and most of the toys are stored.
Style the space. This is where you get to have a little fun. When we shoot a nursery, we will take the same shot over and over, just changing out one little trinket or the placement of a single pillow until it looks just right. Play around with your decor and see what type of look appeals to you.
Add something living. Whether it’s your baby, your dog or even just a plant, it’s always nice to have a living element in an interior photograph. That’s what gives the space personality and a fresh feel. We put plants in almost every nursery we shoot—the pop of green always complements the decor, and it helps to communicate that this is a real space and not just a catalog photo. It’s also a great way to liven up the room. Isn’t that simple vase of flowers in this nursery just lovely?
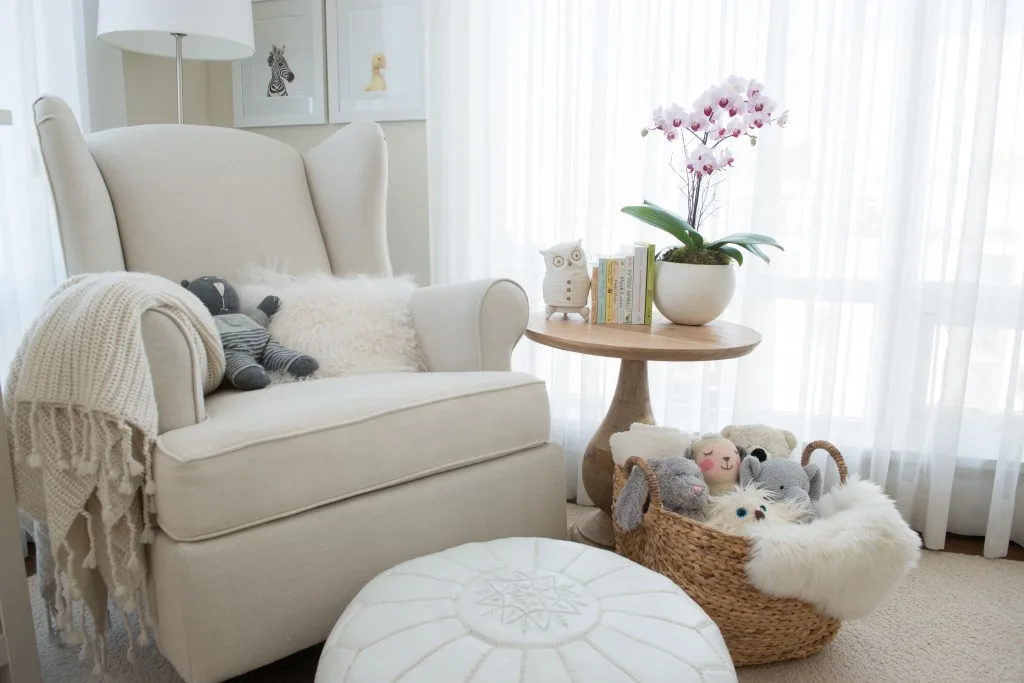
 Soft and Serene Neutral Nursery
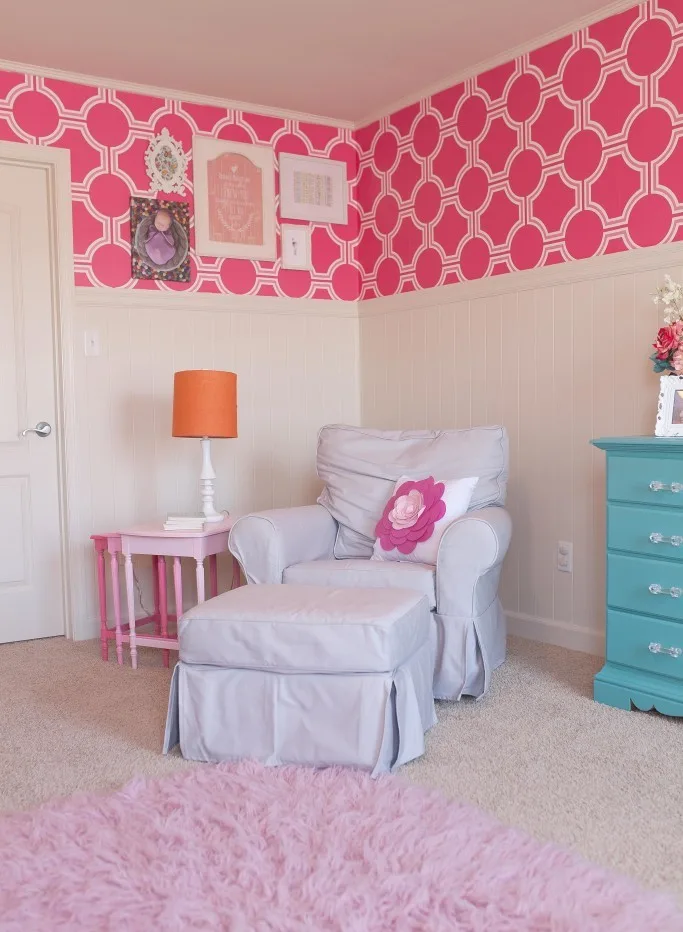
Choose your angles. You don’t have to get the whole nursery into one shot. We typically take a horizontal shot of the wall with the crib, a vertical shot of the corner with the glider and another horizontal shot of the wall with the dresser. Then we add detail shots of any other items that add to the overall design of the space. Sometimes we’ll even photograph a nursery closet if it’s nice and neat! Another tip? Try to get a little of the floor and a little of the ceiling in the larger shots. Here’s a great example of a nice vertical corner shot of this nursery.
Edit. Assuming you’re using a digital camera, just take a lot of photos and then edit down later. You can choose which angles and decor arrangements you like best. But make sure to do your editing before the room gets used again so you can quickly retake a shot if you need to!
Last but not least, you don’t need a fancy camera—these days even your phone probably has a fantastic camera on it. We hope our tips on how to photograph your nursery are helpful—do a little experimenting and have some fun!


7 Tips on How to Photograph Your Nursery | Little Crown Interiors
Tuesday 10th of March 2015
[…] Read the rest of this post on Project Nursery. […]