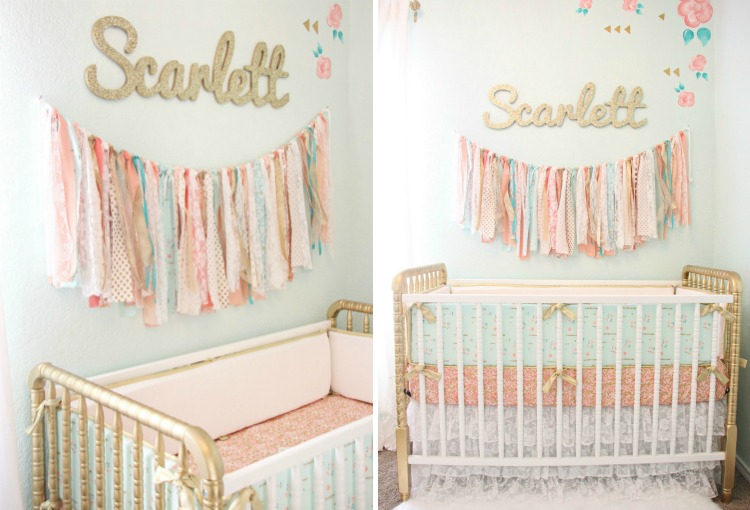
We are so excited that our recent coral and gold nursery design is getting so much attention! This nursery was a labor of love since the mommy-to-be has worked for Caden Lane for almost ten years—I actually feel like baby Scarlett is partly mine, and I couldn’t be more thrilled that she’s due to arrive any day now! We had so much fun putting it all together and I love every part of this room, but one of my favorite design elements is the fabric garland and the way its draped effect seems to highlight Scarlett’s name.
Our number one request is to share where we got it, so today I’m letting you all in on a little secret—we made it! Any time you can add a little personality to a space with something you make yourself, I say go for it, and this DIY fabric garland totally fits the bill. Plus, I’m always an advocate for decor pieces that can be reused later on down the road, and this is such a fun way to keep the memory of the fun fabrics and colors used in the nursery alive.
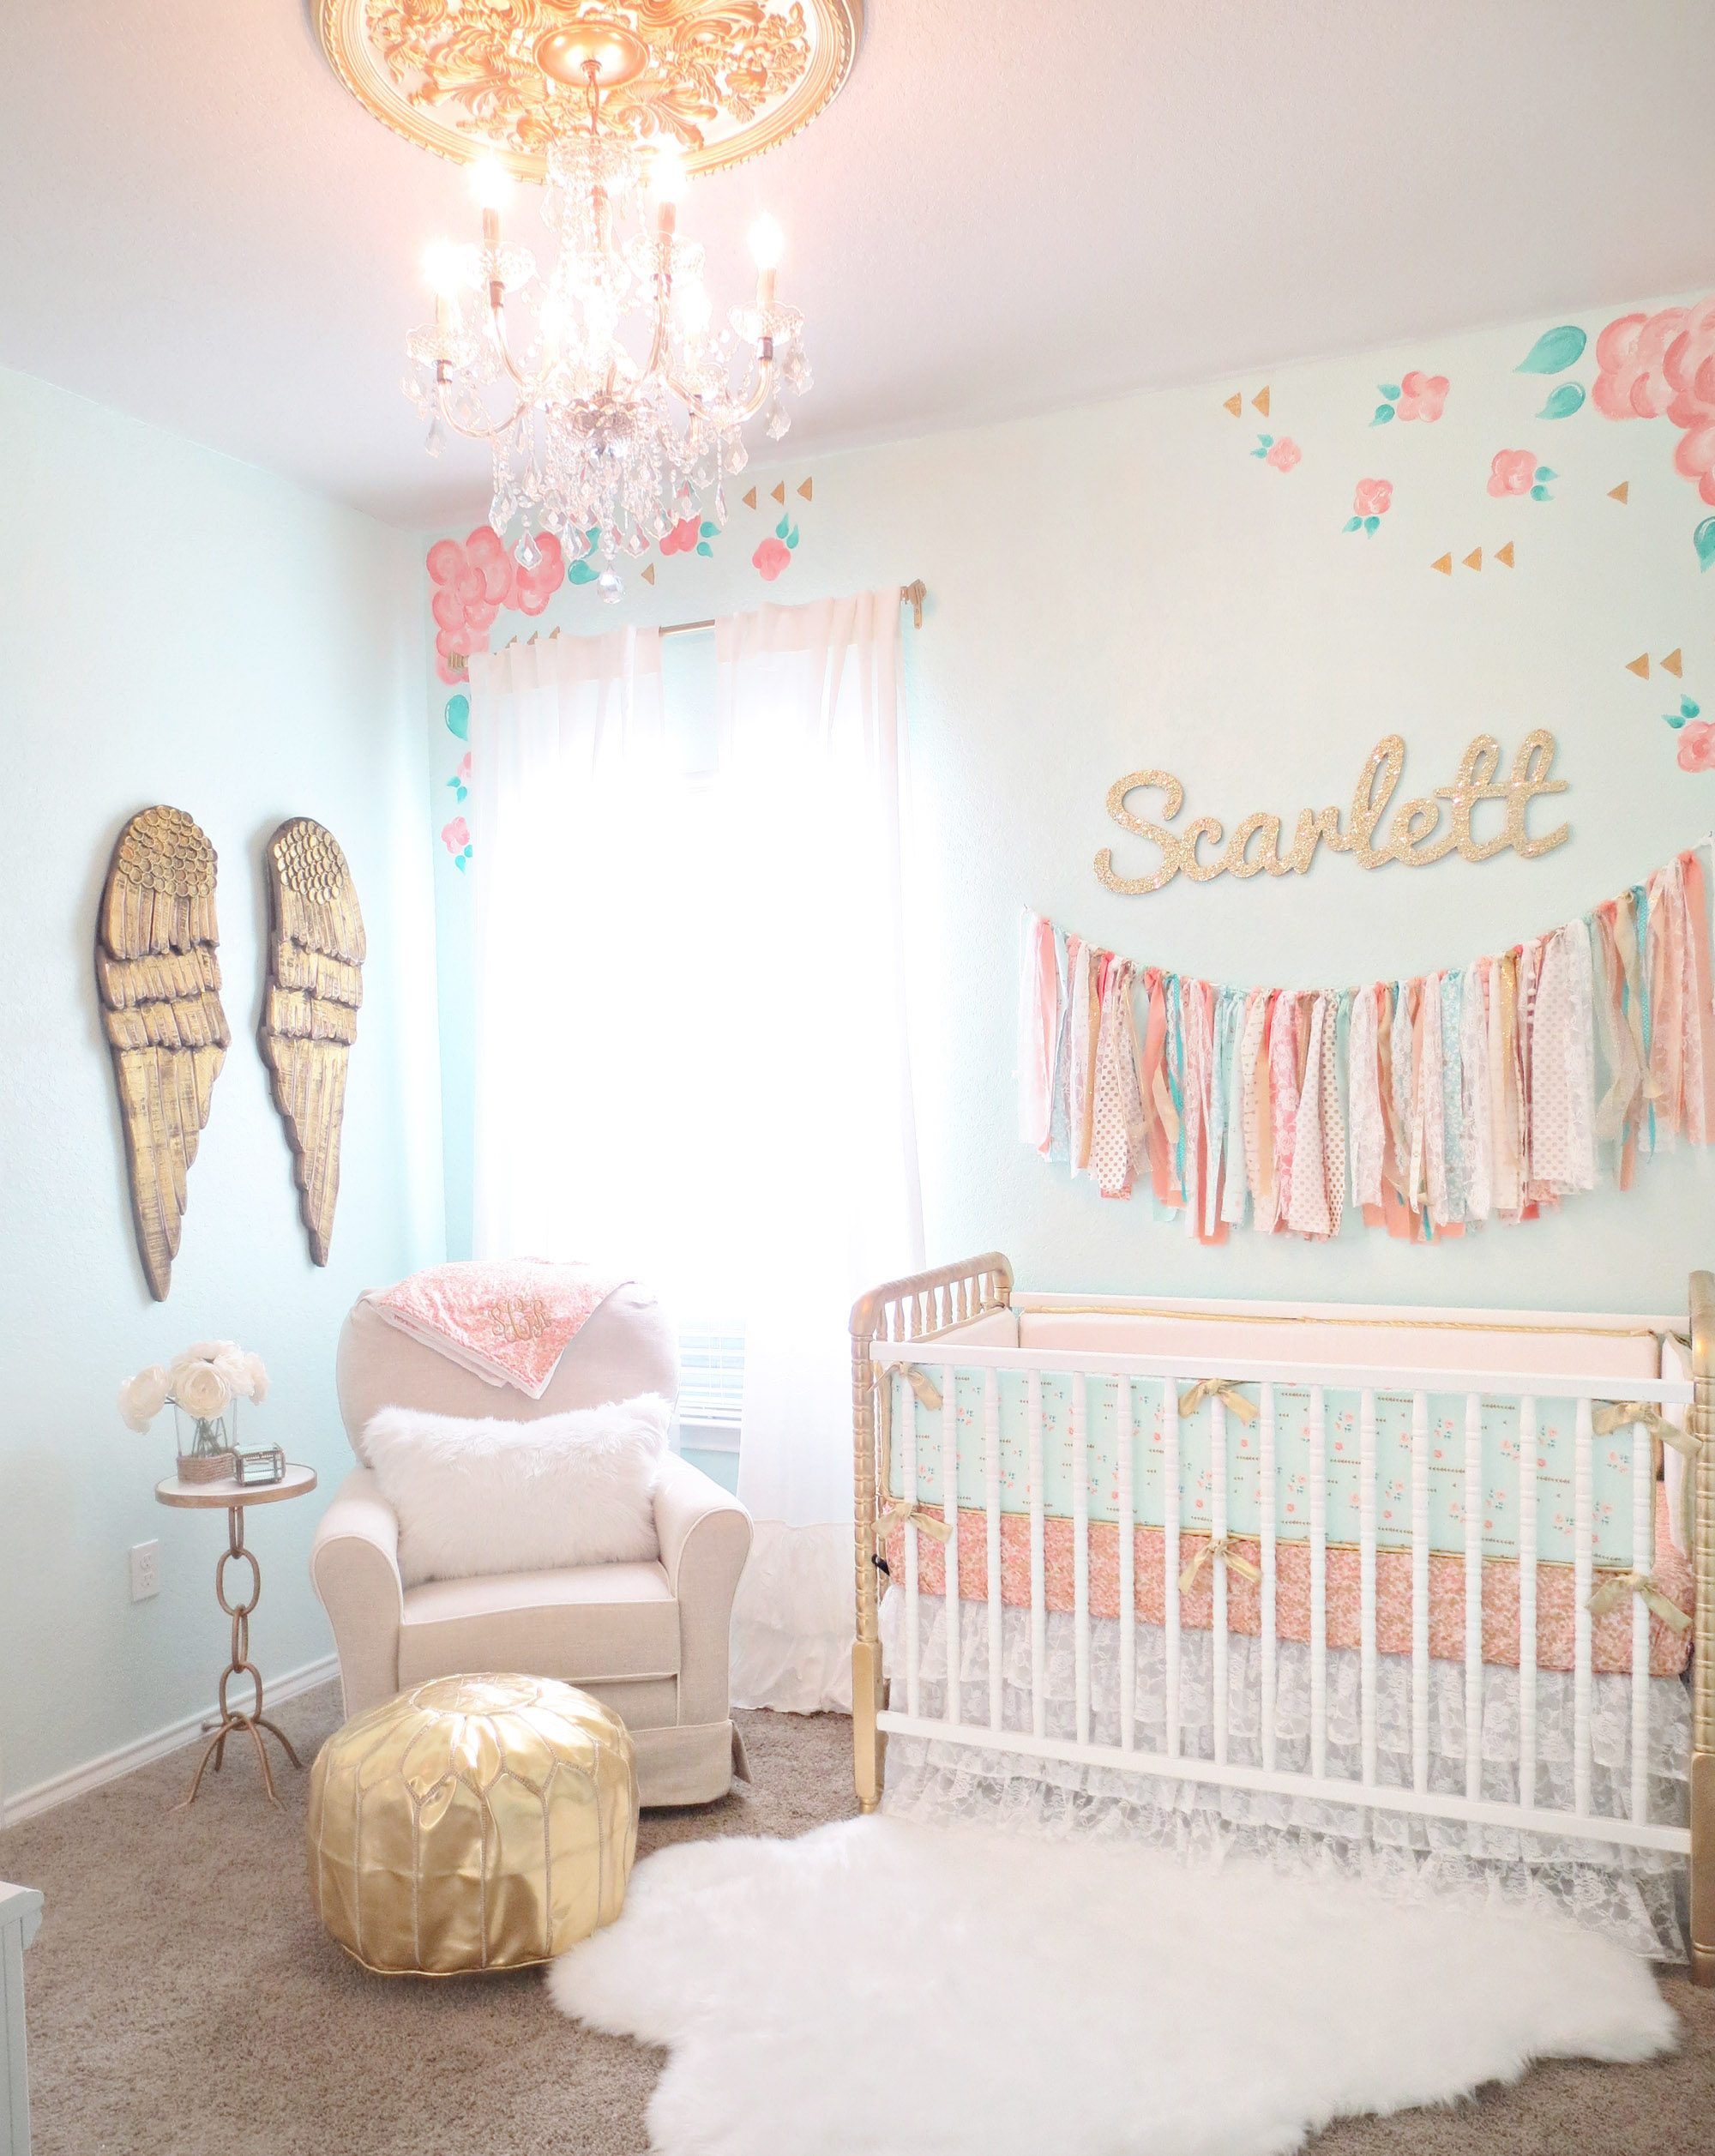
So how do you make this gorgeous fabric garland, you ask? In three EASY PEASY steps! I love a good DIY, and when it doesn’t take all day to accomplish, it quickly becomes one of my go-to suggestions for nursery designs. And besides being super easy to do yourself, this project only requires three supplies!
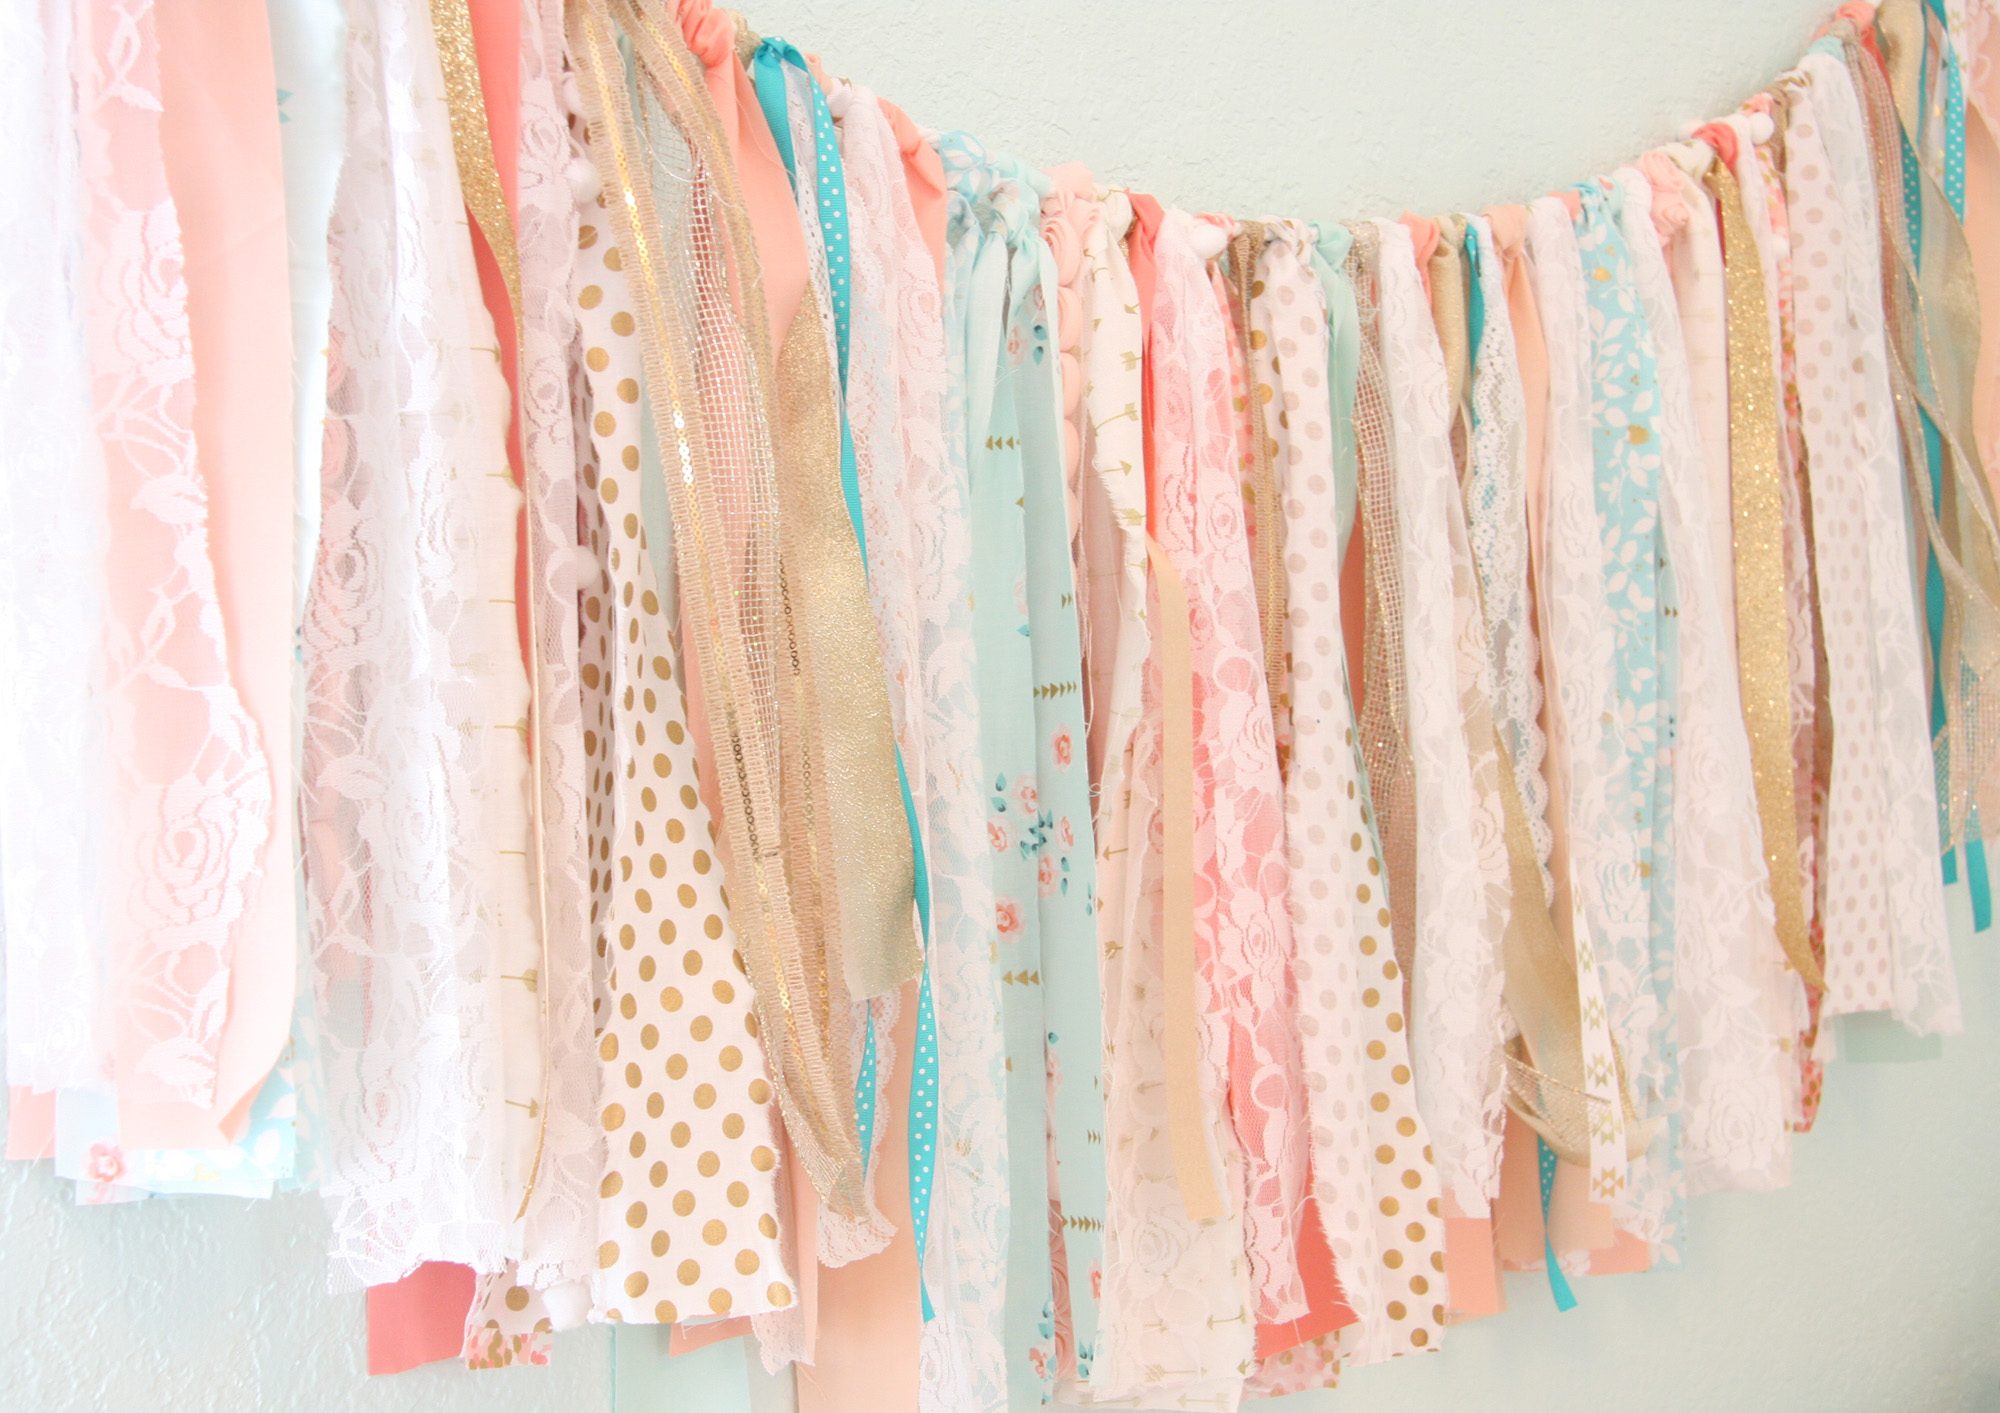
Materials: fabric/ribbon, rope, scissors
We utilized the fabrics found in the coral and gold sparkle baby bedding that we chose for the room, and then we added a few extra gold fabric designs (because, duh, there’s never too much gold) and a combination of other fun fabrics and lace ribbons we found at our local craft stores. Hint: grab a few textured pieces, like pom pom trim or the adorable rosette trim we found by-the-yard.
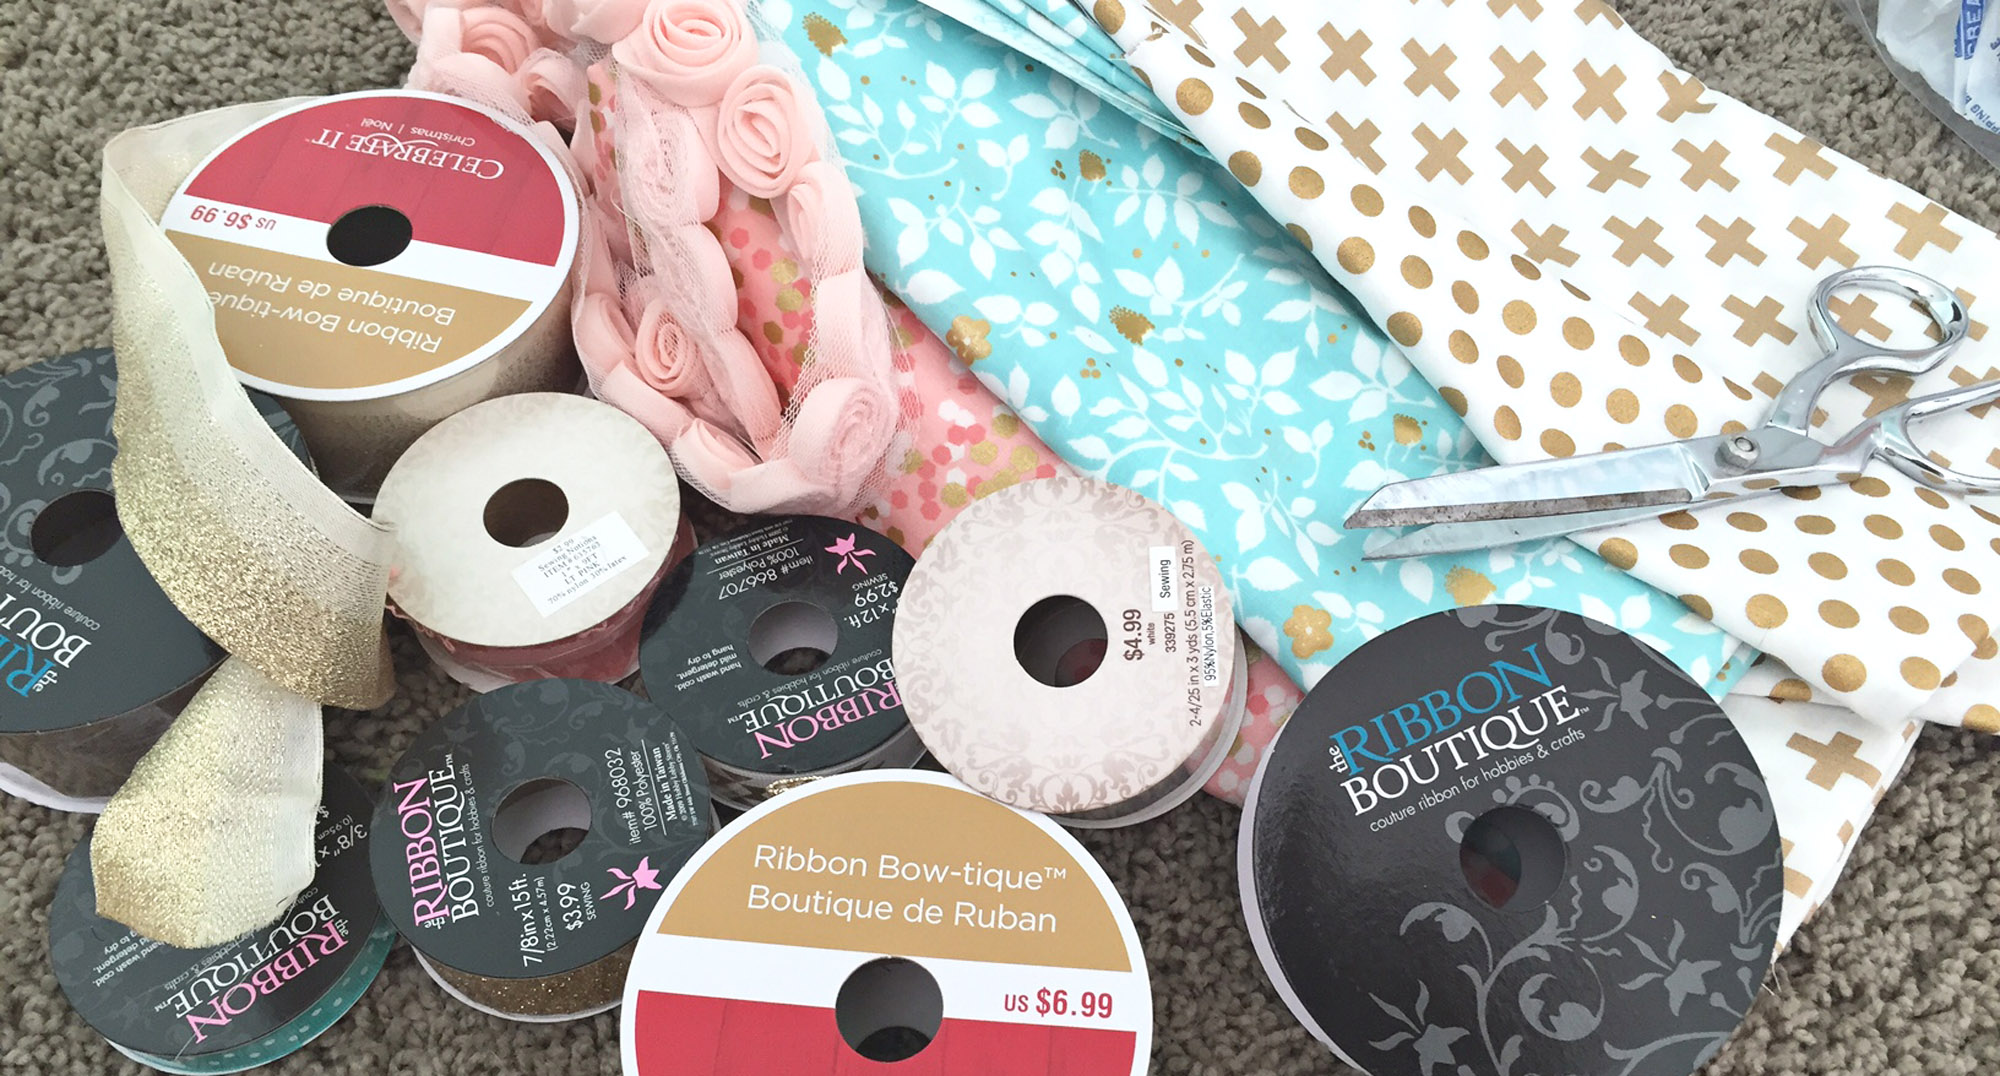
Determine the finished size of your garland, and cut the fabric. We went with wider 2″ pieces to really make sure that the prints would be visible and to create a more solid look for the fabric garland. Plus, it’s less cutting/tying for you! We cut as many pieces as we could—the more you can fit on the rope, the better. You really want it to be thick enough that you don’t see the wall behind it. And don’t worry about making every strip exactly the same—you want the garland to have a shabby chic effect, and you can trim any crazy long pieces at the end! Remember, when you’re cutting the pieces, you want them to be twice as long as the length it will hang, so the average measurement of our fabric strips was 2 inches x 3 feet (we wanted the fabric to have a drop of about 18″).
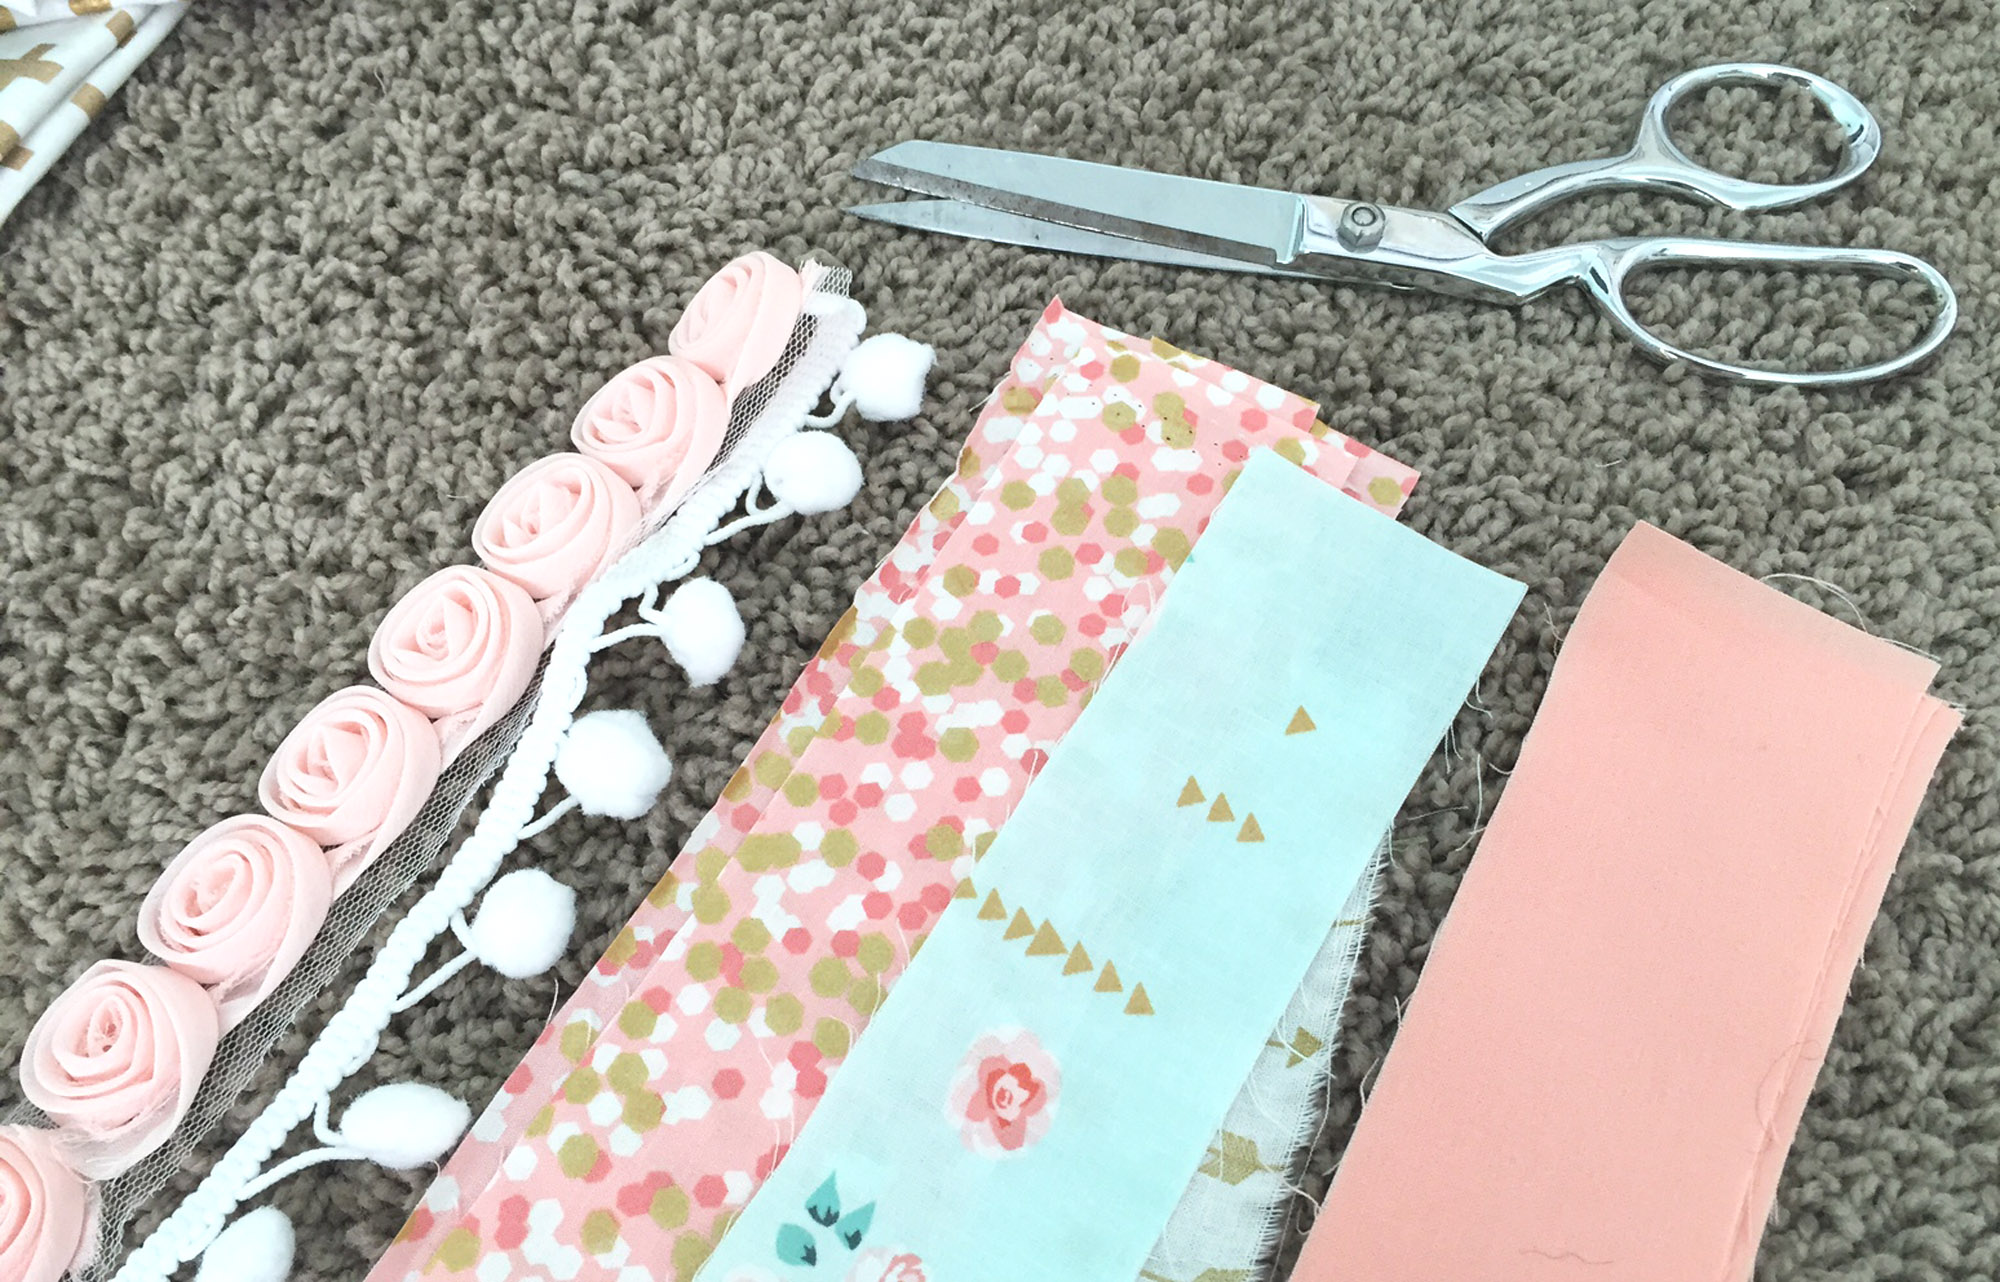
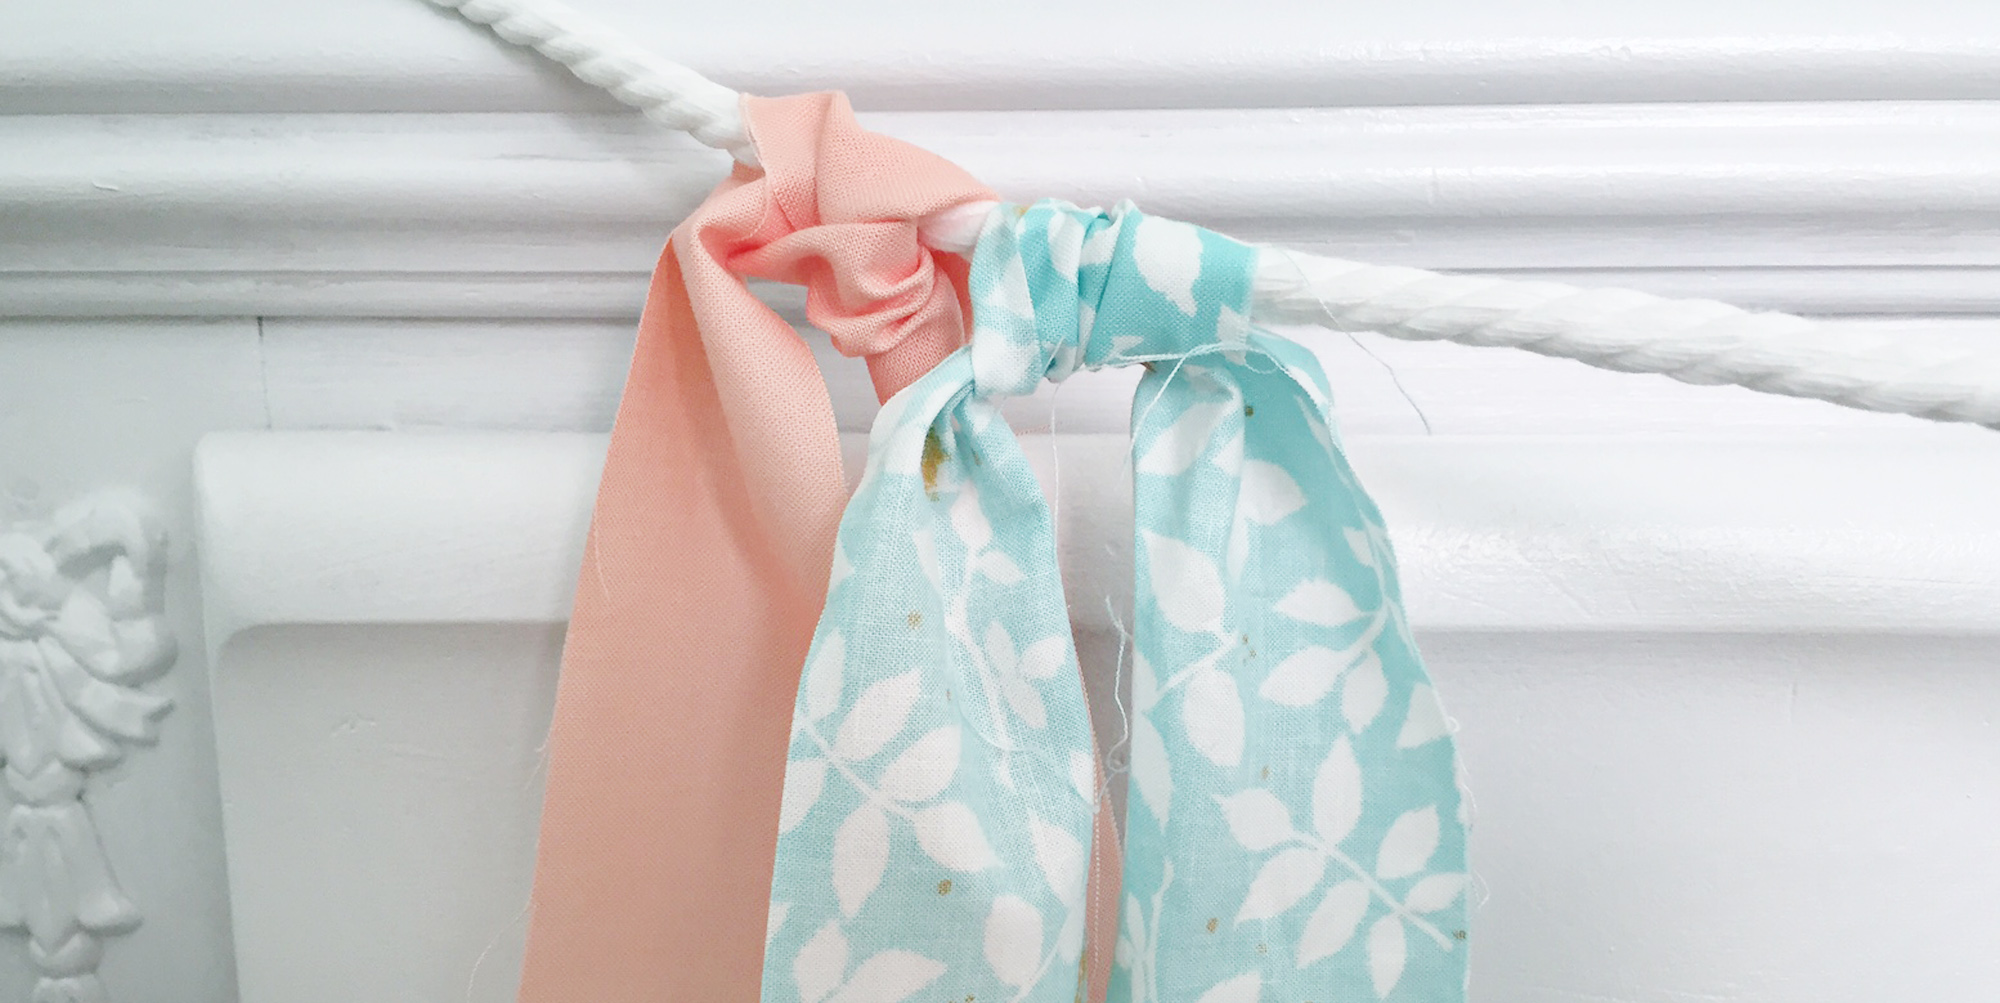
Tie each fabric strip to the rope with a knot—that’s it! Just one simple knot! A little advice—make sure you tie them all in the same direction. It will give the garland a more uniform look at the top, and once you are done tying them all, you can decide which side looks better or even fill in the holes with more fabric.
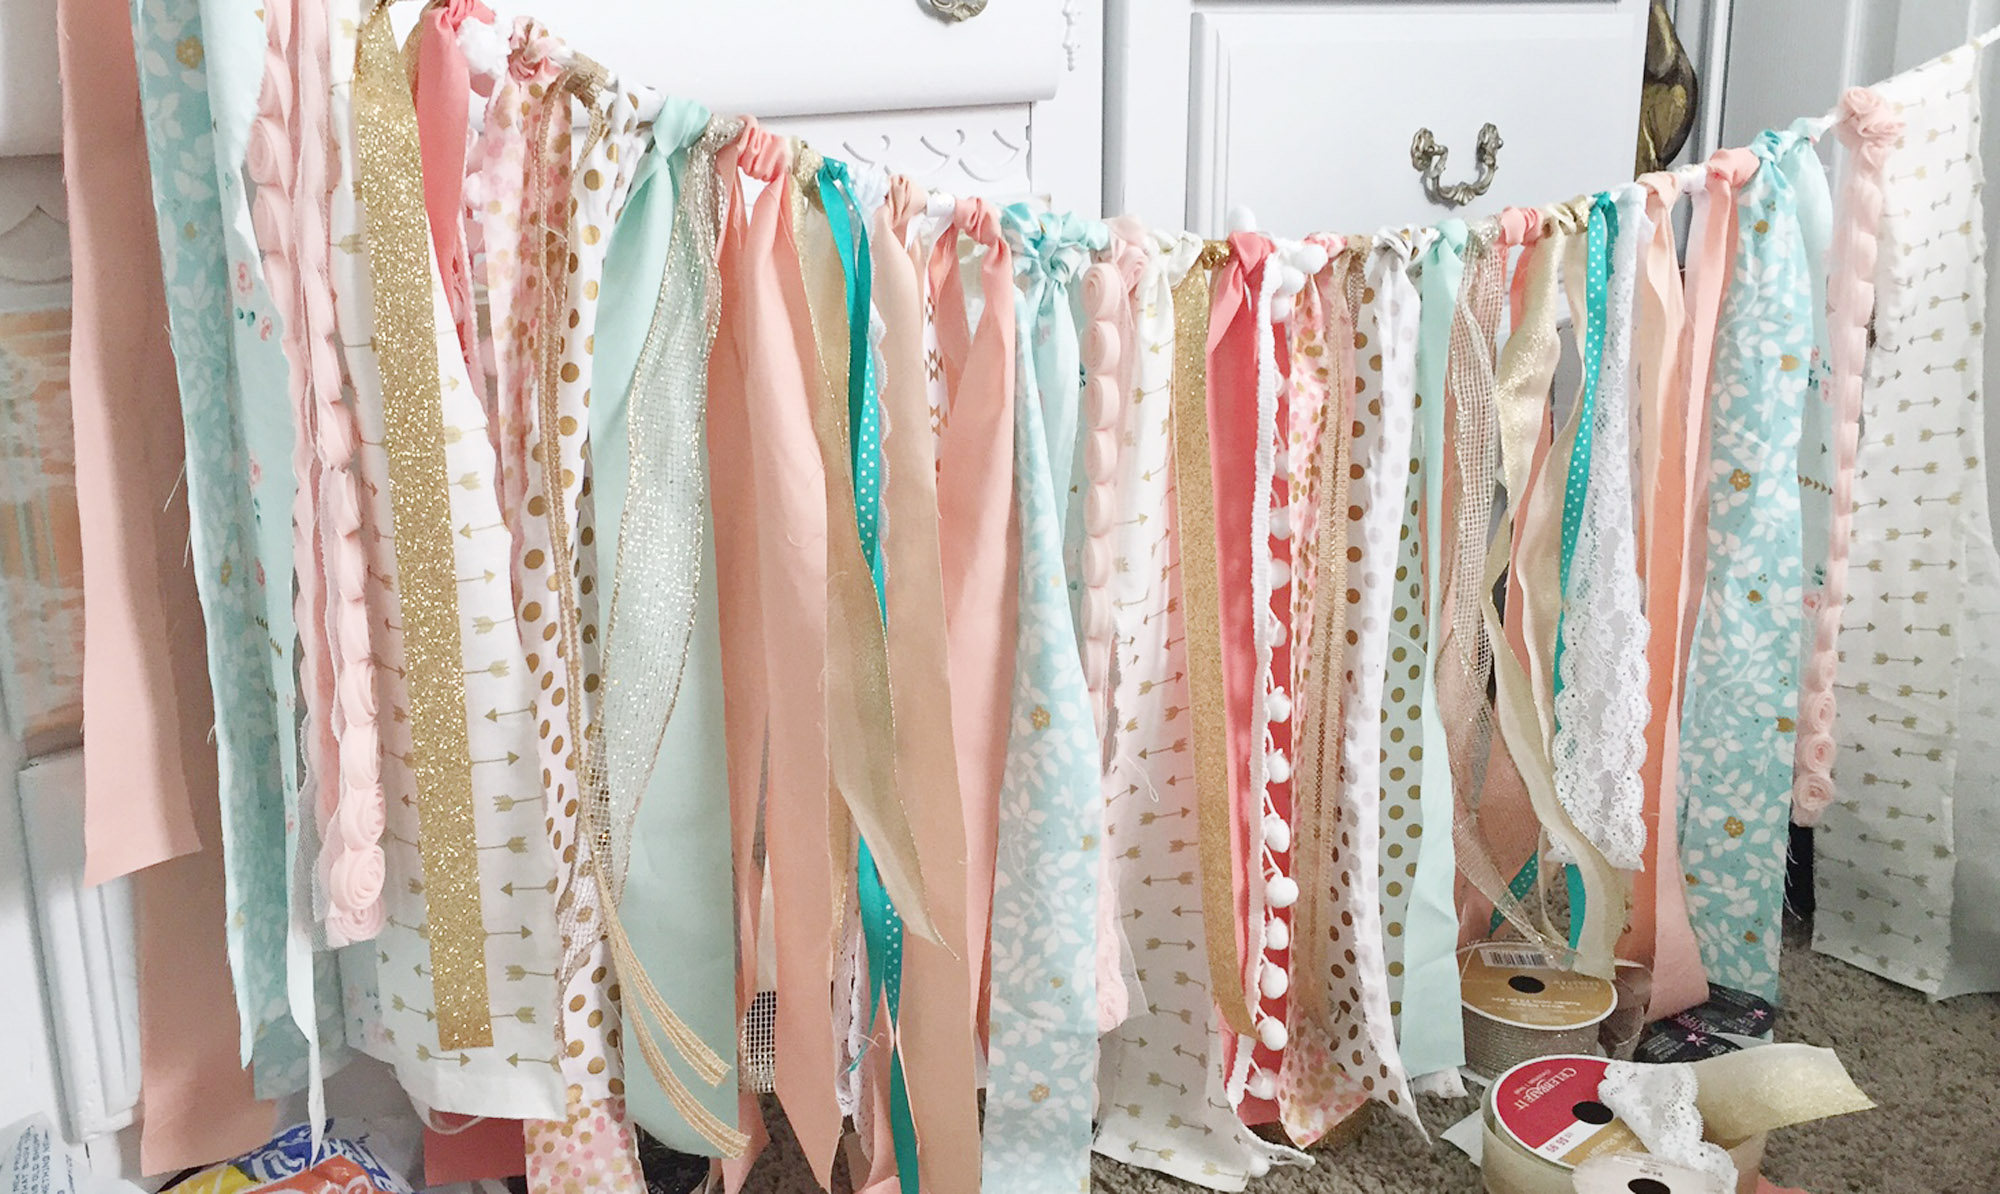
Once you have all of your pieces tied, don’t stress if it looks like a mess! Ours was clearly a mess before we cleaned it up. And personally, I think it’s easier to go back and trim the bottoms once they are all on the rope so that you don’t have to be as exact when tying the pieces or cutting them.
Pretty simple, right? We used two nails (spray painted gold) to tie the white rope to and hung it high enough that baby Scarlett won’t be able to grab onto it until much later. I always thought it would be funny to see some of my project gallery submissions before and after baby—the sweet chevron nursery that I designed for Lila had this gorgeous collage over the crib, and for a few months it was missing half of it so that Lila didn’t mess with it while she was standing in her crib! Good thing it’s back up now over her BIG GIRL bed—she’s three!
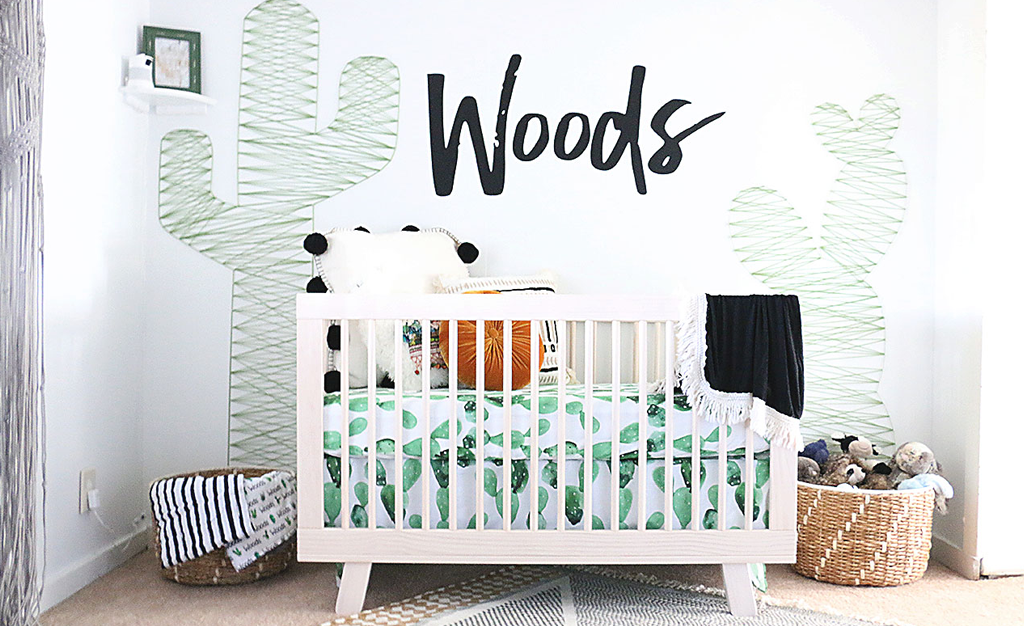
We LOVE when we inspire other room designs too! Check out Emersyn’s Pink and Gold Nursery that was just added to the project gallery—she made an adorable DIY fabric garland too!



Comments
Andrea
Love this!!!! How did you attach the fabric garland to the wall?
Kristin
How many yards of fabric would you suggest?