So, every few years I get to work with a new mom that whispers these three perfect words to me, “Whatever you think.” Words that every designer dreams of hearing one day! And the best part is, this new mommy (Millie) was married to my baby brother, so I KNEW we had to create something special.
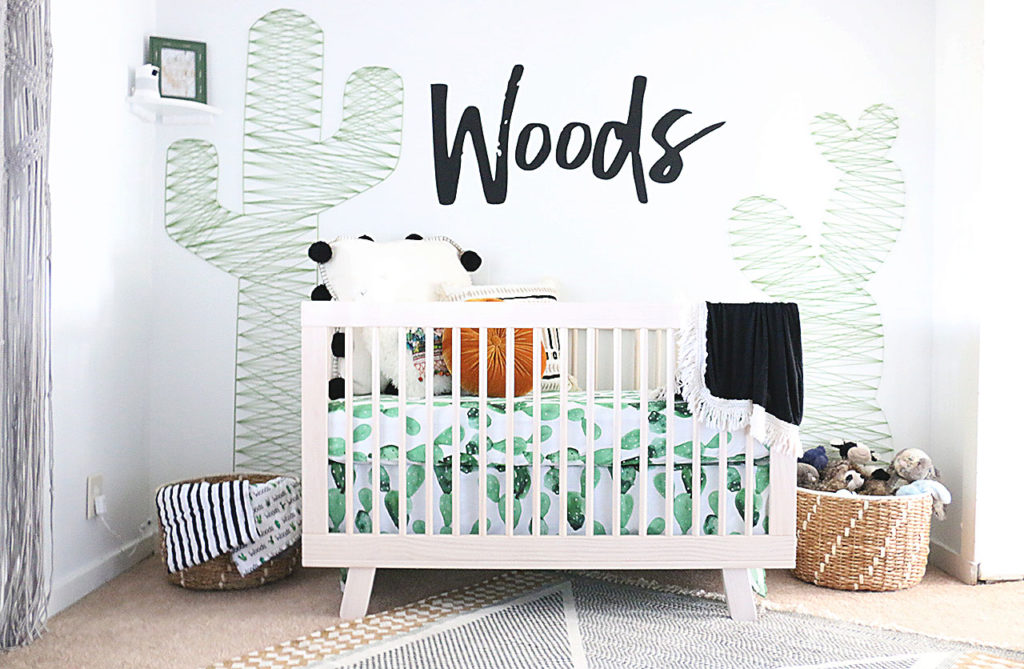

It’s no secret that using cacti in the nursery is super trendy right now. Millie had seen pictures of cactus wallpaper all over pinterest and showed me rooms that she loved, but she kept saying she wanted a modern southwestern feel to the room, too. (Side note: We live on a ranch in Texas, and Millie wanted the nursery to reflect the environment little Woods would be growing up in, which I loved!) But, in true Caden Lane fashion, we wanted to design a nursery that went one step above the basic cactus wallpaper.
![]()
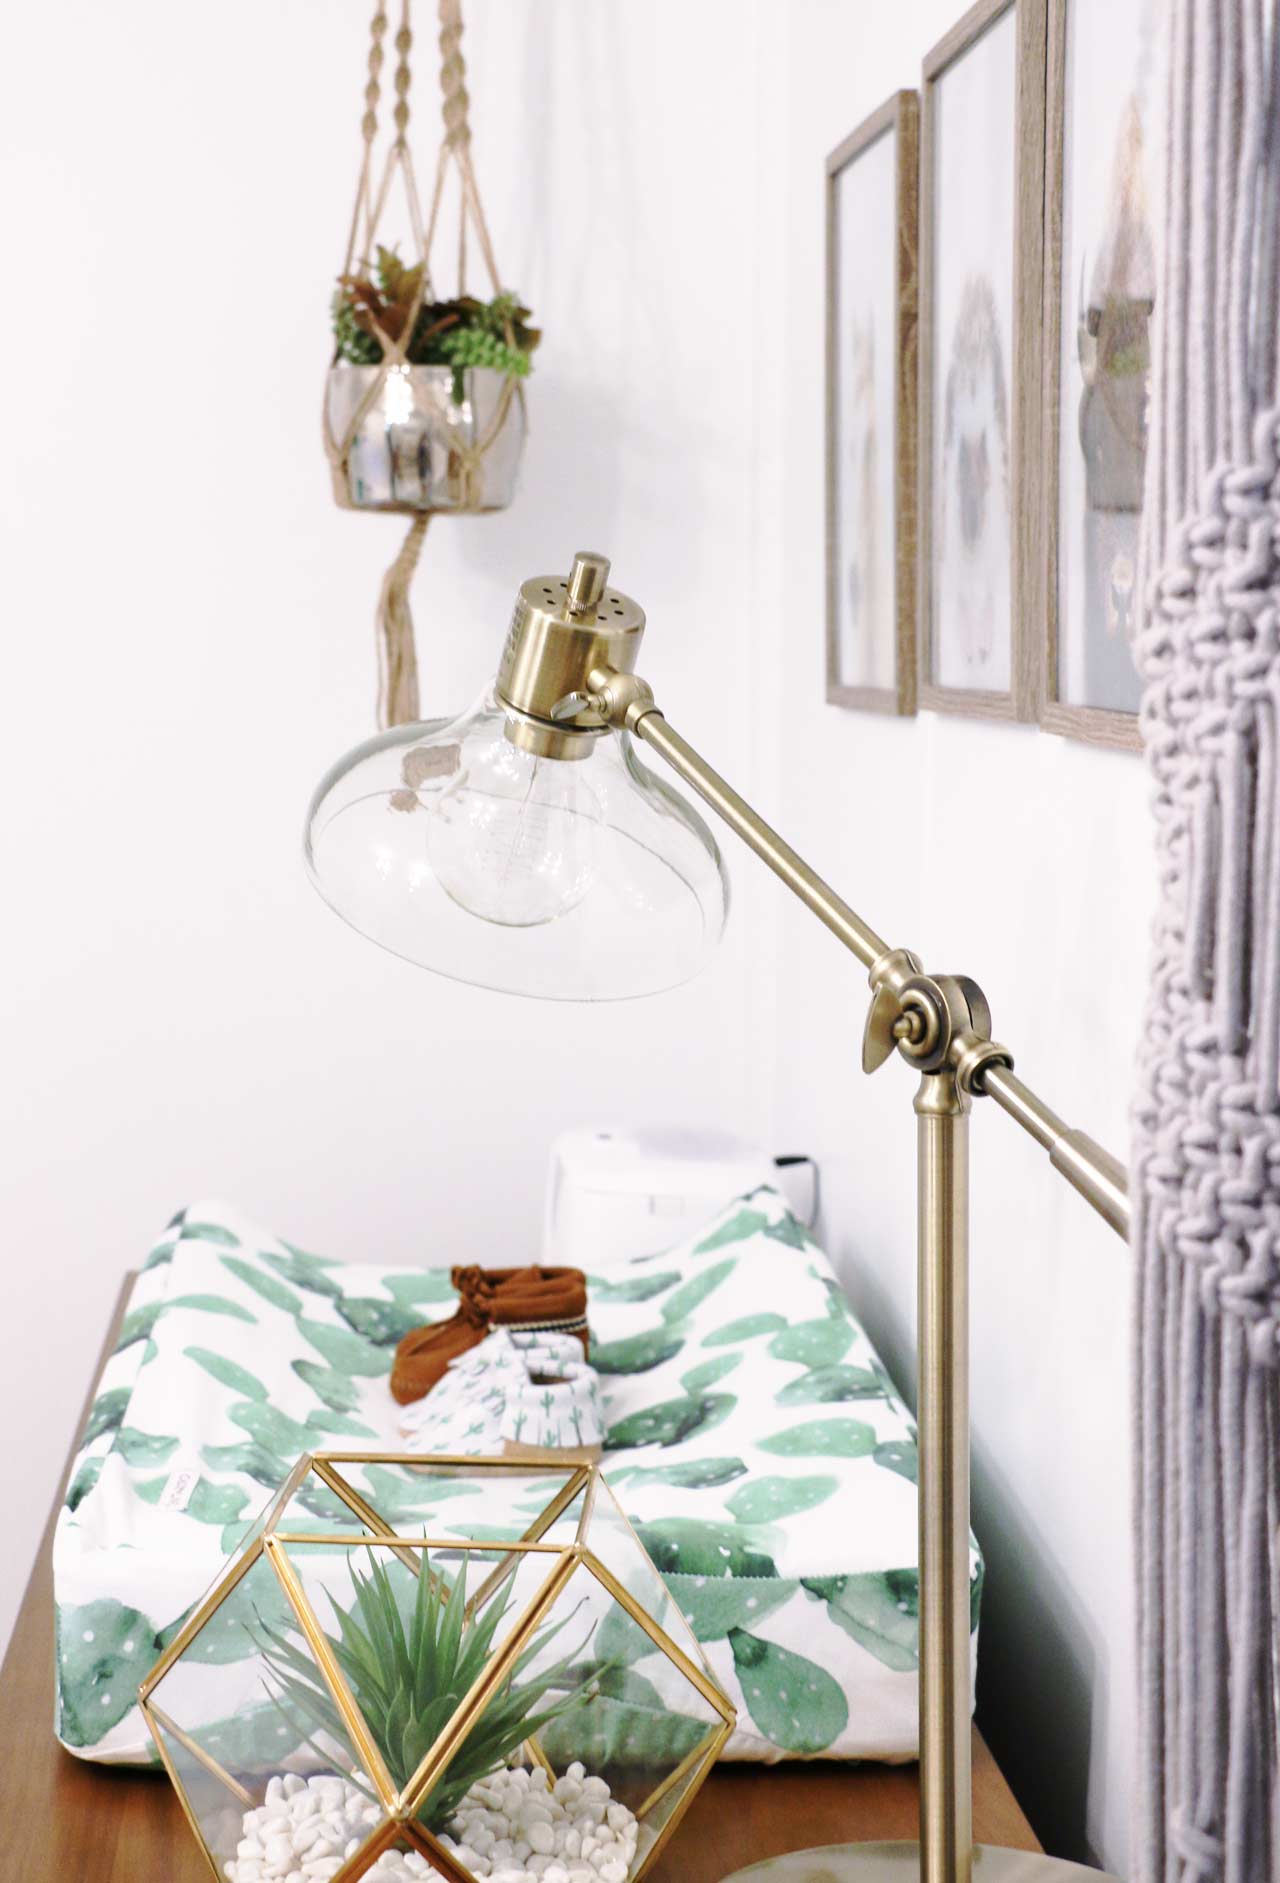
![]() Changing Pad Cover | Moccasins
Changing Pad Cover | Moccasins
Caden Lane has a huge collection of cactus inspired nursery accessories, and Millie loved the watercolor look. We decided to let the bedding be the feature point on the main wall, and framed it with the most adorable (and super easy) string art cactus on each side of the crib!


How to Make a DIY String Art Cactus
Materials: a huge box of nails, hammer, poster board, and lots of yarn!
1. We drew out a large cactus on a poster and cut it out. It doesn’t have to be perfect, I promise! You can even use a projector if you want to be really exact, but when’s the last time anyone saw a perfect cactus? Yup, our “point” exactly.
2. Hold the poster to the wall and start hammering nails around the perimeter. Each nail should be spaced about 1-2″ apart depending on the size of your cactus and how thick you want your string to be. The farther apart the nails, the more spaced out your string will be. Once you’re done with your super-fancy poster stencil just rip it off. Your nails should leave the perfect outline of your cactus on the wall.
3. Start wrapping! We started at the bottom with a basic knot and just wrapped back and forth up and down the cactus until we were happy with the amount of green. Once the inside was all zigged and zagged out, we took the rest of the yarn along the perimeter to outline the cactus and create a clean line around the nails. Both cacti took less than four hours to complete, and we pushed two large baskets under them which worked as storage and almost looks like potted cacti on each side the crib. Safety Tip: Make sure to keep the crib far enough away from the string art to keep baby from reaching it.
A simple vinyl sticker is a great way to personalize the wall, and it’s removable if you ever decide to rearrange, or baby #2 needs to move into the nursery.


We definitely had a tight budget in the room and had to spend where we got the biggest bang for our buck, like that amazing modern natural wood crib. The gorgeous mustard and gray southwestern style rug is from Urban Outfitters! (Hint: they have the BEST rugs for the best prices! Curtains too!) Our splurge in the room was definitely that retro style dresser. And the ridiculously cheap save in the room is the three cute nursery prints—$5 digital downloads, with $1 frames from our local craft store!


The lighting fixture was also from Urban Outfitters, and I love how it adds a chandelier feel but doesn’t hang low (this was an old house with low ceilings). The macrame curtains were on clearance (no long available, I’m afraid).

Baby Woods made his grand debut this past fall, and I want to eat his face every time I see him. He’s absolutely as cute as his cactus nursery (if not more), and I can’t wait to tell him when he gets older that his FAVORITE Auntie helped create it for him! Happy decorating friends!
*this post contains affiliate links*