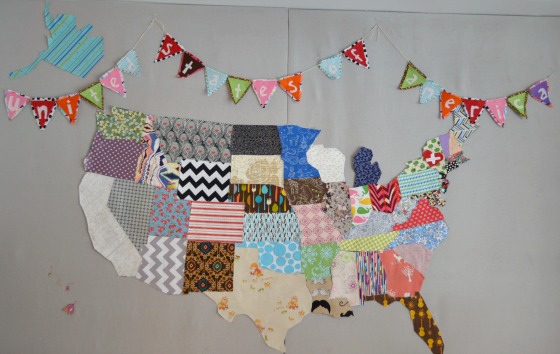
This week’s DIY was inspired by our most recent inspiration board at the shop—a giant map of the United States all in fabric. Some of our students are calling it “Fabrica.”
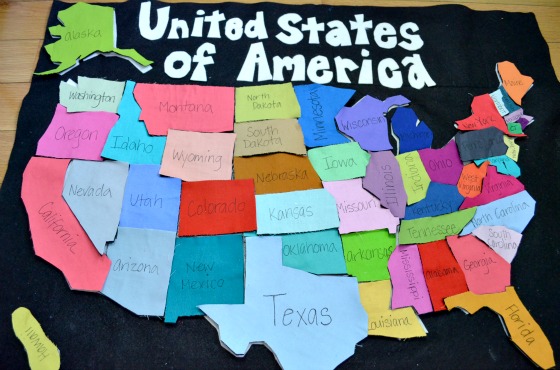
When Melisa recently came for a visit to Pins & Needles, I was sharing with her the shop map project, and she came up with the fabulous idea to create a mini version as a puzzle for kids, and that’s just what I did! Here are the steps to make your own Map of the US Fabric Puzzle Playmat using some felt, fabric scraps, glue, velcro and some basic sewing supplies.
It is a great activity for you and your kids or a wonderful wall hanging for a nursery, playroom or kid’s bedroom!
Materials:
3/4 of a yard of two coordinating colors of felt (30″ – 36″ wide)
Assorted colored felt/fabric
The US Map Stencil (I used this free version I found on Mr. Printables, which is a great resource)
Velcro
Scissors
Glue Stick
Pins
Steam A Seam (fabric adhesive)
Fabric Marking Pen or Frixion Pen
Permanent Fine-Tip Marker
Sewing Thread
Sewing Machine or Hand Sewing Needle
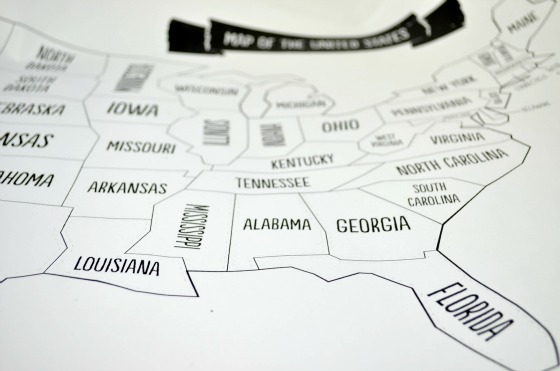
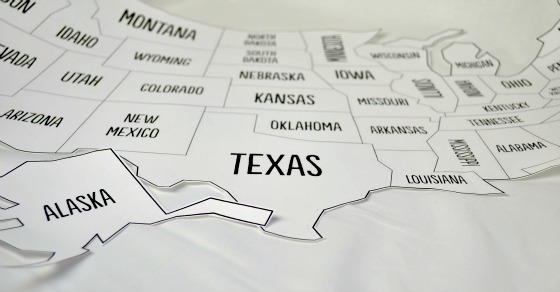
Step 1: Download and print your map stencil. It should print 8 1/2″x11″. Take your printout to your local print shop and have it enlarged to 18″x24″. This is enlarged approximately 180%. Carefully cut out the map, keeping all the states together (in a later step you will be cutting out each state).
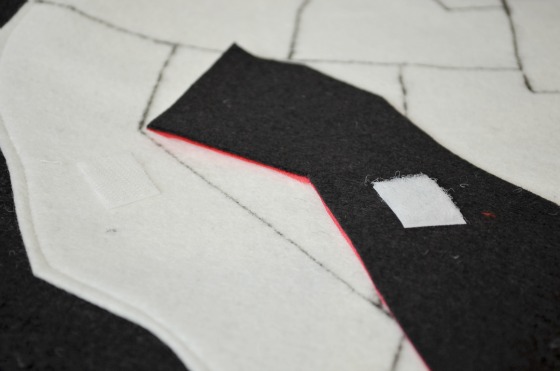
Step 2: Cut out your background felt (black) in a square measuring 24″x 32″ and put this aside for a moment. Iron the Steam A Seam onto the back of the felt you have chosen for your map (in this case, it is the white felt); follow the manufacturer’s instructions. On the front of the white felt, trace the US map stencil making sure to outline all the states and then cut out around the edges. You can start by using the disappearing Frixion pen in case you make a mistake and then go over it with the permanent marker or just start with the marker. This outline will act as a guide so your child can match the shape and state.
Step 3: Peel off the back of the Steam A Seam and lay the complete US map onto the background felt where you would like. I attached mine about 3 1/2″ down from the top to leave some room for Alaska in the upper left and the title. Iron this in place. I double secured mine by stitching around the edge—you can do this with a machine or by hand—but it is not a must, as the Steam A Seam will keep it in place. Follow the same steps for Alaska and Hawaii (since the islands of Hawaii are small, I just grouped them together to keep it simple).

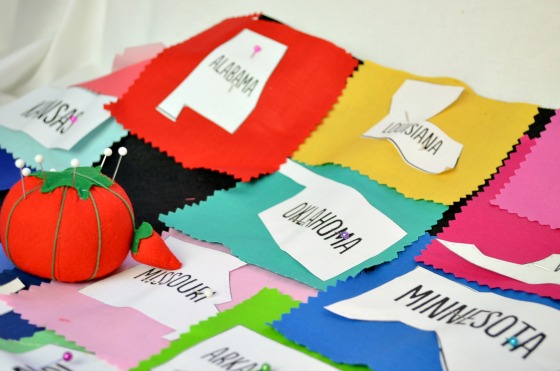
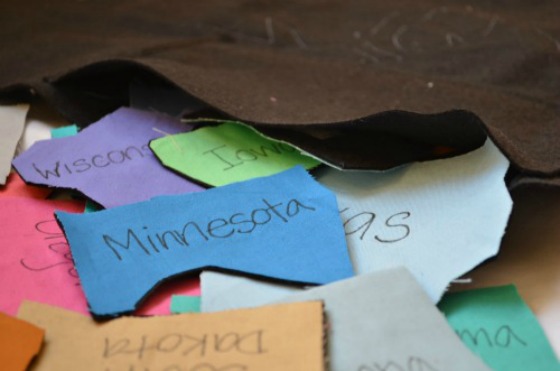
Step 4: Take the enlarged original stencil you had printed and cut out each state; this will be your pattern to cut out your states in felt/fabric. Gather your assorted felt/fabric scraps and pin each state to a color of your choice. I wanted to use these fabulous bright colored solid fabrics we have at the shop that were a little lightweight so I layered some felt underneath and cut them out together. After cutting everything out, I glued the fabric to the felt. You can skip the fabric and just stick with felt; it is a bit easier and quicker. Using your permanent marker, write the name of each state on the front.
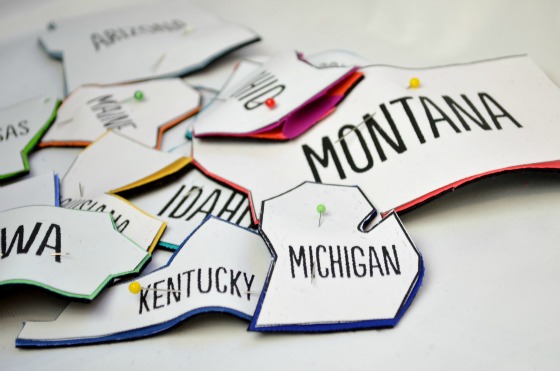
Step 5: Cut small squares from your strips of velcro. Glue a velcro square to the center of the back of each state. I kept both sides of the velcro (hook and loop) together and first glued it to the state and then glued it to its place on the map; this way you ensure the puzzle will fit together correctly. You can then separate the velcro to let everything dry. Now your state puzzle pieces are all ready!
Step 6: I took it one step further and added a pocket (about 7″x7″ square) on the back of the mat to keep all my peices. I also cut small letters out of felt to read “United States of America.” You could personalize it by cutting out your child’s name in felt as well. I used my extra Steam A Seam to attach the letters.
You are done—now the fun starts! You have all your state pieces and your blank map. It is time to put the puzzle together.
A few tips:
I don’t recommend going much smaller in size with the map as the states become too tiny to cut out or see. You can, however, go larger if you decide you want to hang it up on the wall. Just enlarge the original stencil to the size you would like and coordinate the amount of felt you will need. You could also cut out small labels for you and your child to identify favorite places, where relatives live or historical landmarks. If you’re not a sewer, you could follow the same steps using cardboard, some card stock and colored paper! Sticky-back felt is another option.
Check out the giant version we have hung at the shop that inspired this DIY.









Comments
Nella Atkinson
This is rather too time-consuming to make :-(
moira
I bet this project is perfect only for the most patient of people!
Andrea Lowe
This is cool. I’m just not sure I could do all the parts perfectly and make sure they all fit together.
Phizzy
So, why is the Upper Peninsula of Michigan part of Wisconsin?
And, on the giant version you have hung on the shop, why is the Upper Peninsula of Michigan completely missing?