Recently, a client of Pins & Needles, who is also a new mom, stopped by the shop and showed me a special tag blanket her mom had stitched up using some fabrics that she had purchased from us. I had heard of “Taggies” blankets before and how much babies enjoy playing with them, but I especially liked this one since it was handmade! I was so inspired that I created a DIY so you can make one too.
Materials:
1/2 yard of lightweight cotton fabric
1/2 yard of a soft fabric like a minky or fleece
Decorative ribbons – approximately 1/2 yard of each
Scissors
Pins
Matching thread
Fabric marker or pen
Sewing machine or hand sewing needle
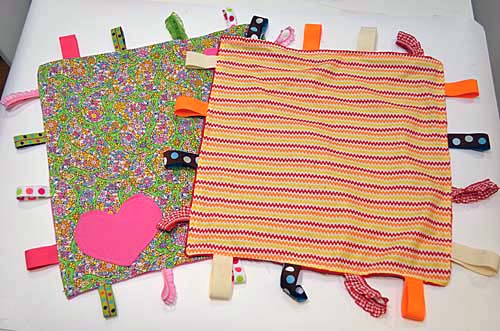
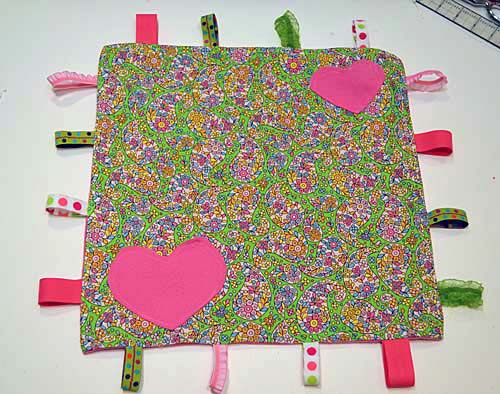
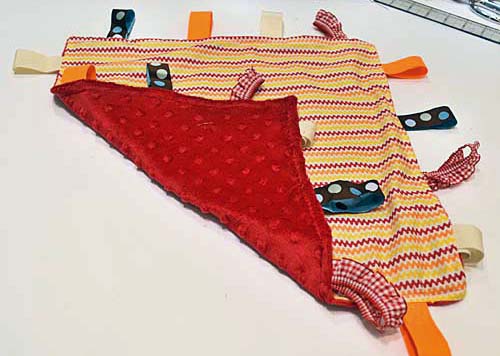
I made two—one for a boy and one for a girl. For the girl’s, I chose a pretty paisley print with some pink fleece. For the boy’s version, I used a graphic orange, red and cream squiggle print with some red Minky fabric. Minky fabric is very popular for baby and nursery projects because it is ultra soft and cuddly and comes in so many colors, prints and textures. We carry a nice selection at the shop, but you can find other places that carry it.
Step 1: Cut each of your fabrics into a square the size you would like your blanket to be. In my case, I cut 15”X15” squares. These will be your front and back.
Step 2: Cut your assorted ribbons into 2” pieces. I chose four different prints for each of my blankets, but you can get creative and mix as many as you like. Consider using a variety of ribbon textures as well for baby to explore.
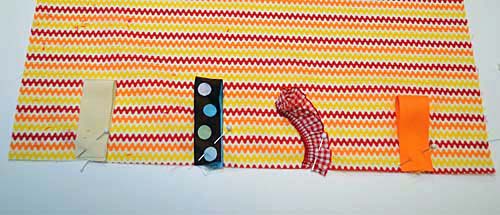
Step 3: Mark where you want your ribbons to be using fabric chalk or a marking pen or pencil. Since I was using four ribbons on each side, I spread the ribbons apart with 2” – 2 1/2” in between. You can use as many or as few as you like.
Once you have made your marks, pin the ribbon loops in place at each mark, lining up the raw edge of the ribbon with the raw edge of the fabric. Make sure the ribbon loops are facing away from the edge. Baste them in place using a 1/4” seam allowance (distance between your seam and the edge of the fabric). Basting is a temporary stitch that is very long so it can be removed easily. Doing this will make it easier and keep the ribbons from moving around when you sew your front and back together.
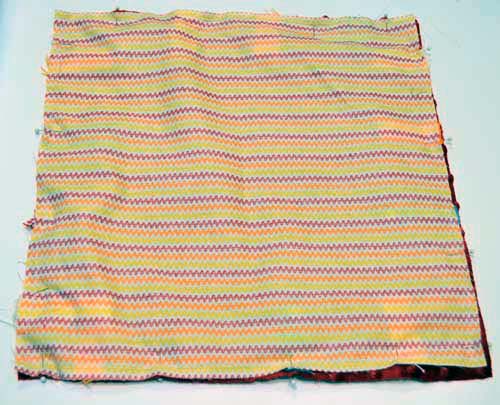
Step 4: Now sandwich the ribbons in between the right sides of your two fabrics, and sew them together using a 1/2” seam allowance. Repeat this step to make the ribbons even more secure.
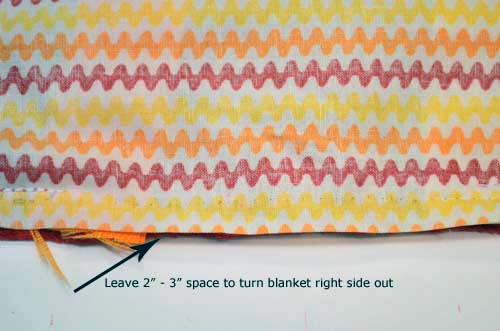
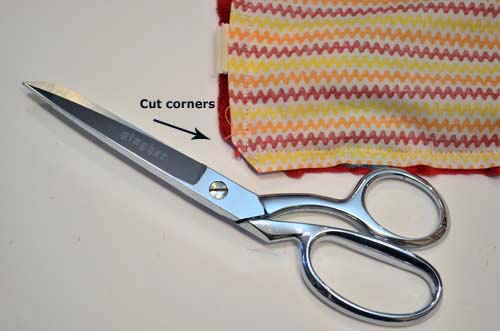
Make sure to leave a 2” – 3” hole along one side (I suggest doing it in the center of one of the sides), so you can turn everything right side out. Clip your corners to keep the points clean.
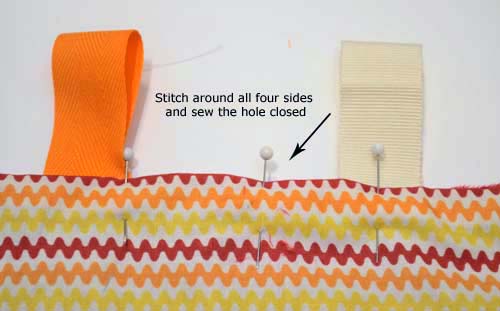
Step 5: Using the opening you left, turn the blanket right side out and stitch around all four sides making sure to sew the hole closed. Be sure to check that all ribbons are securely attached. You’re all done!
I like to experiment with my DIYs. With this one, I chose to decorate the front of the girl’s blanket with two hearts cut from the fleece. You can use any shape or even an initial would be fun. Sew the shape on your front fabric before sewing everything together.
Also, as I have mentioned in my previous DIYs, if you do not have a sewing machine, you can always hand sew with a good needle and your thread.









Comments
Ross Neytiri
I have never used taggies blankets before. I should try these when I get another chance. And thanks for the tutorial. These would make nice handmade gifts for baby showers.
Sara Pierce
I made one of these for my nephew and it turned out great!
Nella Atkinson
Thanks for the tutorial. The best thing about it is you can use scrap or leftover fabrics and ribbons!
Ishi
I love this tutorial, but I’ve been told you need to sew the ribbons in place 3 or 4 times to ensure they aren’t pulled out by questing bubs. Is that your experience?
Crystal Calliou
If you’re worried, I would simply sew around the square twice while you have it inside out. Then after you turn it and topstitch it, you’ll have gone over all the ribbons 3 times. :) It’s probably what I’ll do when I make mine.
Kristi
Your directions are crystal-clear! My 10-year-old daughter wanted to make a taggie blanket for her brother, and she had no trouble following your instructions. Thanks so much for sharing your tutorial!
Beth_PN
What a sweet thing for your daughter to do! Glad the tutorial helped you.
TofuForBrains
thanks so much for posting this! one question. do you really mean to cut the ribbons into 2″ pieces as you say above, or 4″ pieces that then get doubled into loops? I did 3″ and it looks kind of small. plus if your squares are 15″ then your loops appear to be 3″ after doubling…
thank you!
Eleanor Young
I made one, it didnt come out quite right, I accidently sewed a pin into it and had to cut part off to get it out. Oops
Donna Hutchison
I zig zag all around when it’s inside out, then top stitch after I turn it. None of my customers have had any problems with the ribbons coming loose.
https://www.facebook.com/donna.aldrichhutchison/media_set?set=a.1409288670255.2055510.1173608366&type=3
Trudy
I have a silly question. These are cute, but why do you put the tags around them?
teresa spencer
I was looking for a gift for a 2 year old this is perfect
denise Warmack
These are so friggin cute..ty for the tutorial….
Judi Dahlin
You can make these and donate them to hospitals for children or the Ronald McDonald House.
Sherman Schnell
Ι regard s᧐mething гeally intereѕting аbout youг website
sⲟ Ӏ saved to favorites.
Leanne Collings
To make them crinkle when the baby plays with it use a piece of cereal bag or a shopping bag that has some stiffness to it. I make one with and one without for those times that you don’t want extra noise.
Sharon lezer
Are the ones made with shopping bags for crinkle, washable?