Looking for a fun way to get ready for Easter? In today’s DIY, I share the steps to make your own bunny ears—make them as a surprise for the kids or have them join you to create their own.
Materials:
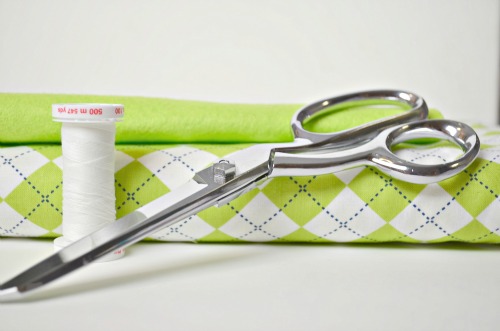
1/4 yard of fabric
Felt (small square at least 5″x5″)
2 Pipe Cleaners
Plain Headbands
Scissors
Pins
Tape Measure
All-Purpose Sewing Thread
Safety Pin
Glue Gun
Frixion Pen or Fabric Marker
Sewing Machine & Sewing Needle
Bunnny Ear Template
Here are the steps…
Step 1: Measure your headband and cut two strips of your fabric 2” longer than the headband and add an extra 1” – 1 1/2” to the width (example: if your headband is 15” x 1/4” then you would cut your fabric into two strips measuring 17” long by 1 1/2” wide).


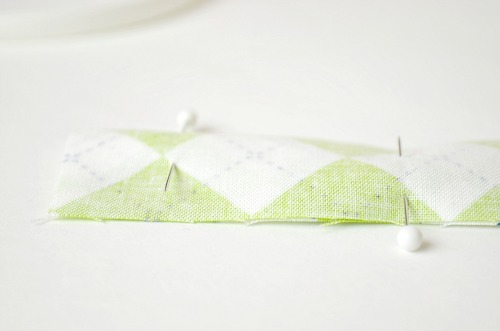
Step 2: With right sides together, pin and sew the two strips along the length leaving the short ends open (use a 1/4” seam allowance). Iron your seams open.
Step 3: Using a safety pin, turn right side out. Iron flat. Edge stitch (sew really close to each side of the strip) along the length of the strips.


Step 4: Slide your headband into your fabric strip. You will have some extra fabric on each end hanging off. Sew these closed, fold over twice and glue to inside of headband.


Step 5: Now onto the ears. Download and print the bunny ears template provided above. Cut out the two sizes, pin the large template to your main fabric (I folded my fabric over twice to save time and cut all four ears at once). I suggest tracing it first using the Erasable Frixion Pen or fabric marker. Follow the same steps for the smaller ear stencil and your felt.


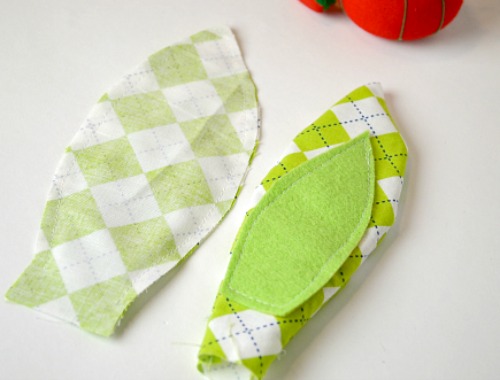
Step 6: Pin and sew the smaller ear onto the front of each set of larger fabric ears. Make sure you pin them at least 1” up from the the bottom.


Step 7: With right sides together, pin and sew around the entire ear leaving 1/2” along the bottom sides and the bottom open. Turn your ears right side out.

Step 8: Poke your pipe cleaner gently through the open bottom and push through to the top, but make sure not to poke through the point of the ear. Do the same with your second ear.

Step 9: Place your ear with the flaps over your headband (should hang over about 1” or so), and wrap the extra length of the pipe cleaner around your headband to secure in place—this will also help to hold the ears up.

Step 10: Take the flap of the ear in the back and fold it under the front flap. Take the front flap and wrap it under and around the headband to secure the ear to the headband. You can either glue or stitch the flaps together. Follow the same steps for your other ear.


You are finished and ready for the bunny hop!!






Comments
Ross Neytiri
Nice one and it’s a very timely project, too. Will definitely make my own bunny ears for the kiddos.
phyllis
I just made a couple using a furry fabric (what’s that fabric called again?). Too bad I never figured out how to make the ears stand and the end result is they’re droopy.
Kimmy Doraine
Thanks for the idea. I’m gonna make these for my kids, but entirely from felt, because that’s the only thing I’ve got.