Skip to Content

Sebastian’s North Pole Birthday Brunch

Description

Twas the night before December, and all through the house, not a creature was stirring, except for two very excited expecting parents!

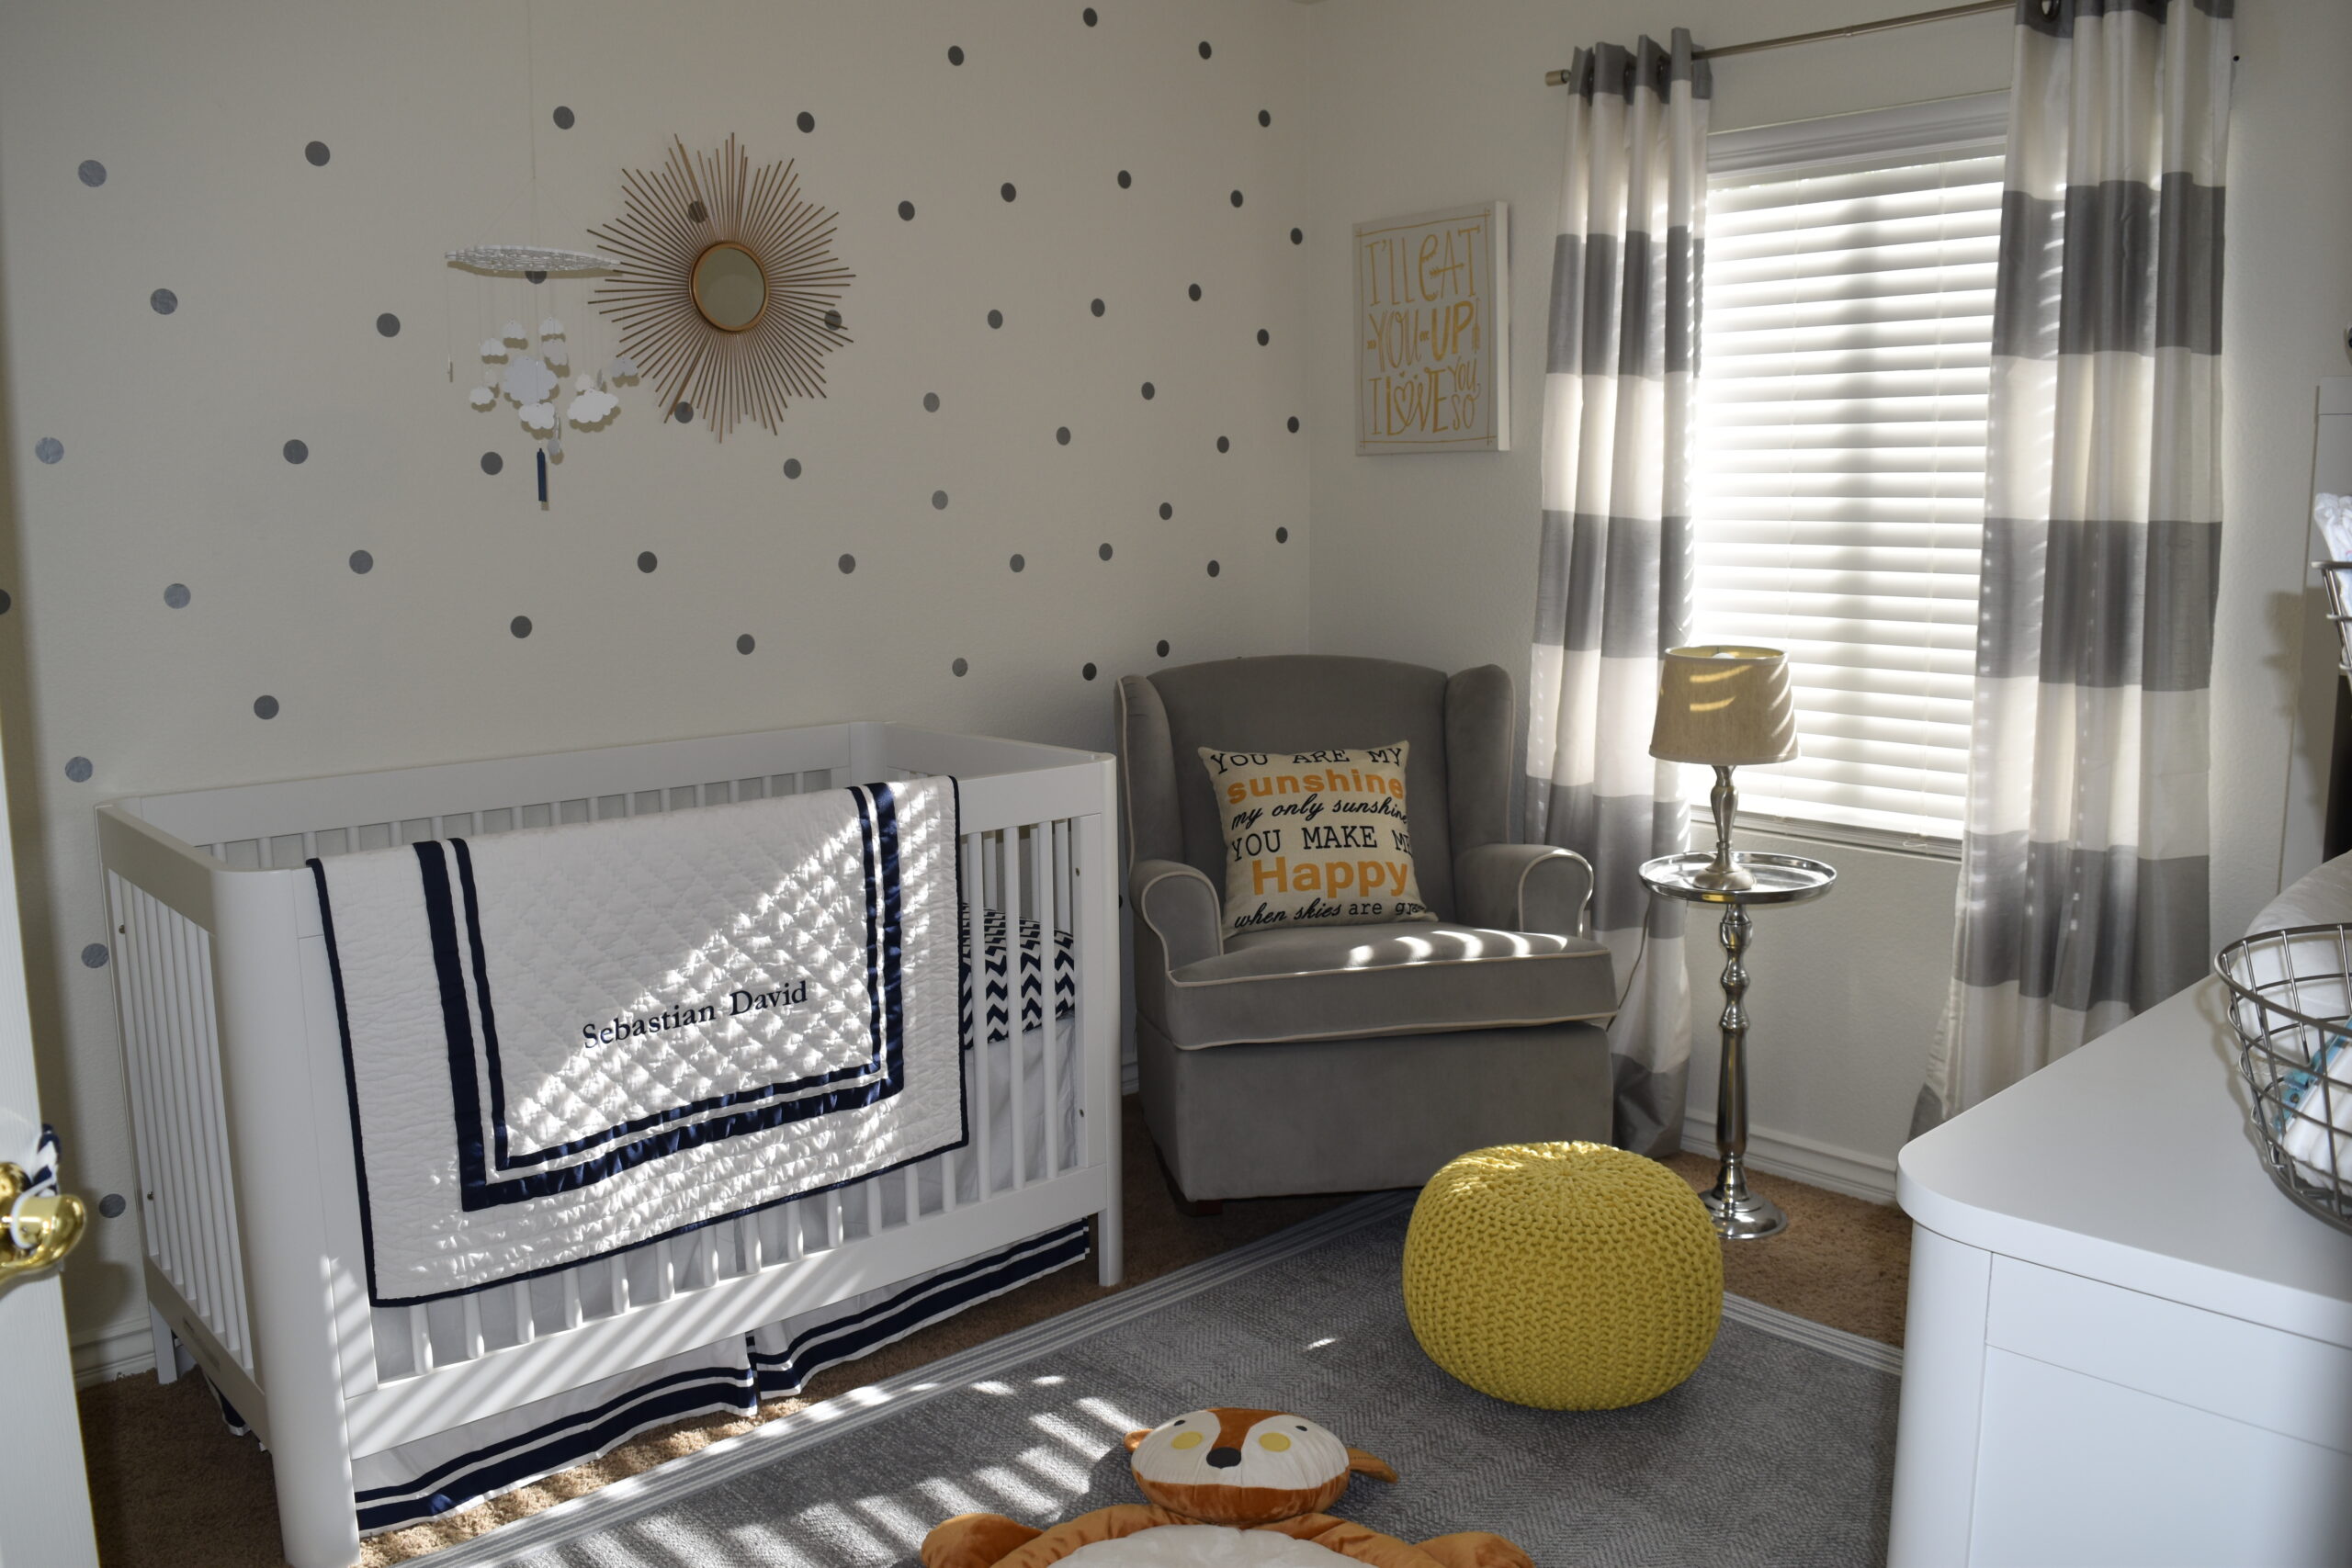
With our son being born bright and early the First of December, 2014, it seemed only fitting that his first birthday party would kickstart this year's holiday festivities.  A spin on the traditional ONE-derland theme, Sebastian's North Pole Birthday Breakfast had just the right splash of sparkle and tinsel, polar bears and penguins, and of course songs and snow!  After all, there is sNOw sweeter age than ONE!

Design Inspiration

My inspiration for this DIY Birthday party came from one of my all time favorite Christmas movies, ELF.  Being that my son was just a baby, I wanted something whimsical, bright, and childlike, but staying true to the modern style of our home, I looked to create clean lines and maintain a cohesive color pallet.  In some fashion, the whole process of decorating the night before his birthday mirrored the scene in ELF where Buddy had spent all night cutting and hanging snowflakes all over the department store floor.  I was up most of the night baking, wrapping, crafting and sprinkling snowflakes and glitter throughout my home.  The transformation of our living room and backyard to a whimsical North Pole wonderland was nothing short of magical, and the look on his face as he saw this come to life was unforgettable.  The best part was. . .most decorations were DIY projects, $0.99 cent store finds, or recycled/upcycled decor.

Decorating Style

Normally I have a tendency towards glitter and frills, but with my first born being a boy, and my husband having modern taste, I've had to learn to curb my passion for ruffles and learn to love clean lines, simple shapes and crisp colors.  This birthday party was a perfect test, could I create a modern party that still felt whimsical?  I'll let you be the judge of that.

Project Details

As it is for most, Pinterest.com was my first stop for inspiration.  Once I realized that there wasn't a whole lot on there specifically for North Pole themed parties, I knew it would be a fun challenge.

As an invitation designer by trade at Peachy Keen Events, the first step for me was creating an invitation that would set the tone for Sebastian's big day.  I wanted the whole event to feel like a page out of a story book, so I used that as inspiration for creating an booklet style invitation.  A 5X7 folded card with a photo and title "The Most ONE-derful Time of the Year" on the front, opened to reveal a personal poem I had written about his birth and first year.

"Once upon a time in a land not far away, the First of December became the most anticipated day.  A happy young couple who'd made the 'Good List' that year, were patiently waiting for a bundle to appear...."

The modern and simplistic style of the graphics, coupled with a bakers twine bow and a few Swarovski crystals (I couldn't help myself), really solidified my color pallet and event style.

First we began creating the wooden North Pole signs.  This DIY project only cost about $20 in materials each.  All wood was purchased at Home Depot and most of it came from the scrap pieces in the back, which means I got 70%+ off the retail price.  The round pole portion comes from the closest hanger section and was $10.  With a little paint, some 2" red ribbon, a husband to cut and nail the pieces together, and some late nights getting creative, we had two adorable signs we'll likely use for future Christmas parties.

There were a few other great DIY projects that I was able to incorporate throughout the party; fabric swagging, ribbon garland and oversized cardboard cut outs.

One area that got a lot of attention was our dessert table.  Partially because the desserts were delicious, but mostly because the display was eye-catching.  We hung large panels of red and white striped fabric from the ceiling and draped them to mimic oversized window curtains drawn back by big red bows (found at the $0.99 cent store) to reveal pretty snowflake garland and a delicious assortment of wintery sweets.  Depending on where you shop for fabric and what coupons you have on hand, achieving a look like this can cost as little as $30 and takes nothing more than a staple gun and a ladder to achieve.

If you haven't done this before, ribbon garland is seriously so easy and so much fun to make.  Cutting 1 yard strips of different ribbons and tying them in loose loop knots around a line makes for an adorable garland that can be stored and reused over and over (unlike the tissue paper kind).  I used this to decorate his high chair, but also strung it throughout the party.

If you have Amizon Prime, then you know all too well how much time you spend breaking down oversized boxes used to ship small items.  Don't throw them away too fast.  One of my favorite projects was my DIY Tree Mural.  Who knew that simply cutting triangles out of the cardboard and wrapping them in coordinating wrapping papers would have such an impact?  I took it one step further and created a silver tinsel tree for a little extra wow!  These life-sized trees I was able to hang using removable plastic hooks.  I did something similar with oversized rectangles wrapped like presents that I used to block off and distract guests from our open fireplace.  This same technique can be used to create countless other backdrops.

The rest of my party decor consisted of sequin table clothes, striped runners to match the dessert table curtains, dozens of 18" and 36" balloons tied off with bakers twine, cardboard snowflakes, decorative snowballs, custom signs made to match my invitations and Christmas ornaments.

For food we stayed true to the theme of it being a brunch, and provided gourmet red velvet, gingerbread and coconut flavored waffles from The Waffle Affair, some healthy and not so healthy breakfast burritos from our families favorite local coffee shop The Lost Bean and an array of pastries, fruit, a homemade citrus salad and some coffee cakes. The most popular item by far were the mini hot-dog waffle bites!

For those who didn’t fill up on breakfast, the dessert table was overflowing with wintery sugar goodness. Custom flavored macarons from an Etsy shop called Indayani Baked Goods, Starbucks’s Peppermint Brownie Cake Pops, powdered doughnut holes (aka. Snowballs) and cookies surrounded the beautiful cake! This custom snow globe fondant covered cake by Creative Cakes Orange County was almost too cute to eat! However; the birthday boy had no problem devouring his matching smash cake.

Our entertainment consisted of a holiday musical performance, snow machine, DIY snowball pit for the little ones to play in and a stamp and craft station for those looking to make a sentimental gift.   I booked an original song writer/ukulele player named Peanut who agreed to show up dressed in a Christmas cape and sing some of our most favorite holiday songs. Silent Night was the song playing in the delivery room the moment Sebastian was born, so it was really special having her lead a room full of people into a rendition of this song along with Happy Birthday!

The snowball pit was a much bigger success than I could have ever imagined. Kids from all ages enjoyed jumping and diving into the pit full of clear plastic balls, and the snow machine offered the perfect wintery ambiance to the warm 78 degree California day.

For favors we handed out jingle bells that the kiddos could use during the holiday performance and the opportunity to adopt a penguin. Little did I know that the balloon penguins would fall victim to the older kids who enjoyed using them as target practice during an impromptu snowball fight. Kids!

At the end of the day, when the food was gone, the snow had stopped falling, and the guests were all home snug in their beds, we were left to reminisce over the highlights of the day and slowly take down all the DIY projects that had taken so much love and dedication to create.

Sebastian’s First Birthday was a lot like his first year on earth; magical, full of cherished memories, and over all too quickly.

Merry First Birthday Sebastian! I love you so much that I would give you the world if I could. . .but for now, I’ll have to just give you the North Pole!

Favorite Items

I have several favorites, so I'll break them down for you below:

Favorite DIY Project: The Christmas Tree mural and oversized gifts made entirely of recycled cardboard, wrapping paper and tinsel.  This is my favorite DIY project for a few reasons.  1) the oversized pieces added so much color and decor to the room without costing a fortune.  2) It was SO easy to do. 3) Because of the large pieces of wrapping paper used, I have been able to reuse the paper to wrap christmas gifts for family and friends.

Favorite Vendor: The Waffle Affair was a an amazing find.  I knew I wanted to serve breakfast food, but wanted something that would WOW my guests.  The fun flavored waffles included red velvet, coconut and gingerbread, and the mini hot-dog waffle bites were a huge hit with everyone from the babies to the grandpas!  Fun food is a must in my book!

Favorite Find: The mini red santa birthday hats for the baby's to wear.  While made for adults, with a little alteration they were perfect for the kiddos.  I found these gems at my local Papersource.  So many baby's actually kept them on their head and many adults took them home to wear during future Christmas parties.

Favorite Bargain Find: My giant Snowflakes for the windows.  While hard to see in many photos, these $0.99 beauties were big, glittery, and added so much to the room.

Favorite Splurge: The cake!  An original design submitted to my baker was inspired by my son's fascination with snow globes and polar bears.   Using a large fish bowl style vase, a an oversized cupcake pan and a darling fondant bear, they were able to create a cake most guests didn't realize was edible.  For the smash cake I provided them with a small plastic DIY snow globe lid found at Michaels Craft Store, and a Keepsake Ornament (www.hallmark.com) to be used as a cake topper, and the whole cake was a perfect compliment to the larger creation.

Advice

The best advice I can give is to start early, plan thoroughly and host the party somewhere you have ample access to prior for set up.  I personally love hosting at my home, as it allows me to start set up a week before, which often gives me ample time to realize where things look best and where something is missing.  Also, when it comes to DIY projects, don't overcommit yourself.  I spent countless hours creating small details that I'm not sure were even noticed, but found that the biggest impact came from the projects that cost the least amount of money and took the least amount of time.  Think Big and Simple and you'll end up with major focal points, photo ops, and a lot more wow!