Forget the predictable party games and overdone diaper cakes! Celebrating a new life, like my dear friend’s little one, shouldn’t be cookie-cutter. It deserves a gathering as unique and heartwarming as the journey to parenthood itself, even if it’s the third time around! That’s why I brewed up a baby sprinkle that’s as sweet as it is simple, and as joyful as it is budget-friendly.
Today I’m pulling back the curtain on how you can effortlessly design and host a baby shower or in the case of baby number three, a Sprinkle Tea Party that will leave your friends and family swooning. Below are my top hosting tips guaranteed to add a dash of whimsy, a hint of elegance, and a full teapot of memories to cherish for your next baby shower or baby sprinkle.
Select a Theme.
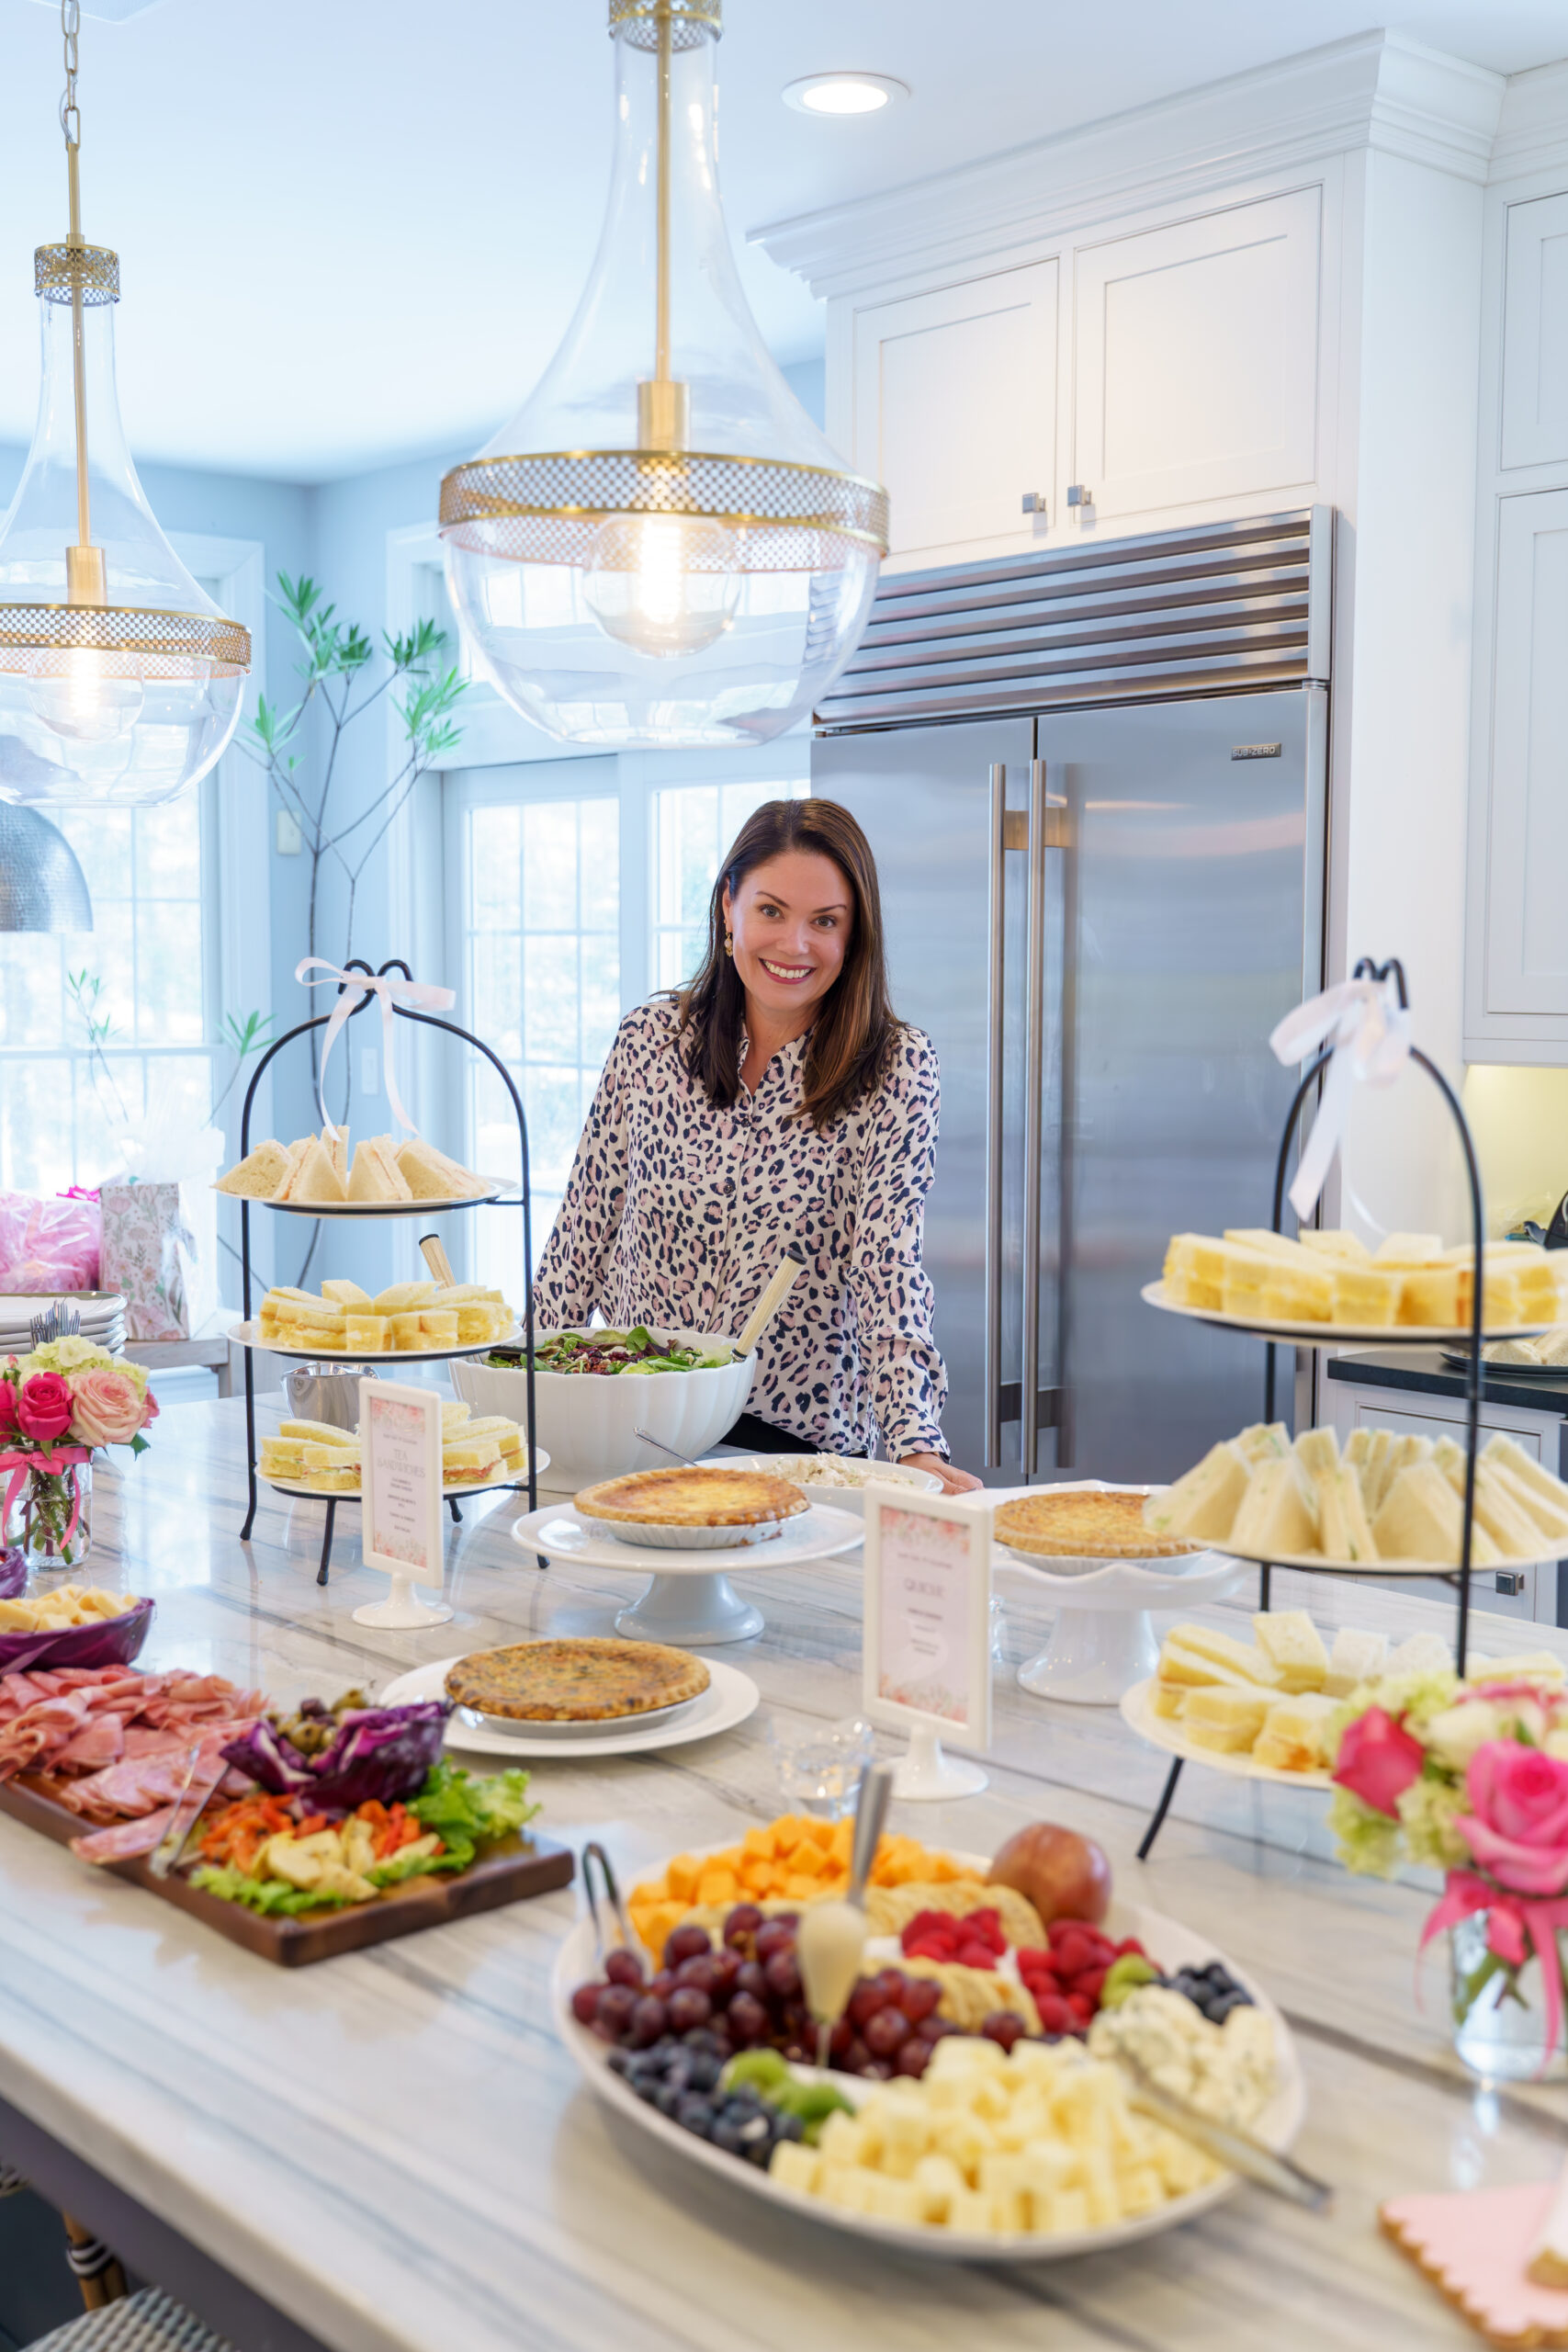
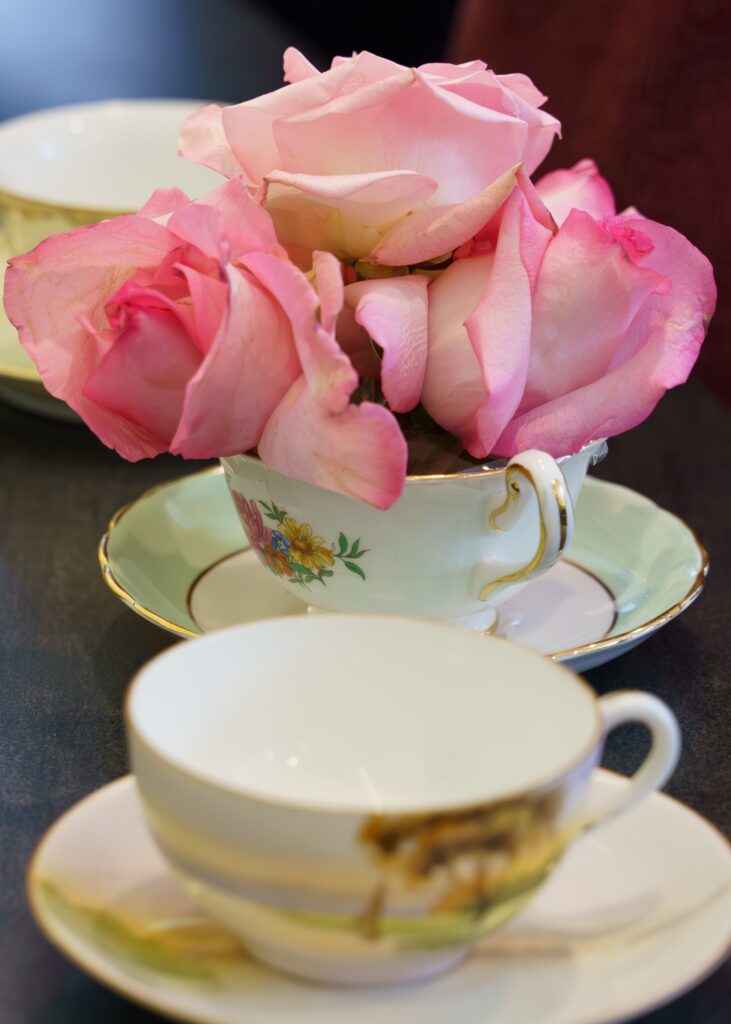
It really doesn’t have to be over the top, but it should always be consistent! Invitations were emailed via Paperless Post with a charming tea party design to set the tone. Our group of hostesses gathered our grandmothers’ vintage floral tea cups, which doubled as an excellent excuse to finally use what has been collecting dust in our dining room china cabinets, to execute the party’s theme beautifully.
Create a Pre-Made Menu.
We opted for heat-and-serve quiches, a charcuterie board, fruits, cheeses, salads, french pastries, tarts, cake pops, breads, butters and jams. Be sure to check with your local grocery store’s catering menu, which provides a bit more bang for your buck and saves big on time. Re-plating the items onto your own dishes is key. The shining star of our kitchen island buffet you ask? A variety of easy-to-assemble tea sandwiches—just be sure to use a serrated knife. And P.S., don’t forget the clotted cream and lemon curd for your scones because, after all, it is a tea party!
Menu Cards + Labels.
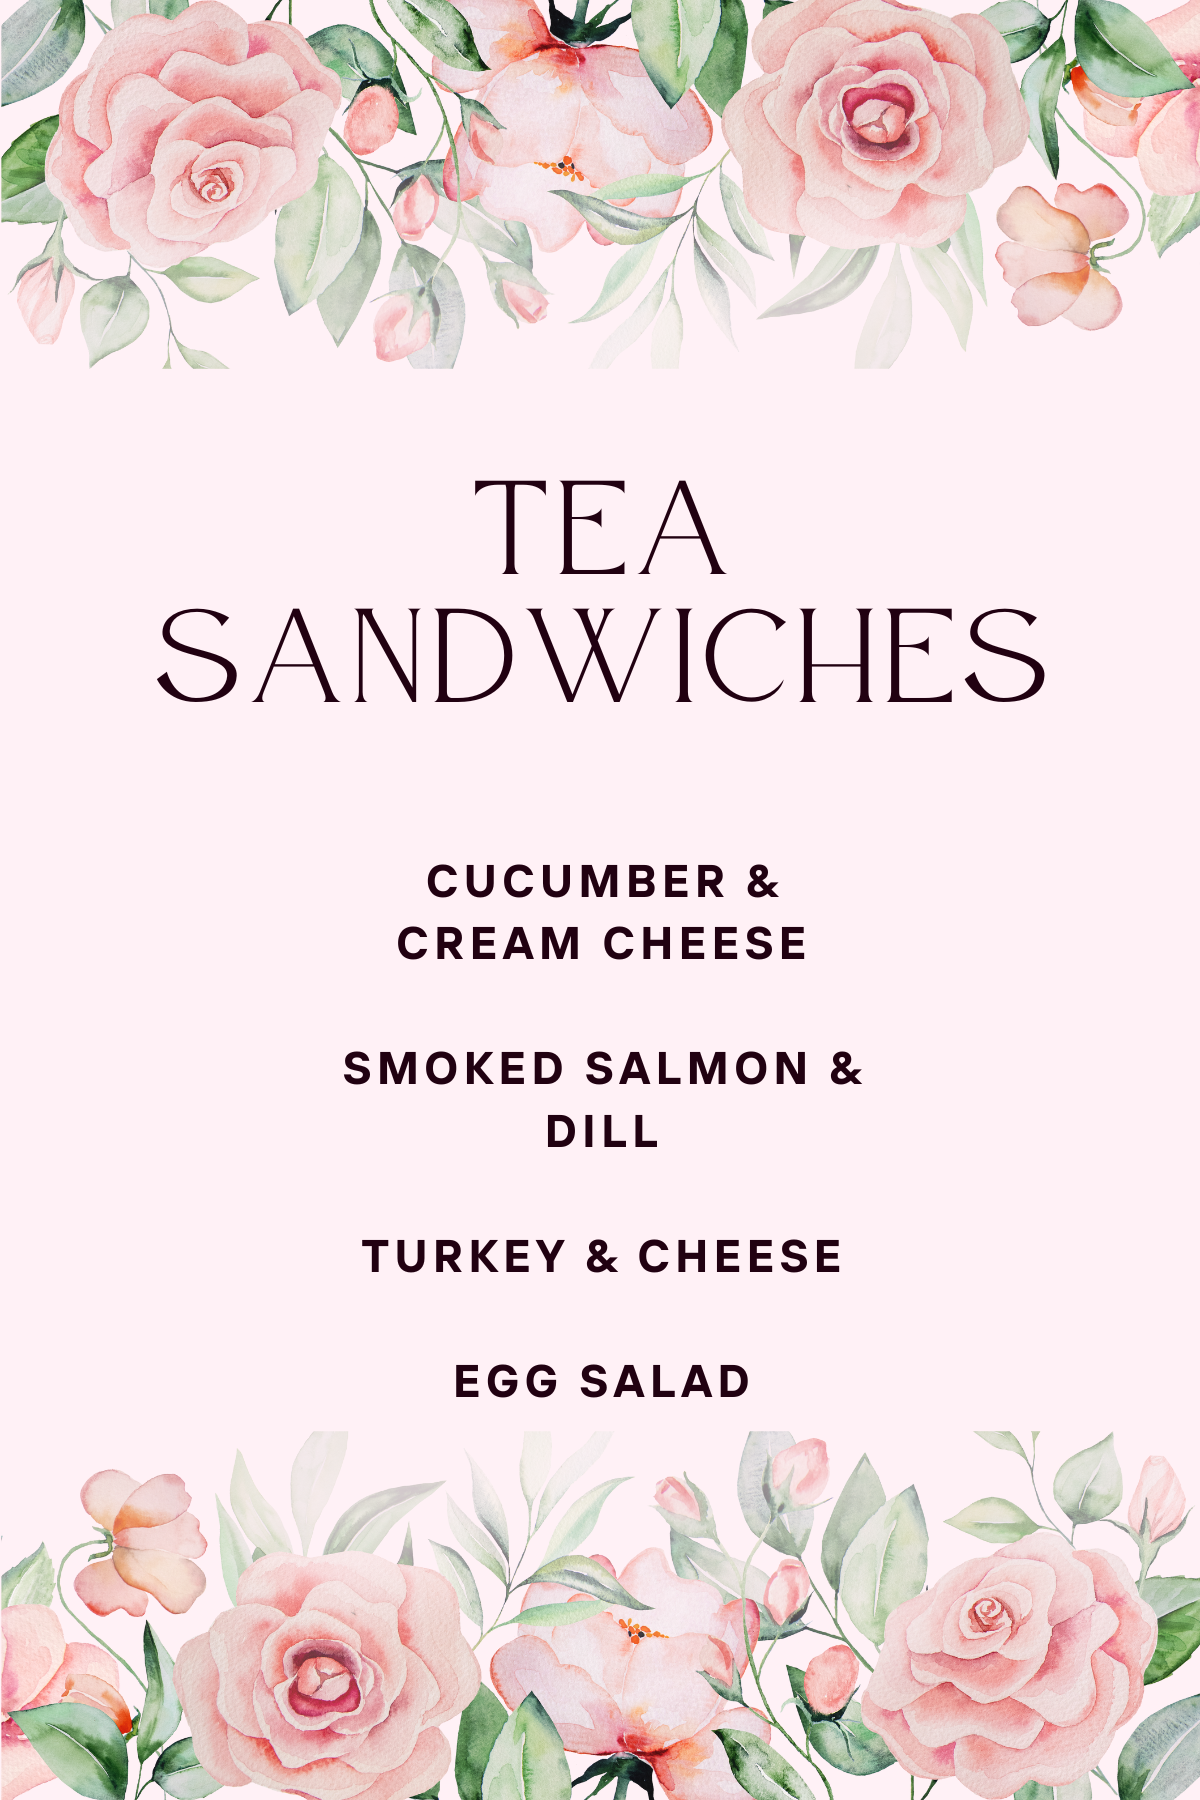
The best way to continue a theme is by printing out menu cards and other food labels for not only pretty customization but necessary information for your guests. Canva makes designing signage a total breeze. I’ve shared the template we selected here for your use.
Store Bought Florals.
There is no shame in skipping the fancy florist and opting for the grocery store floral selections. We used hearty pink roses (on sale, I might add) and green viburnum flowers, which have a bit of bulk to them for extra coverage. Using clear floral tape, create a grid pattern on the tops of both mason jars and tea cups to hold each DIY bouquet in place.
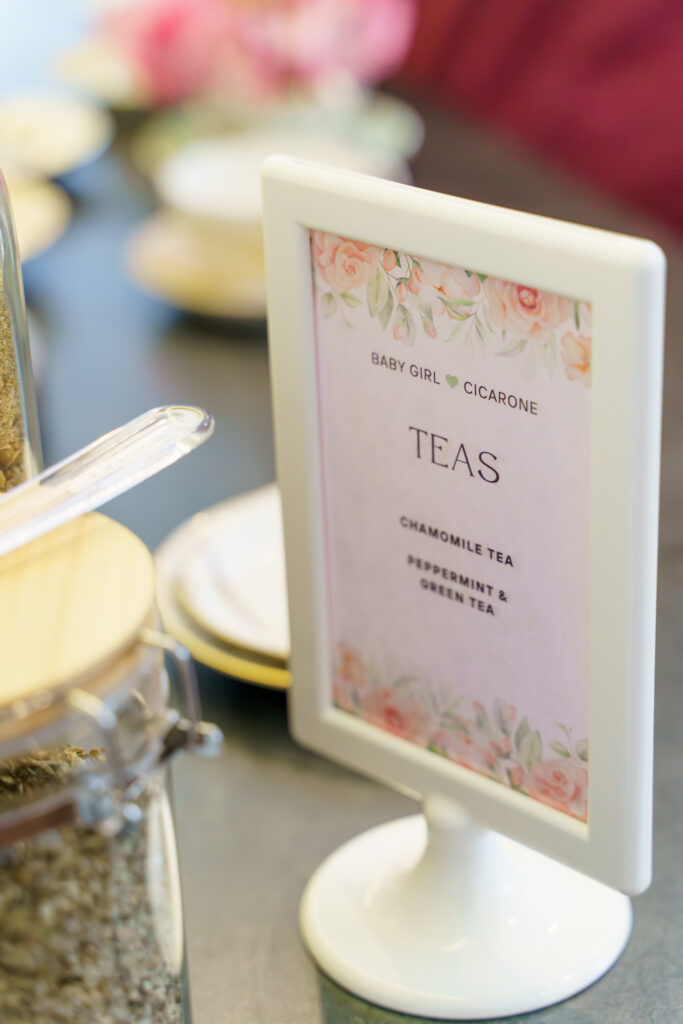
Over the years, I’ve found that printing on card stock can be really tedious due to print quality and the thick paper getting jammed in my printer. I swear by printing on regular paper and using these tried and true 4×6 menu card holders from Ikea. Just print twice, cut (a paper cutter helps a lot) and drop into the double sided plastic frame. Be sure to stock up—they are just $1.99 each, and I’ve owned mine for basically, forever.
Plan an Activity.
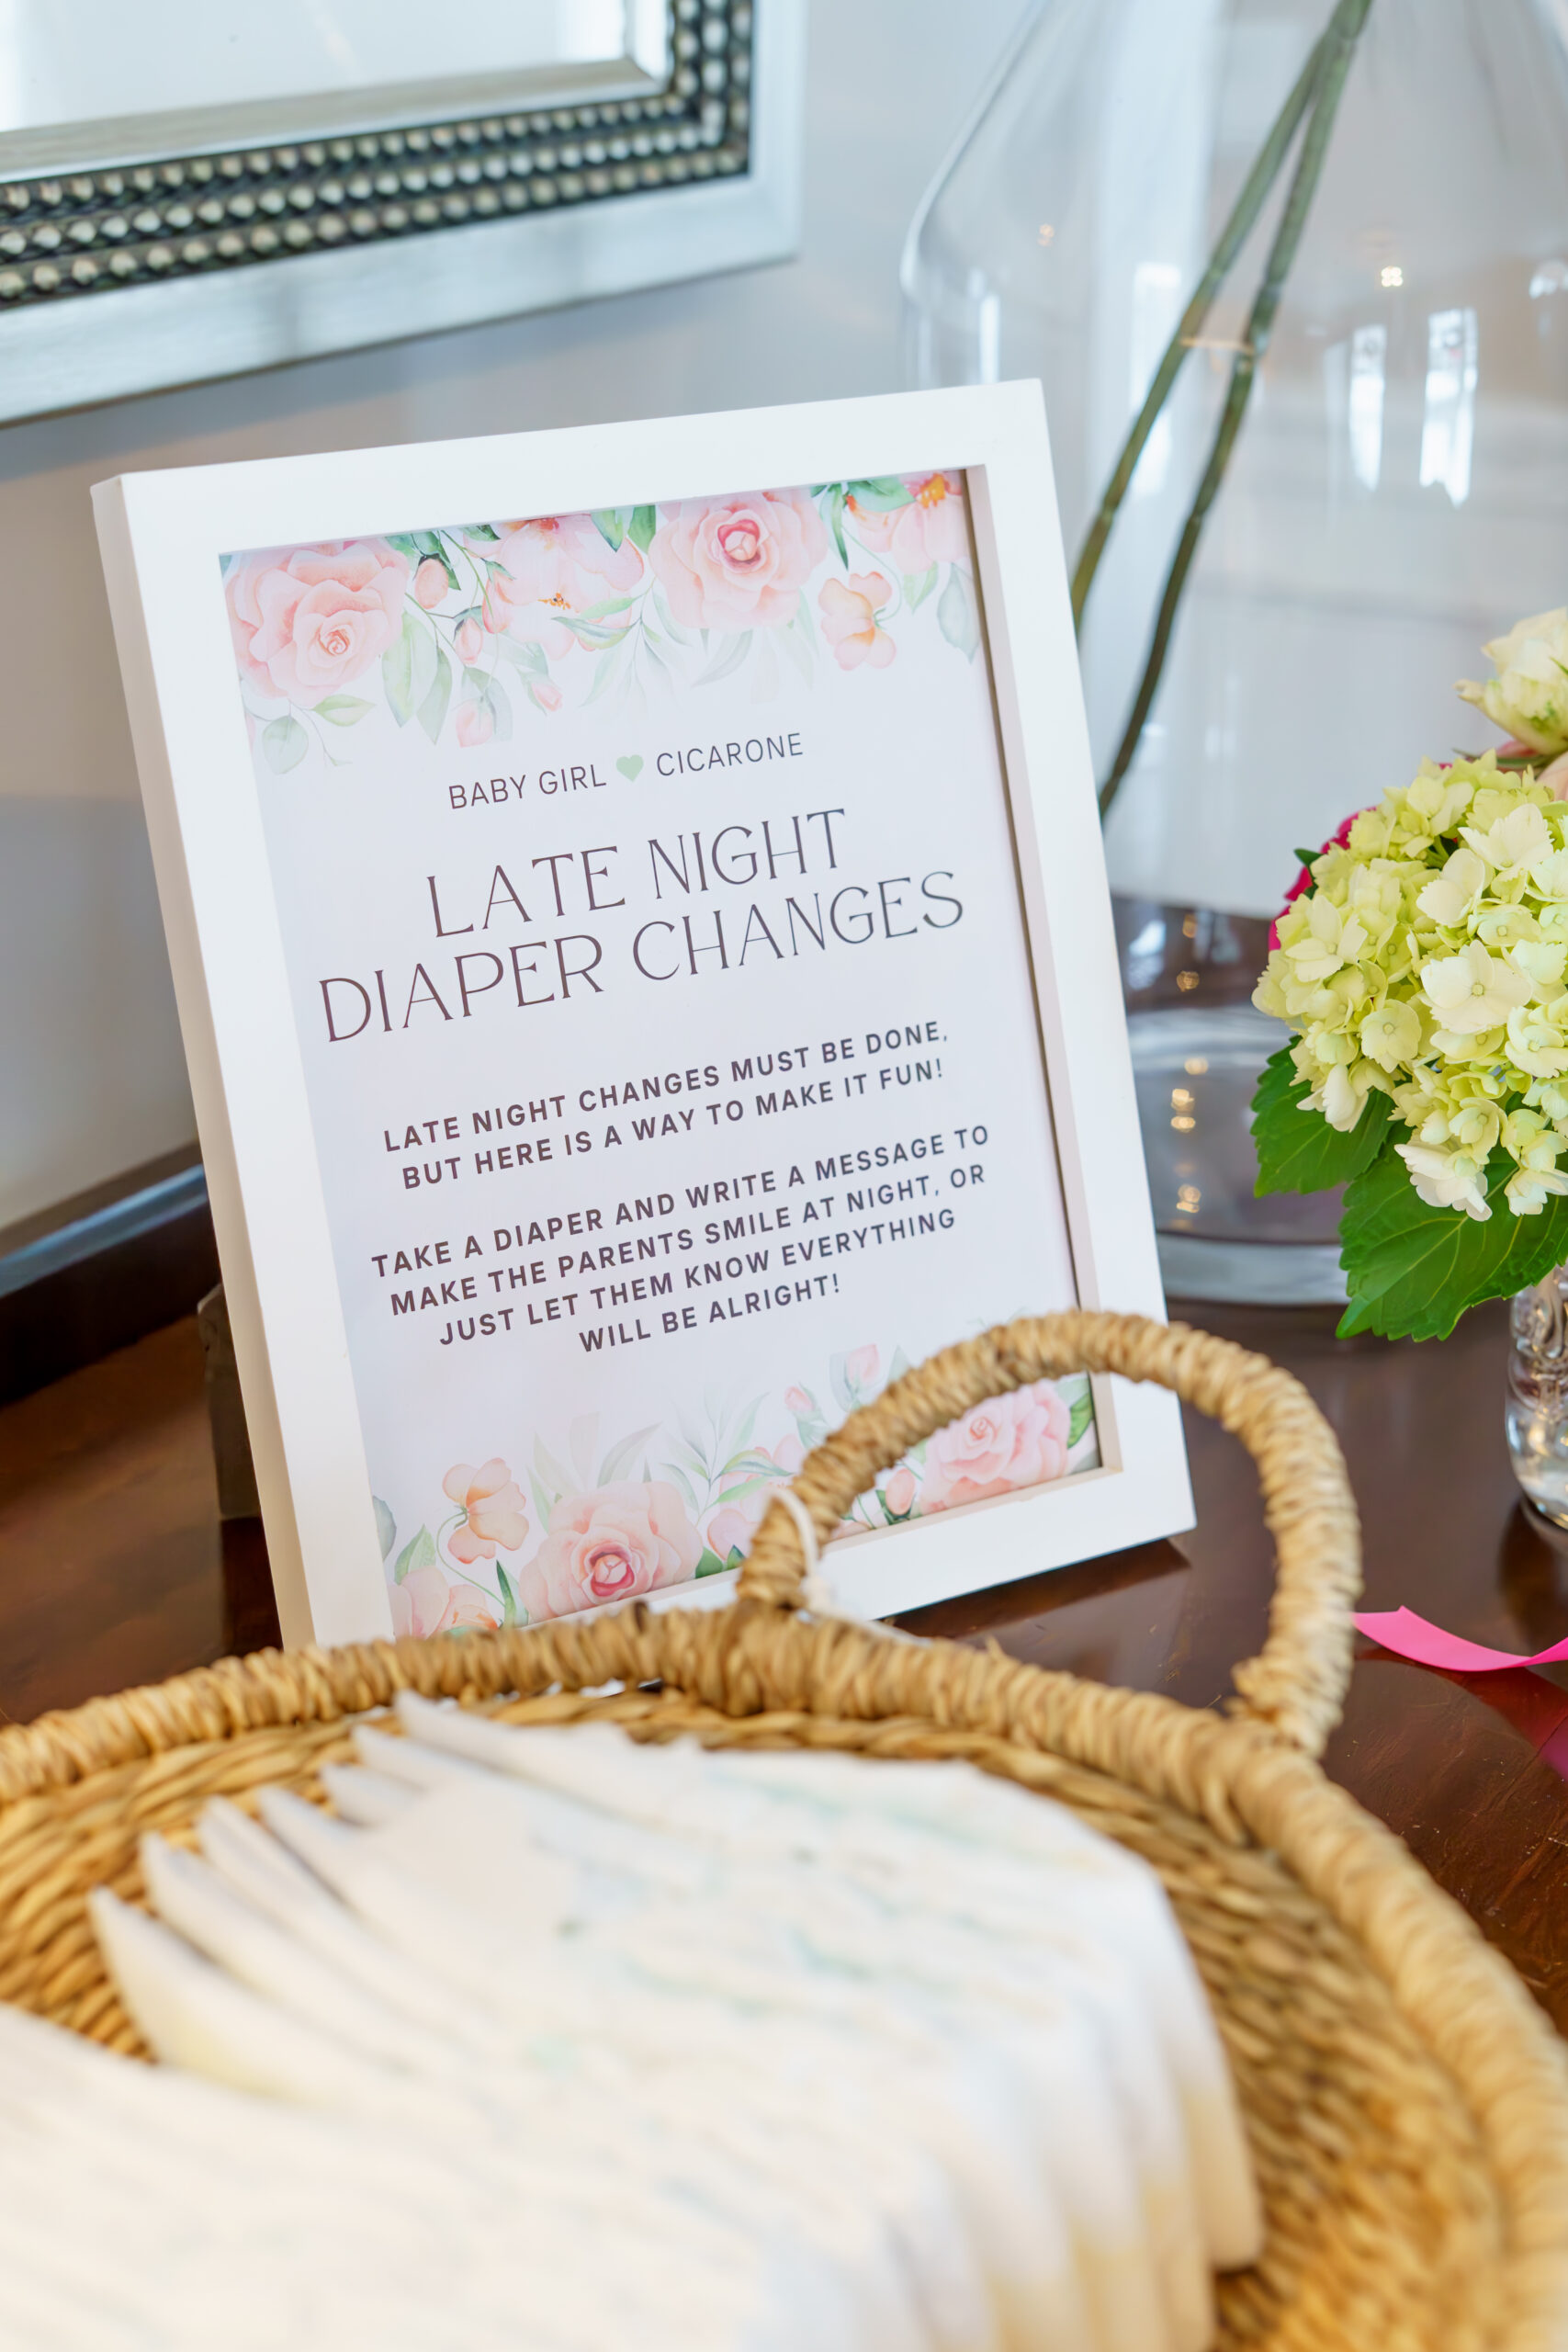
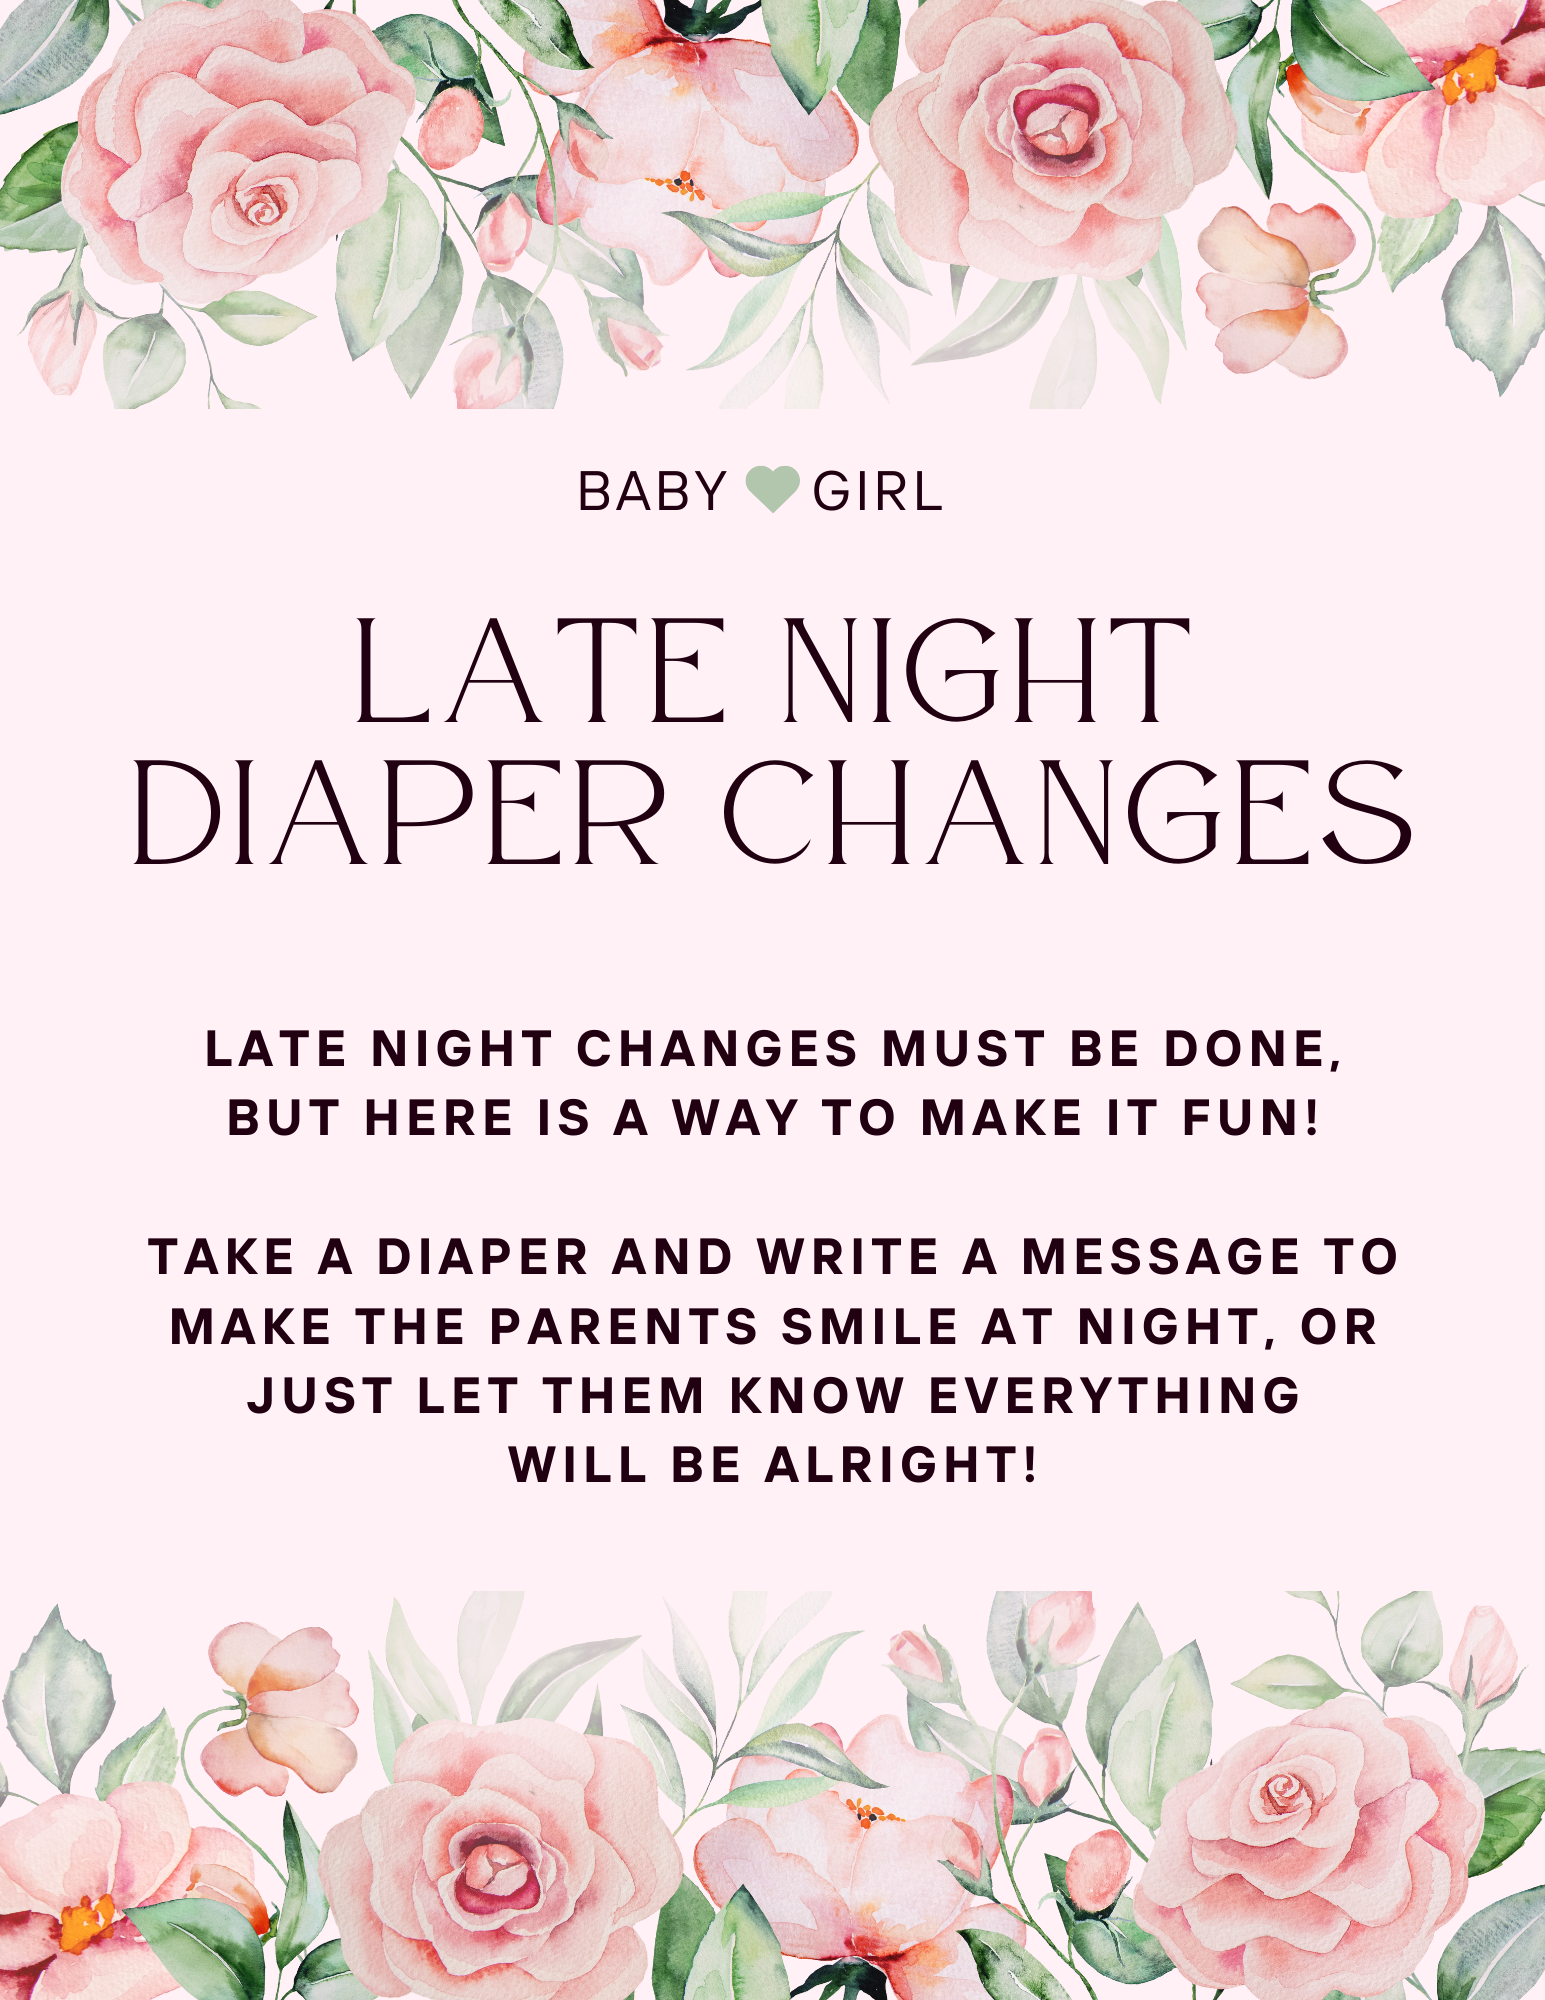
As mentioned, this was our guest of honor’s third baby. There was no way you were going to find our seasoned group of moms smelling melted chocolate diapers or measuring bellies with a string. We’ve been there and done that. For a more inclusive activity, guests in attendance wrote notes, jokes and well wishes on the outside of newborn diapers. You can find the template we used here. I suggest framing it to provide guests with a little bit of direction.
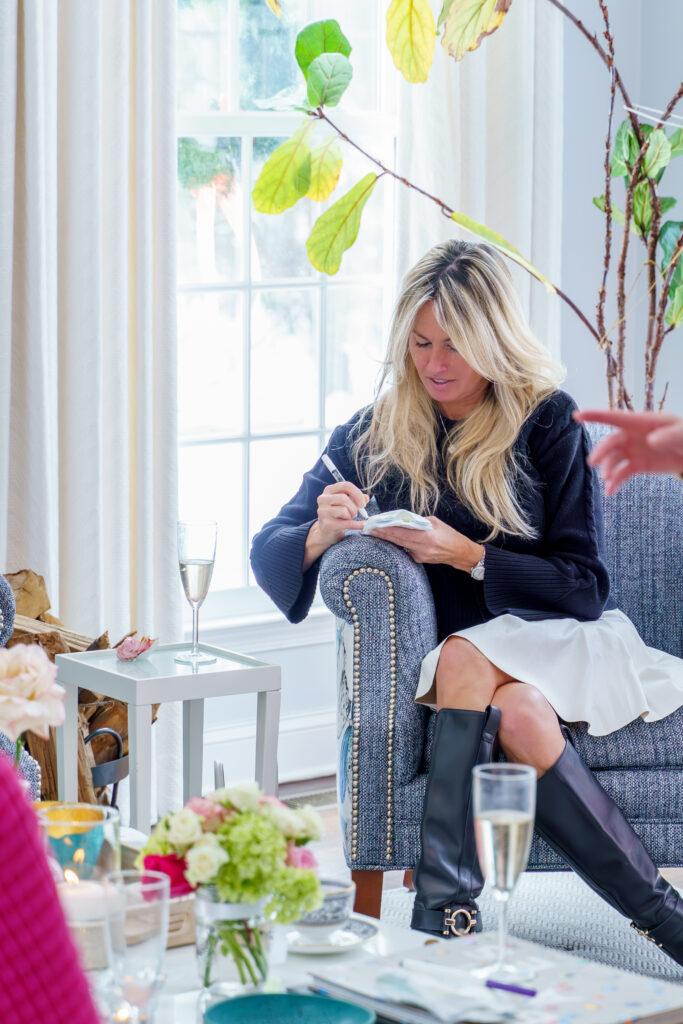
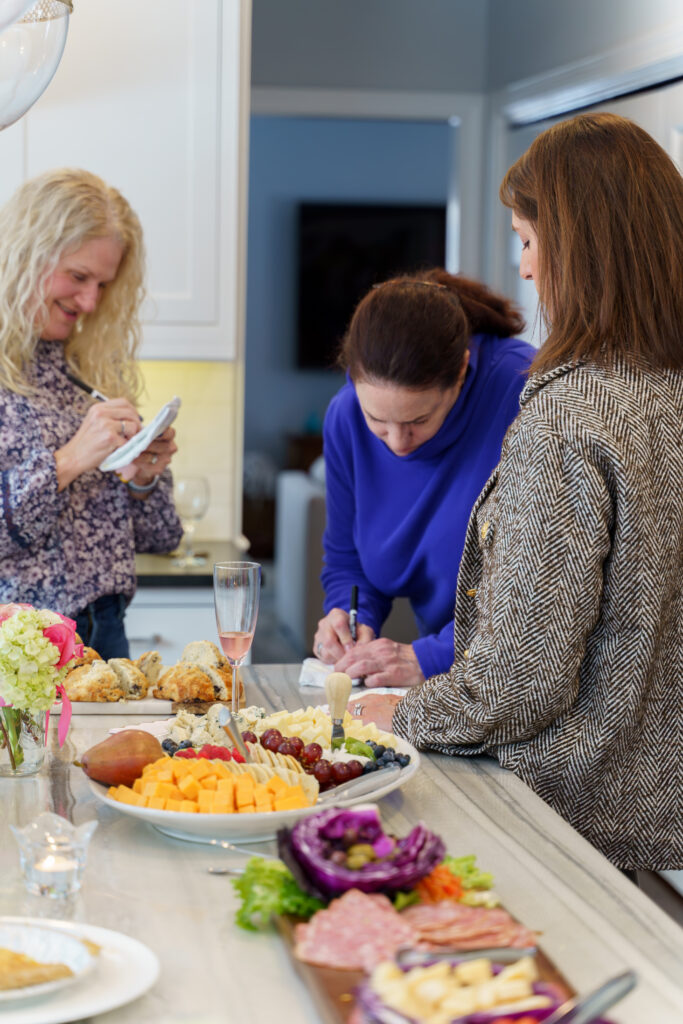
Everyone got in on the fun, so when it comes Mom or Dad’s turn for a late-night diaper change, they can read our messages for a bit of inspiration or a little chuckle. Now if your group loves lots of activities check out these other baby shower game ideas.
Add a Little Extra.
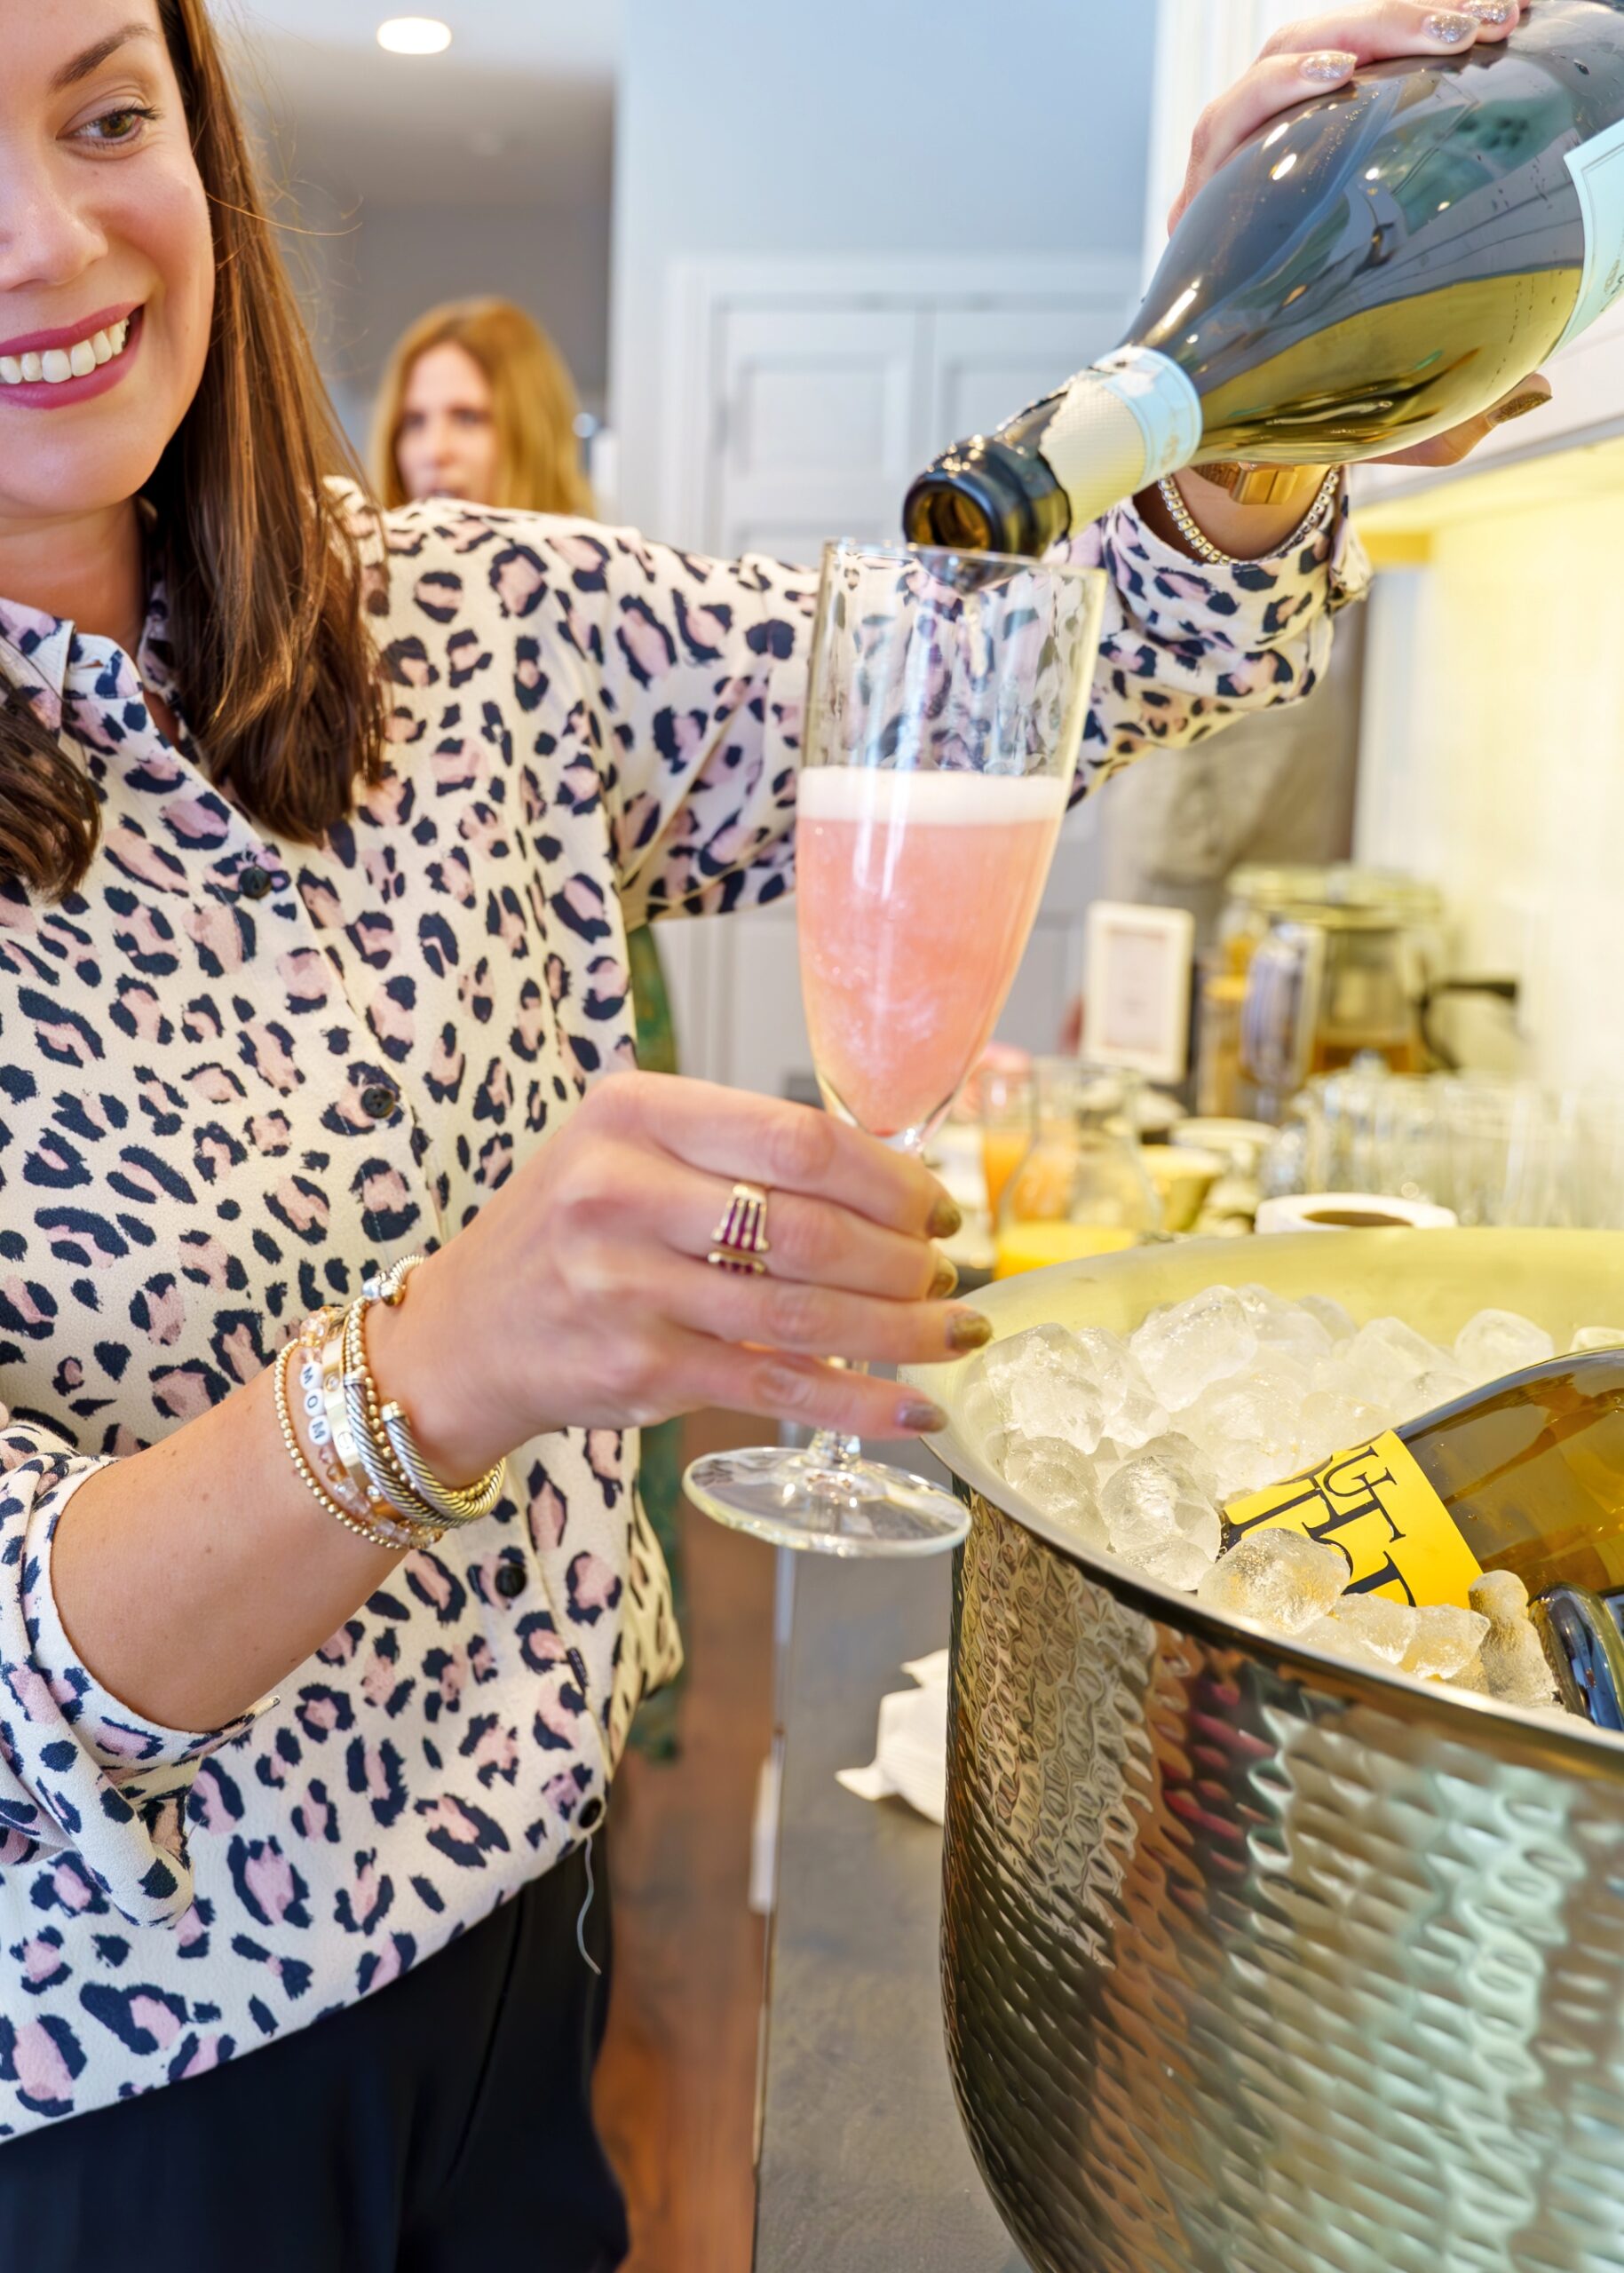
In addition to a selection of teas, we served white and sparkling wine as part of our celebration, but for our big party trick, a pinch of pink edible glitter was added to the mix for a few oohs and ahhs.
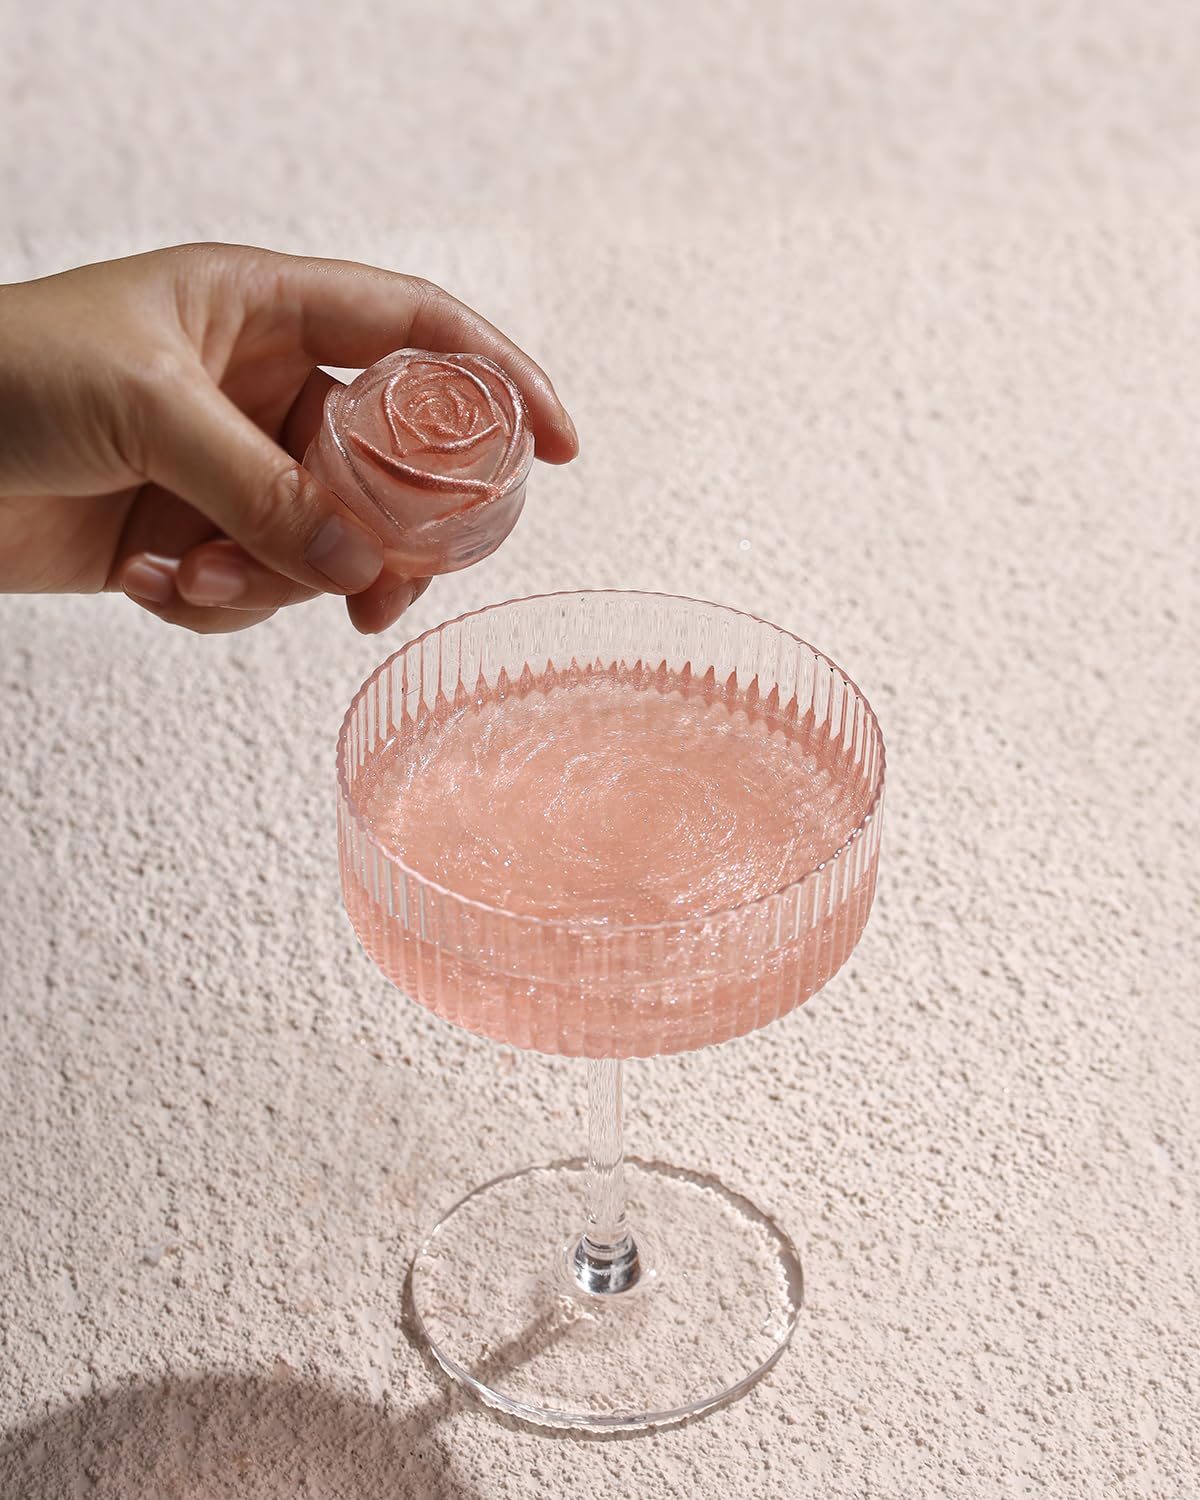
For the best results, use a tiny spoon to add a pinch of edible glitter to the bottom of the glass, swirl the glitter around inside the glass, and then very slowly pour in your bubbles. Watch the sparkles come alive!
Party Decor.
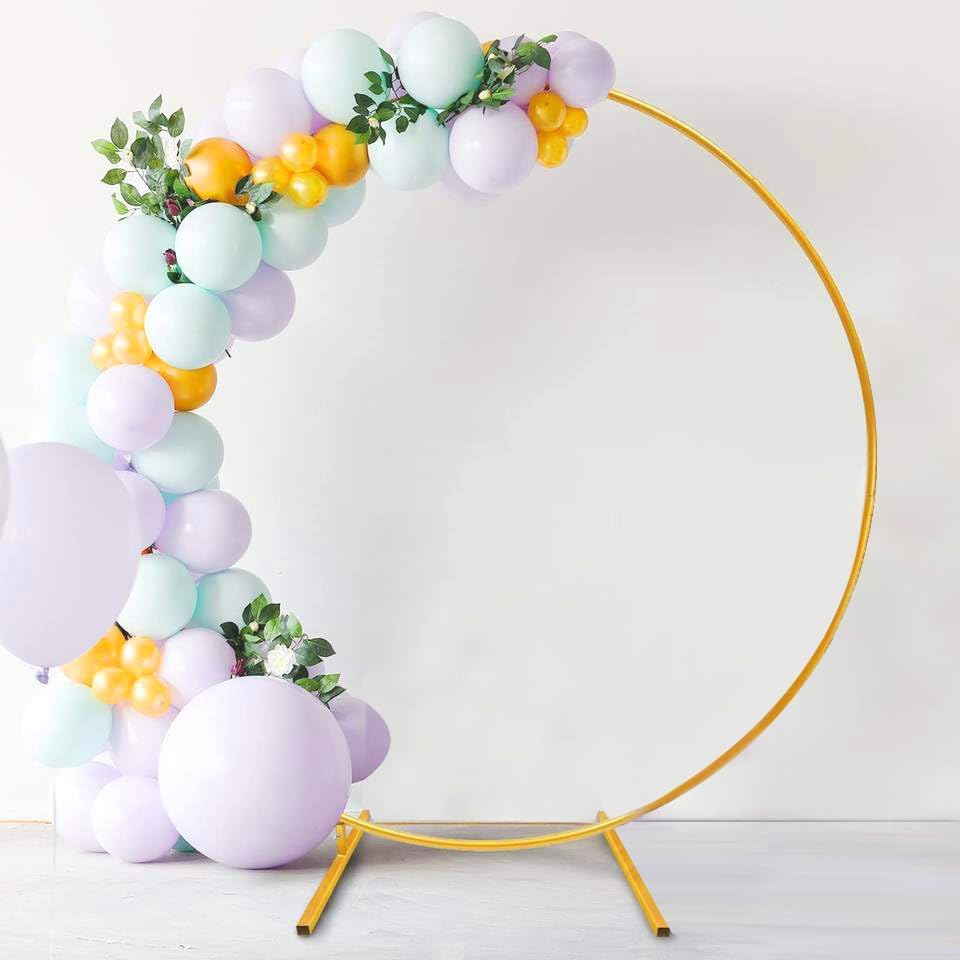
You do not need a lot of decor. Yes, I really just wrote that as I share with you a 6-foot wide gold balloon ring, which probably seems like a lot, but hey, it’s $45 dollars, breaks down into a small bag and can be used for future events, say baby’s first birthday?! I find that it’s nice to have one focal point in the room that adds a wow factor and can be used for striking photos.
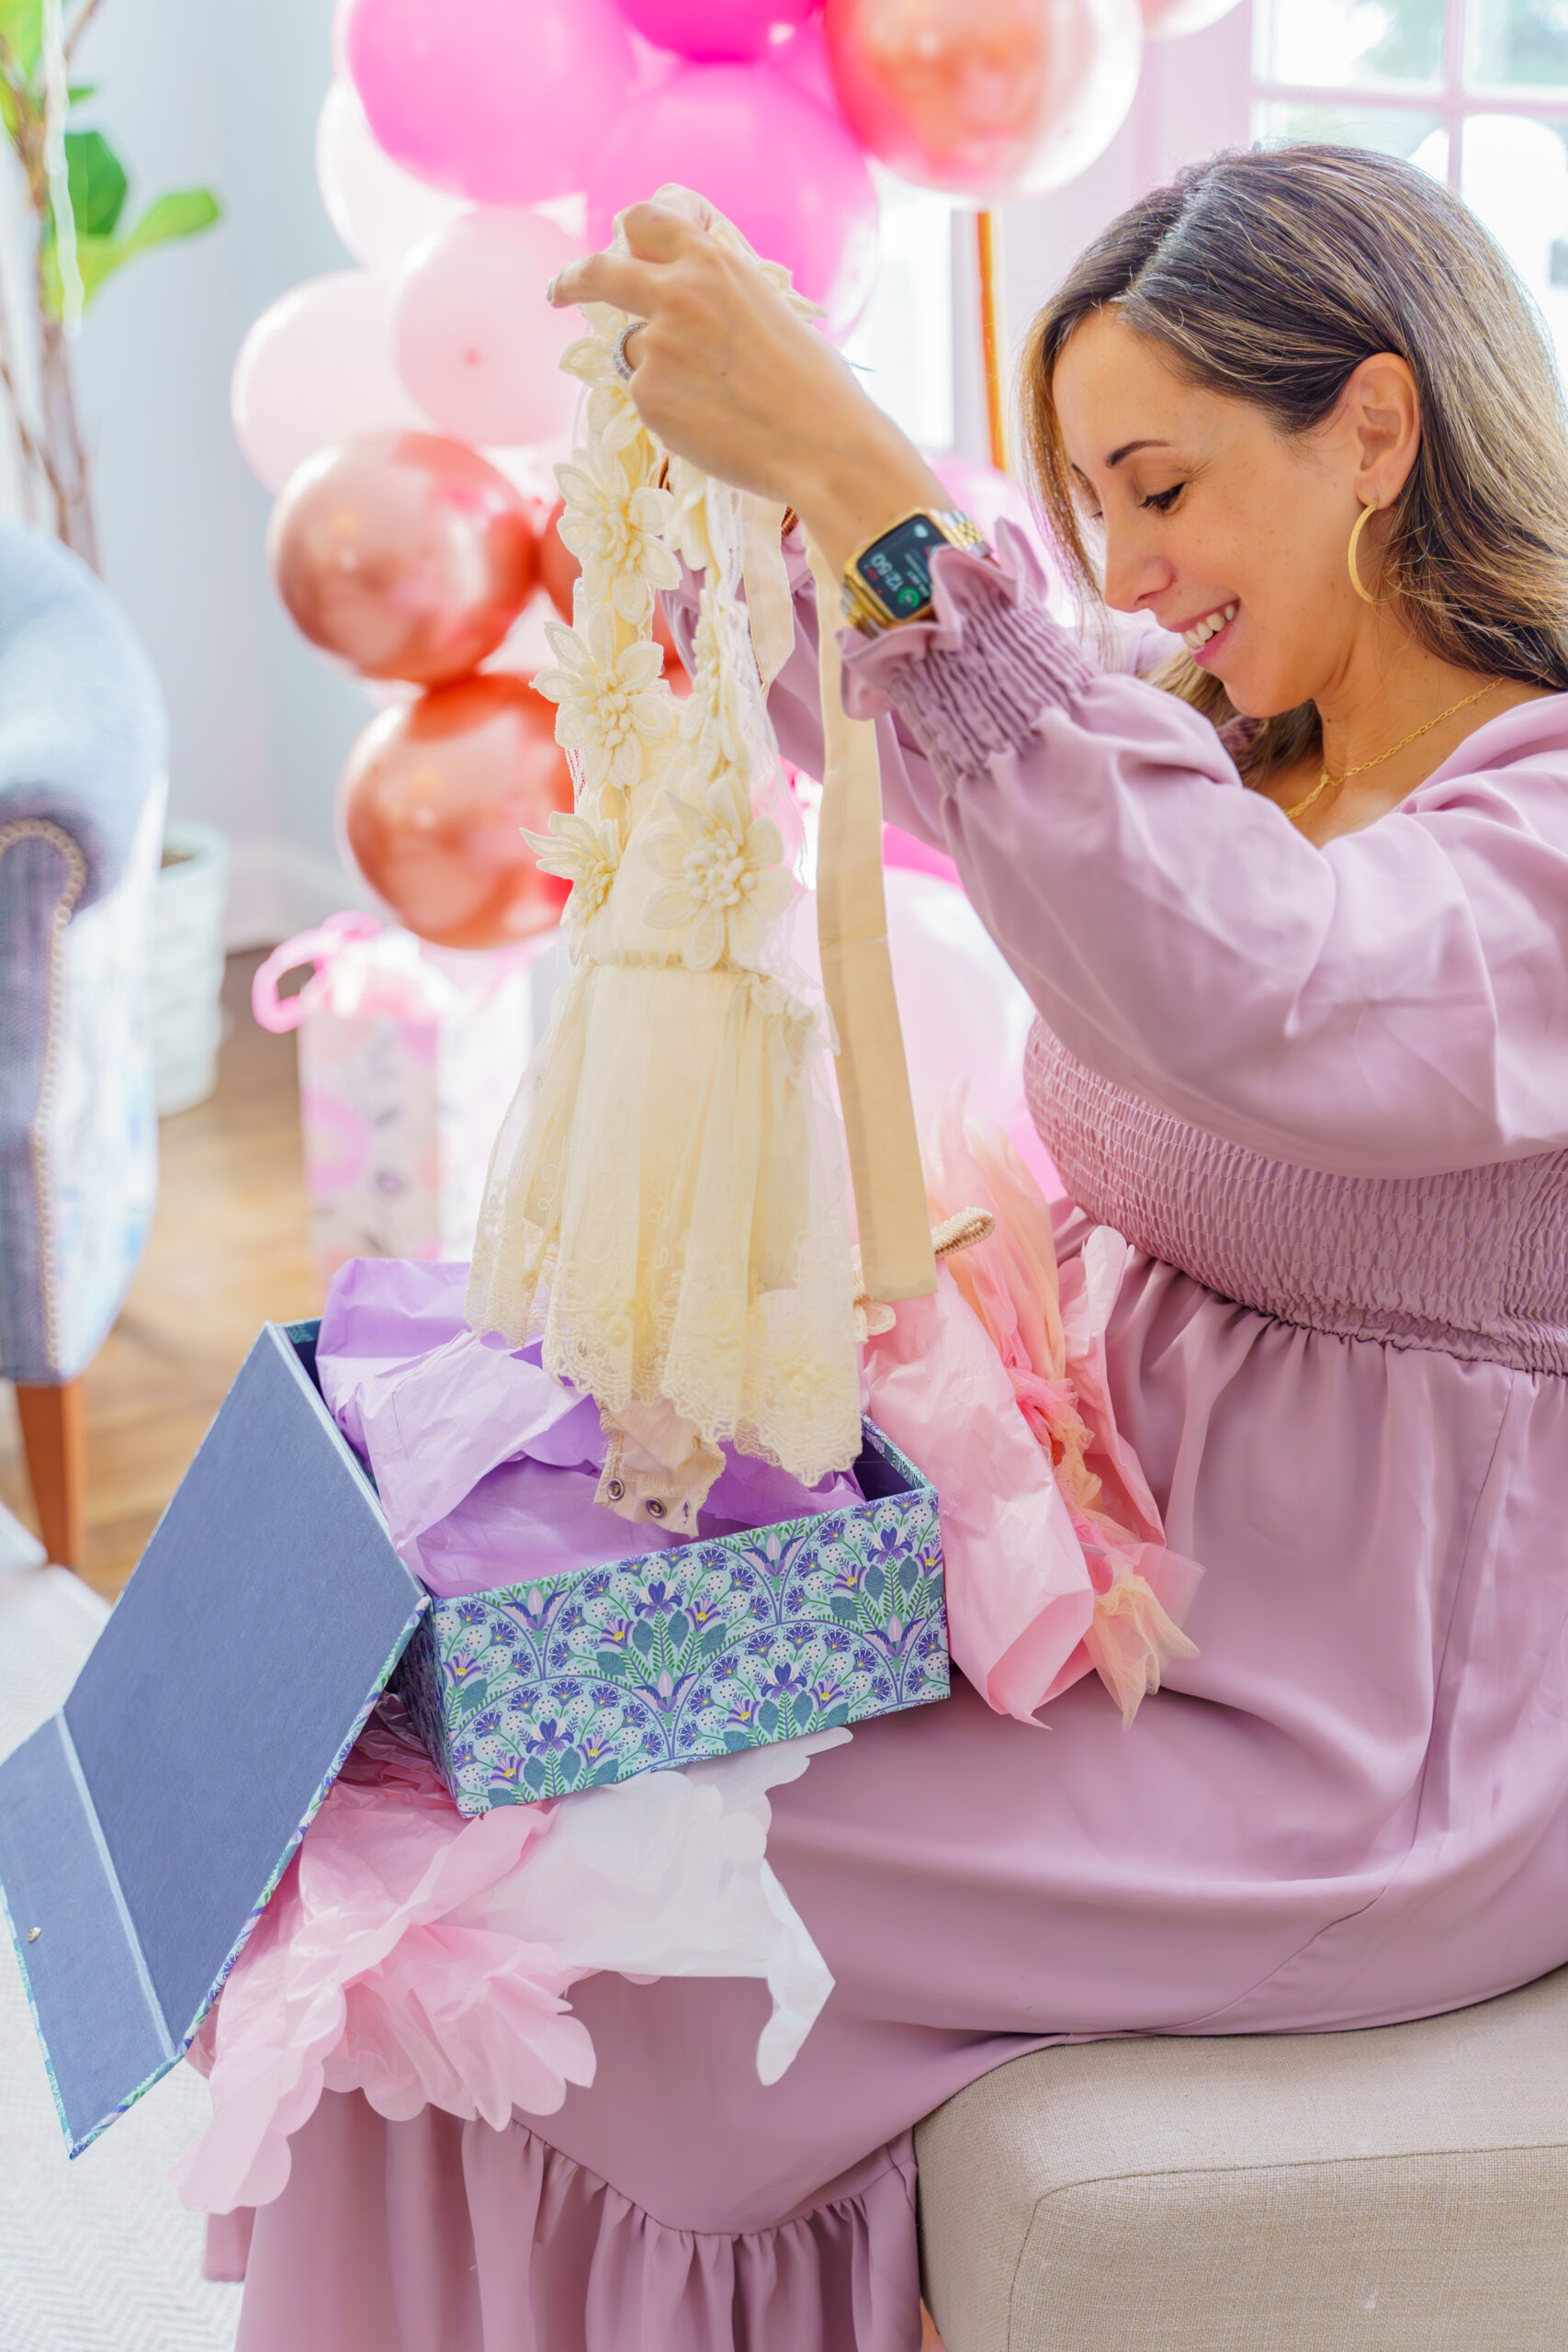
The DIY Ballon Garland itself is under $15 dollars, and Amazon seems to have an endless supply of balloon color options. Toss an inexpensive electric balloon pump into your cart at check out and you won’t regret it. No additional decor needed, I mean it this time.
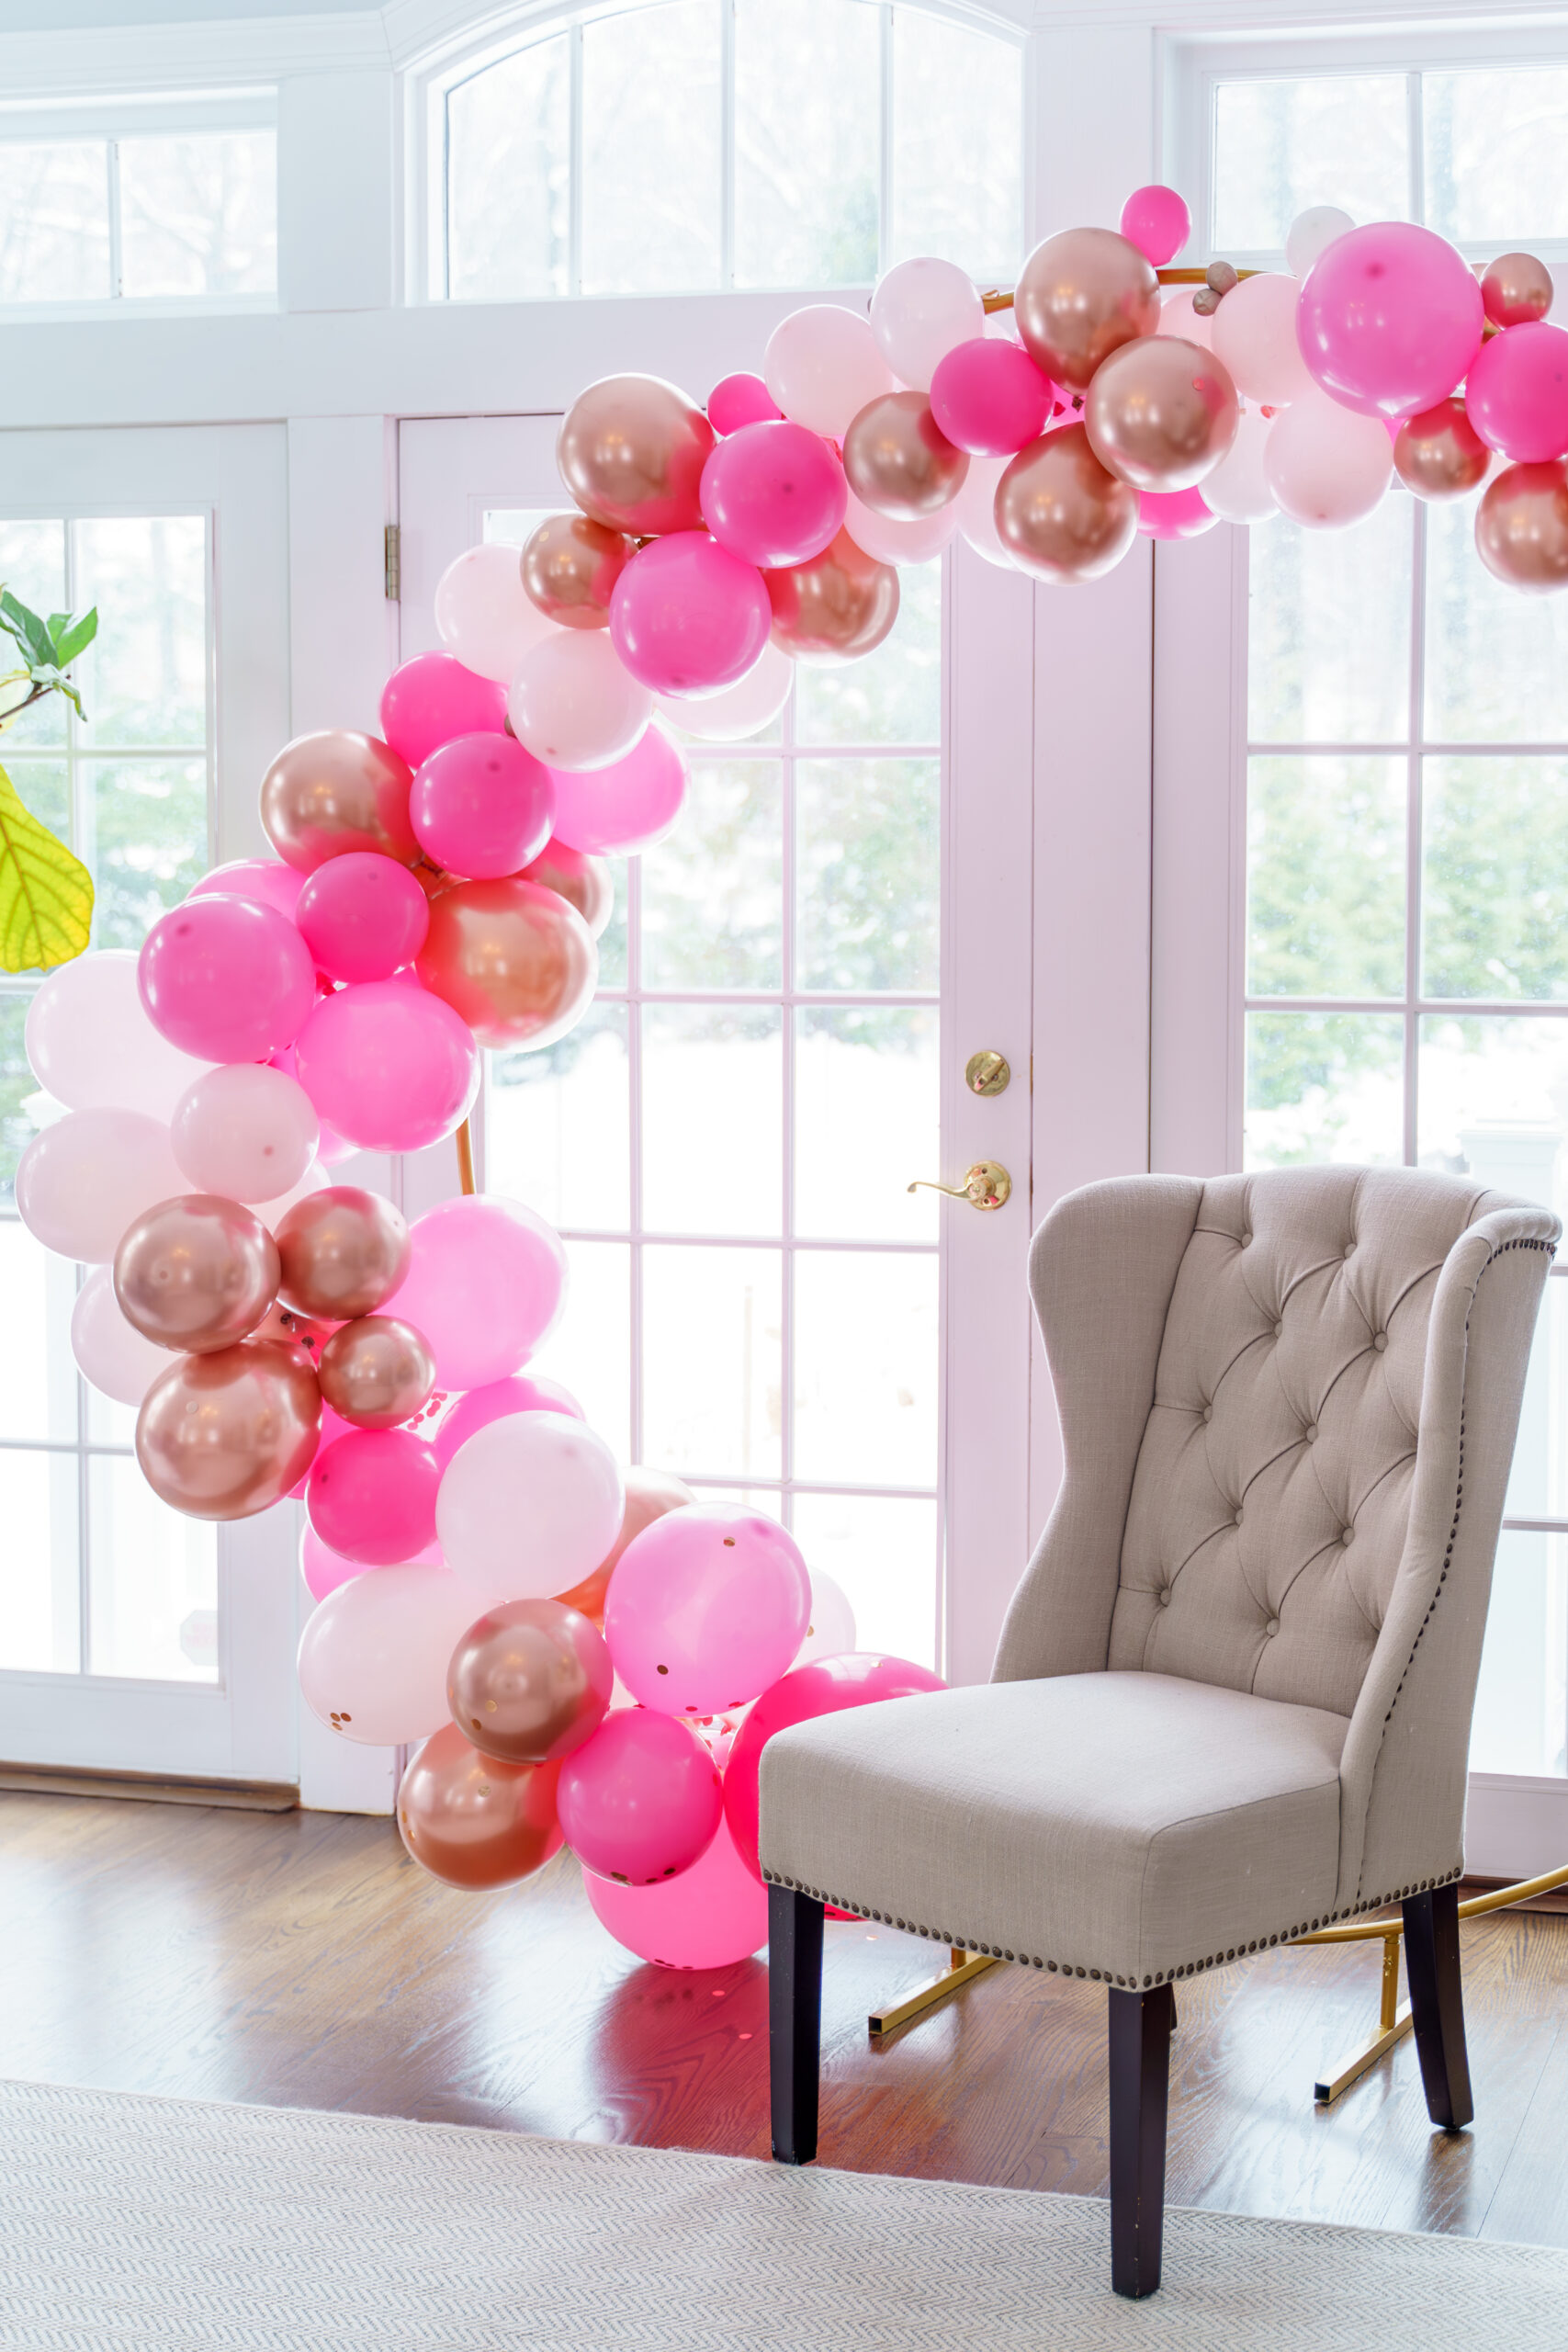
When all is said and done, this isn’t just a baby shower. It’s a gathering of love, a moment frozen in time to savor the beauty of new life, old friendships, and the shared anticipation of a tiny miracle just brewing. I raise my delicate tea cup to a job well done to my fellow hostesses. I hope my step-by-step recap will assist in the planning of your next baby sprinkle or shower, ideally stress-free at least until that first balloon pops!
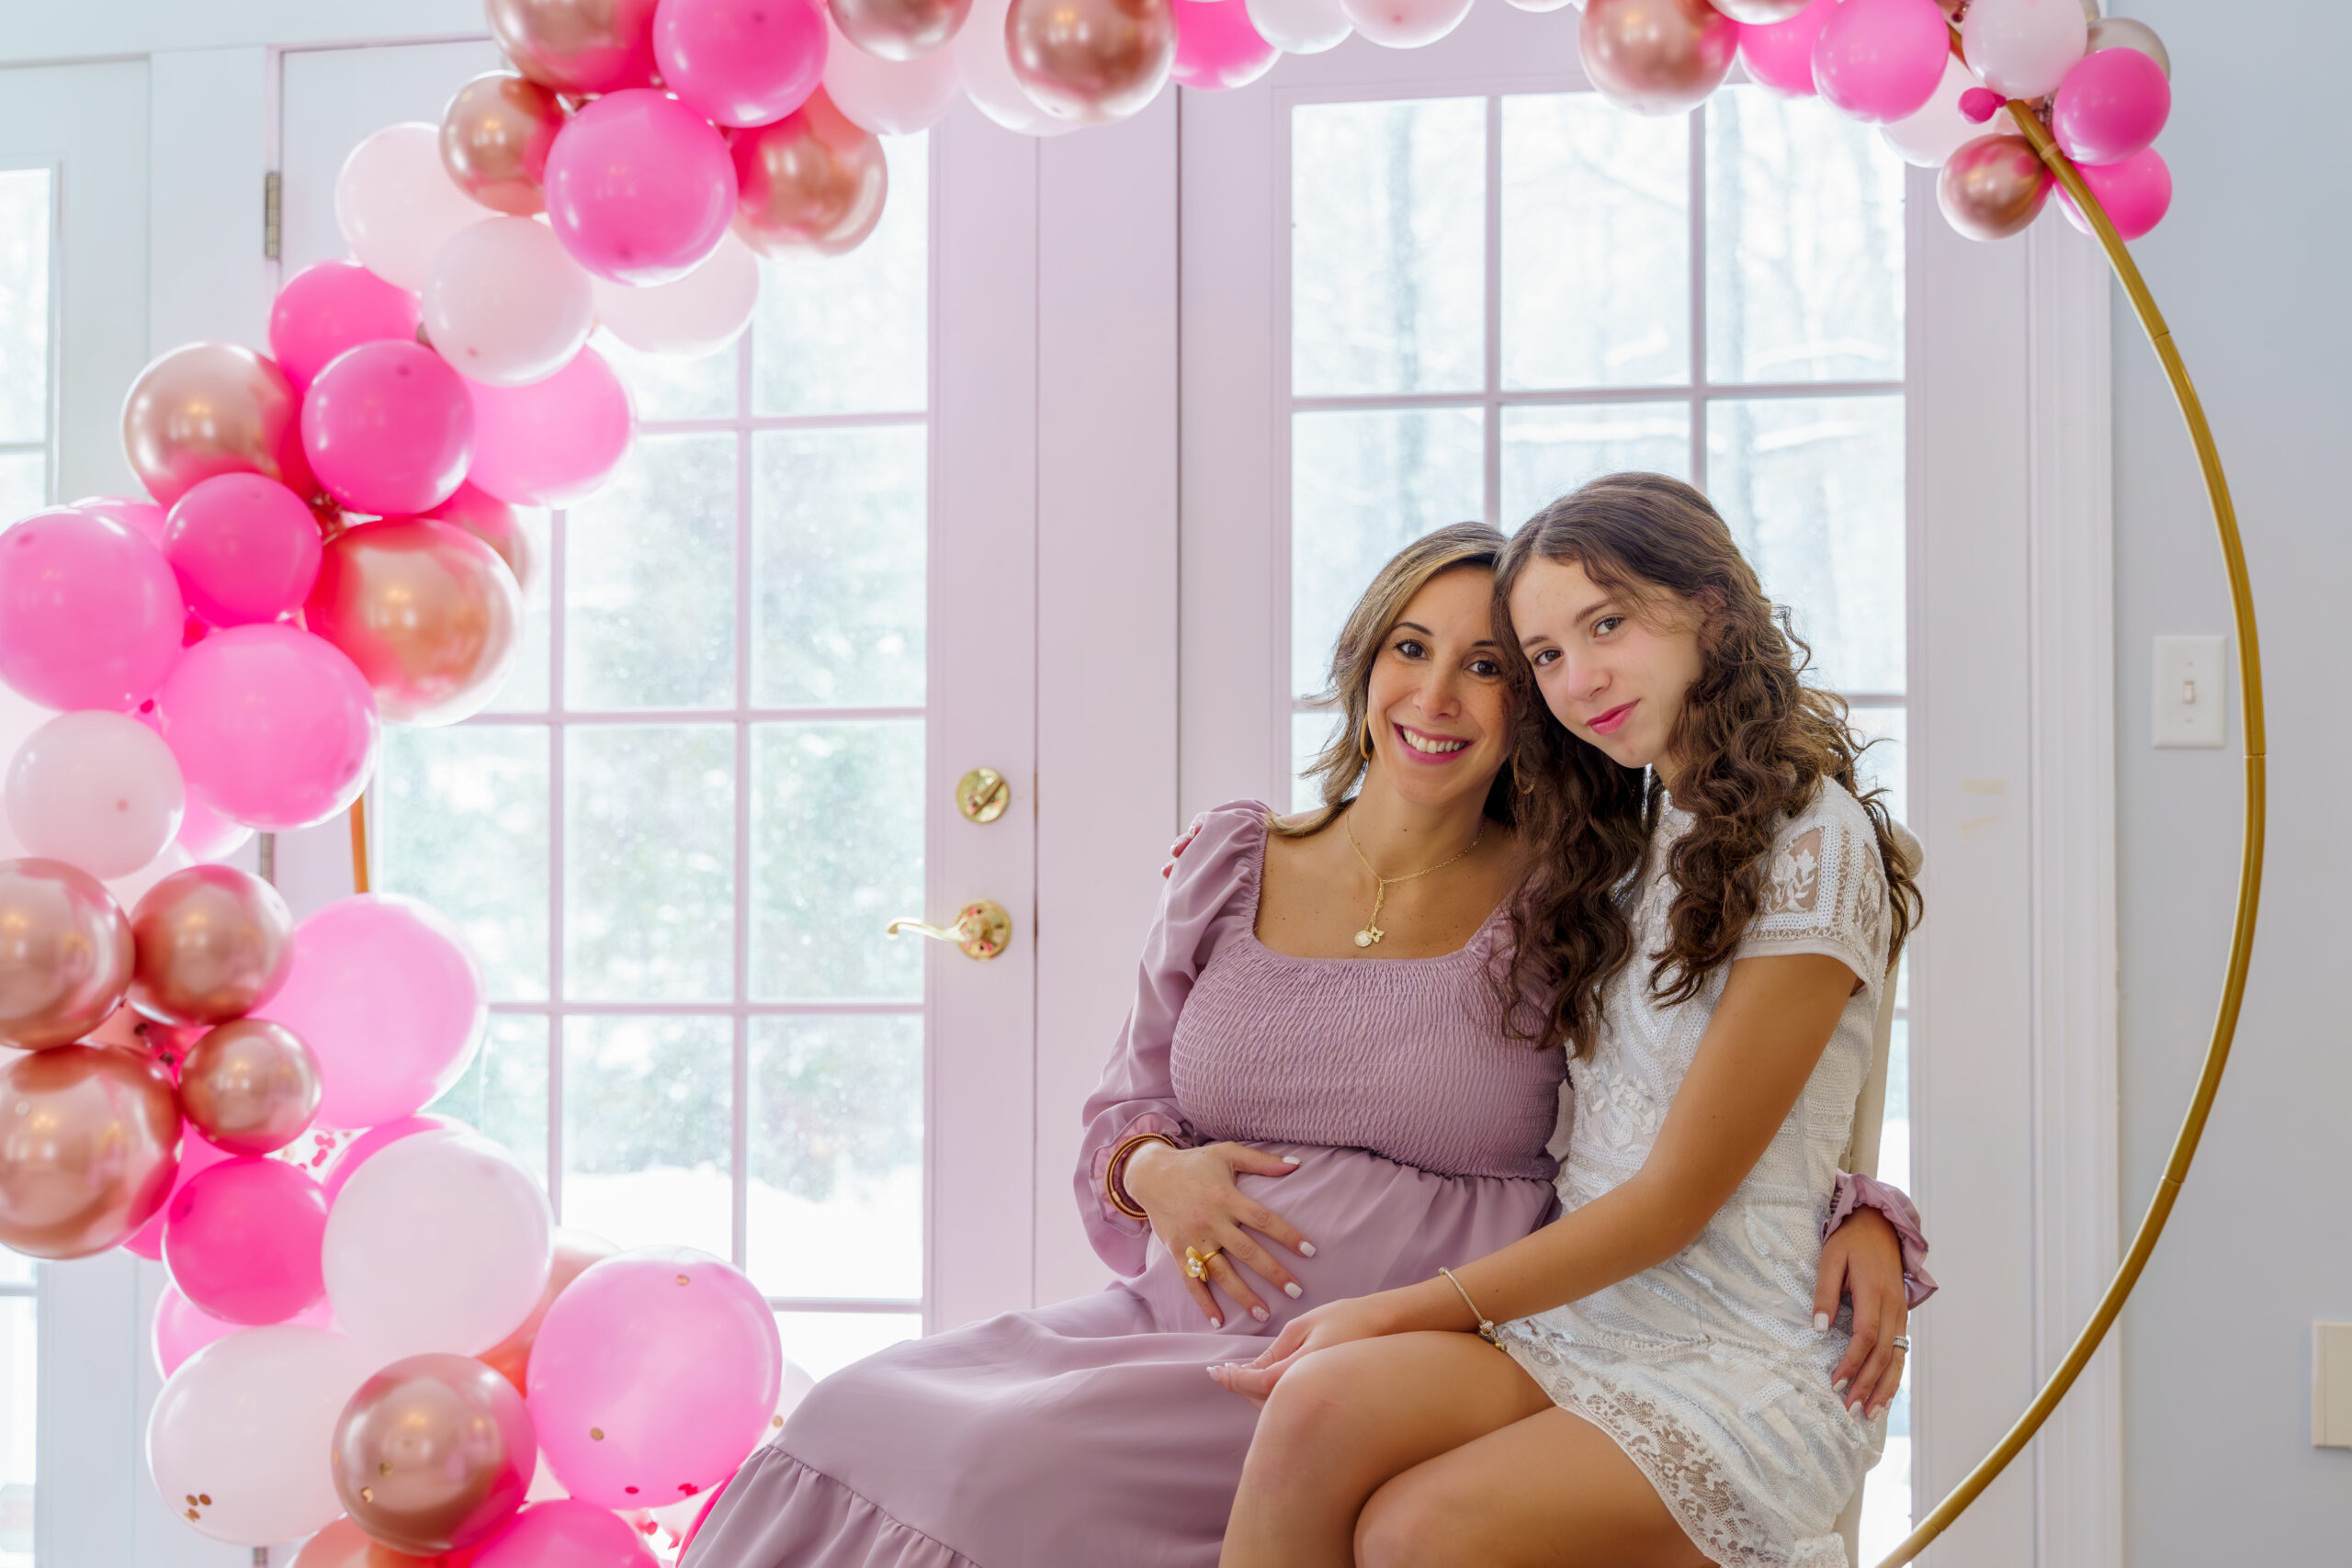
Lastly, congrats to my beautiful friend Stella, and her very first princess pictured here, Sofia. May their growing family’s future be as warm and fragrant as the finest cup of Earl Grey, shared with love and laughter.
Photography by Fha Share
*this post contains affiliate links*



Comments
Katie
Such a cute baby shower!