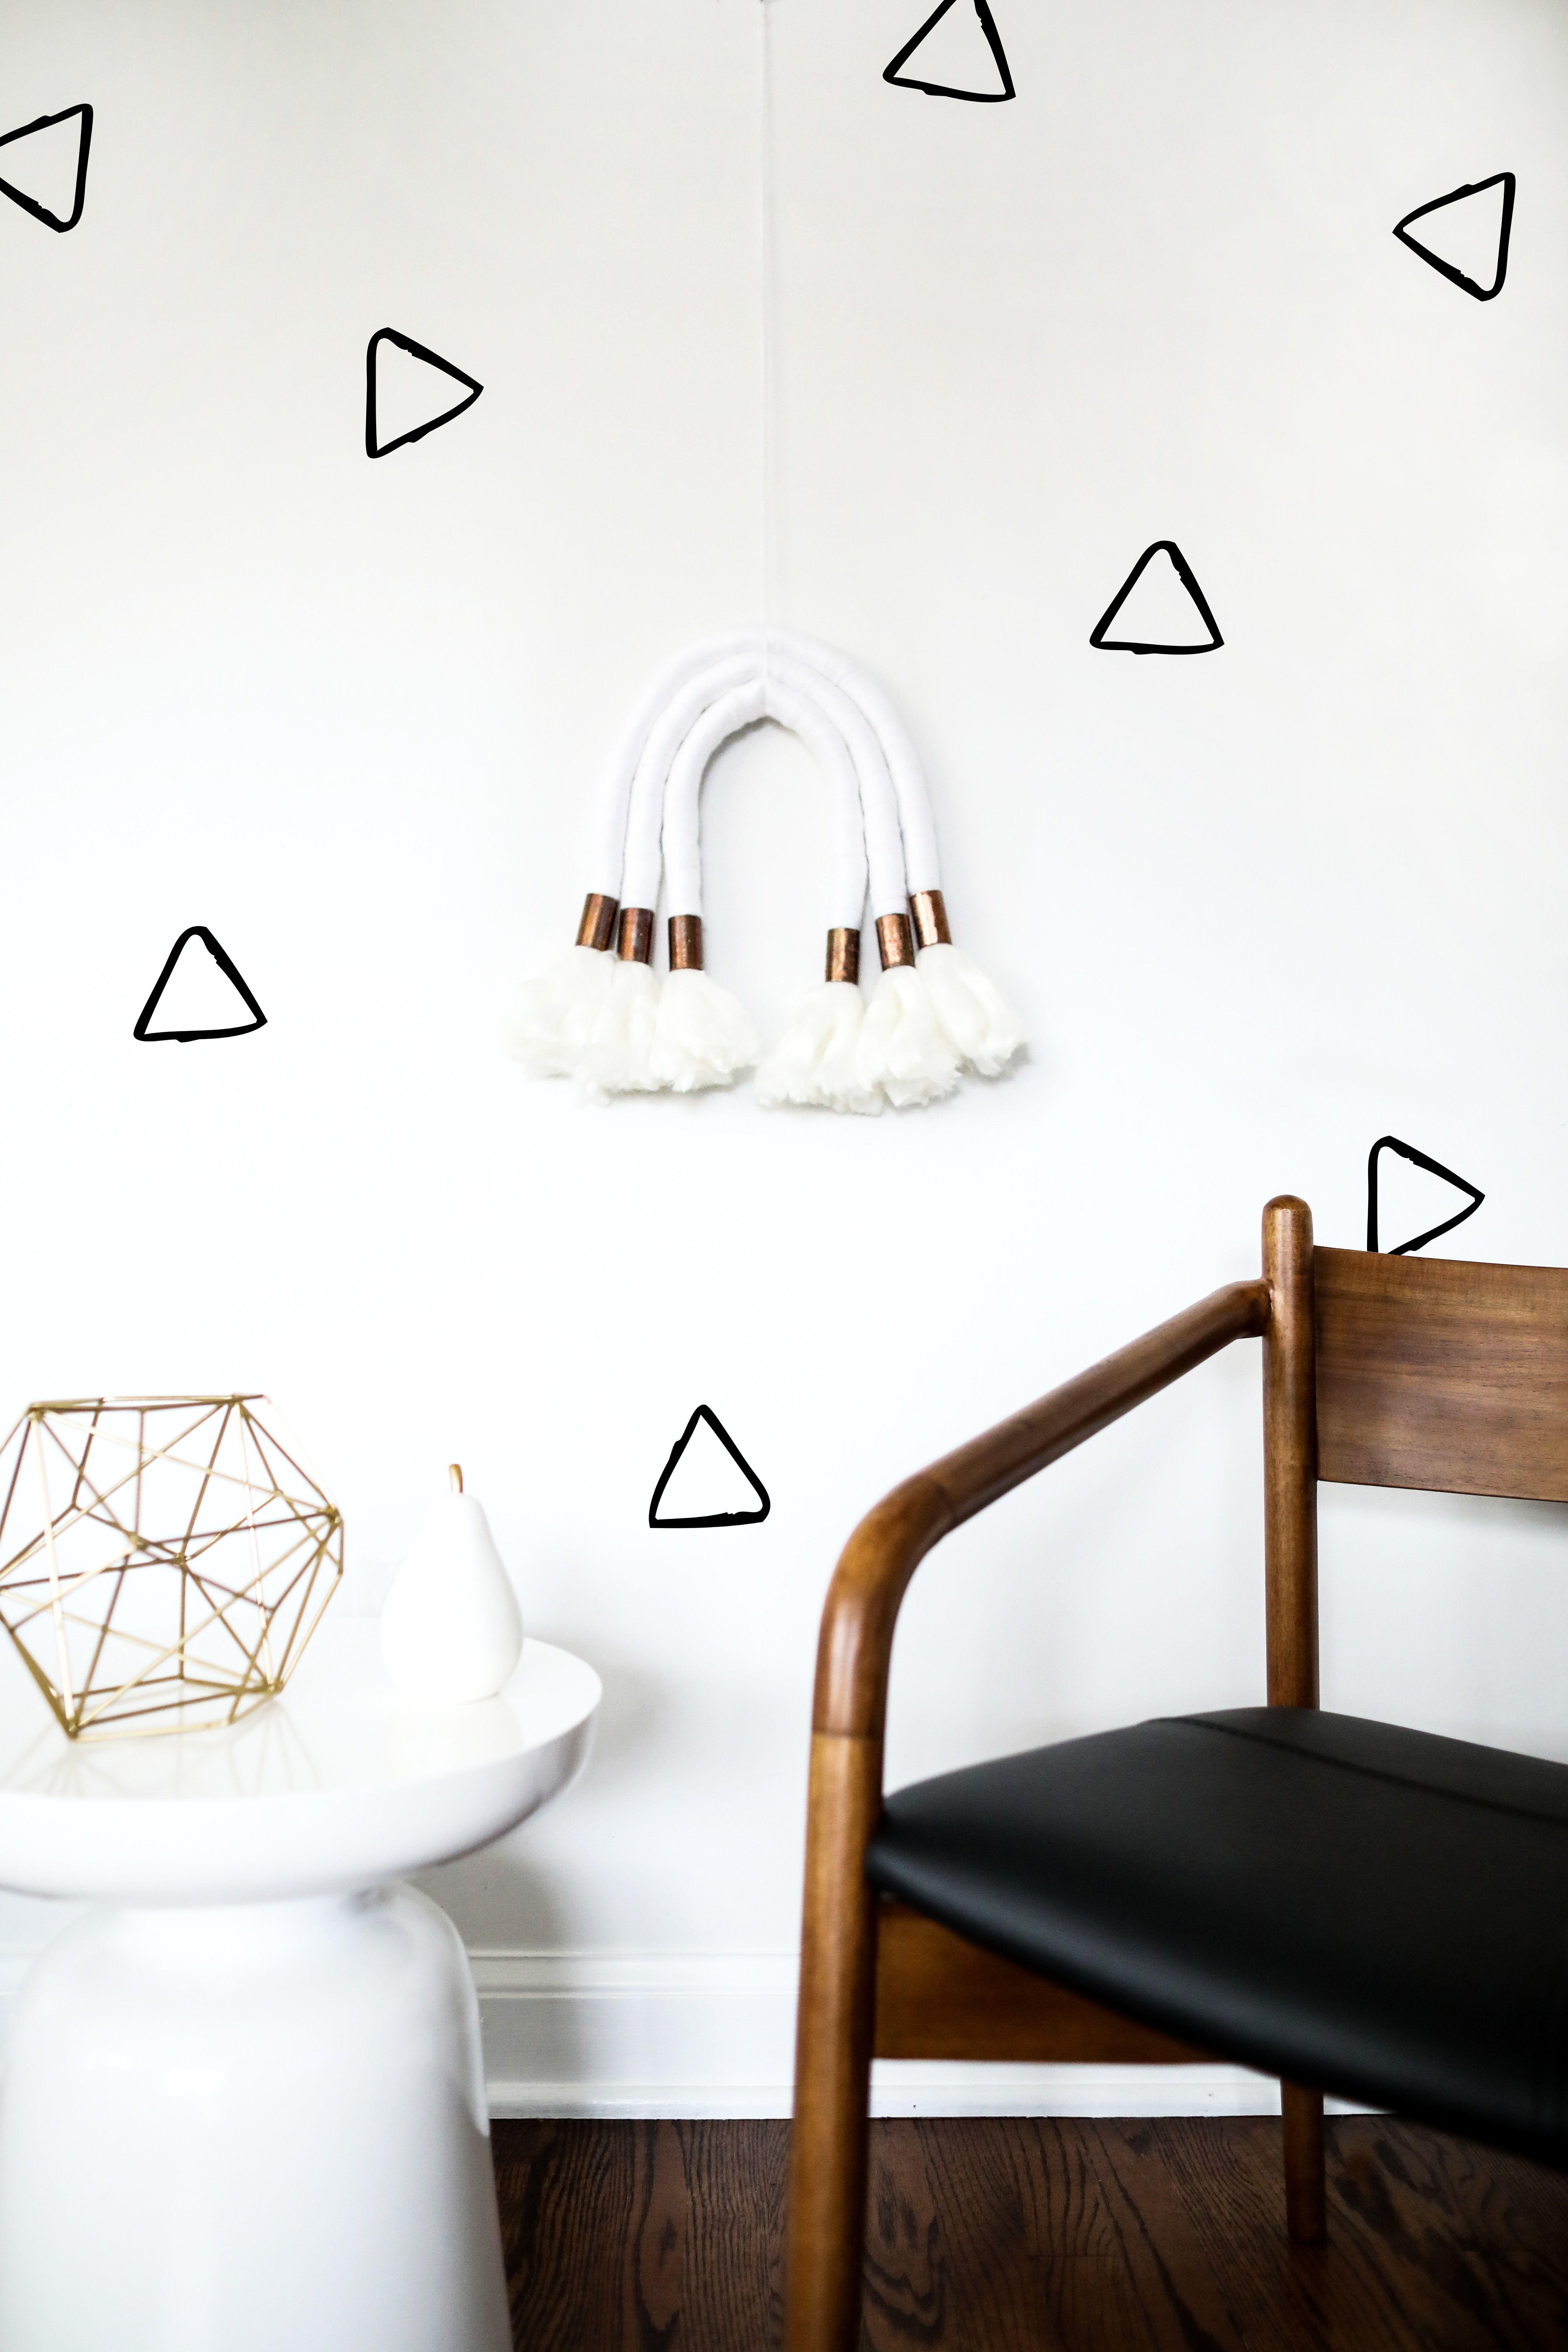
Who said rainbows can’t be white? For this month’s project, I wanted to create a neutral wall hanging piece that could work not only in a nursery but also in a big kid’s room. This wall hanging piece was created using white yarn and copper fittings. However, there are so many different possibilities when creating this piece. So I suggest you get creative with colors and size so you create a hanging piece that is just right for your space. In my case, the white yarn adorned with copper fittings was the exact look I was going after.
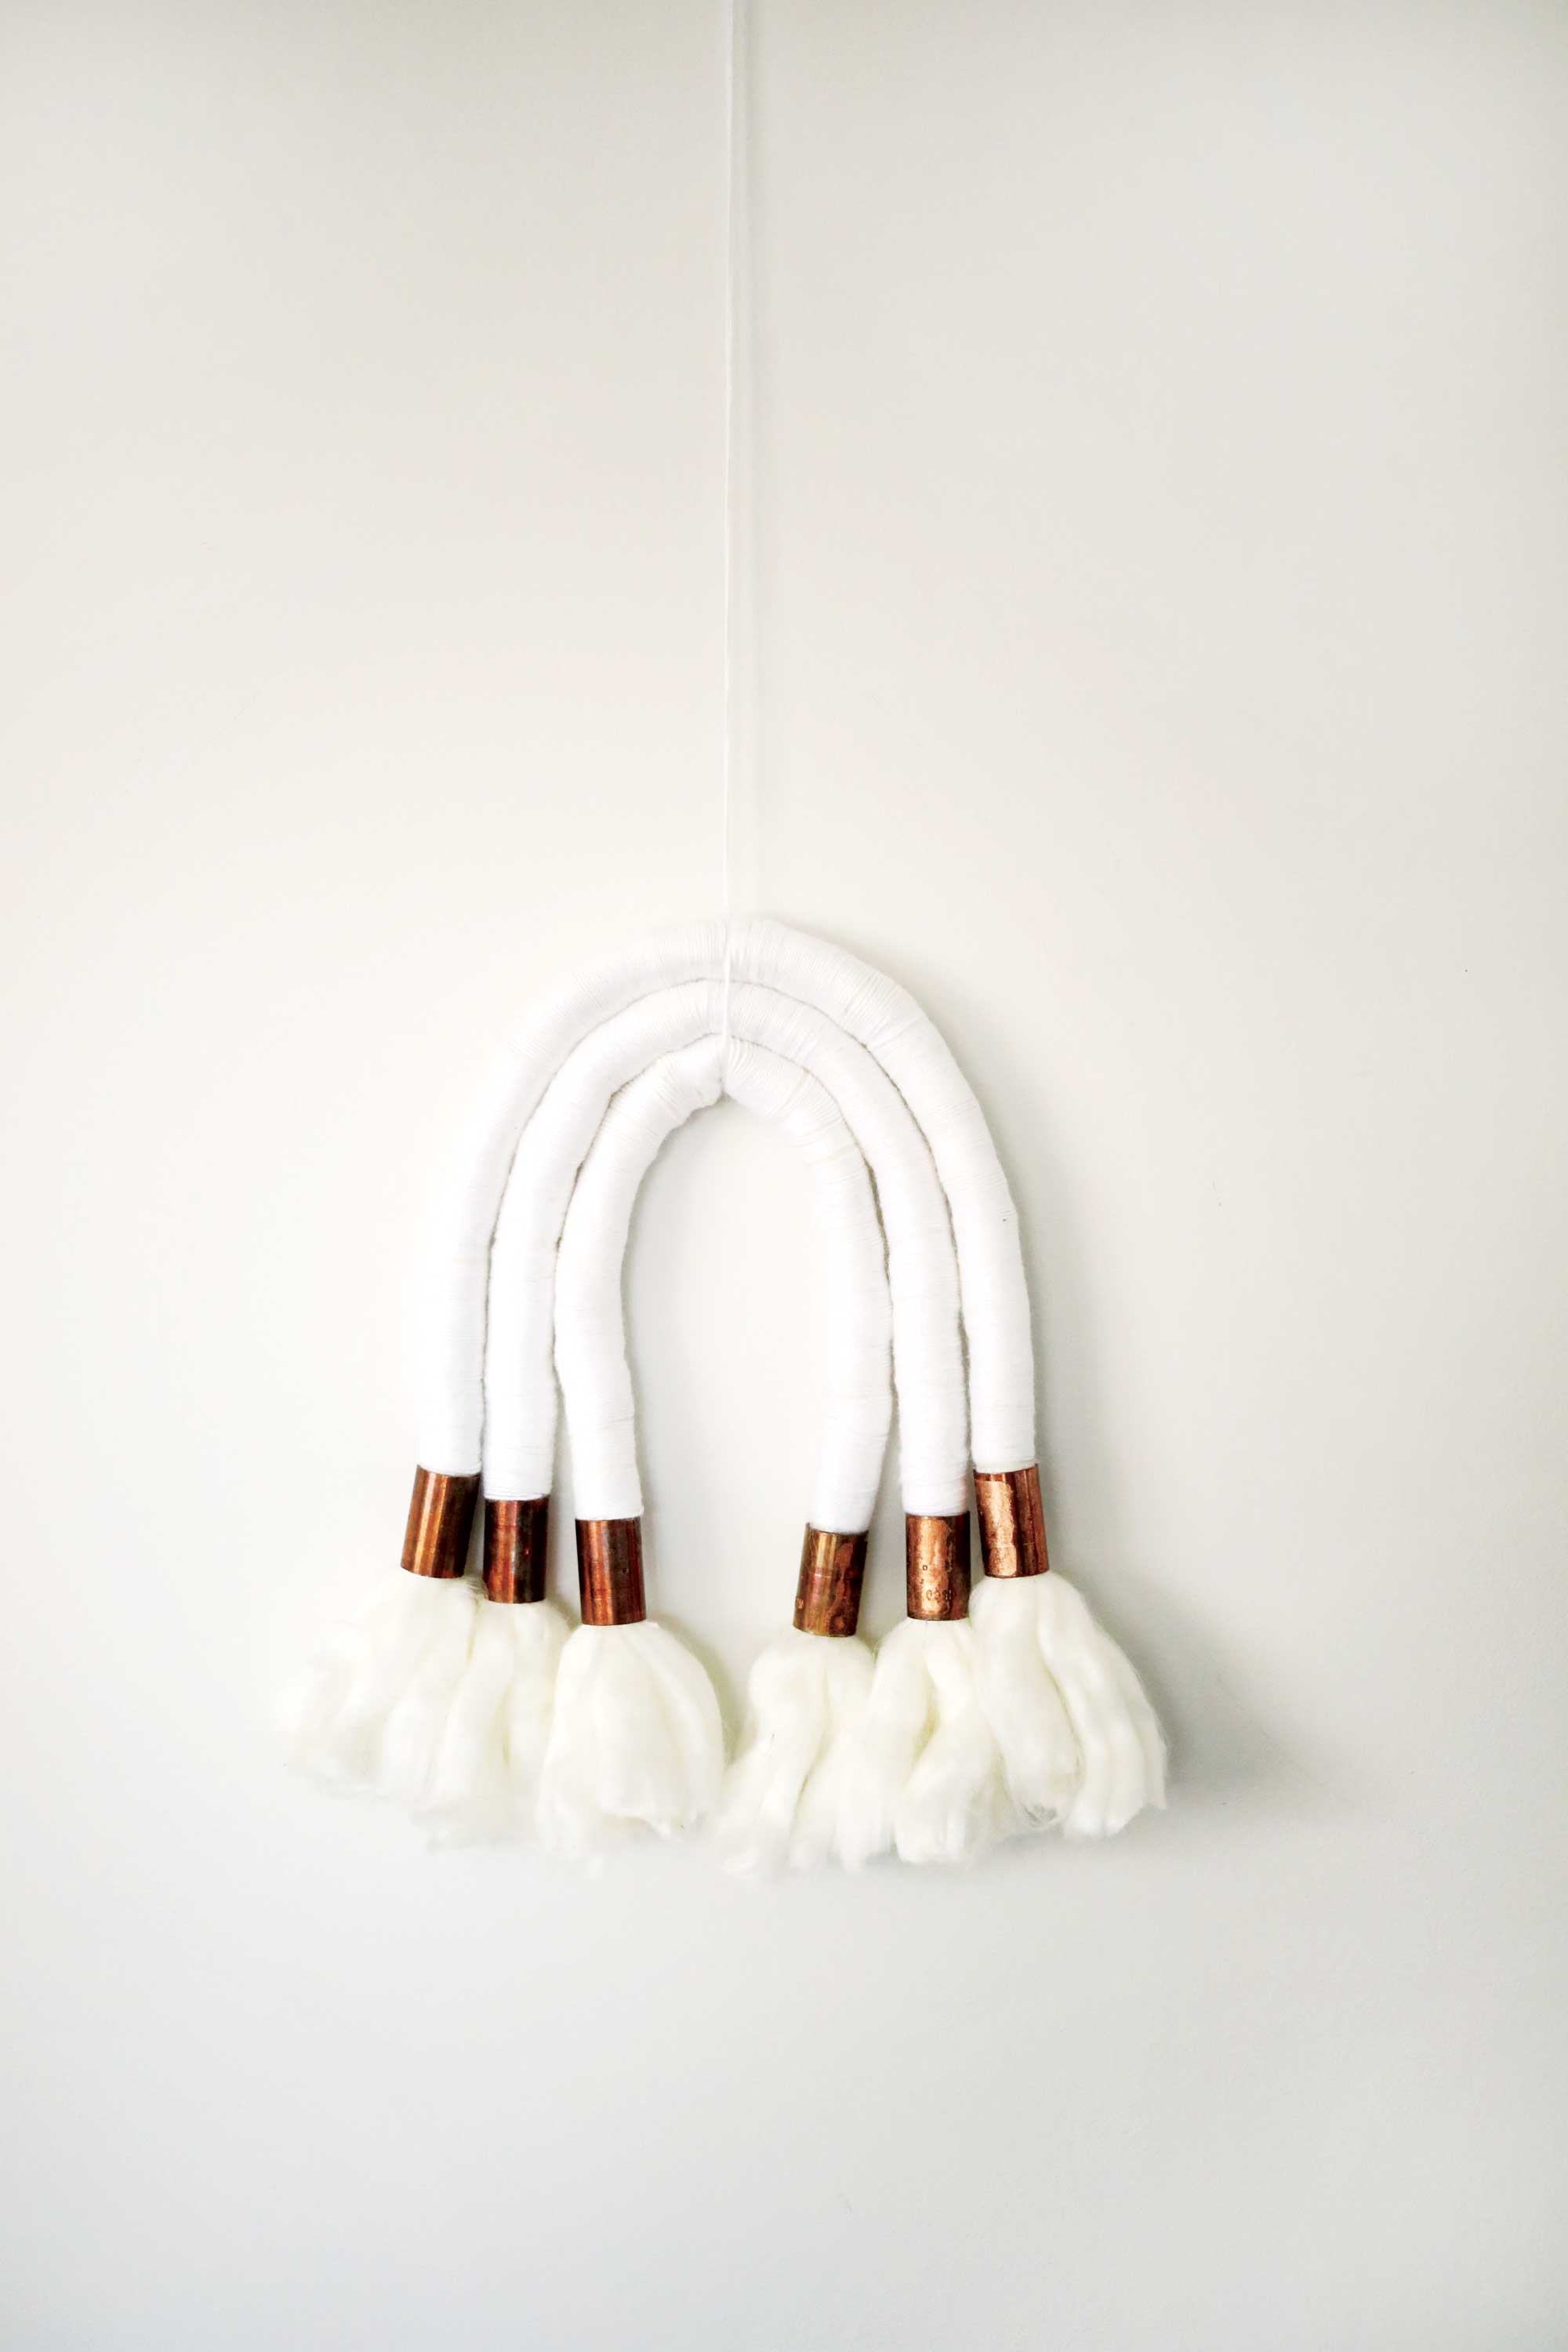

MATERIALS: Thick yarn, thin yarn and copper fittings
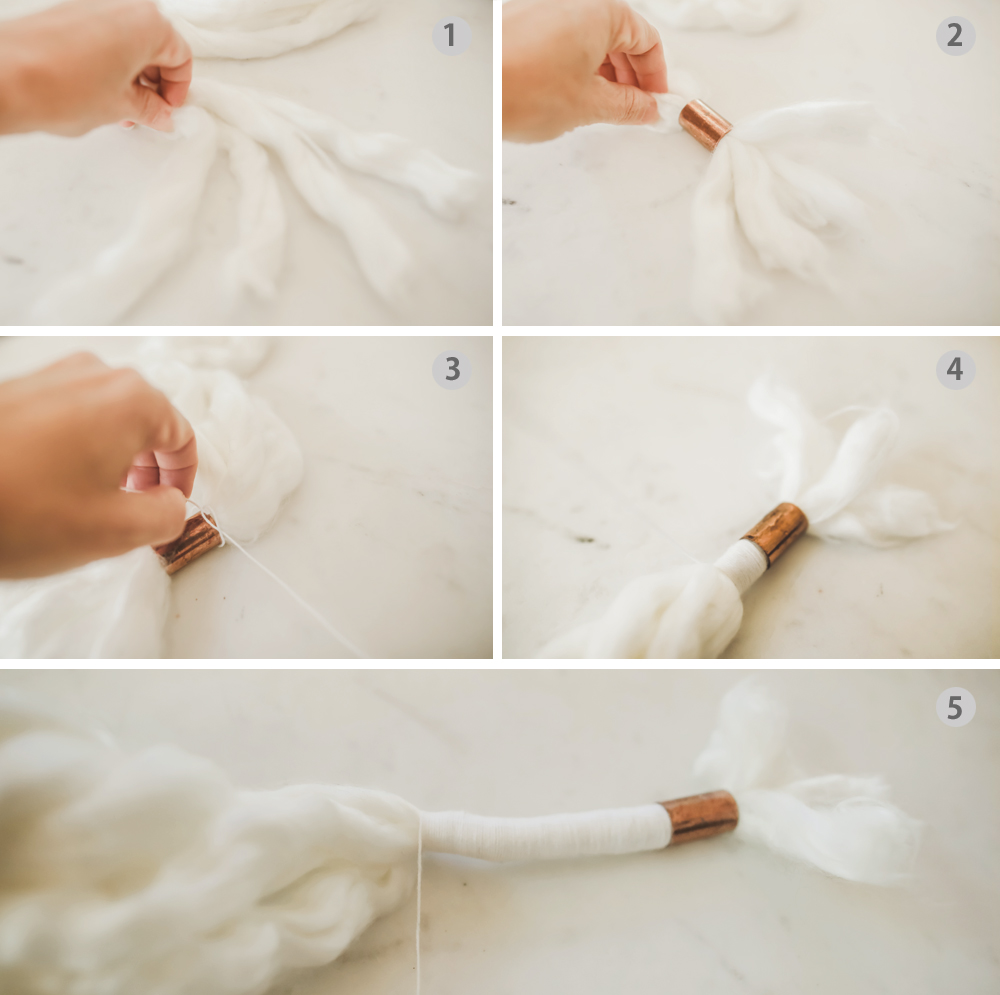
STEP-BY-STEP
1. Decide on how big you want your hanging piece to be. Cut four strands of the thick yarn in the desired length and group them together like photo 1.
2. Insert the copper fitting to secure the yarn in place leaving about 2.5 inches of yarn in the end. If you need to add another strand of yarn that is fine. Add more until the copper fitting is firmly secured.
3. Using the thin yarn, tie a knot right by the copper fitting like photo 3.
4. Start looping your thin yarn around the thick fluffy yarn. Keep in mind that depending on how thin your yarn is, the project might take longer. I used materials I had available at home. But if I had to source the yarn, I would have opted for something a little thicker.
5. Keep looping the thin yarn until you reach the end of the strands. Then, tie a knot and finish it off by attaching the copper fitting to the other end. Once you have one piece done, repeat the same steps, creating two more pieces. Note that each new piece should be about 1 inch shorter than the previous one.
6. Once you have completed all three pieces, secure them together using the same thin yarn and hang them on the wall.
For more DIY ideas, visit us here.
*this post contains affiliate links*

