I recently was searching for some decor ideas for my girls’ room, and I stumbled across some beautiful 3D floral letters that caught my eye. There are lots of options for these floral letters on Etsy, but they cost more than I had expected (gulp), so I decided to try my hand at making one myself! This way, I could pick out the exact type and color of flowers that I wanted. Keep reading to see how I went about creating a gorgeous monogram initial letter of my own!
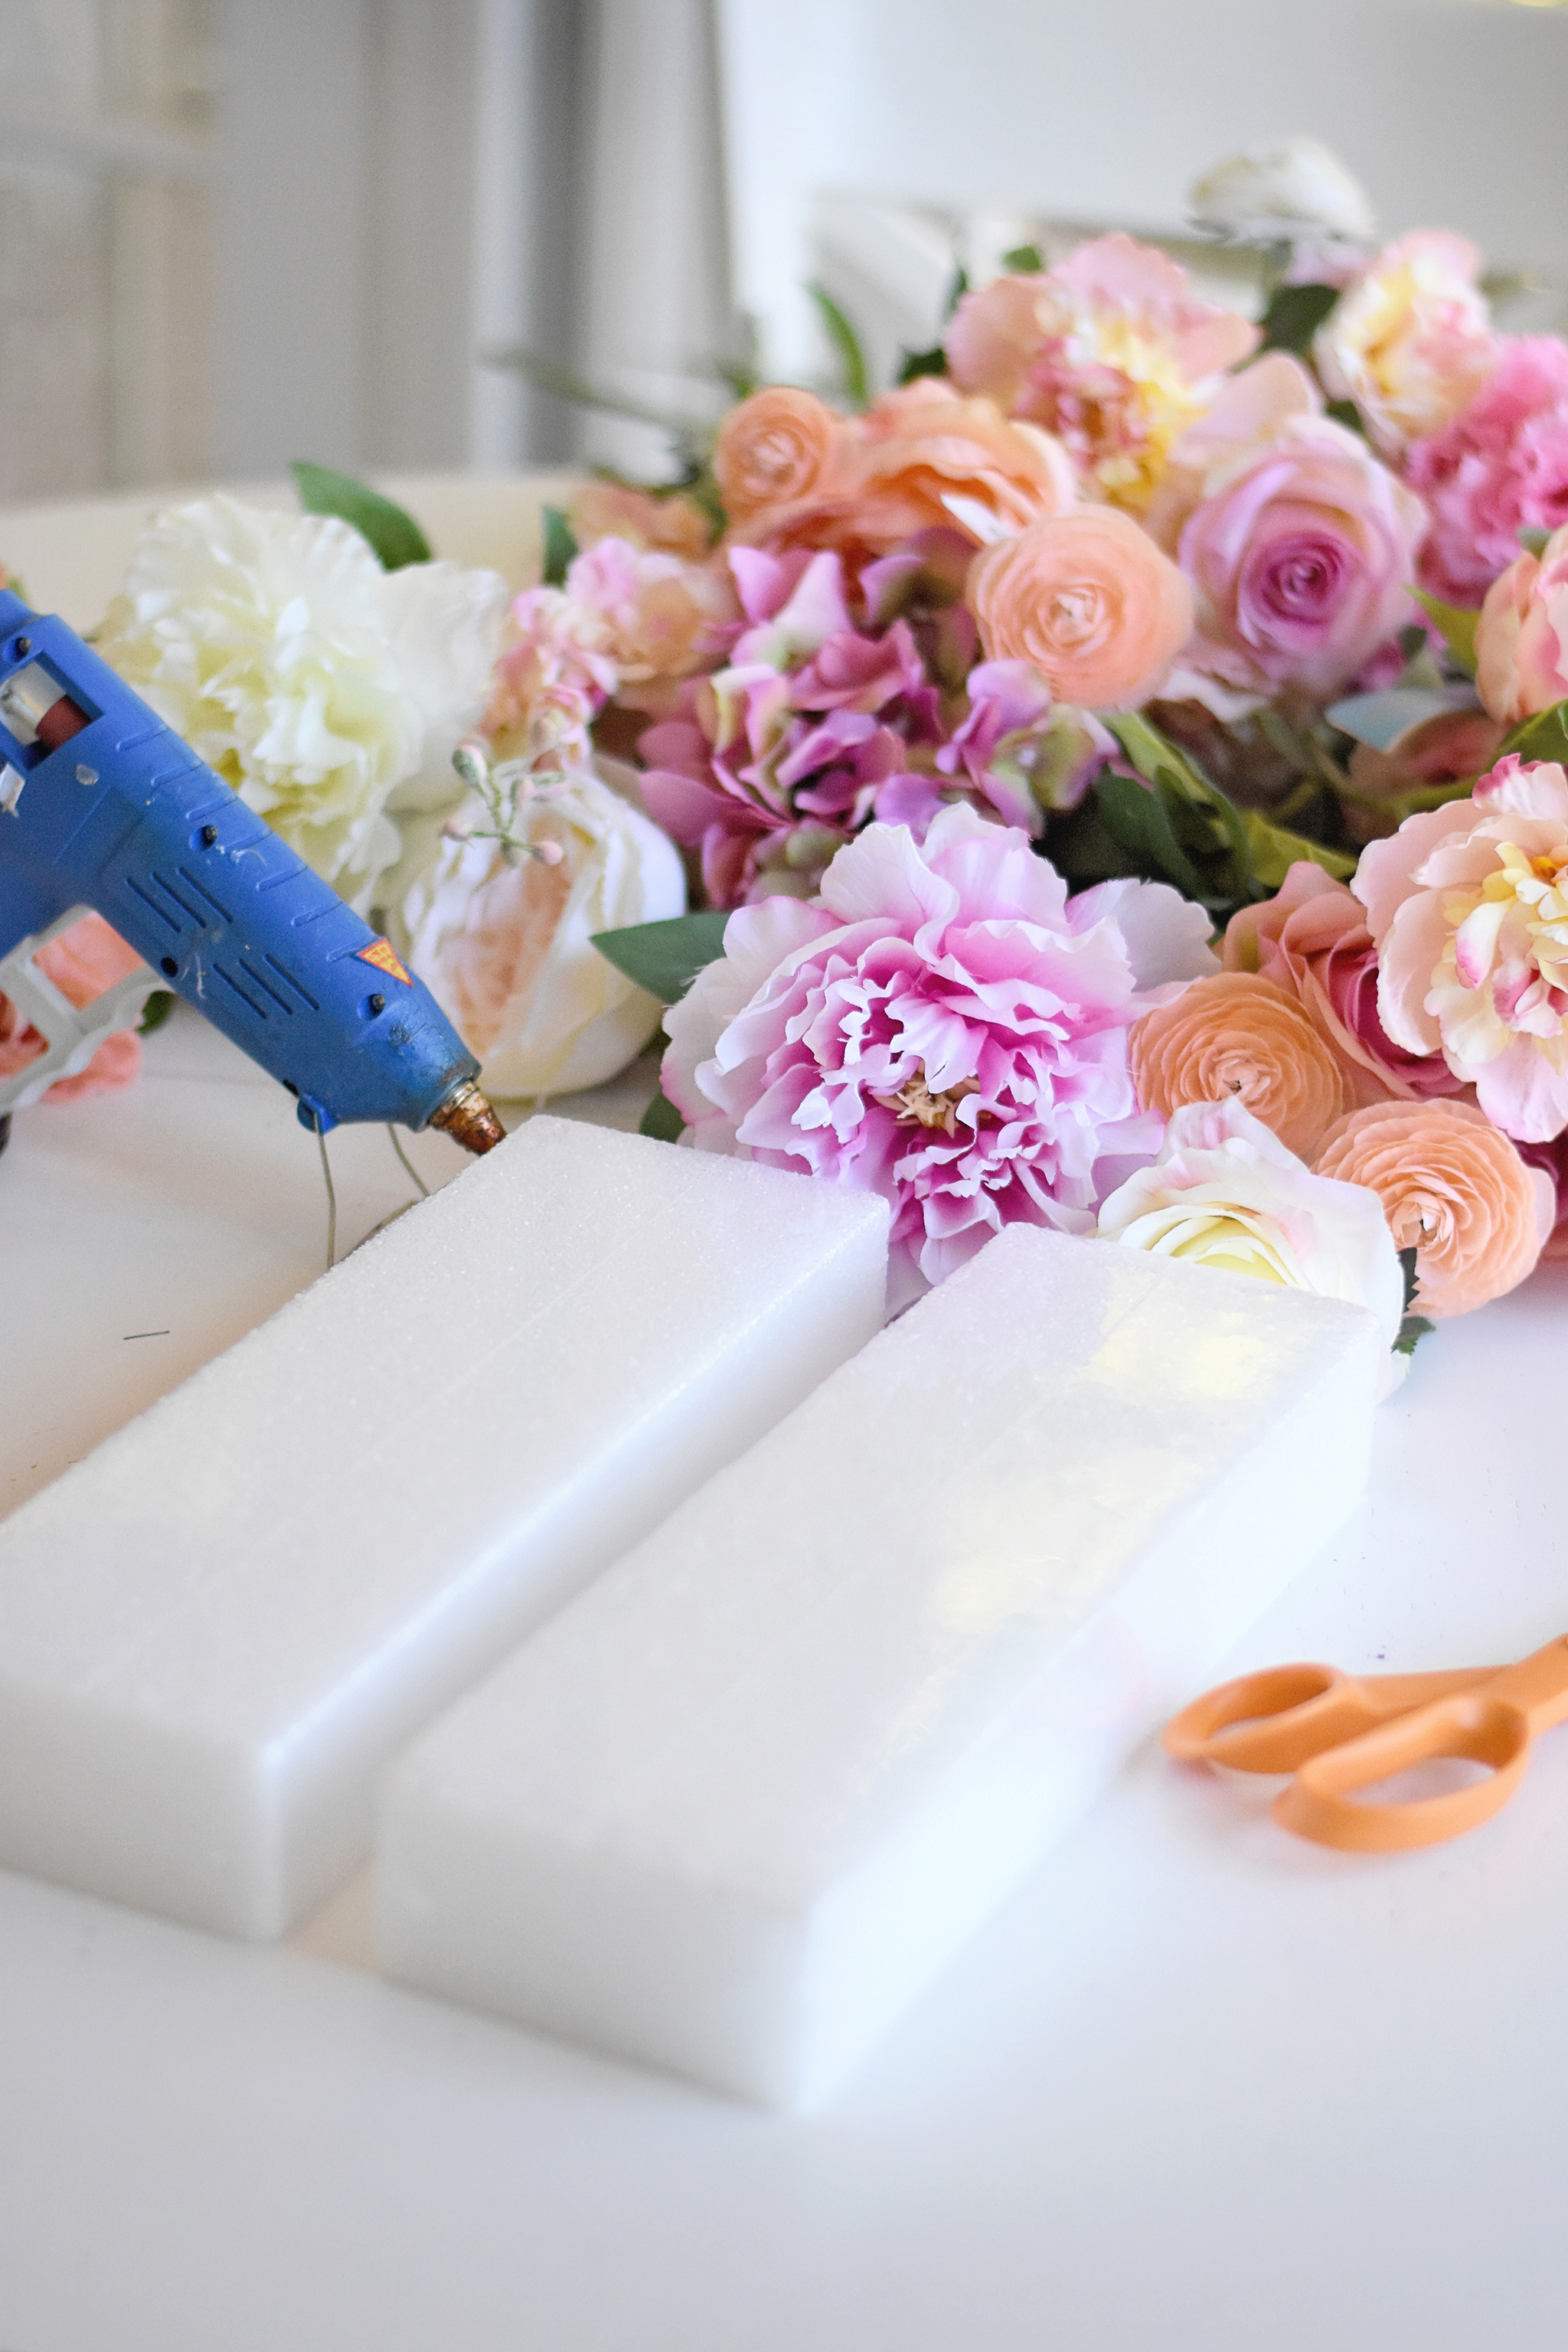
Materials:
– Faux florals (buy more than you think you’ll need, so that you don’t have bare spots and don’t forget about the sides!)
– Styrofoam (about 2″ thick to make the shape of the letter you want, you may need to cut this depending upon your letter) or you can try these pre-cut styrofoam letters
– Hanging mechanism if you plan to hang this on a wall (either a picture frame hanger mounted to the back, or Command Picture Hanging Strips)
– Scissors and glue gun
– Wooden skewers or toothpicks (optional, for securing foam together and for poking holes for some flowers)
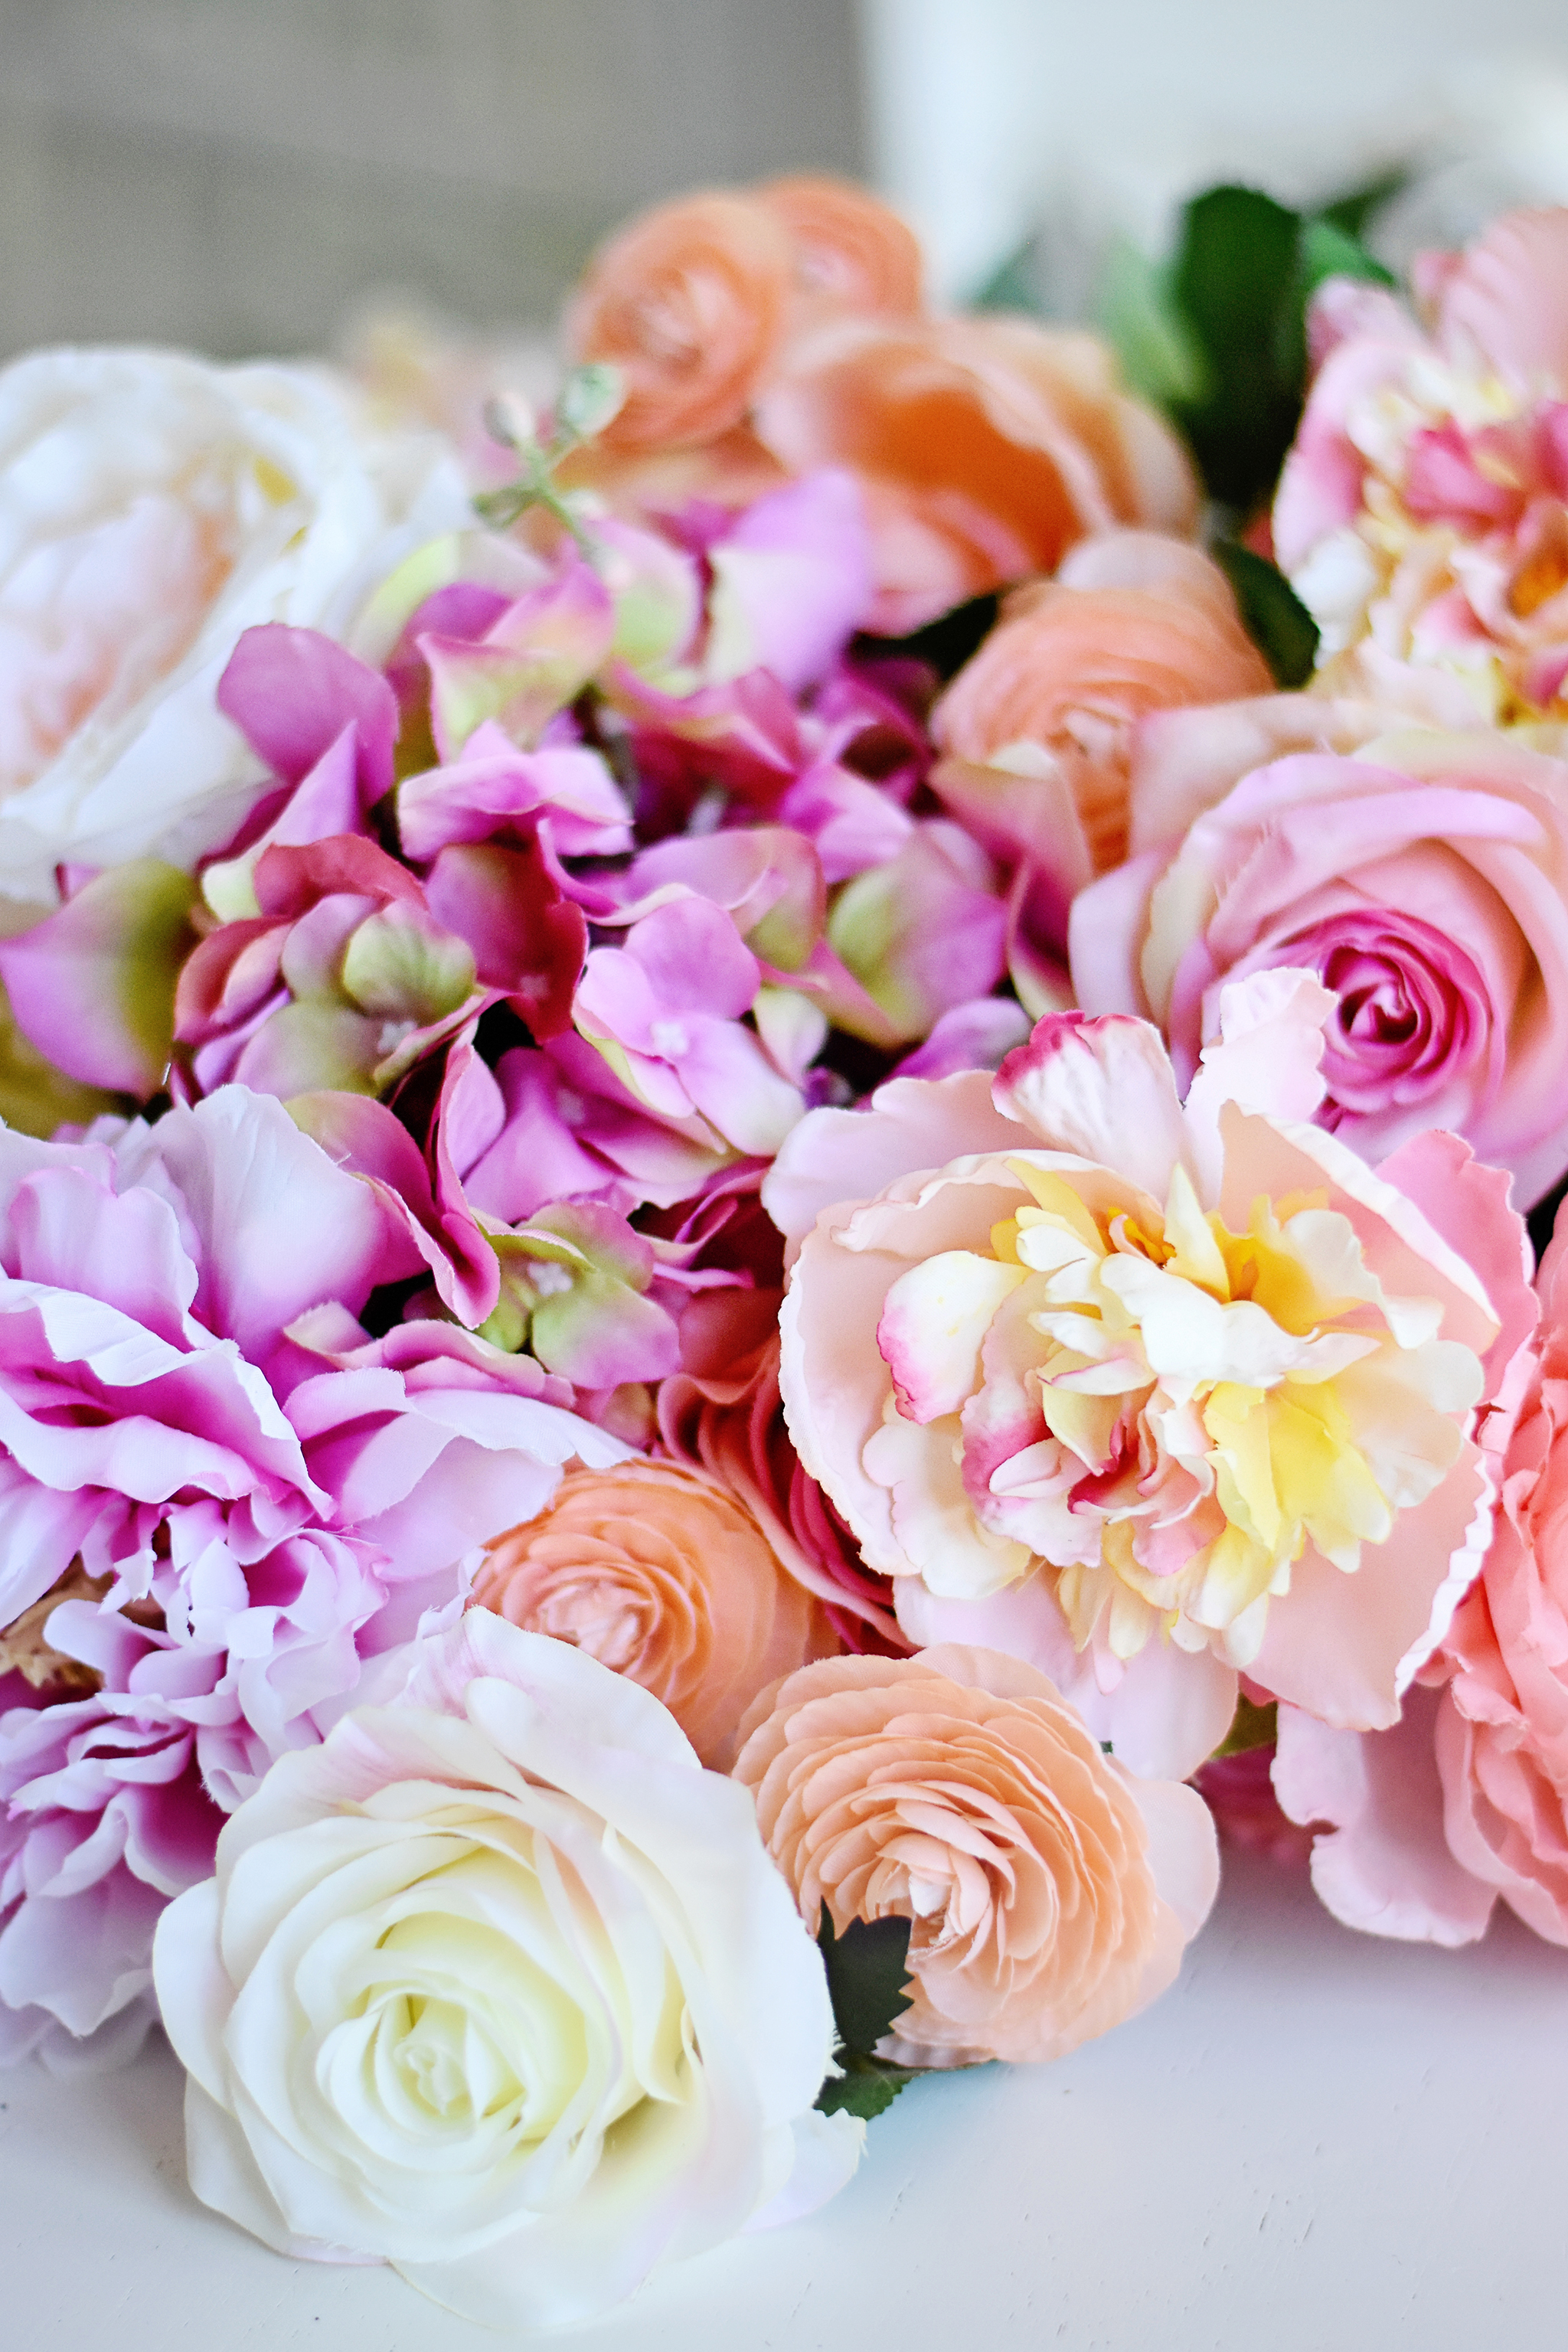
I went shopping at Michael’s and Joann for faux floral blooms in the specific pink and coral color scheme I wanted to use for this project. Aren’t the colors dreamy?
While I was at the craft store, I also purchased blocks of white styrofoam that I used to create the shape of letter L. I realized that I was extremely lucky because I didn’t have to make a curvy letter, like a C or an S! If you need to make a letter like that, some more work will be involved as you will need a knife to cut down a larger block of styrofoam into your specific letter shape. Or you can try a pre-cut styrofoam letter.
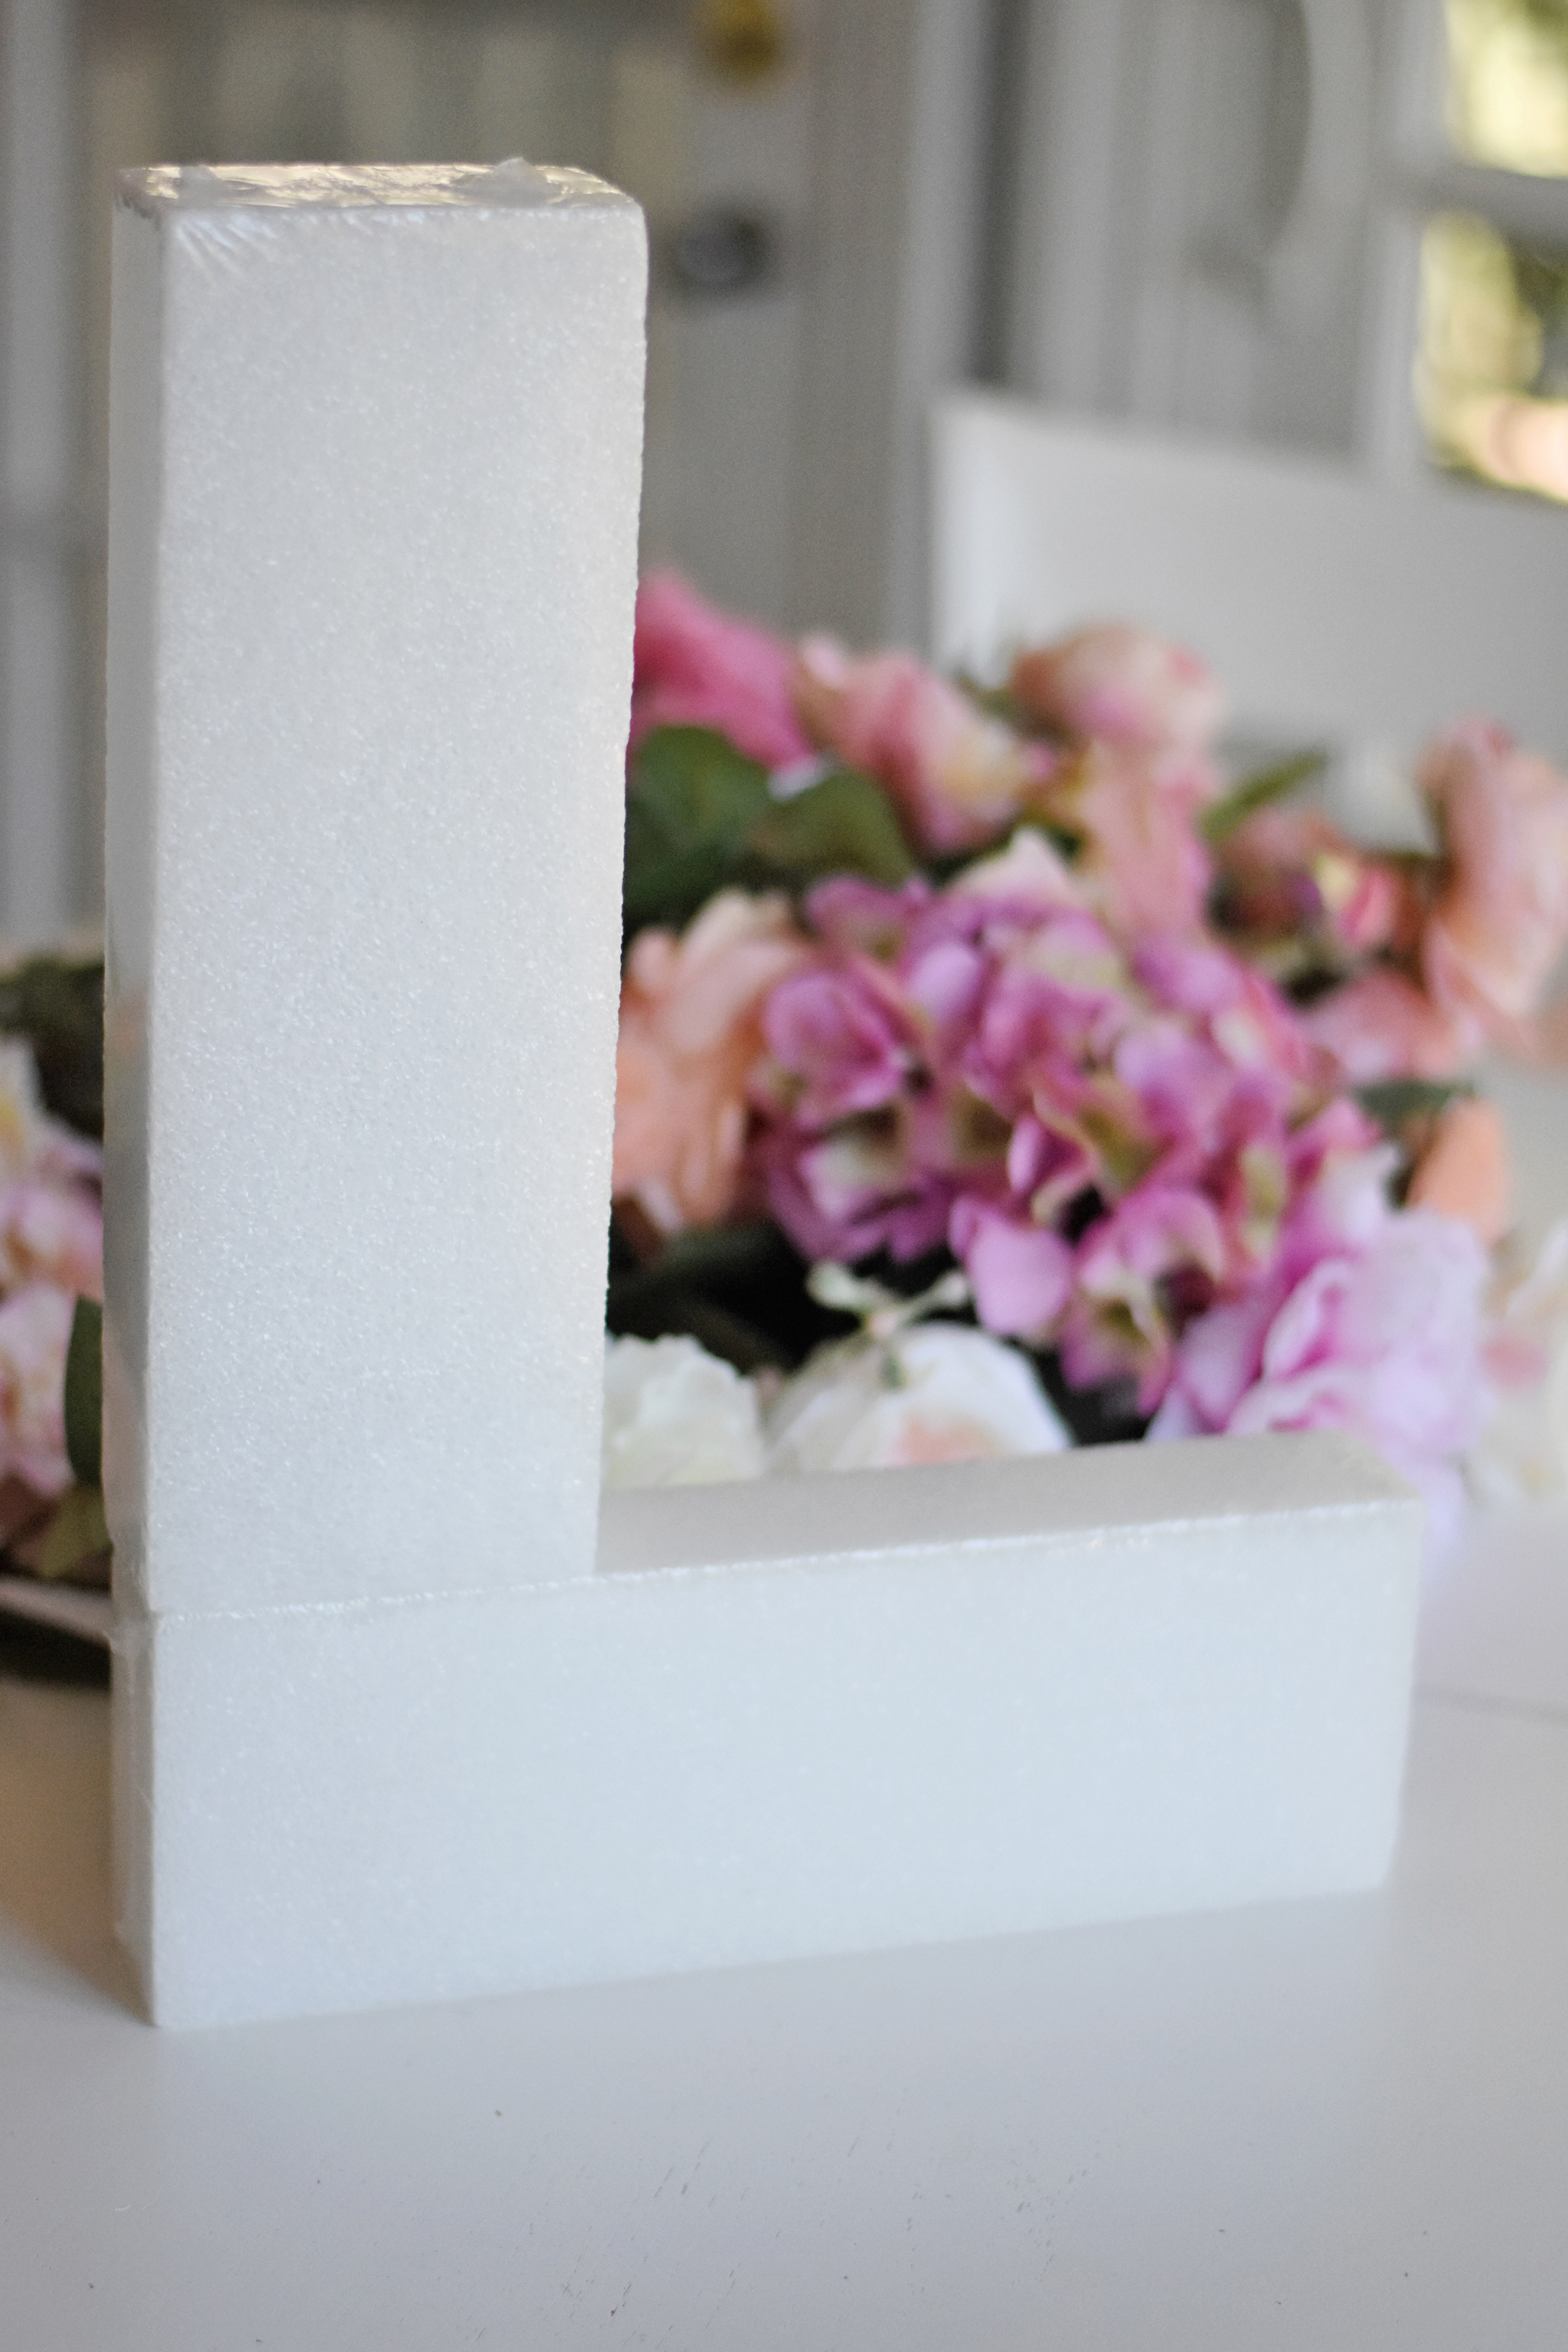
My original plan was to take the styrofoam OUT of the plastic wrap But, as I started making the letter, I realized that it may actually be better to leave the styrofoam blocks inside their plastic wrapping. It created far less mess to do it this way, and also, it did help to hold some of the flowers in place if I accidentally poked the stems too far through the foam. I am certainly glad I realized this helpful hint prior to constructing my letter!
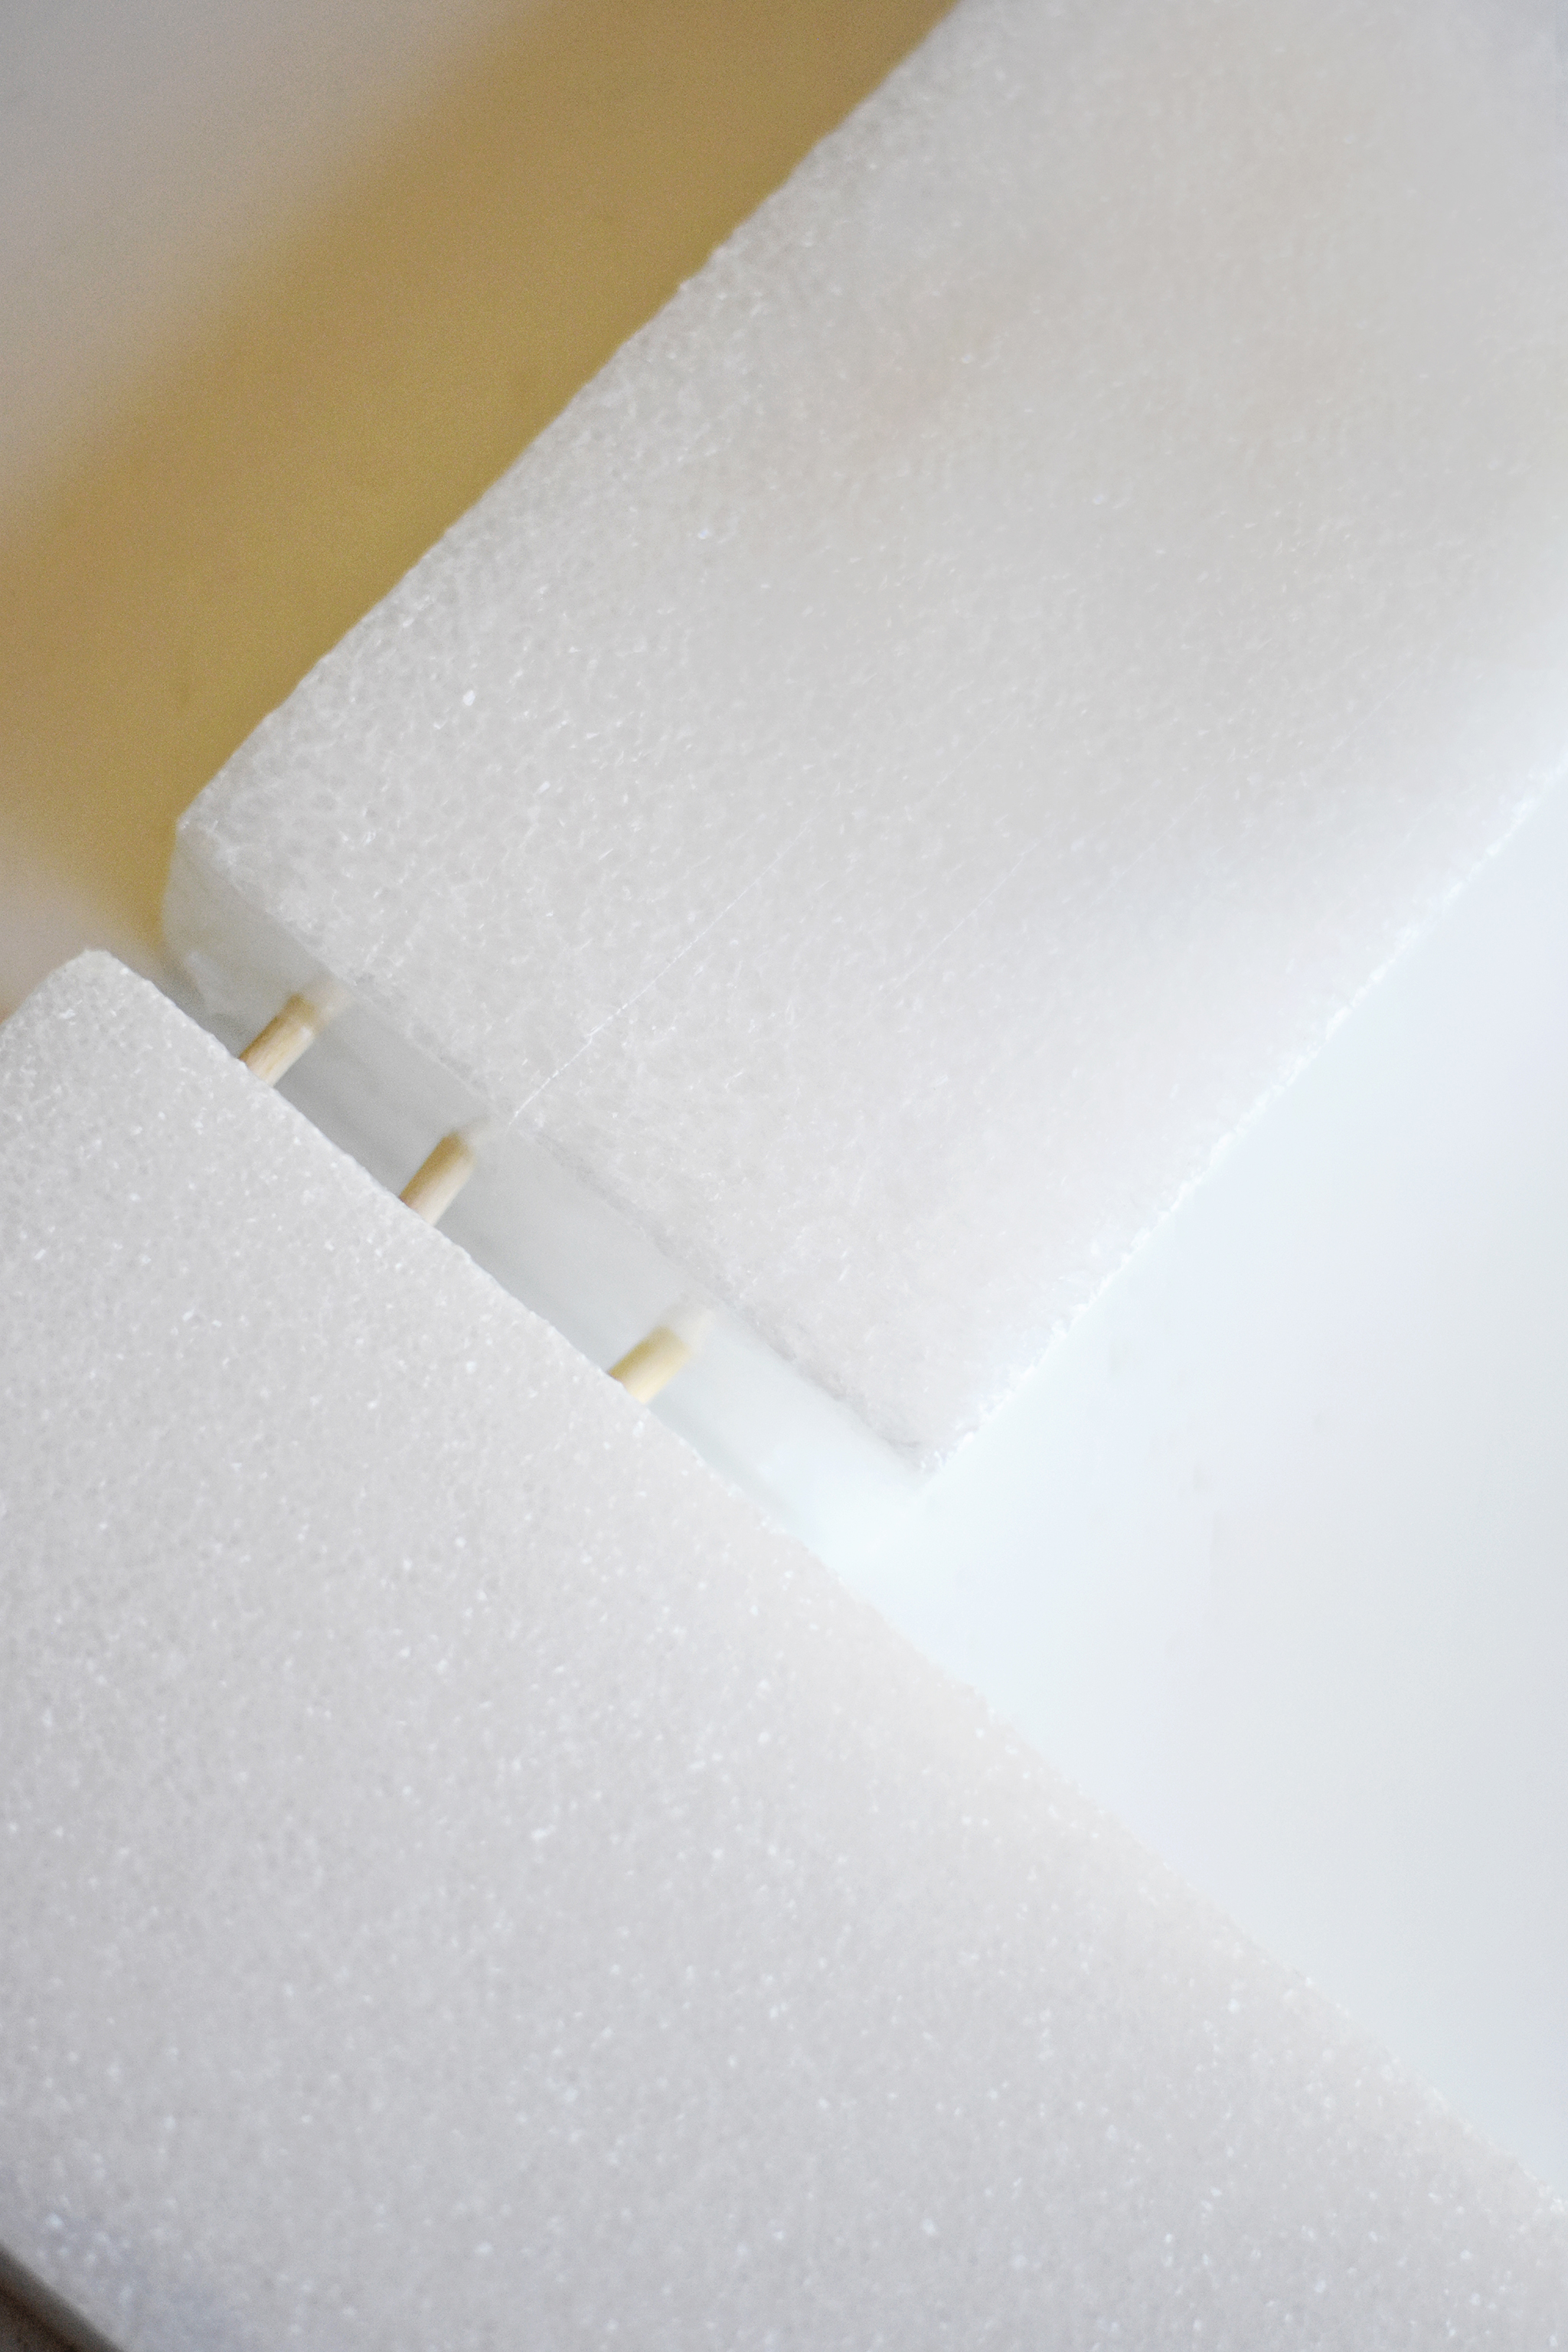
To hold my styrofoam blocks together in my letter L shape, I used small wooden skewers. Then I just pushed the styrofoam down onto the skewers until it was secure.
Next, it was time to start cutting the faux florals. I left about a 1″ stem on all the flowers that I was using. Since my foam was 2″ thick, I didn’t want to make my stems too long and risk them poking out the other side.
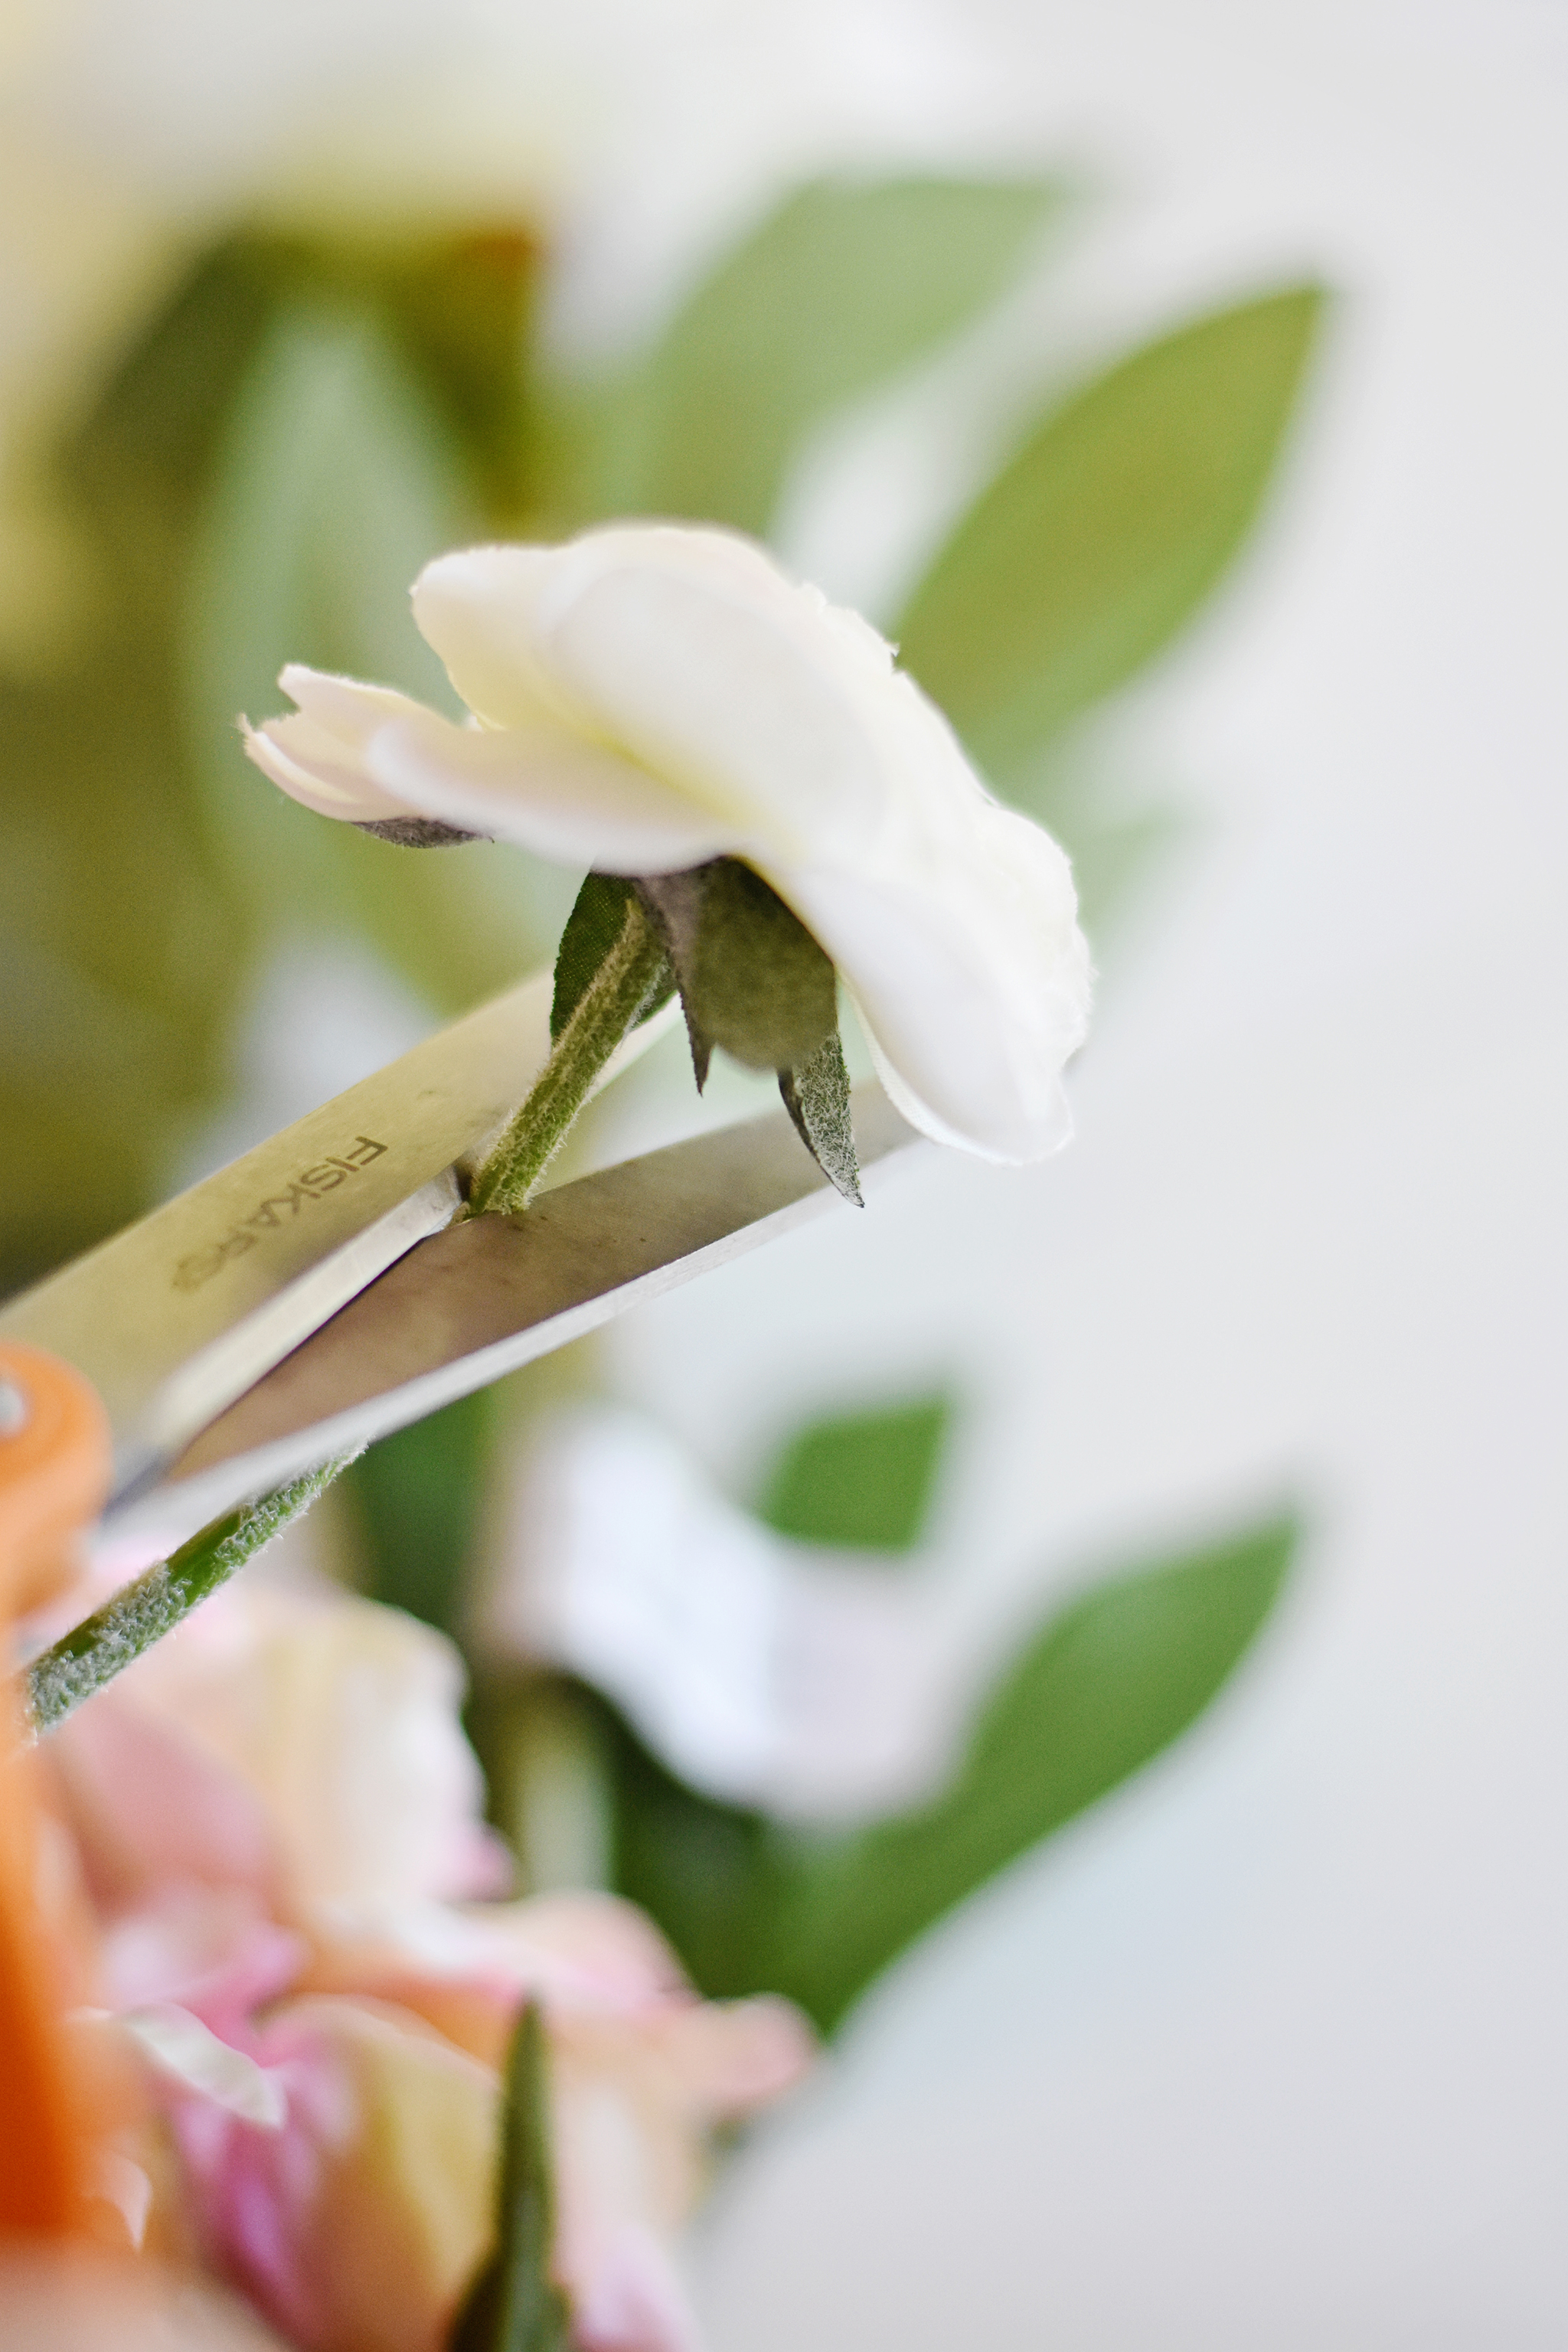
One great thing that I realized when doing this project is that I didn’t actually need to hot glue the flowers in place! The styrofoam really held the stems tightly, which made the project quick and easy and pretty mess-free. Next, I started filling in my letter with all my different flowers. I didn’t really have a game plan here, but I did start with some of my larger flowers first and then filled in around them with the smaller flowers. I also made sure to vary the placement of the different colors and types of flowers to give it a diverse look. Tip: If you’re having a problem poking your stems into the styrofoam (because of a flimsy stem), use your pointed wooden skewer to create a hole in the styrofoam first. Then it will be easier to to put your stem in.
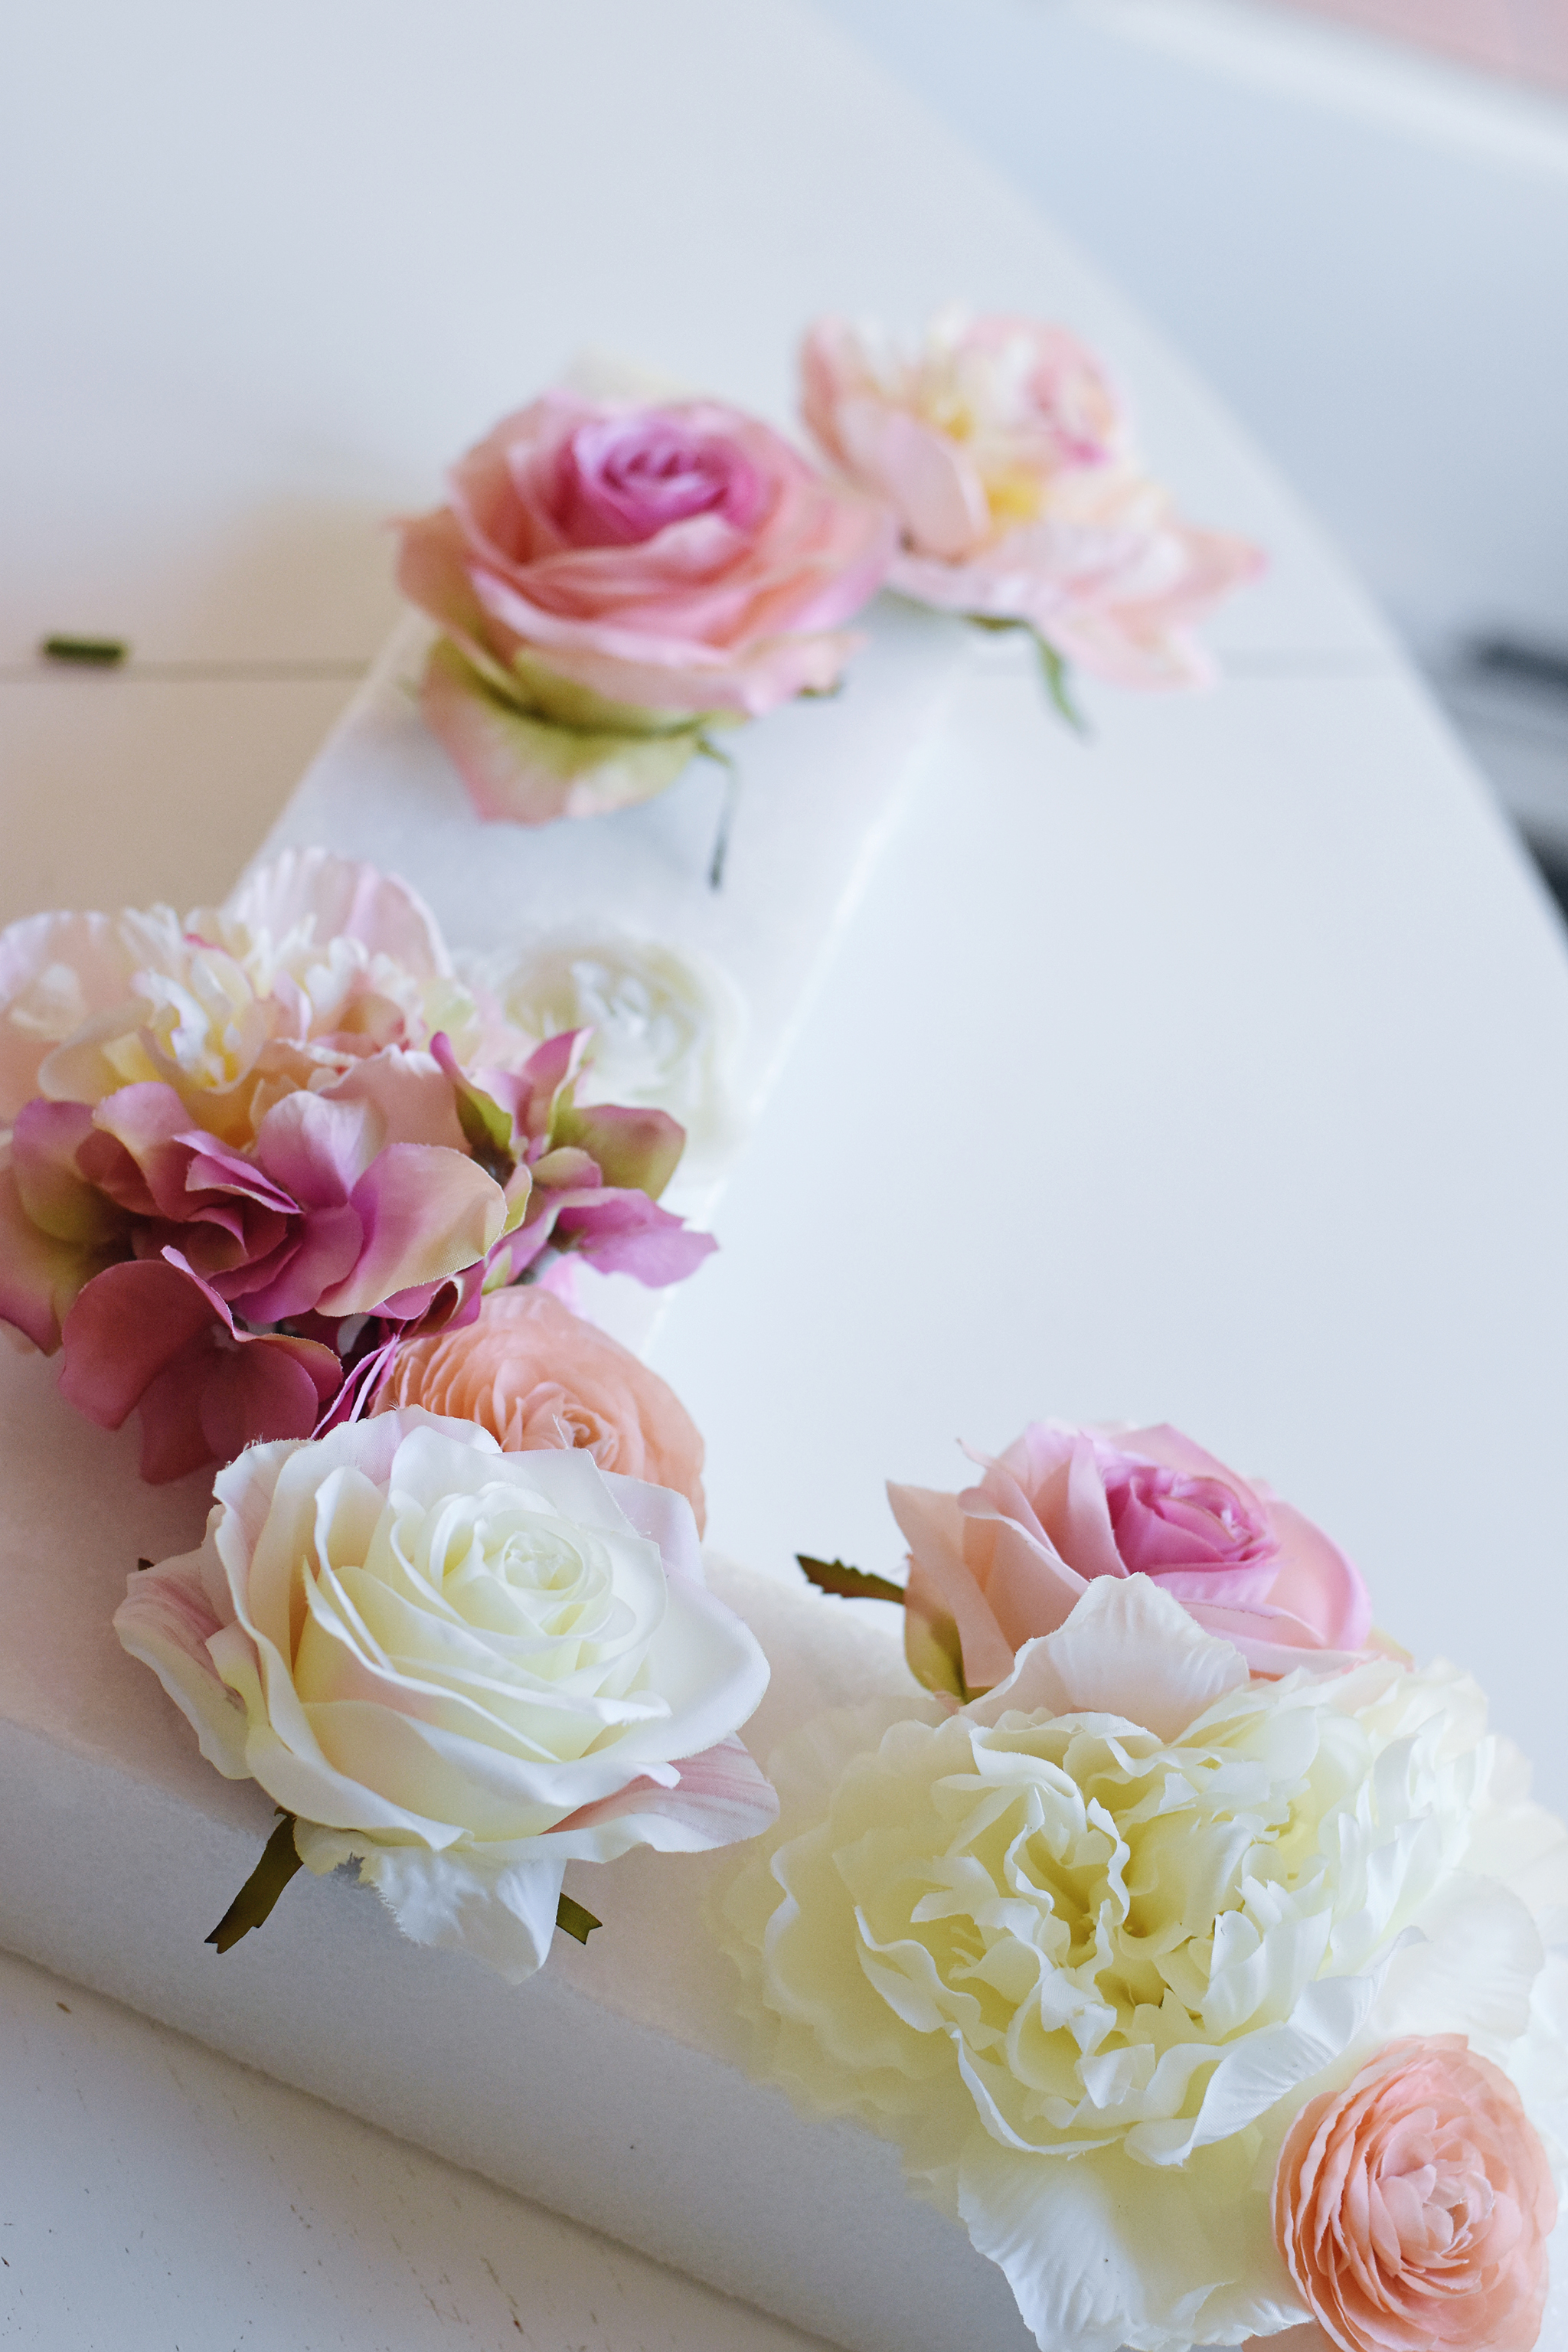
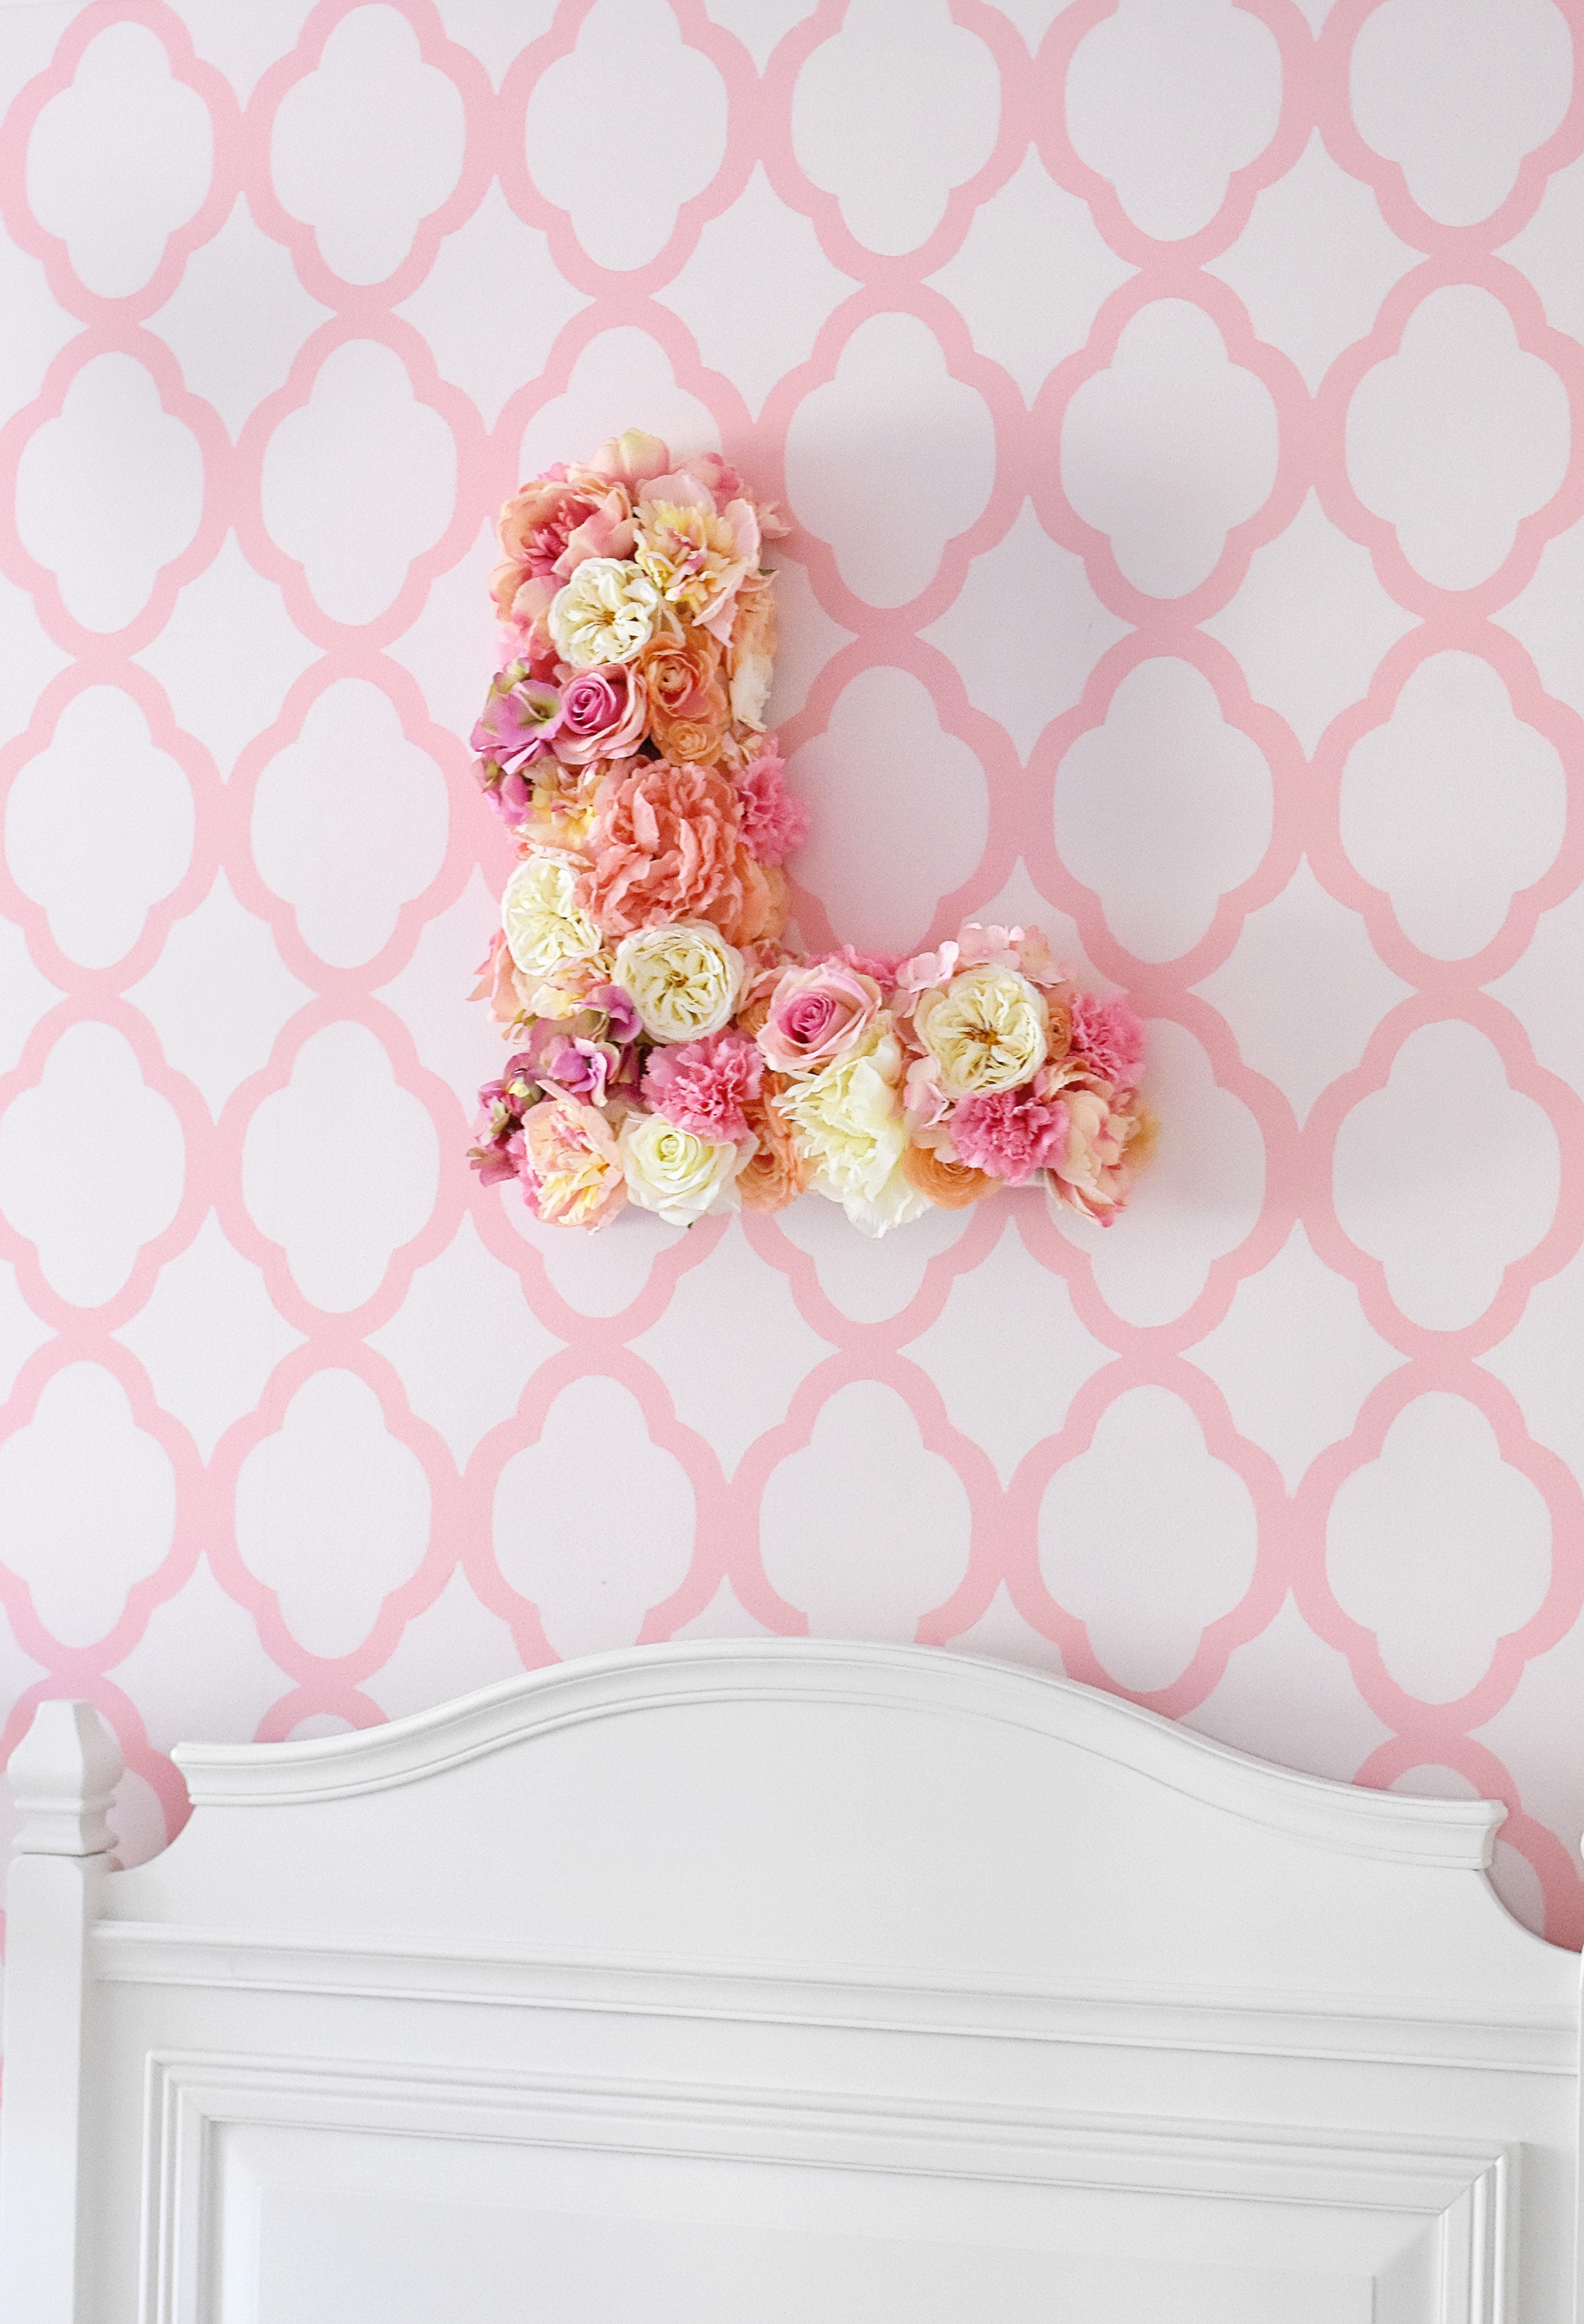
Here is a picture of what it looked like completed!

Don’t forget about the top and sides of your letter! It will be important to have those completely covered with flowers as well! Here’s a look a the side of my letter.
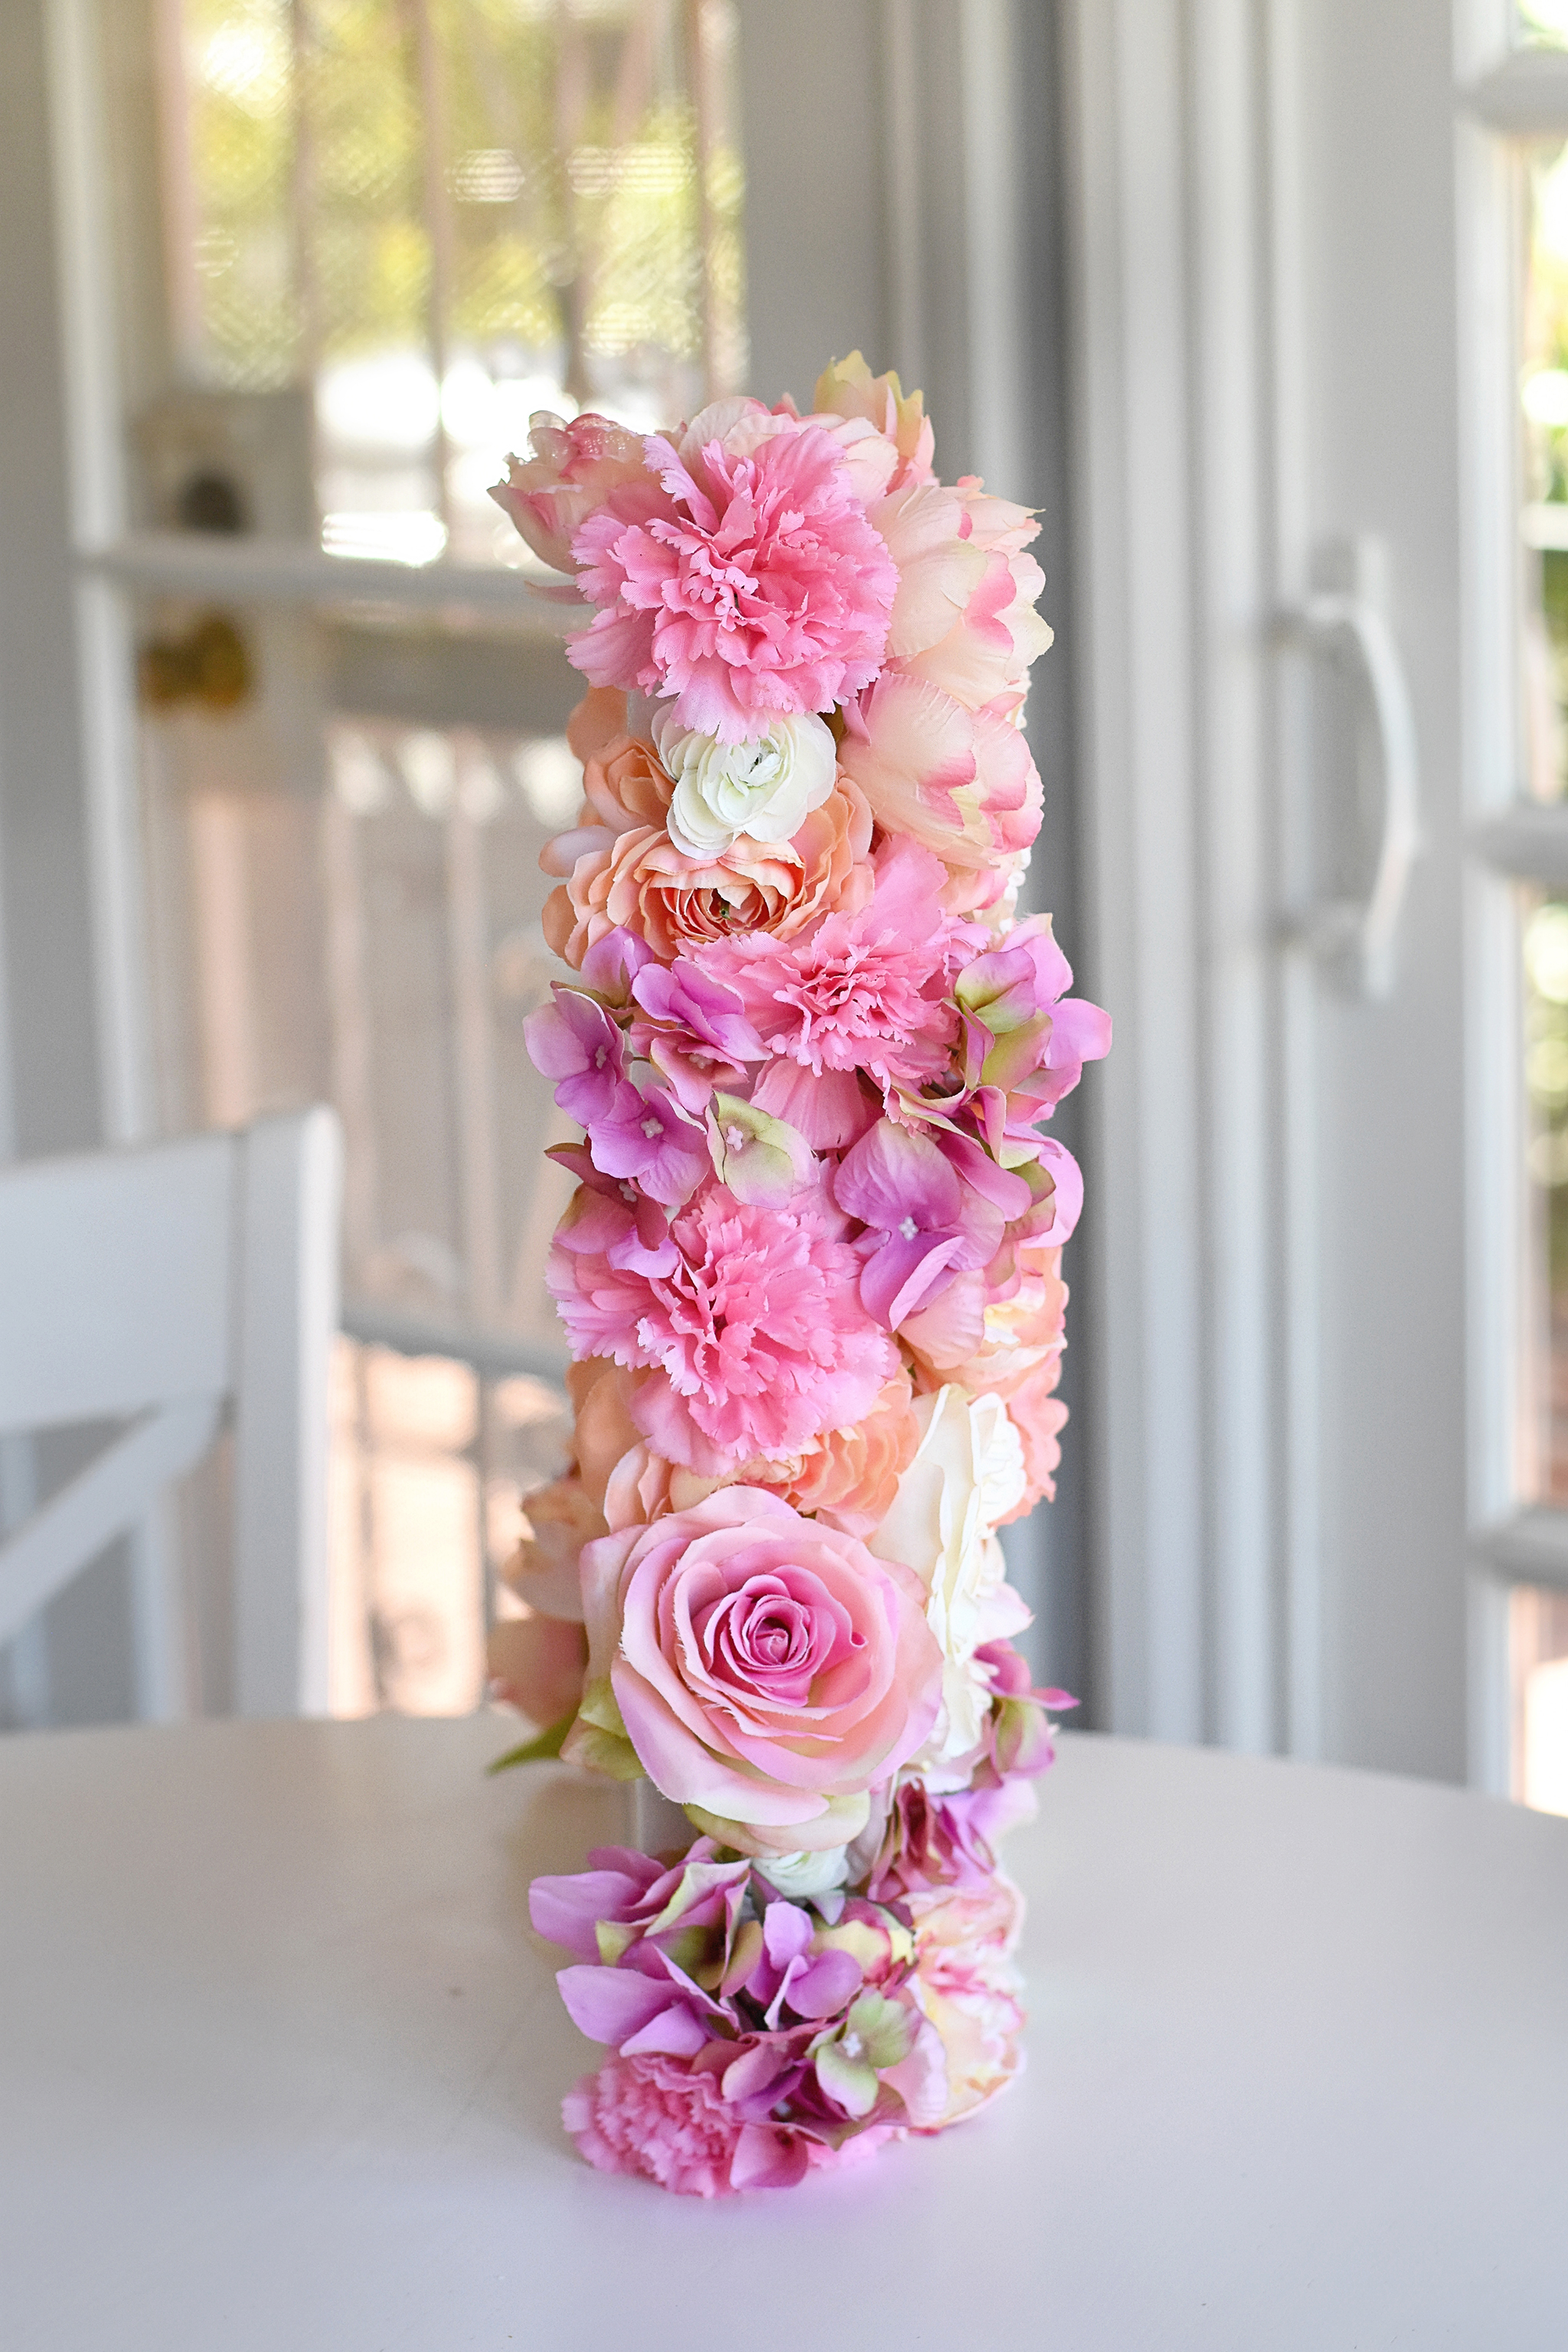
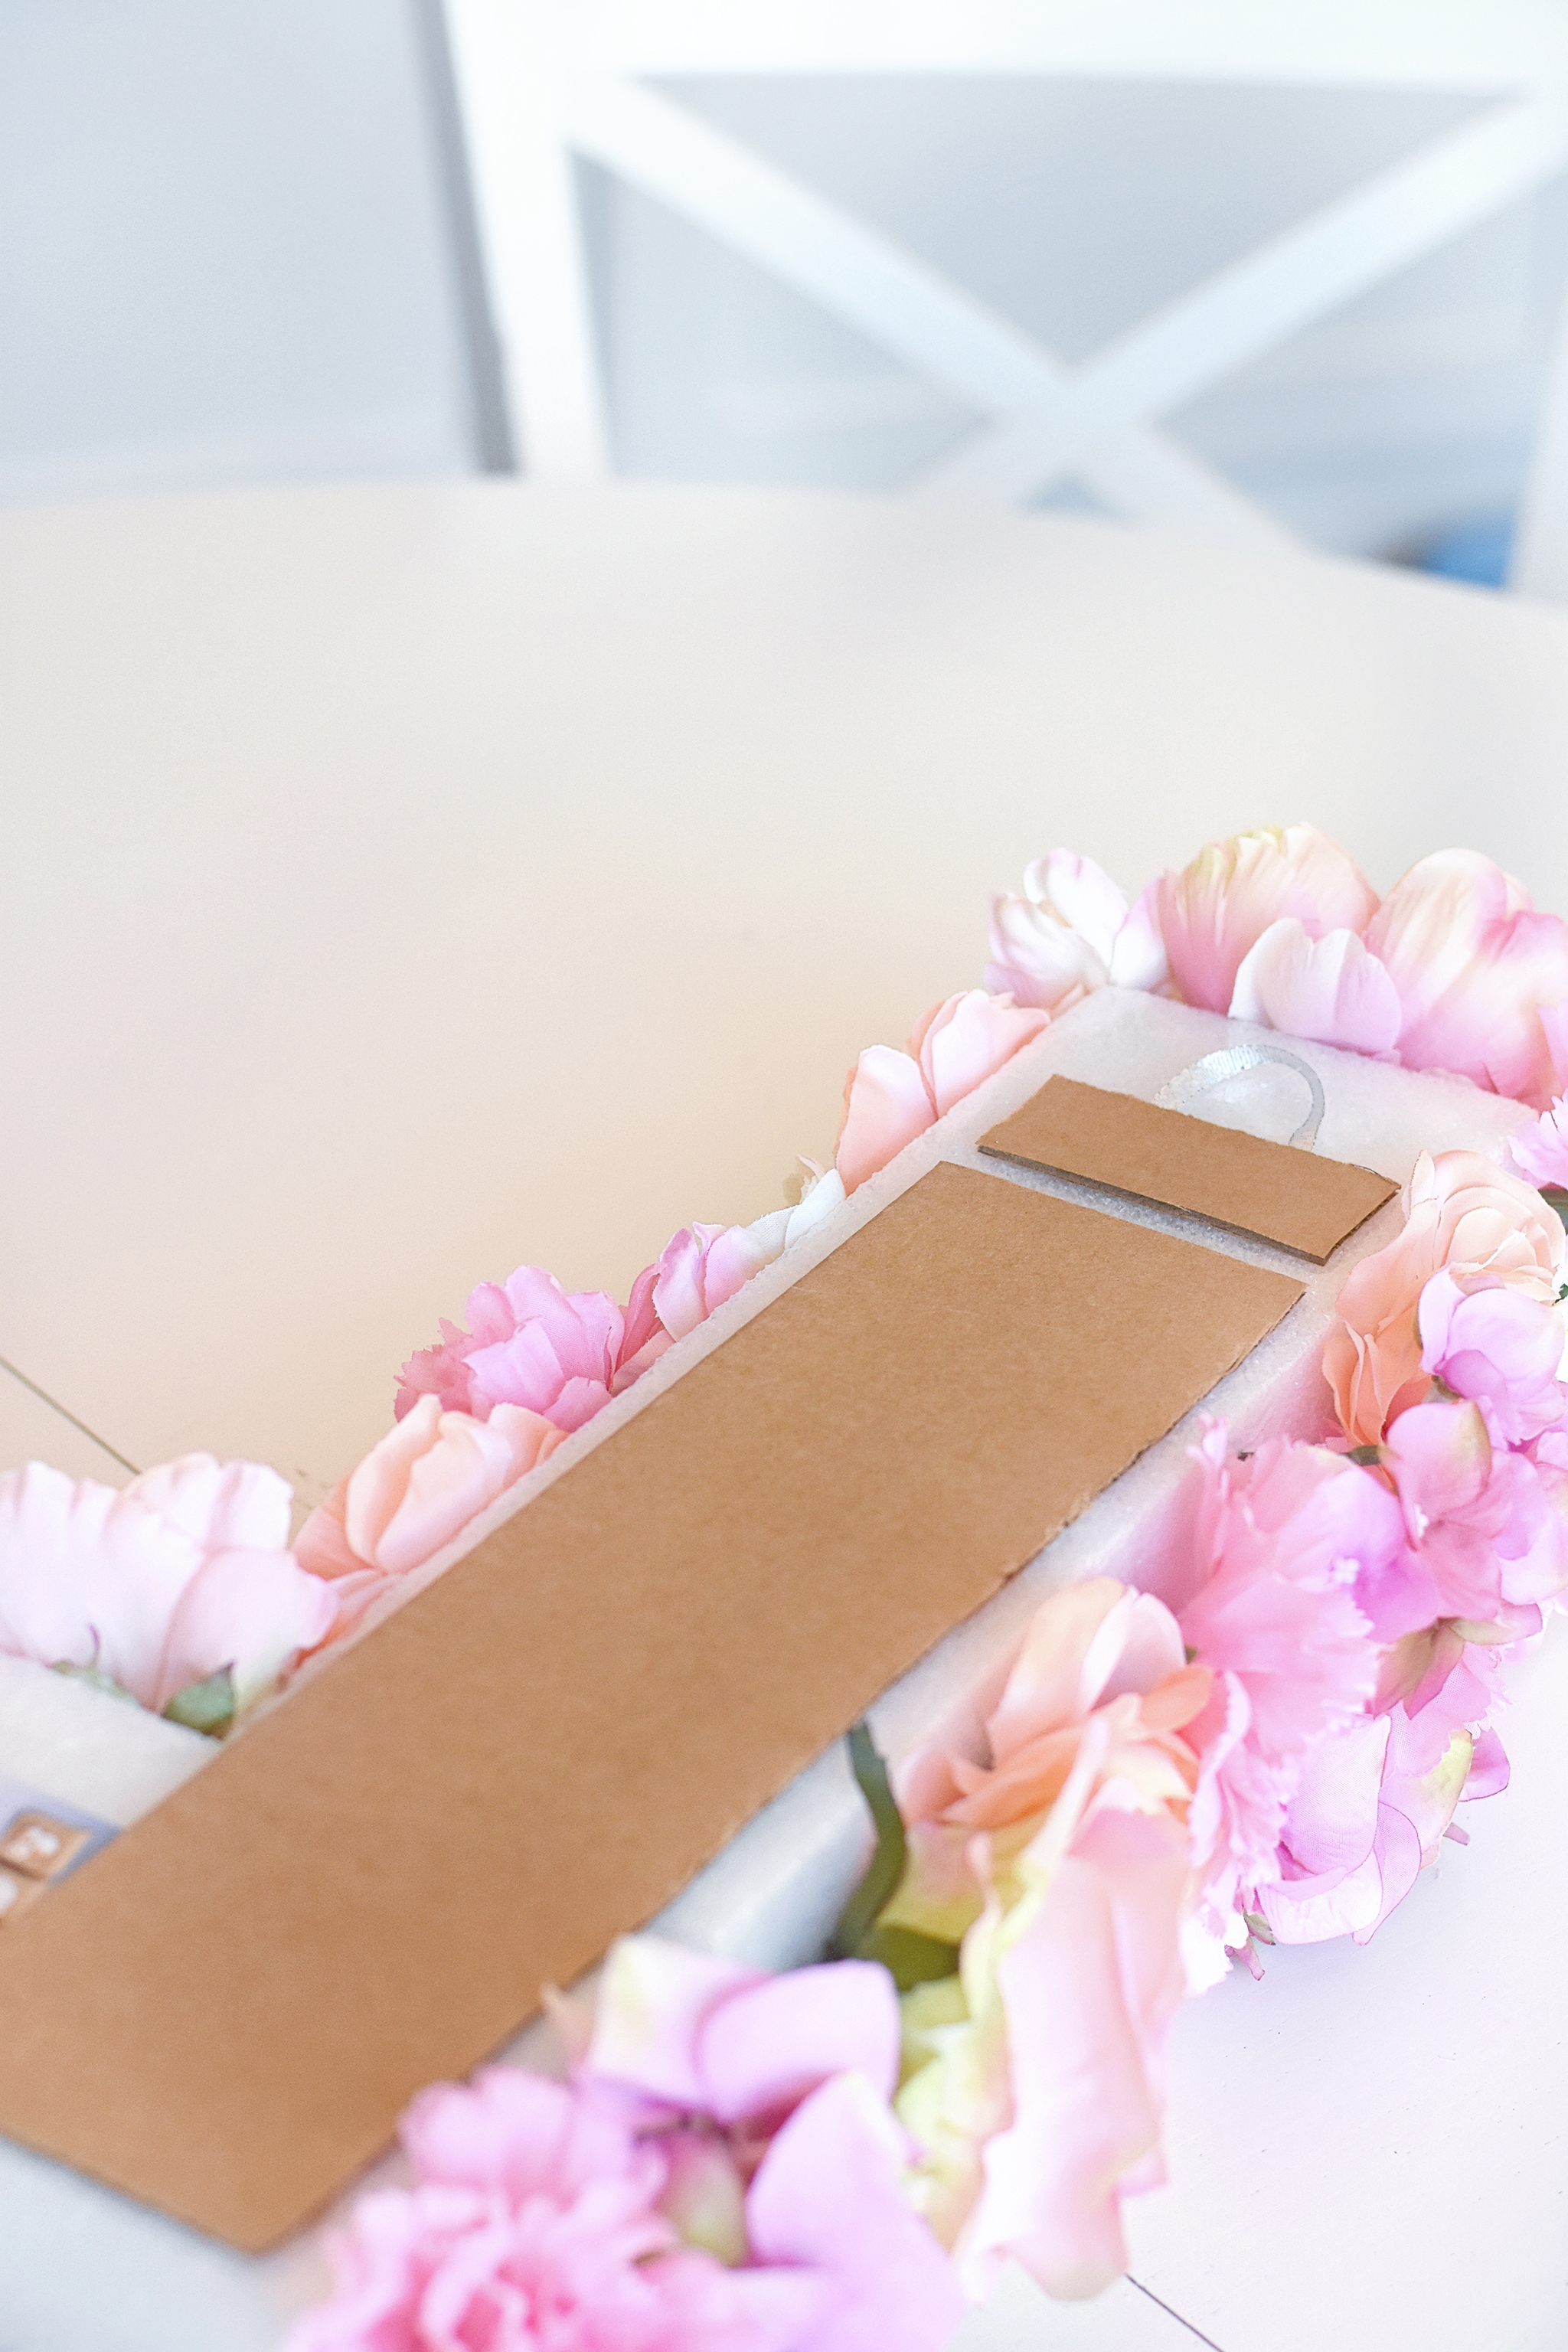
I left the back of my letter empty because I knew I was going to use it as a wall hanging and wanted it to hang flat against the wall.
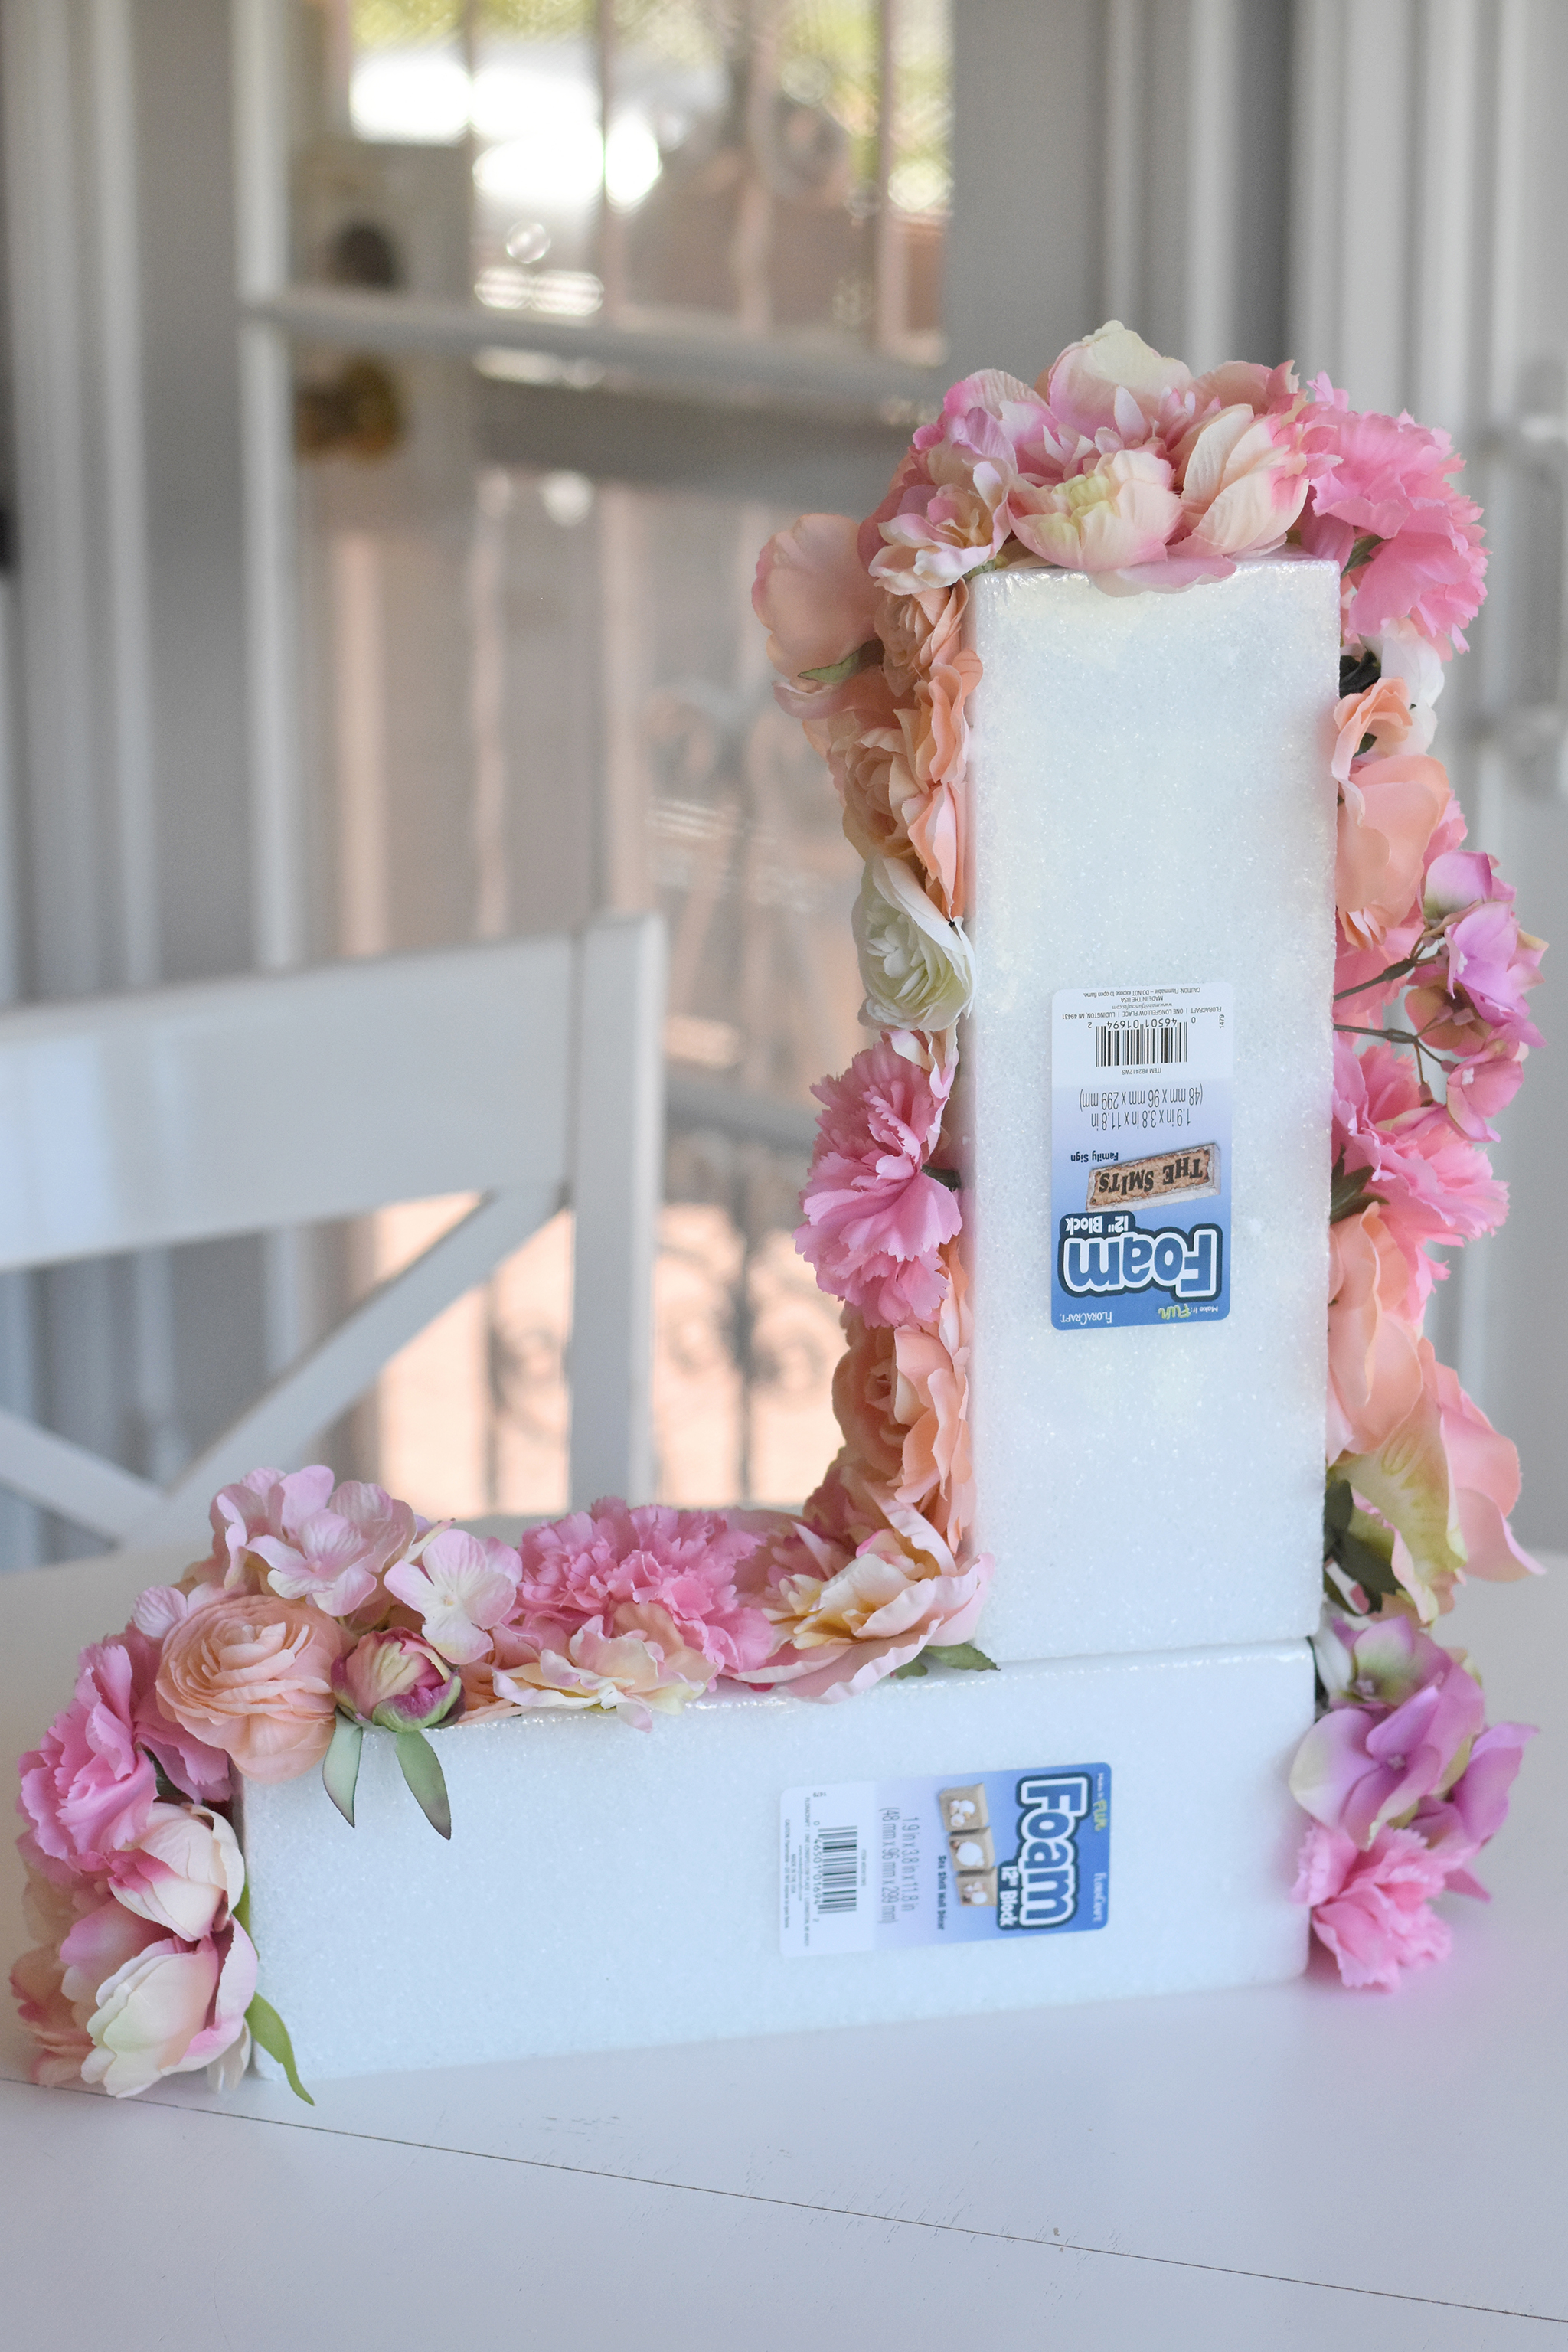
For extra support to keep my foam blocks together, I hot glued a leftover piece of cardboard on the back. I didn’t have any wall hangers to mount on the back, so I just looped a piece of ribbon around and hot glued it so that I could hang it on a nail but a command strip would be even easier.
Here is the end result—my customized floral initial letter L that now makes the perfect wall hanging above Liesl’s bed. I love this project because there are so many uses for this type of artwork. You can hang it above a crib or bed, use it on a birthday party cake table, or simply set it on a side table as room decor.
There are also plenty of beautiful options to buy on Etsy if you’d rather purchase a completed piece or you can create a custom piece like me.
*this post contains affiliate links*
SaveSave
SaveSave



Comments