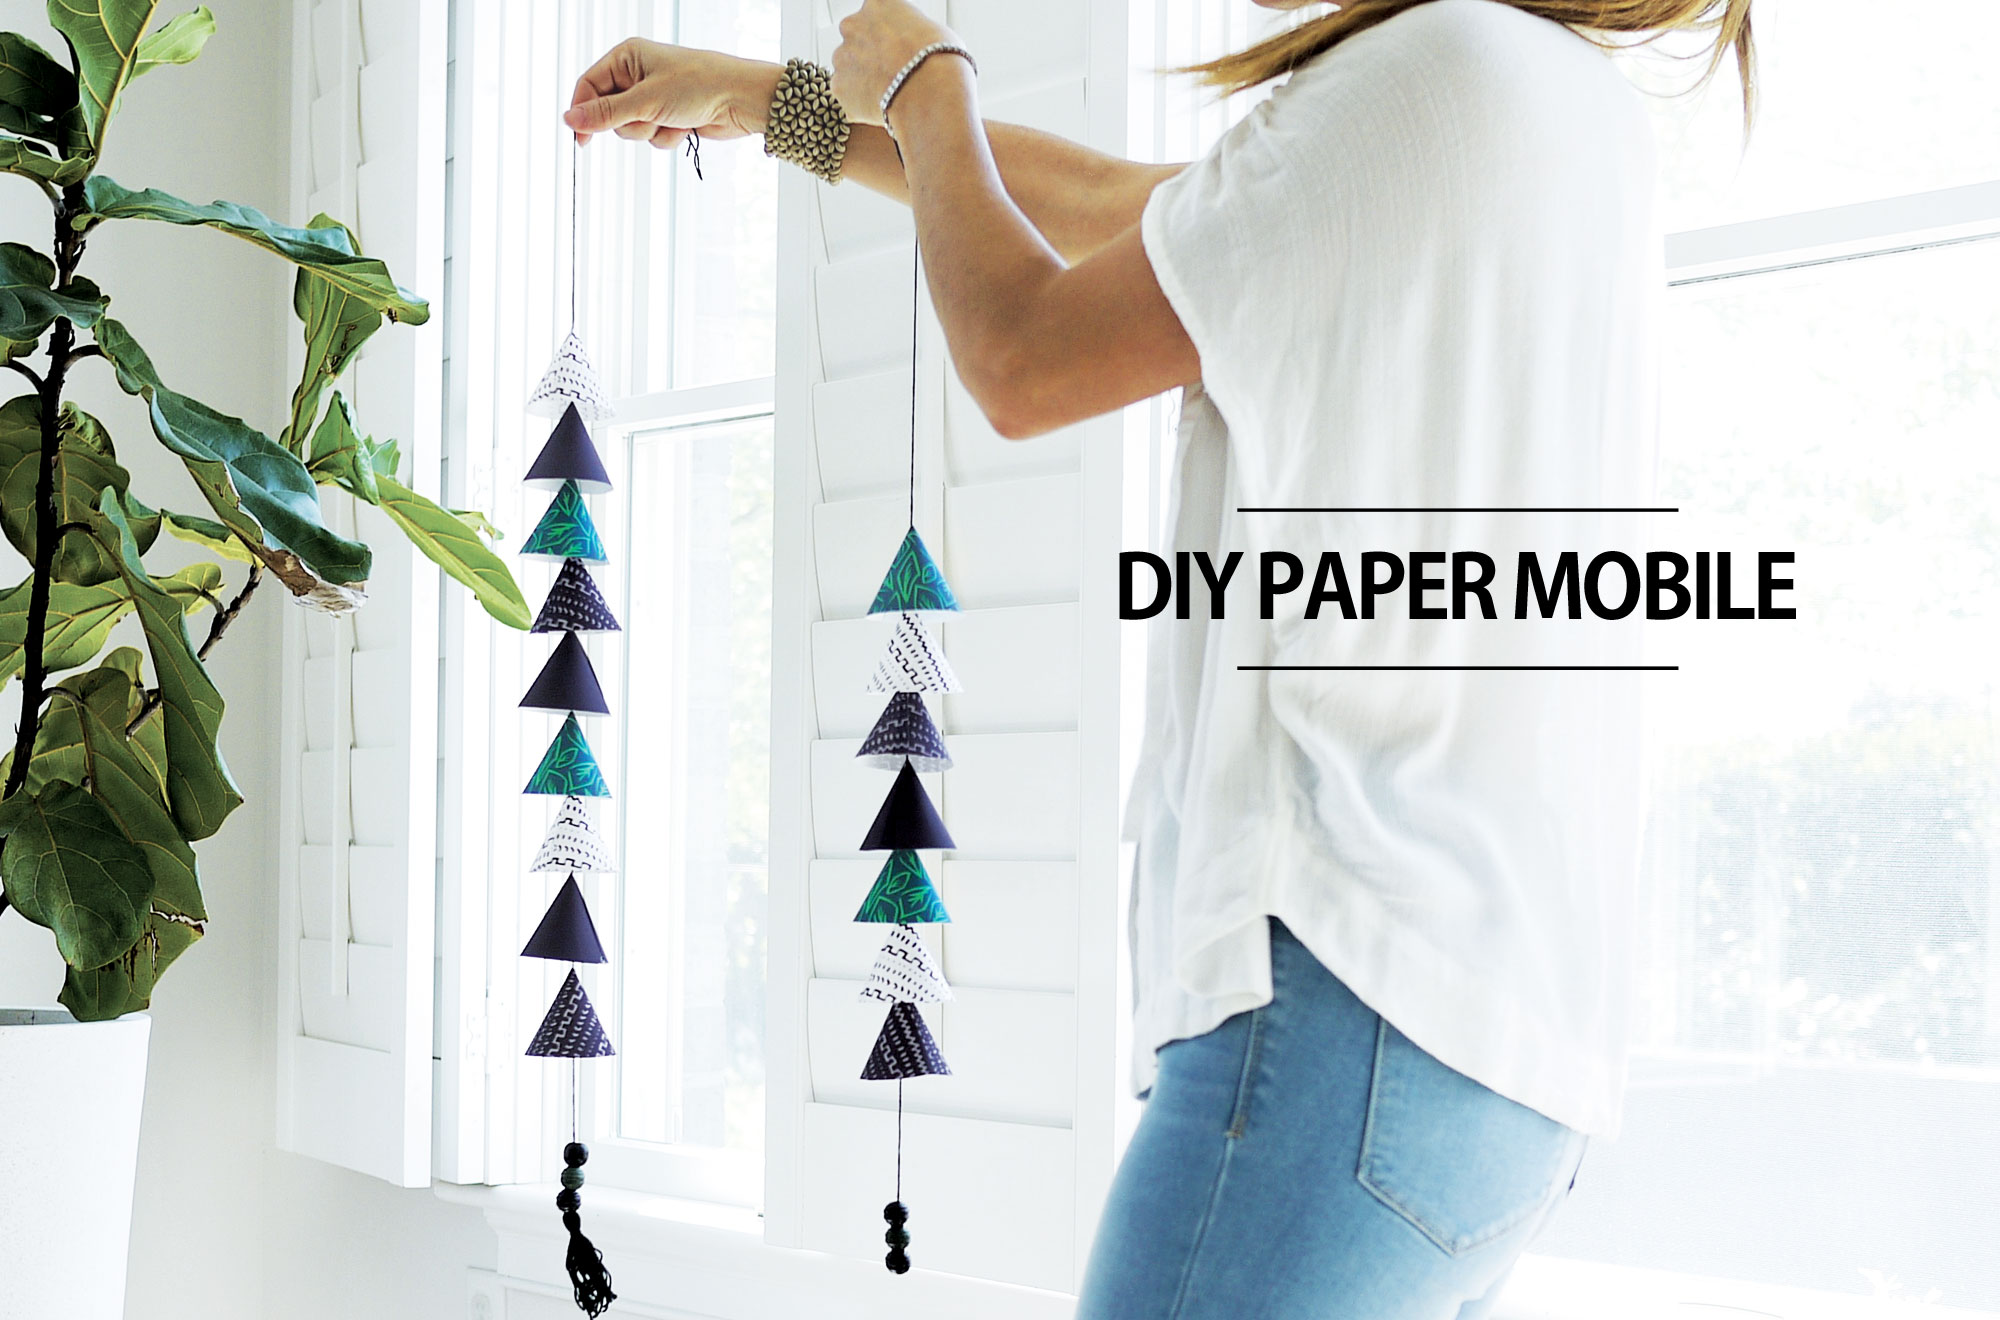
Baby nursery mobiles can be such a fun and whimsical addition to the nursery. They can feature animals, they can be colorful and abstract, big or small, you name it! Today, we are showing you how you can create your own modern paper mobile. We will be using our free printable paper template in three adorable patterns. Time to get your black, white and green game on!
 MATERIALS: Printable pattern template, black string, beads, scissors and glue
Download the free pattern template here, and print four copies of it. You will need sixteen paper cones to create the two mobiles like the photo above. Once printing is done, cut out each pattern.

To create the mini paper cones, just roll each template and glue the ends together with hot glue. It’s super easy.

Once I had all my mini cones ready to go, I started to work with the black string. First, you must attach the beads or tassels (or whatever decorative item you want) at the bottom of the paper mobile. On the longer mobile, I used beads and a black tassel at the end. For the shorter mobile, I changed it up and used only beads at the end.
Once you are happy with the ends of both strings, tie a knot about two inches away from the beads and weave in your first patterned paper cone. After the first paper cone is in place, give about another inch and 1/2 for the second knot and weave in the second cone. Keep doing this until you have all cones in place. And that’s it! Note that I used nine cones for one mobile and only seven for the other one. The difference in length worked better visually for me. You can also opt to add more cones or make the mobiles exactly the same.

All that is left to do is attach the new DIY paper mobile to the ceiling, and you are all set. Make sure you choose a place where baby can’t reach or touch the items. Nursery mobiles are only decorative pieces and should never be considered a toy. Have fun making it!


