Did you know that when you teach your children to play checkers, you’re actually introducing them to history? It is one of the oldest games known to man, with origins tracing back to ancient Mesopotamia. In Europe, it’s called Draughts (pronounced “drafts”), and the modern rules weren’t established until 1756. Popular the world over, checkers is a great tool for teaching kids logic and sportsmanship, and of course, it’s just plain ‘ole non-tech entertainment. So do your family a favor and make this oversized DIY checkers set soon!
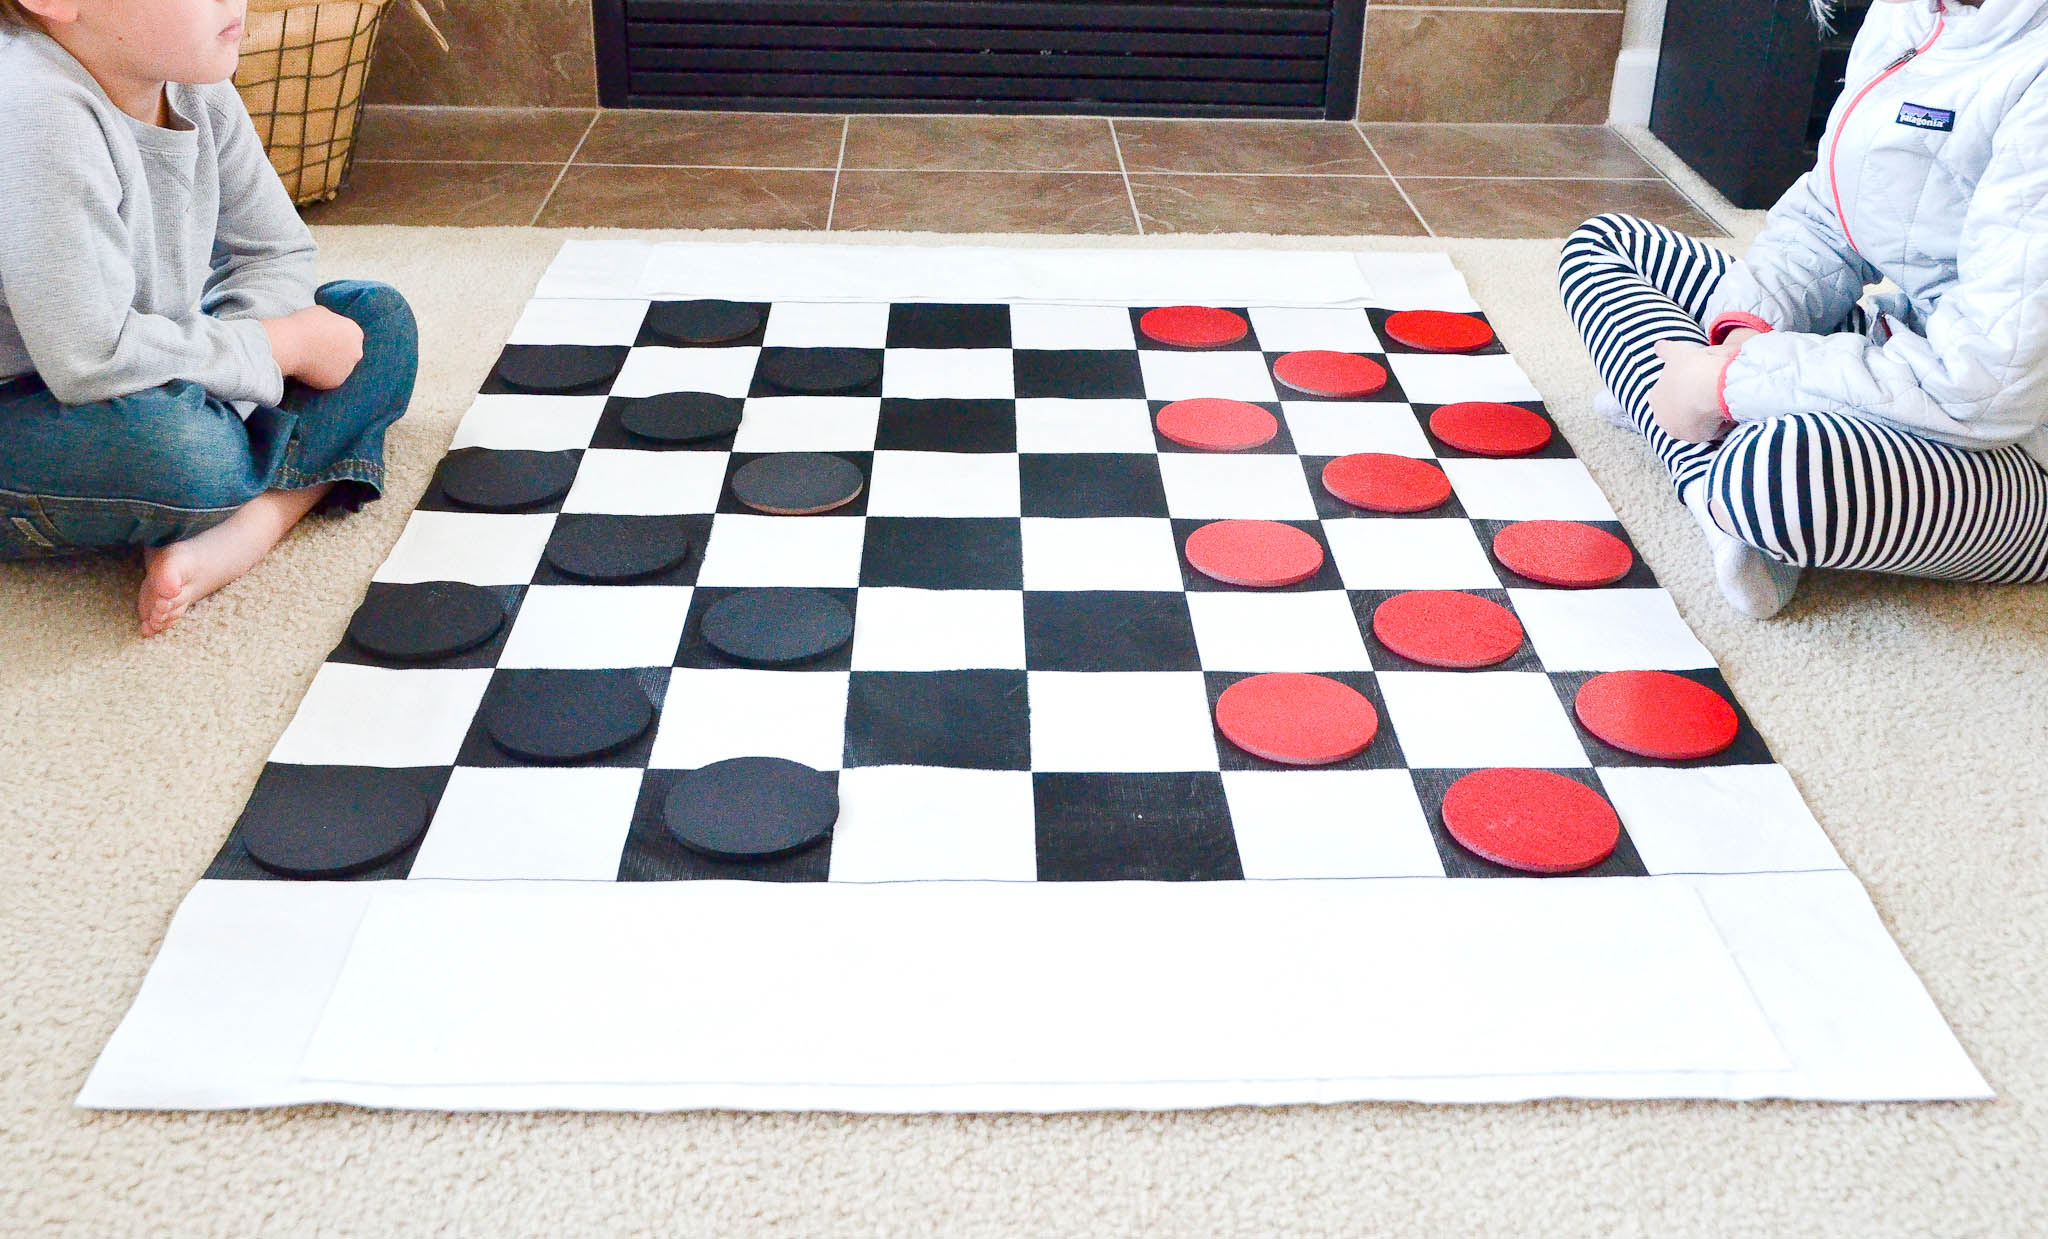
Materials: (24) 4″ cork drink coasters, paint (red, black, silver), paintbrush, cardboard, small stamper sponge, vinyl tablecloth (minimum 50″ x 50″ size), scissors, ruler (preferably a yardstick), pencil, painter’s or masking tape, permanent marker, hot glue gun
Your 4″ cork drink coasters will be your checker pieces. I found mine at Walmart, but this set is great too. Paint 12 of them red and 12 of them black. I chose to use spray paint because it’s quick, but handpainting them with acrylic craft paint would work just as well. Paint both sides.
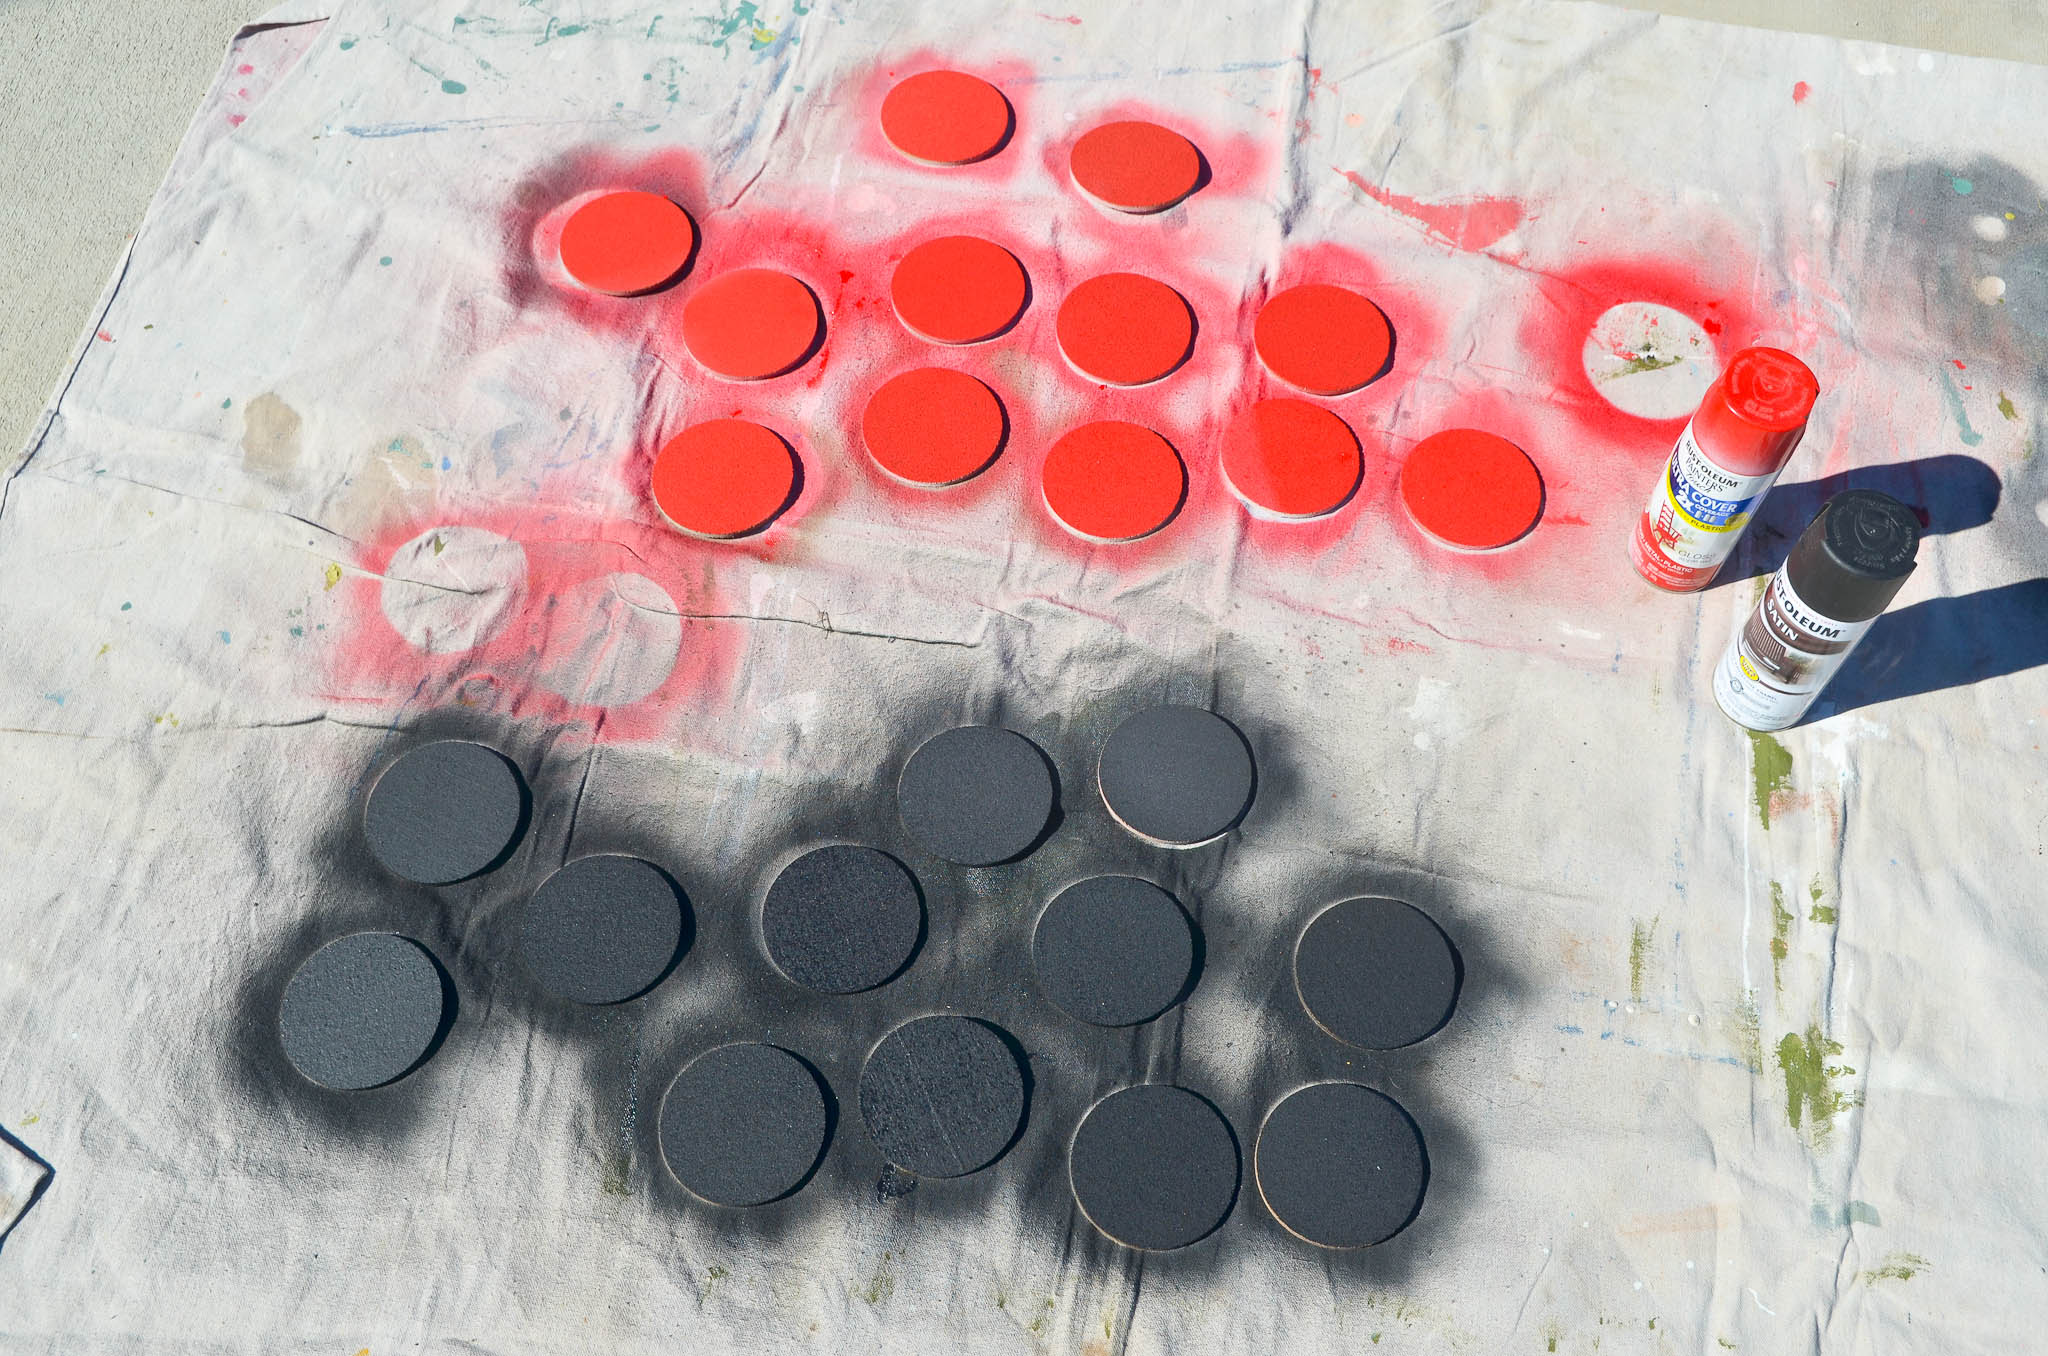
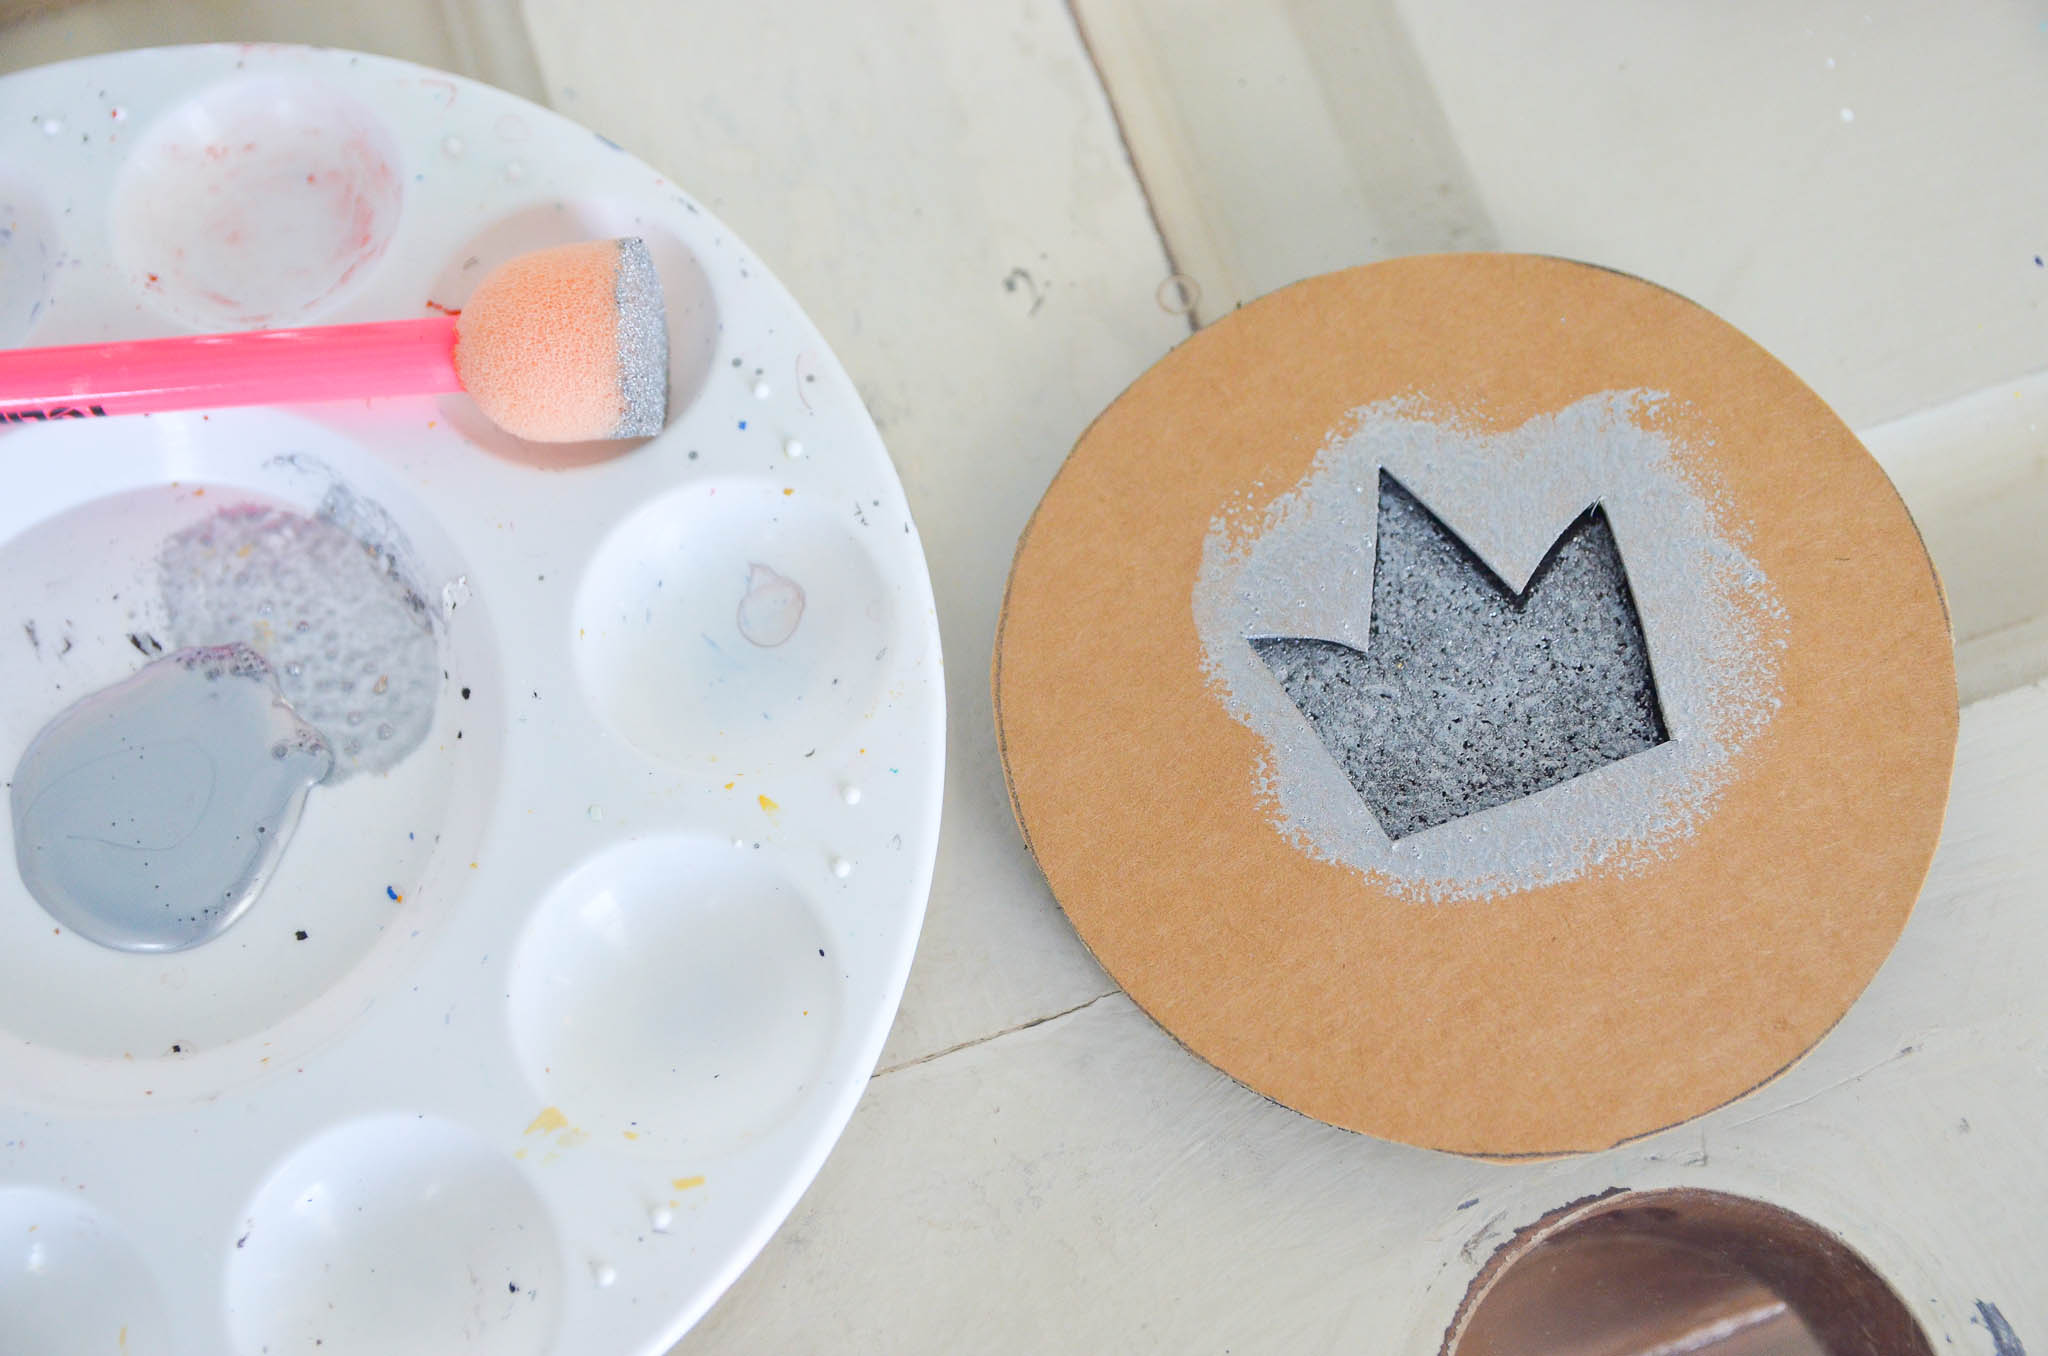
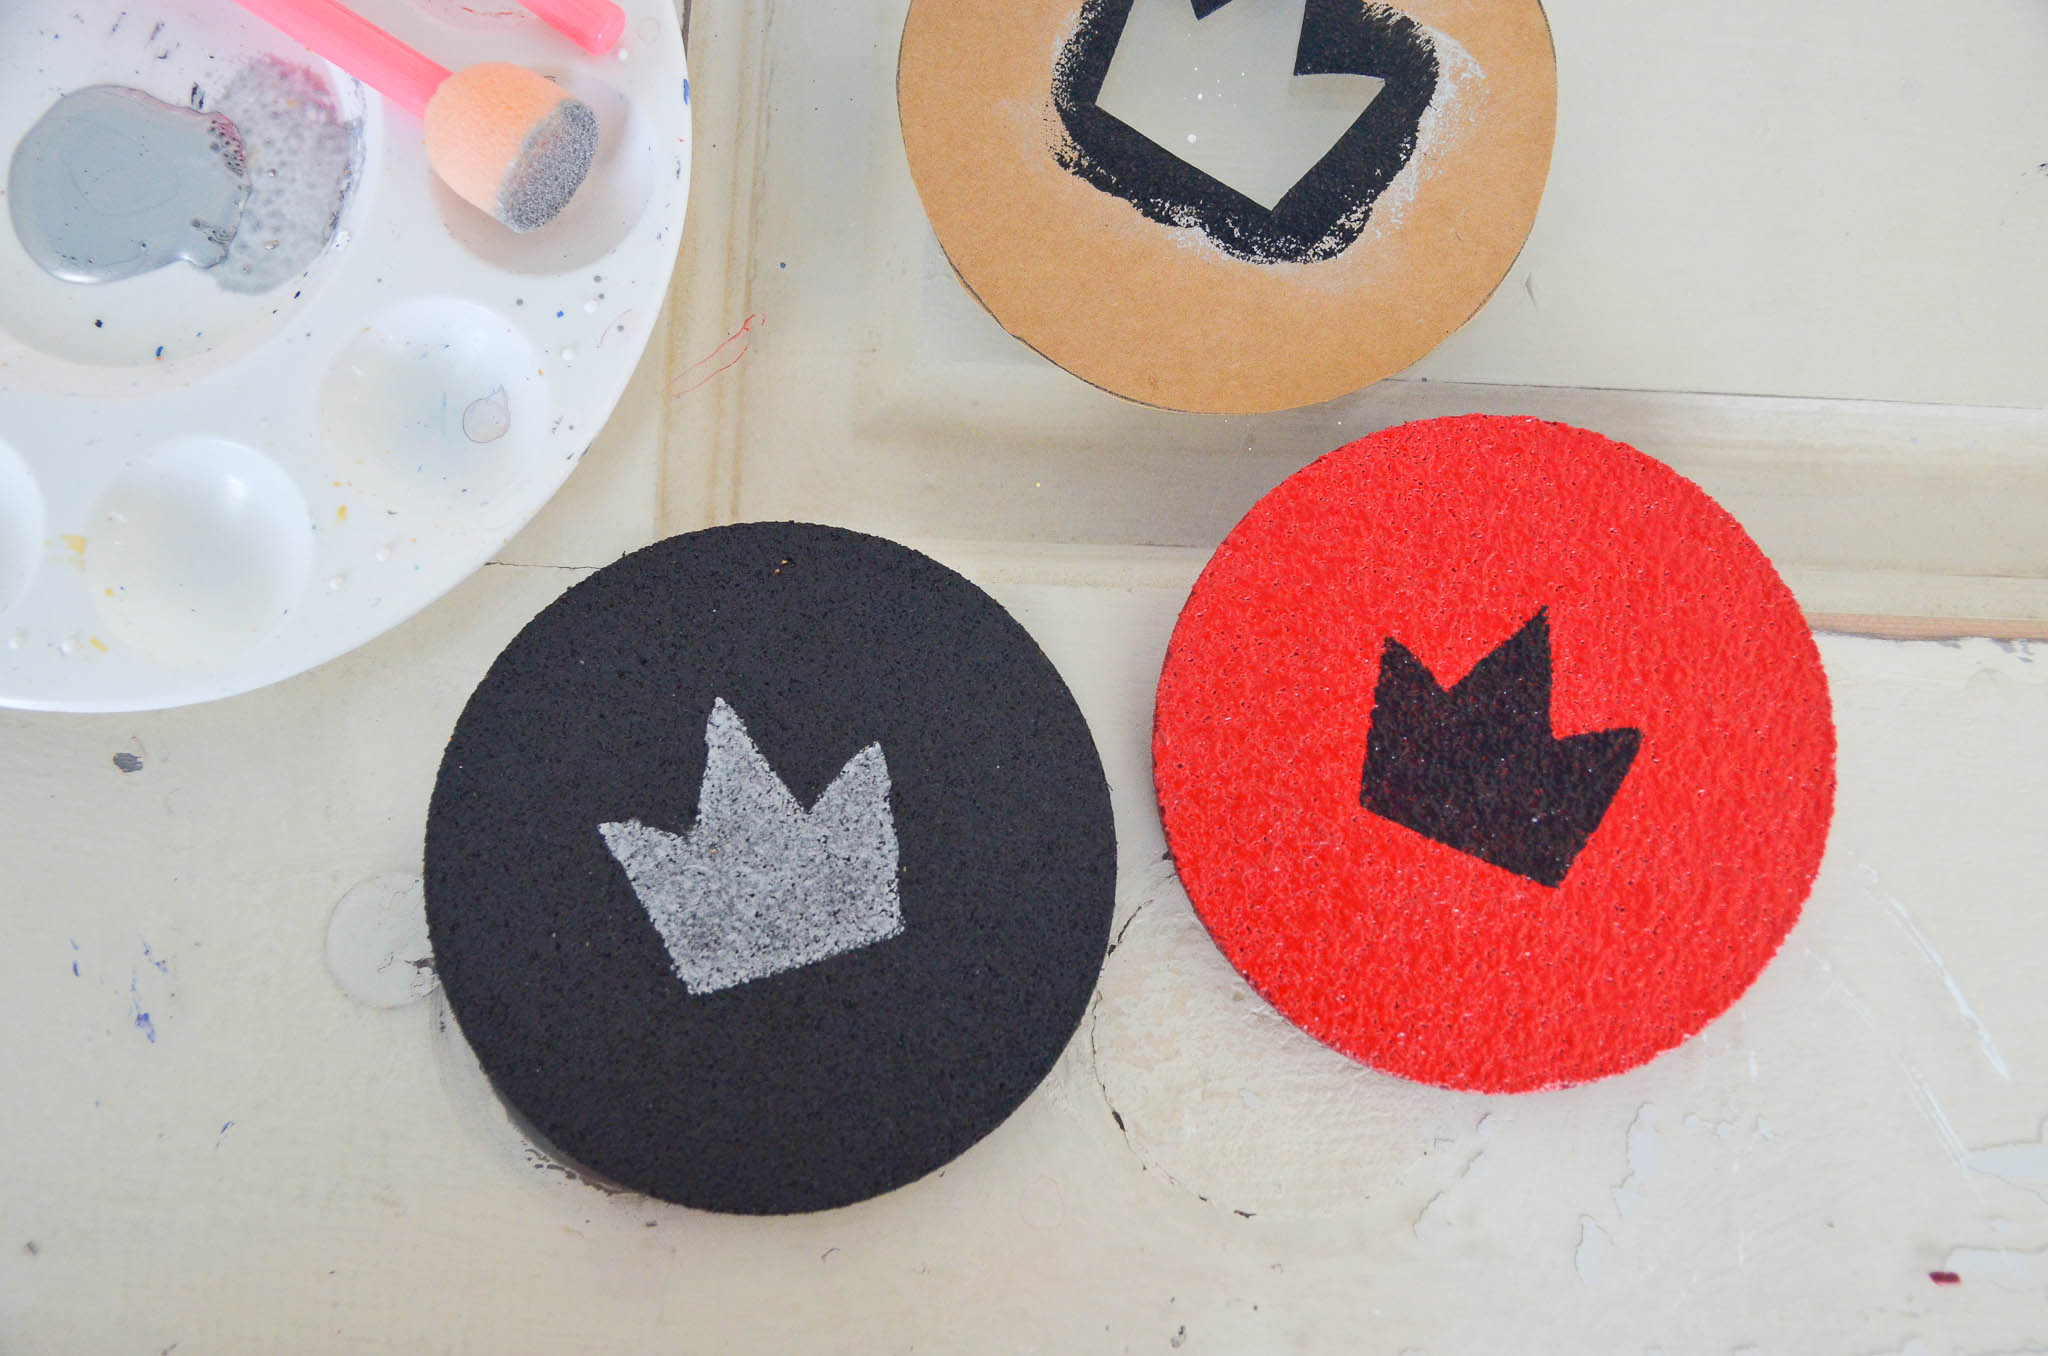
In traditional checkers, when a piece becomes a King, it is “crowned” with an additional piece. This won’t work for our cork pieces; instead we’ll paint on a crown so the piece simply gets flipped over to be “crowned.” I suggest making a cardboard stencil from an old cereal box.
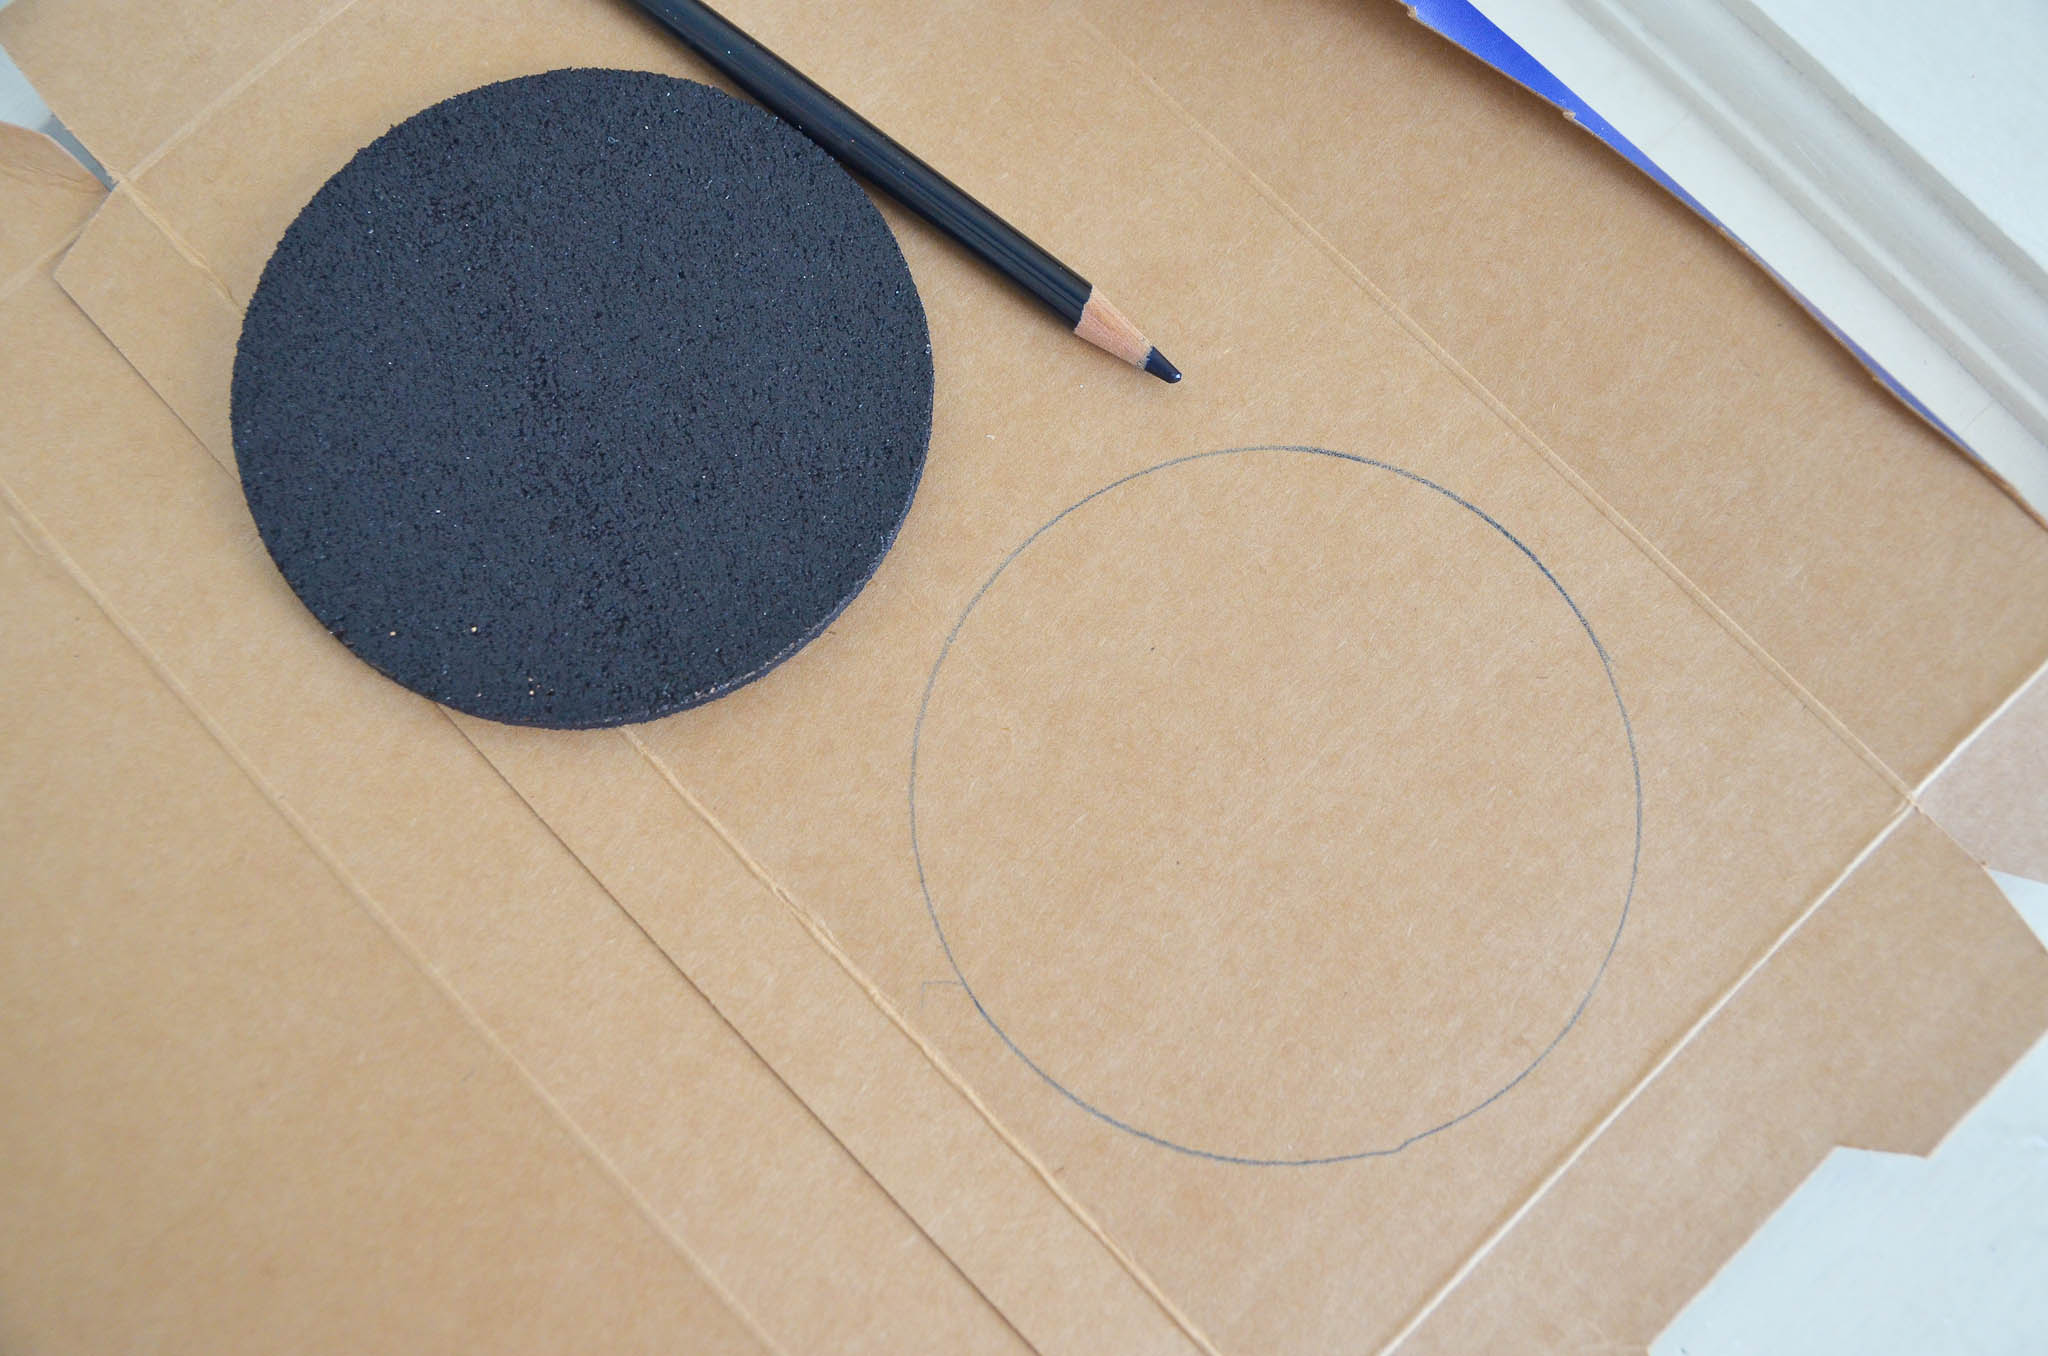
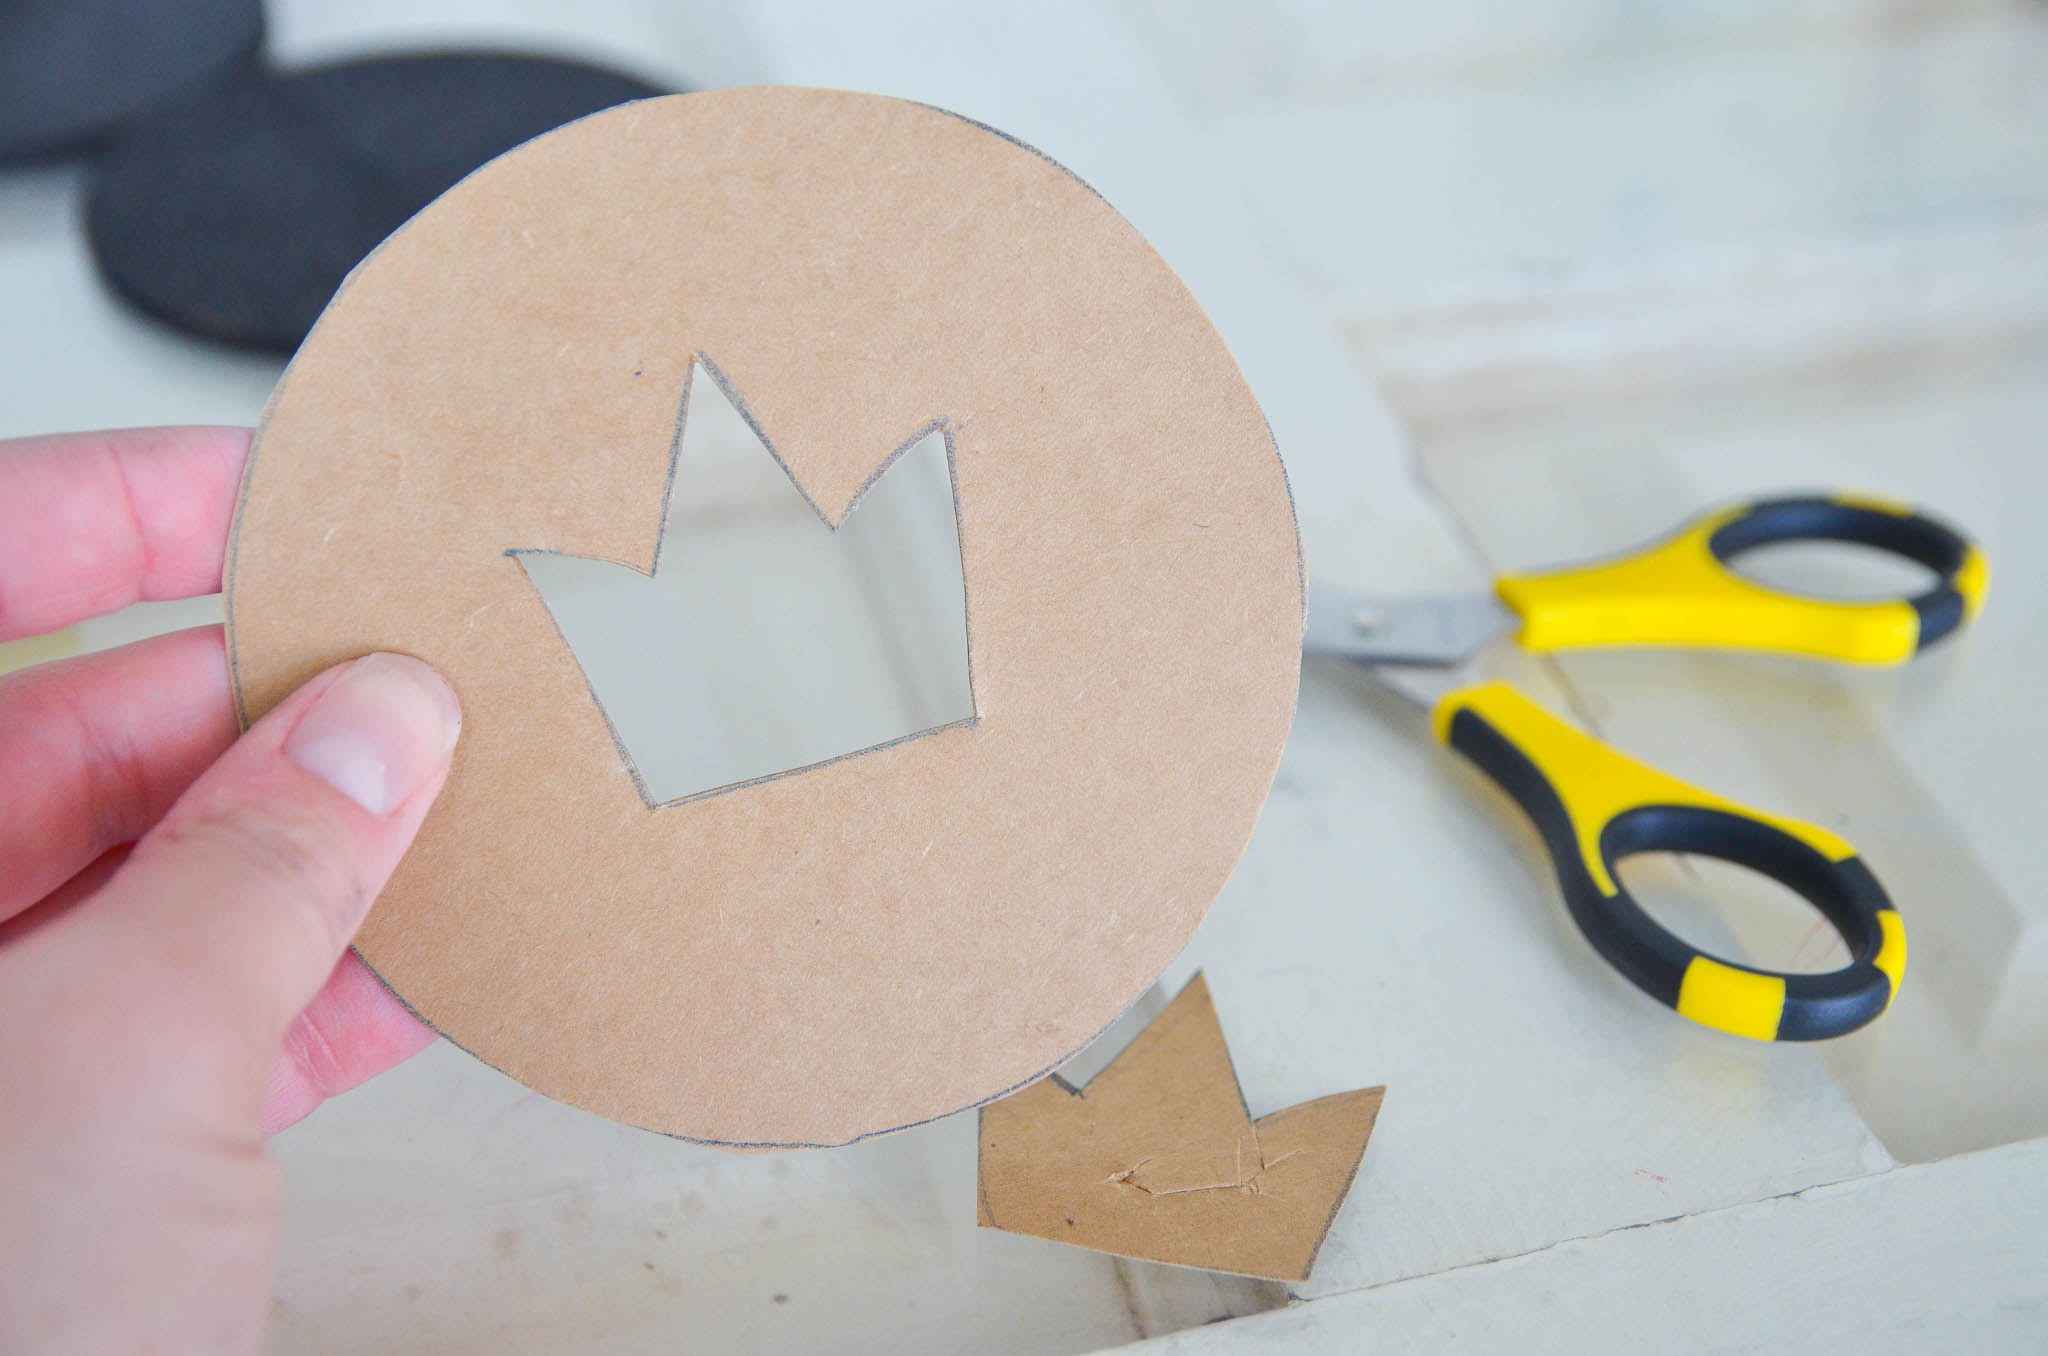
Trace the coaster on the cardboard, and cut it out. Draw a design in the middle of the cardboard circle, and again, cut it out. Use a small art sponge to stencil the design onto one side of each checker. Do this with all 24 pieces.
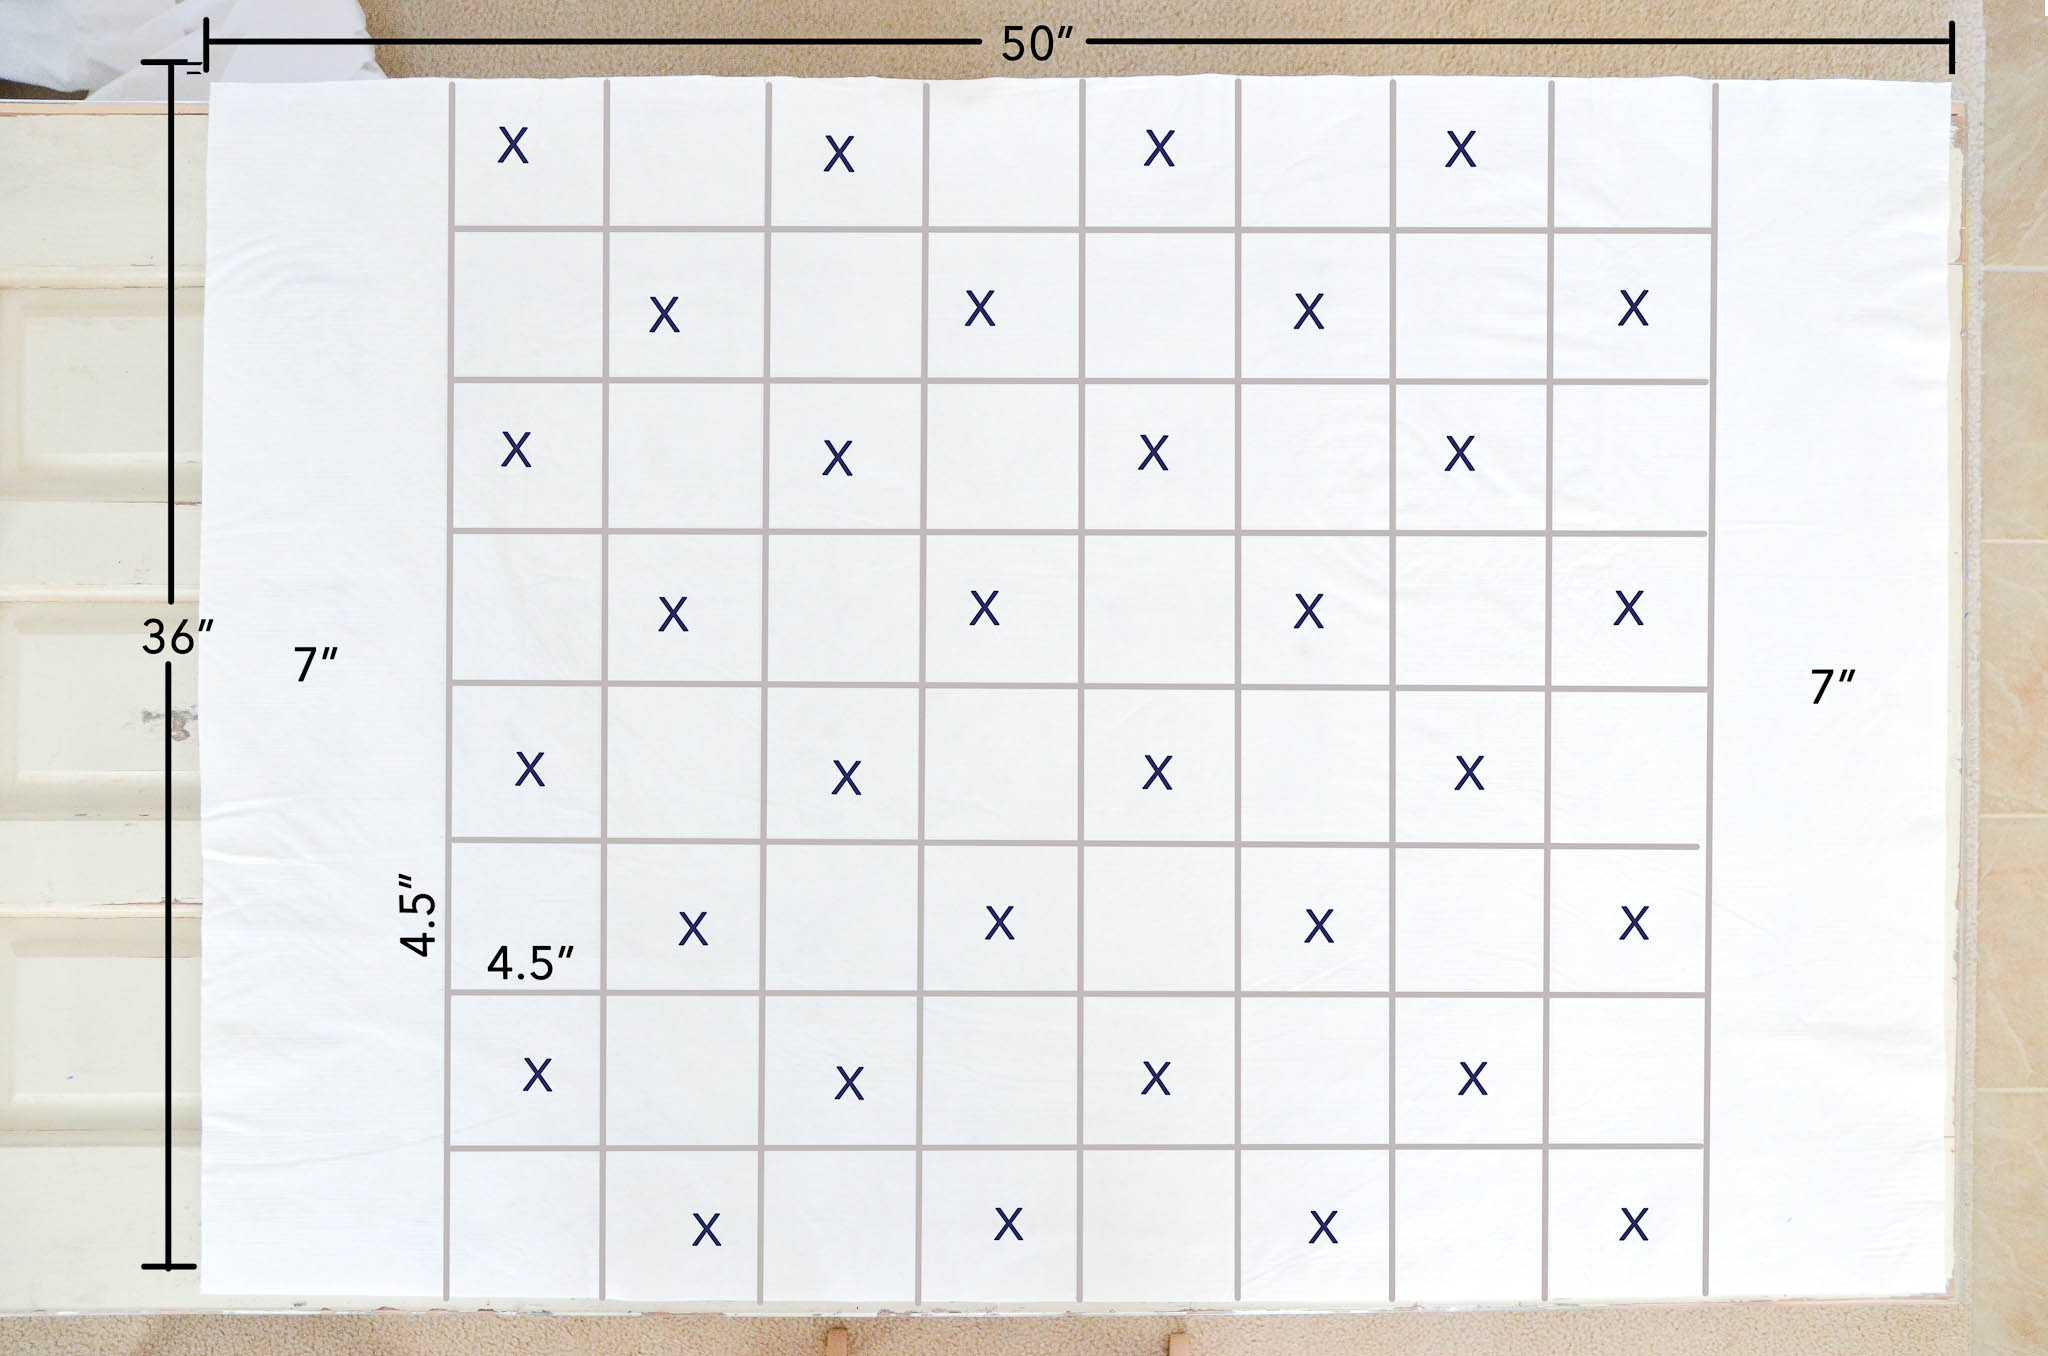
Now that your checkers are ready, let’s make the game board. Begin by cutting your vinyl tablecloth down to a rectangle that measures 36″ x 50″. On the plastic-feeling side, use your pencil and ruler/yardstick to mark a line 7″ from one short side. Then from that line, draw a grid (8 squares x 8 squares) in which each square measures 4.5″. If you’ve drawn your grid correctly, you will have 7″ left on the opposite short side, as shown below. Mark an “X” on half of the squares in a checkerboard pattern so you’ll know which ones to paint black.
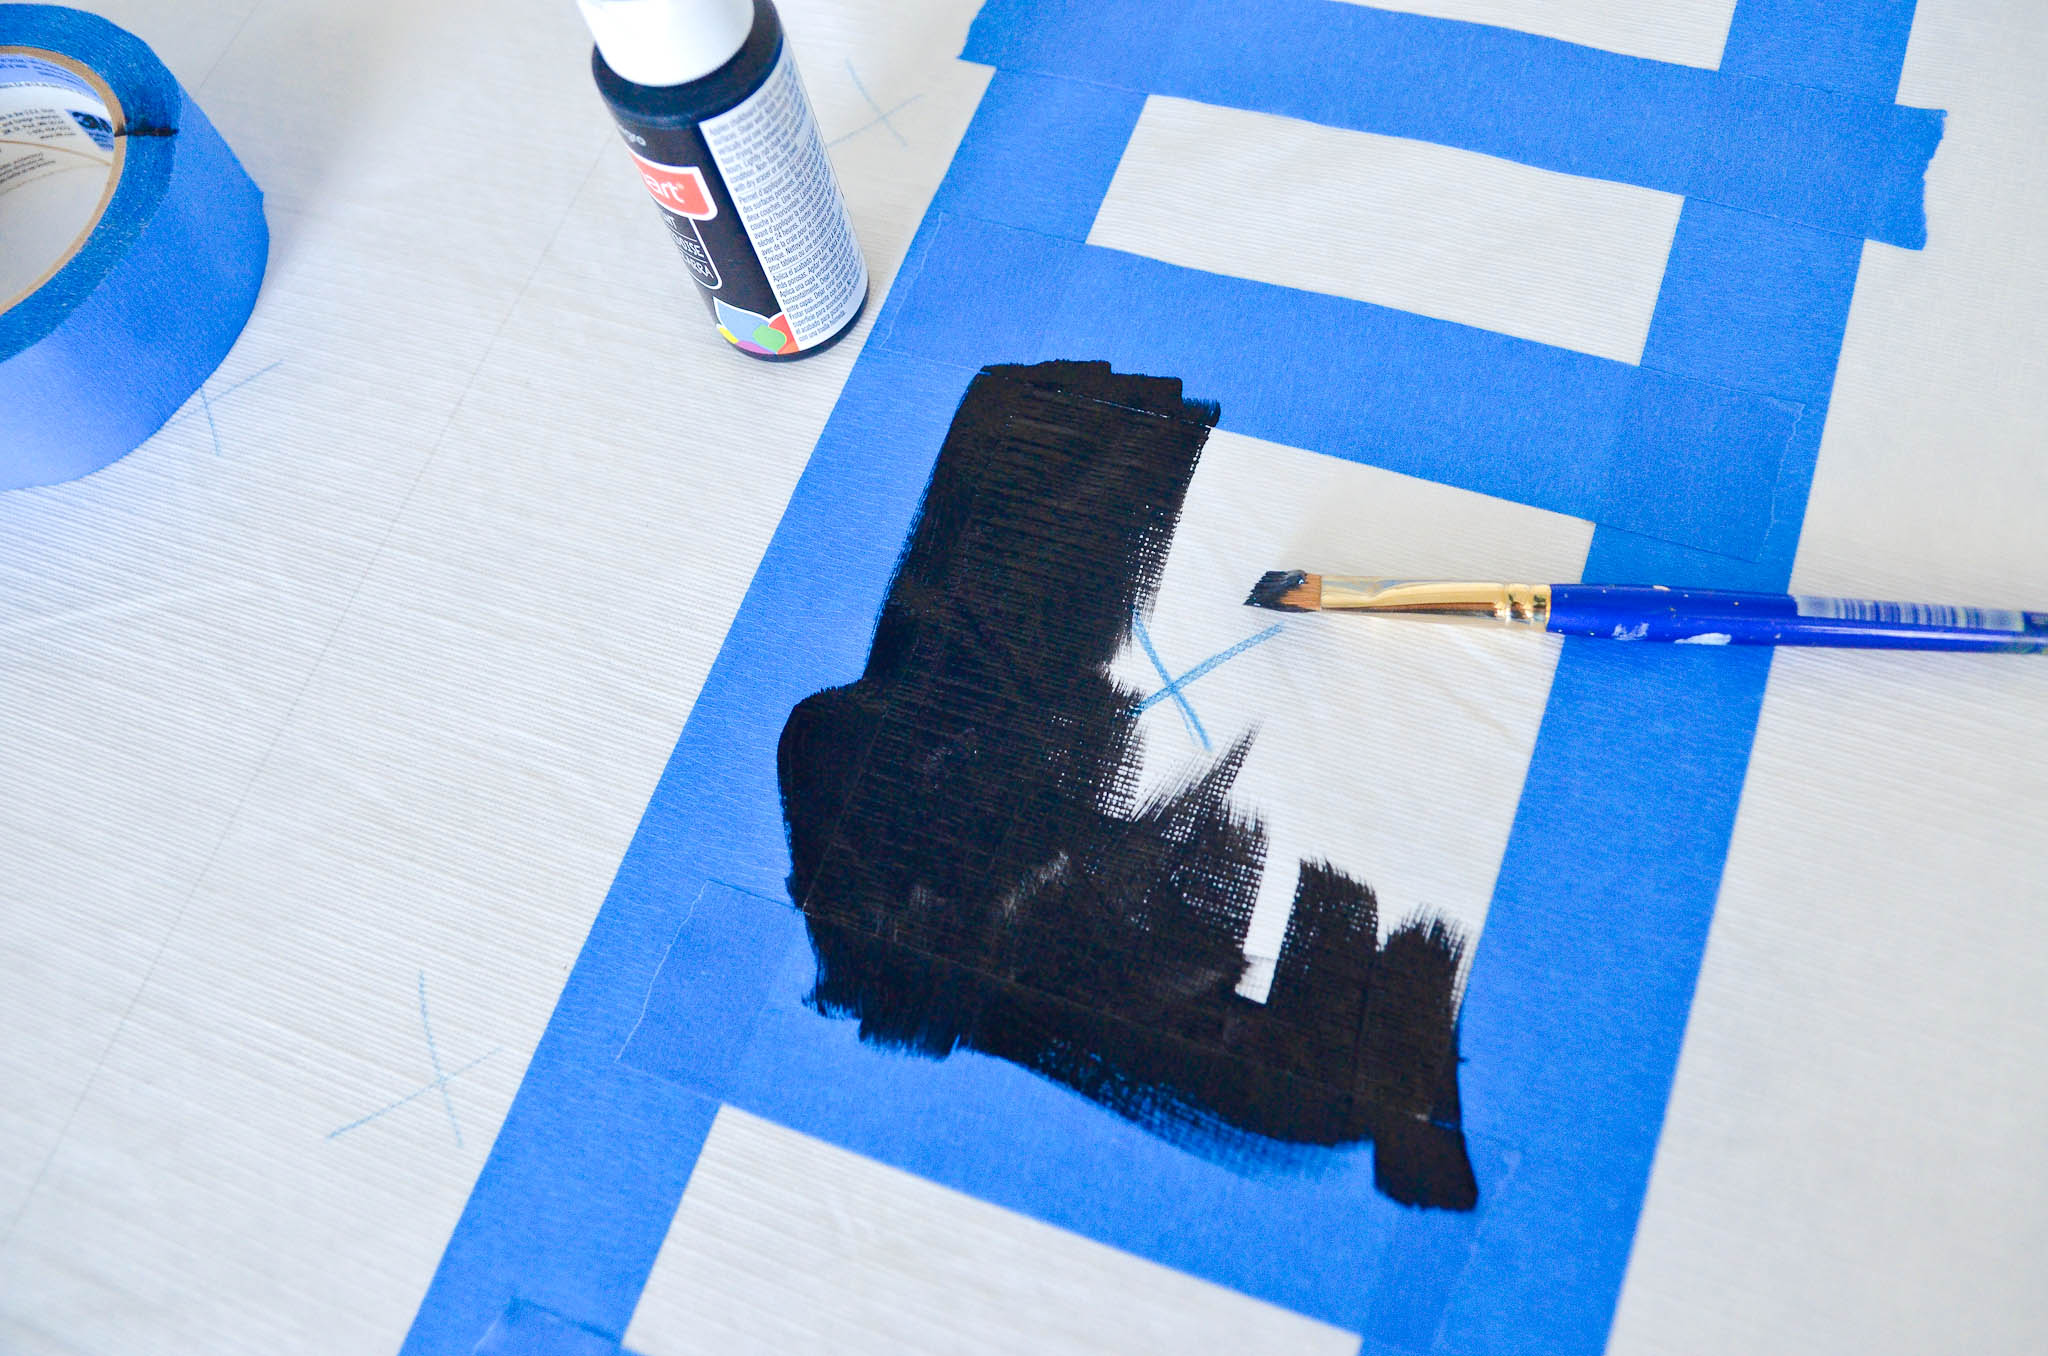
Tape off one column at a time, paying special attention to which squares are to be painted.
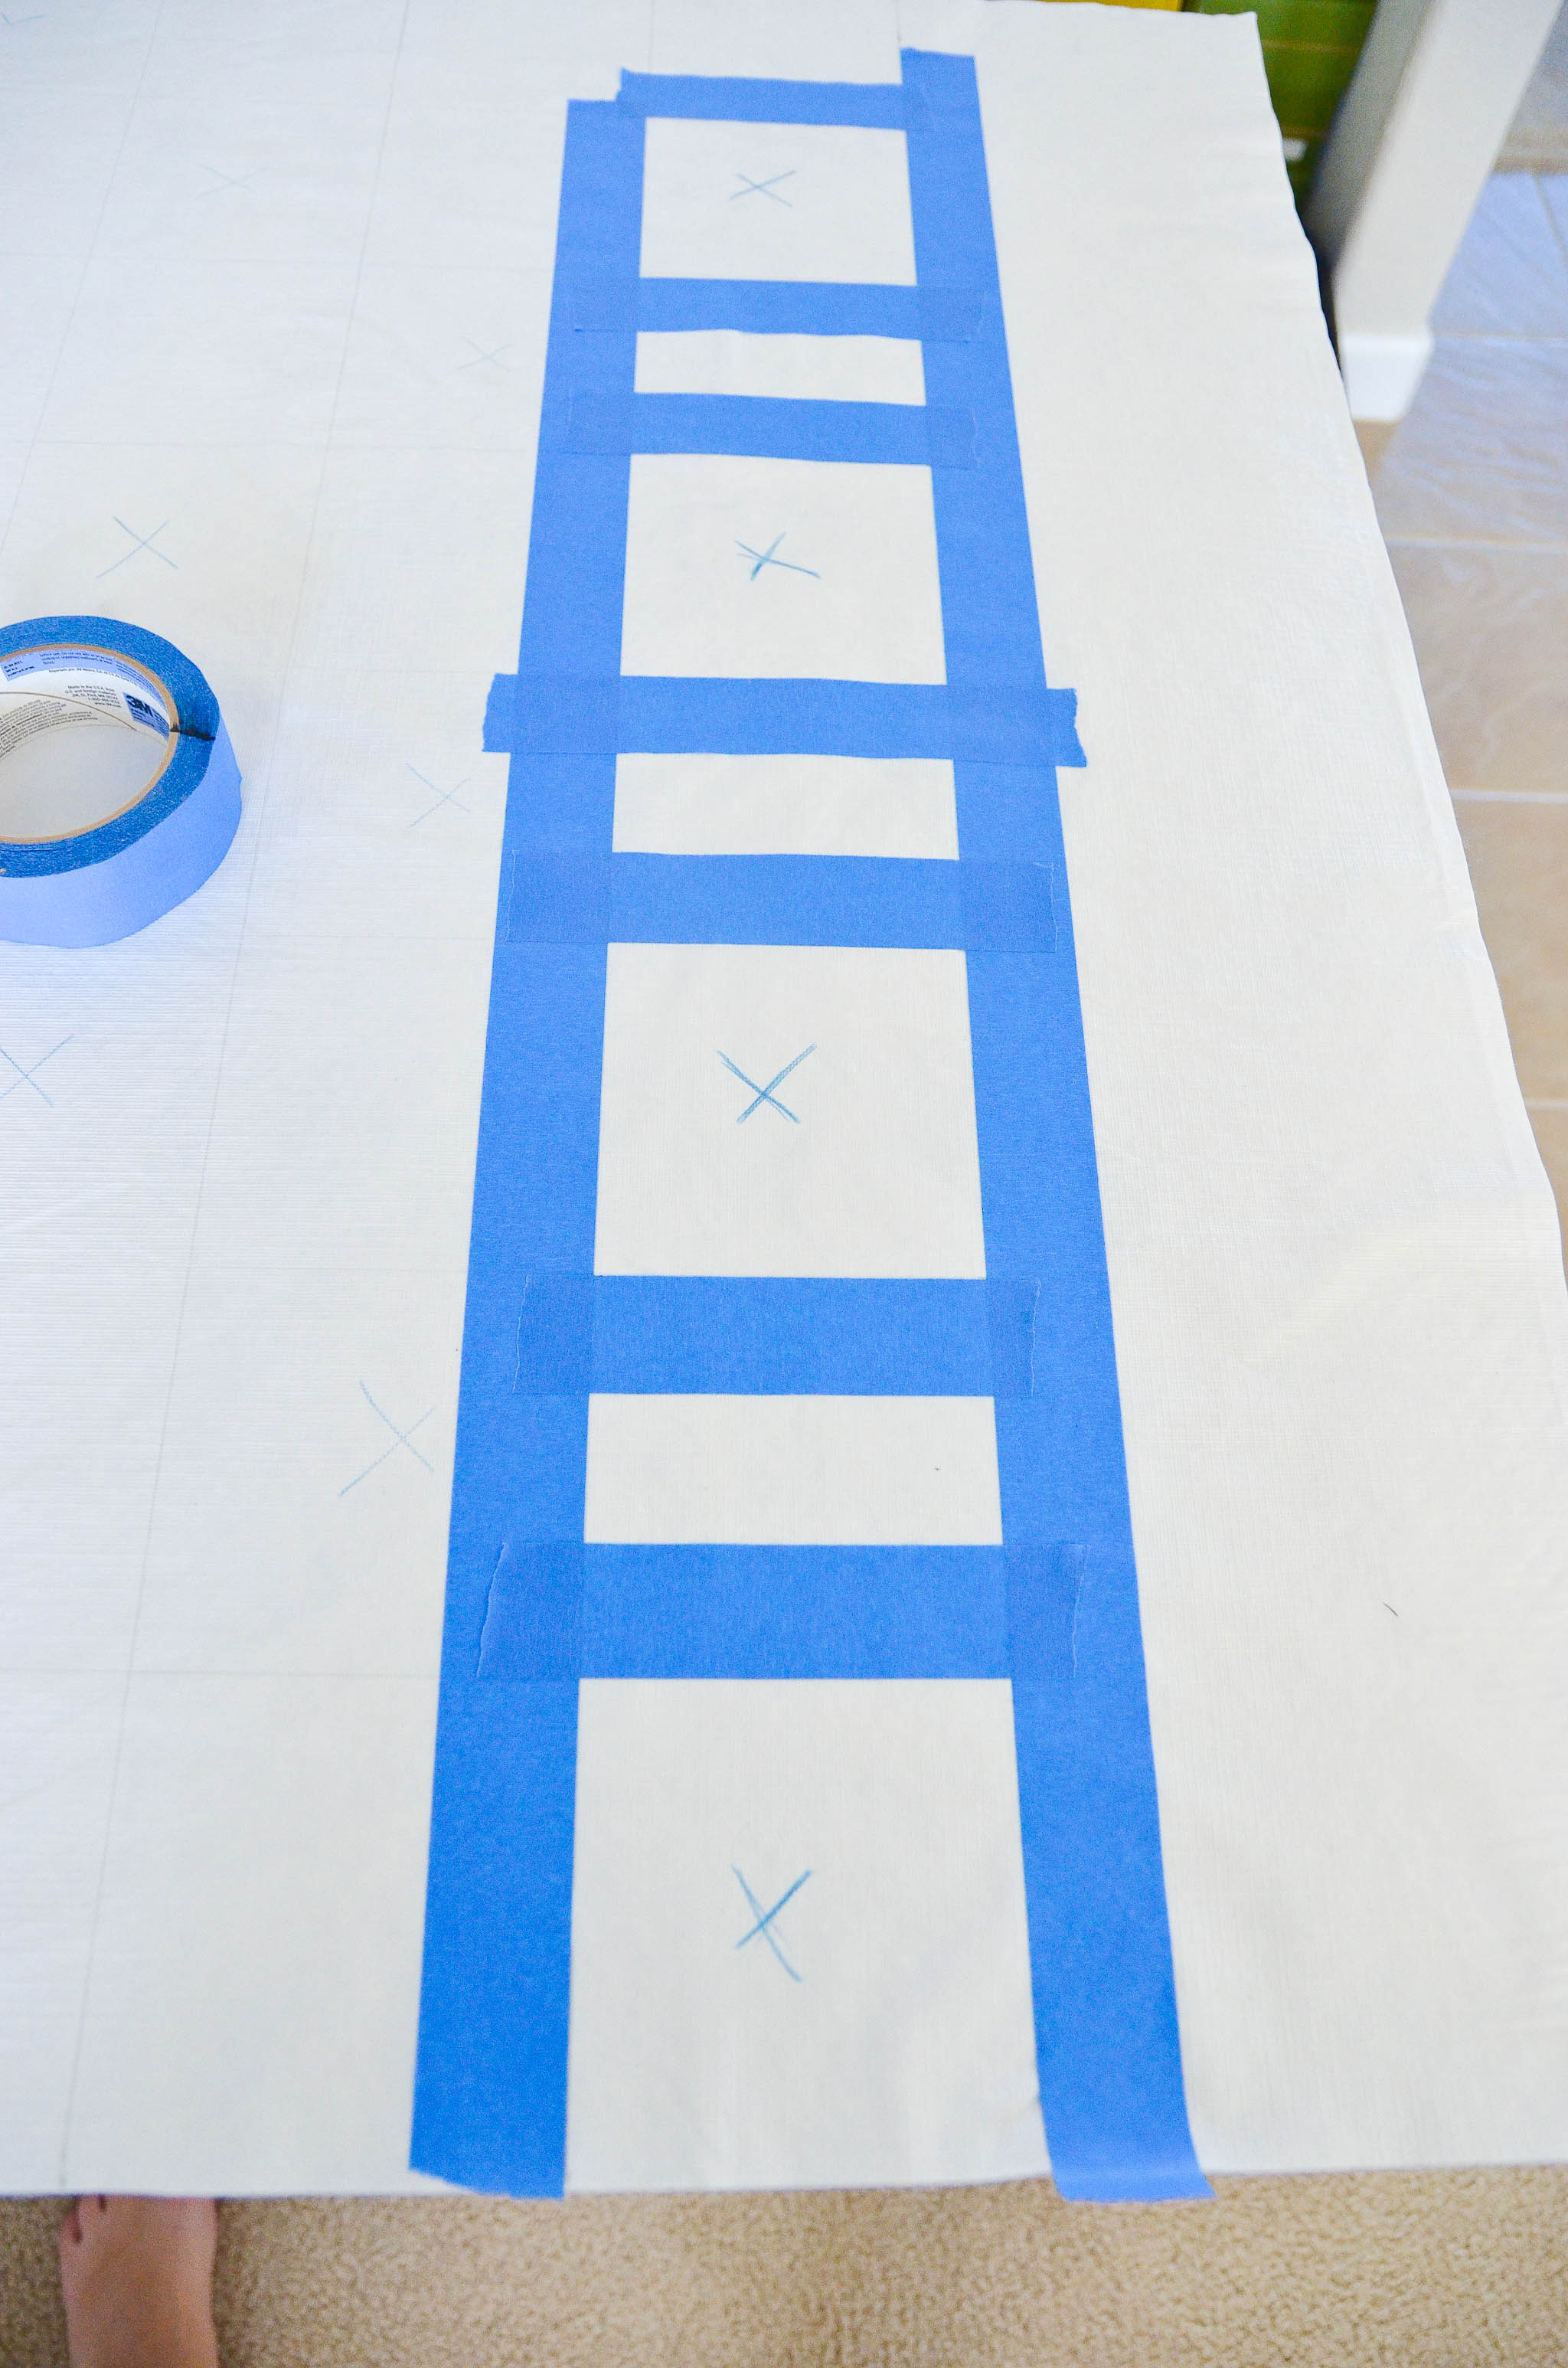
Use black acrylic craft paint and a paintbrush to fill in the “X-marked” squares.
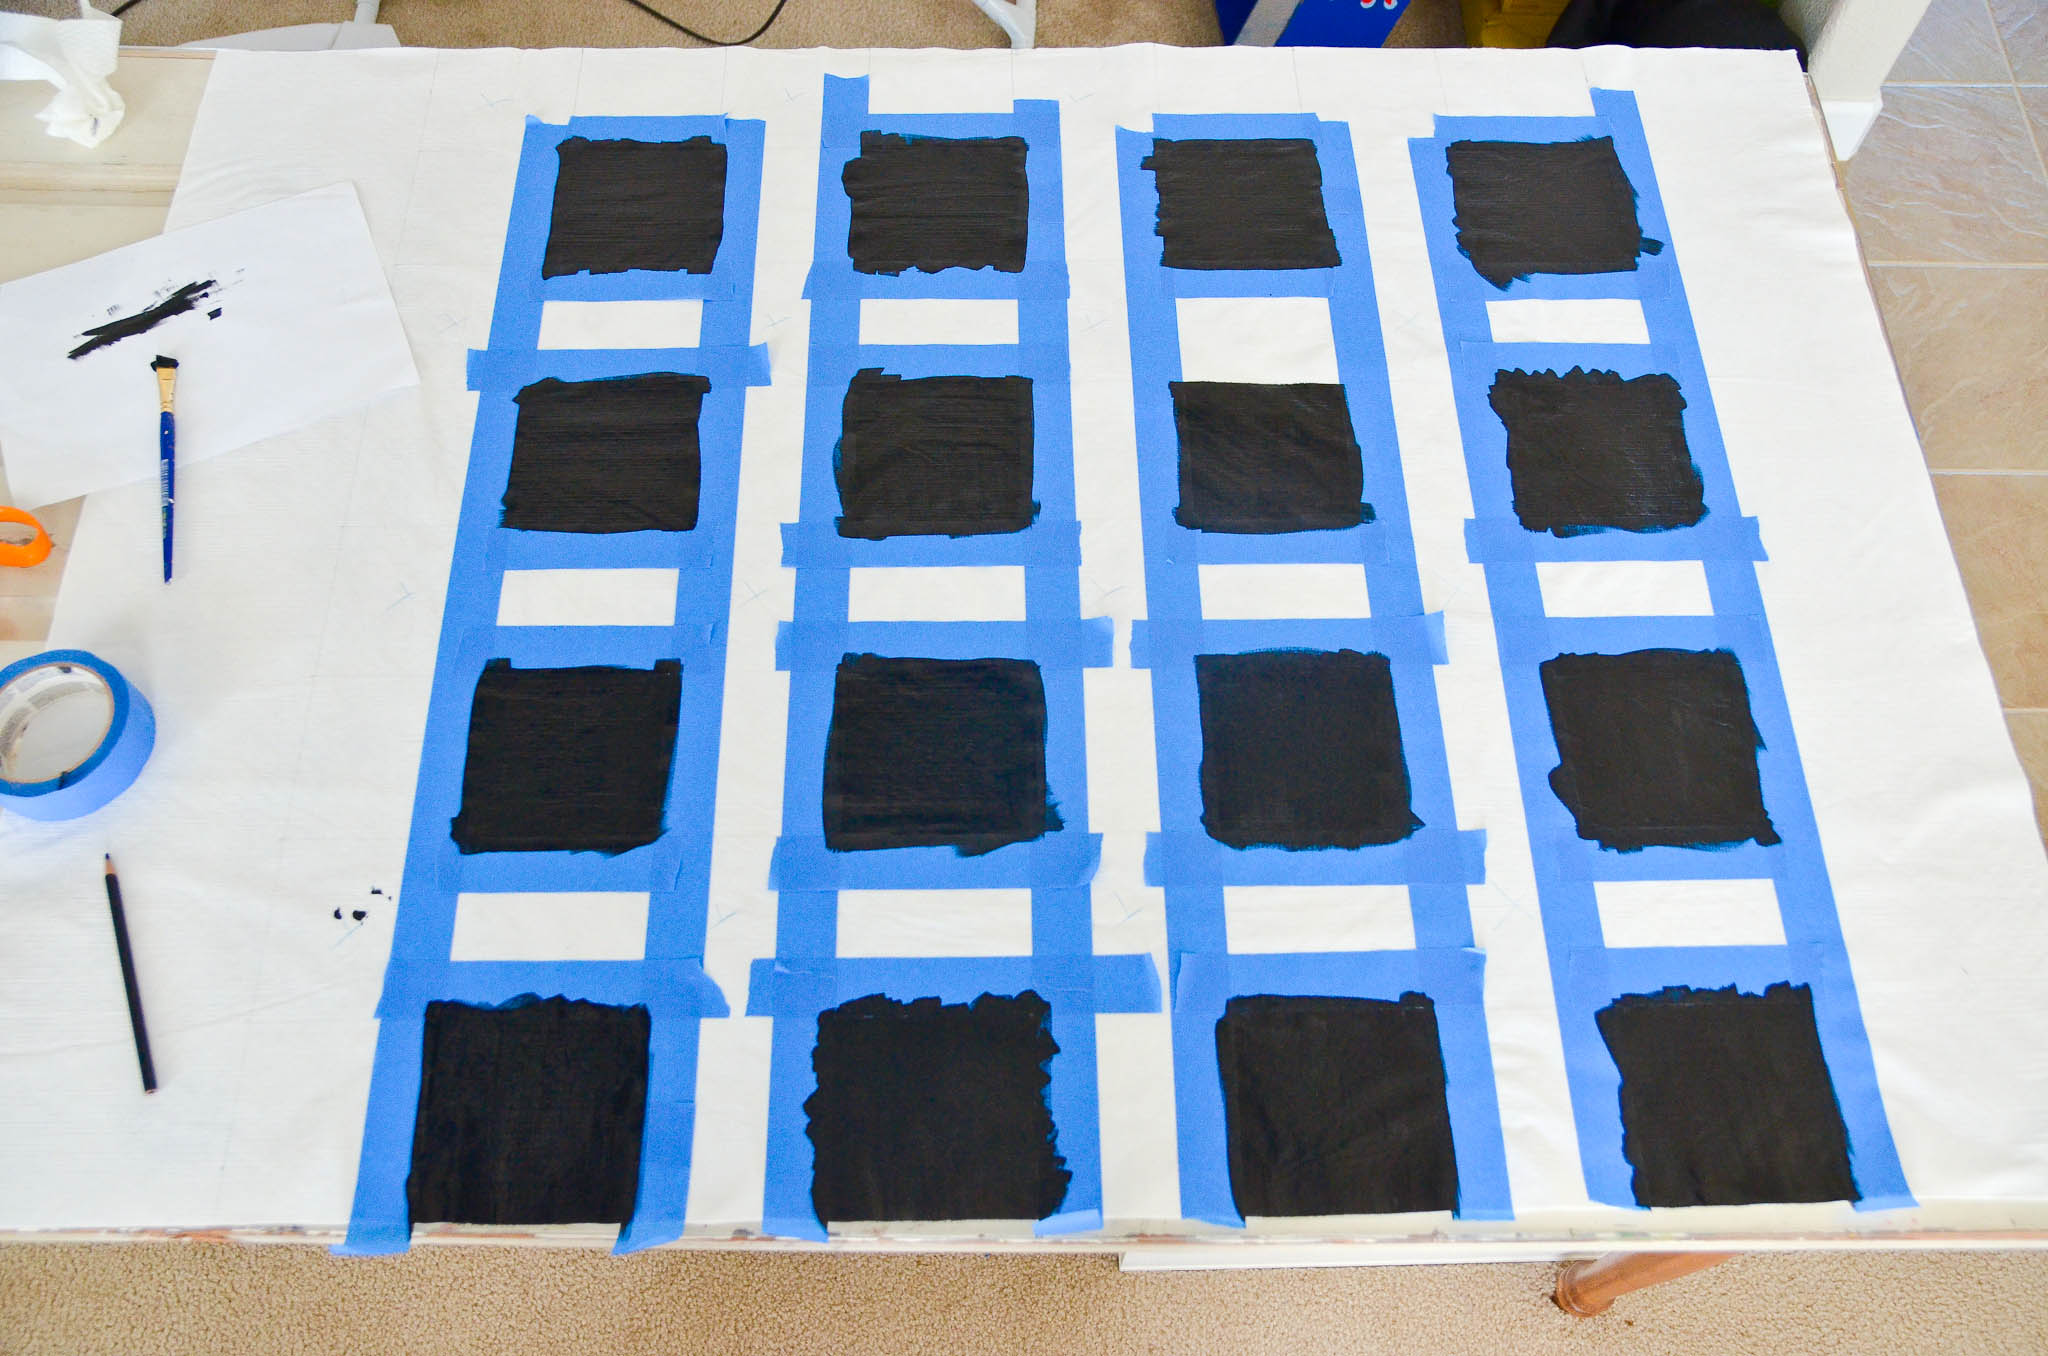
Continue taping and painting every other column of squares until your checkerboard looks like this. Let dry. Do not pull the tape up while the paint is still wet!
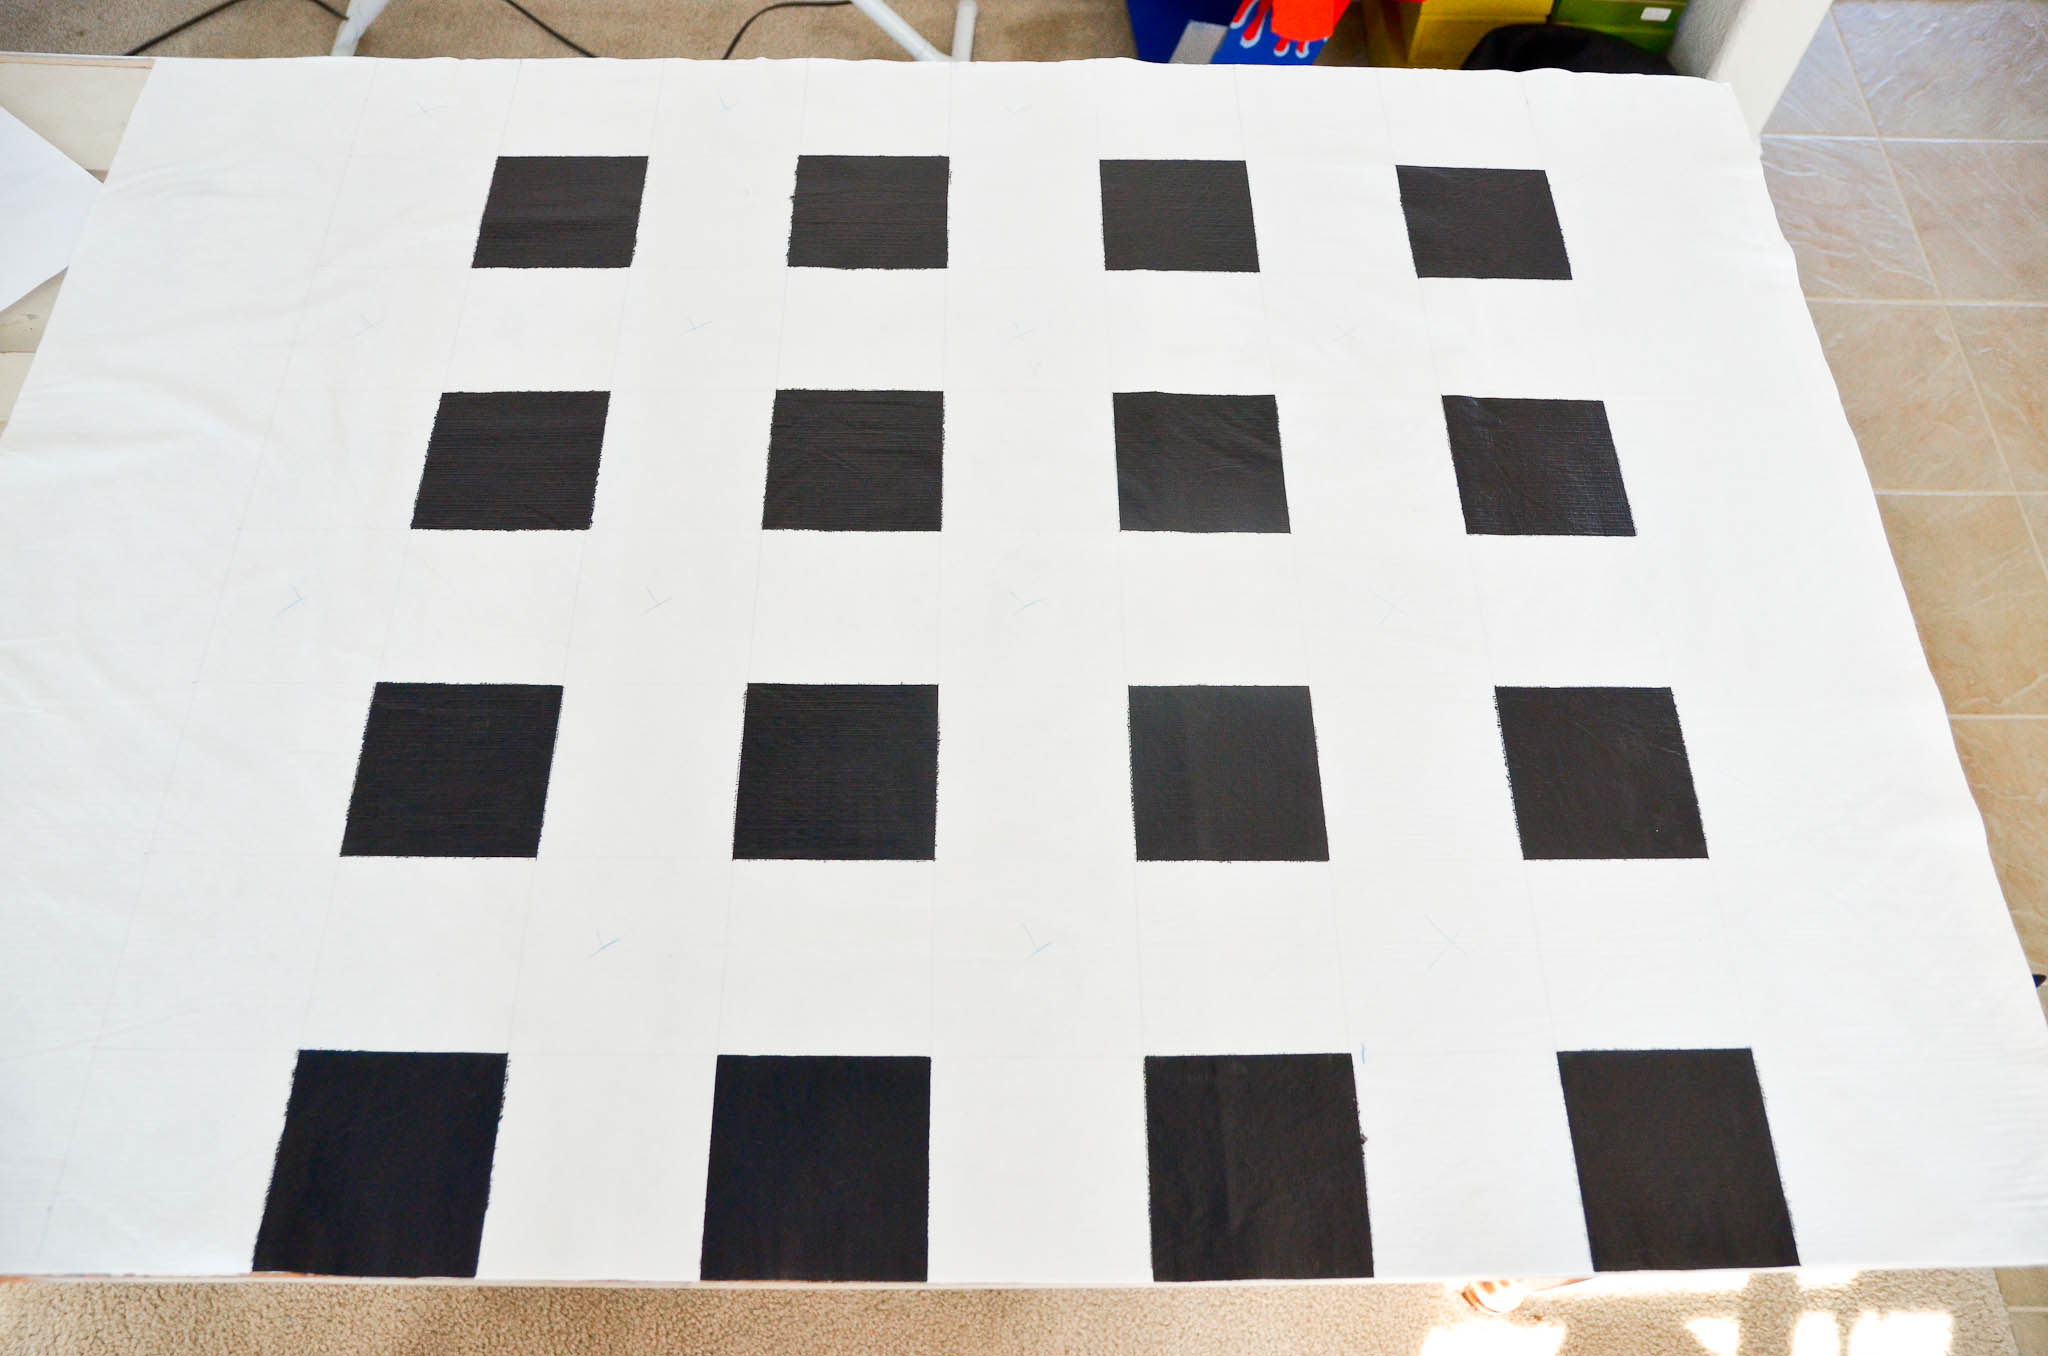
Now tape and paint the other set of “X-marked” squares. This will complete your checkerboard. I recommend running a line of permanent marker around the perimeter of the game board for a crisp finished look.
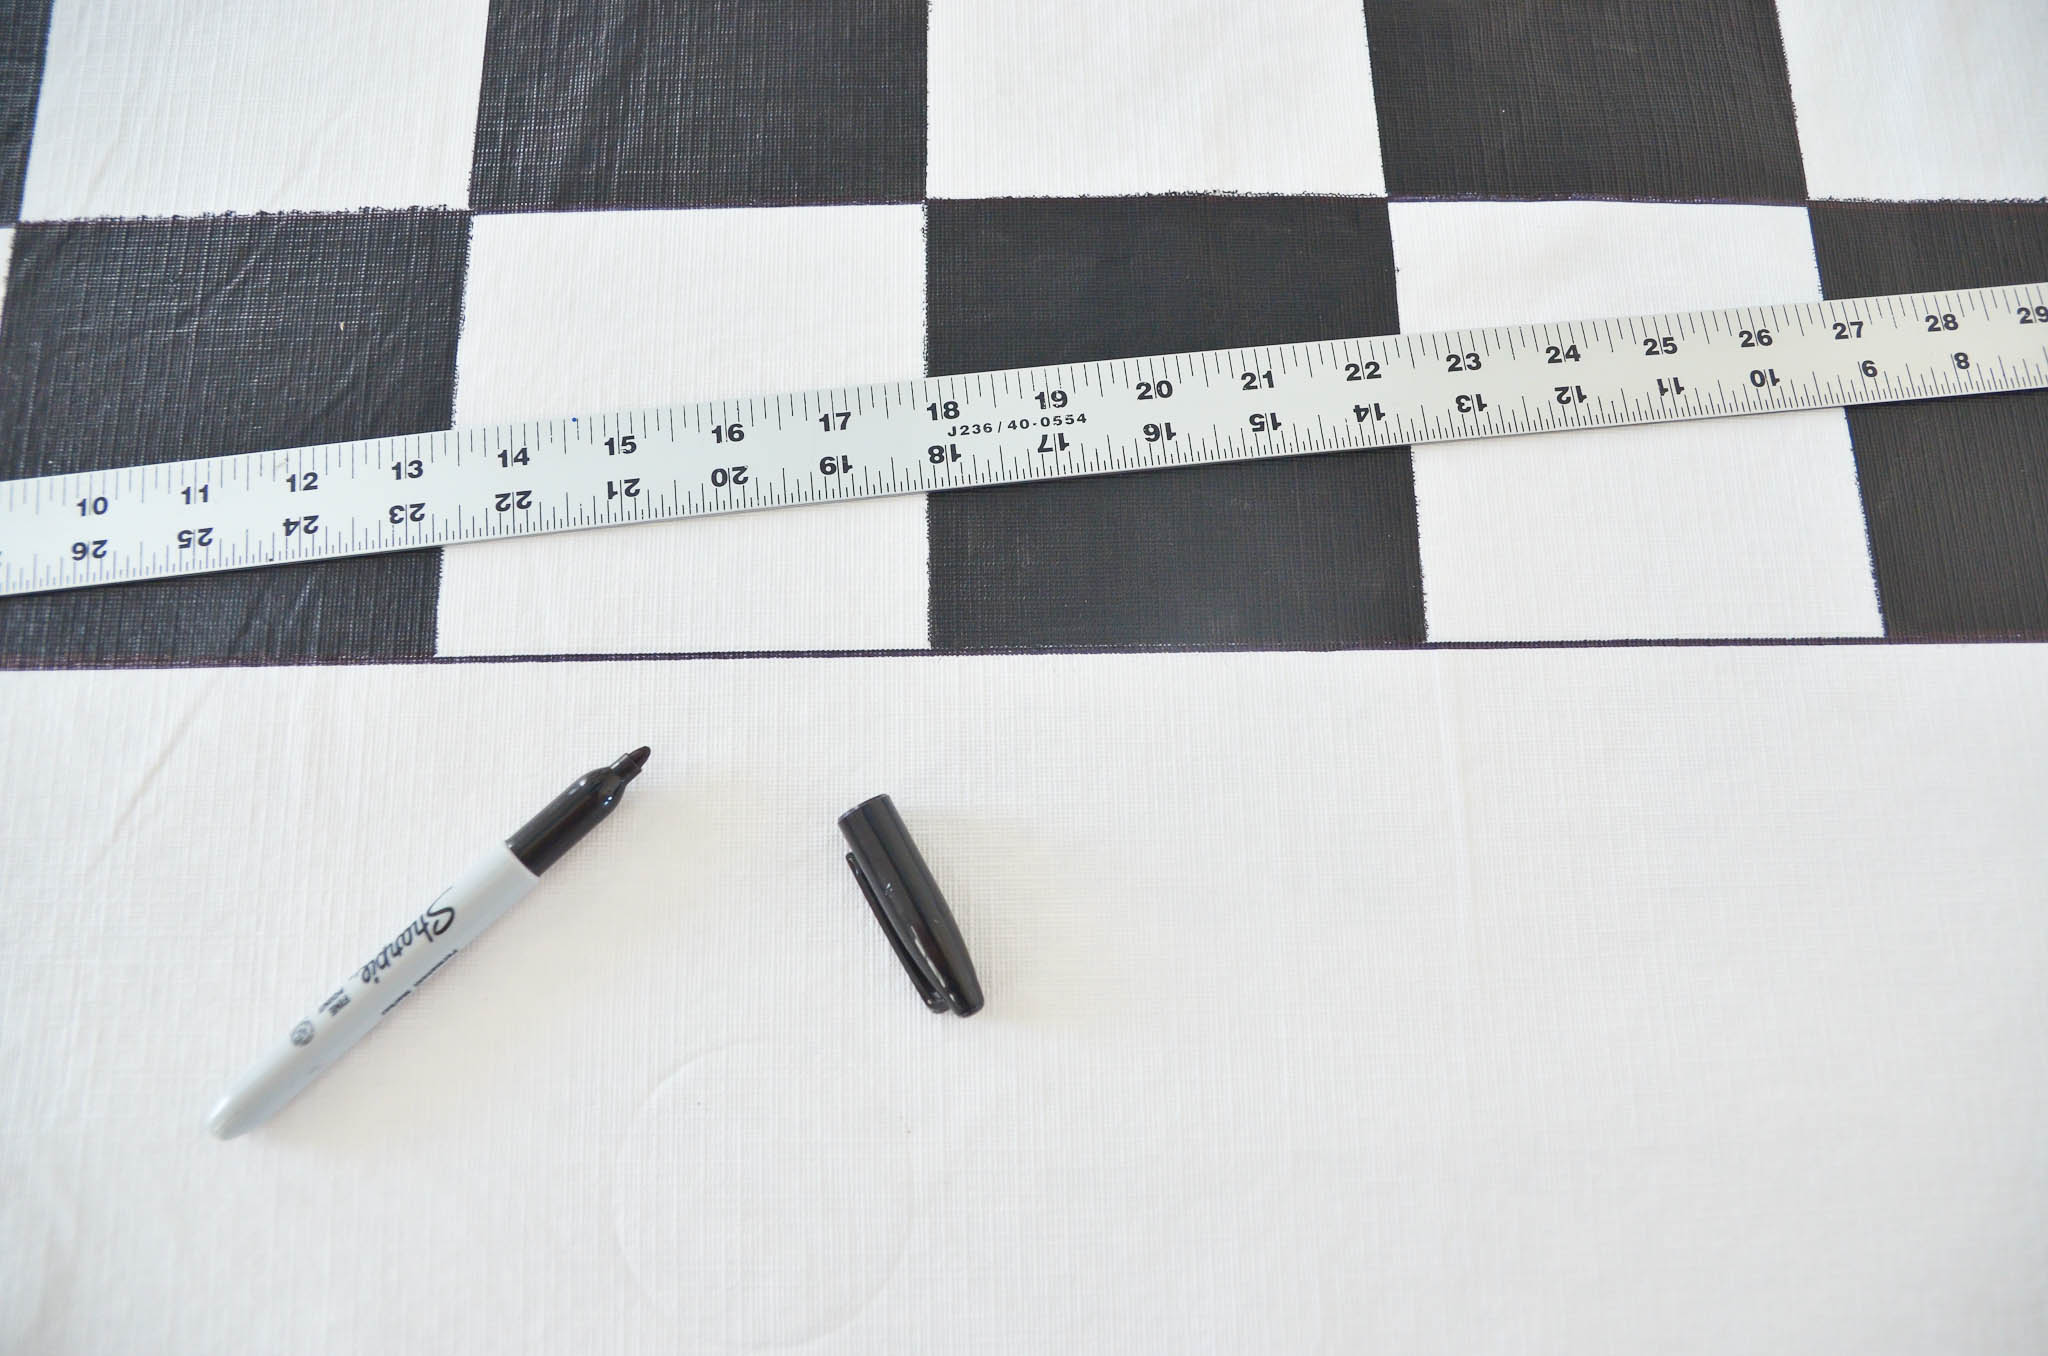
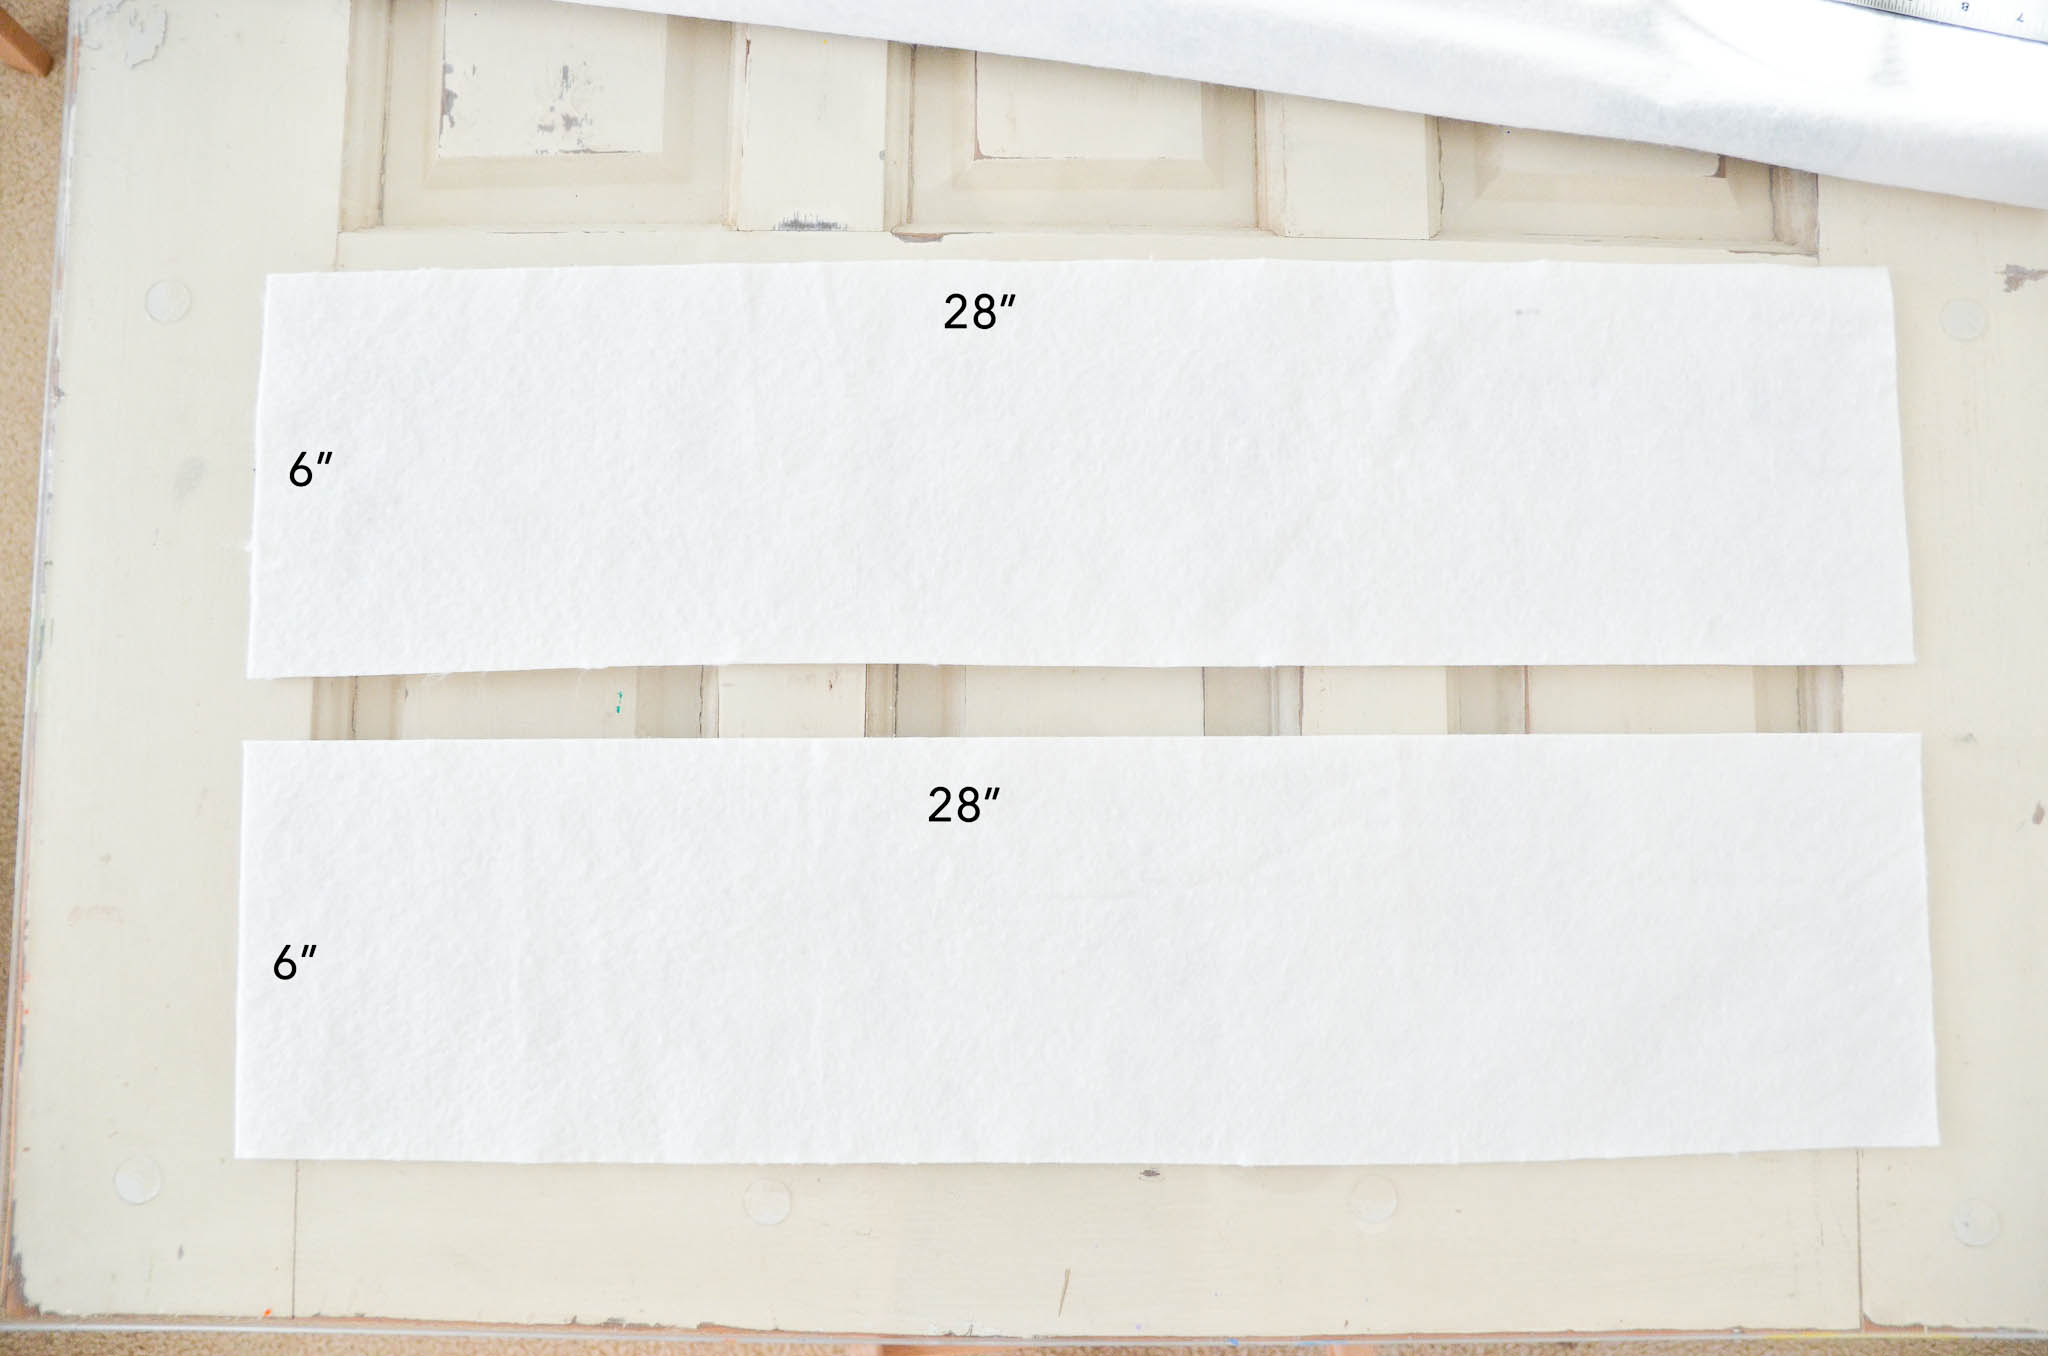
Cut two rectangles out of the remnants of the tablecloth that are 6″ x 28″ each.
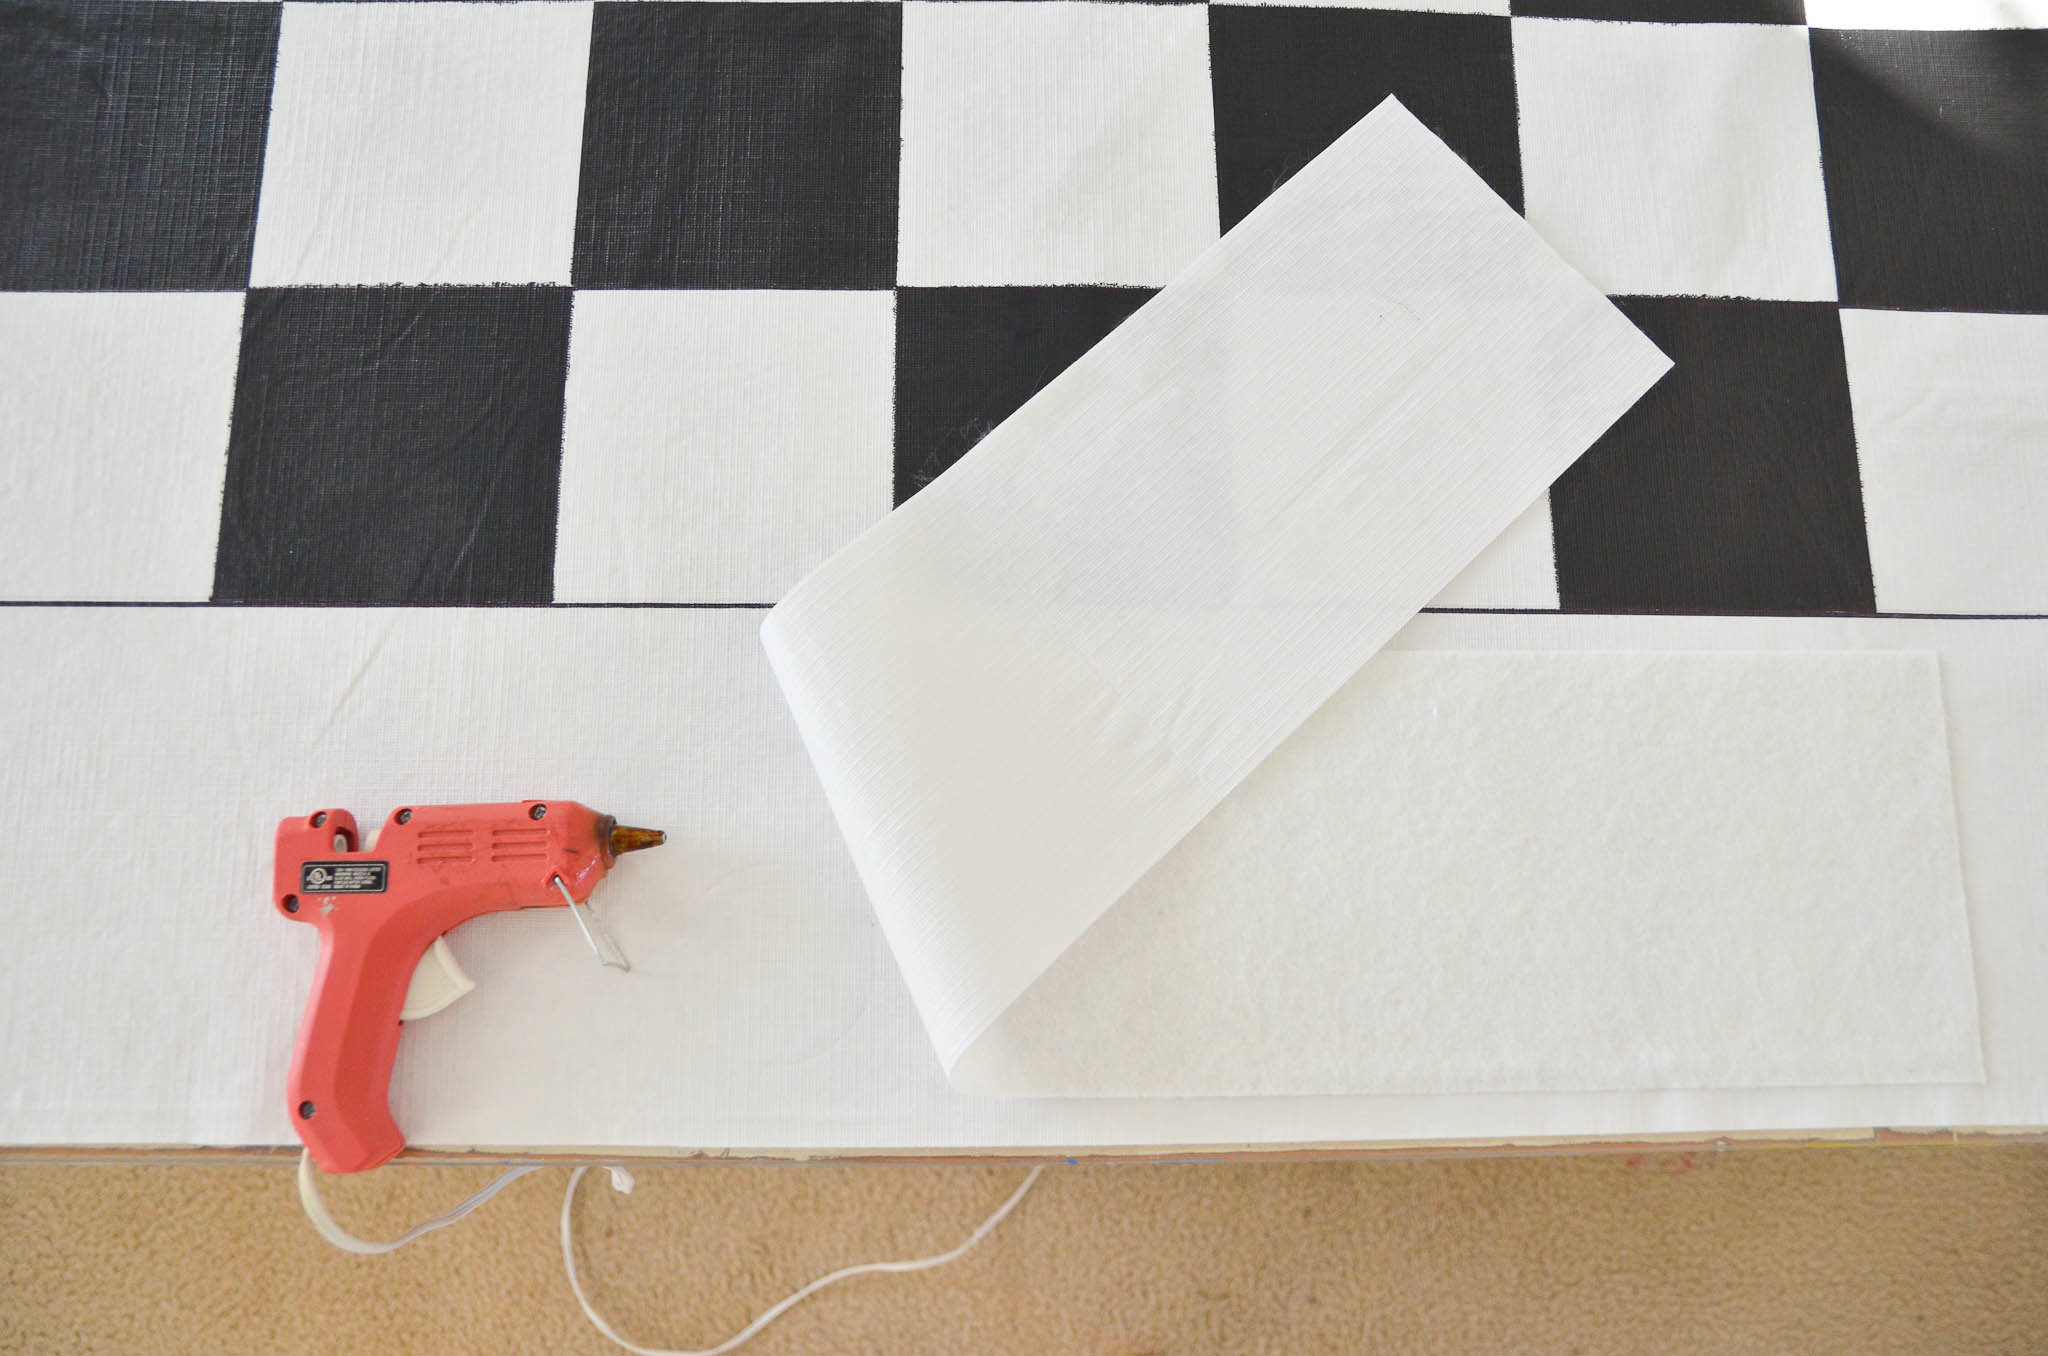
With the fuzzy fabric side up (plastic vinyl side down), center one rectangle on one end of the checkerboard. Use hot glue to attach only the two sides and the bottom of the piece to the checkerboard.
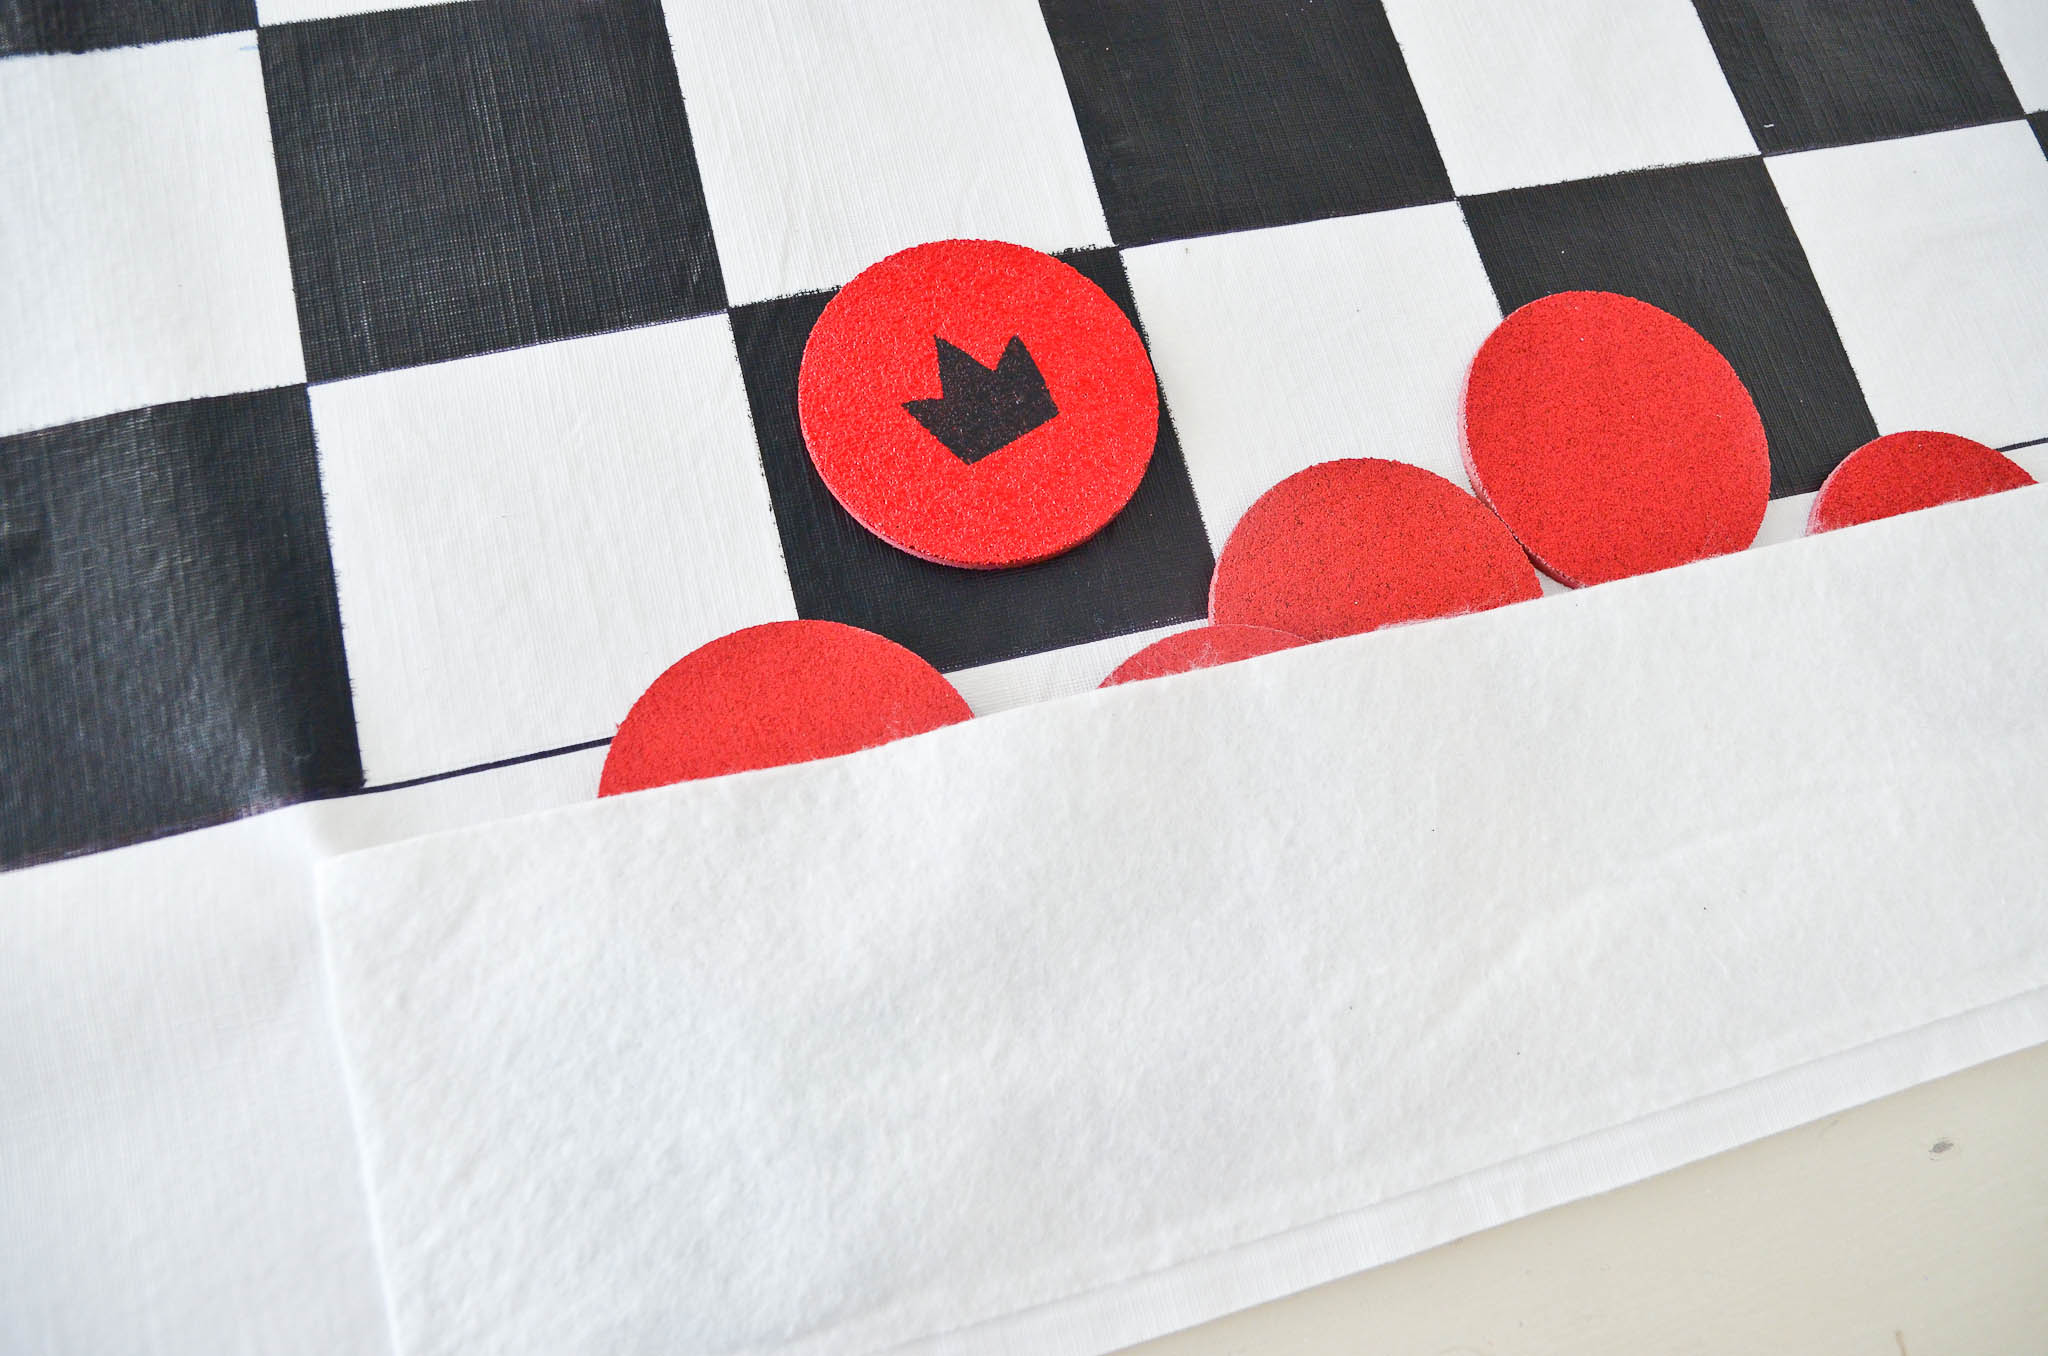
Repeat on the other side. Now you’ve got pockets to store your checker pieces!
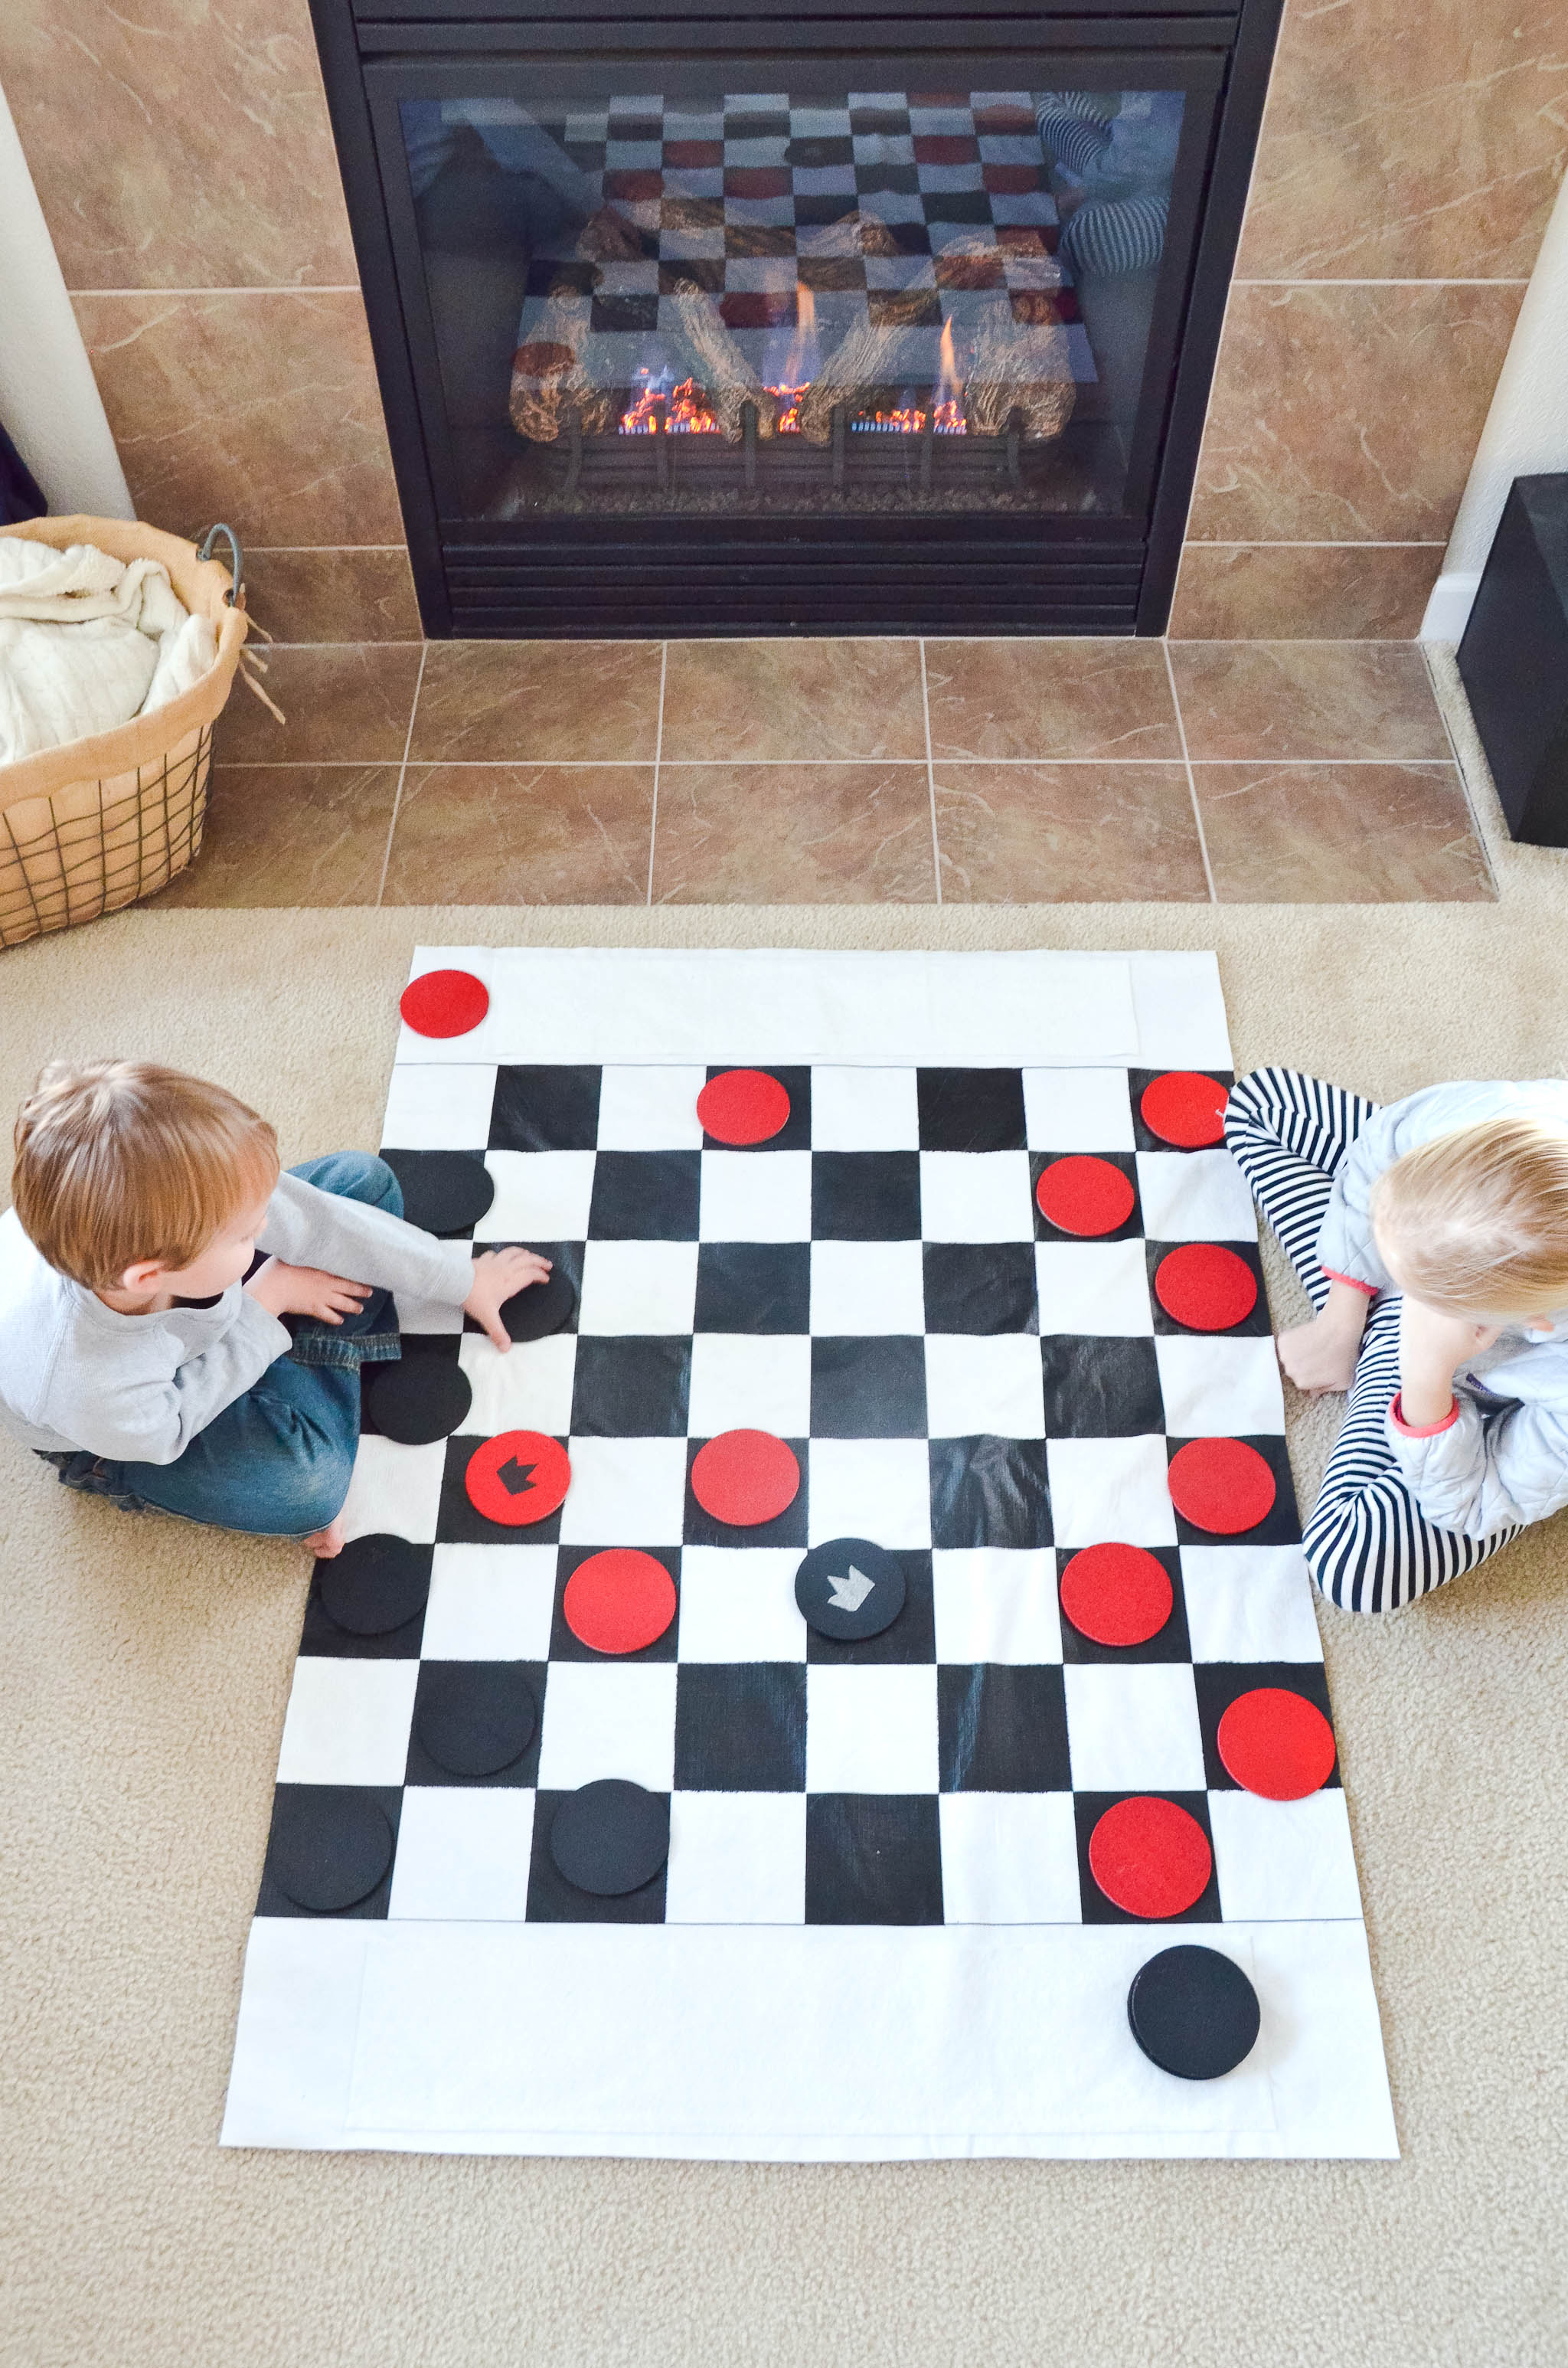
Perfect for family game night, rainy weekends or even on the grass outside in the summertime, this DIY checkers set is a fun twist on the tabletop classic. My kids just learned how to play checkers this winter and find the oversized nature of this board an inviting spot to develop their tactics.
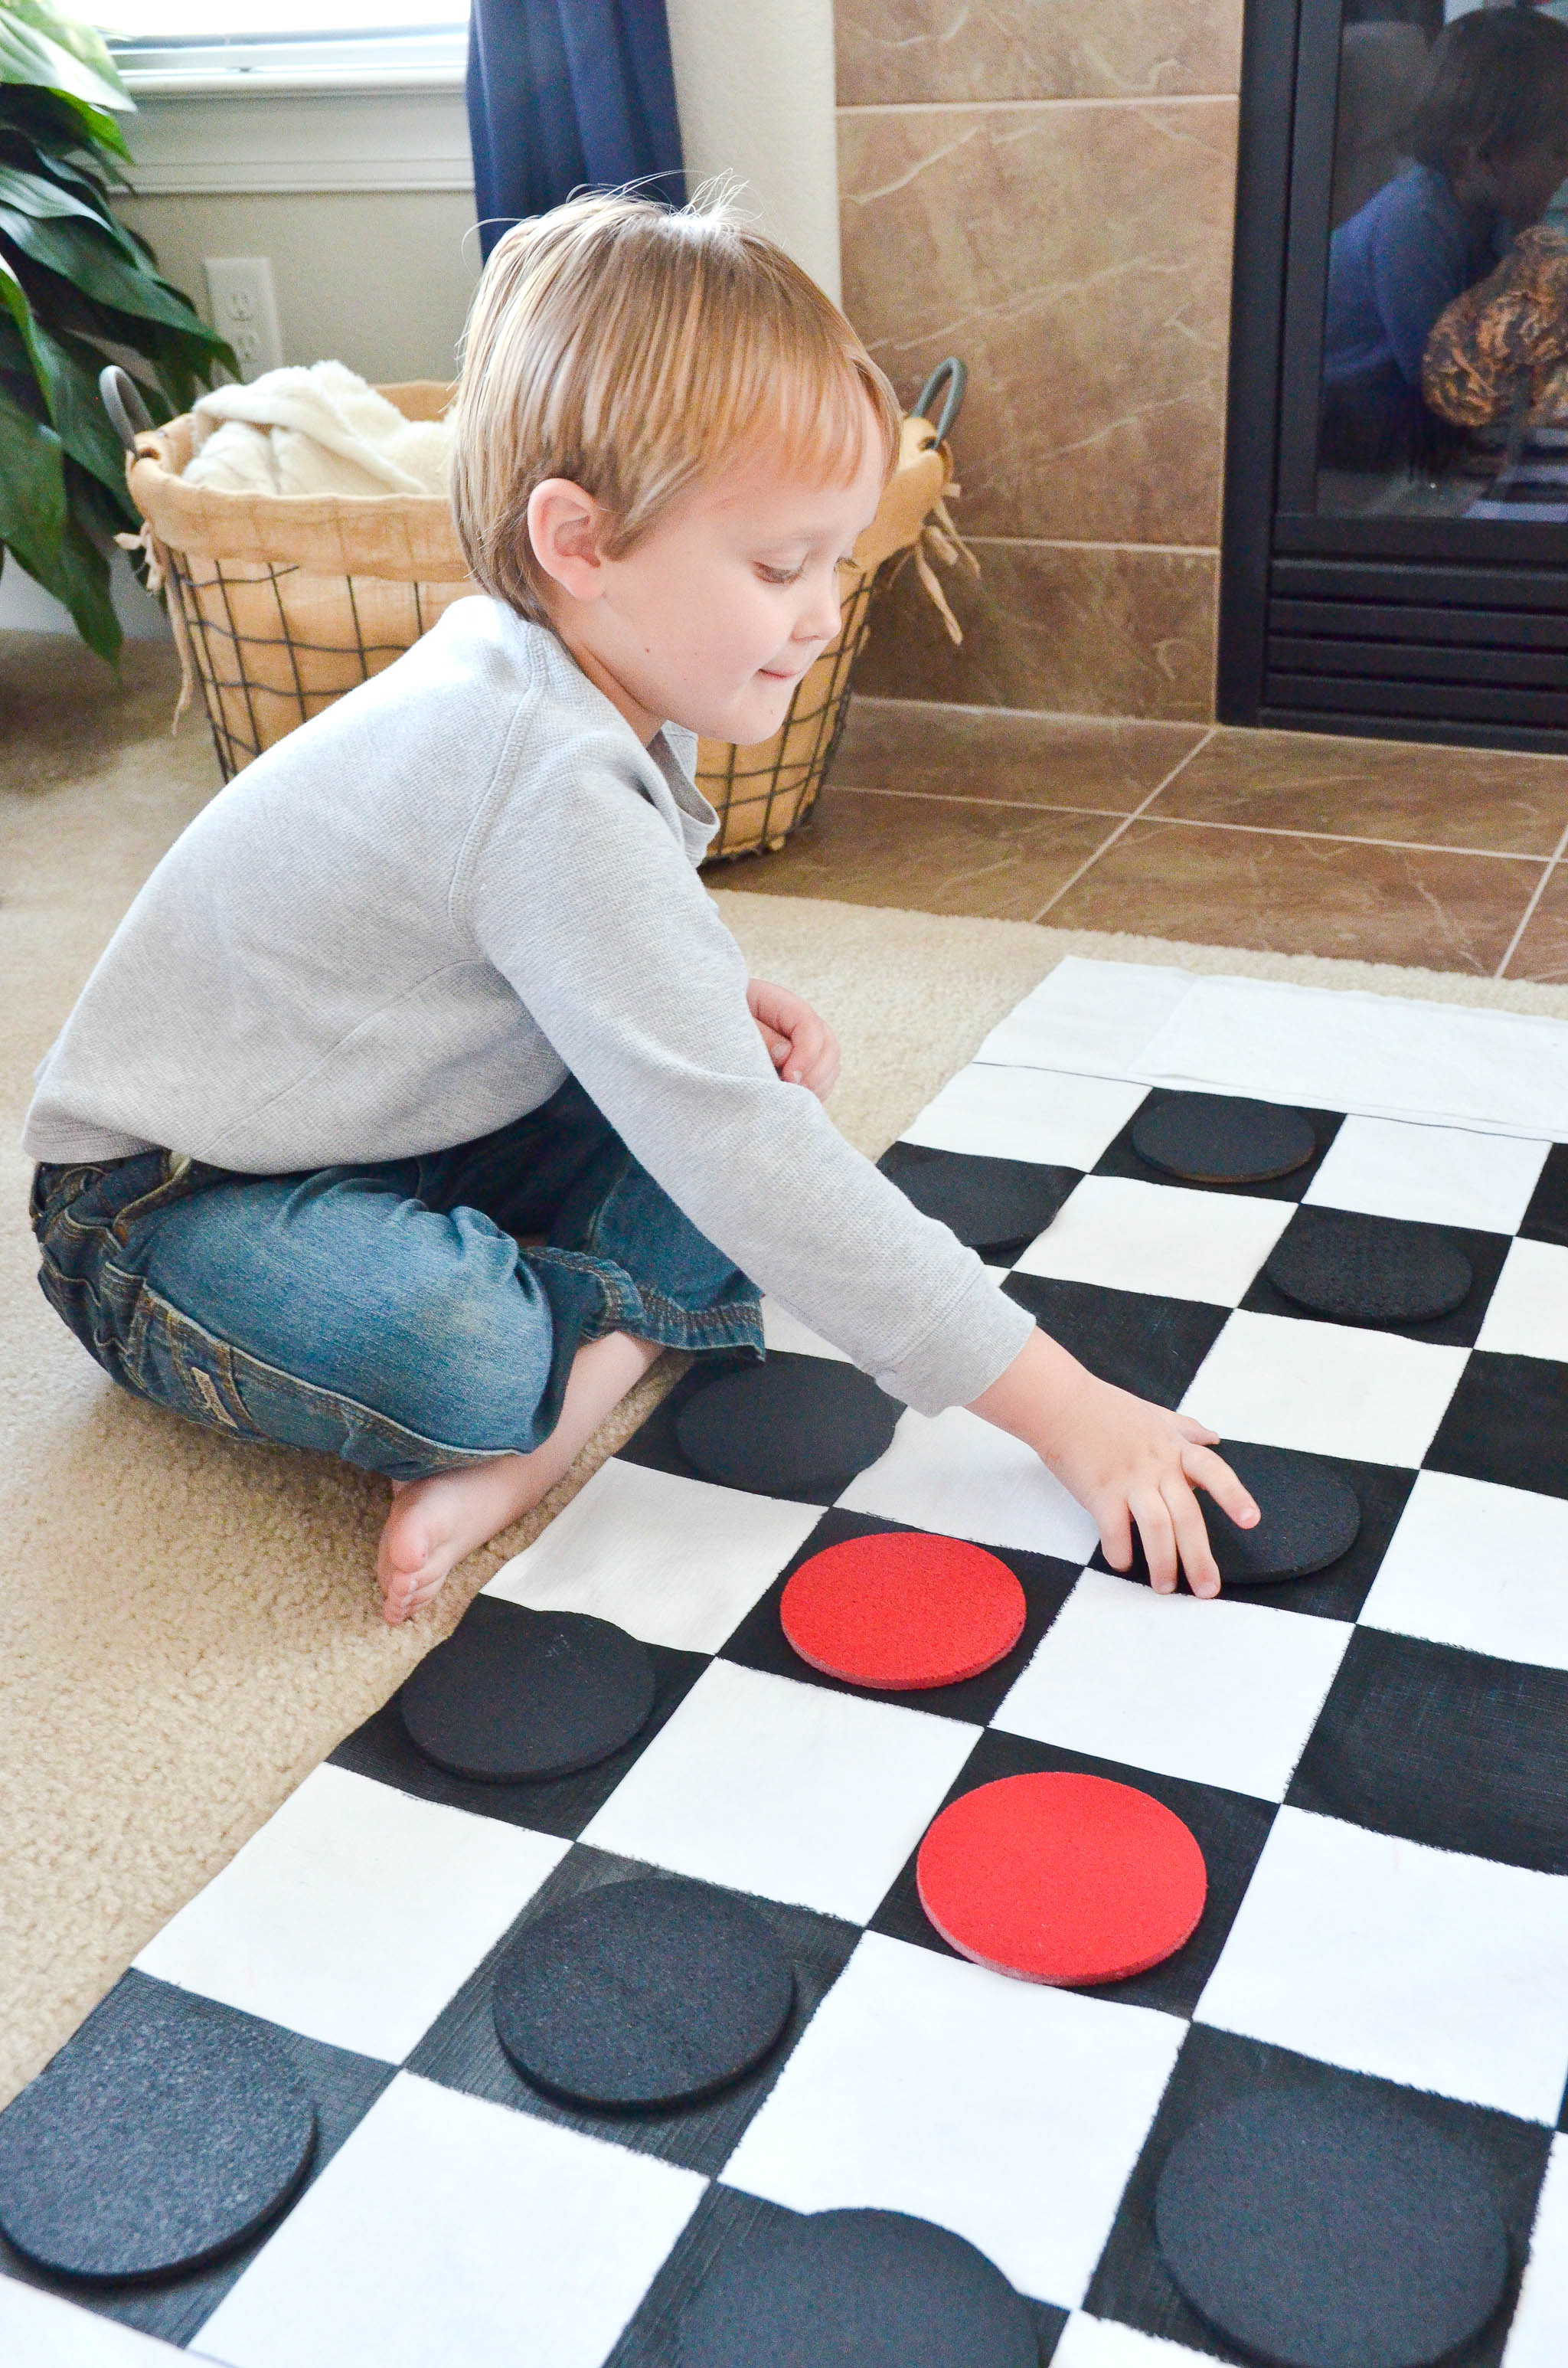
When the fun is done, tuck those cork checkers into their respective pockets and roll the whole thing up to be easily stored under the couch, in a closet or maybe in the car to be pulled out at the next outdoor picnic!



Comments