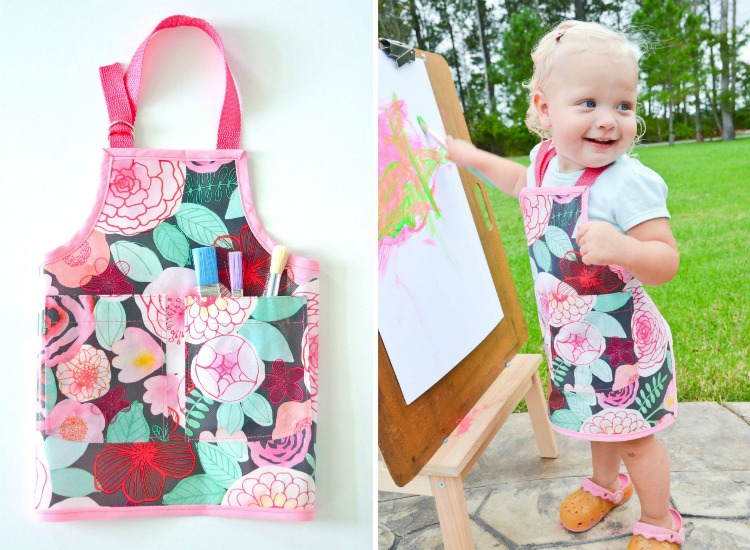
Maybe more so than any other age group, toddlers learn by doing. We all like to give our children opportunities to be hands-on, but sometimes those experiences mean seriously soiled clothing. Save those pint-sized ensembles today by turning a large reusable shopping bag into the most clever DIY toddler smock apron you’ve ever seen. Read on for all the details—including the free pattern!
Materials: Large reusable shopping bag (19.5″ x 17.5″ found at TJ Maxx or Home Goods), scissors (rotary cutter or X-Acto blade), straight edge/ruler, Toddler Art Apron Template, pencil, pins, 1 package (3 yards) of extra wide double fold bias tape in a coordinating color, thread to match your bias tape, lighter, 2 D-rings (1″ size), 29″ of 3/4″ wide sew-on Velcro, sewing machine.
Note: For best results, use a stitch length of 4.0 and a size 14 denim (or “jeans”) needle.
Cut off both bag straps and set aside for later.
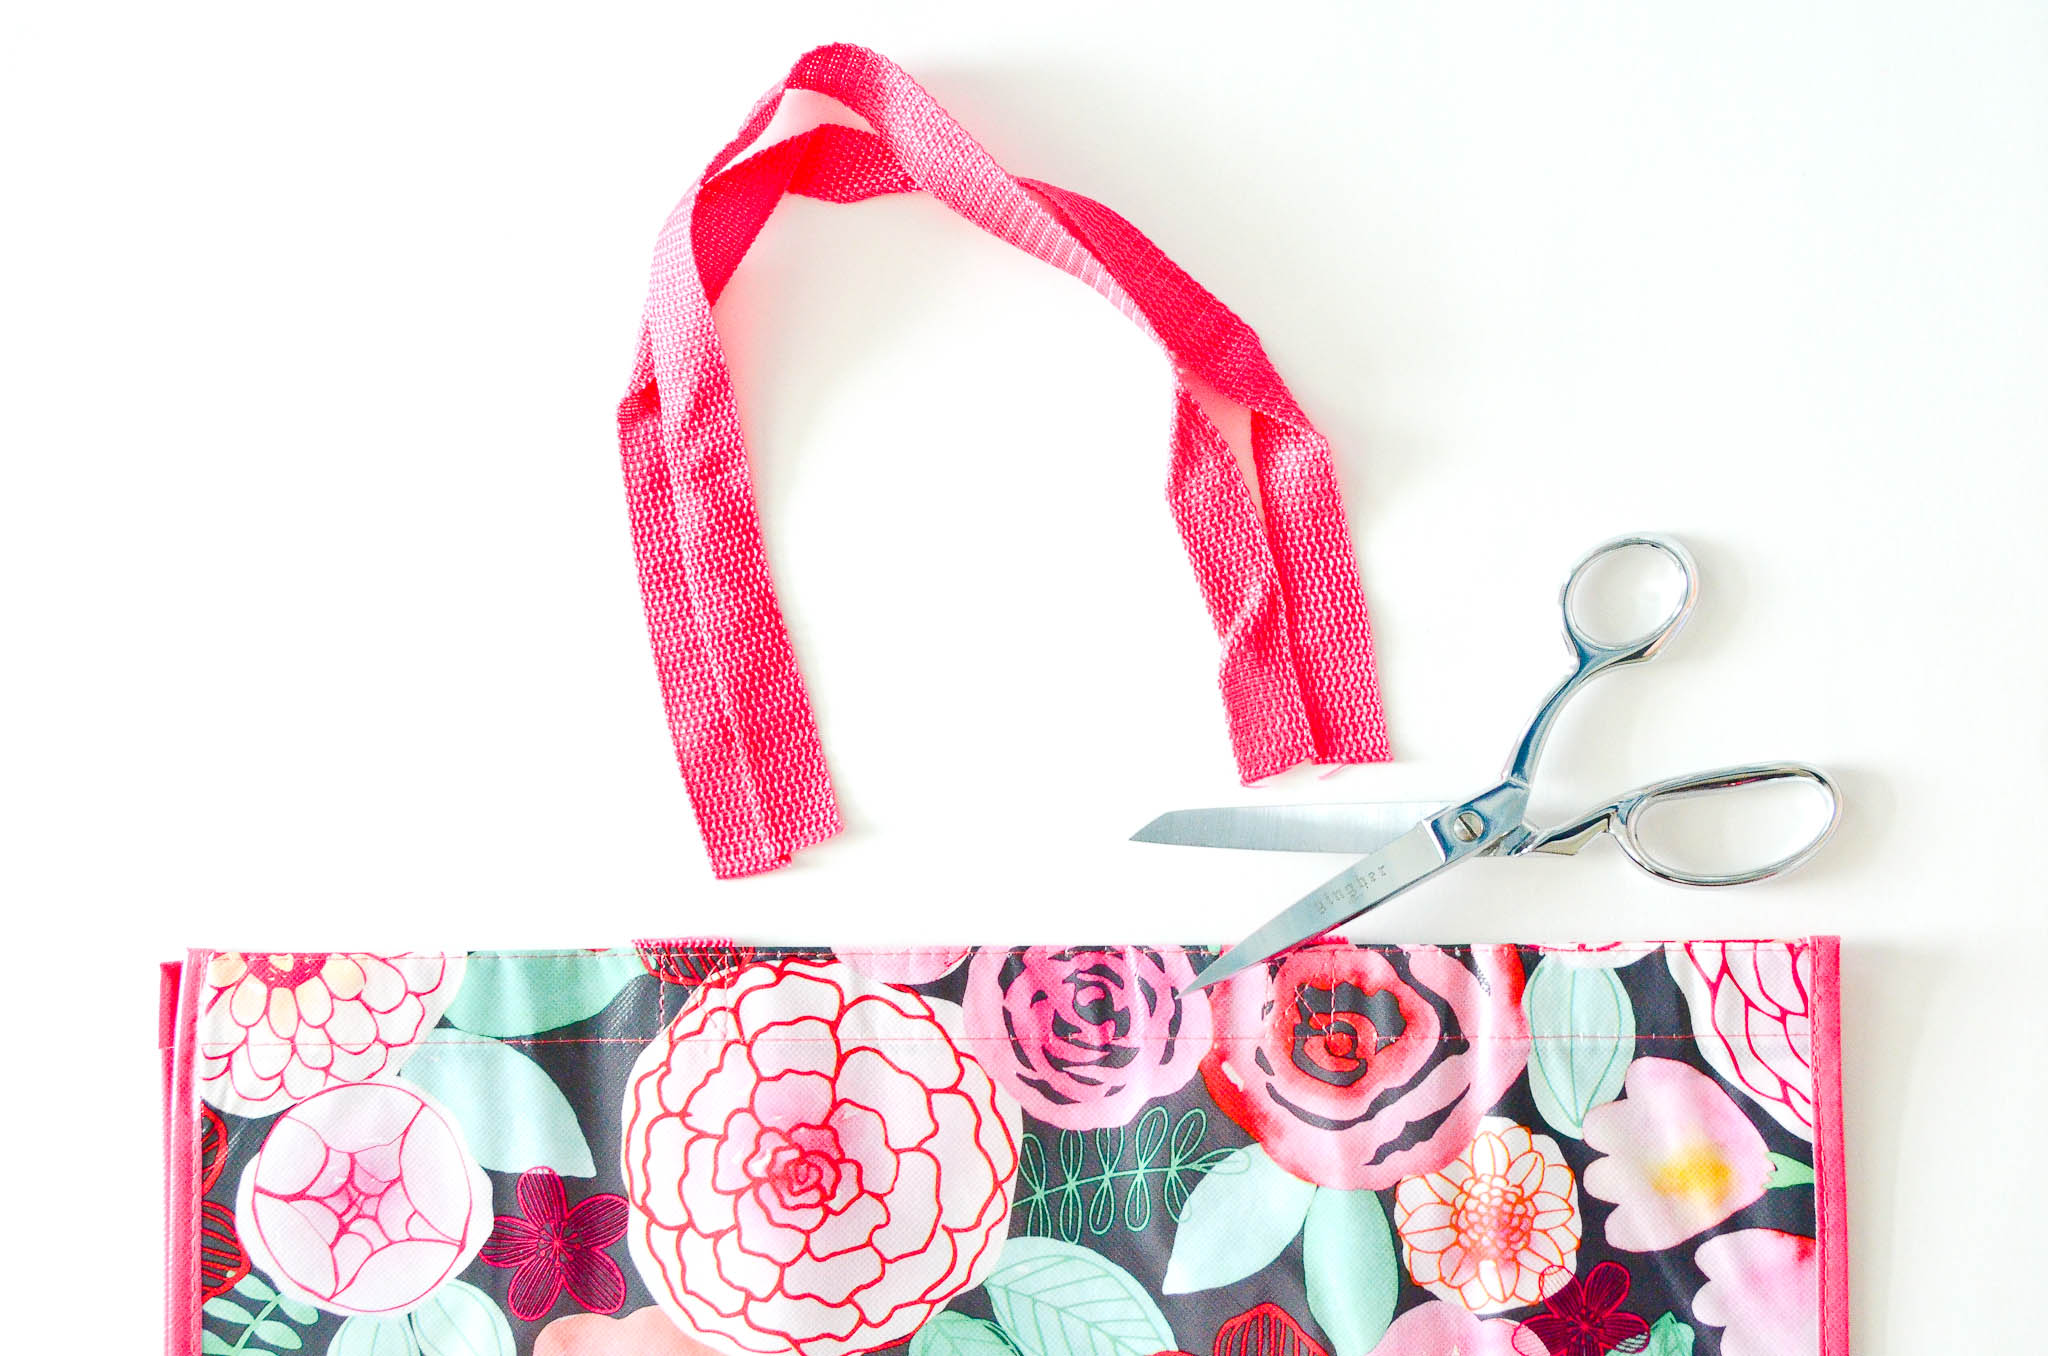
Cut off both sides of the bag. The easiest way to do this is to lay the bag flat and slice off the seams with a straight edge and a rotary cutter or X-Acto blade. Opening the bag and cutting along the edges with scissors works too.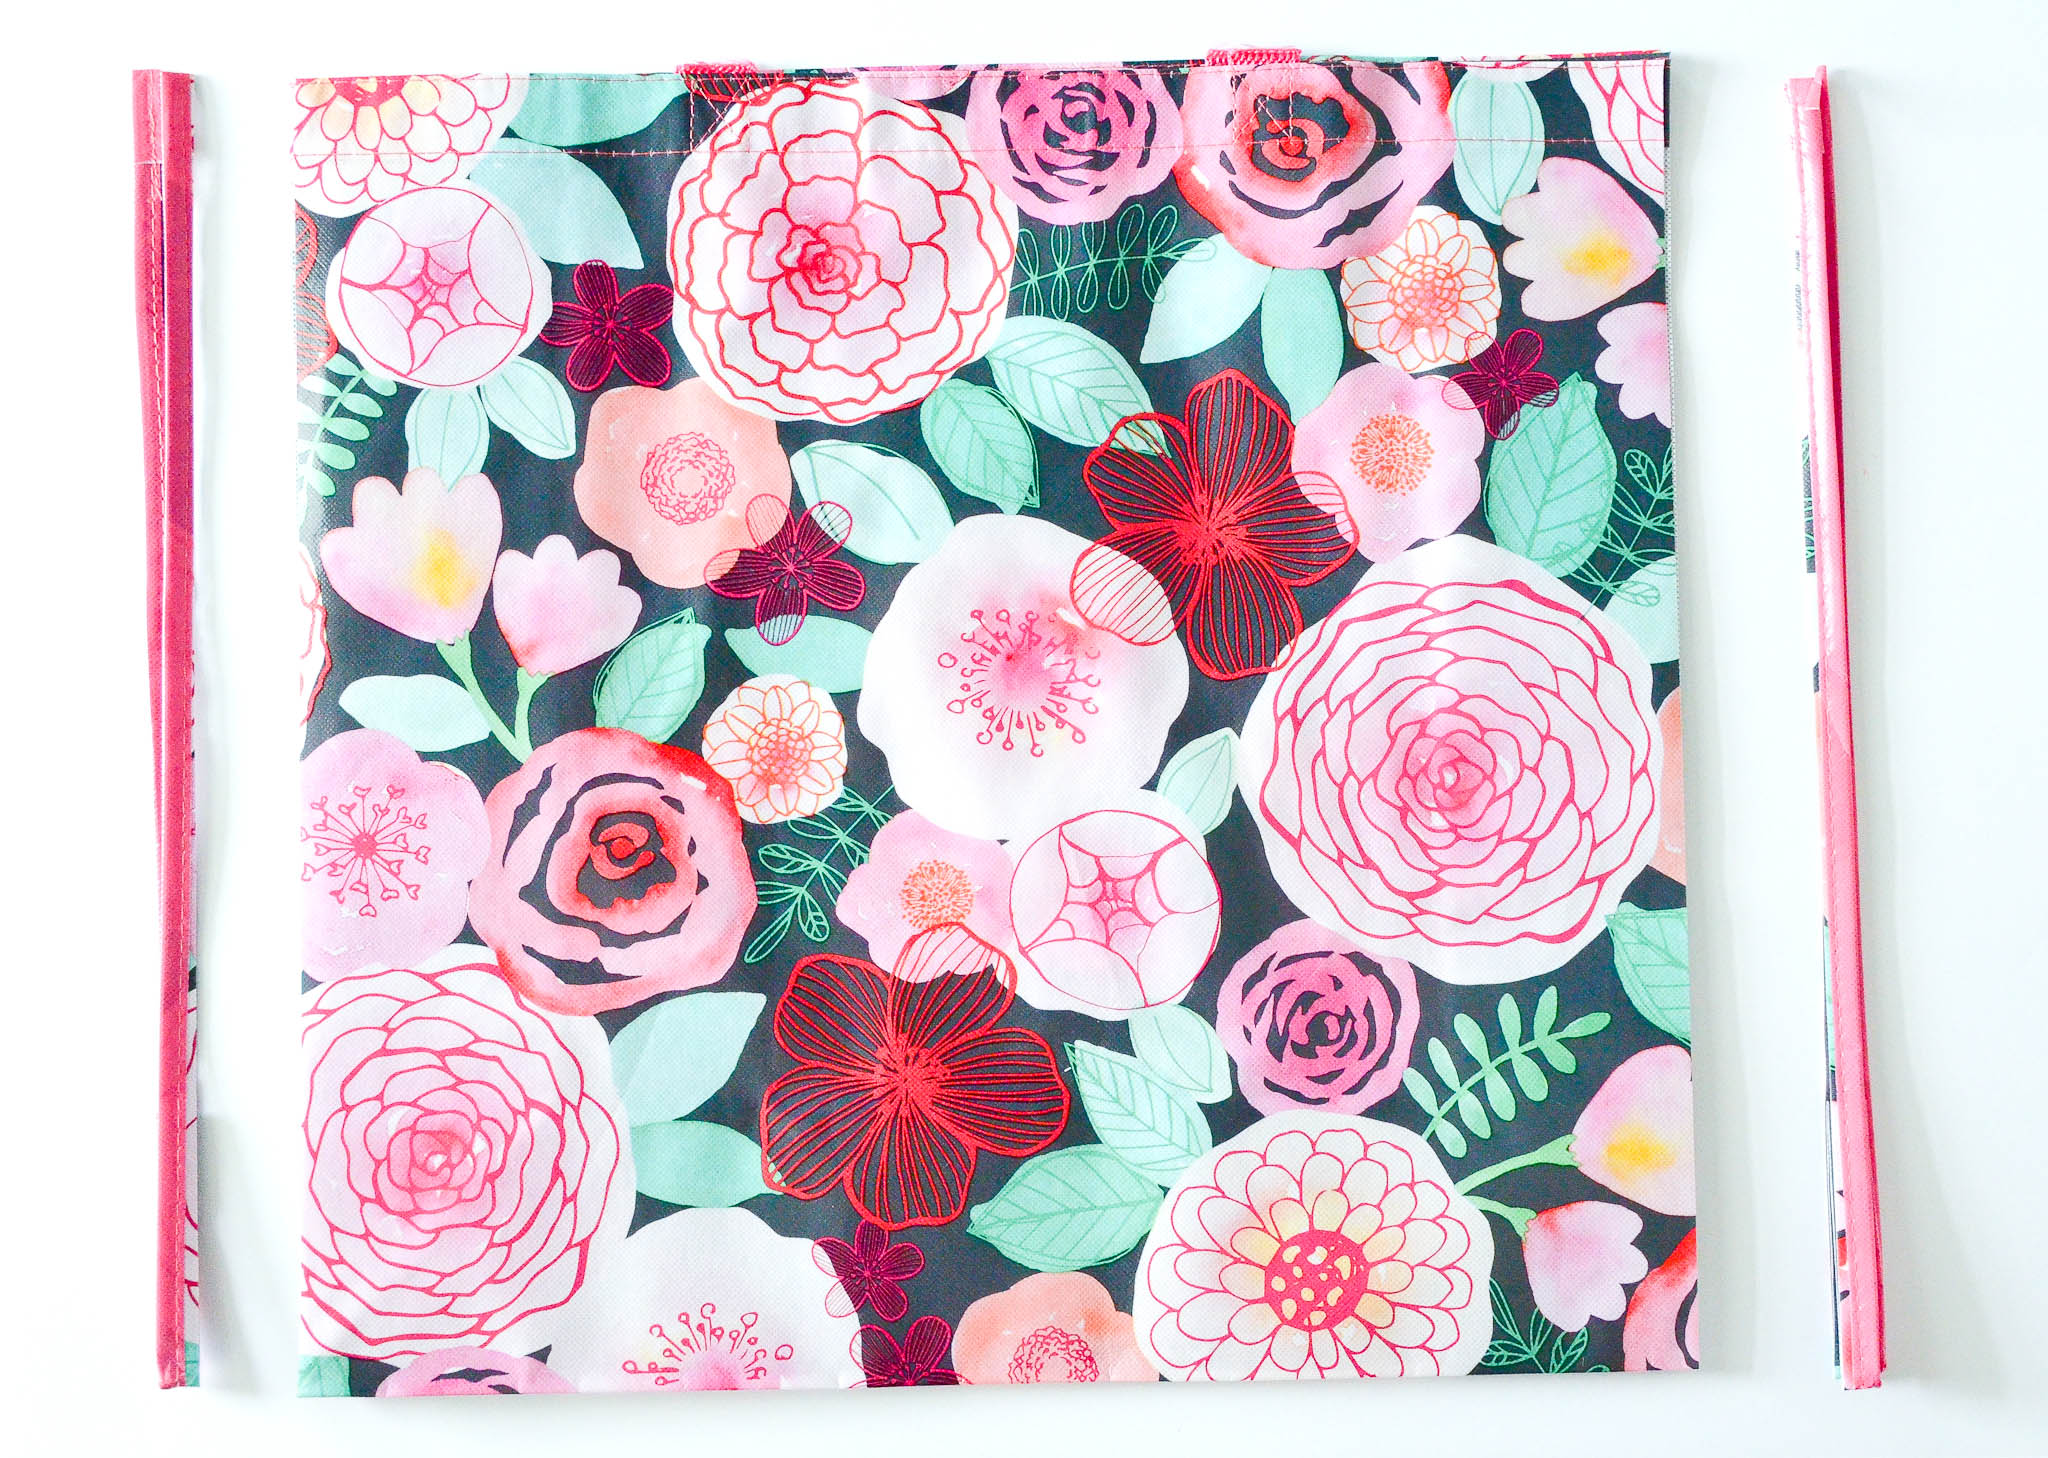
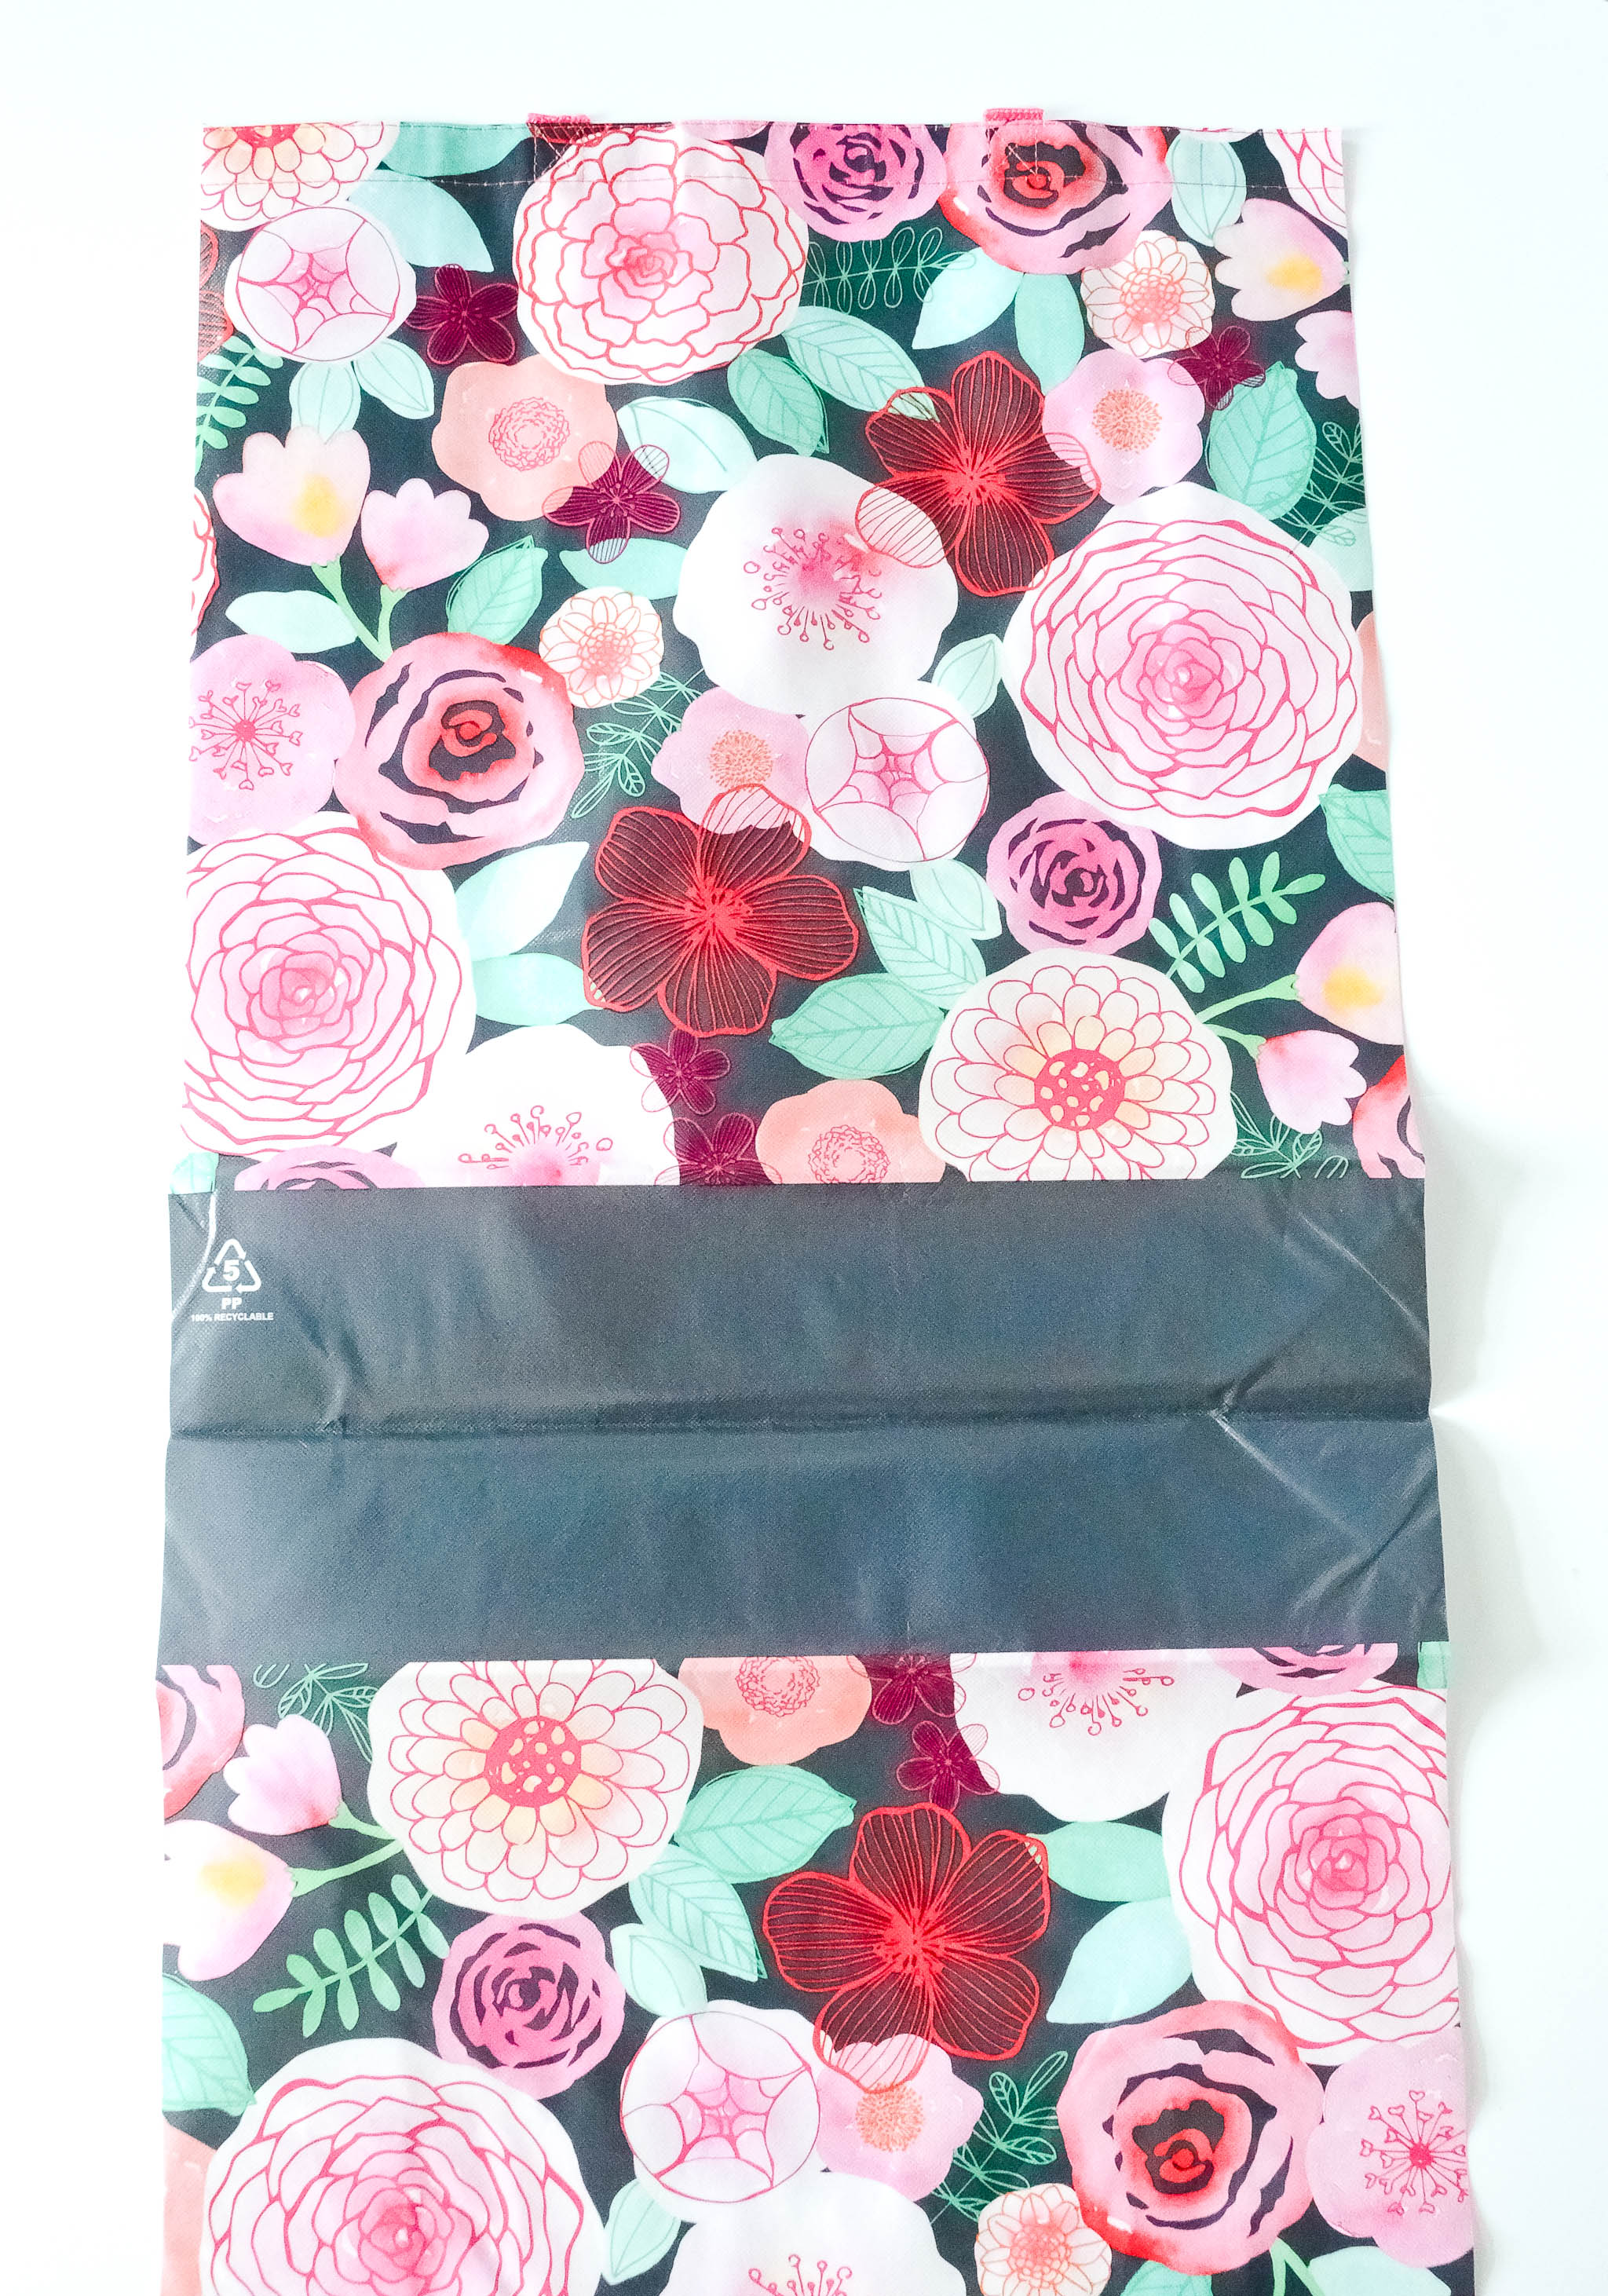
If you did the last step correctly, the bag should unfold into one long strip, with the bottom section still connected.
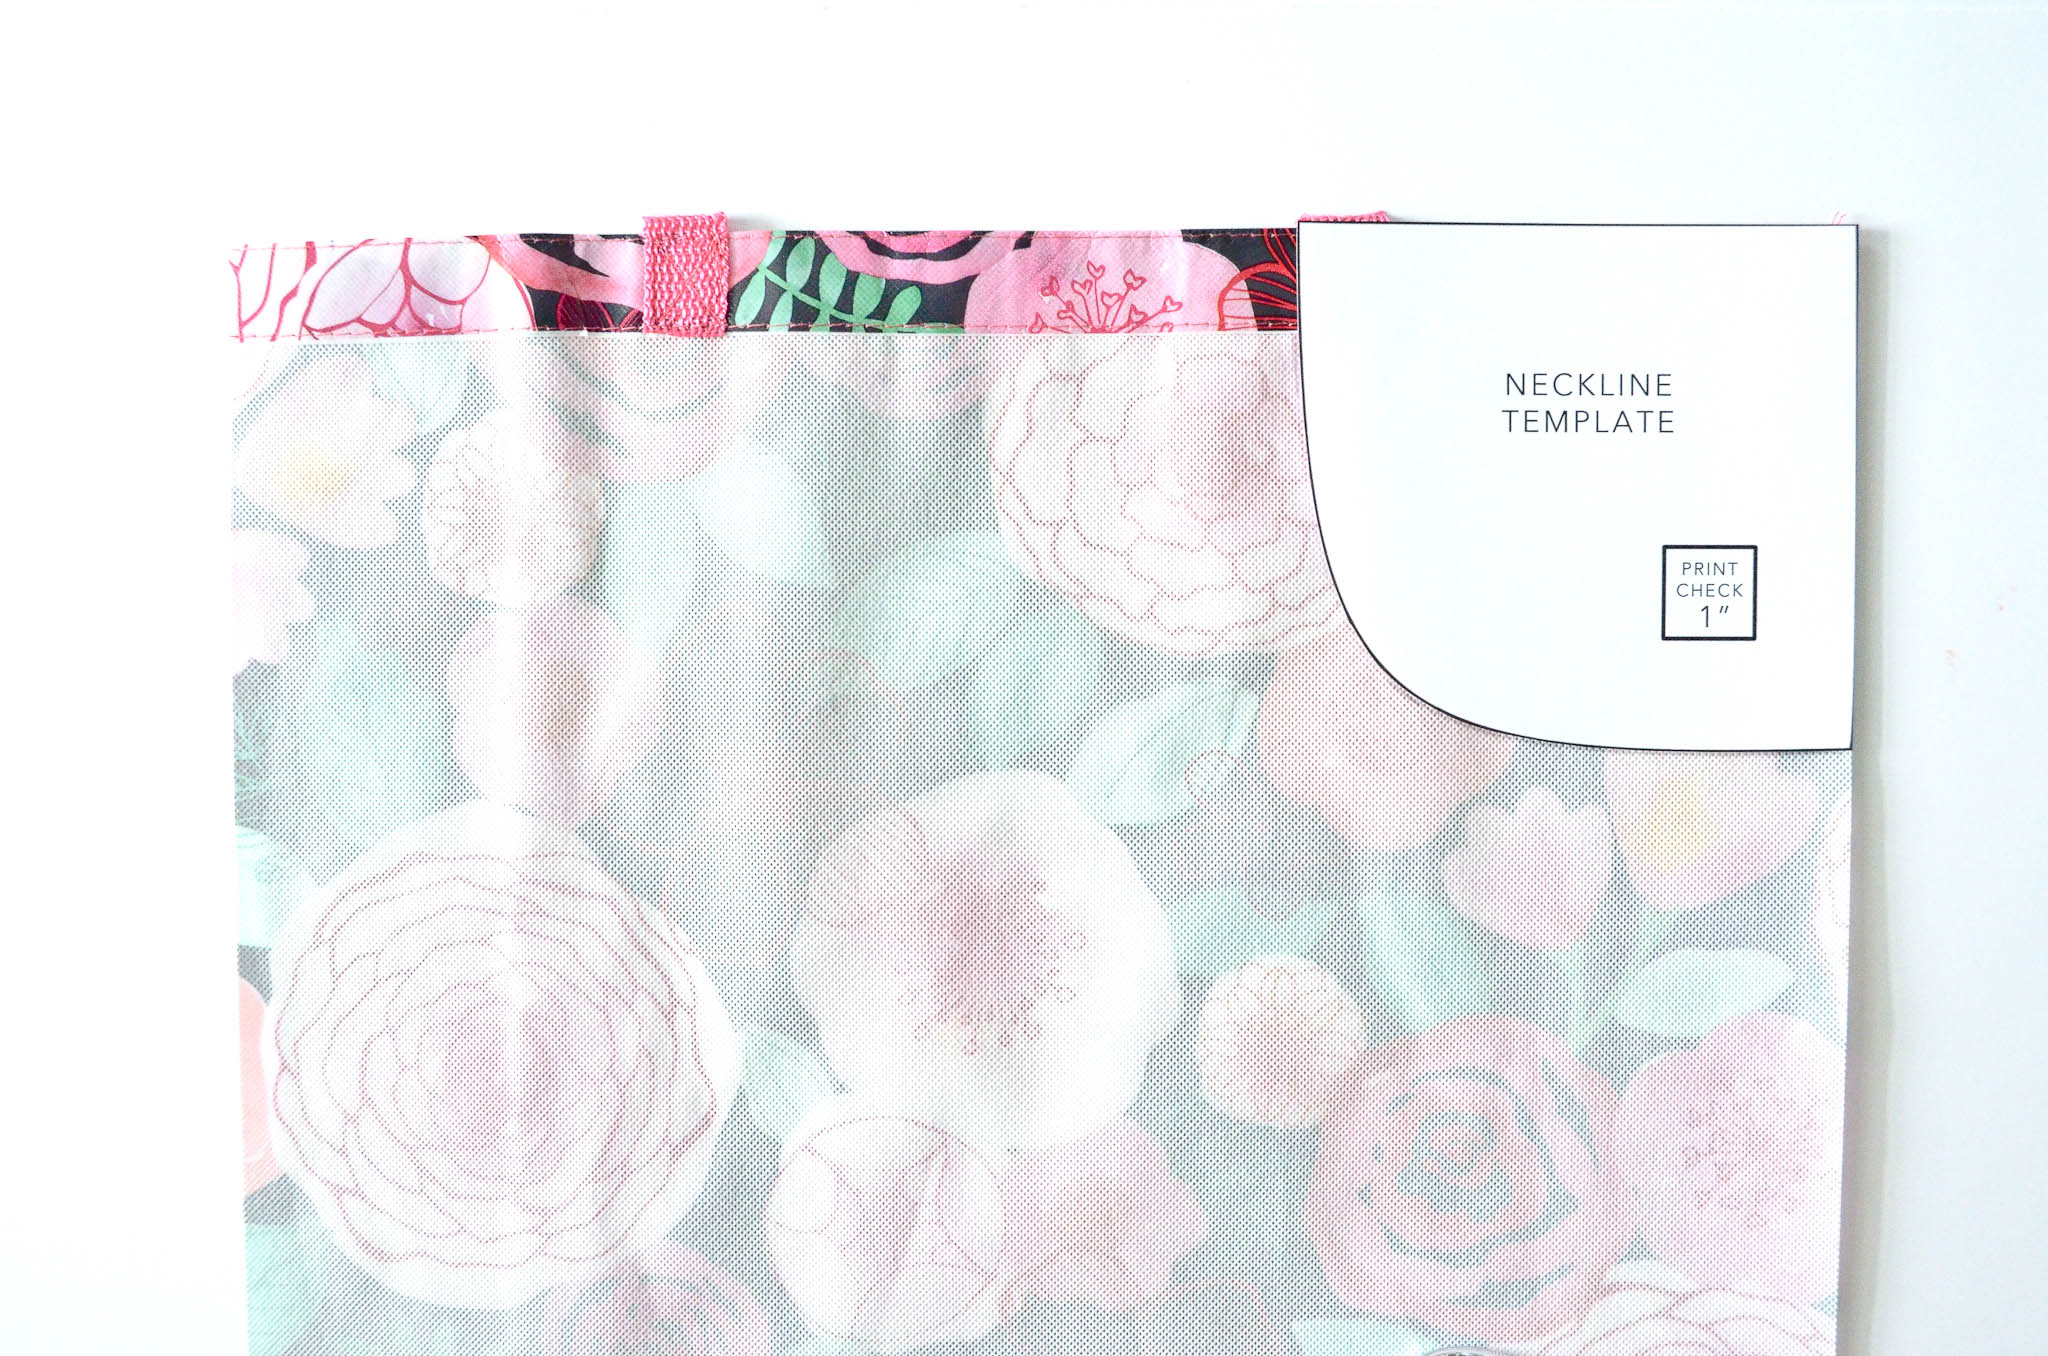
Print the free Toddler Art Apron Template—if the “Print Check” box measures 1″, then it’s printed correctly to size. Cut out the “neckline template.” On the back side of the bag, align the 90° corner of the template with the top right corner of your bag. Use a pencil to trace the curve of the template.
Flip the template over to the top left corner, again aligning the 90° angles and tracing the outline.
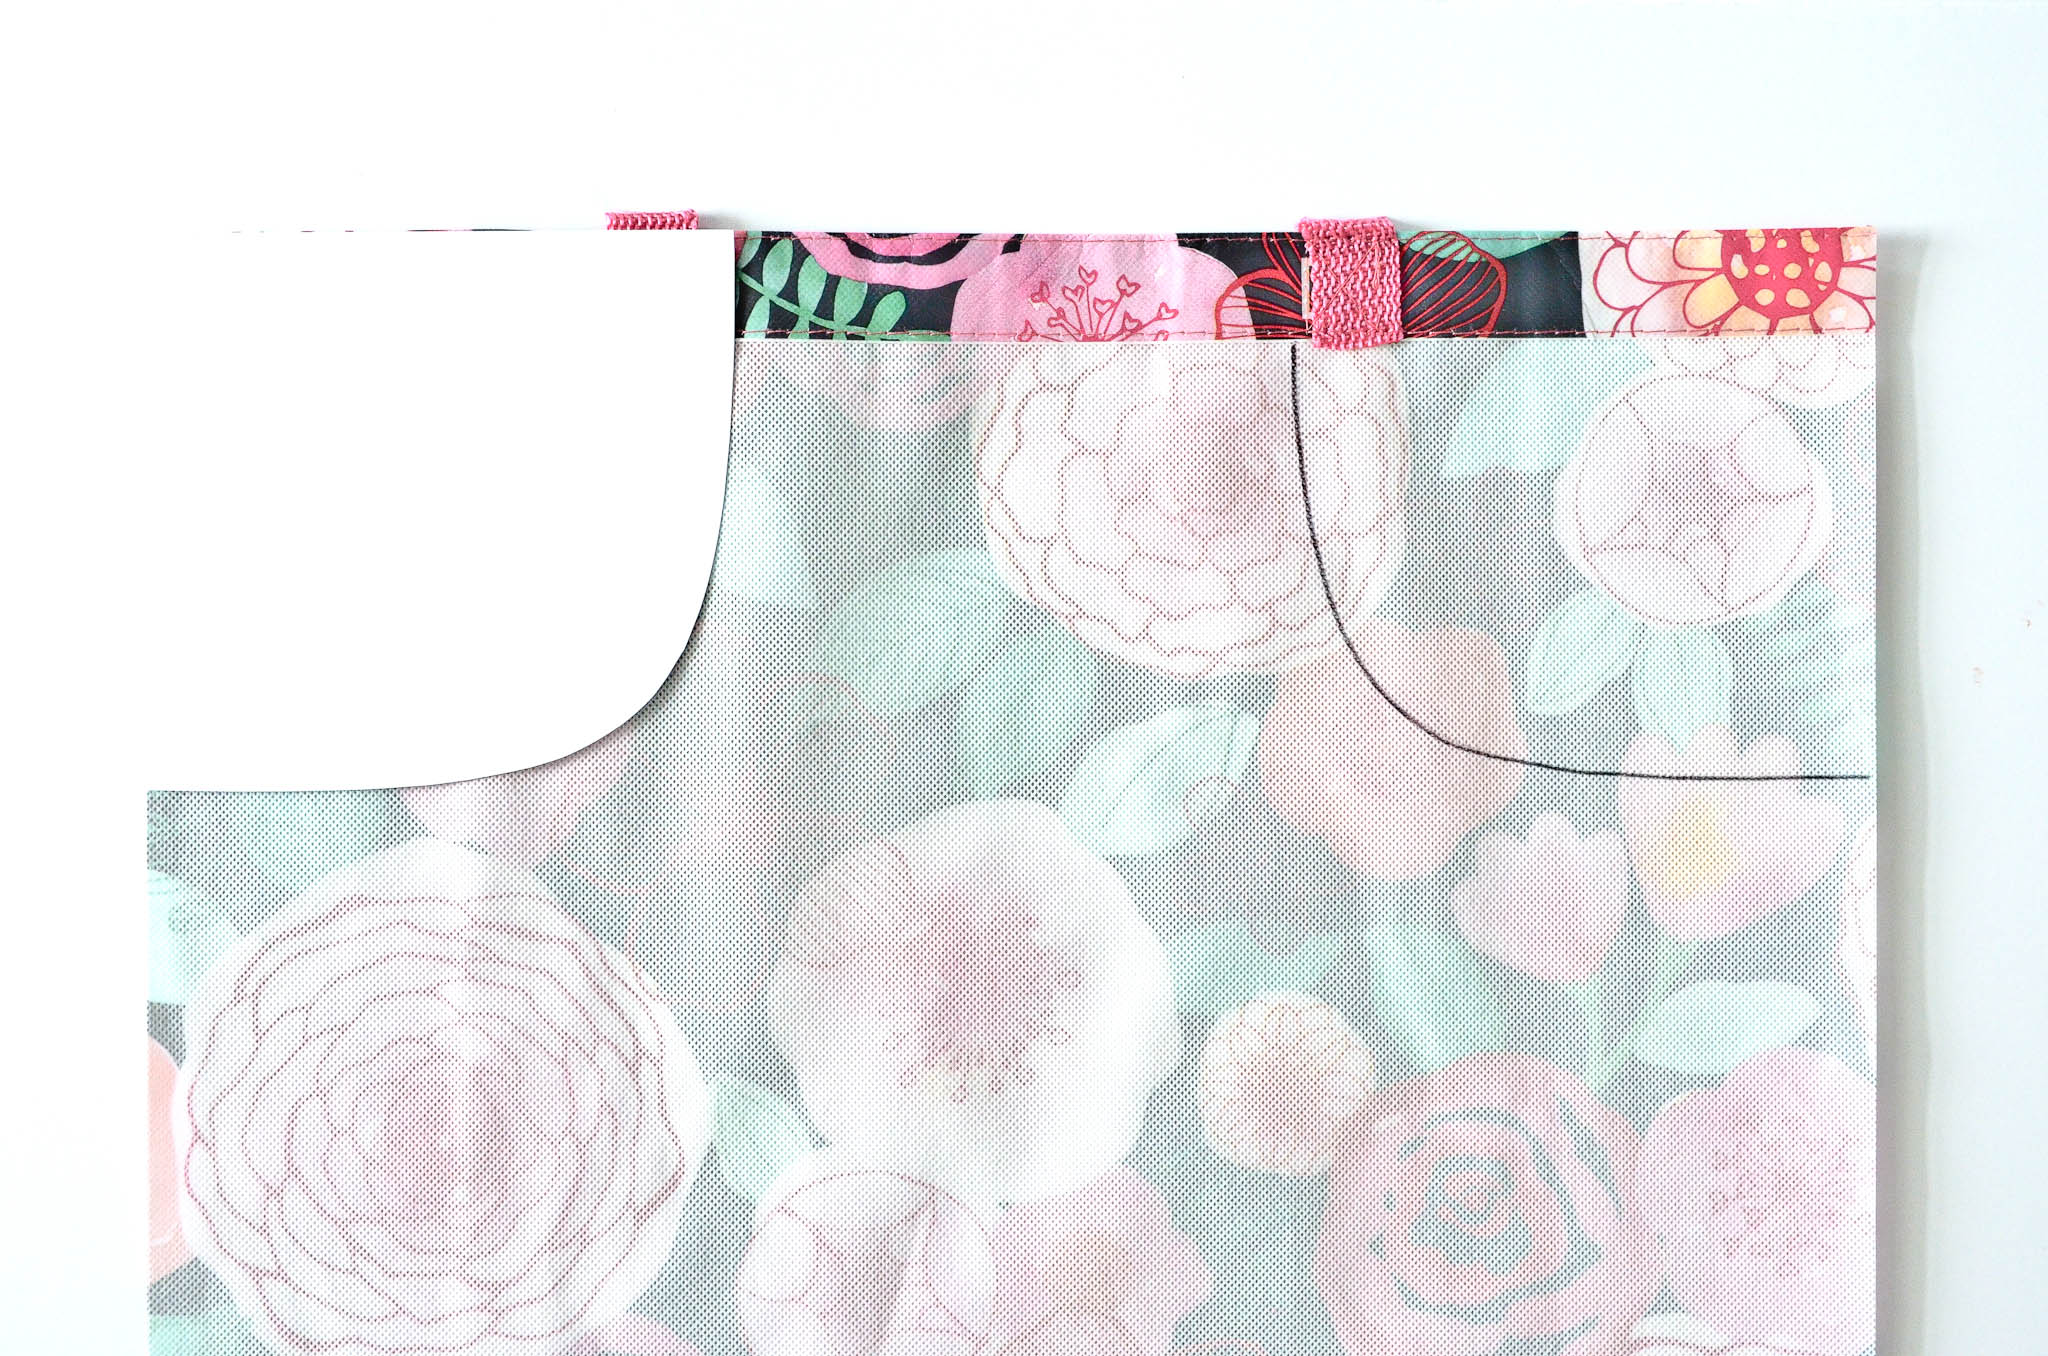
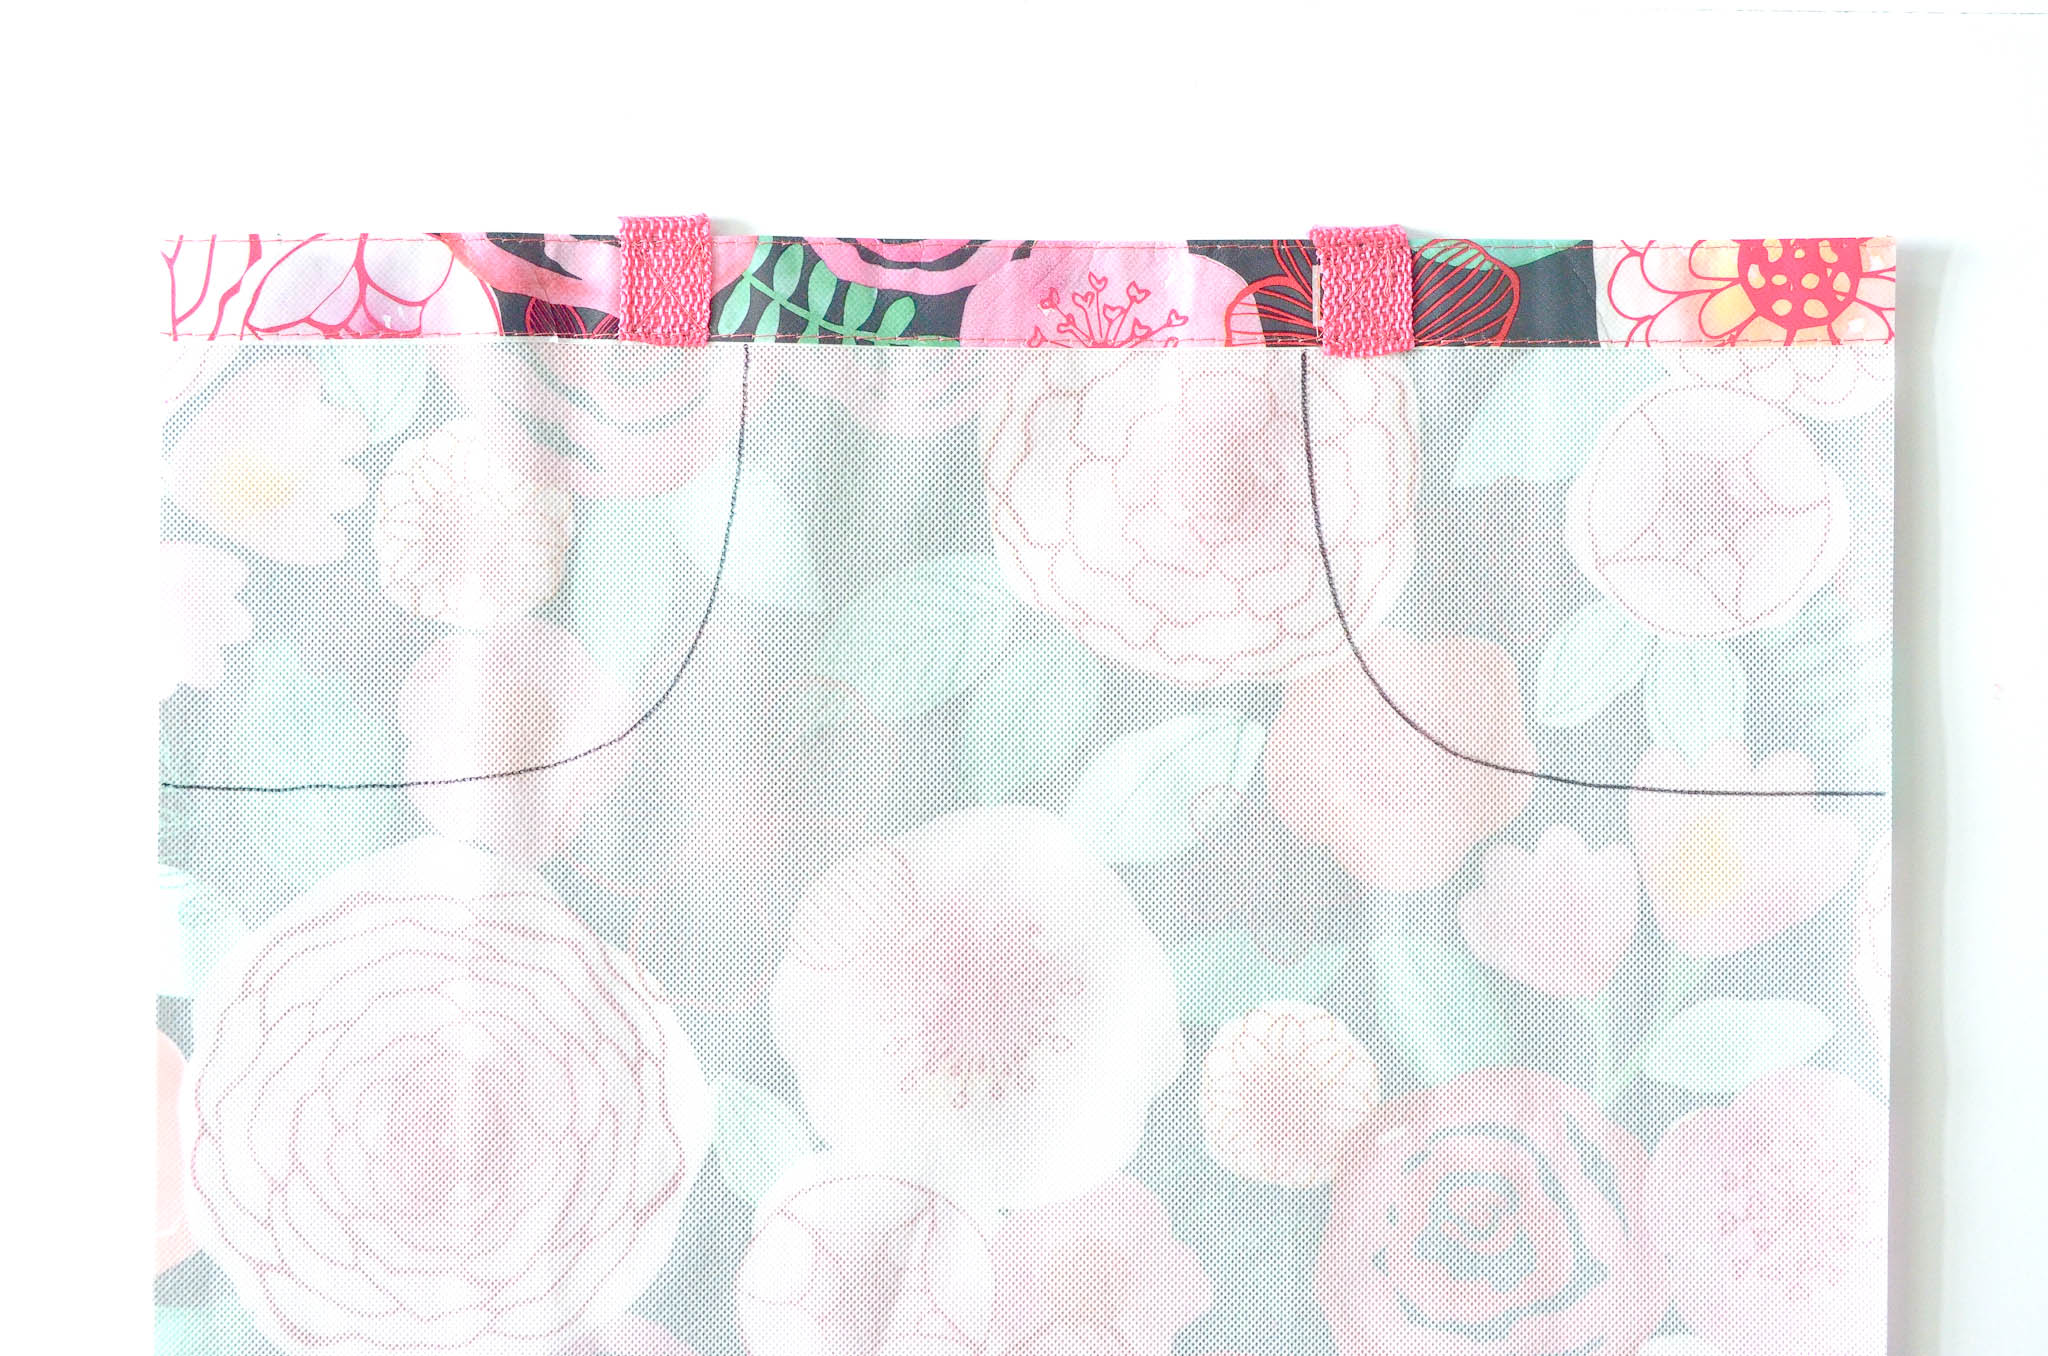
VERY carefully cut along the lines you drew to create the apron neckline. Those “extra” pieces will become your pockets later, so cut the line as precisely as possible.
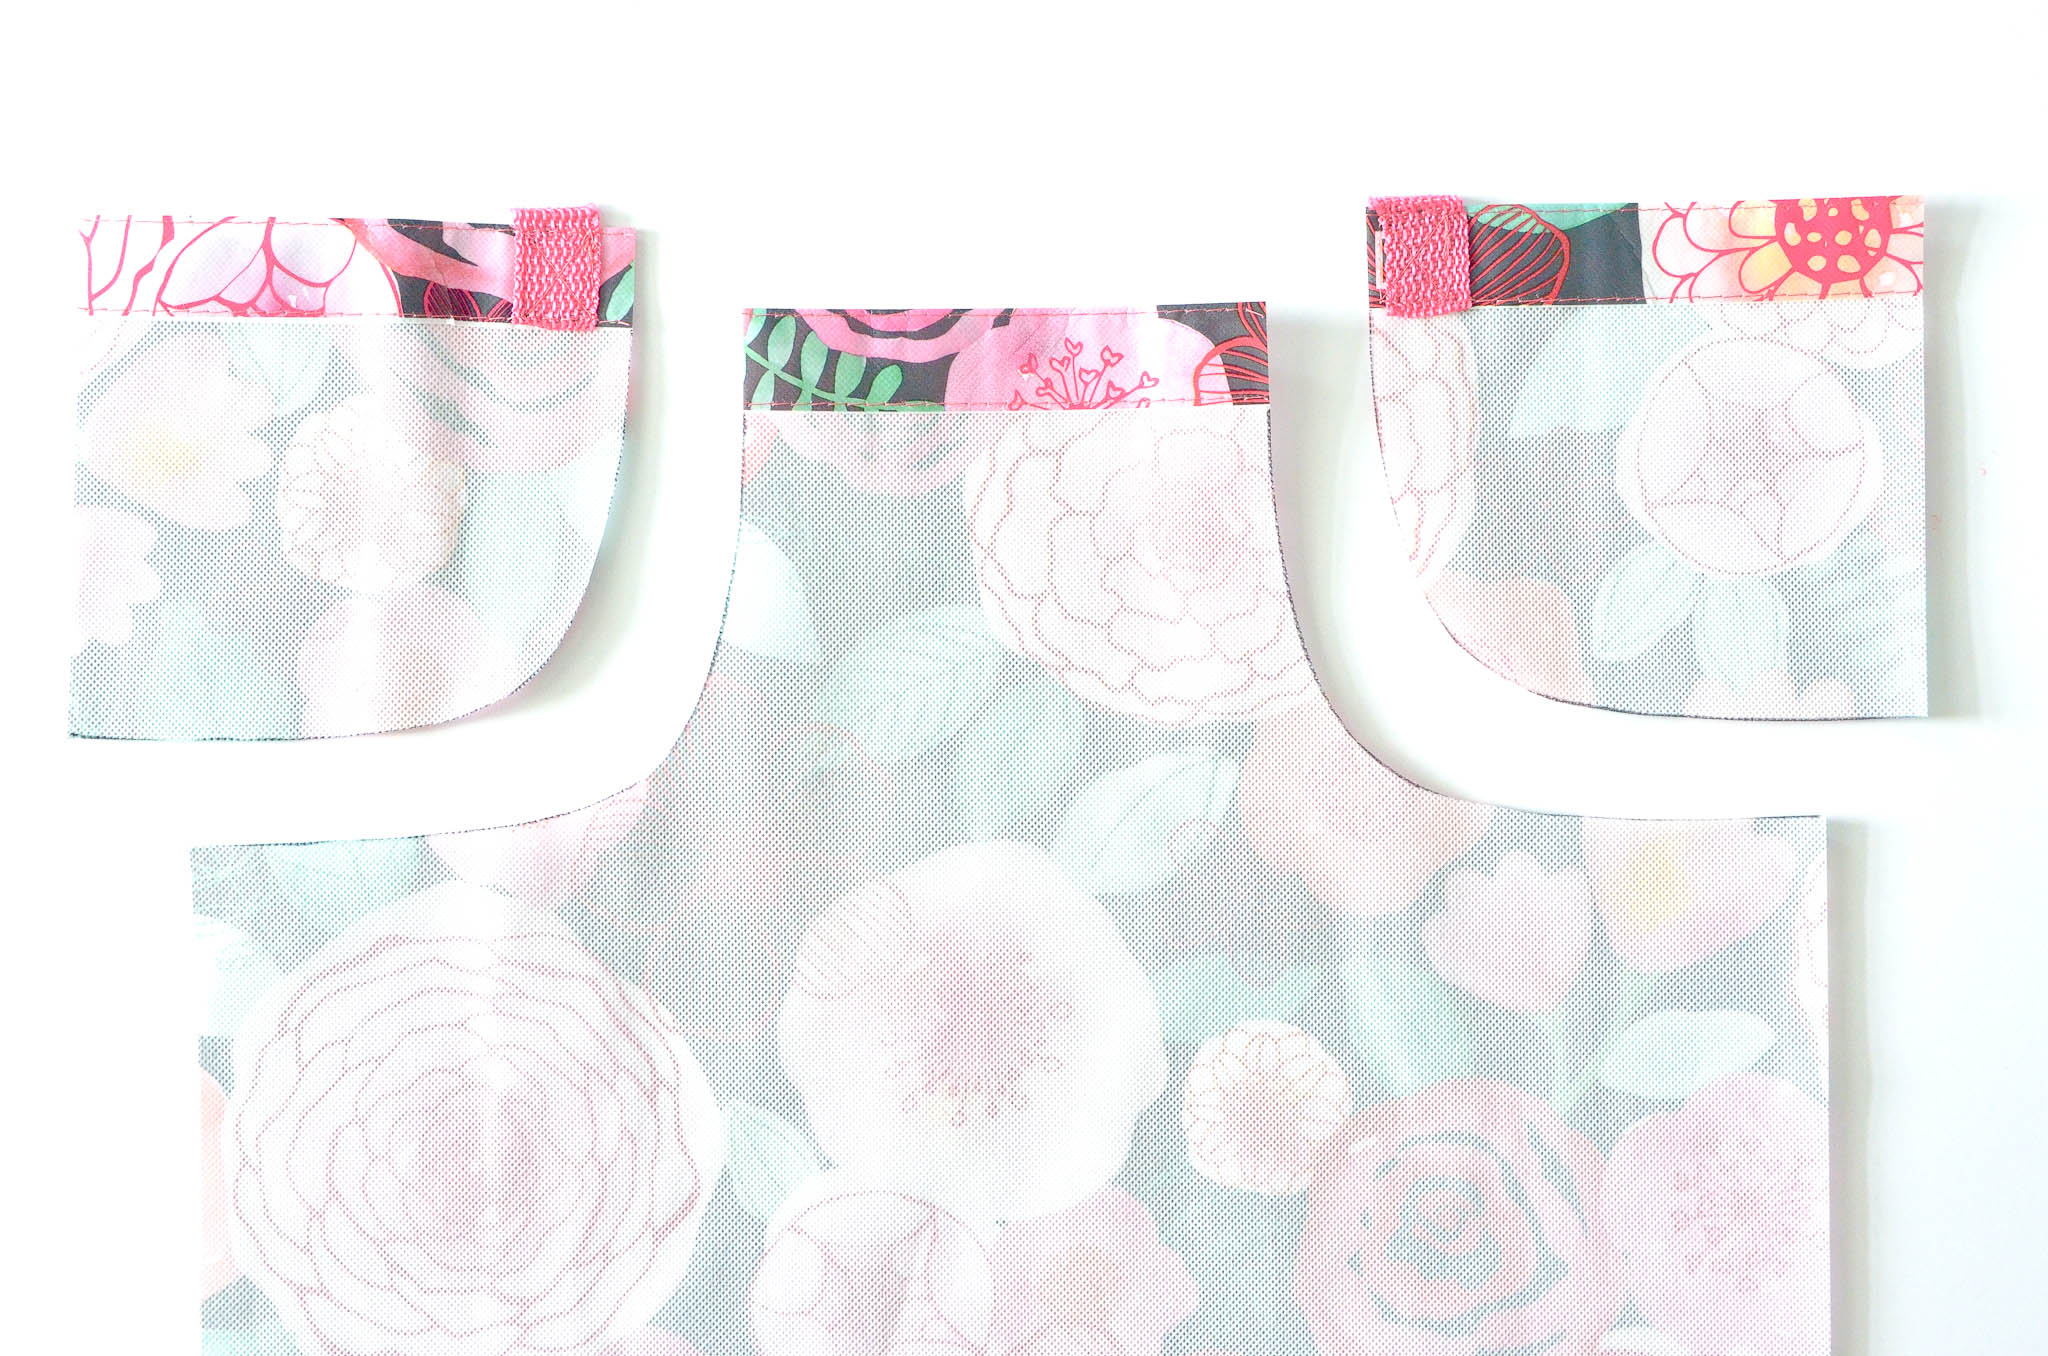
Cut off the top folded edge of the bag, just below the existing hem.
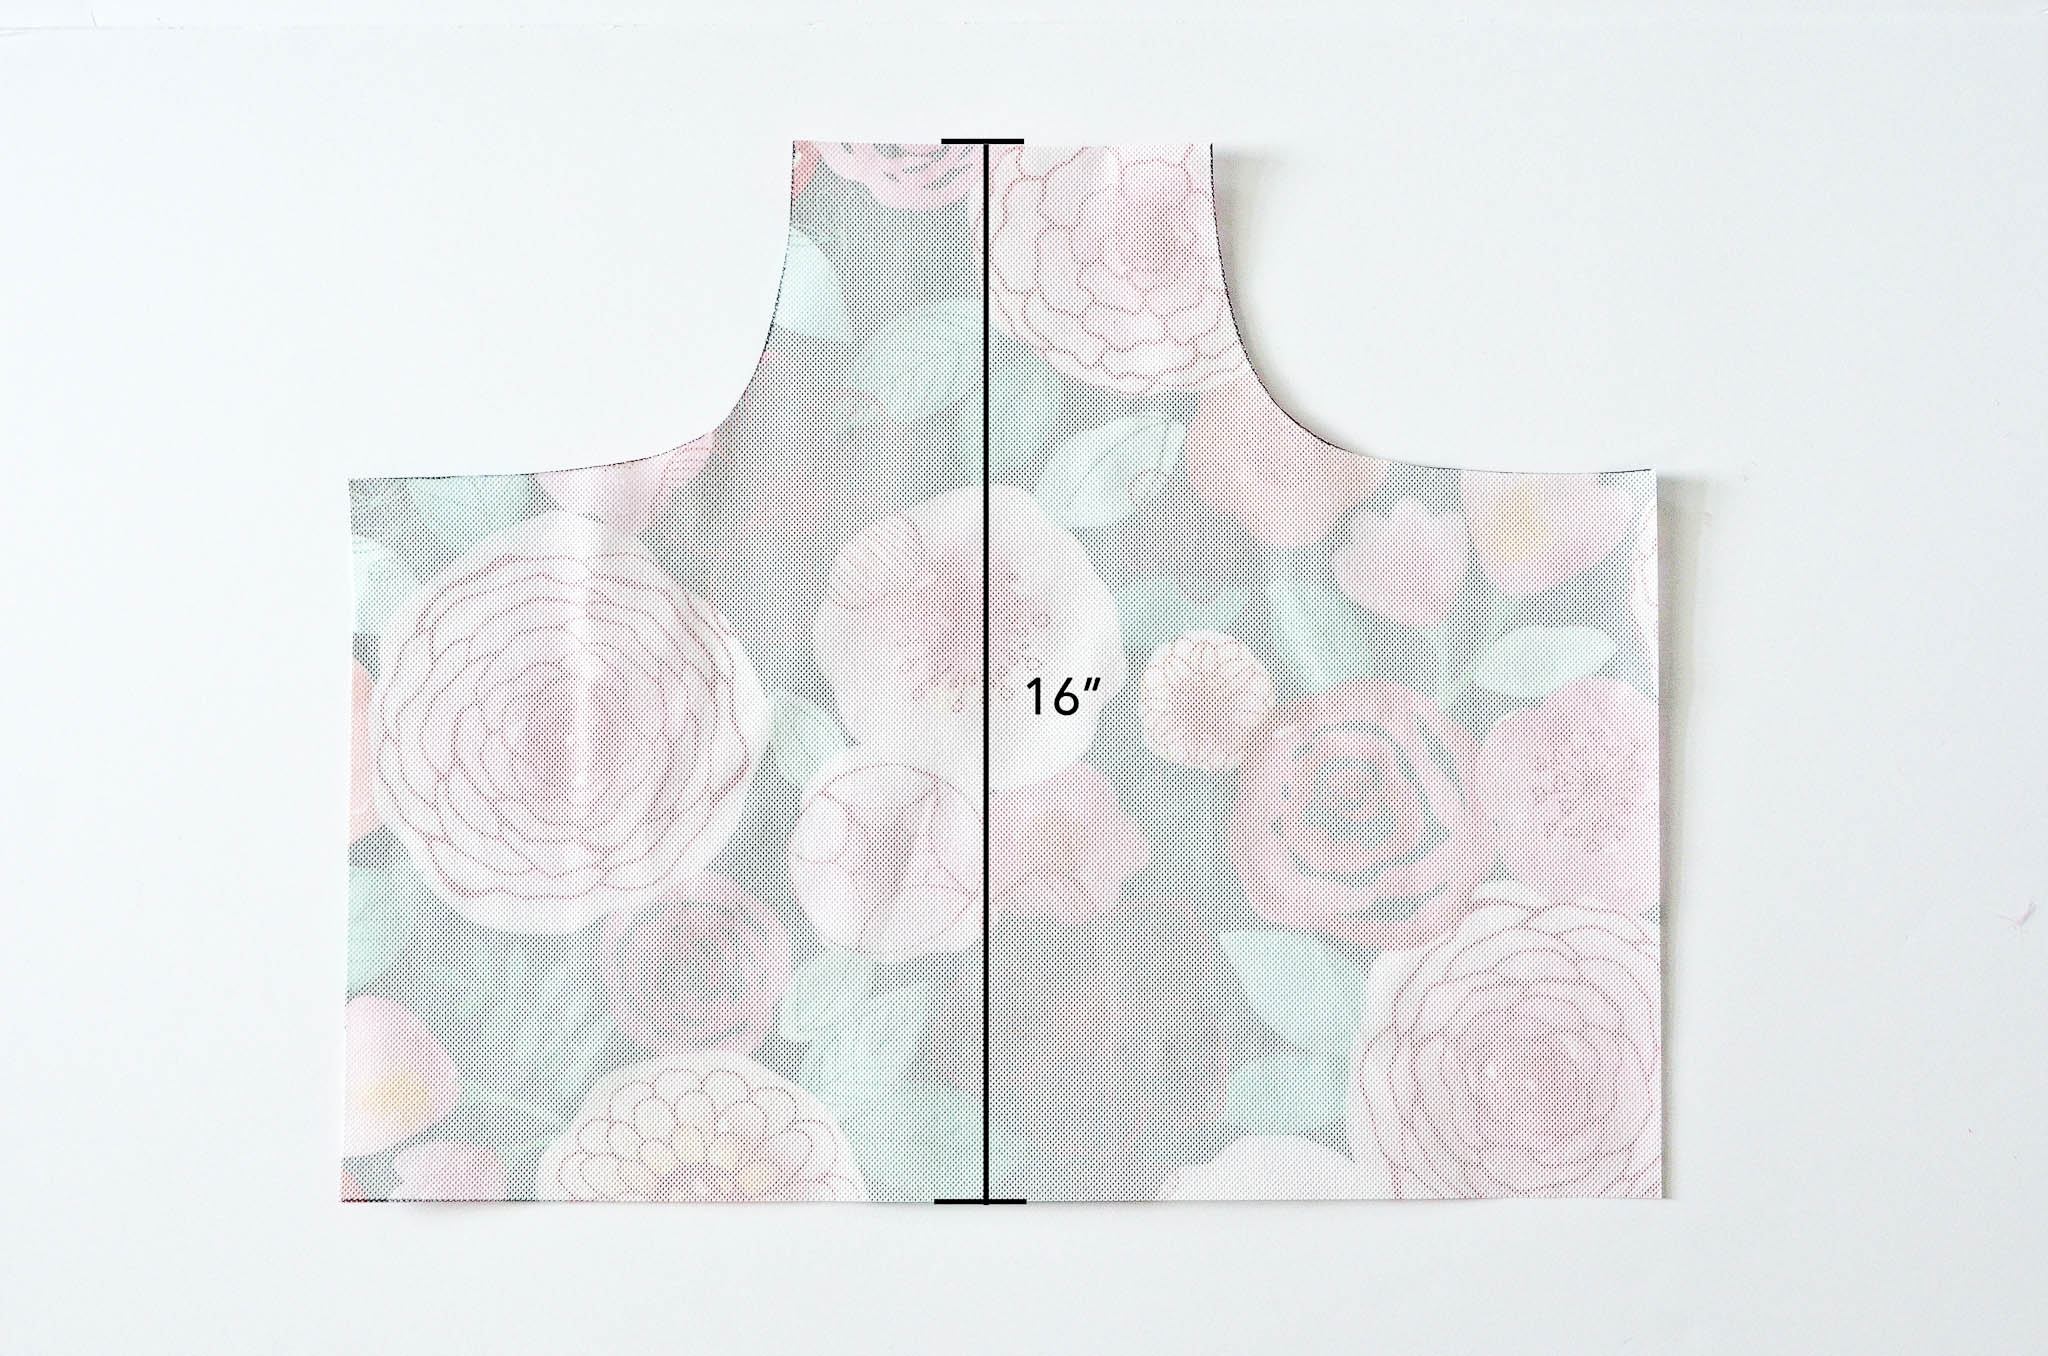
Measure down 16″ from the top of the apron neck and cut off the bottom portion of the bag.
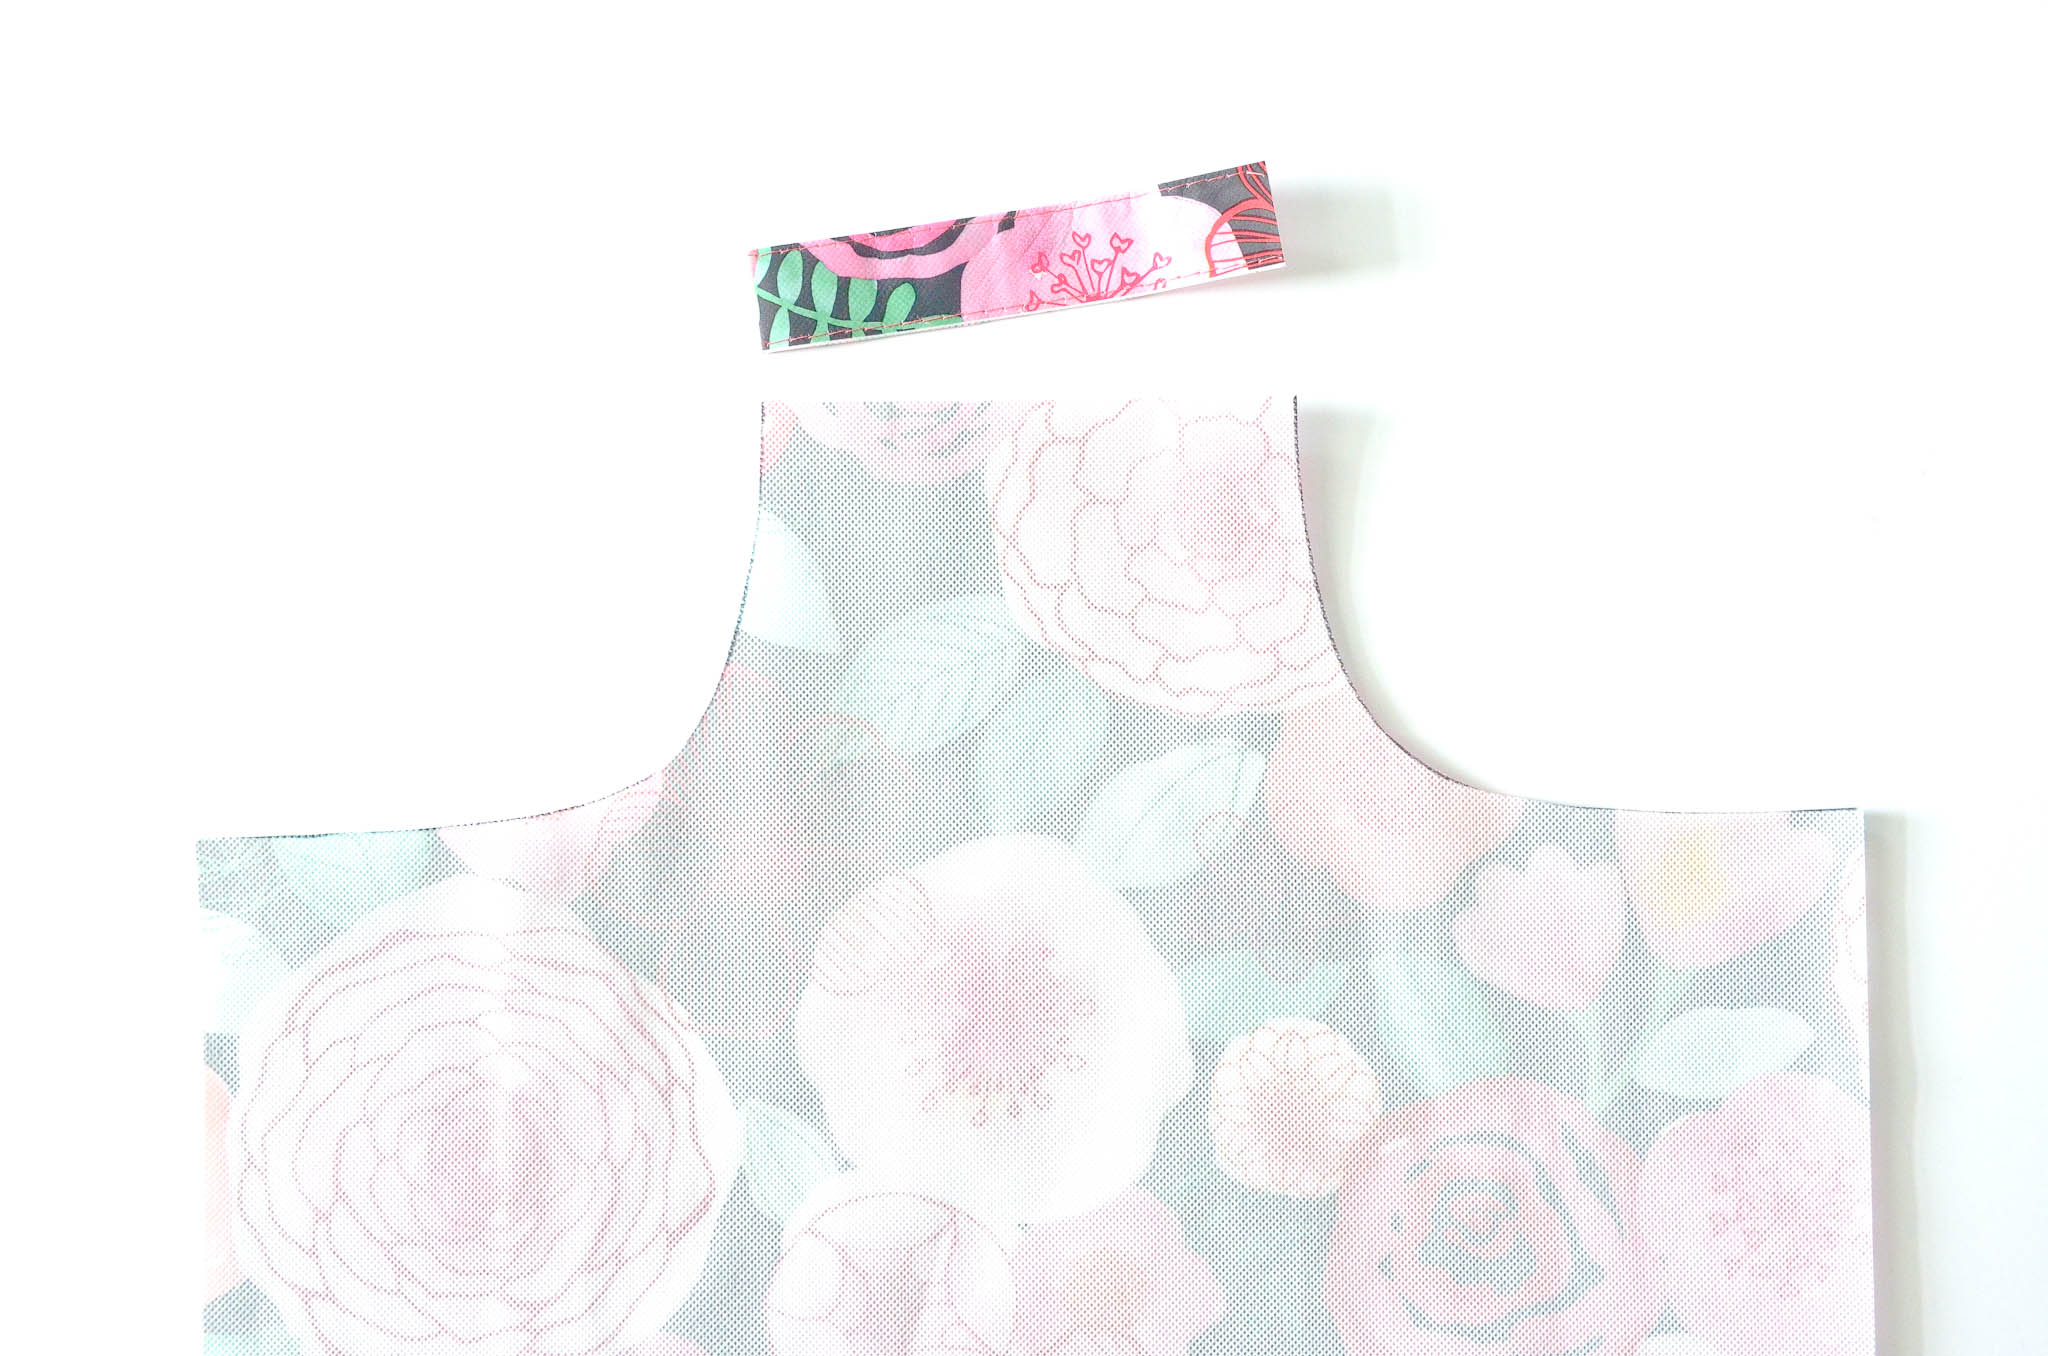
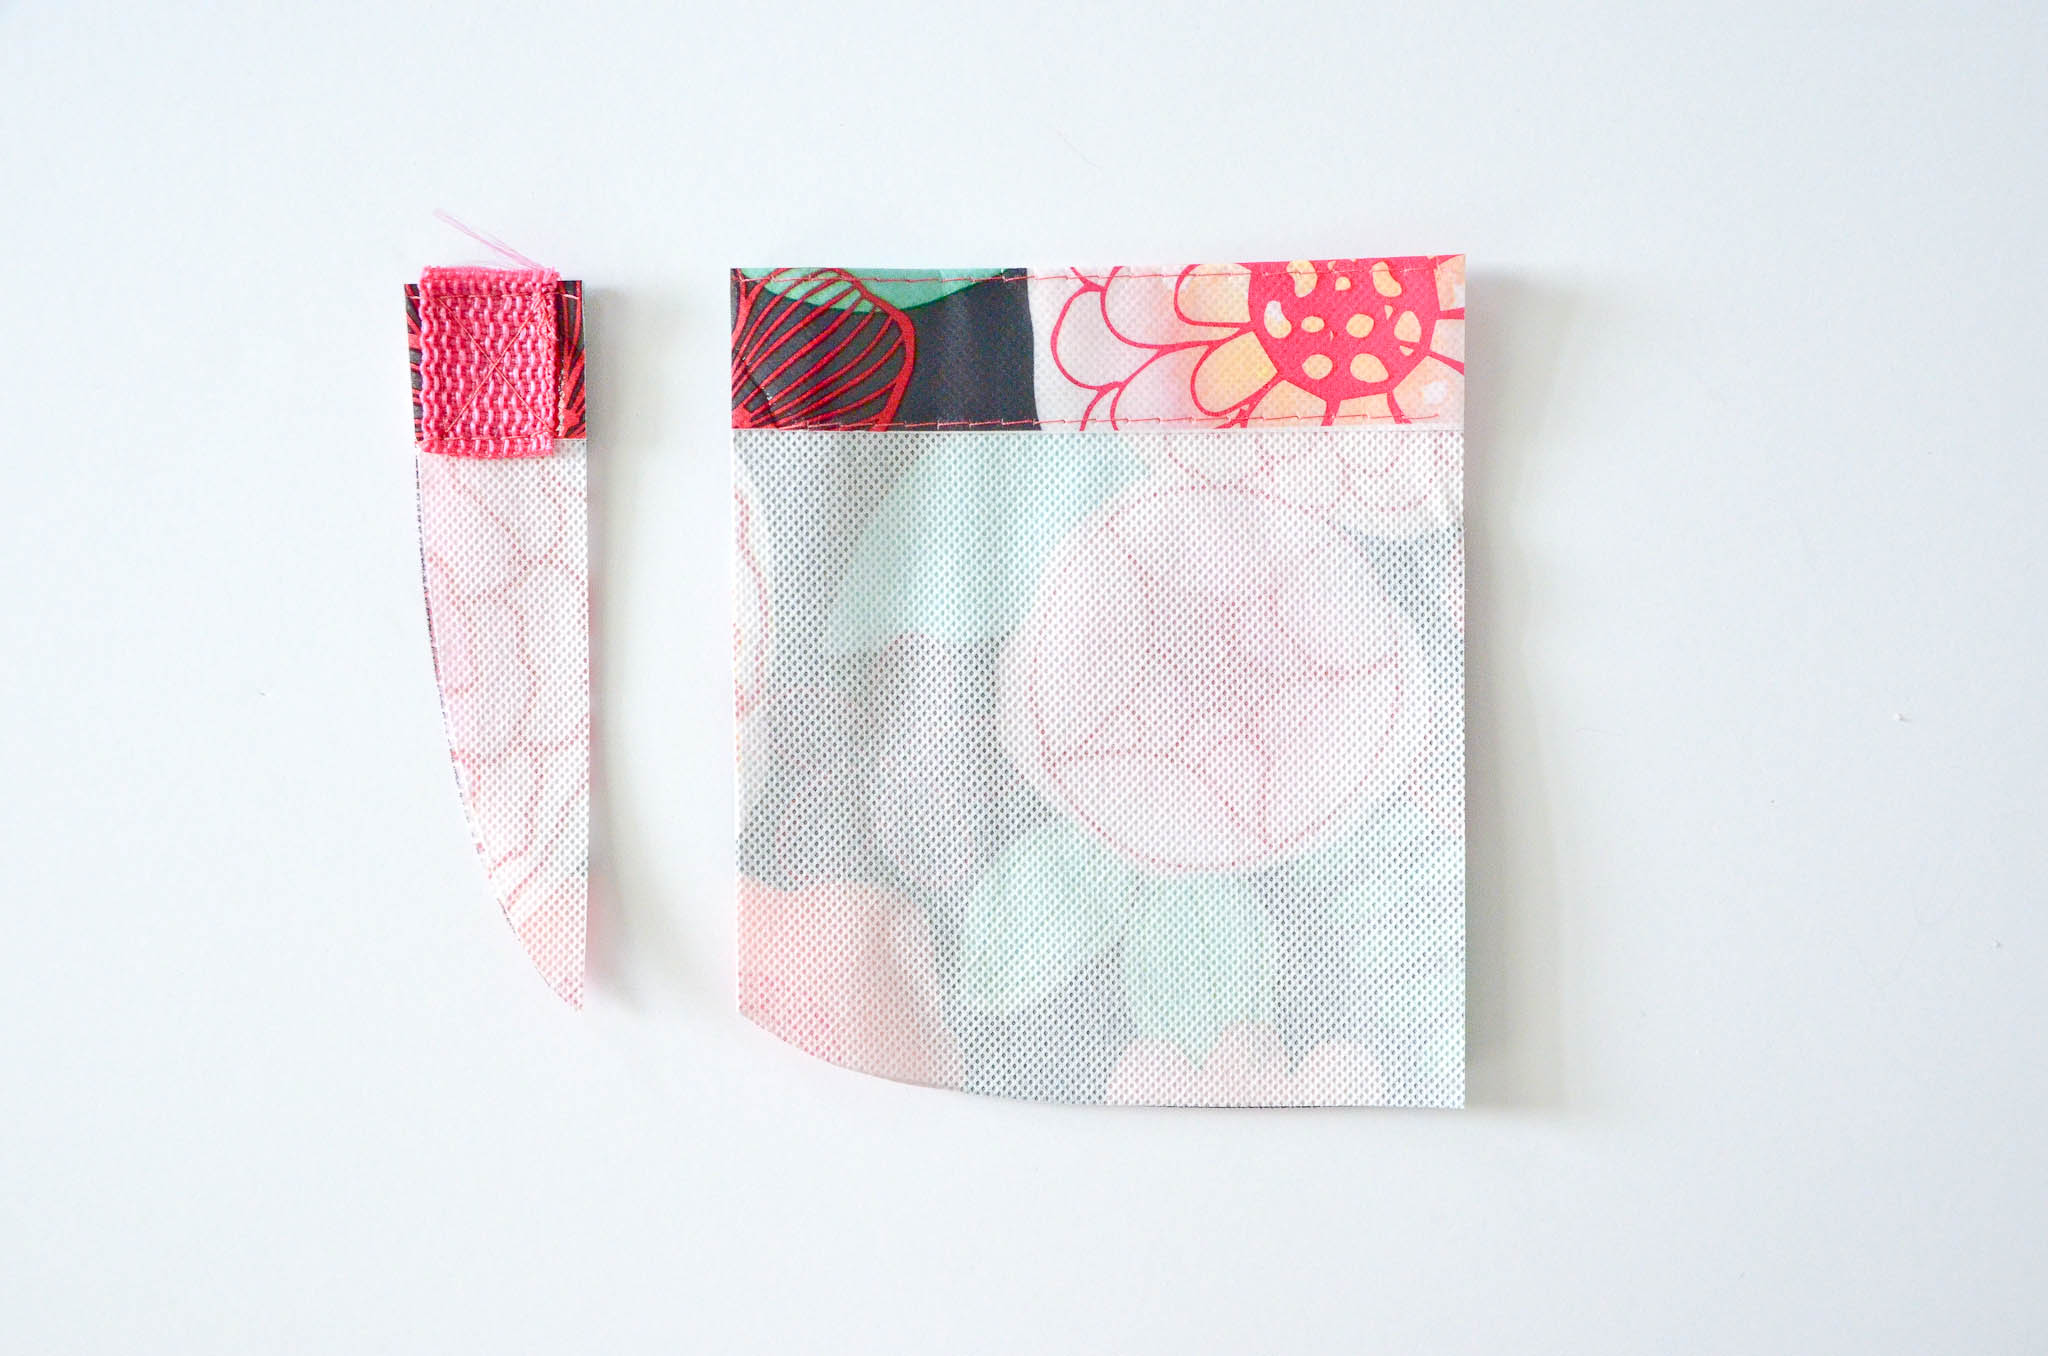
Take those two neckline “extras” and cut off the parts that have the strap still attached.
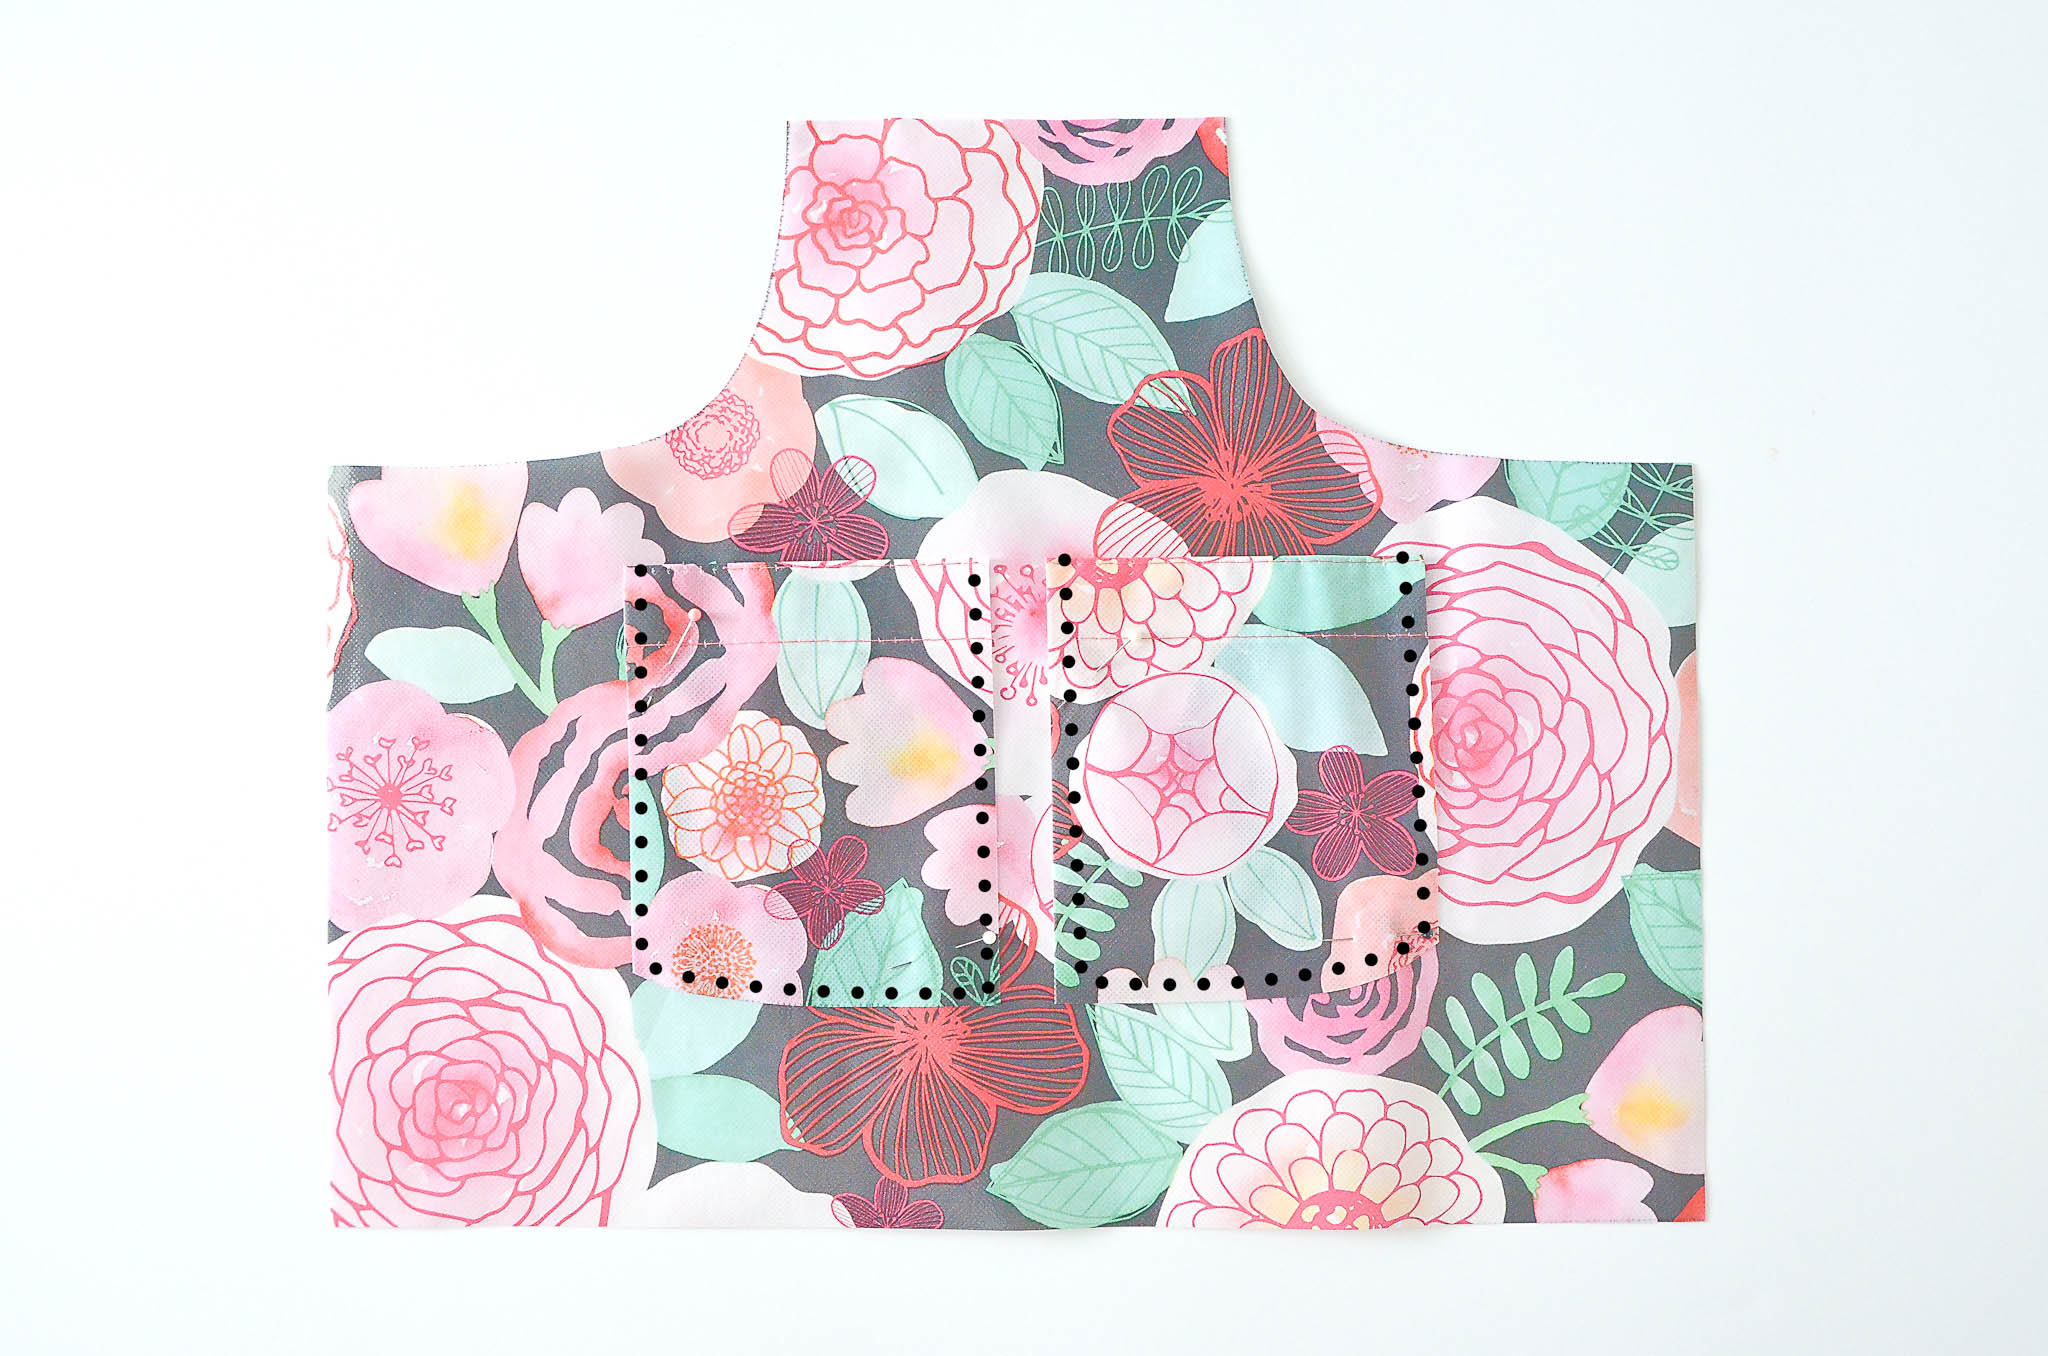
With the existing sewn hem at the top, center the “extras” on the front of your apron and pin them in place. Sew three sides on each to create pockets.

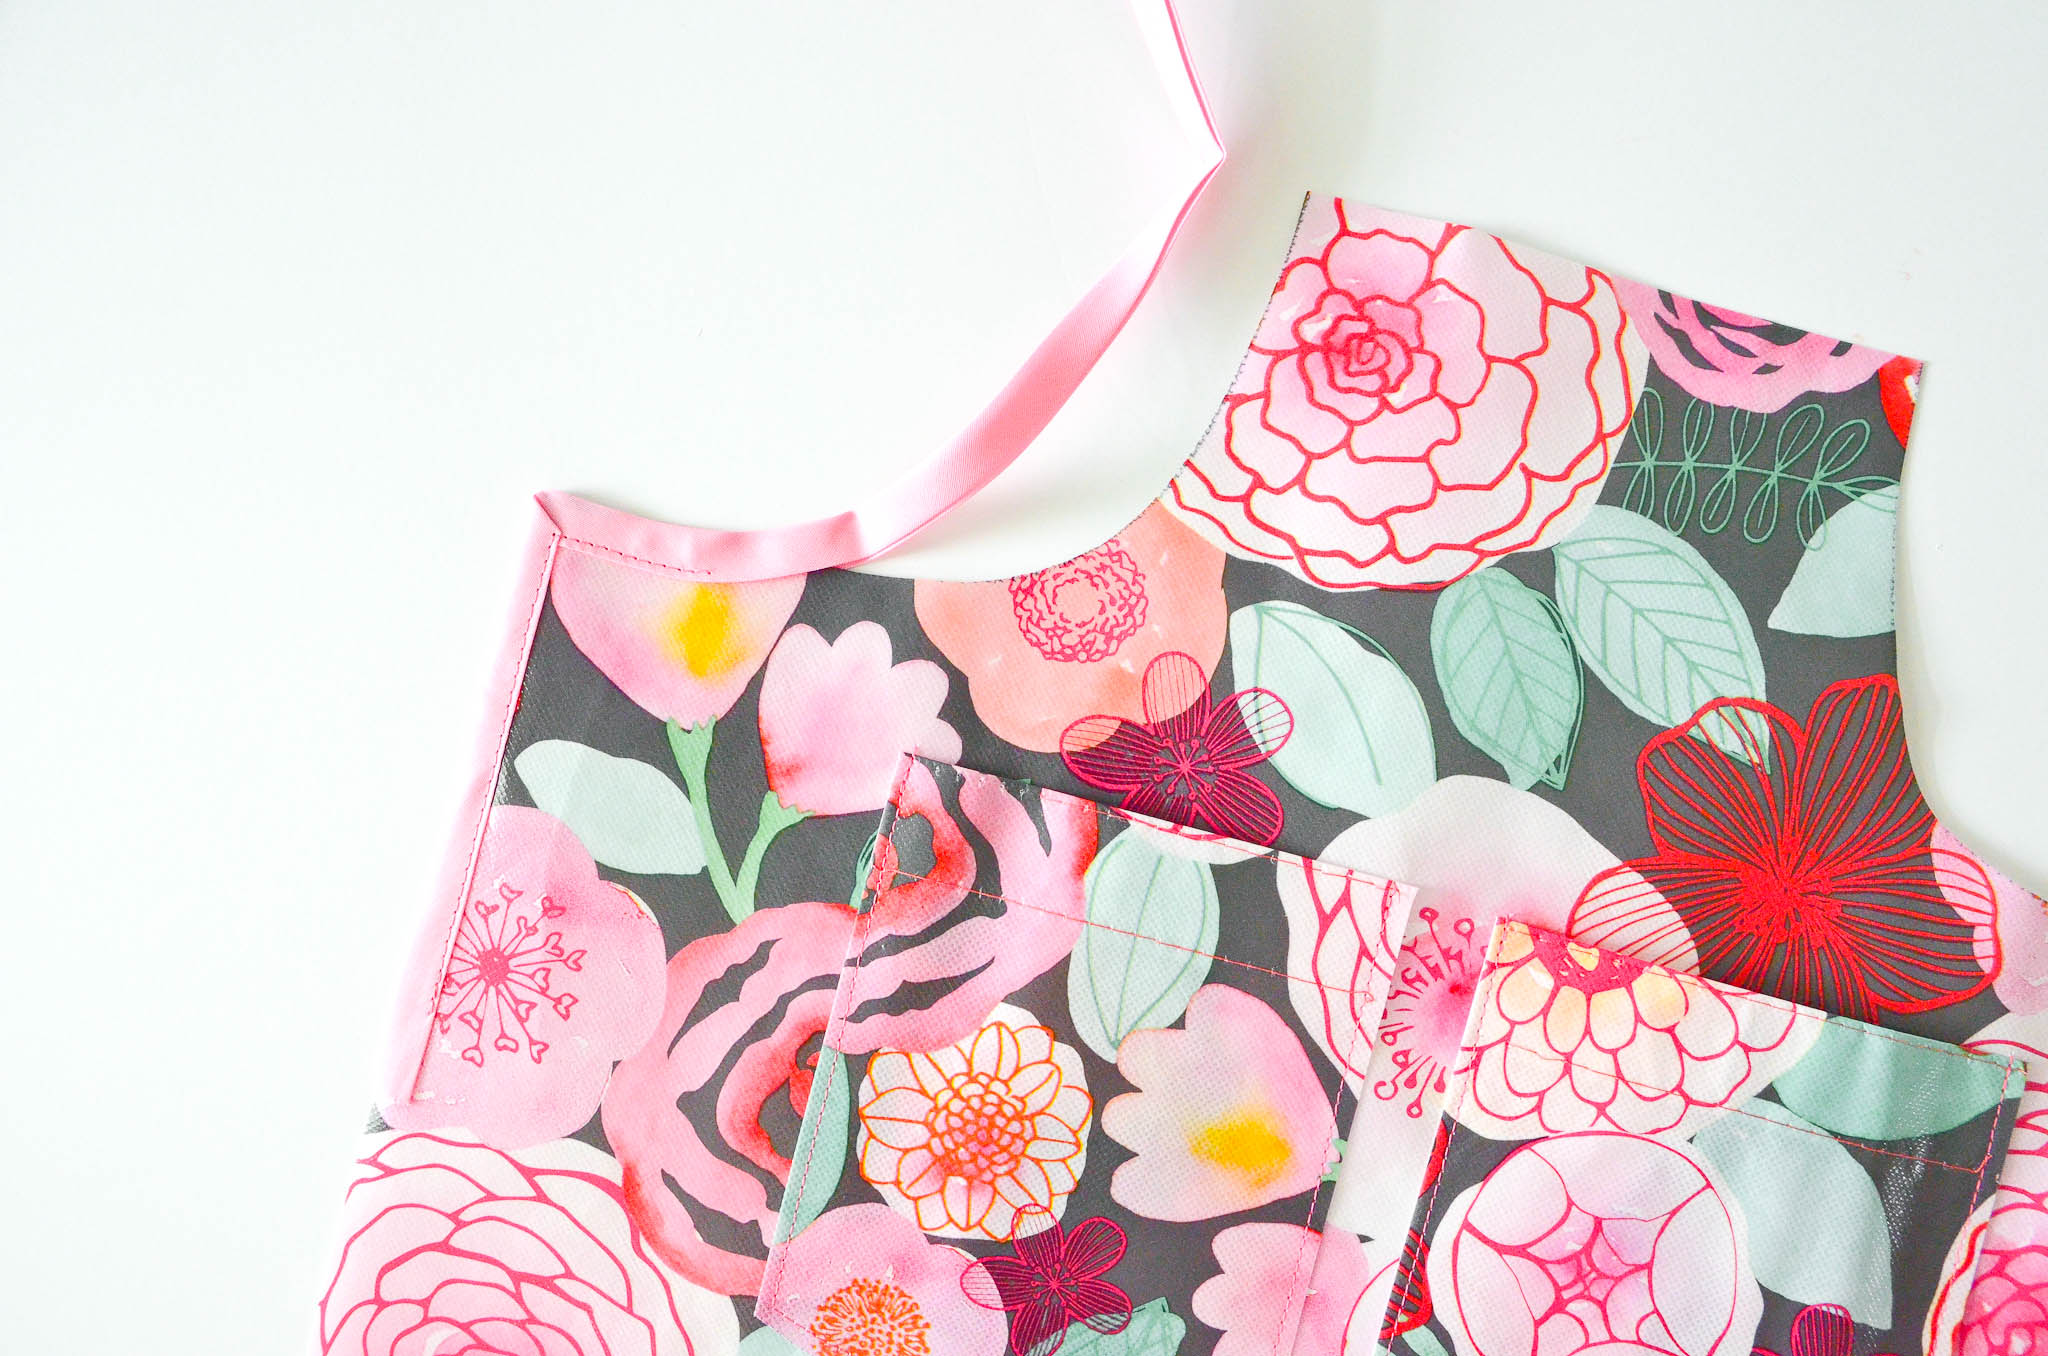
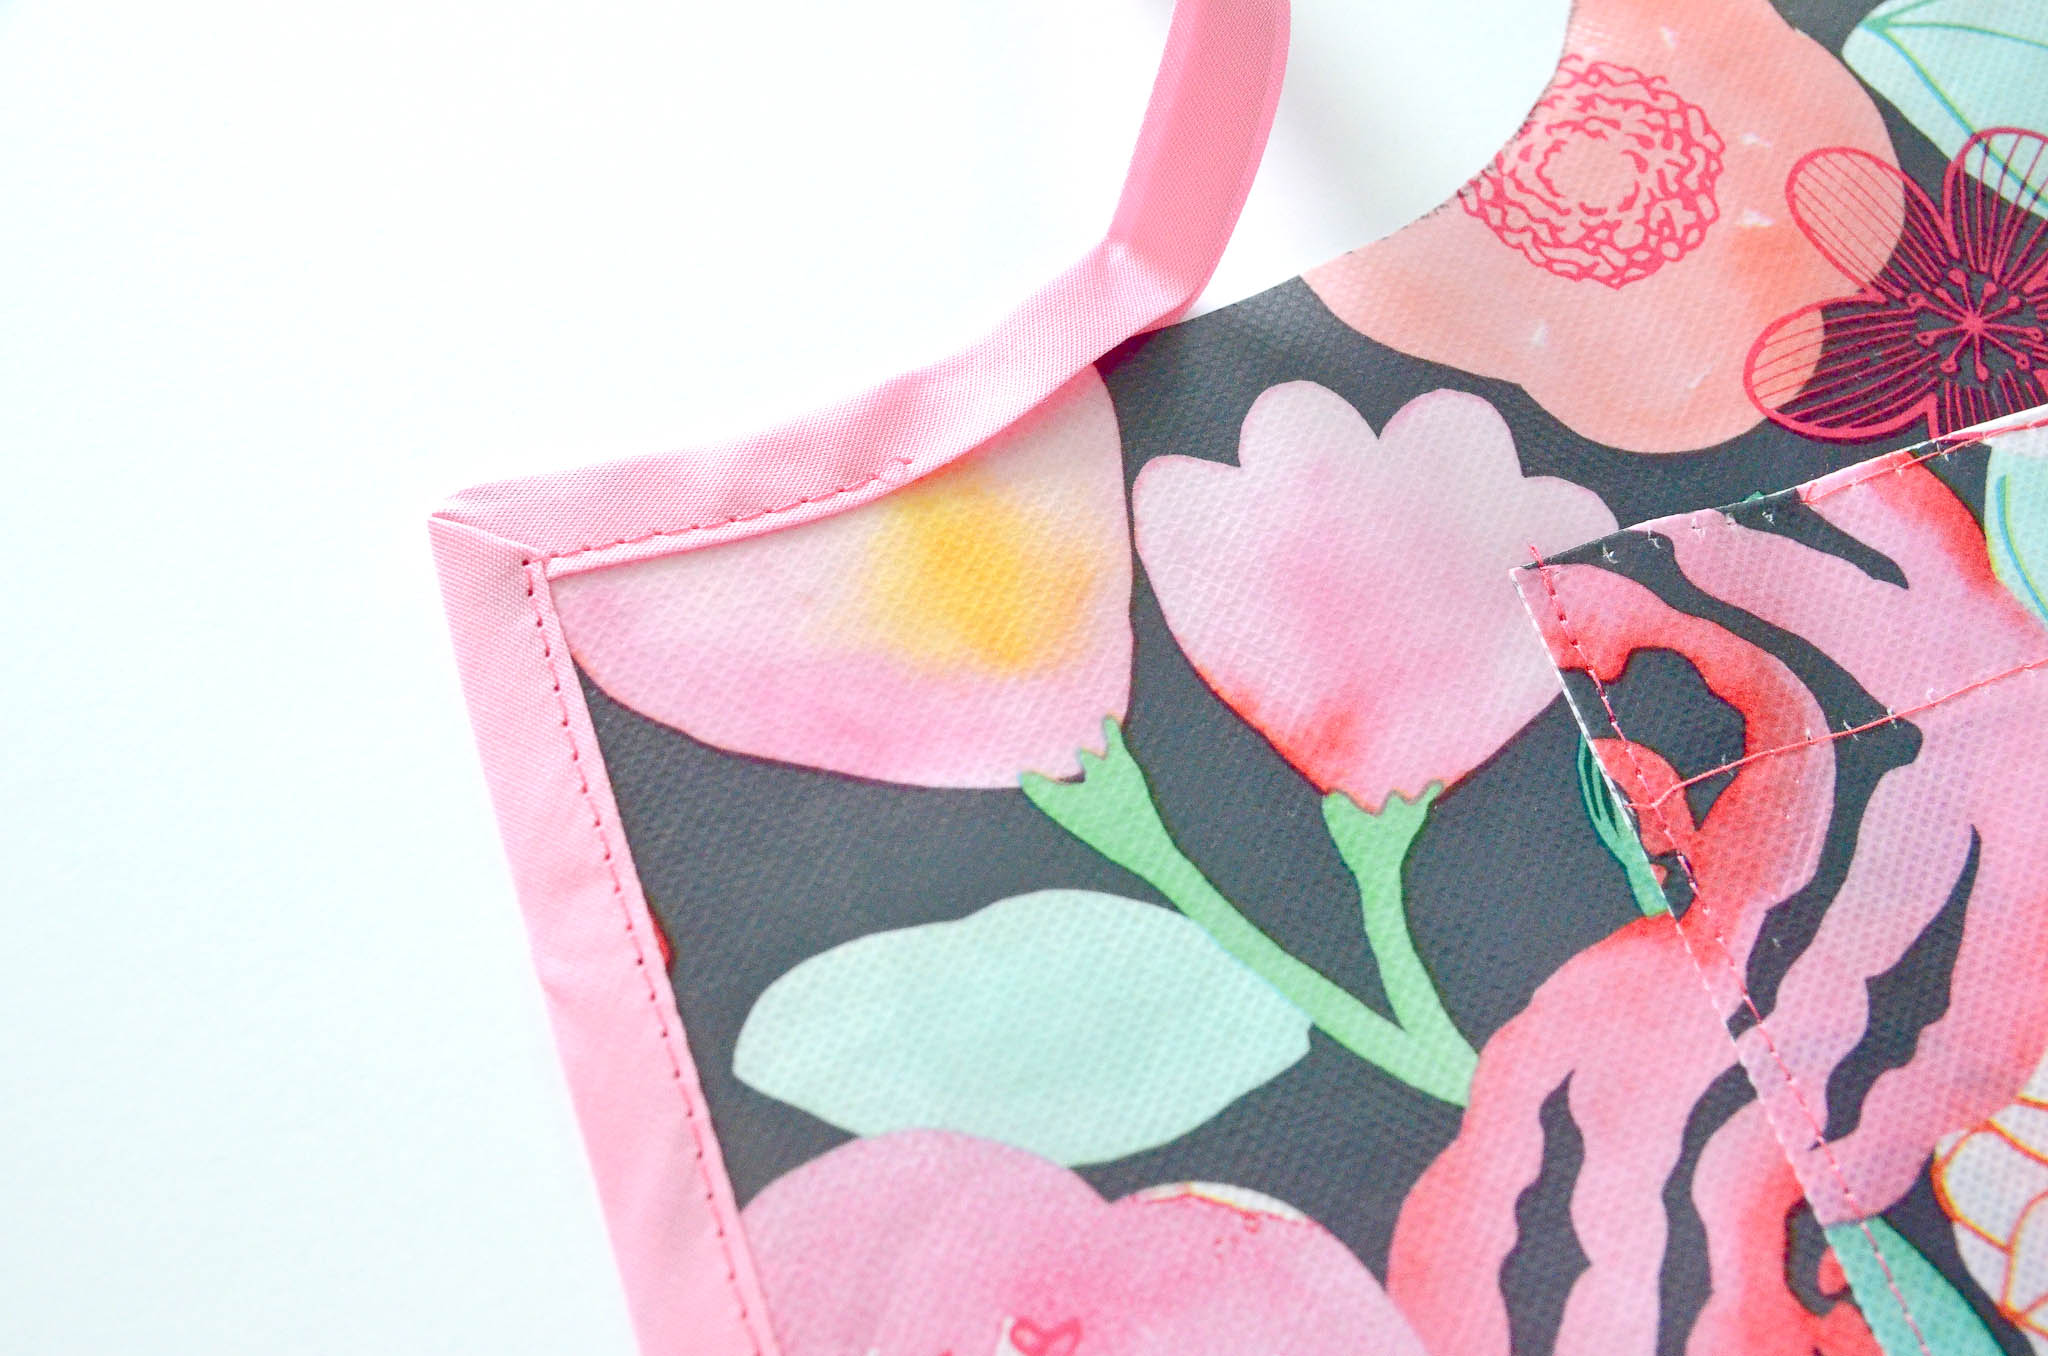
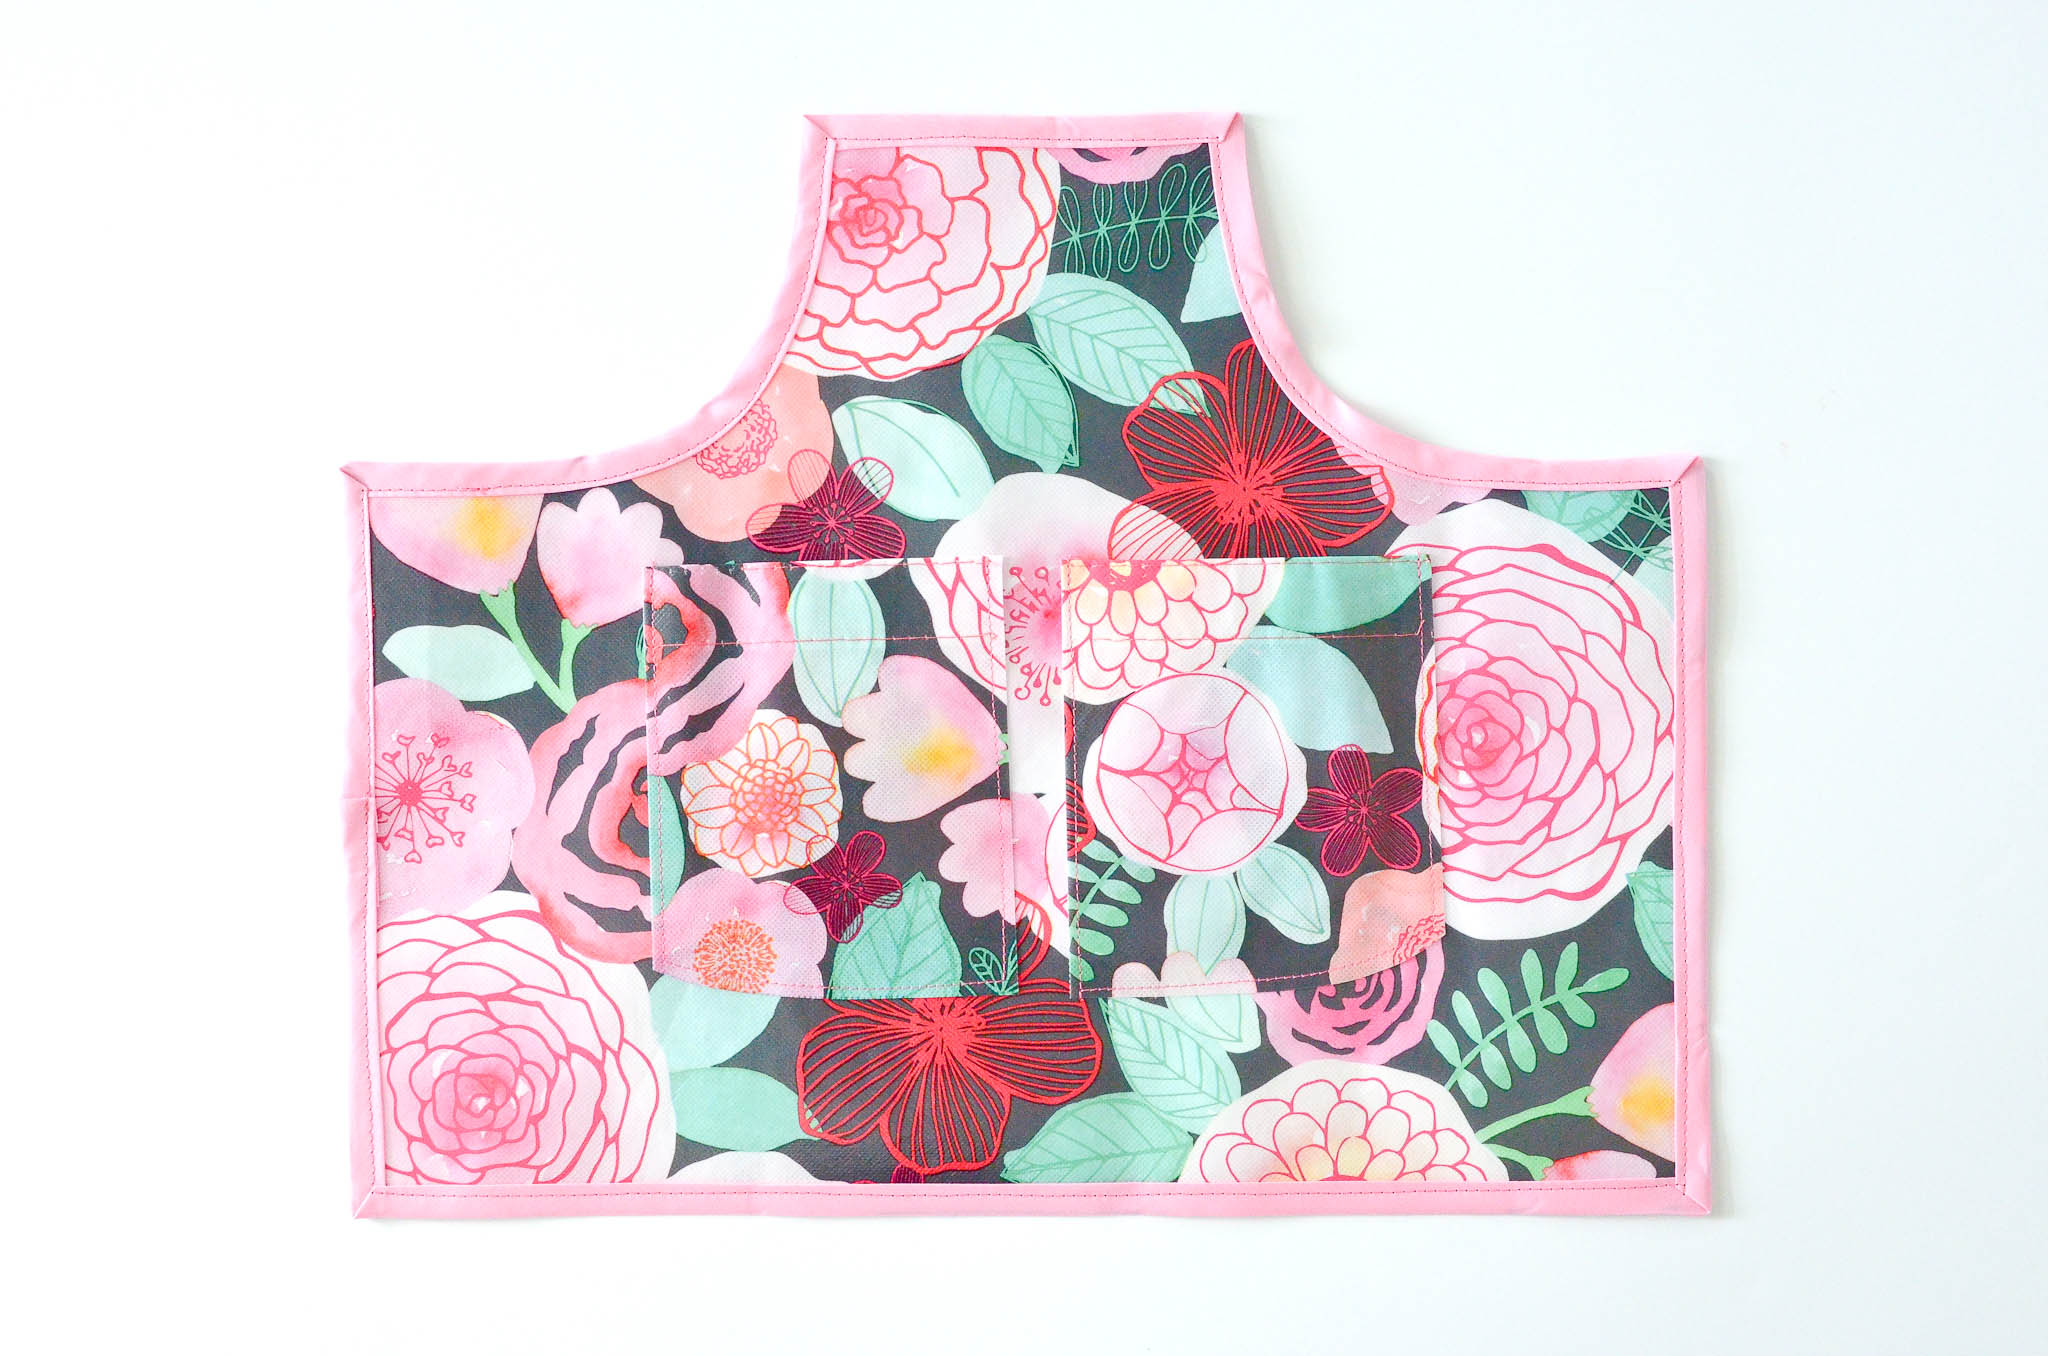
The reusable bag fabric won’t fray, but in order to make the edges more comfortable and give the apron a nice finished look, we’re going to add extra wide double fold bias tape to the entire perimeter. If you’ve never worked with bias tape before, the blog Make It Love It has a nice in-depth tutorial on what it is, how to attach it and even how to make your own. I use the pre-made stuff found in fabric stores and sew it on using the cheater method. Basically, you just sandwich the folded tape around the raw edge of the apron and sew it down, folding in and winging the corners! I like to start in the middle of the left edge.
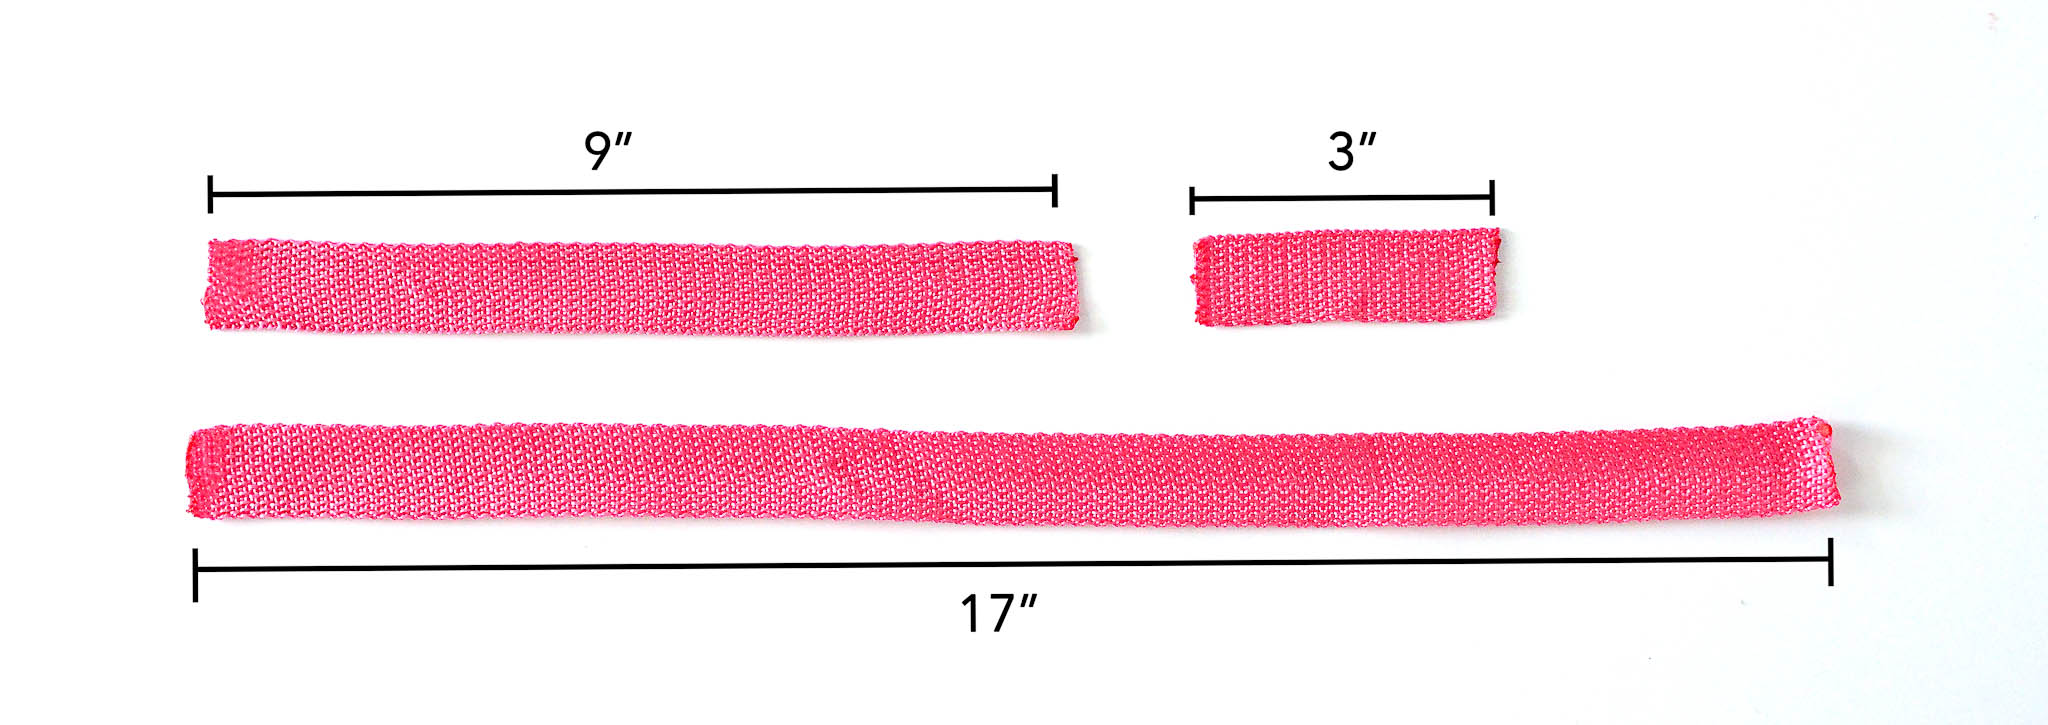
Grab those bag straps that you set aside earlier (they’re called “webbing”). Cut three lengths of webbing: 3″, 9″, and 17″.
Webbing looks and feels like fabric, but it’s actually made of plasticized fibers. To keep the straps from unraveling, carefully run a lighter flame lightly over the ends. You’ll see the webbing melt, and—voila!—no more fraying. Do this to both ends of all the pieces you just cut.

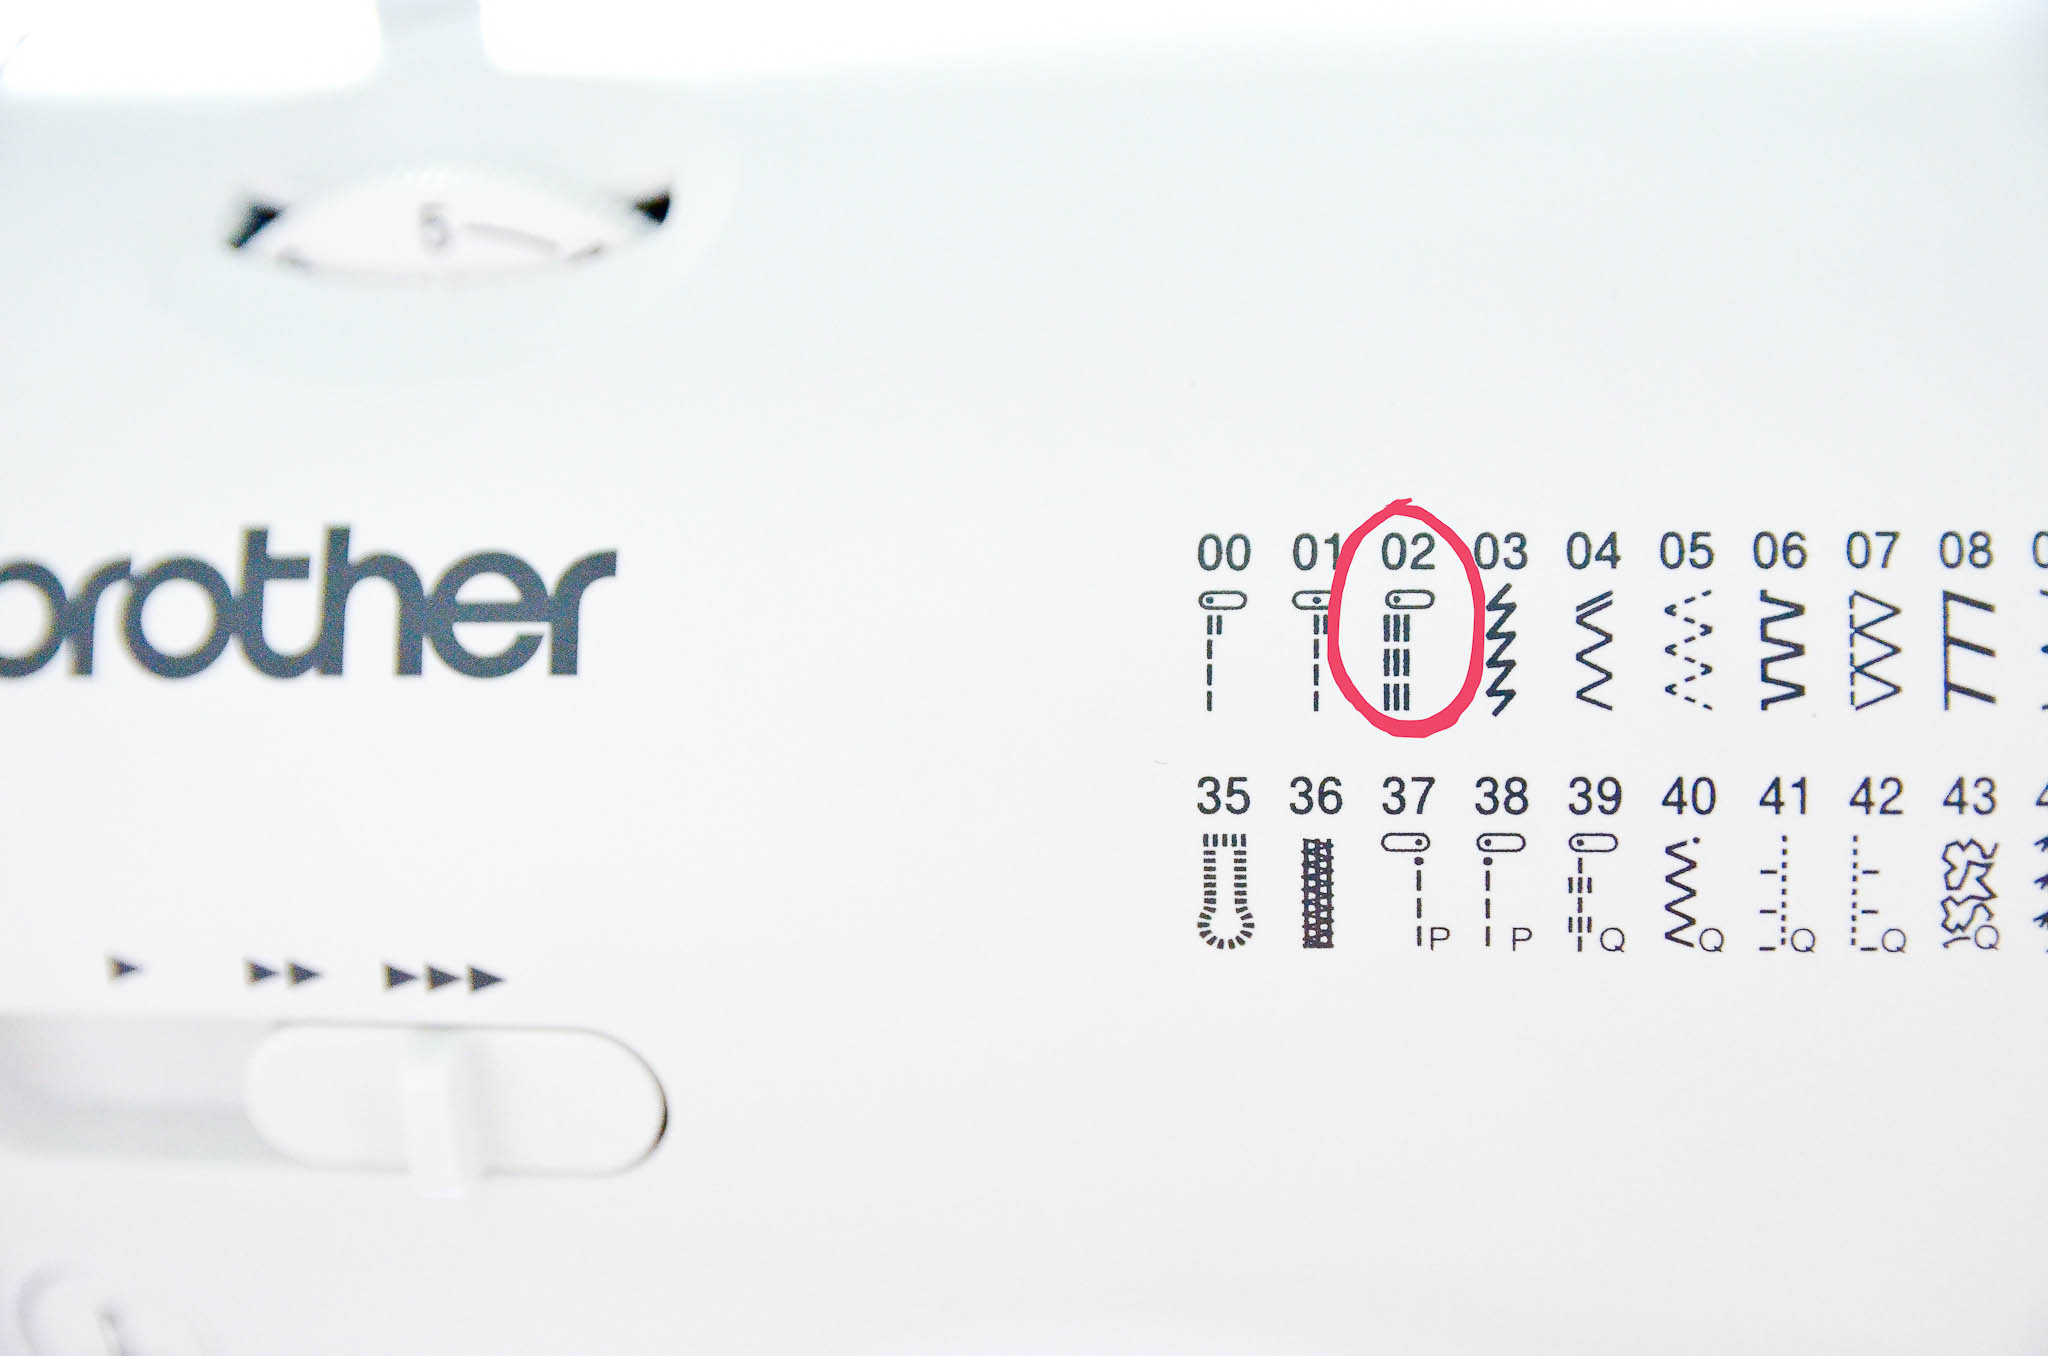
For the final few steps, you’ll want to use a triple stitch for added strength while attaching the straps. This means the machine sews each stitch three times (forward, backward, forward). The indication on your machine’s stitch guide should look something like the one circled below. Set the stitch length at 4.0.
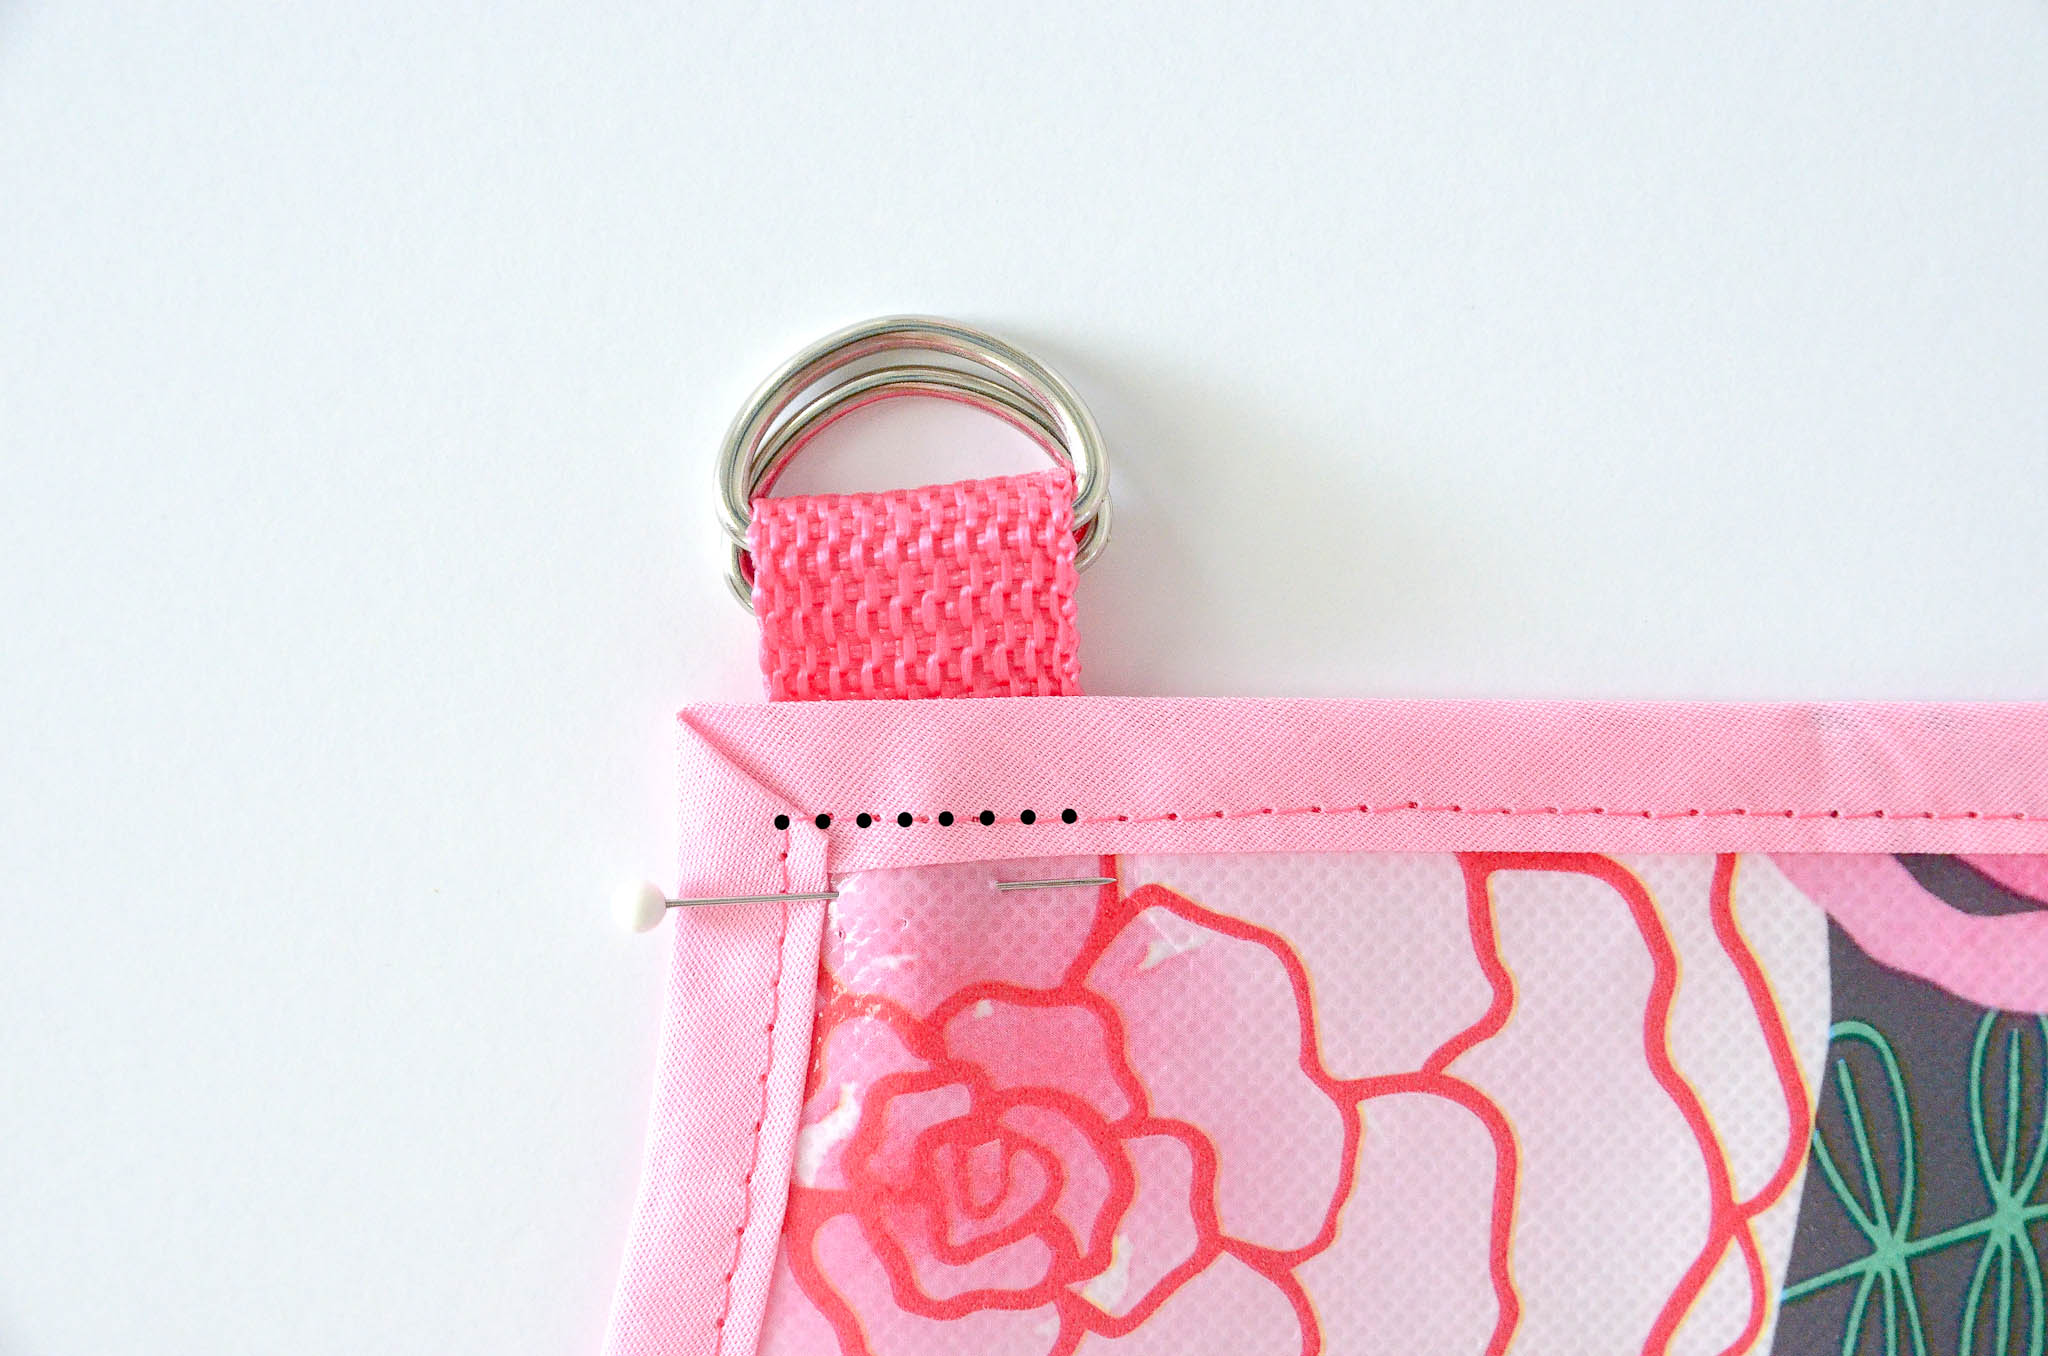
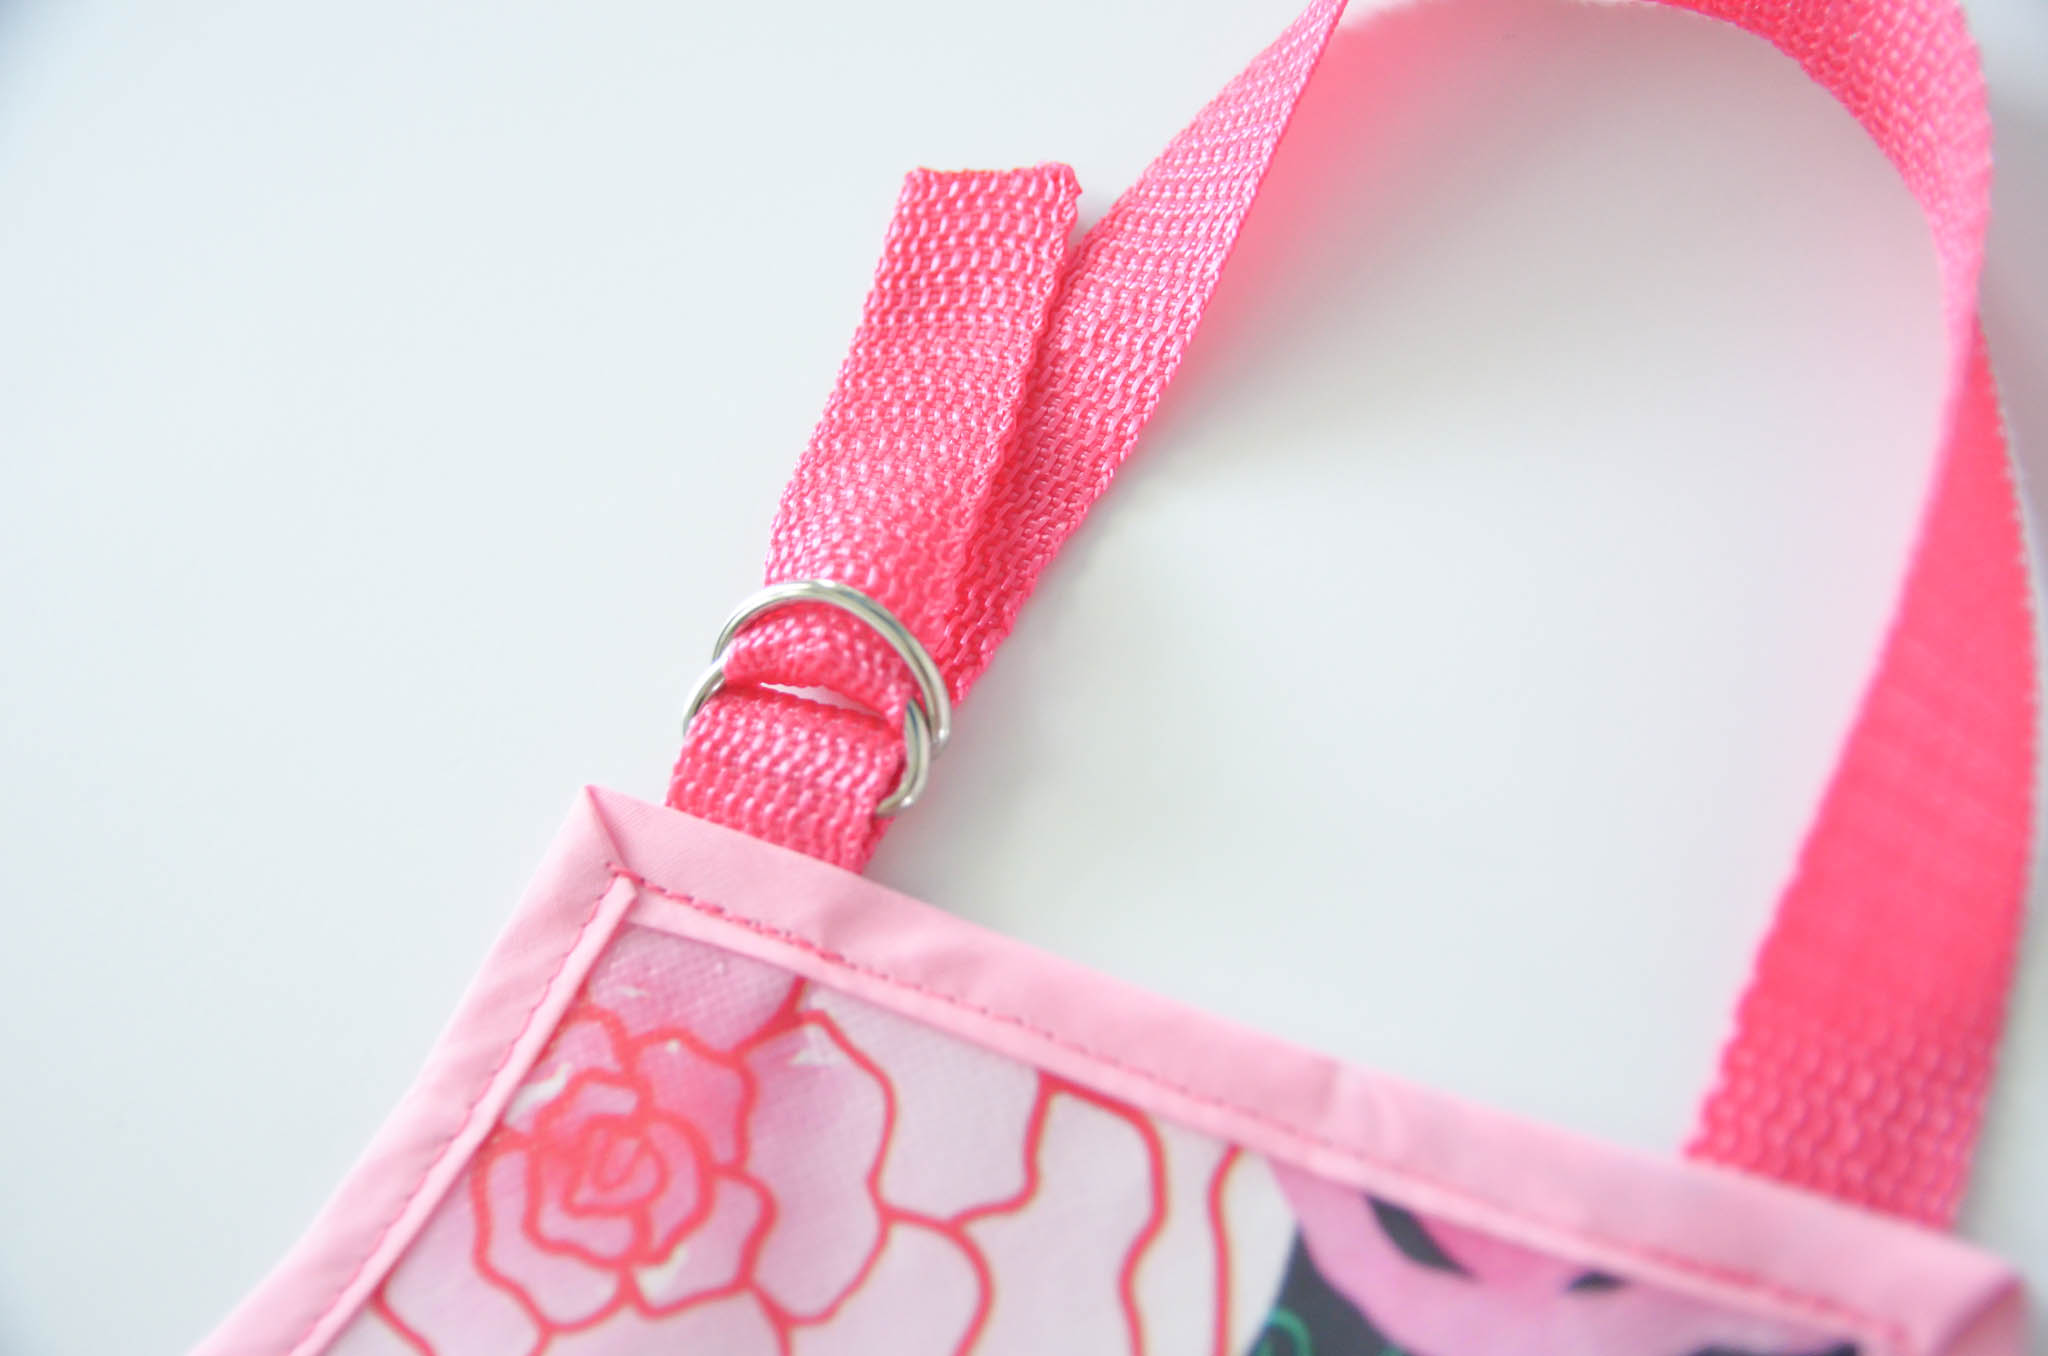
Loop your 3″ piece of webbing through your two D-rings. With the webbing folded in half, pin it in place on the top left corner of the neck line. Be sure the webbing ends fall below where you previously sewed the bias tape, then use your triple stitch to sew right over the same line as before.
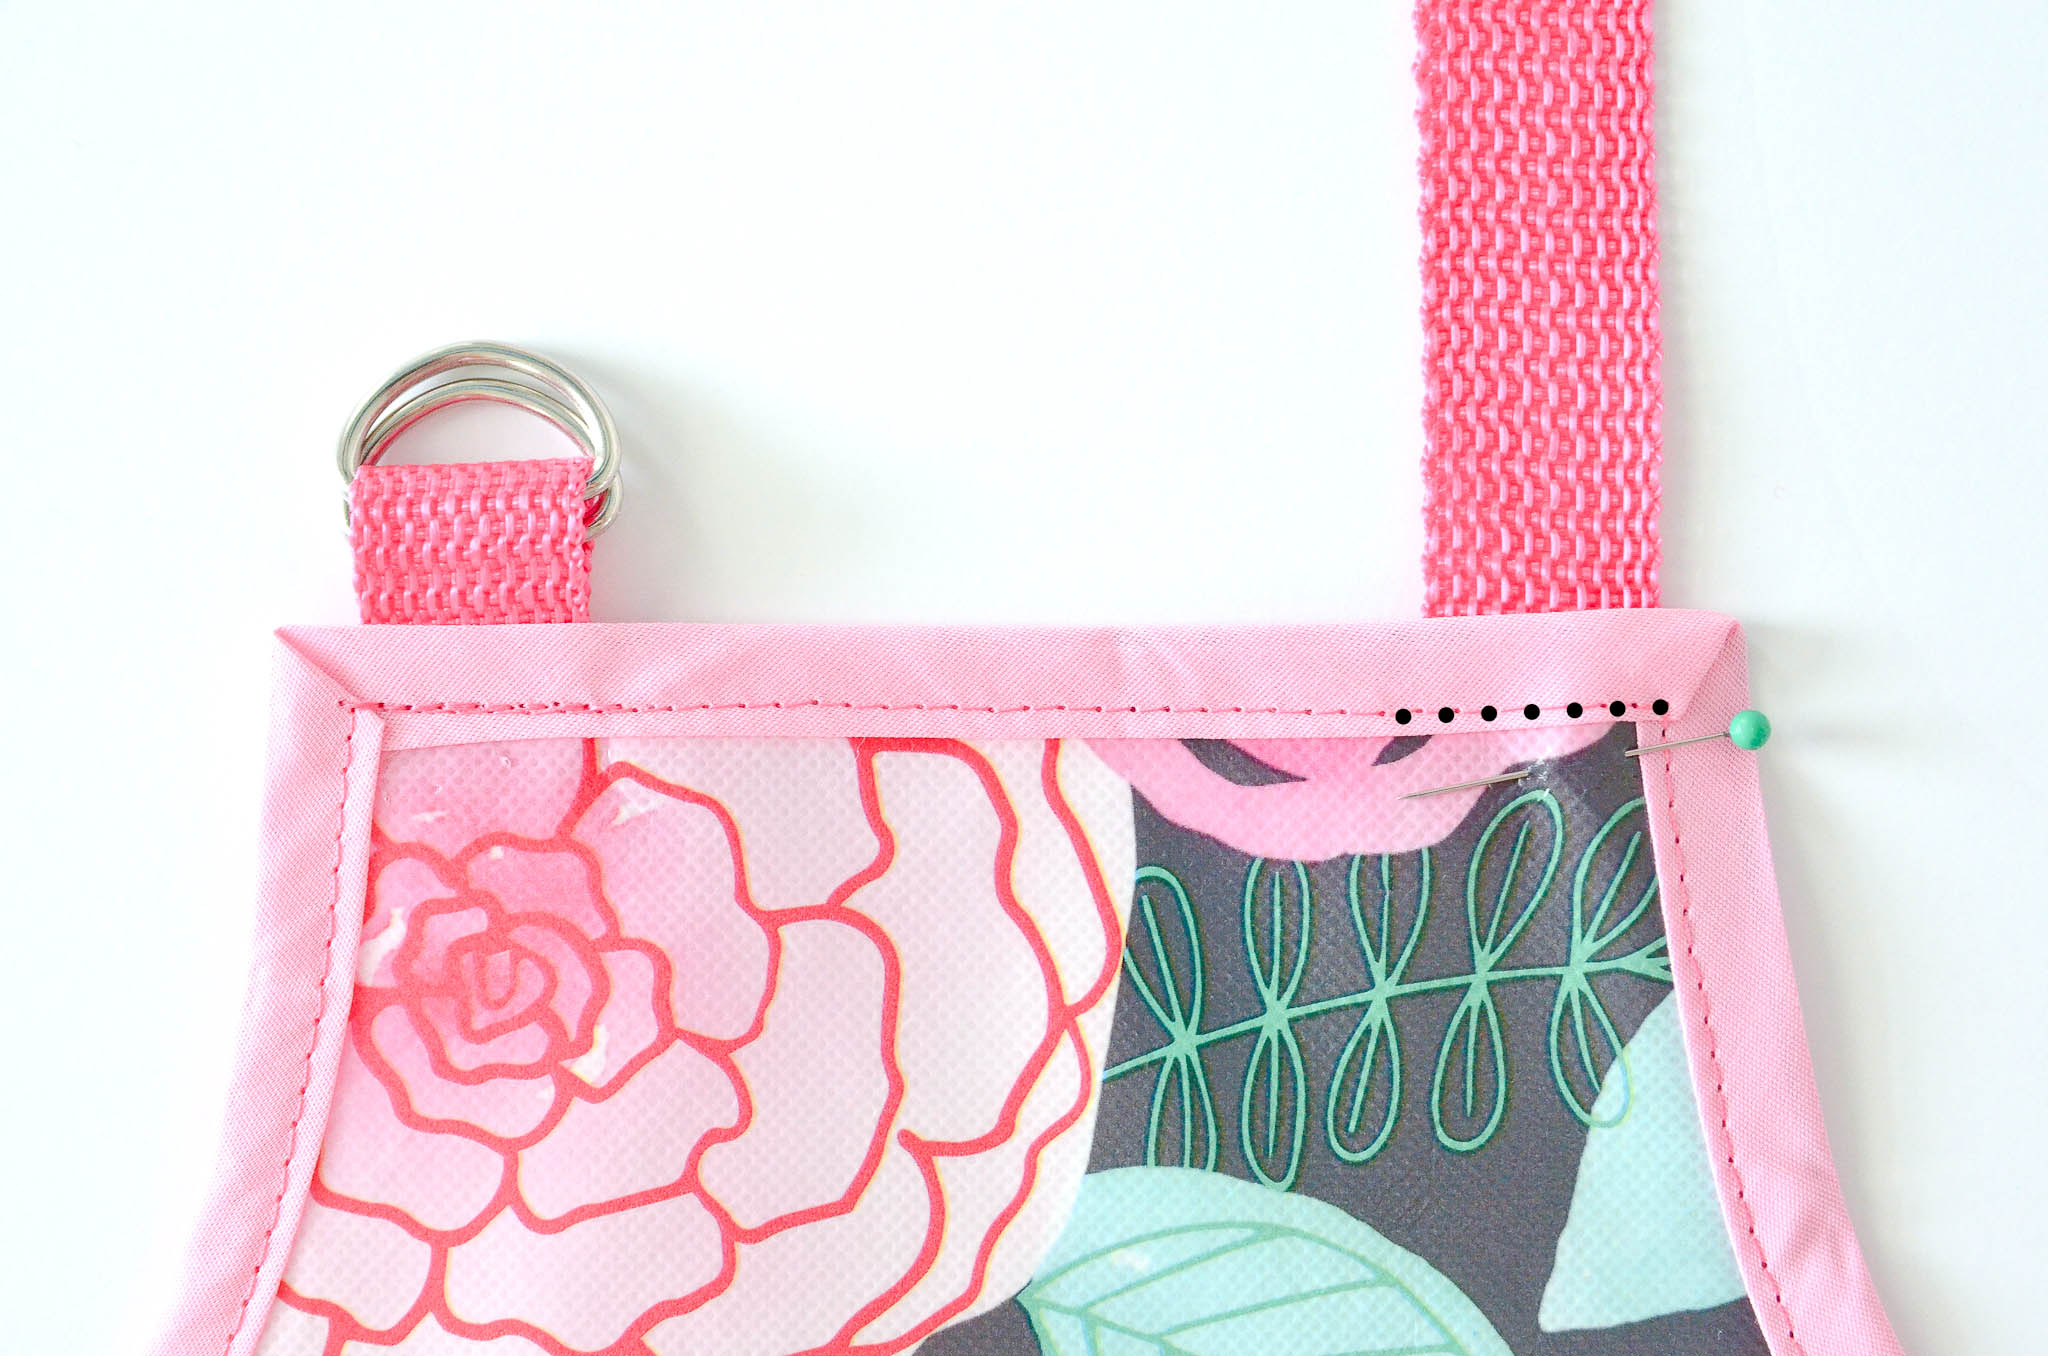
Align and pin your 17″ piece of webbing on the top right corner of the neckline, again with the end below the bias tape. Follow the existing stitching to attach the neck strap. (Can you see on the left how the extra stitching is barely noticeable because it’s aligned with the previously stitched line?)
Cut a 7″ piece of Velcro. Sew the soft loop side of the Velcro to the end of the 9″ strap.

With the apron wrong side up, sew the 9″ strap onto the back left side, just below the arm curve. Be sure the Velcro is facing up.
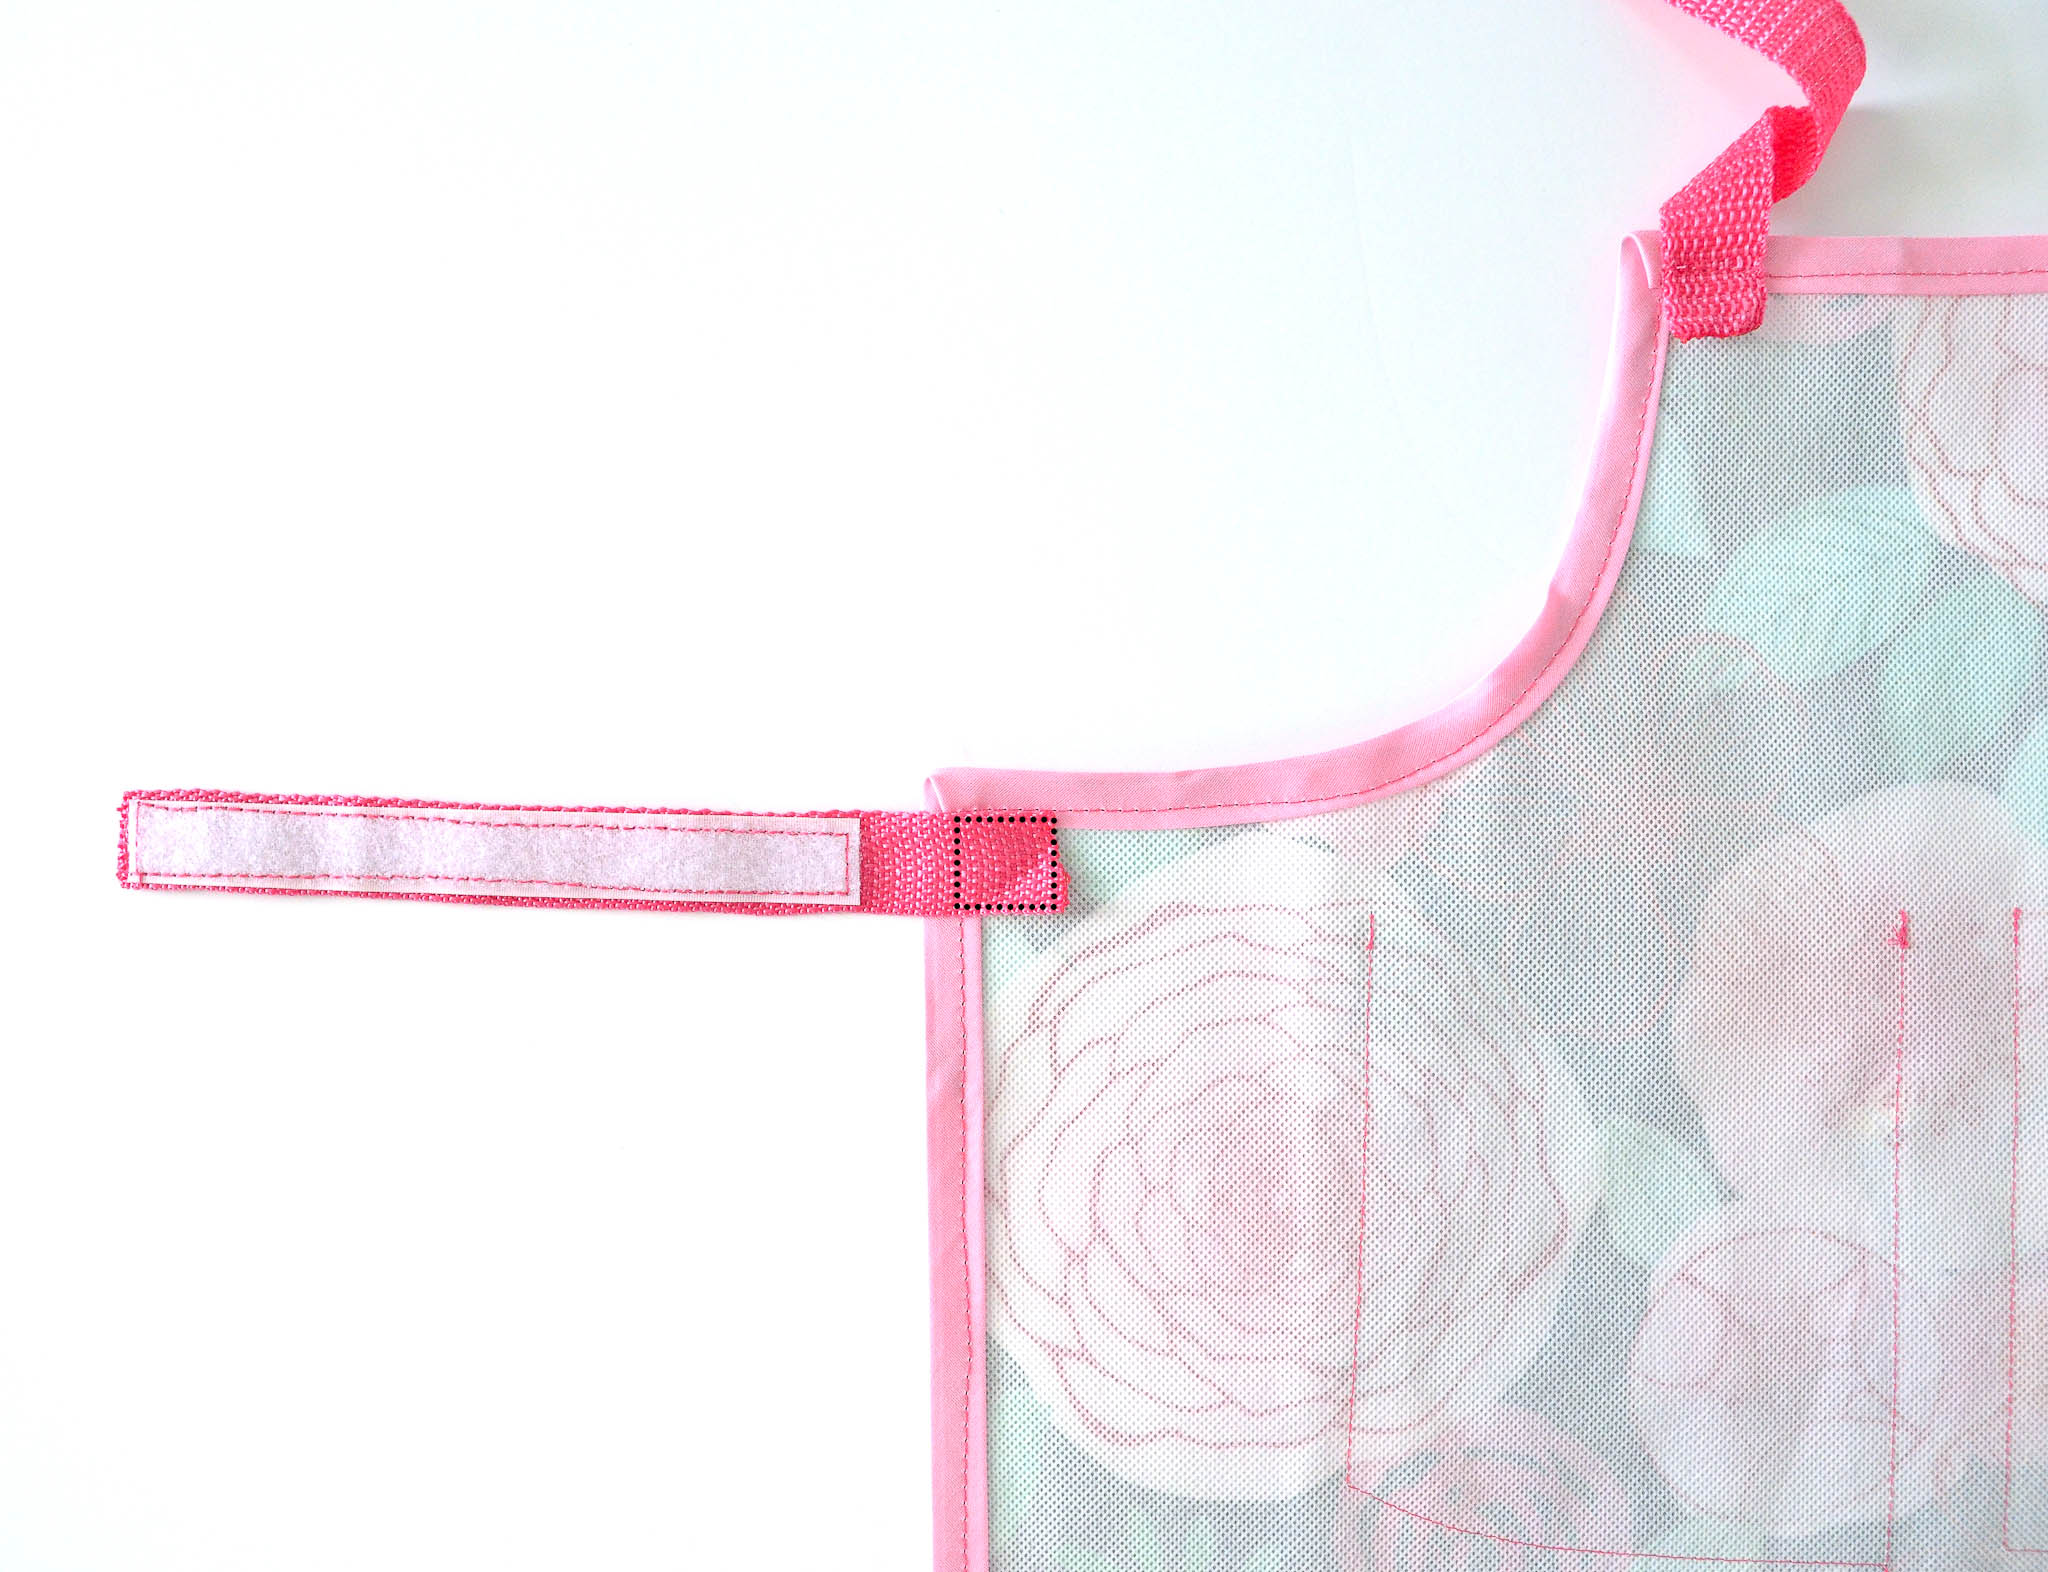
Cut the hook side of the Velcro to 2″. Turn the apron over and sew it to the front left side, just below the arm curve.

Thread the long neck strap through the D-Rings as shown to secure it around your child’s neck.
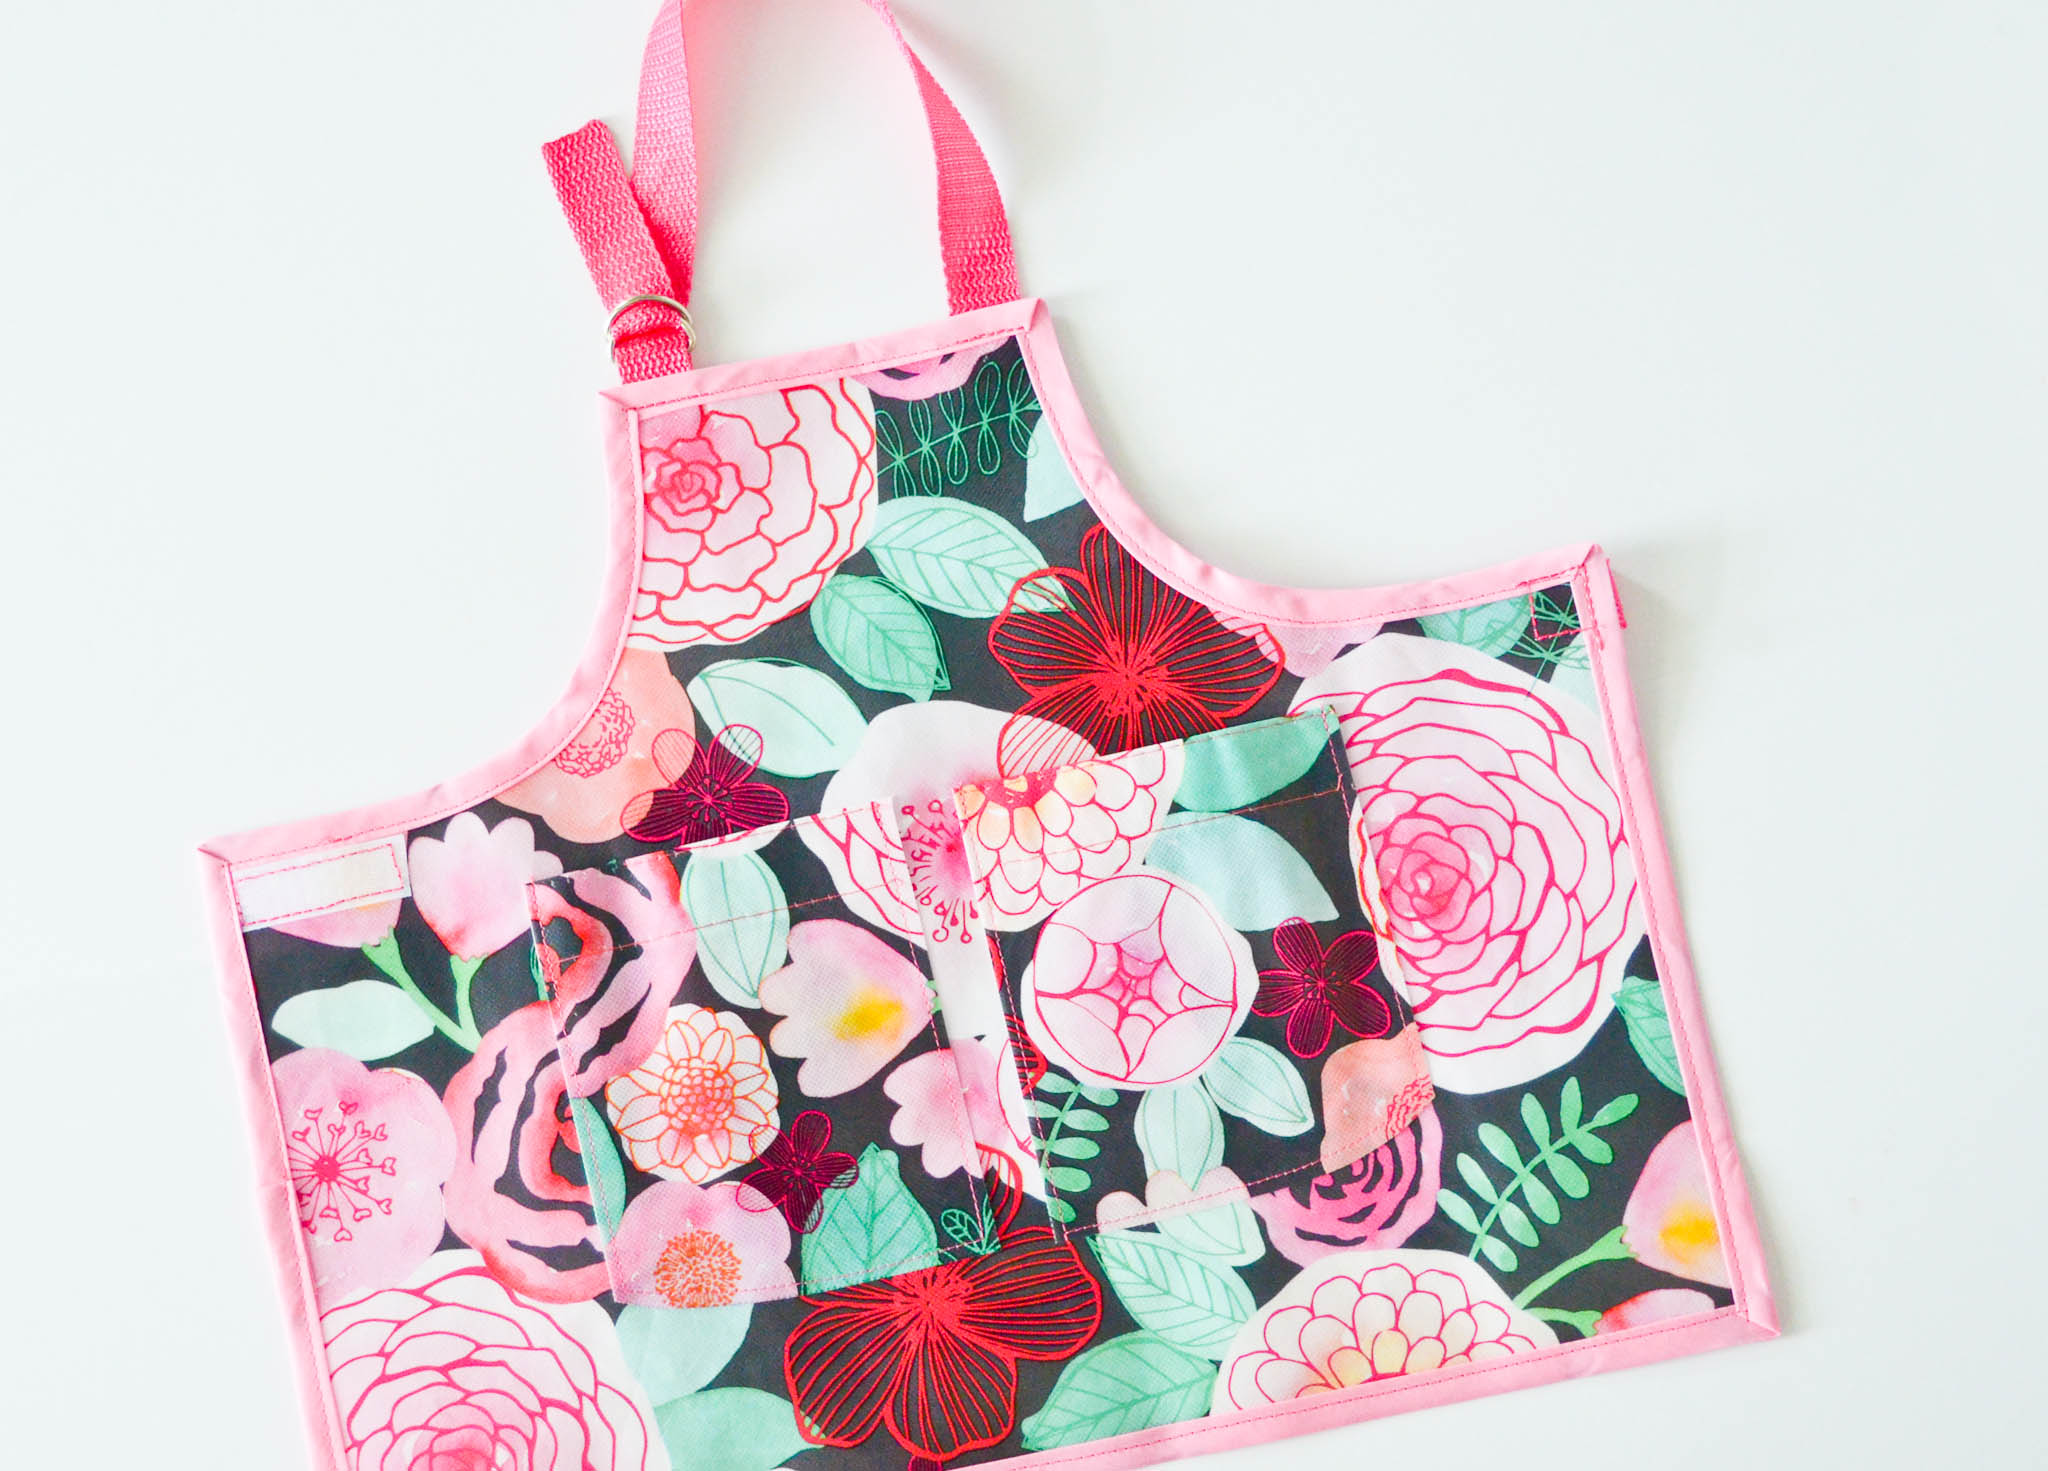
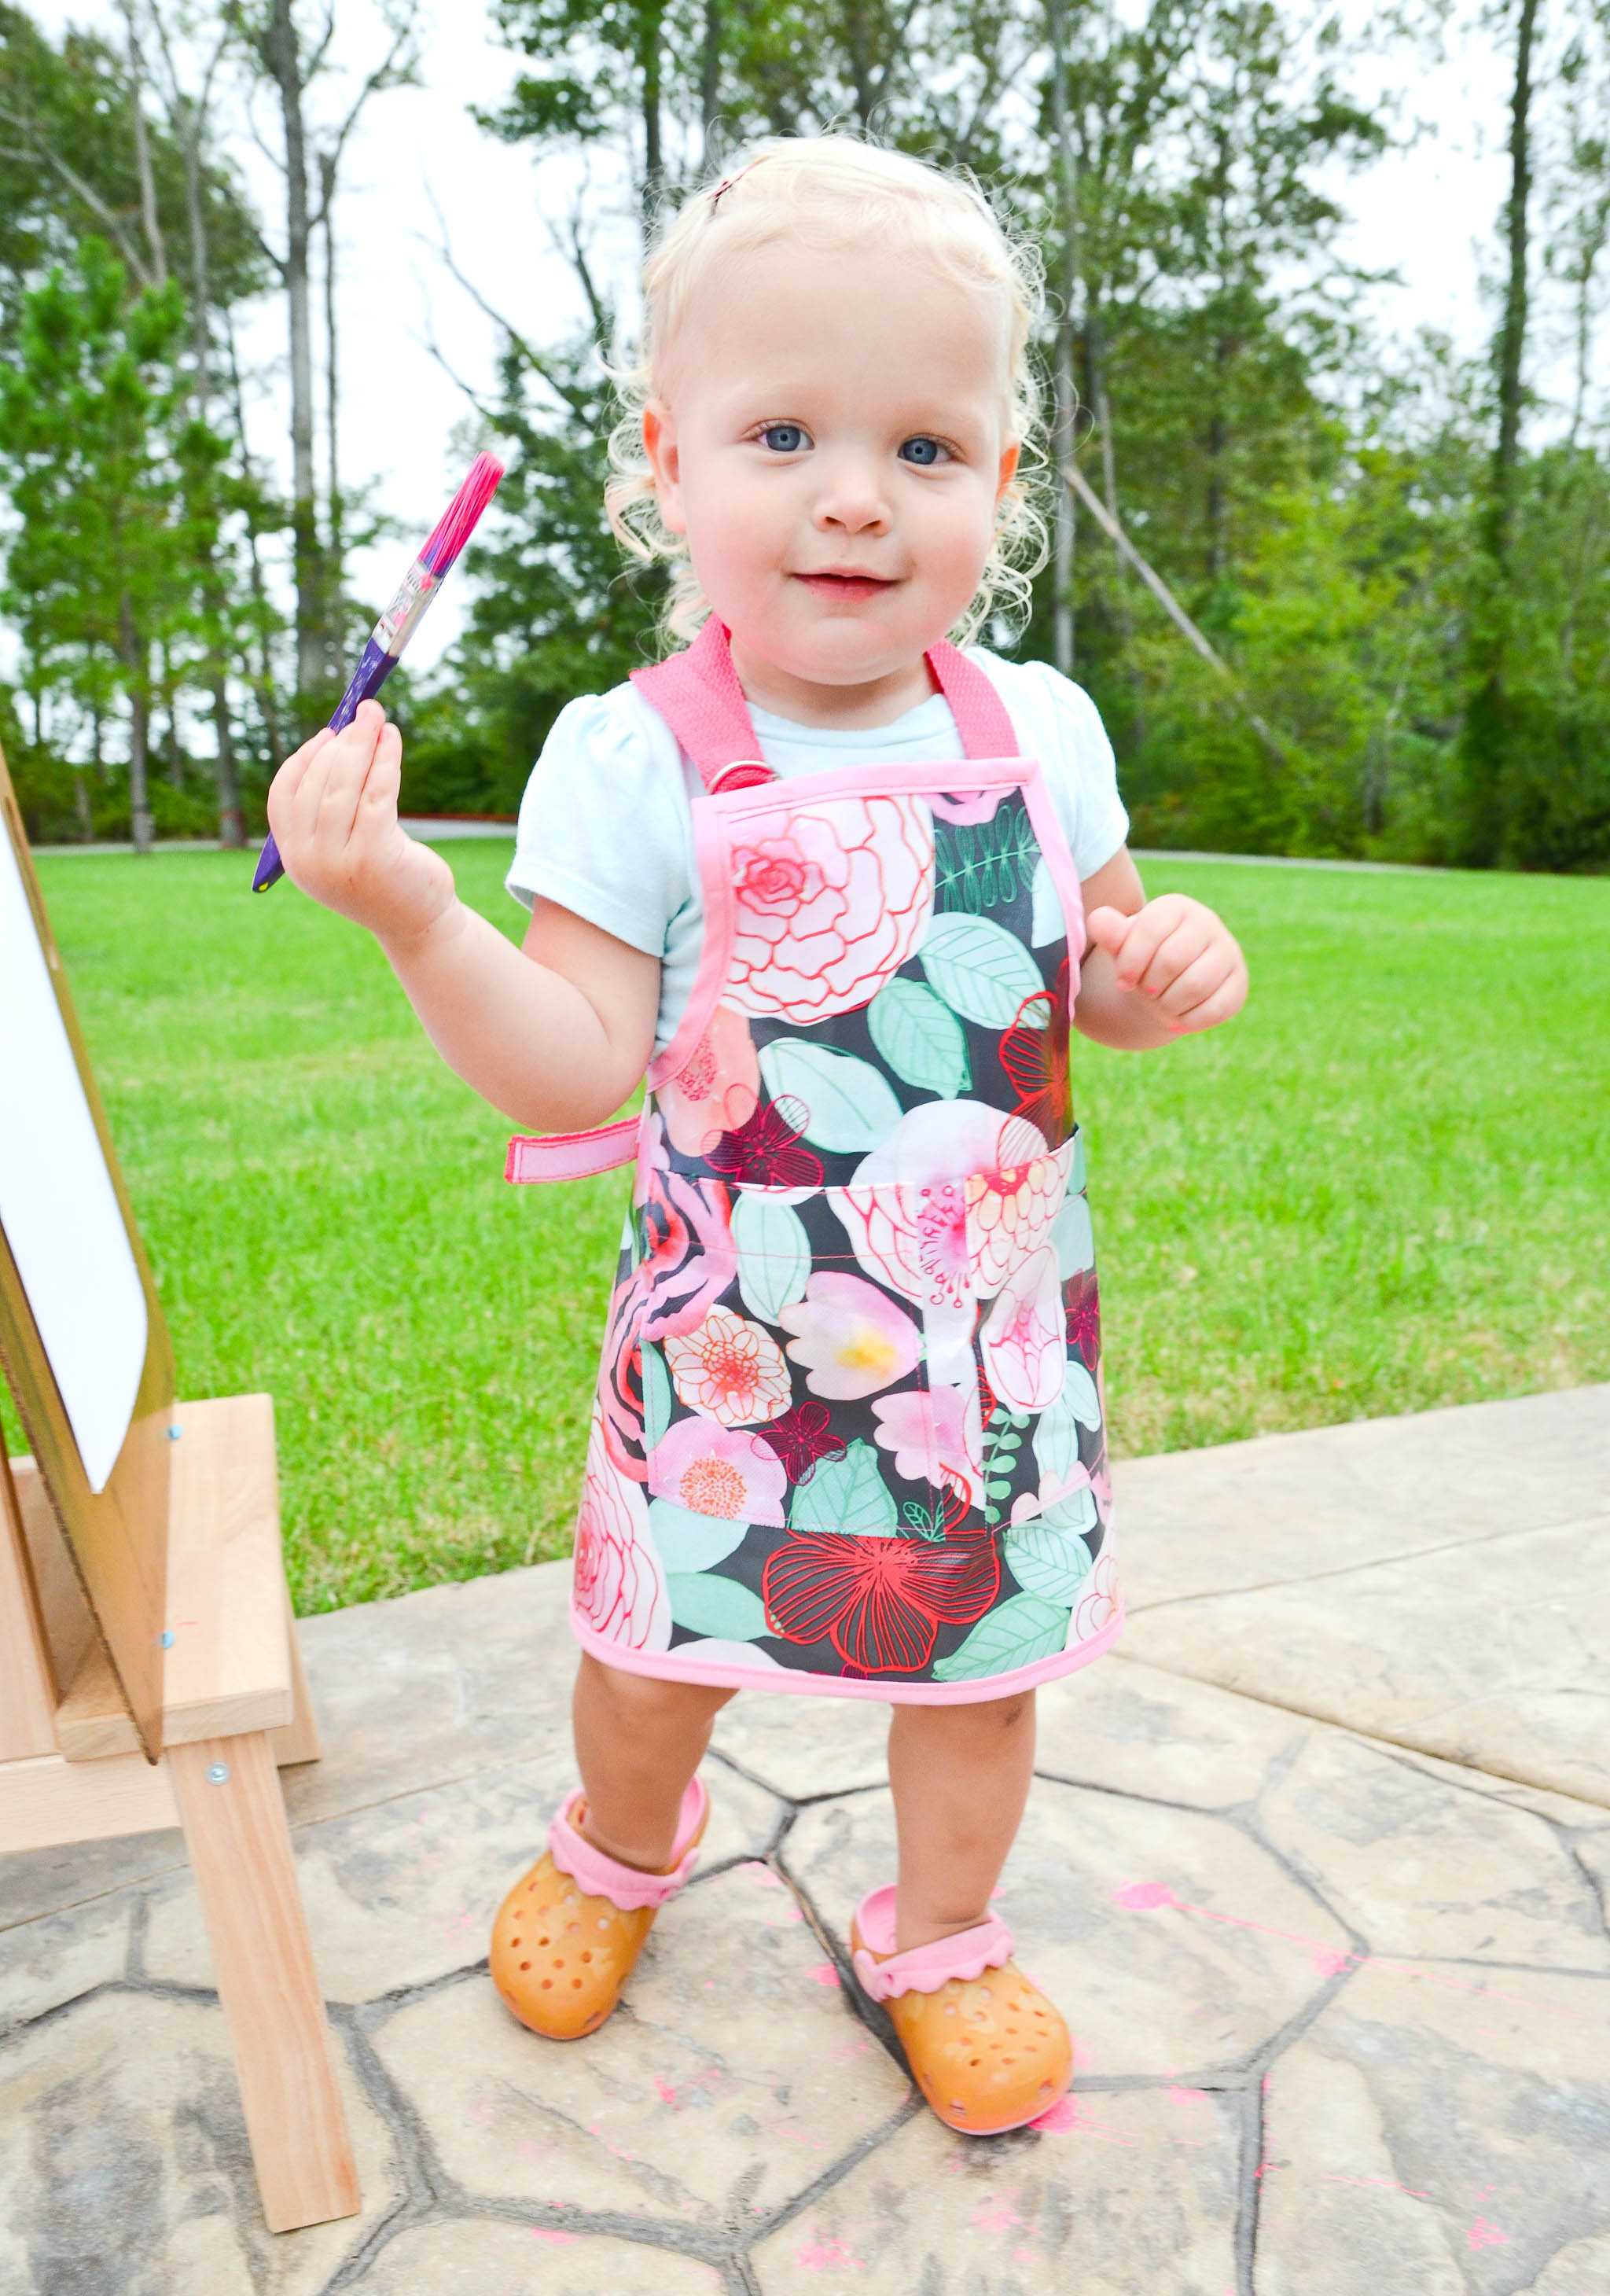
We started with a 99¢ shopping bag, adding only some Velcro, hardware and bias tape, and I’d say this adorable little number deserves a round of applause! And did I mention it’s basically waterproof? The only thing you can’t do is machine wash it—wipe clean with a damp towel instead.
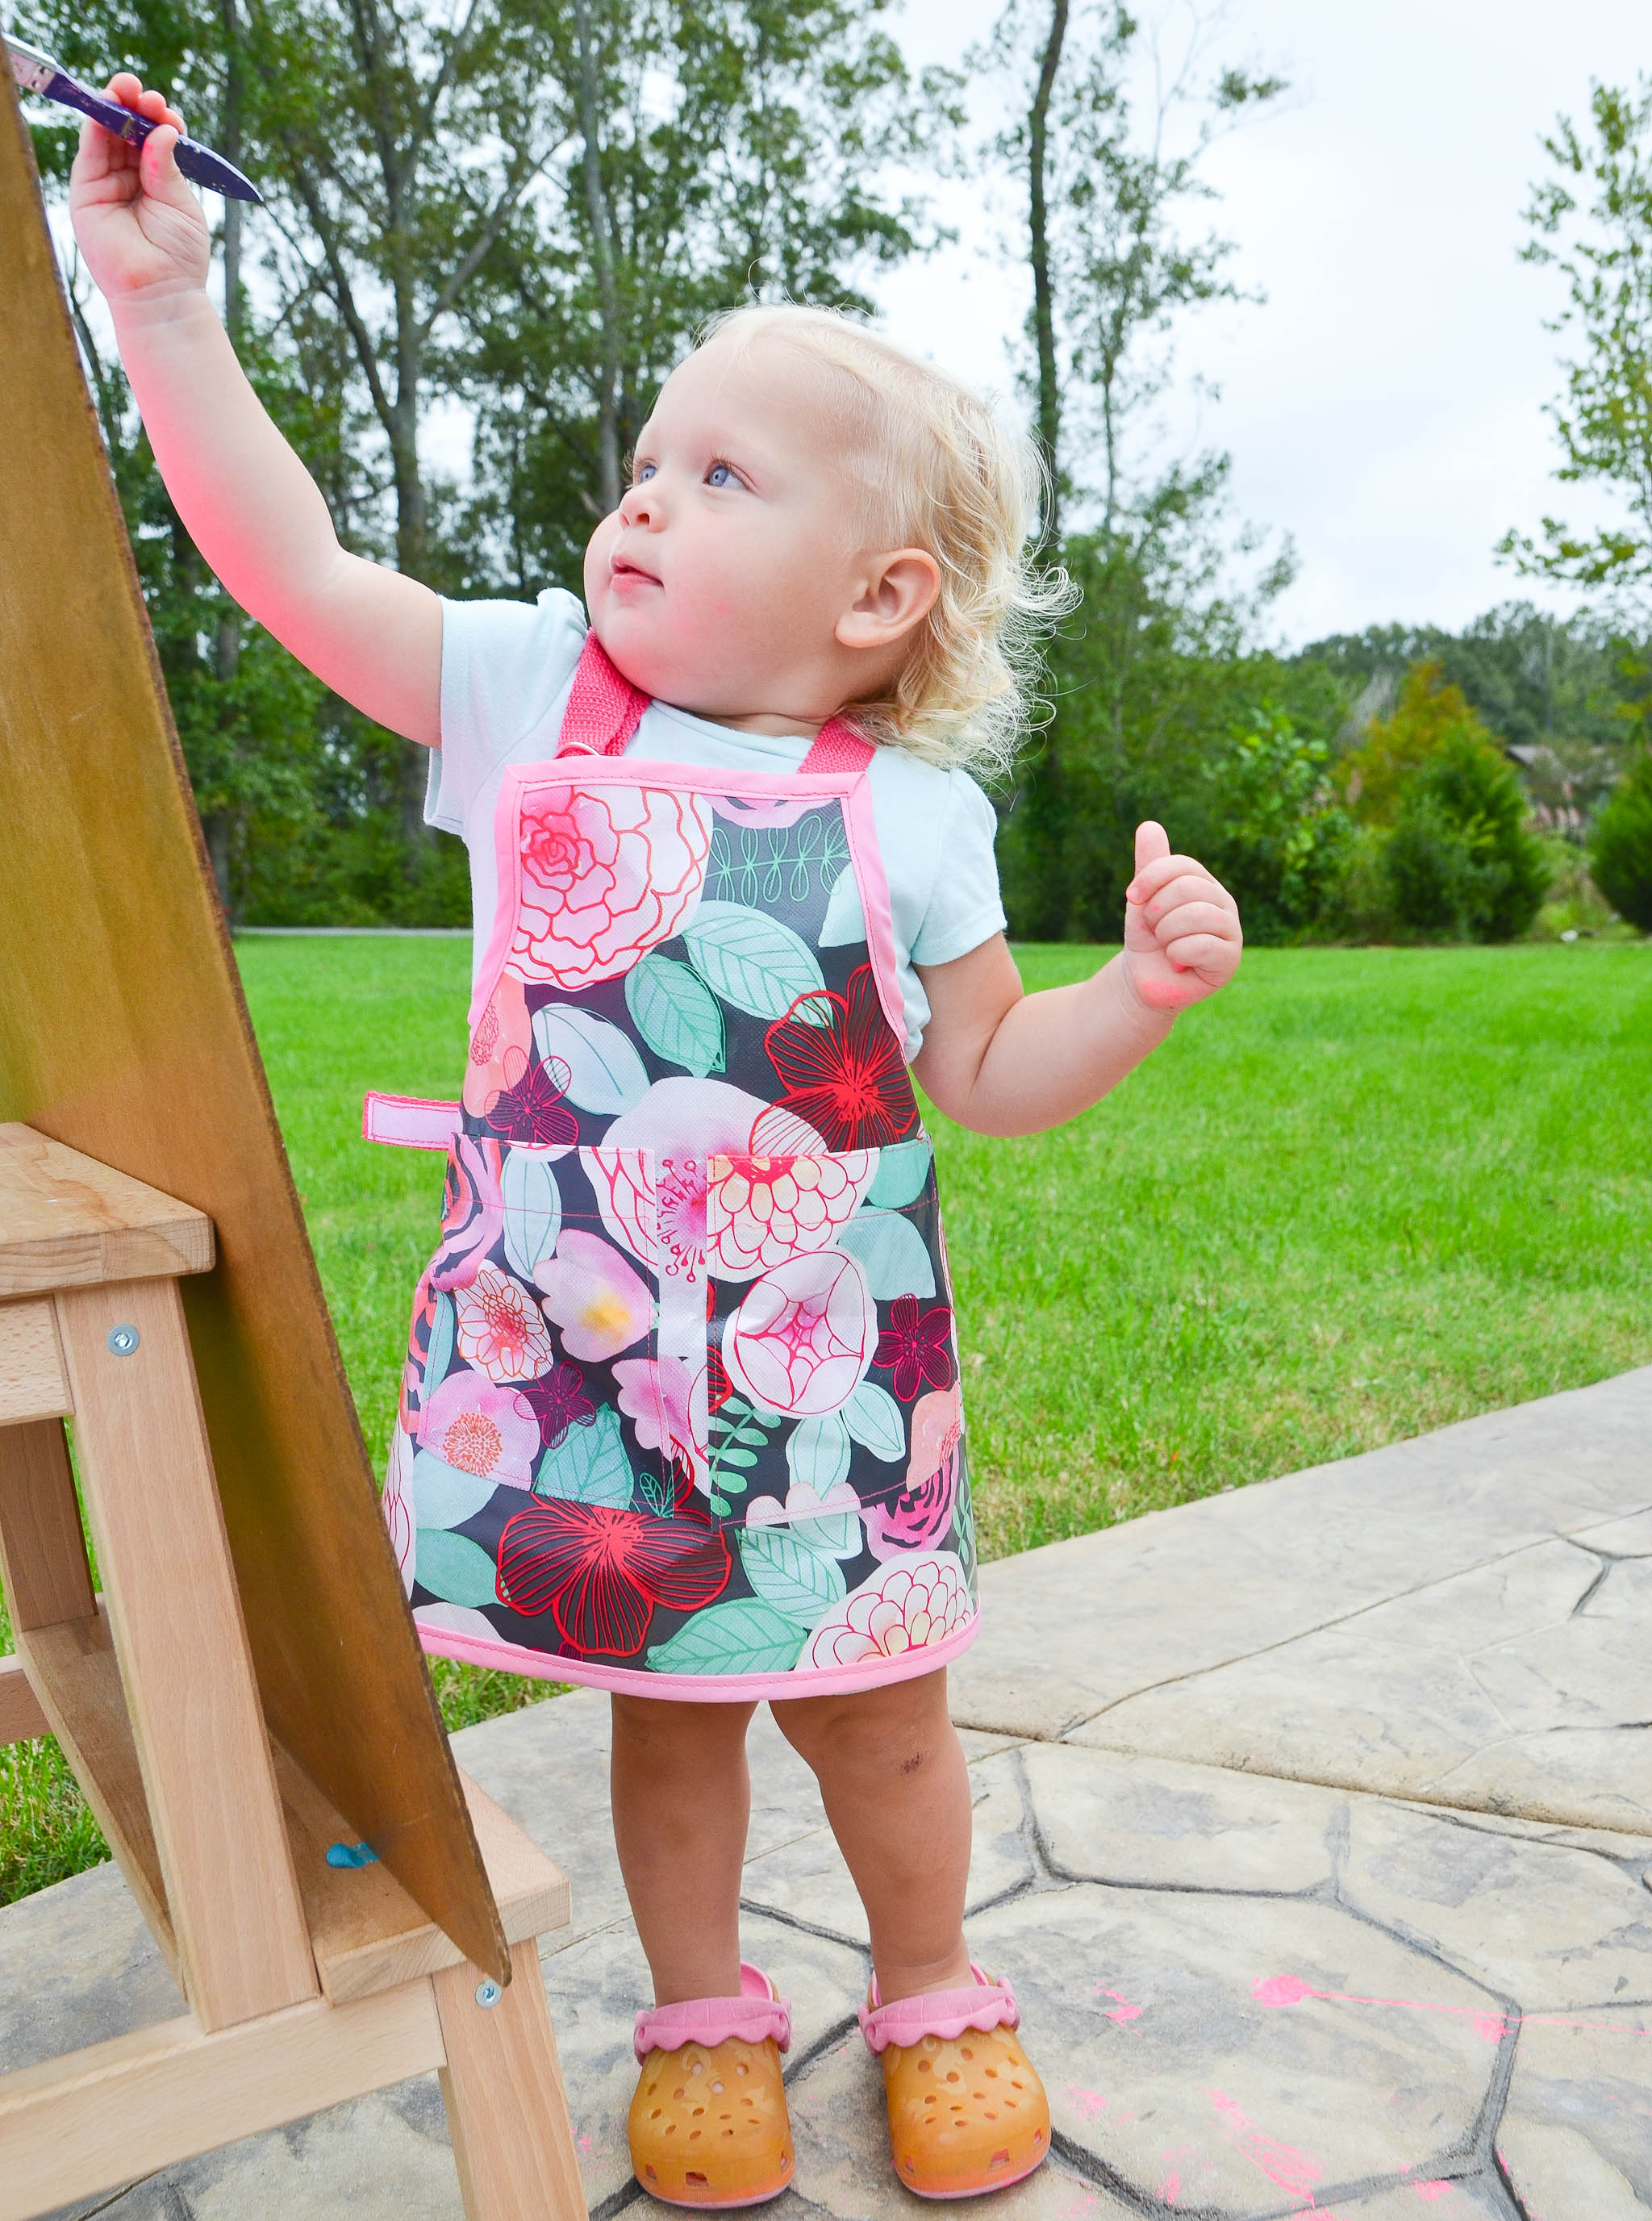
This particular size will fit toddlers approximately ages 2-4 (my sweet model is 23 months old).
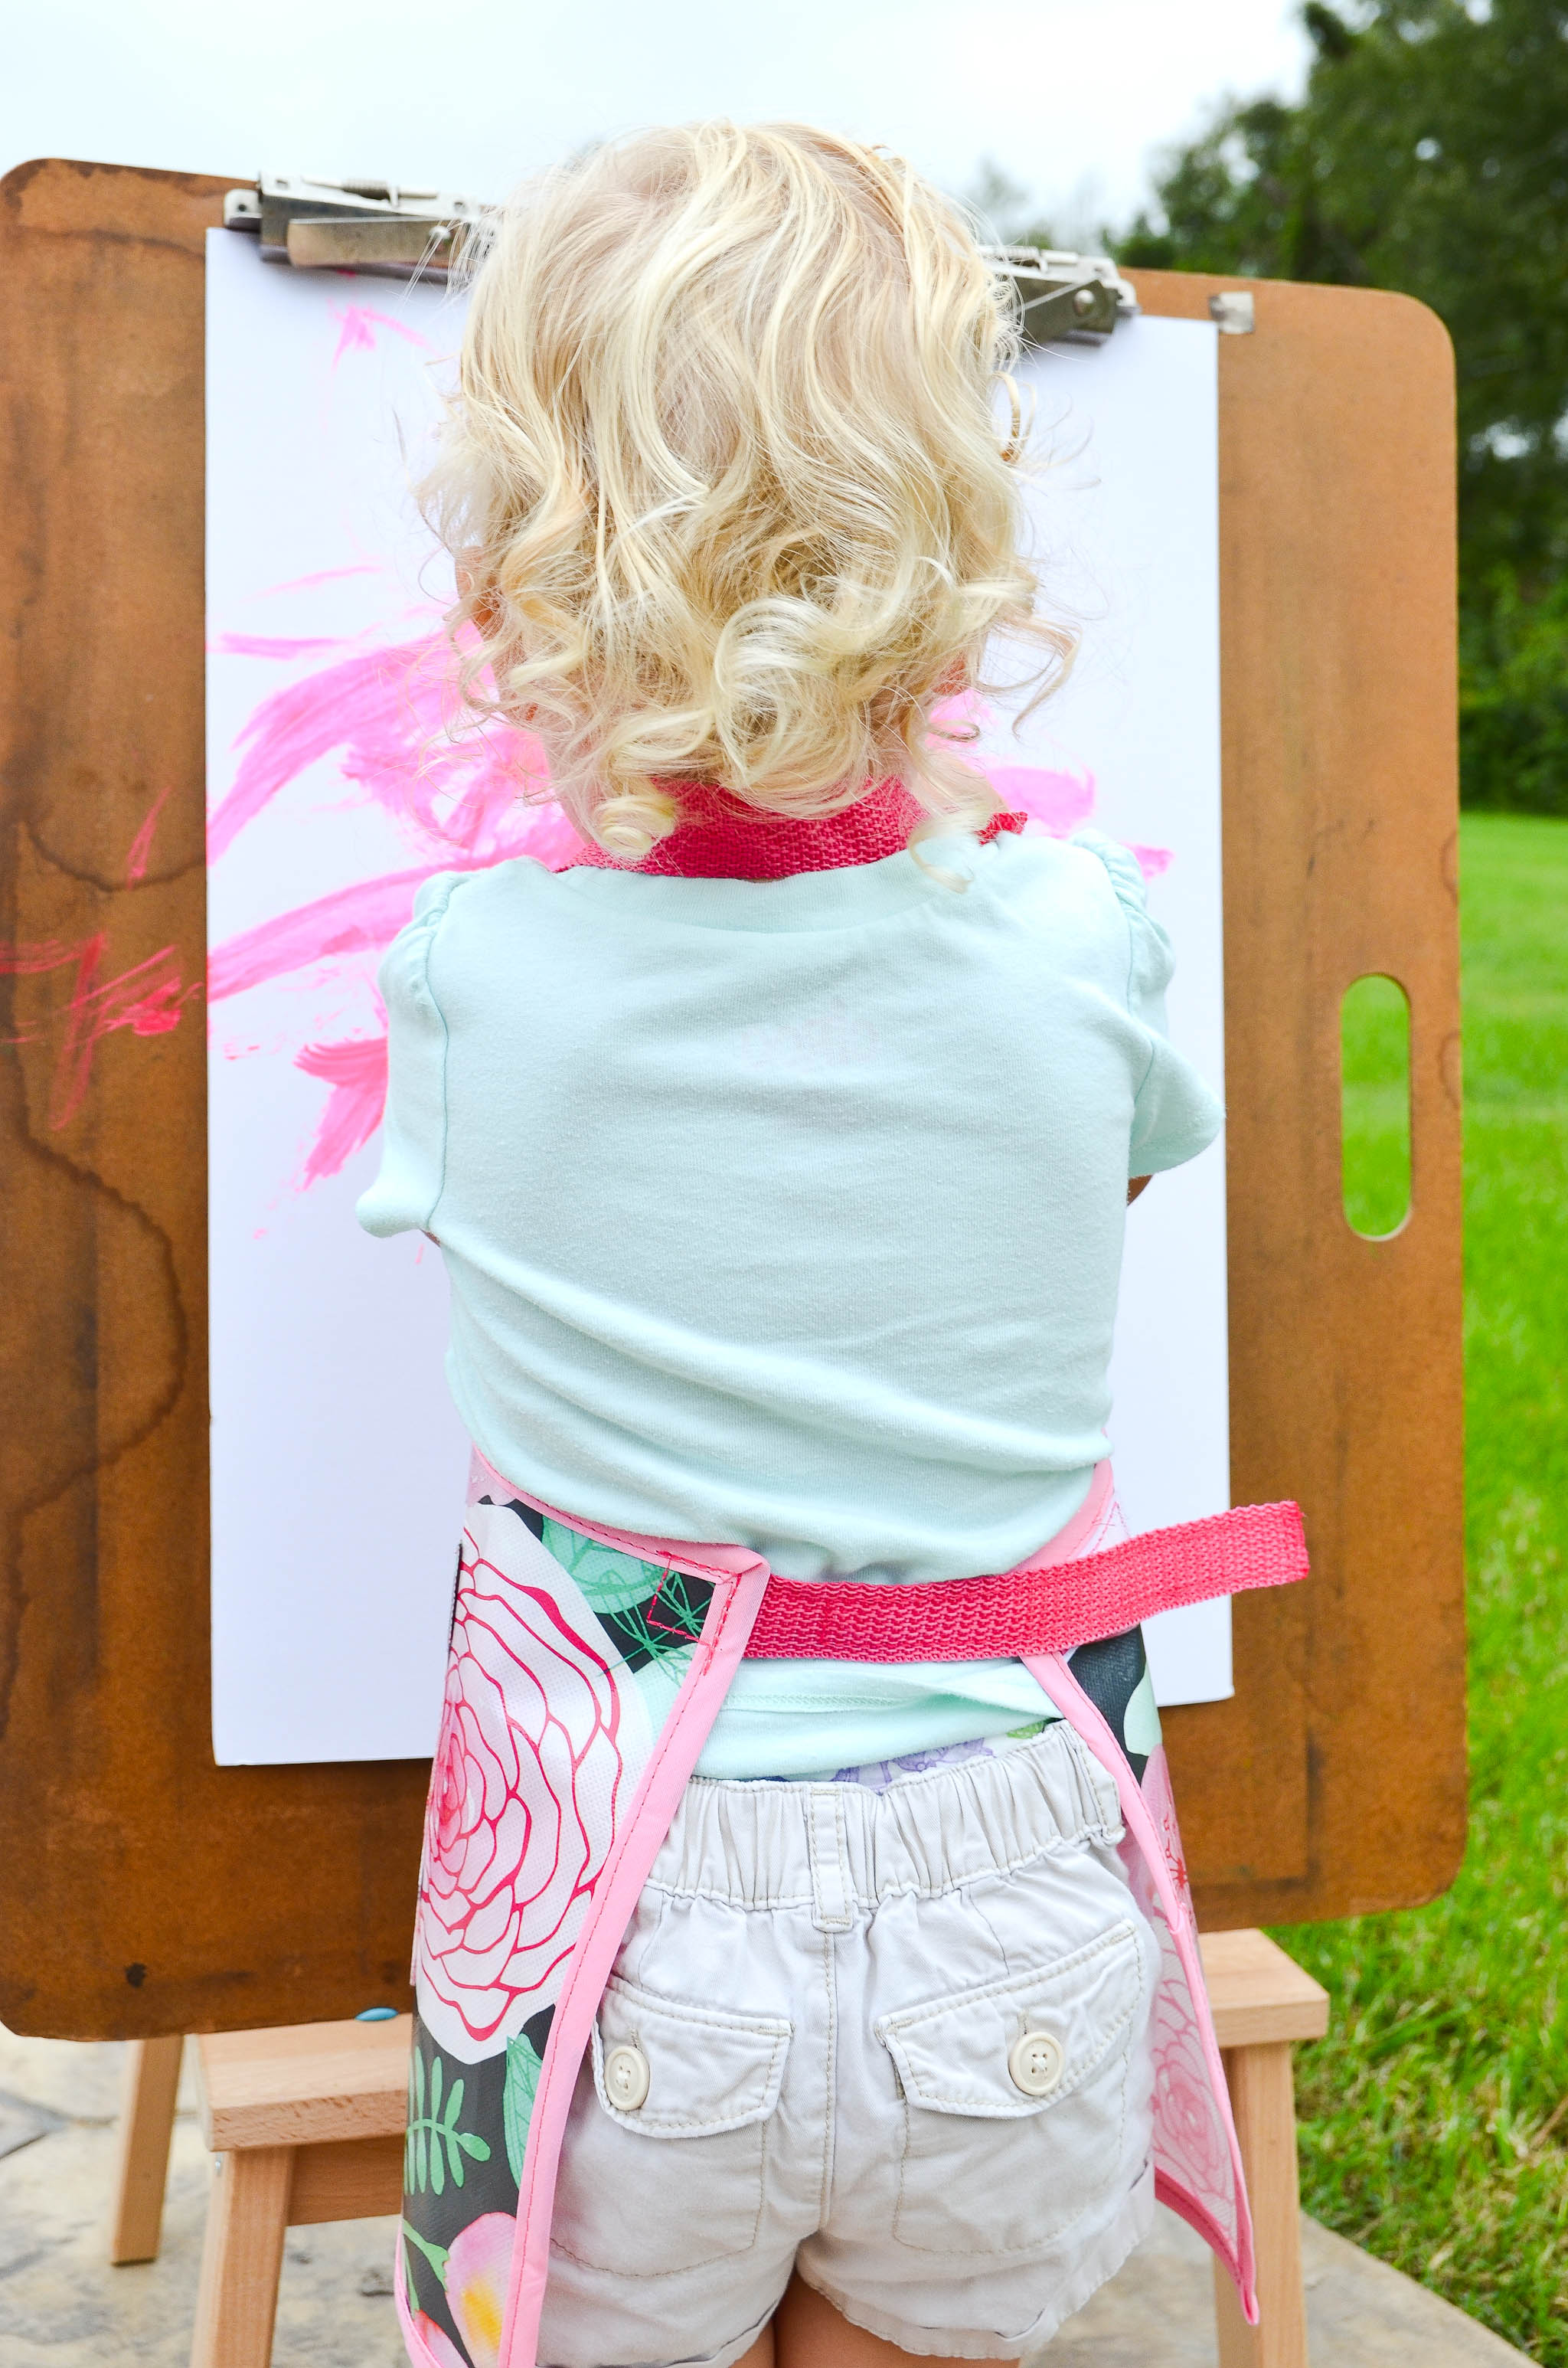
The Velcro strap in the back allows for adequate girth adjustment, while being easy to put on and take off.
Perfect for art projects, playdough time or helping in the kitchen, this DIY toddler apron will keep those little outfits clean. No promises about the floors, though!




Comments
Teresa Benedict
I am happy to say this is the first sewing project I ever completed on my own! Five years of sewing class and I could barely thread a needle or bobbin. But thank you Hayley for walking me through this adorable apron! Now my 18 month old old godson has a tiny apron to match his toy kitchen he just got!
Jean Martinsen
Fabulous explicit, easy to understand the instructions.