I know you’ve seen impressive string art all over the web. Brings you right back to sixth grade art class, doesn’t it? You can dust off your crafting skills, too, because I tried it, and it really is simple.
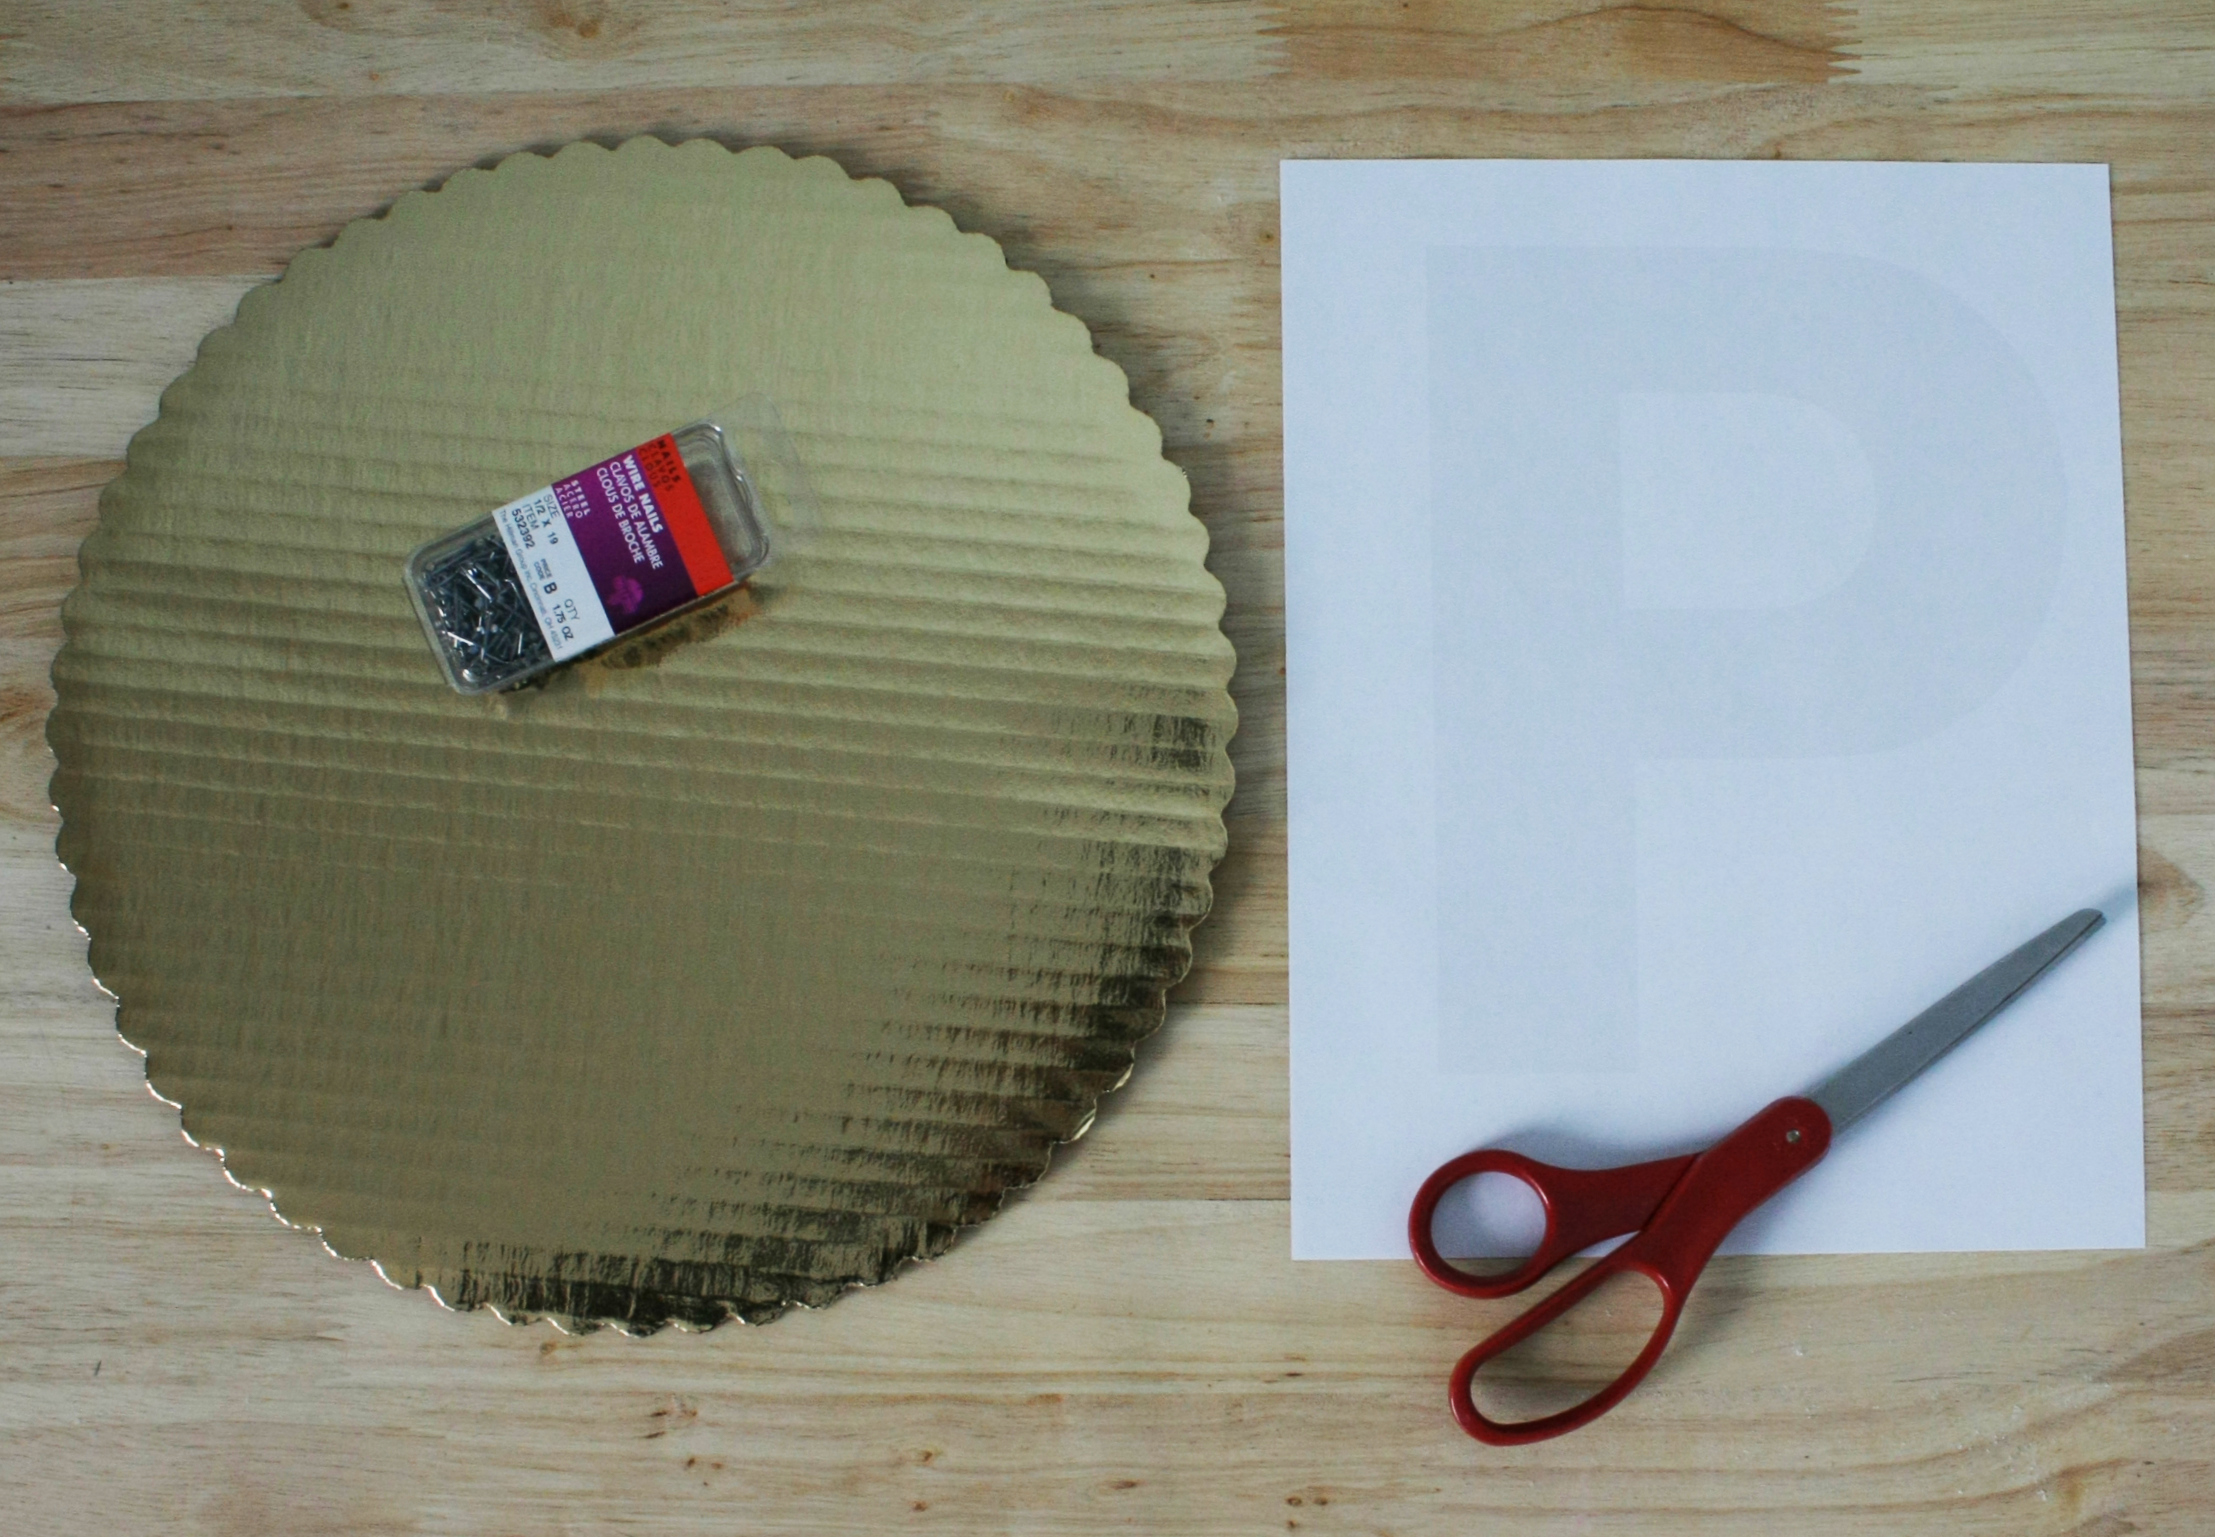
The supplies you use are really up to you. I used embroidery thread, but you could also use thin yarn or string. To hold the shape of your letter you can use small nails. The gold scalloped circle I worked on? Scored at my grocery store bakery for $0.25—it’s a cardboard cake tray! You could also use corkboard attached to foam board or wood, or just straight wood. If you use something like cardboard like I did, I would suggest backing the cardboard with cork. That way the nails have something to sink into and really hold onto. They are a little too loose in just the cardboard alone. You can buy cork in tiles or rolls that already has adhesive on it—just cut to size, peel and stick. You may or may not need a hammer, depending on the materials you choose. I did not need a hammer.
The first thing I did was print my letter to use as a template. Use a word processor, find a font you like and increase the font size until you get it large enough. I made mine light gray so I didn’t waste precious printer ink (sorry if it’s hard to see!).
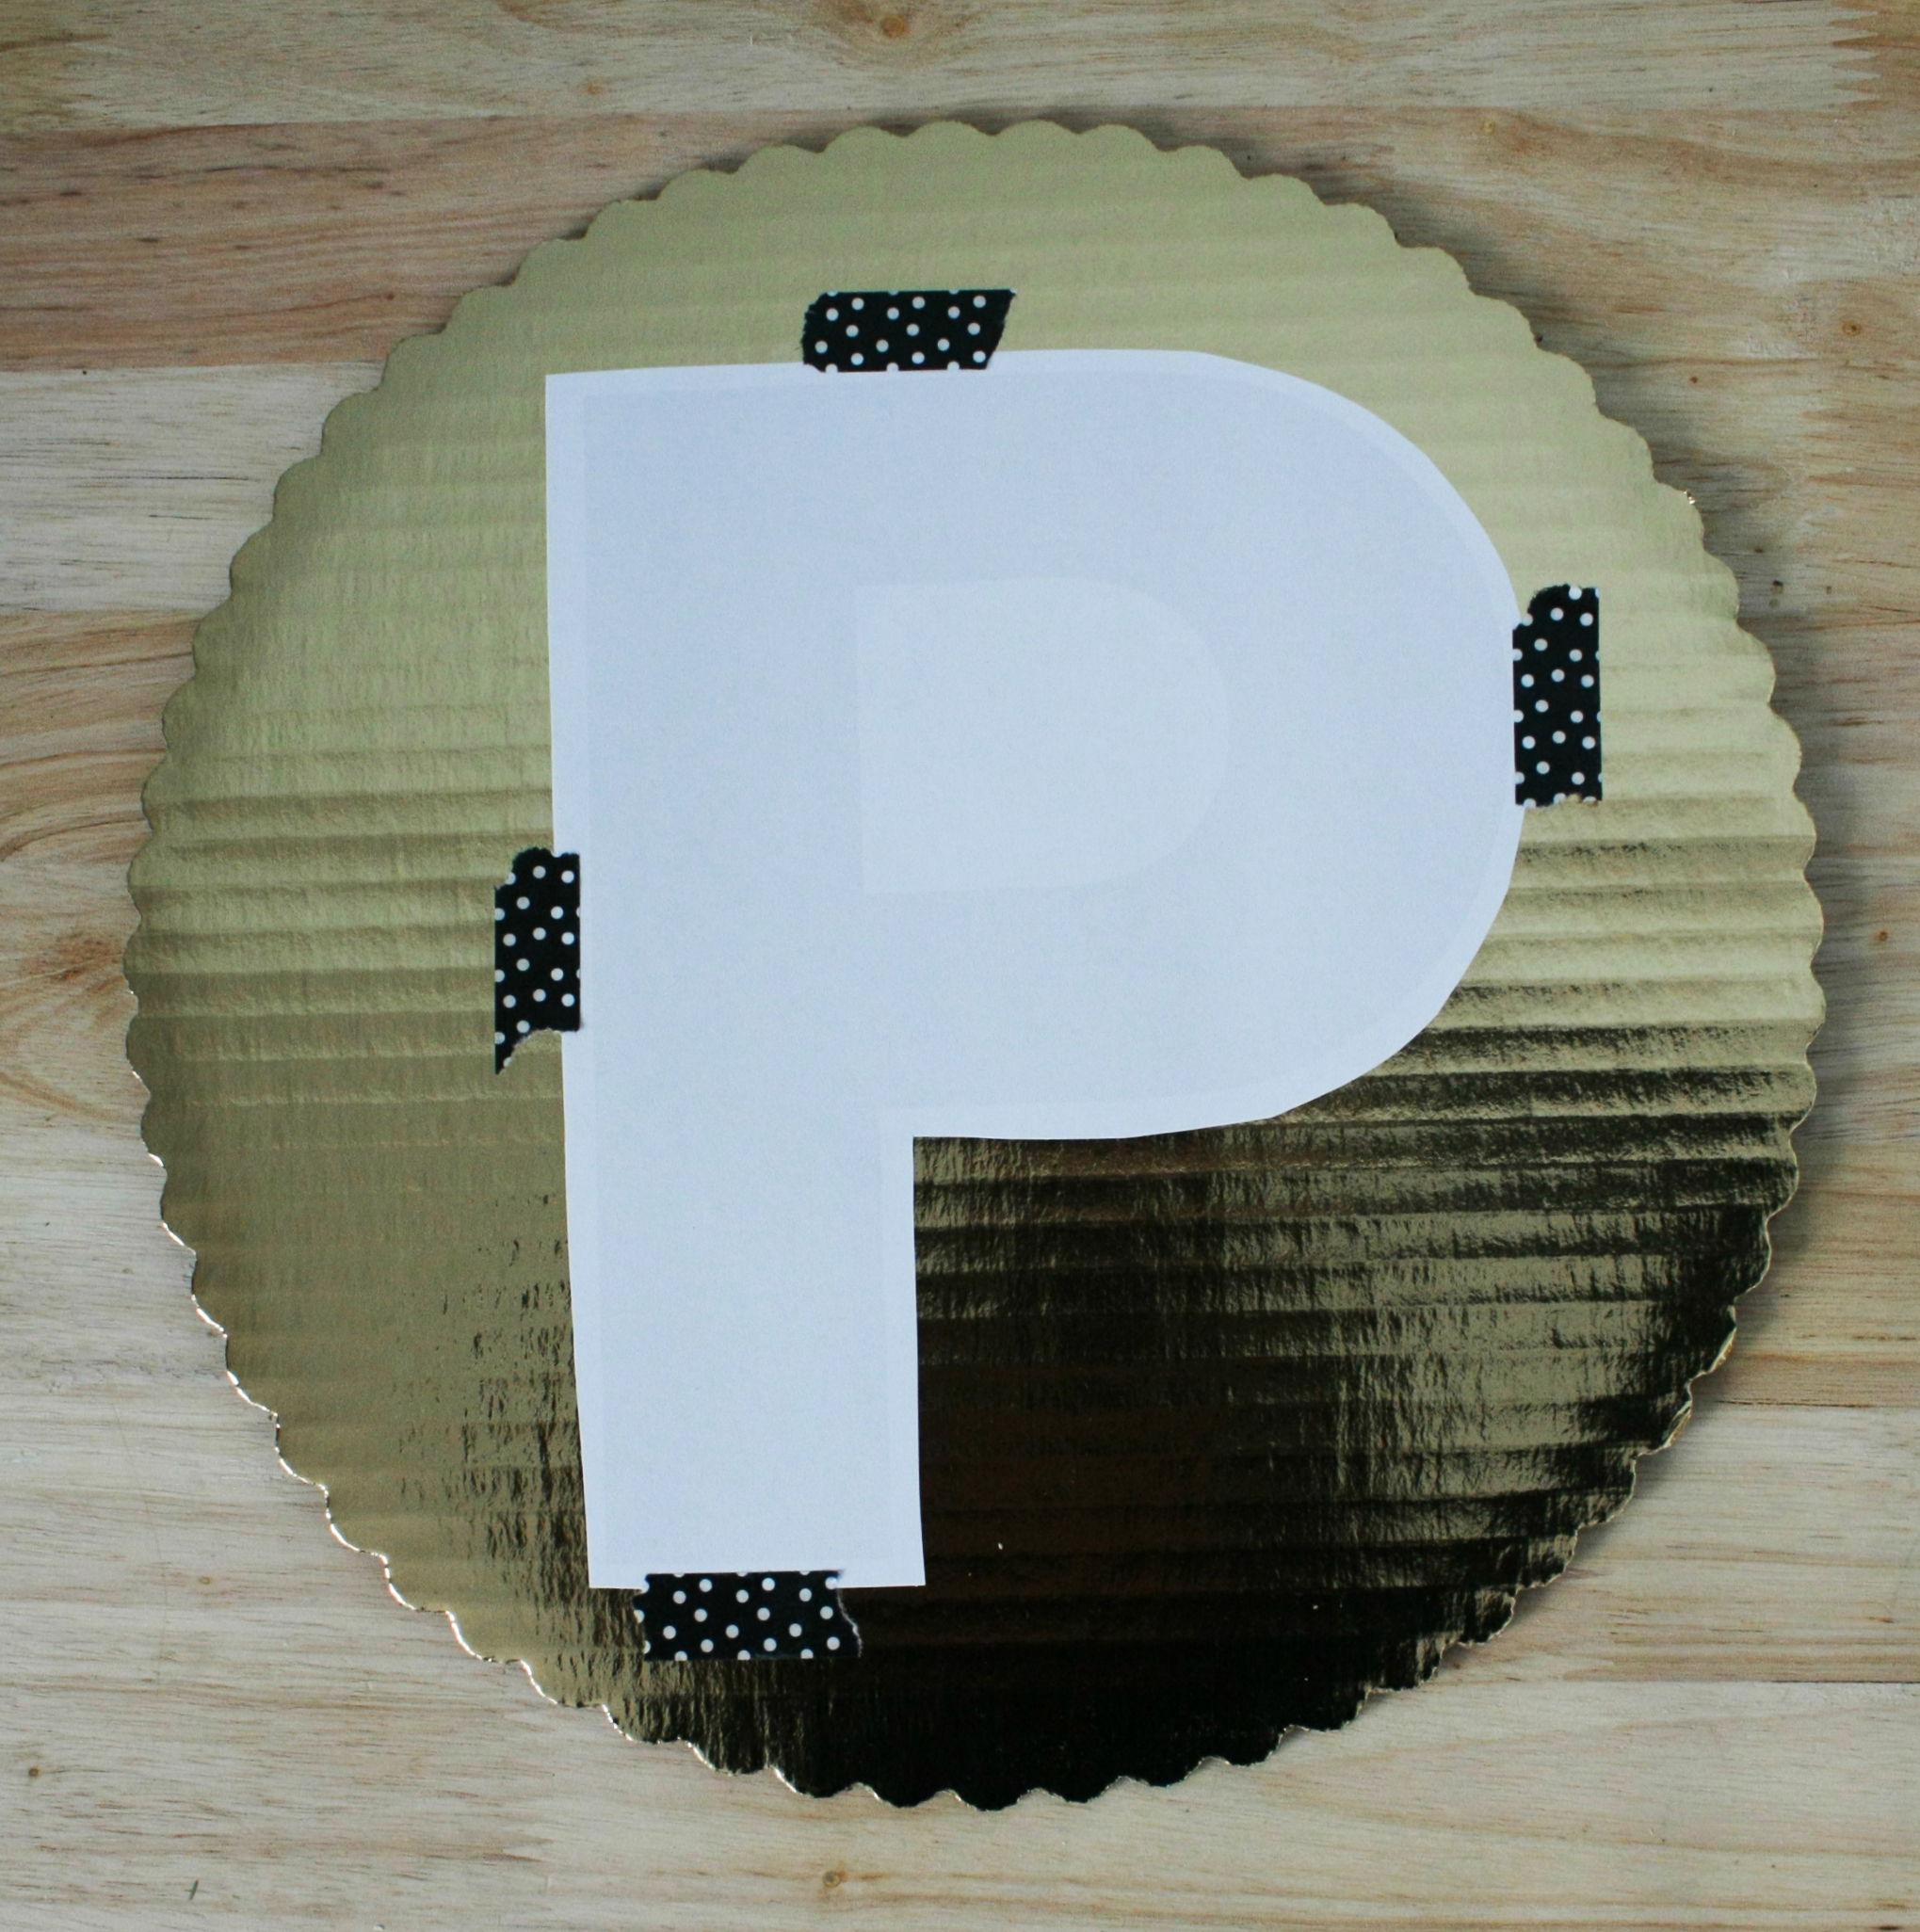
Then I placed my tacks around all edges of the letter, spacing them out evenly.
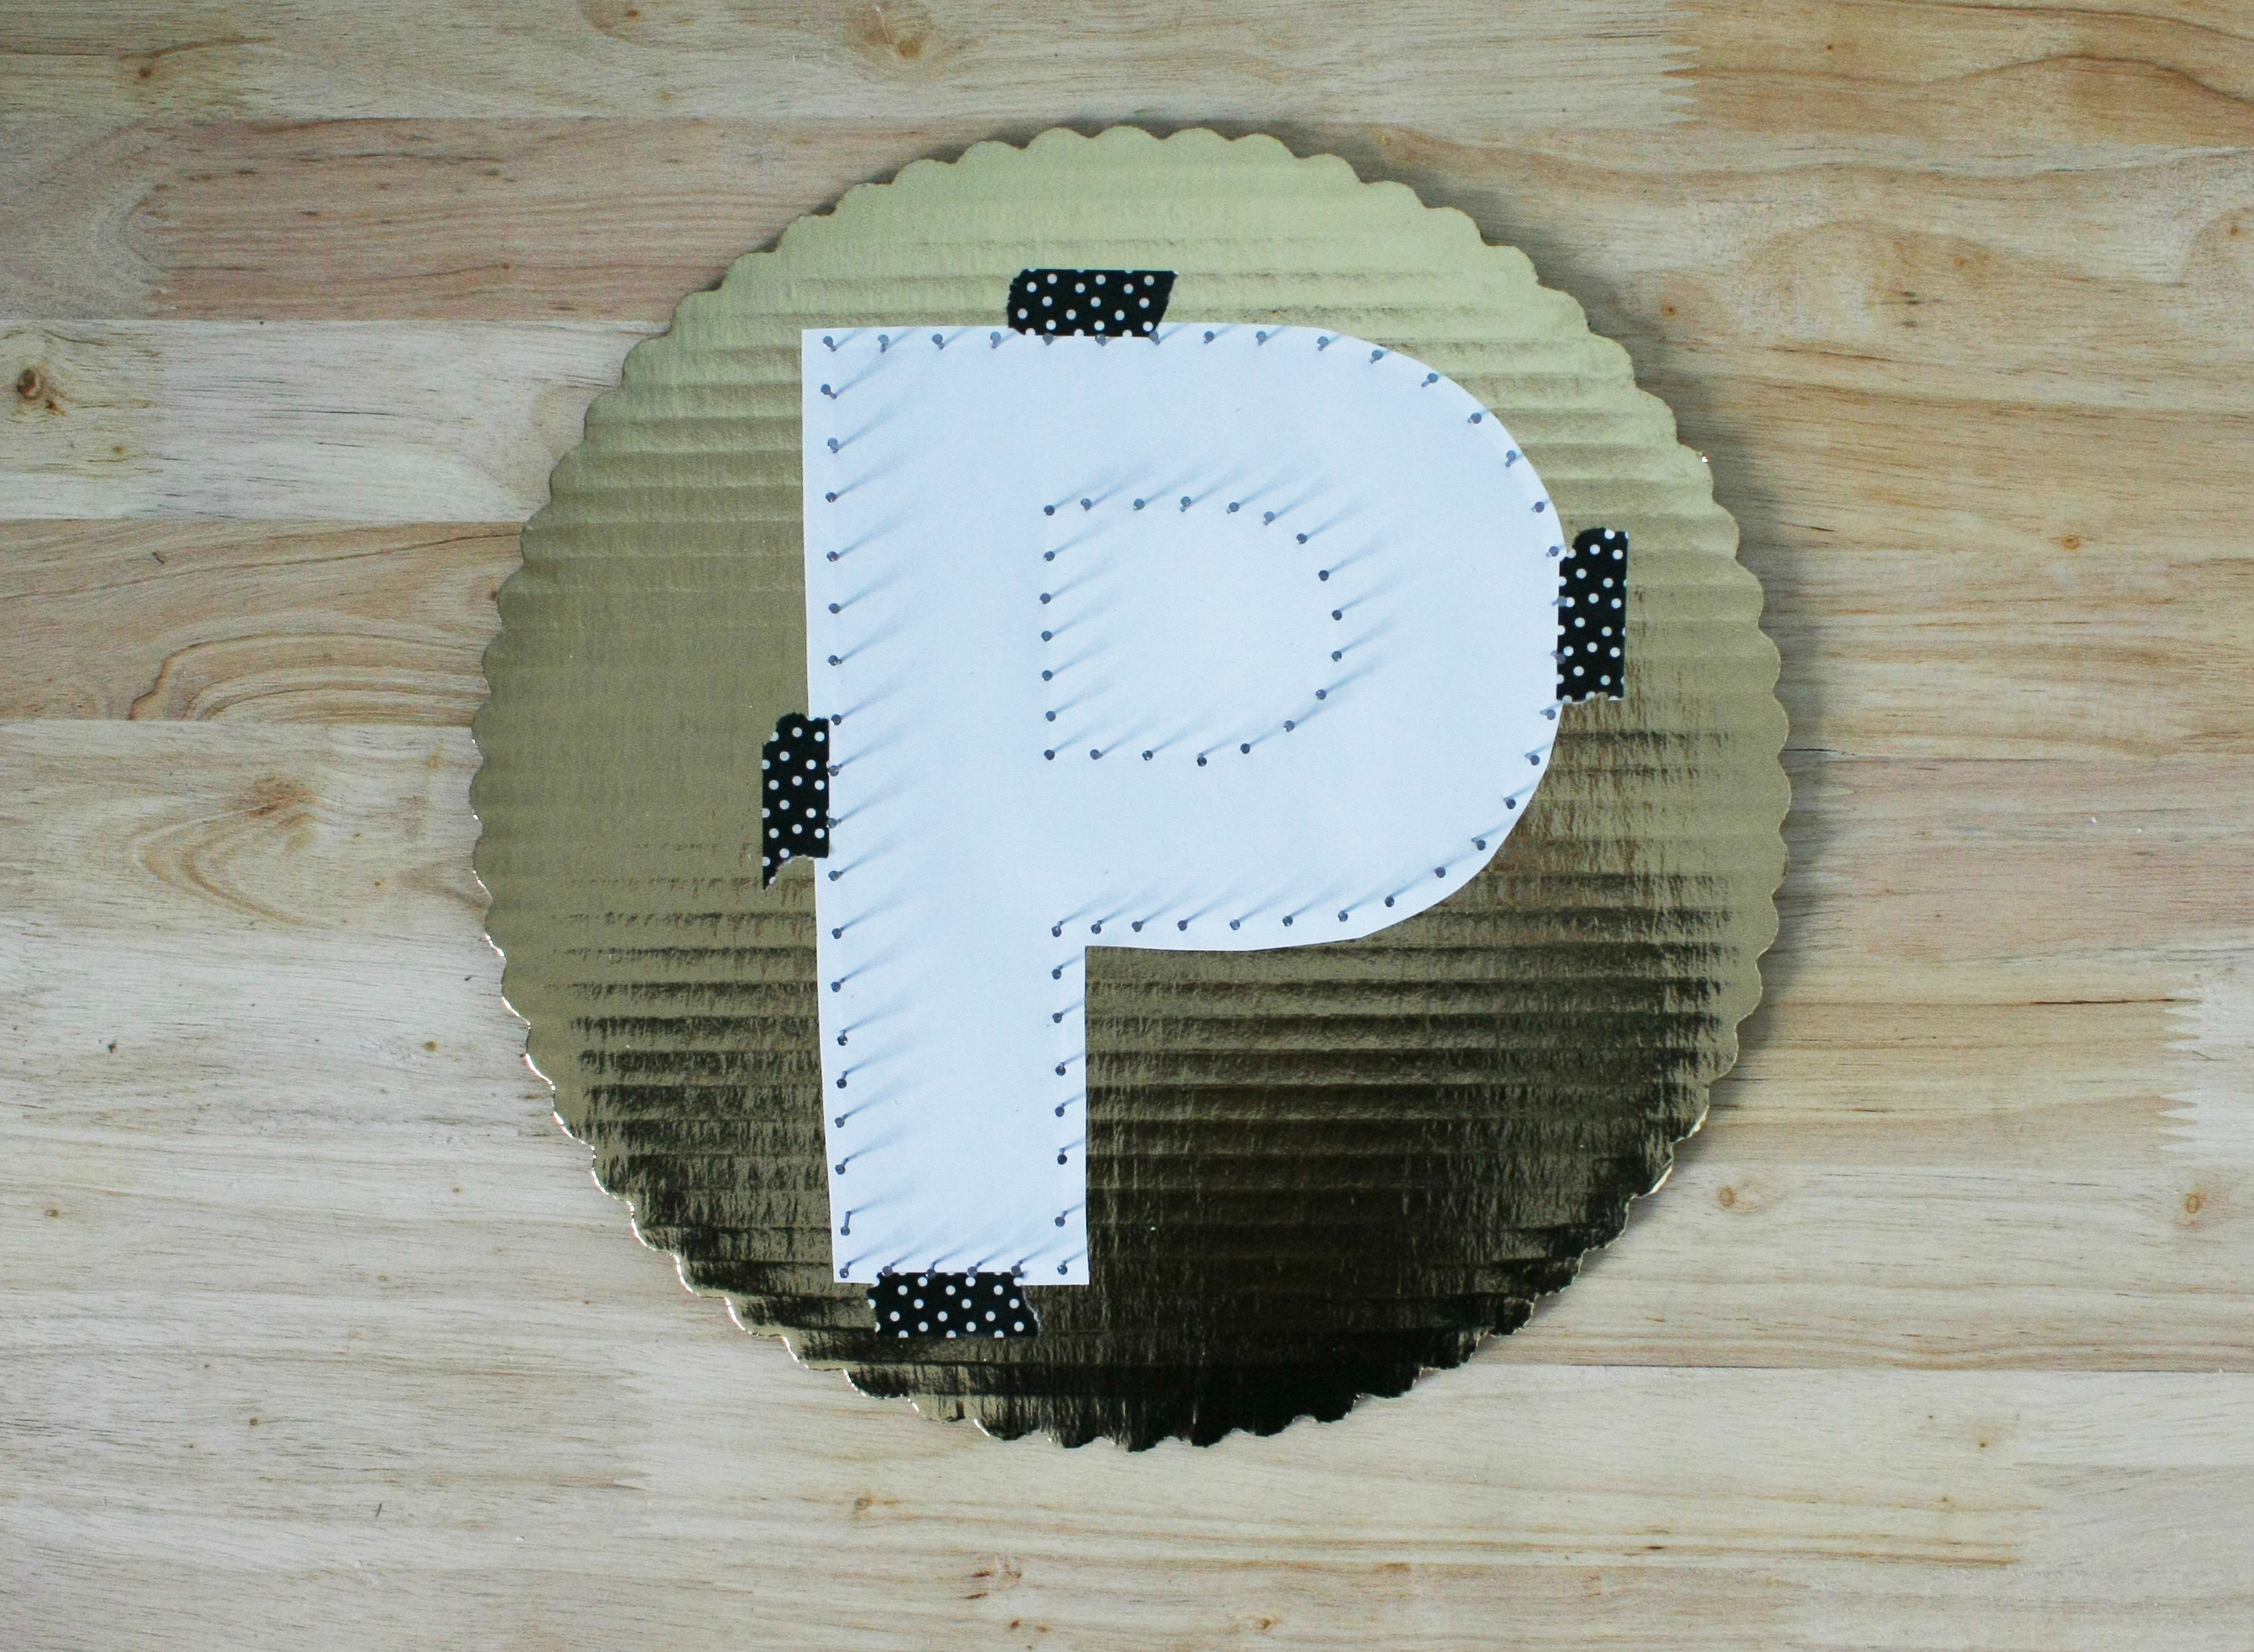
Once all the tacks are in place, you can carefully tear away your template.
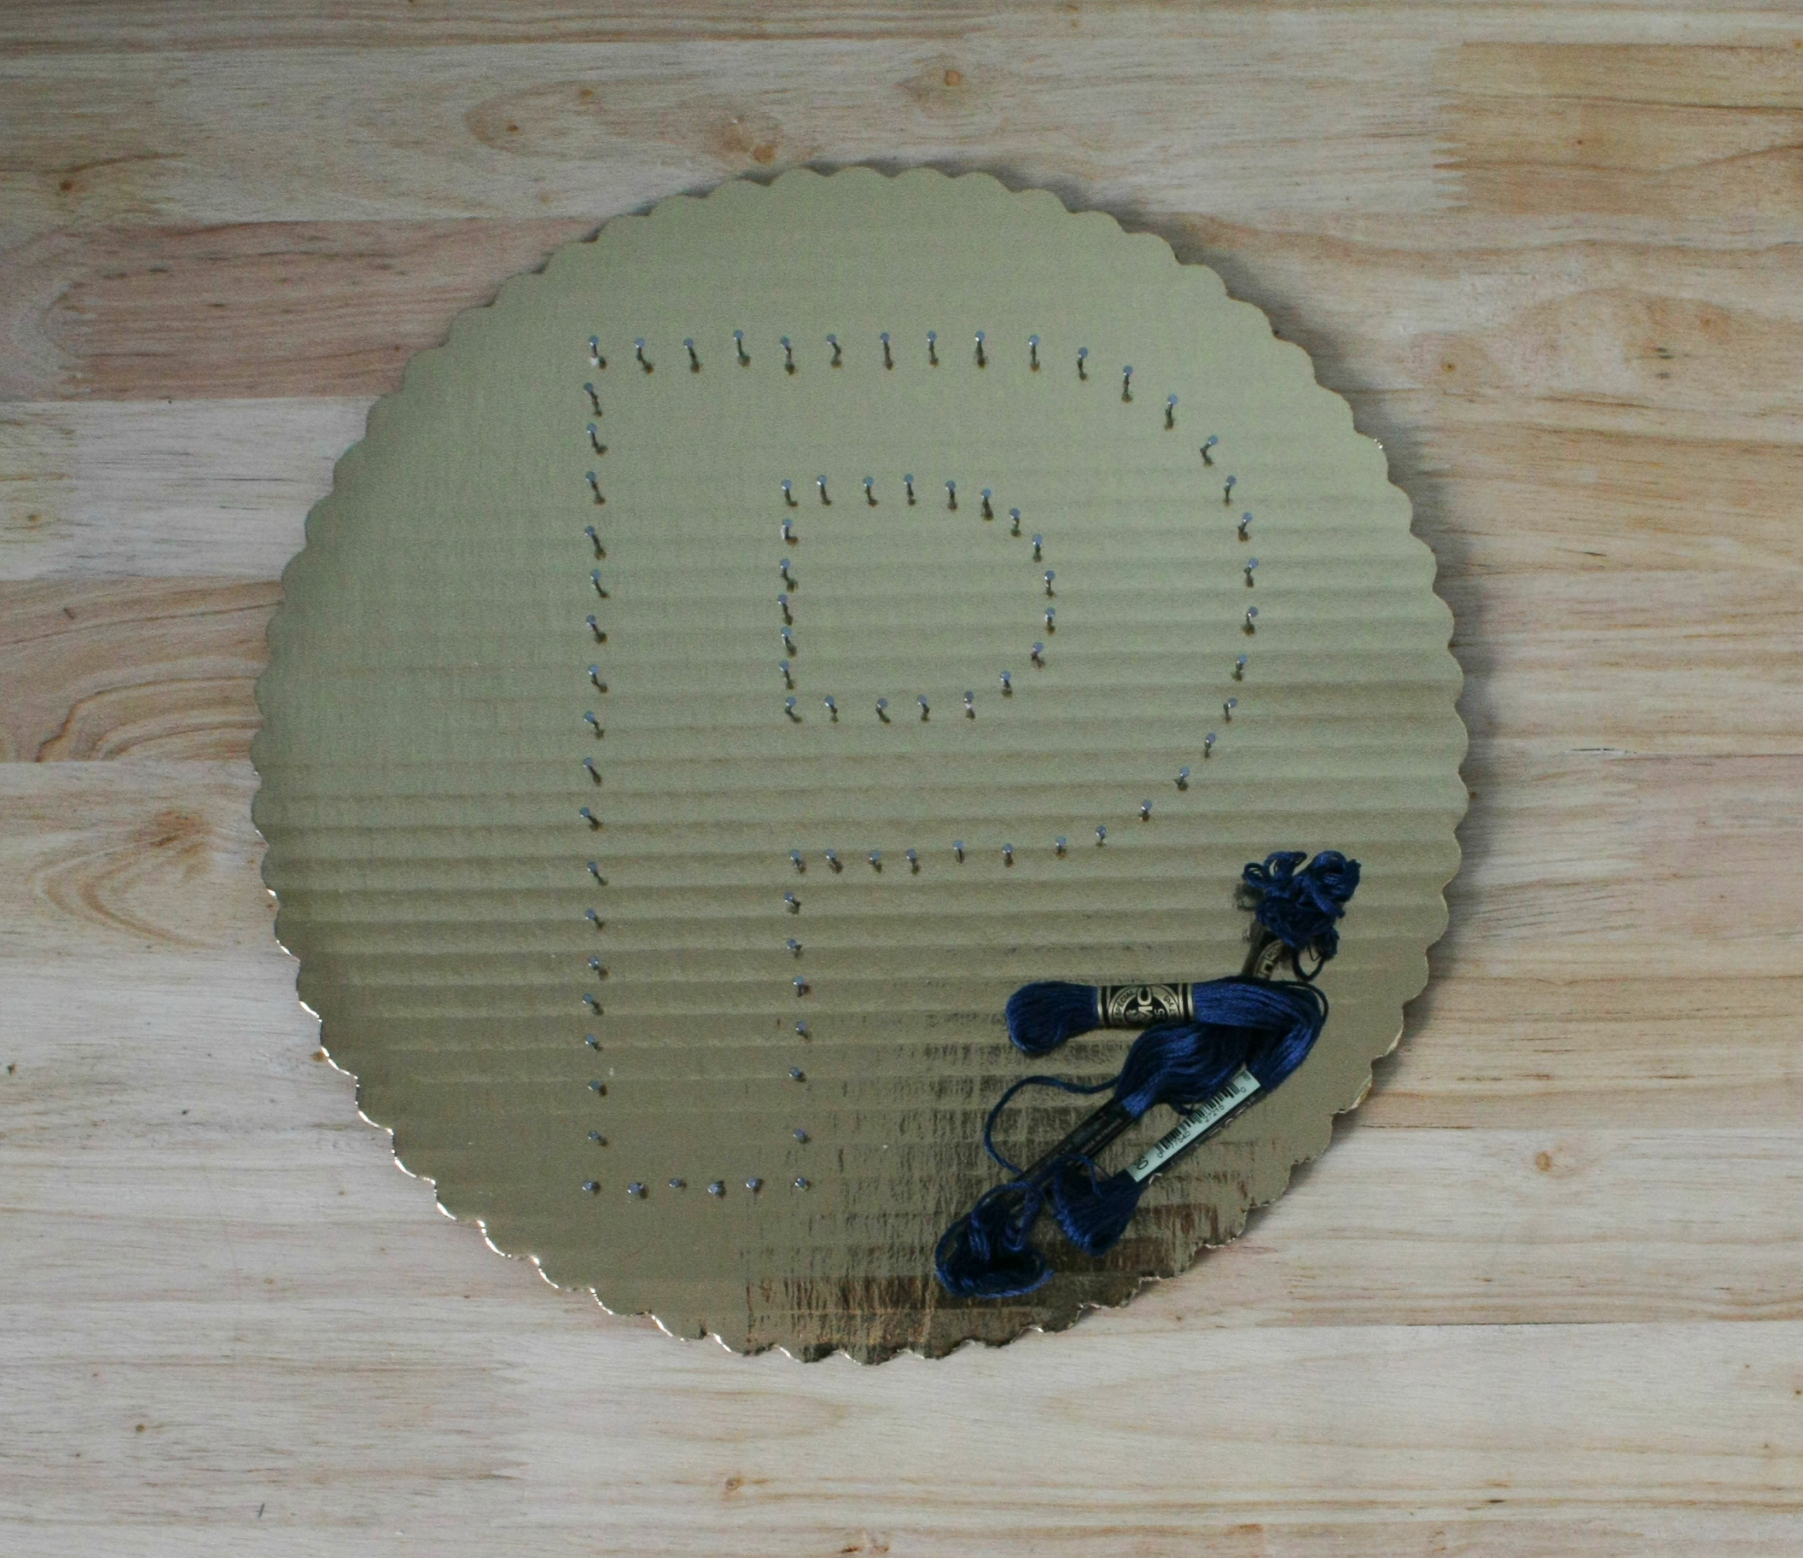
After that, I tied my embroidery thread to one of the tacks and just started going back and forth. Try to get even coverage, but it’s better to string it randomly. You can decide how dense you want it to be. Make sure all the nails are firmly attached before hanging securely on the wall.

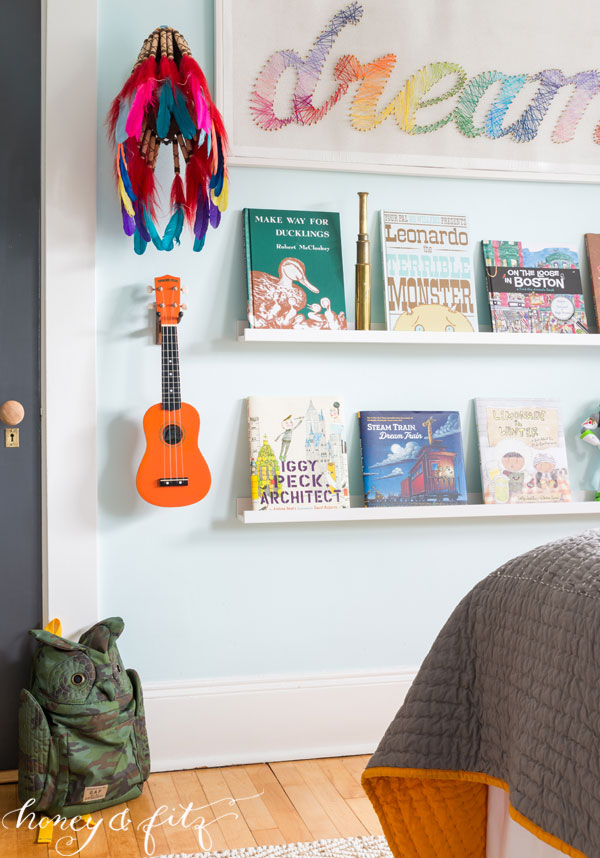
And if you want to get really ambitious, we love the rainbow string art in this gorgeous room design by Honey & Fitz.






Comments