We’ve all seen it happen—the kids get a shiny new toy, and hours later we find them playing with the shipping box instead. I think that children are naturally drawn to the unfettered possibilities provided by an empty cube of cardboard. Help make all their dreams come true by constructing a one-of-a-kind cardboard box playhouse with the easy-to-follow steps below.
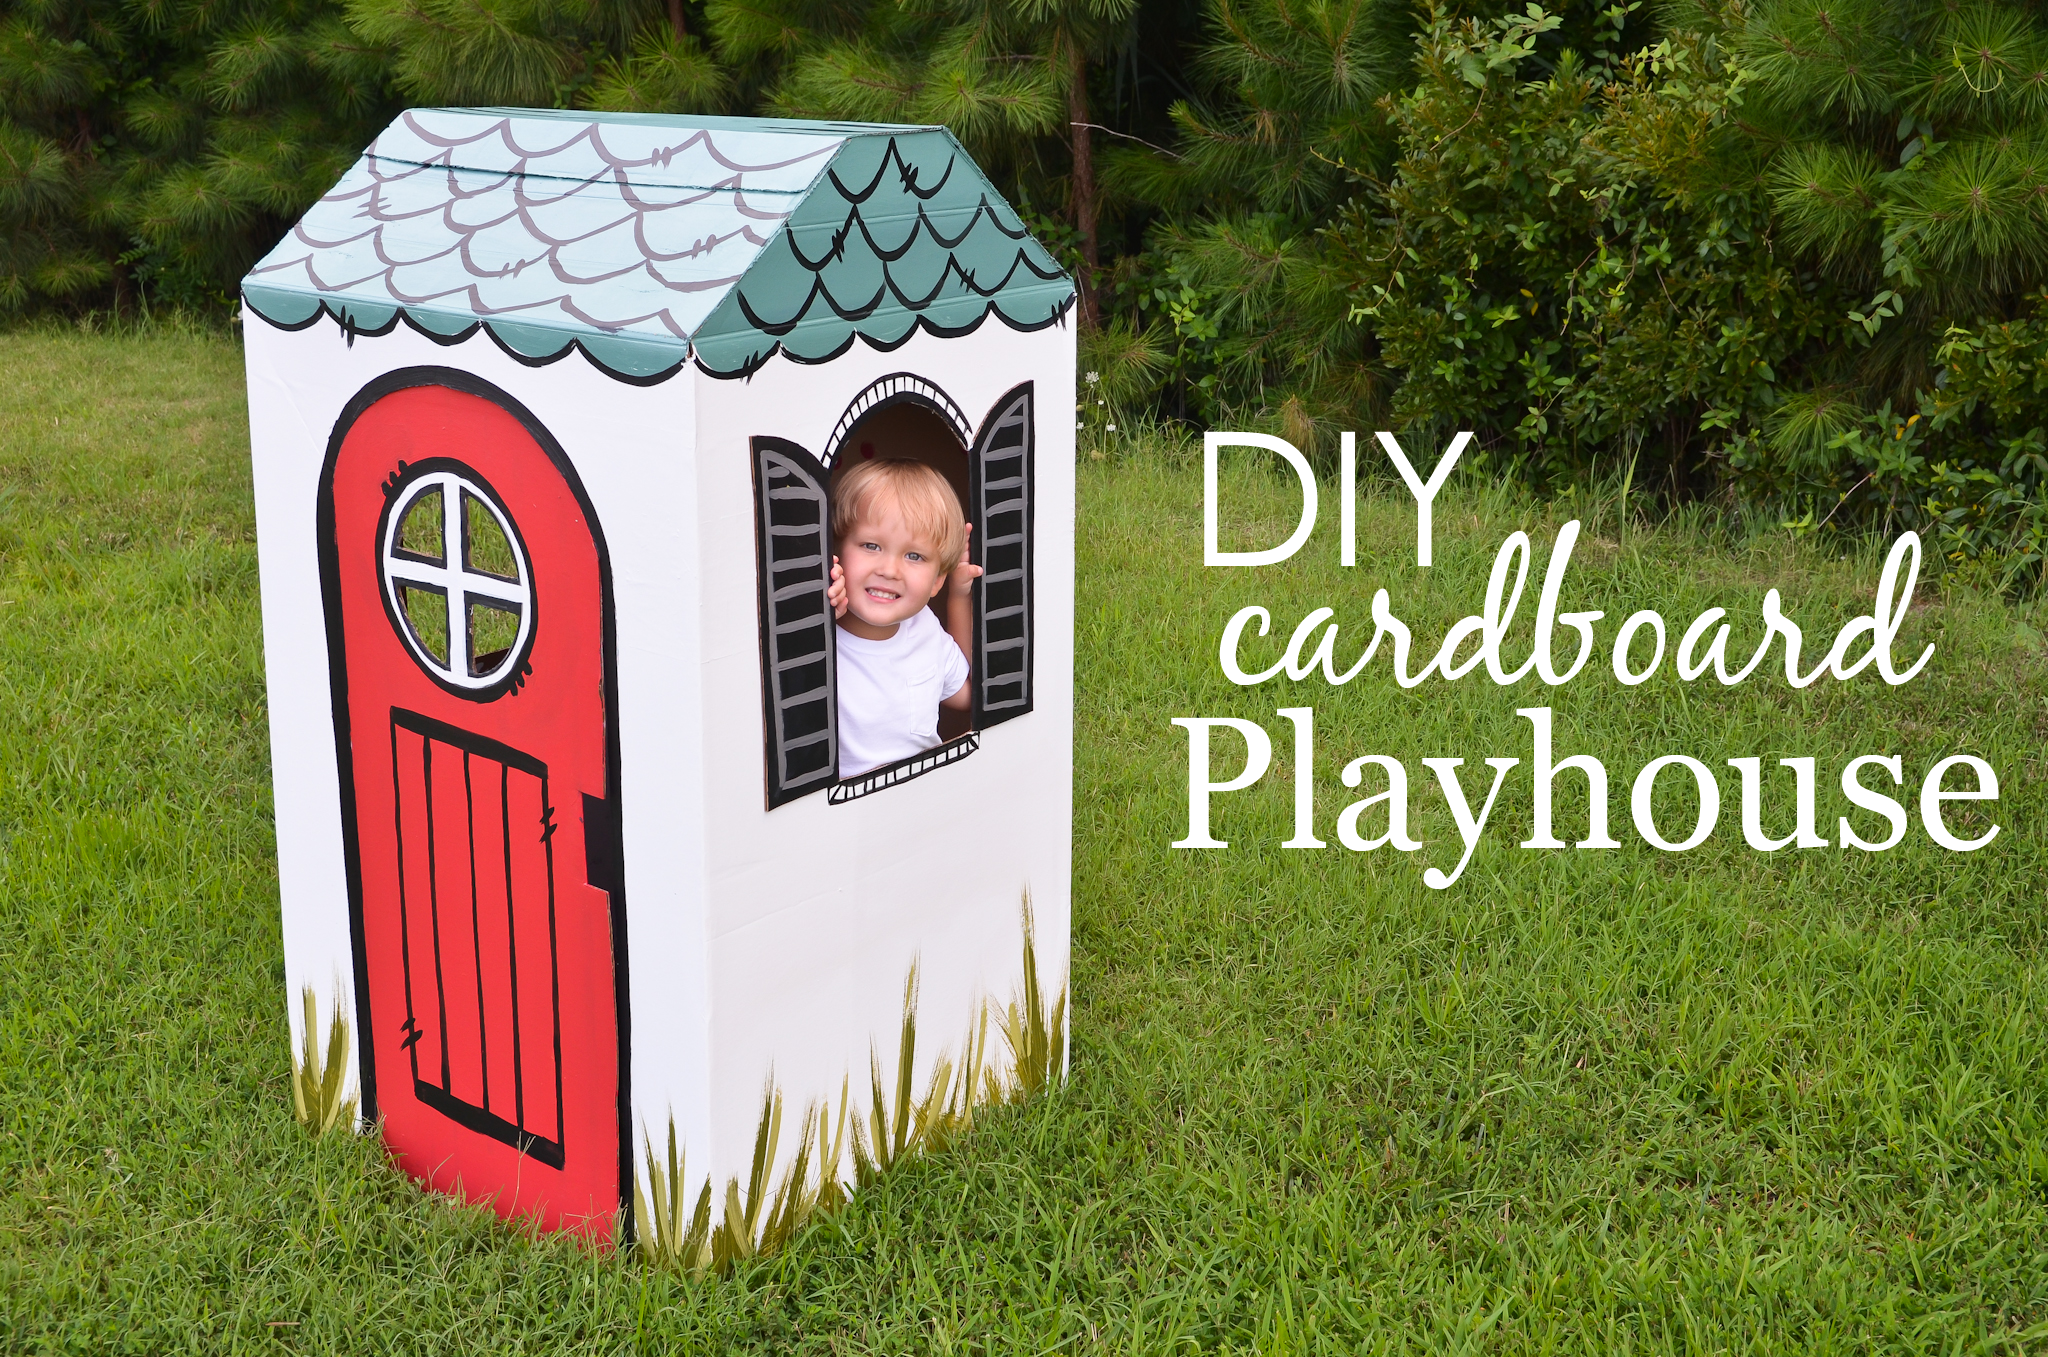
Materials: large cardboard box (washer/dryer/refrigerator), long ruler or yardstick, box cutter, hot glue gun, marker, paint, paintbrush
Start with a big box—for this tutorial, I used a washer box. Didn’t recently purchase a washer or dryer? Call your nearest hardware store and ask for the information for their appliance delivery company. If you contact the delivery company and ask nicely if they’ll save you a fully intact washer or dryer box that you can pick up, they are usually happy to give you one for free. That is how I obtained mine.
Keep in mind that the following measurements will work for almost any washer/dryer box. Your exact measurements may vary if you use a different size box, but the concept remains the same.
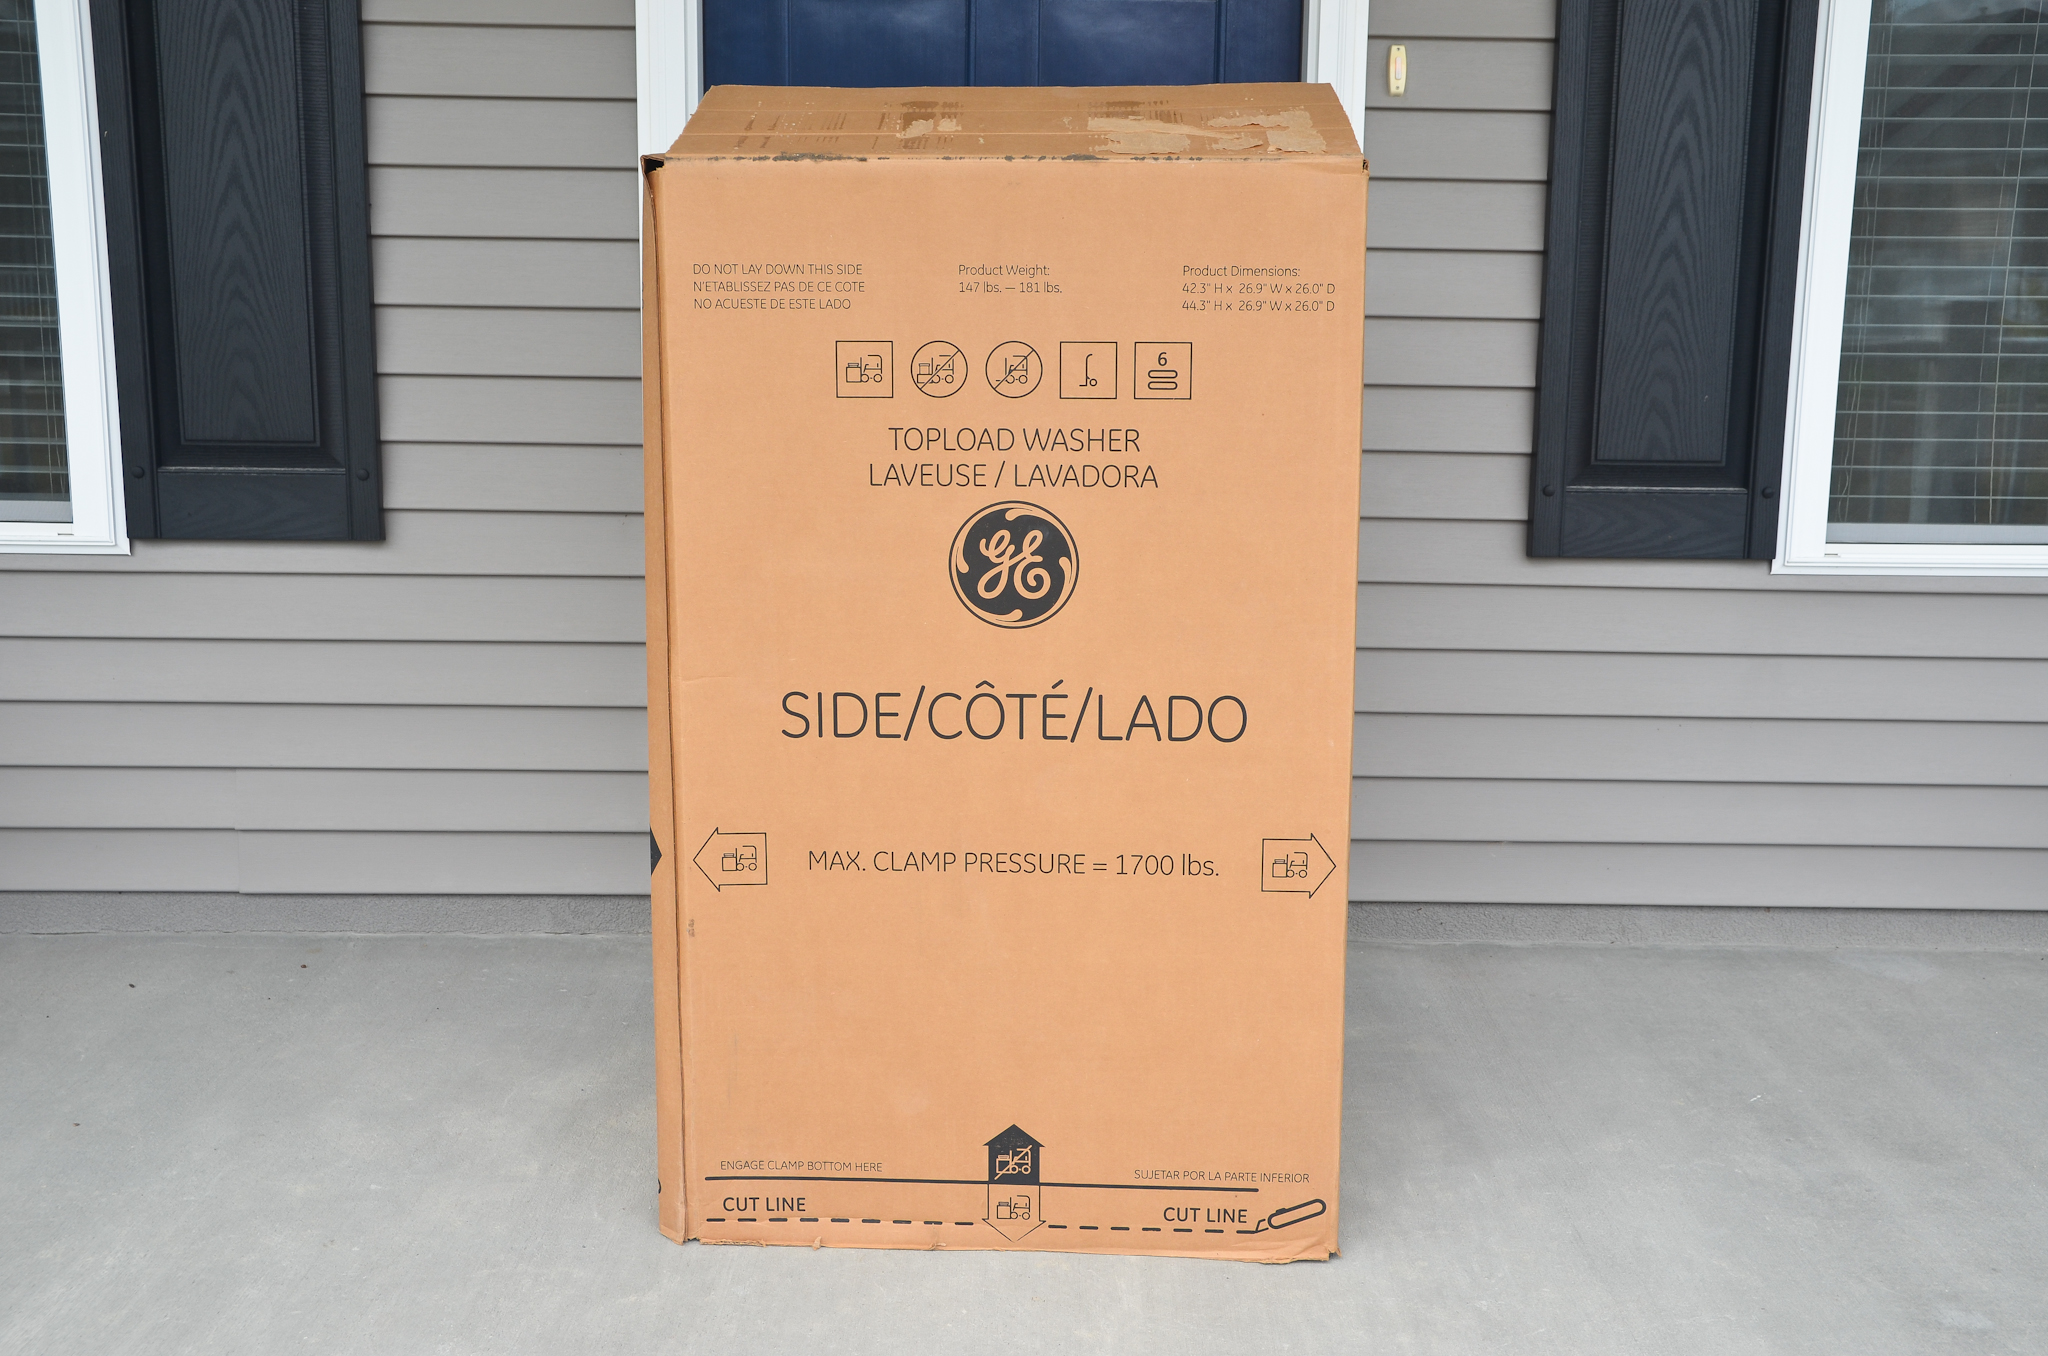
Start by carefully using your box cutter to remove all the bottom flaps. Save them for later.

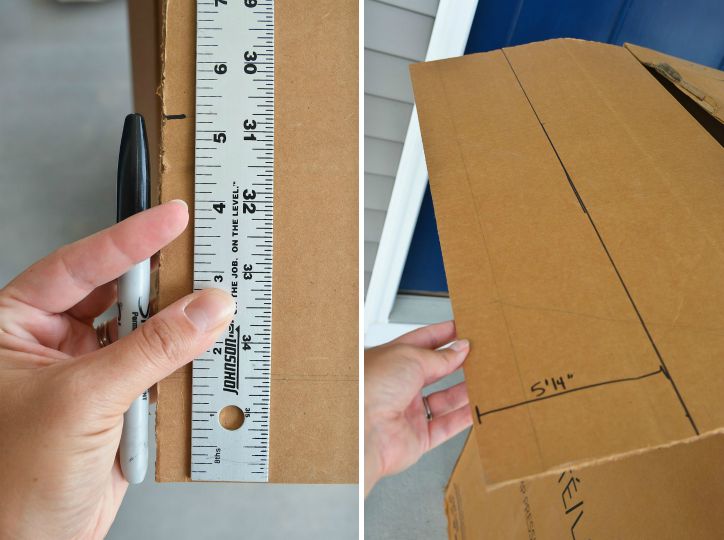
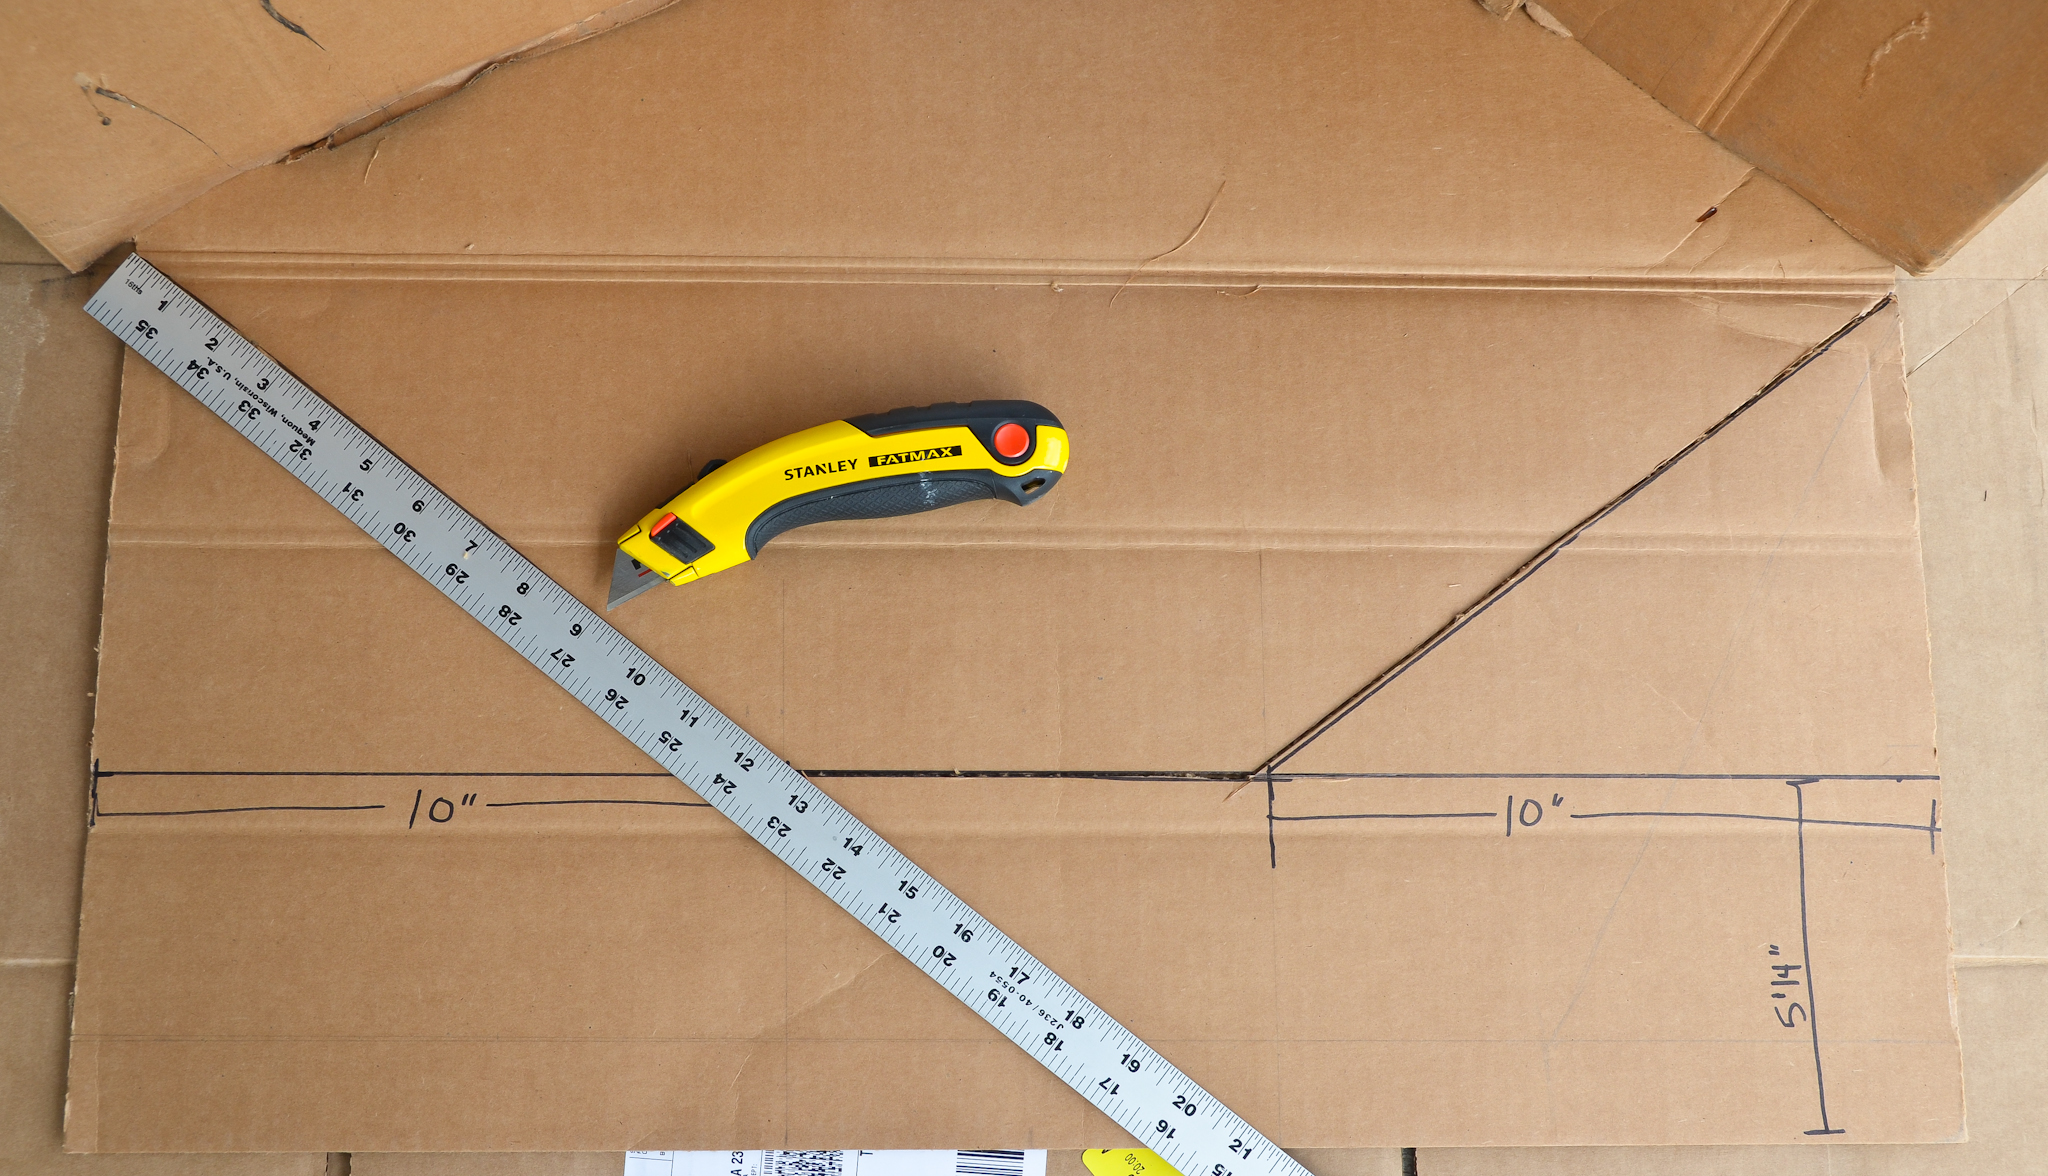
Tip the box upright again. On one of the top flaps, draw a line 5 1/4″ down from the long edge.
Then measure in 10″ from each short side and mark.

Draw a diagonal line from each 10″ mark to the corners of the flap that are still attached to the box.
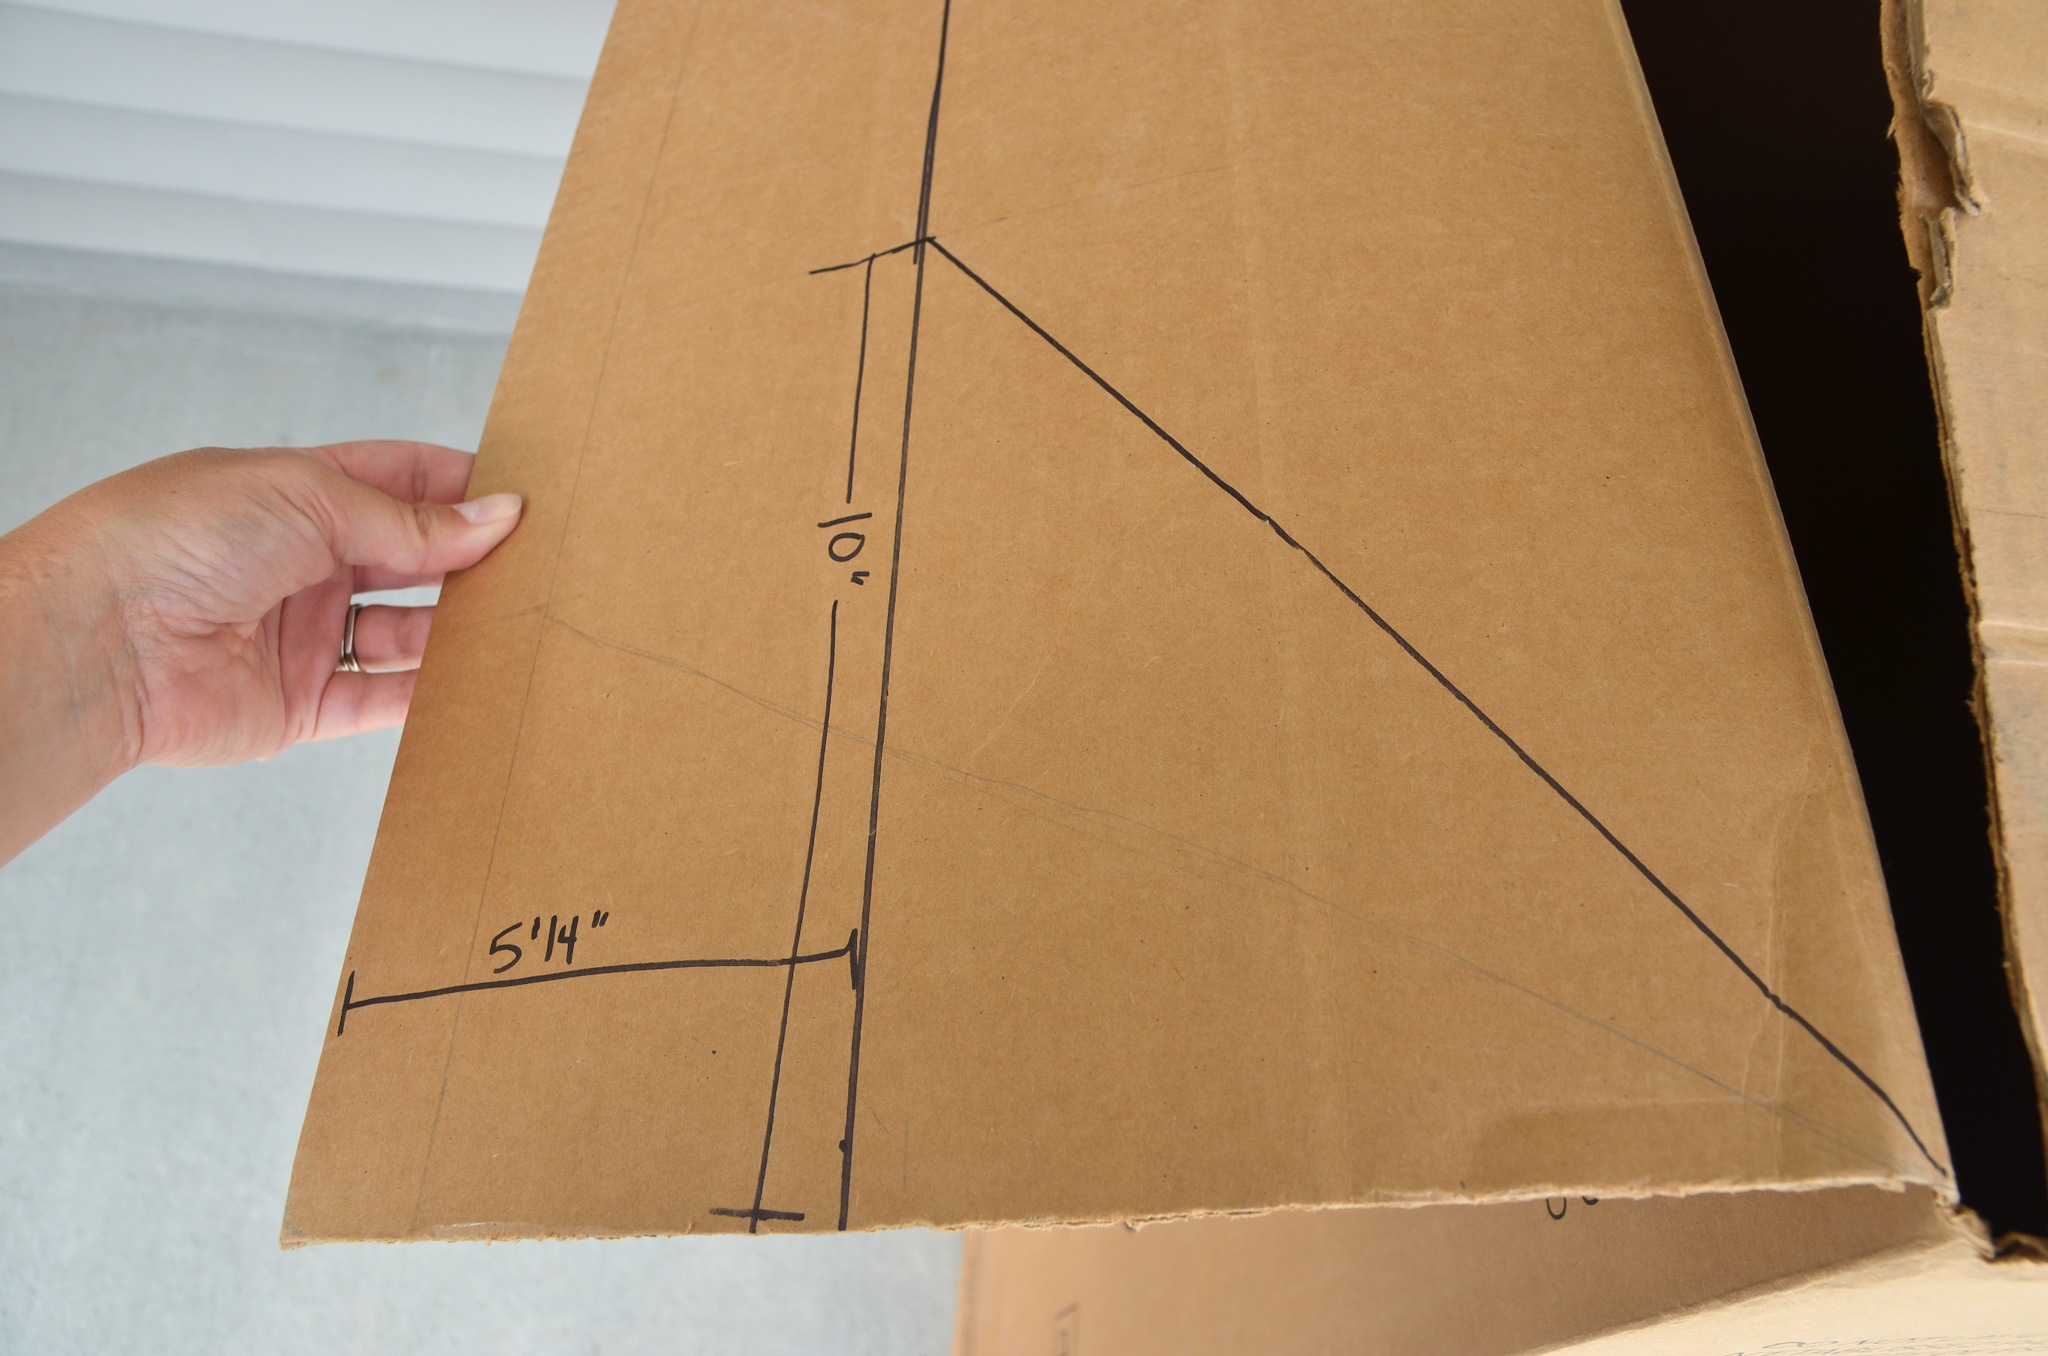
Use your ruler and box cutter to cut out the trapezoid shape. I like to place scrap cardboard beneath where I’m cutting to ensure I don’t damage my floor or my blade.
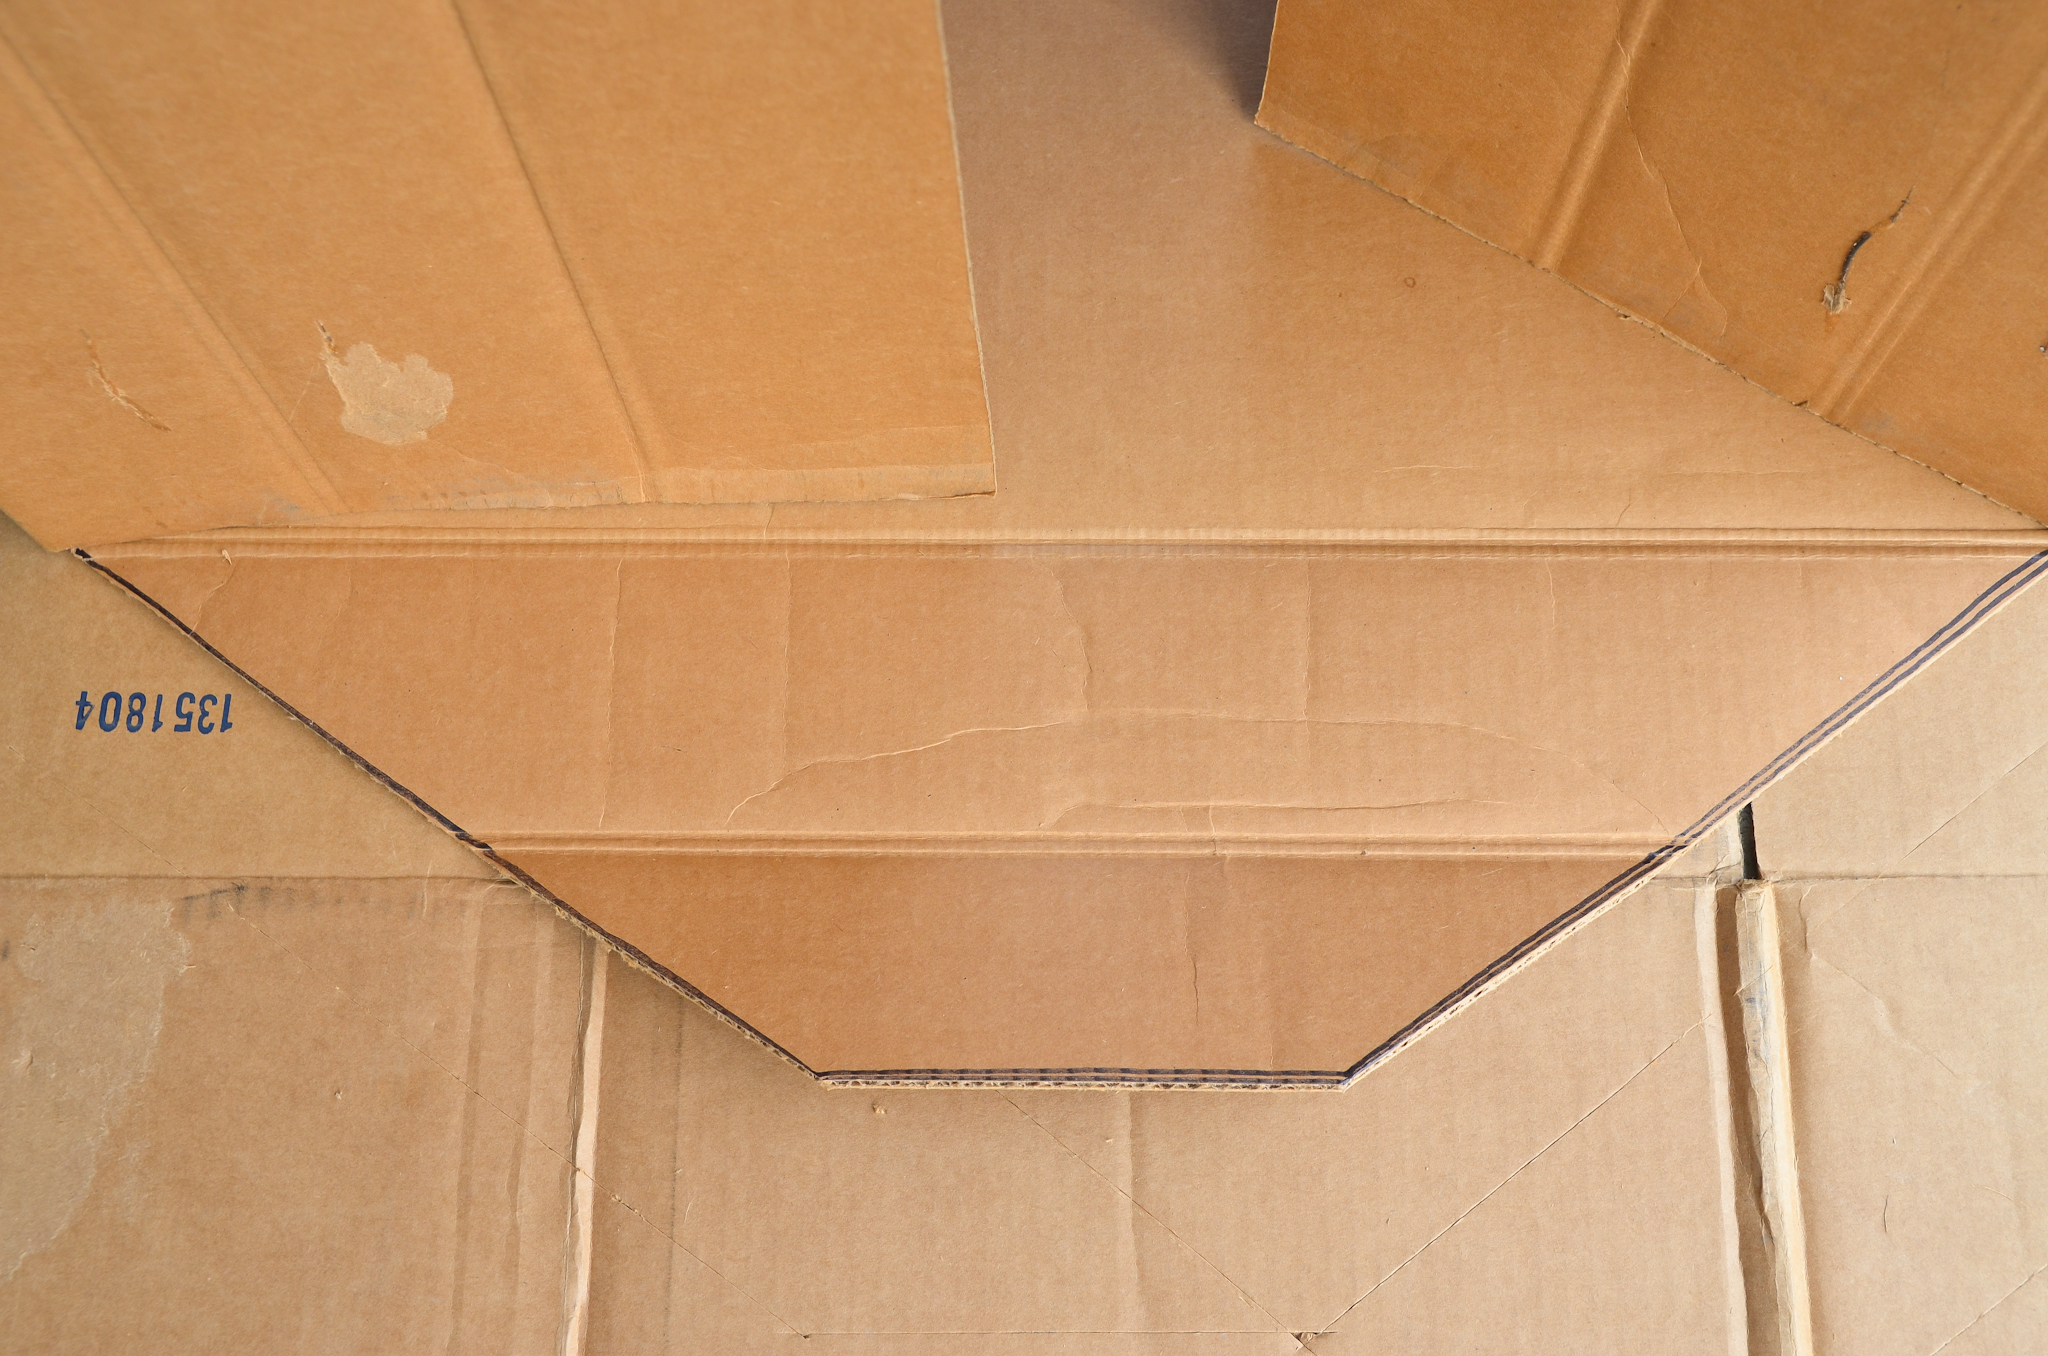
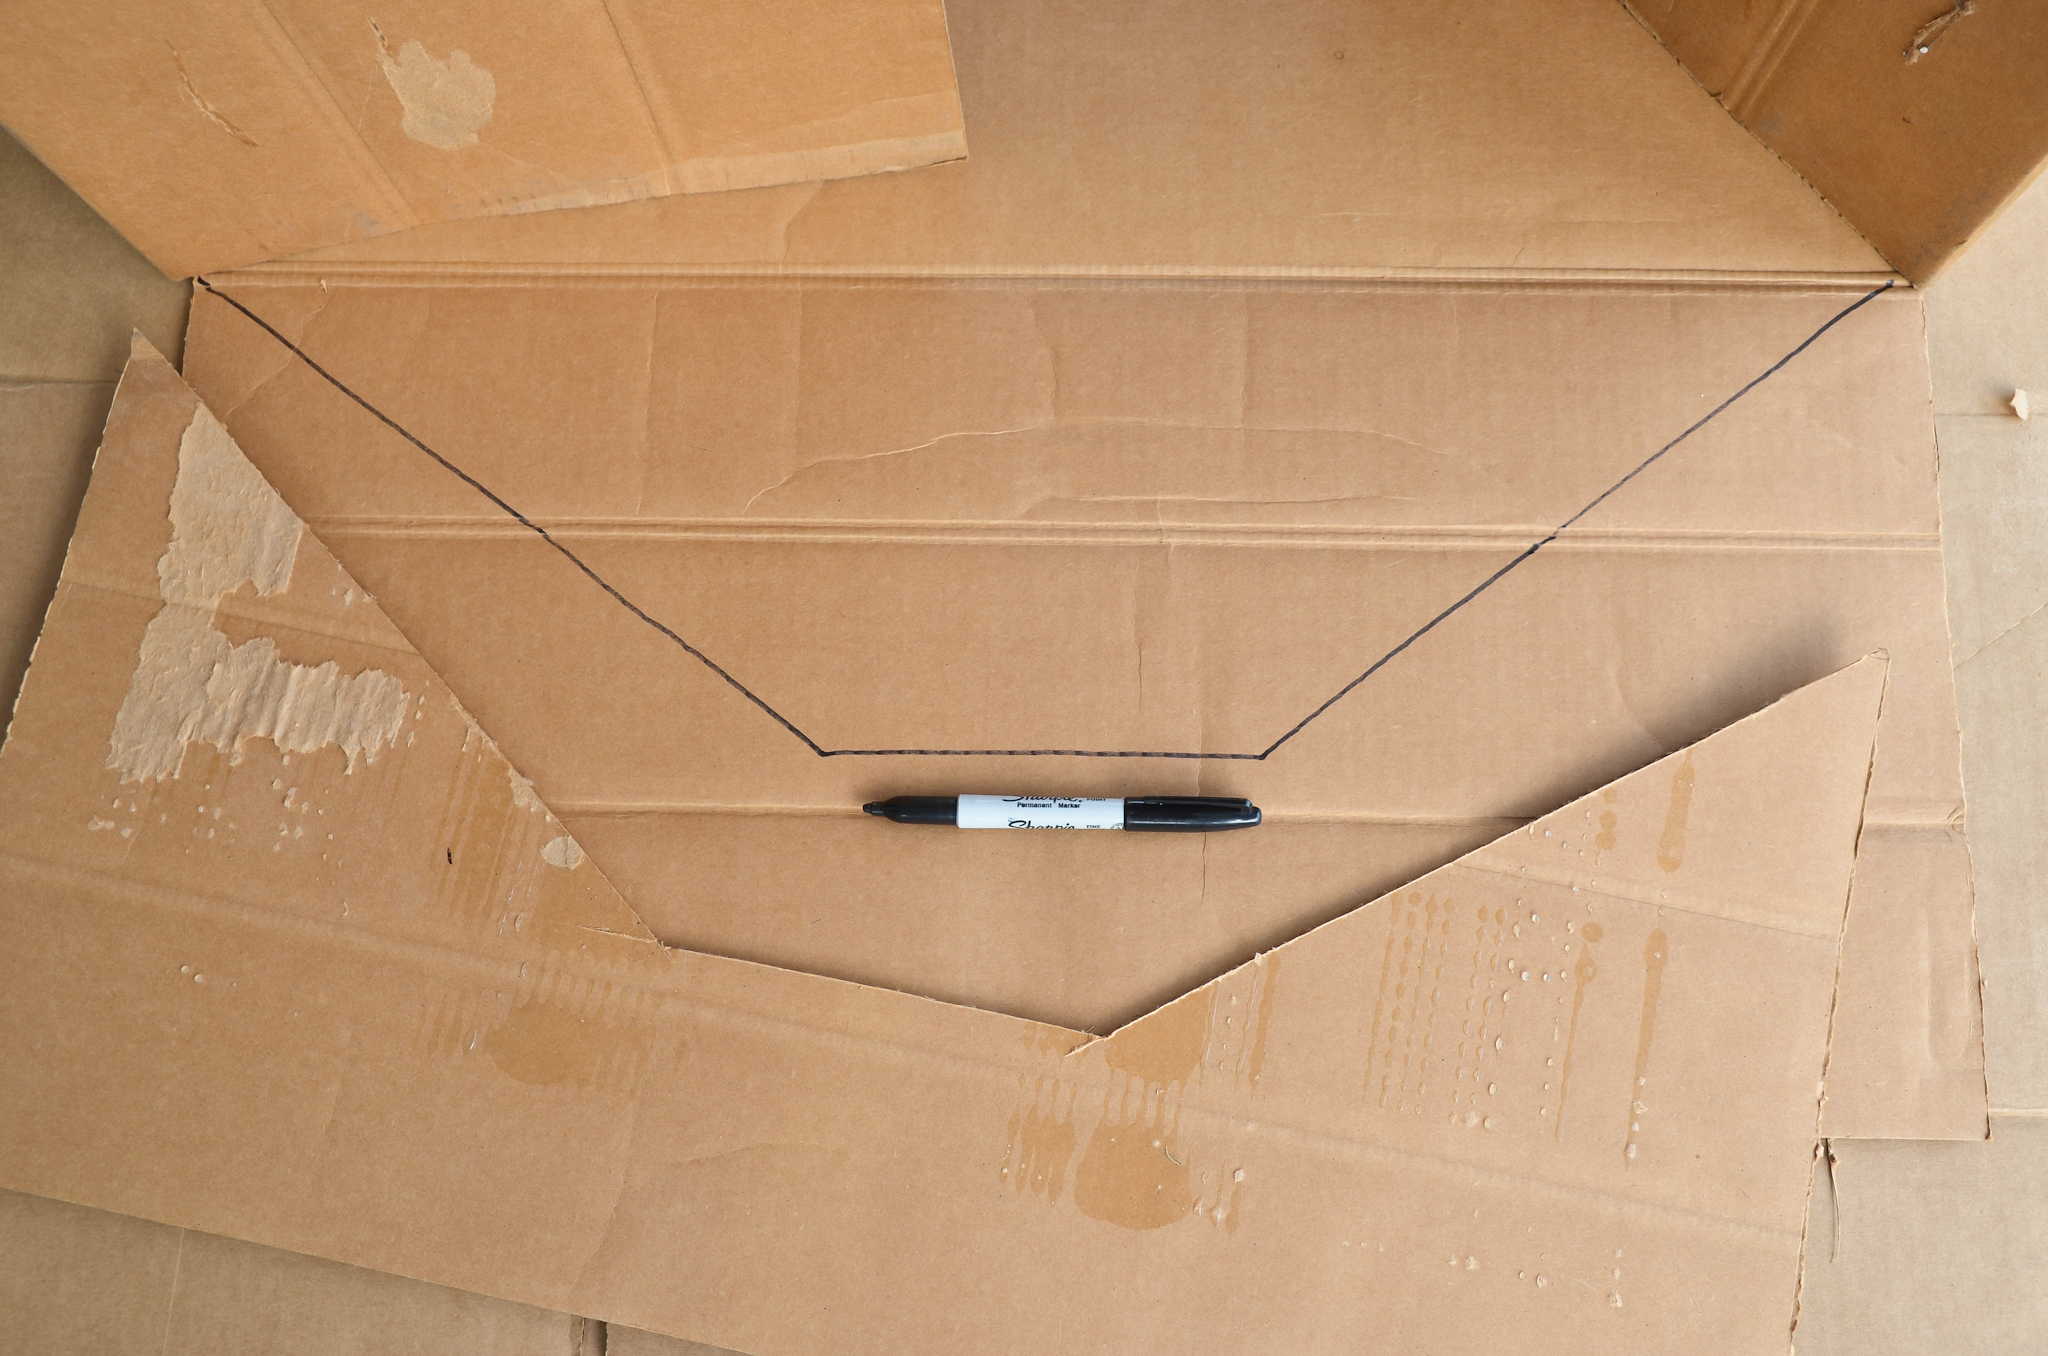
Repeat this shape on the flap opposite the one you just cut. It’s quickest to just use the scrap from your first trapezoid as a template. Trace and cut.
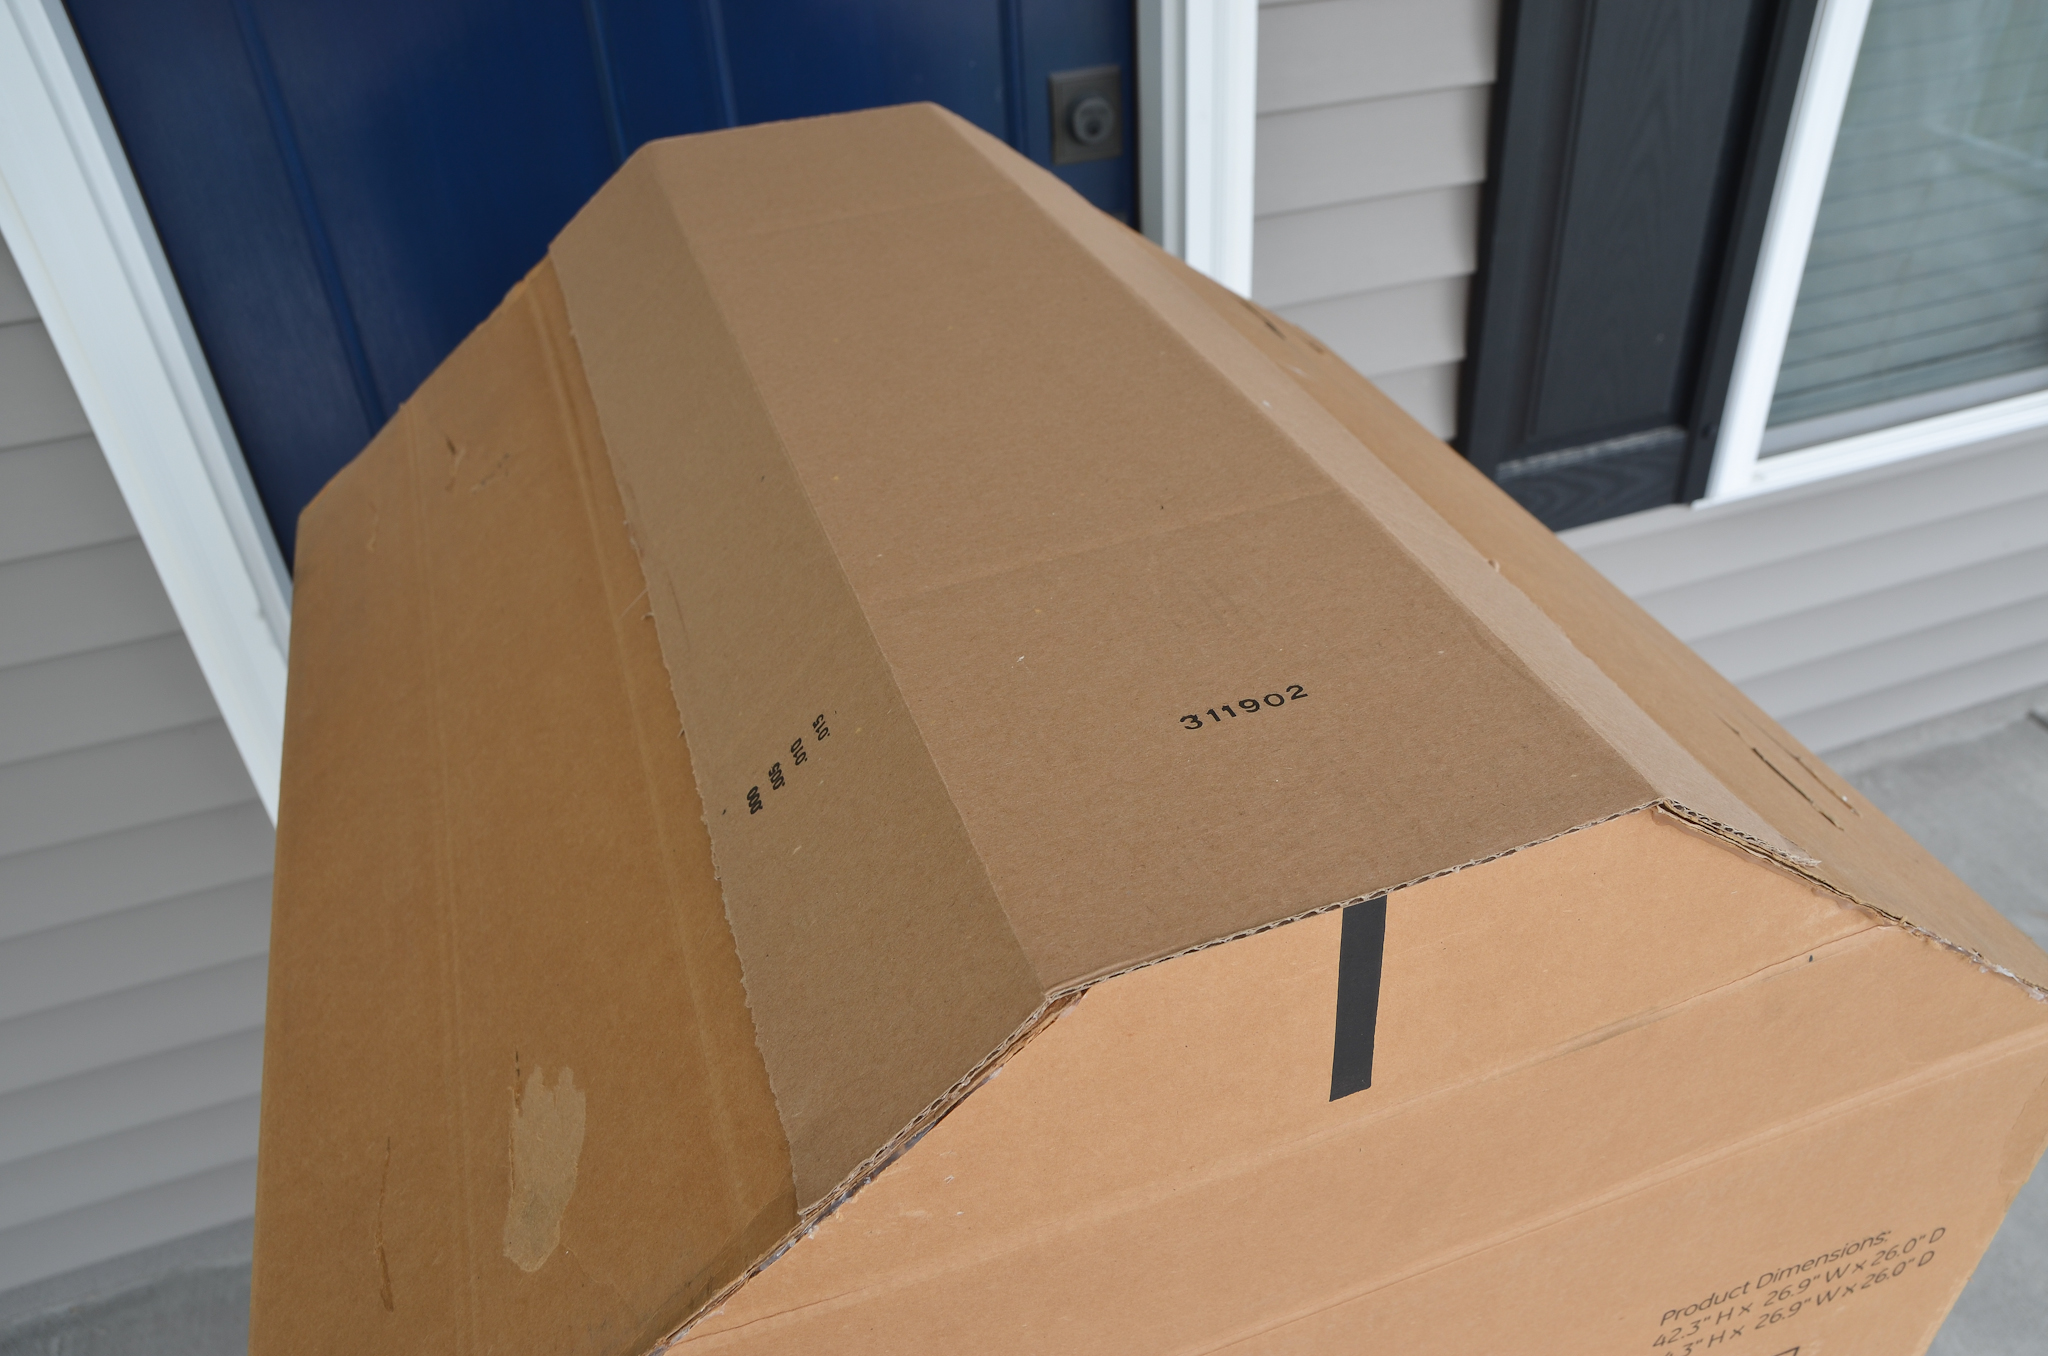
Hot glue the edges of the two flaps that you haven’t cut to the edges of the cut flaps to create the roofline.
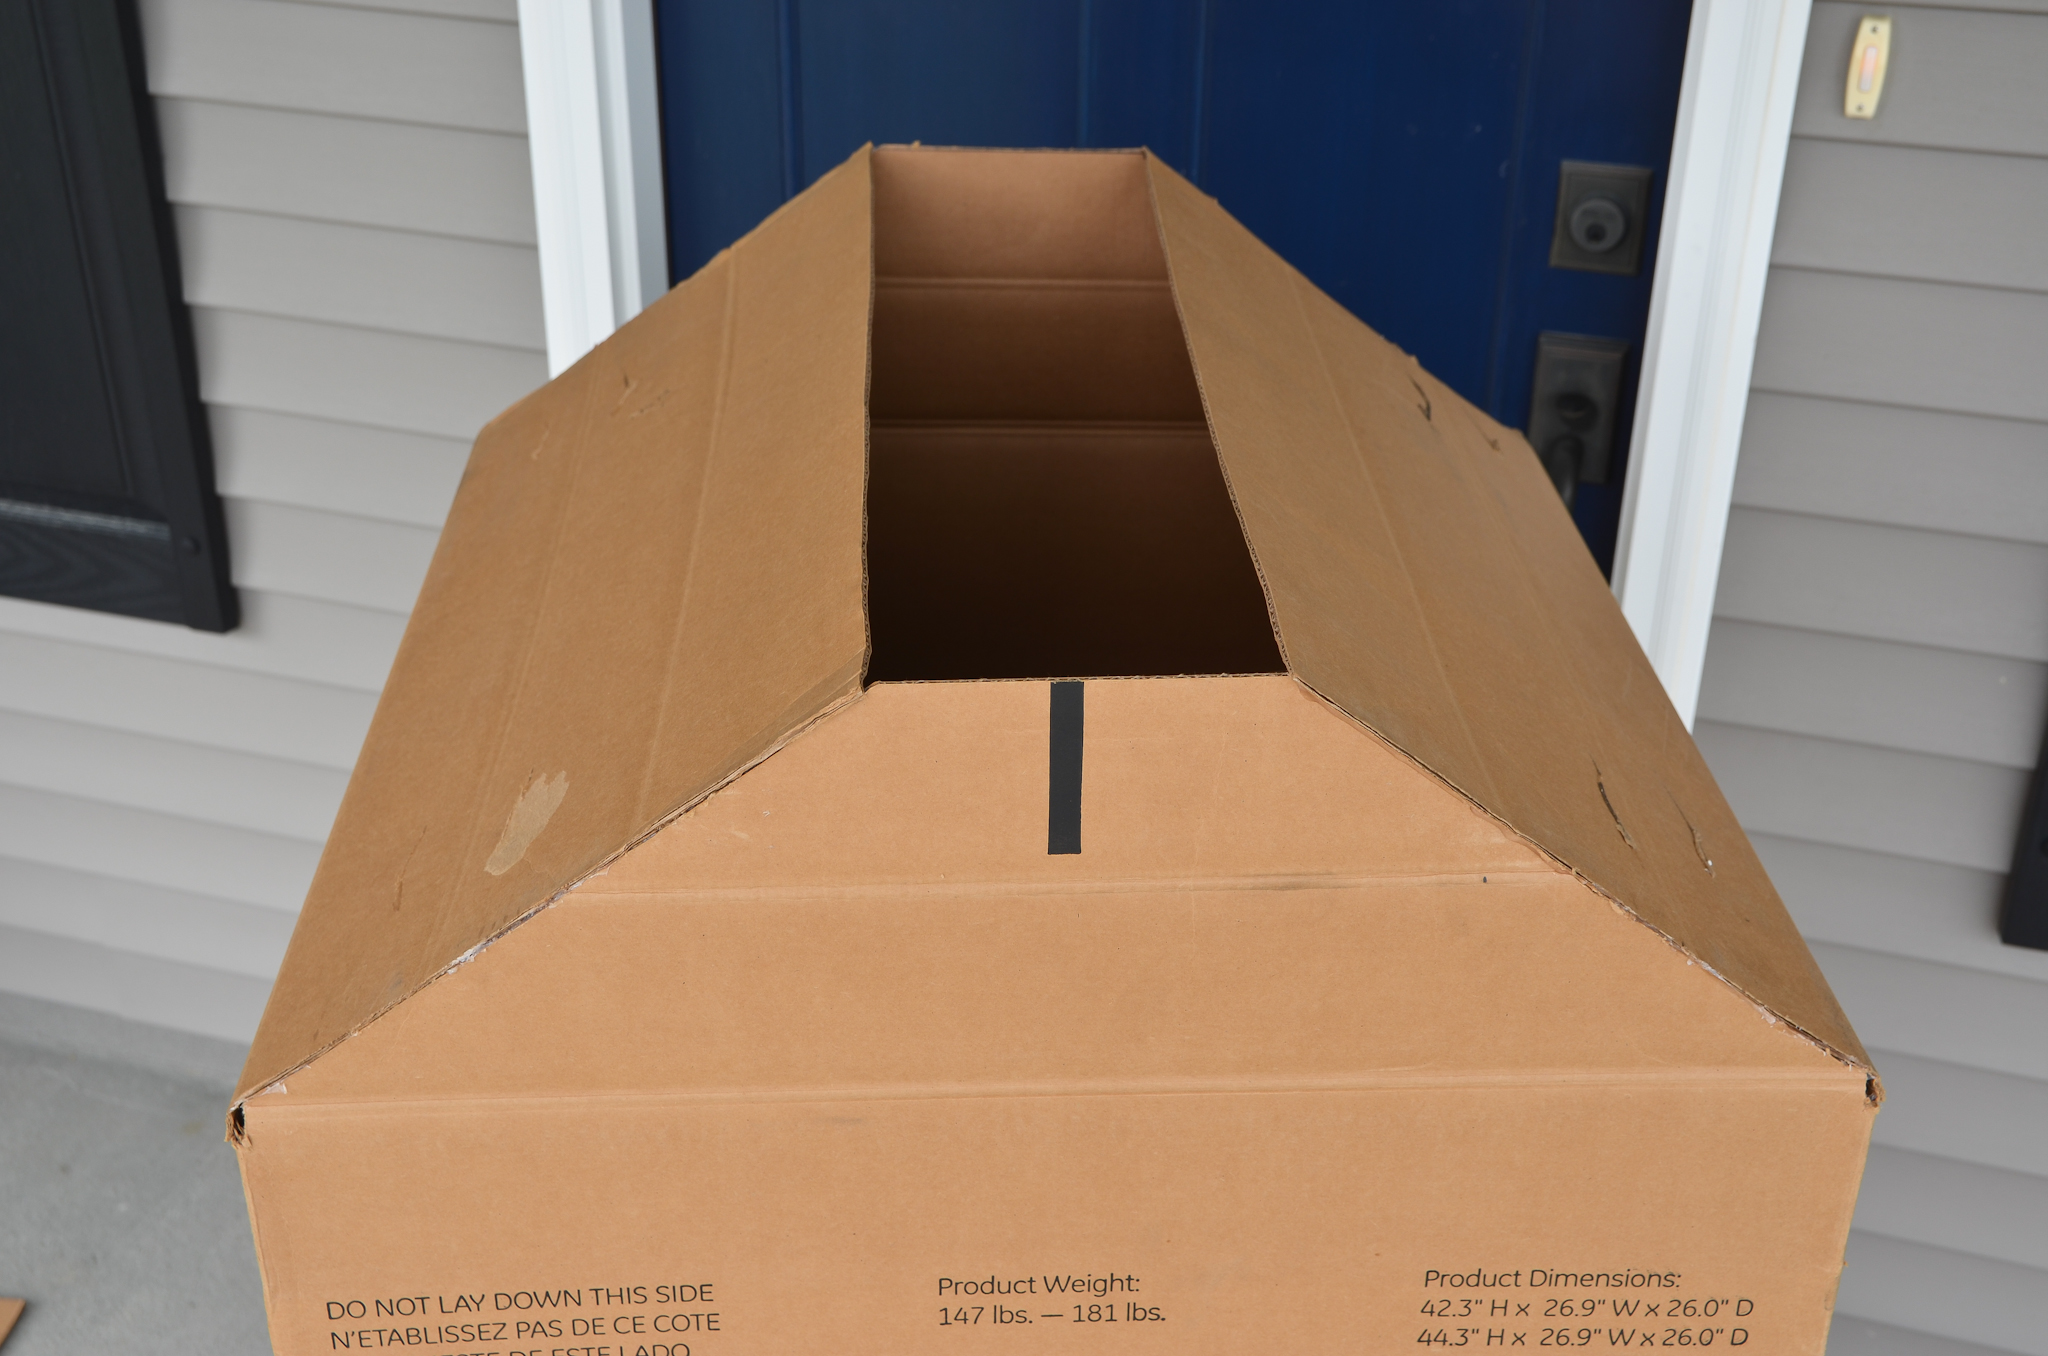
Measure the width of the gap at the top. Mine was 7″.
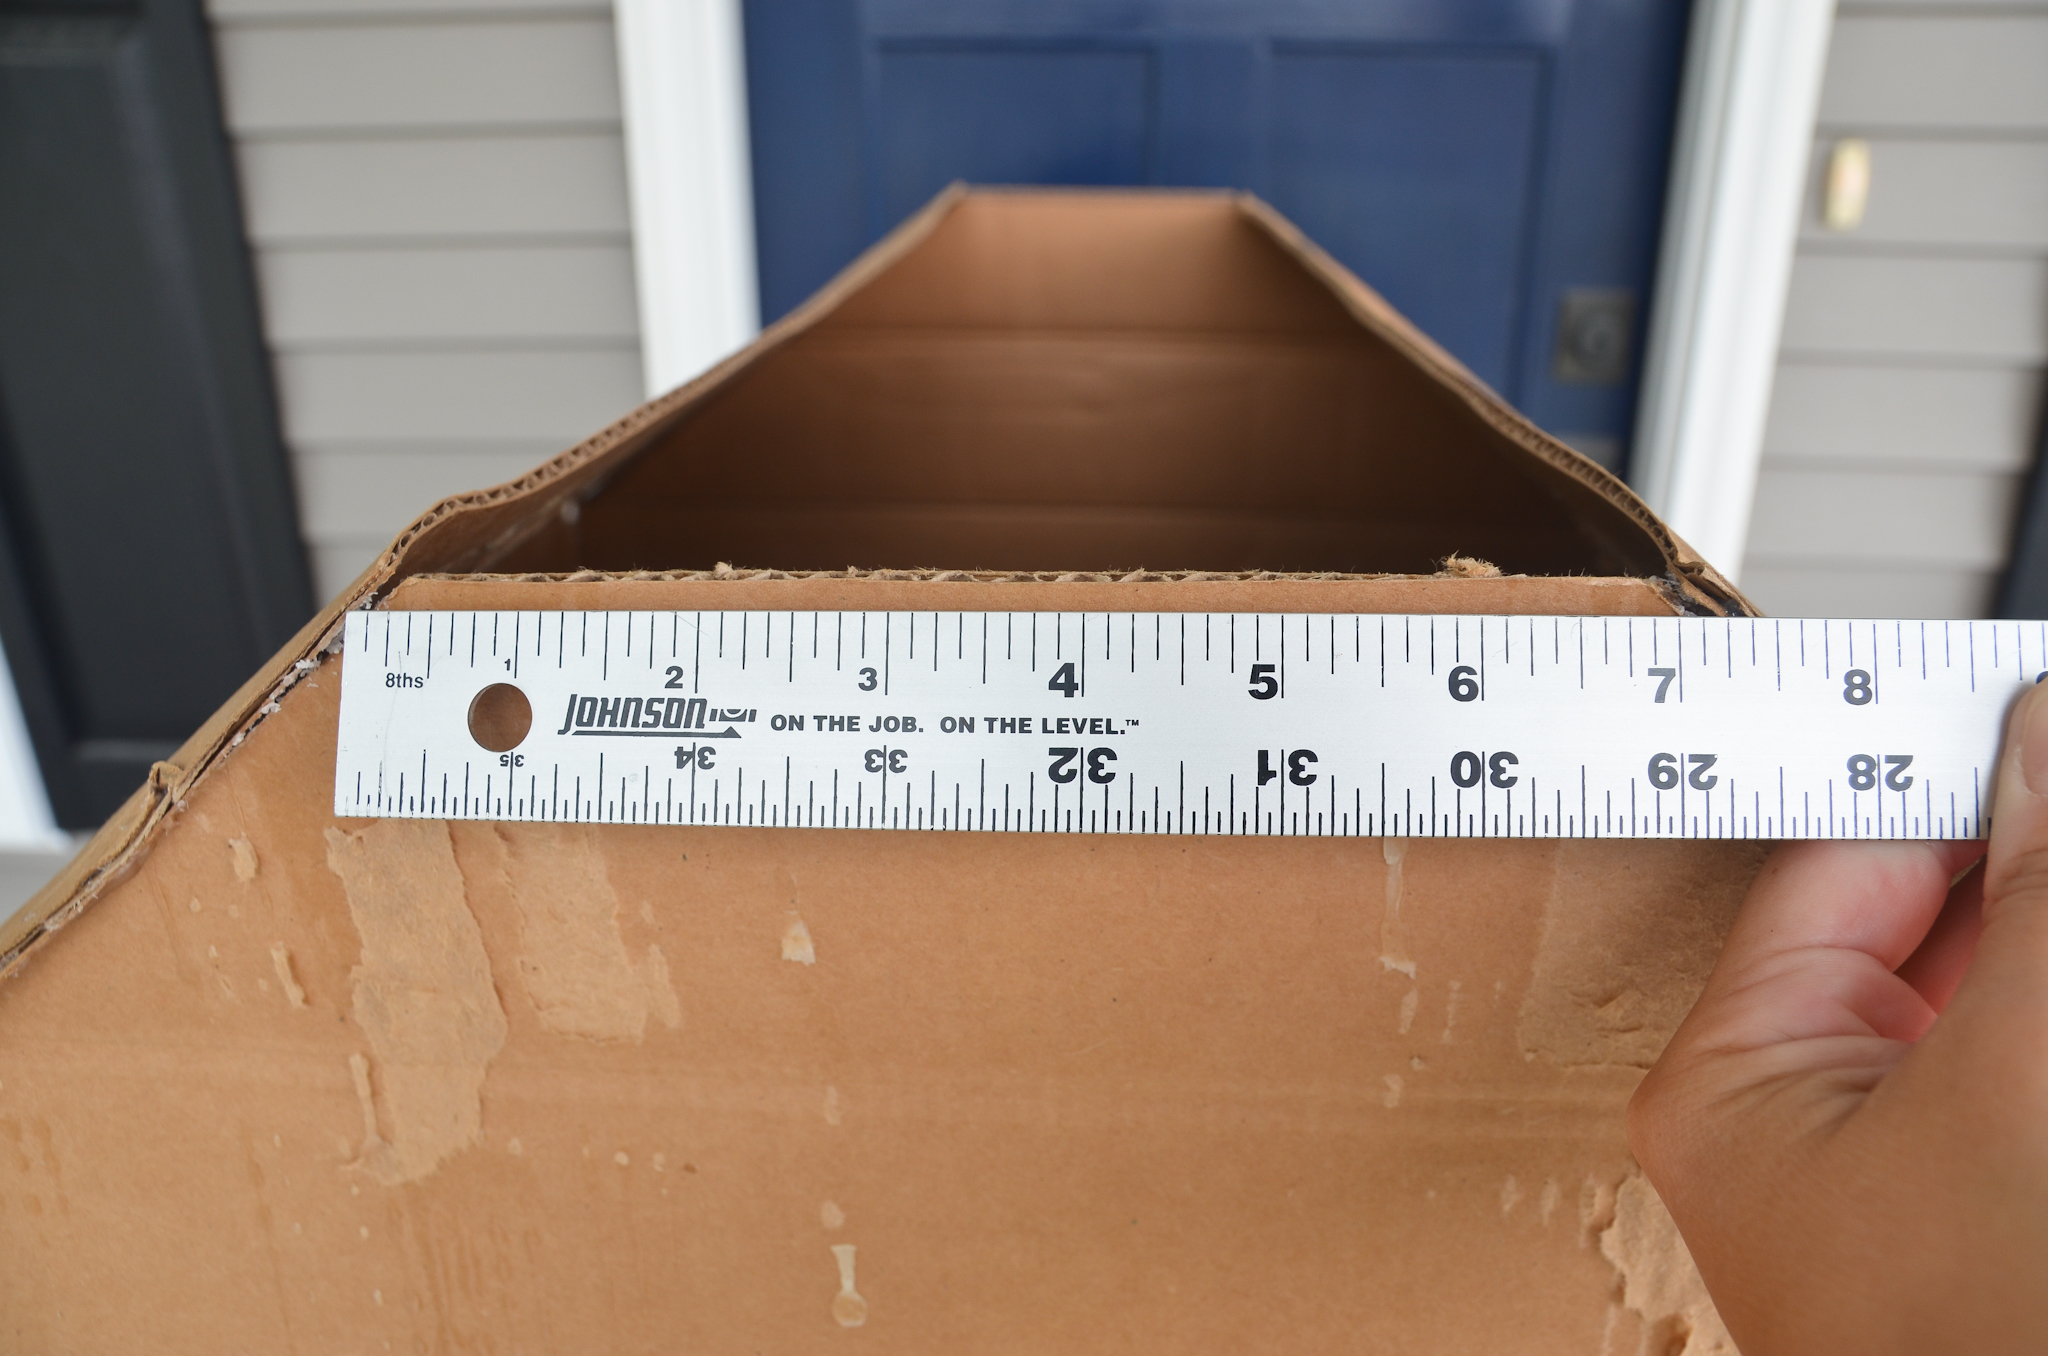
On one of the flaps you removed from the bottom of the box, draw two lines that center the measurement from the gap on the flap. Gently score each line with your box cutter, being careful not to cut all the way through!
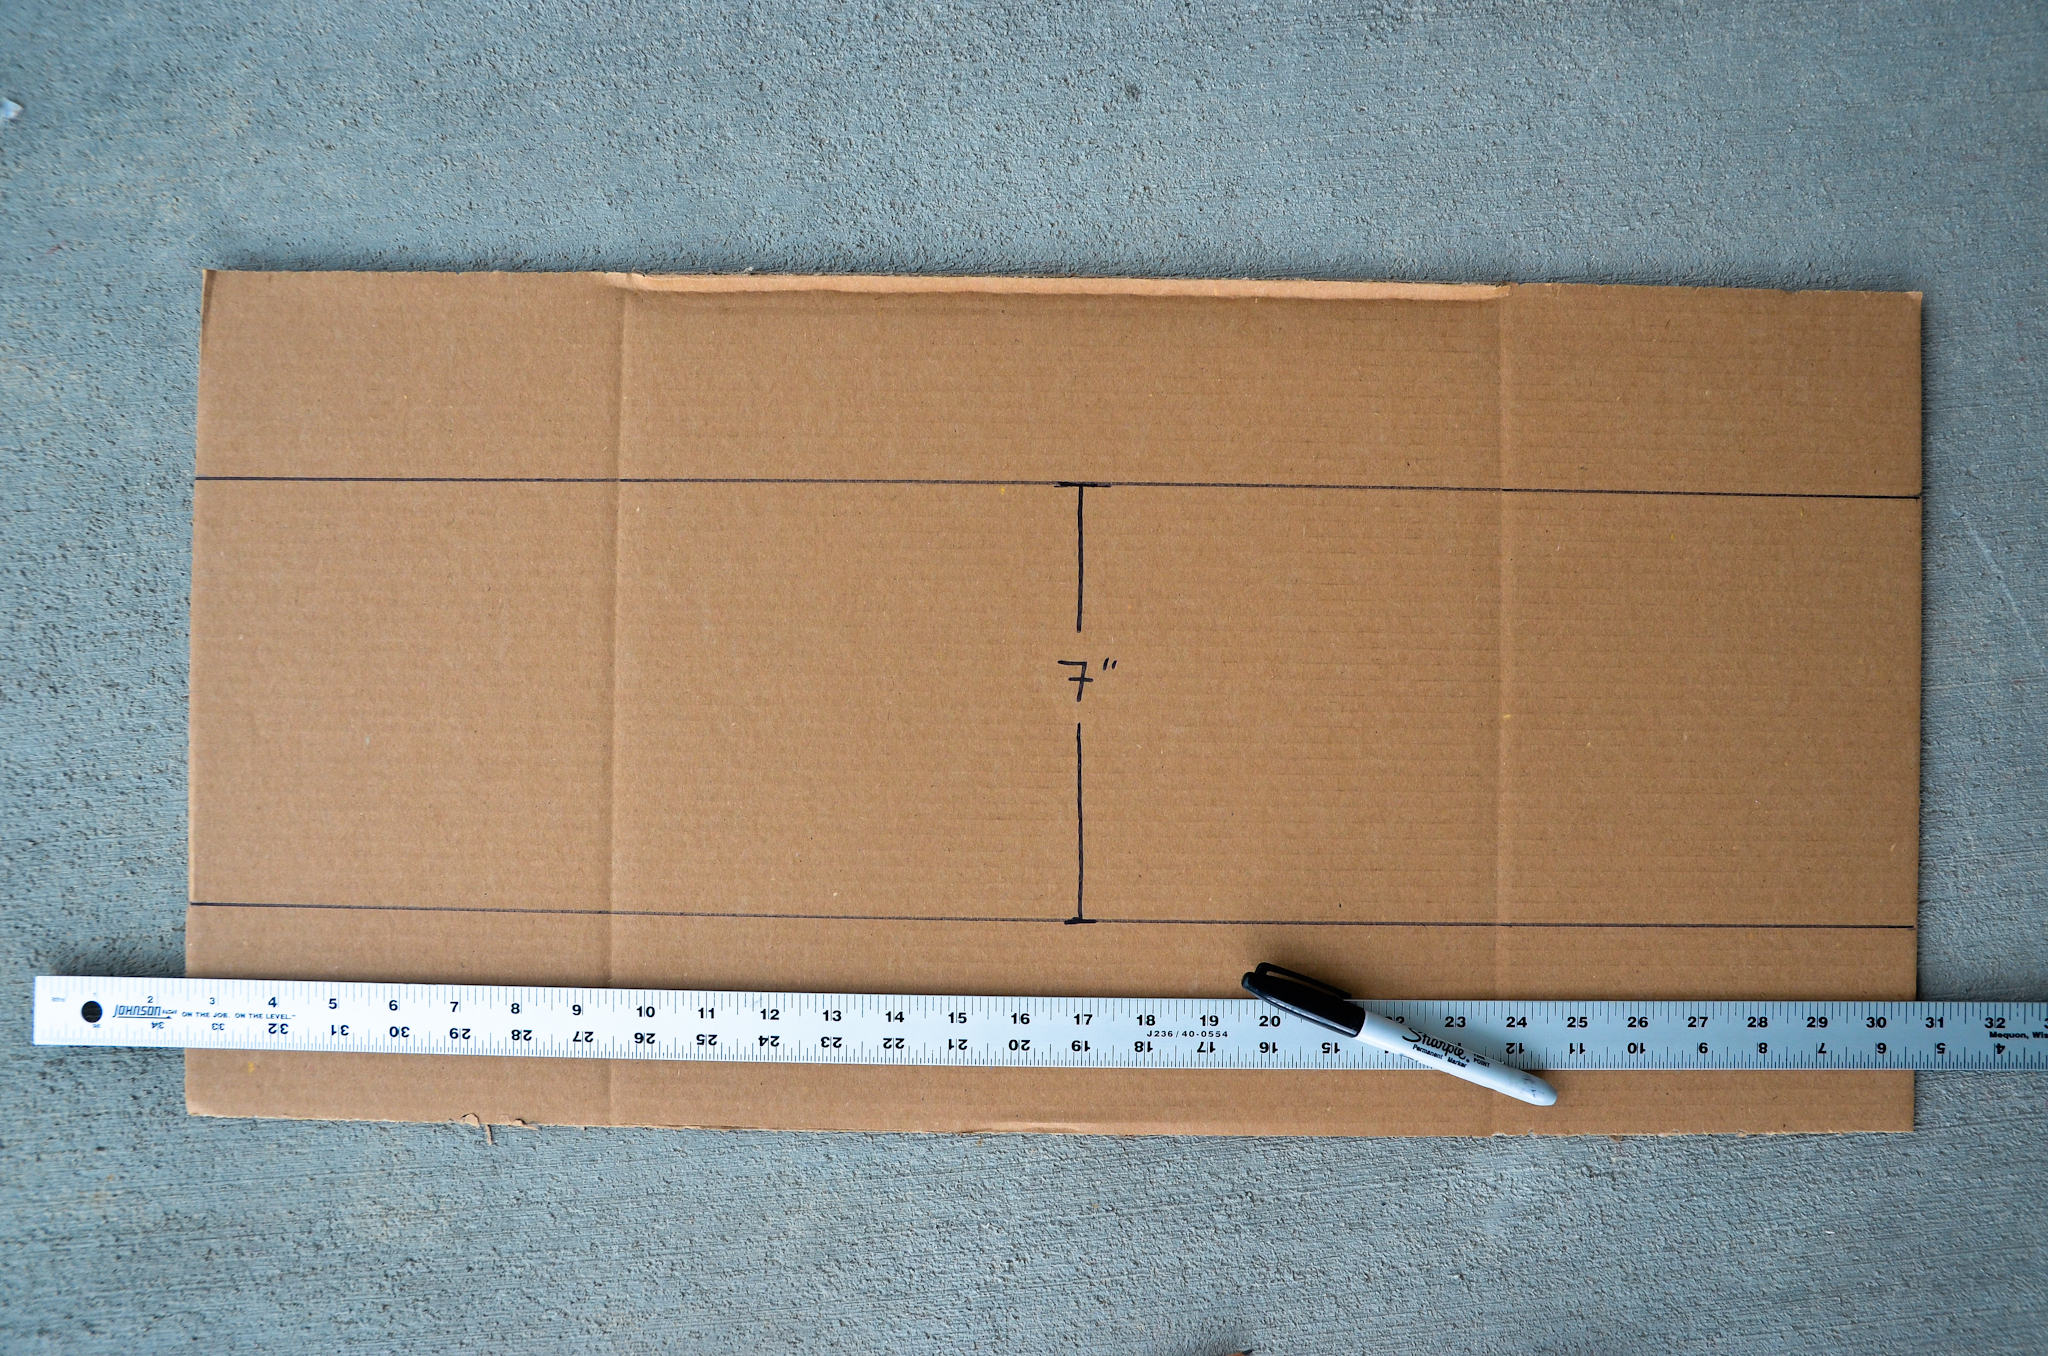
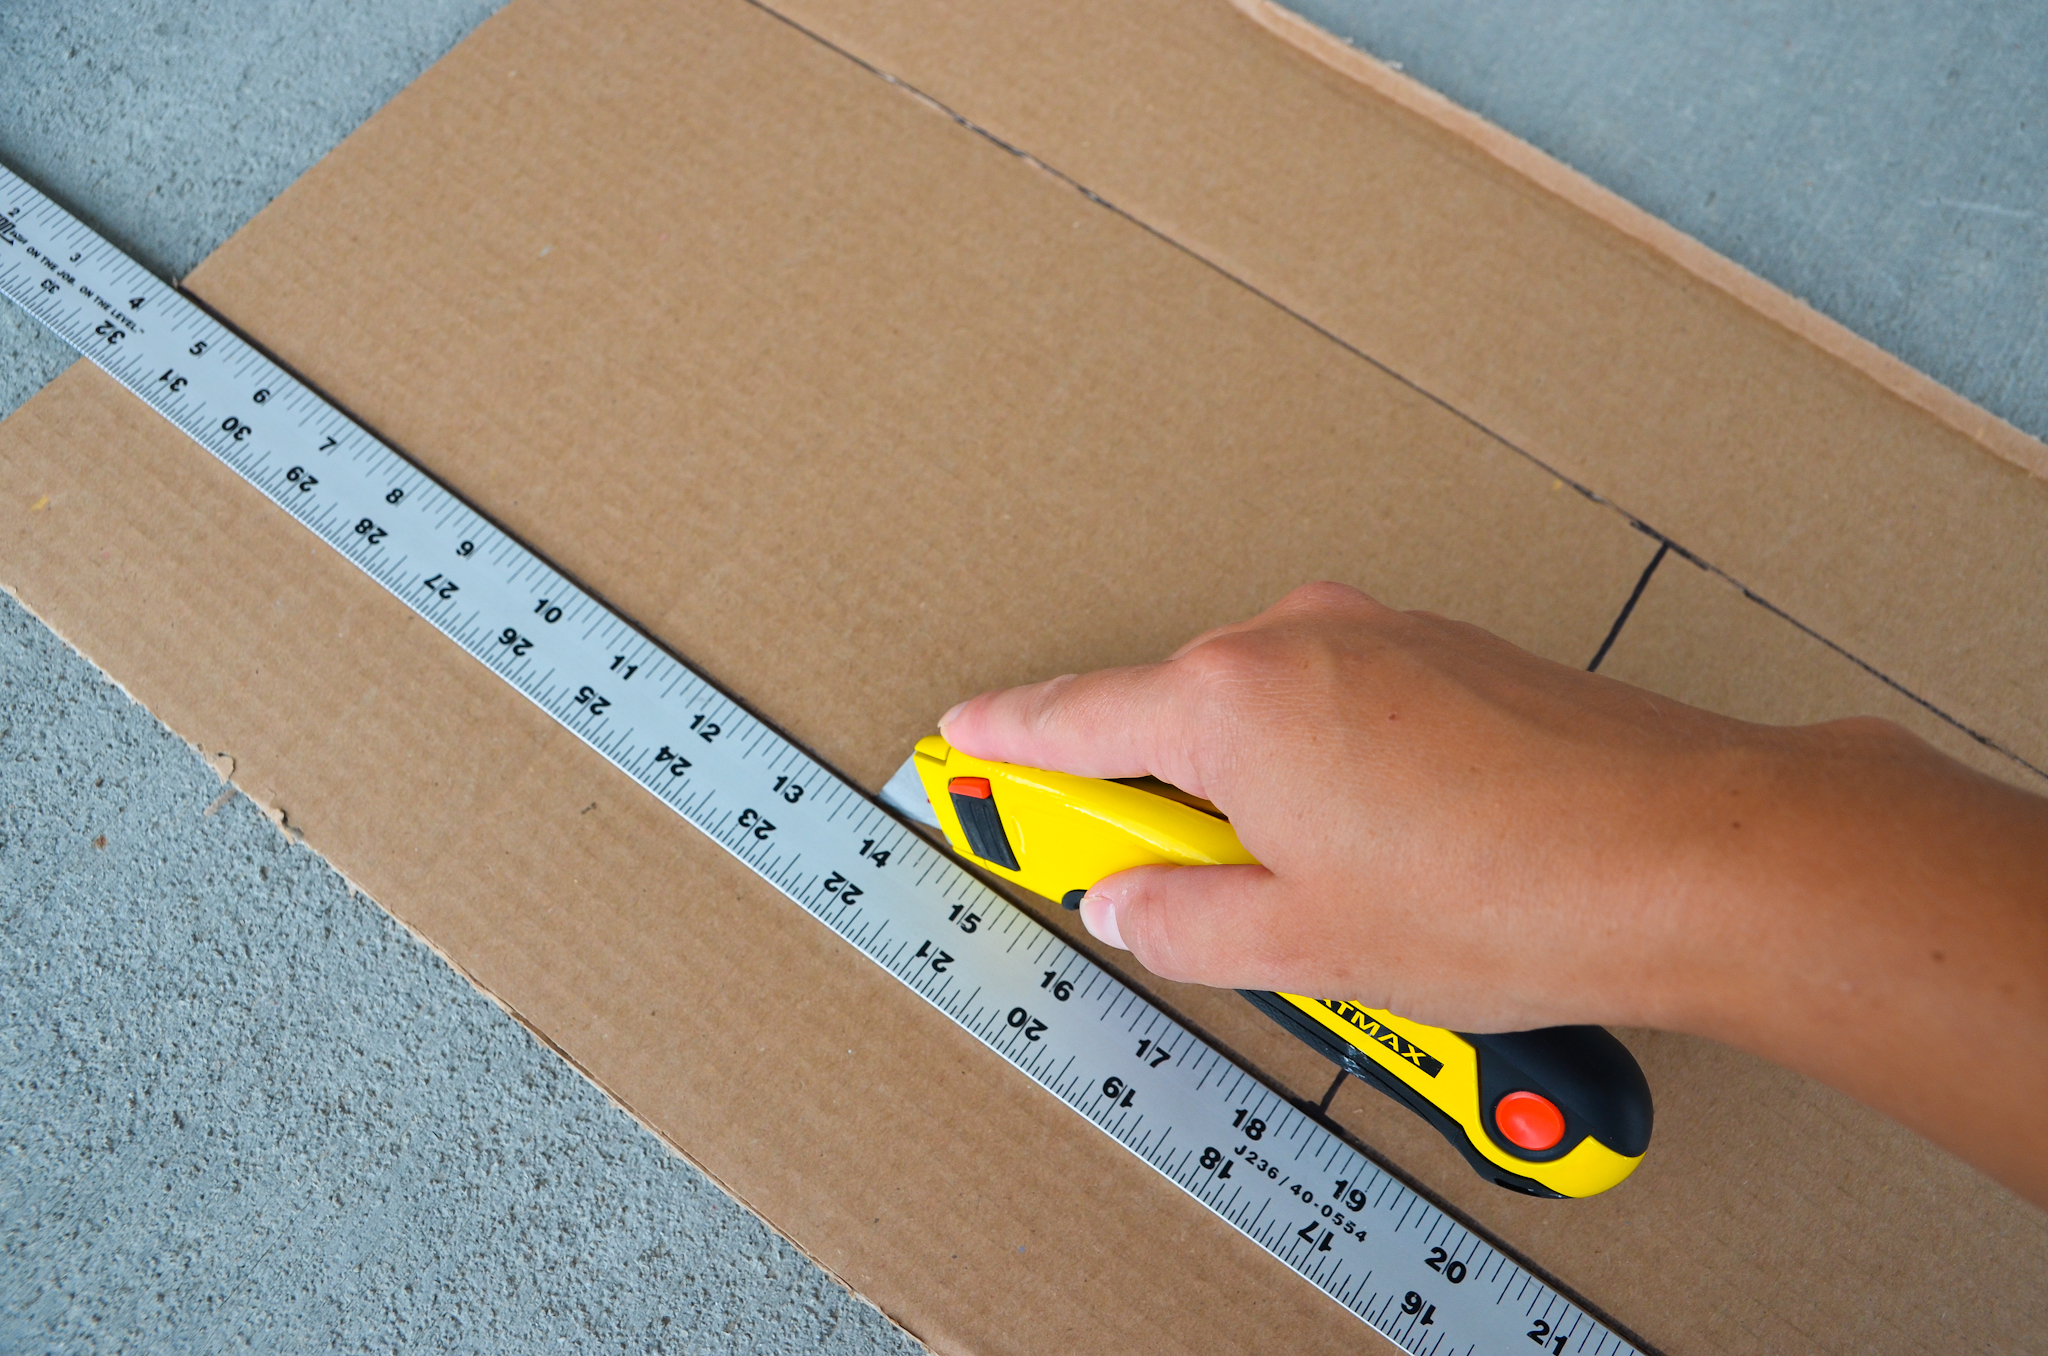
Bend the scored flap along the lines, and attach with hot glue to close the roof.
Cut out a door and windows. If you want to have a window in the door, cut it out before cutting the door (it’s more sturdy that way). Also, score the “hinge” edge of the door so that it creases and opens cleanly.
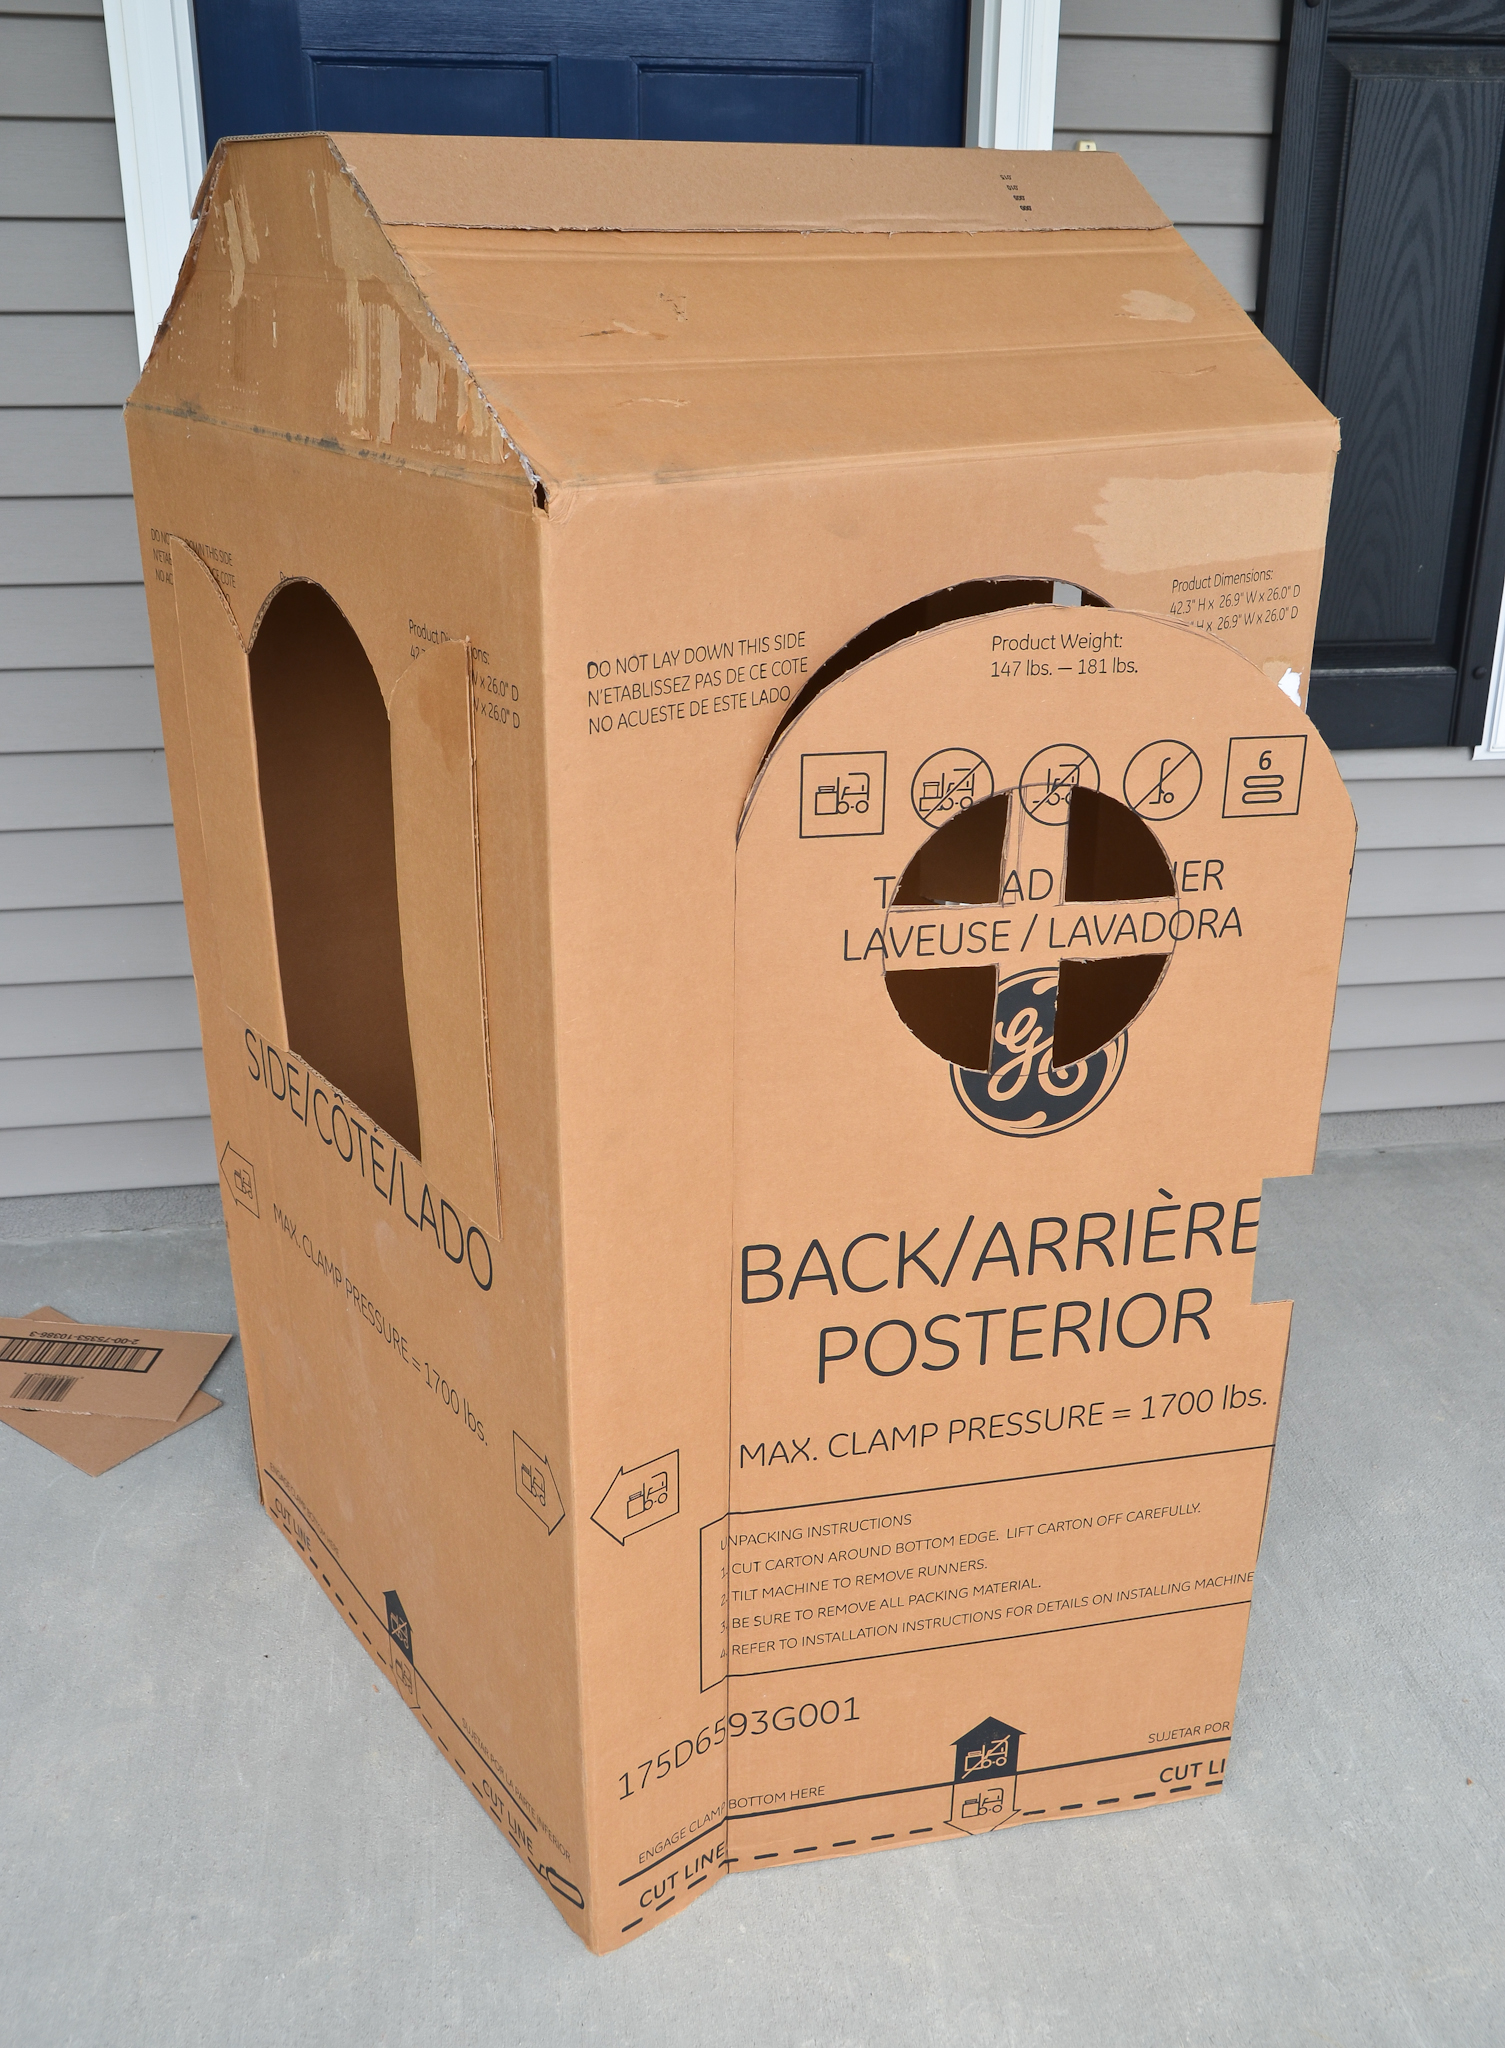
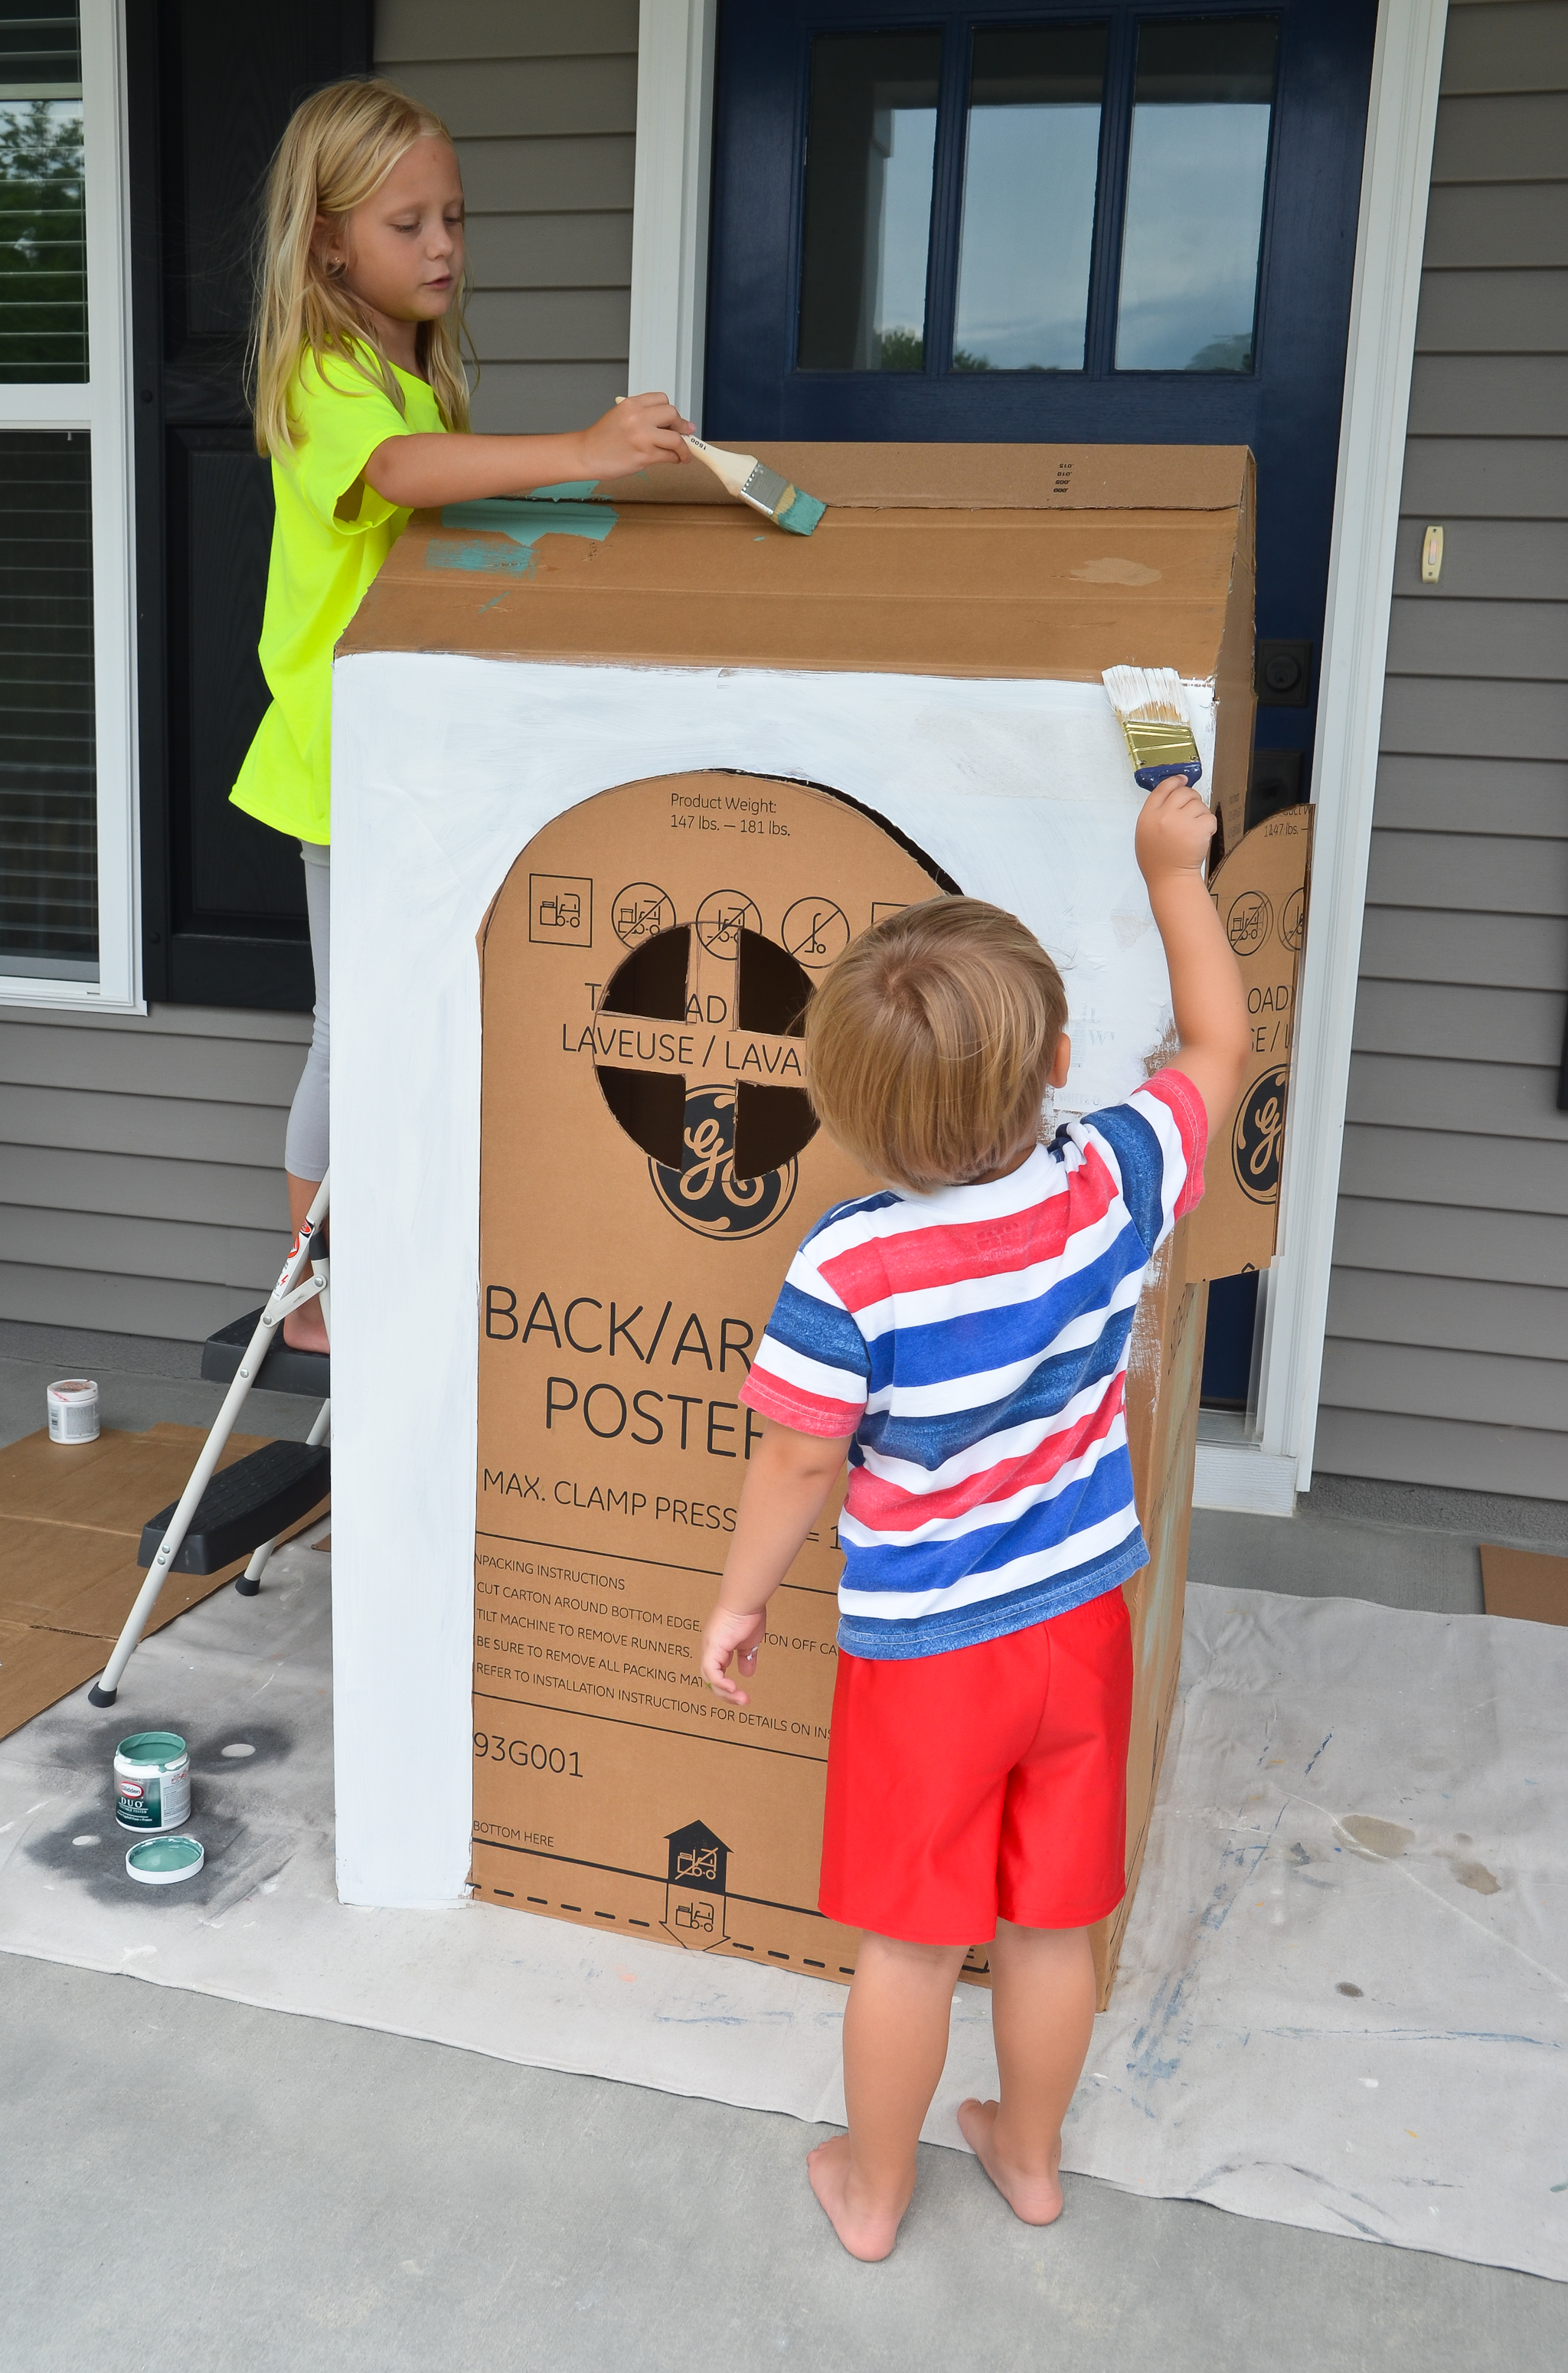
All it needs now is a little color! This is a great way to use up all that old house paint that I know you have sitting in the garage. Otherwise, the 3 oz. tester size paint samples available in most hardware stores are an inexpensive alternative to buying quarts.
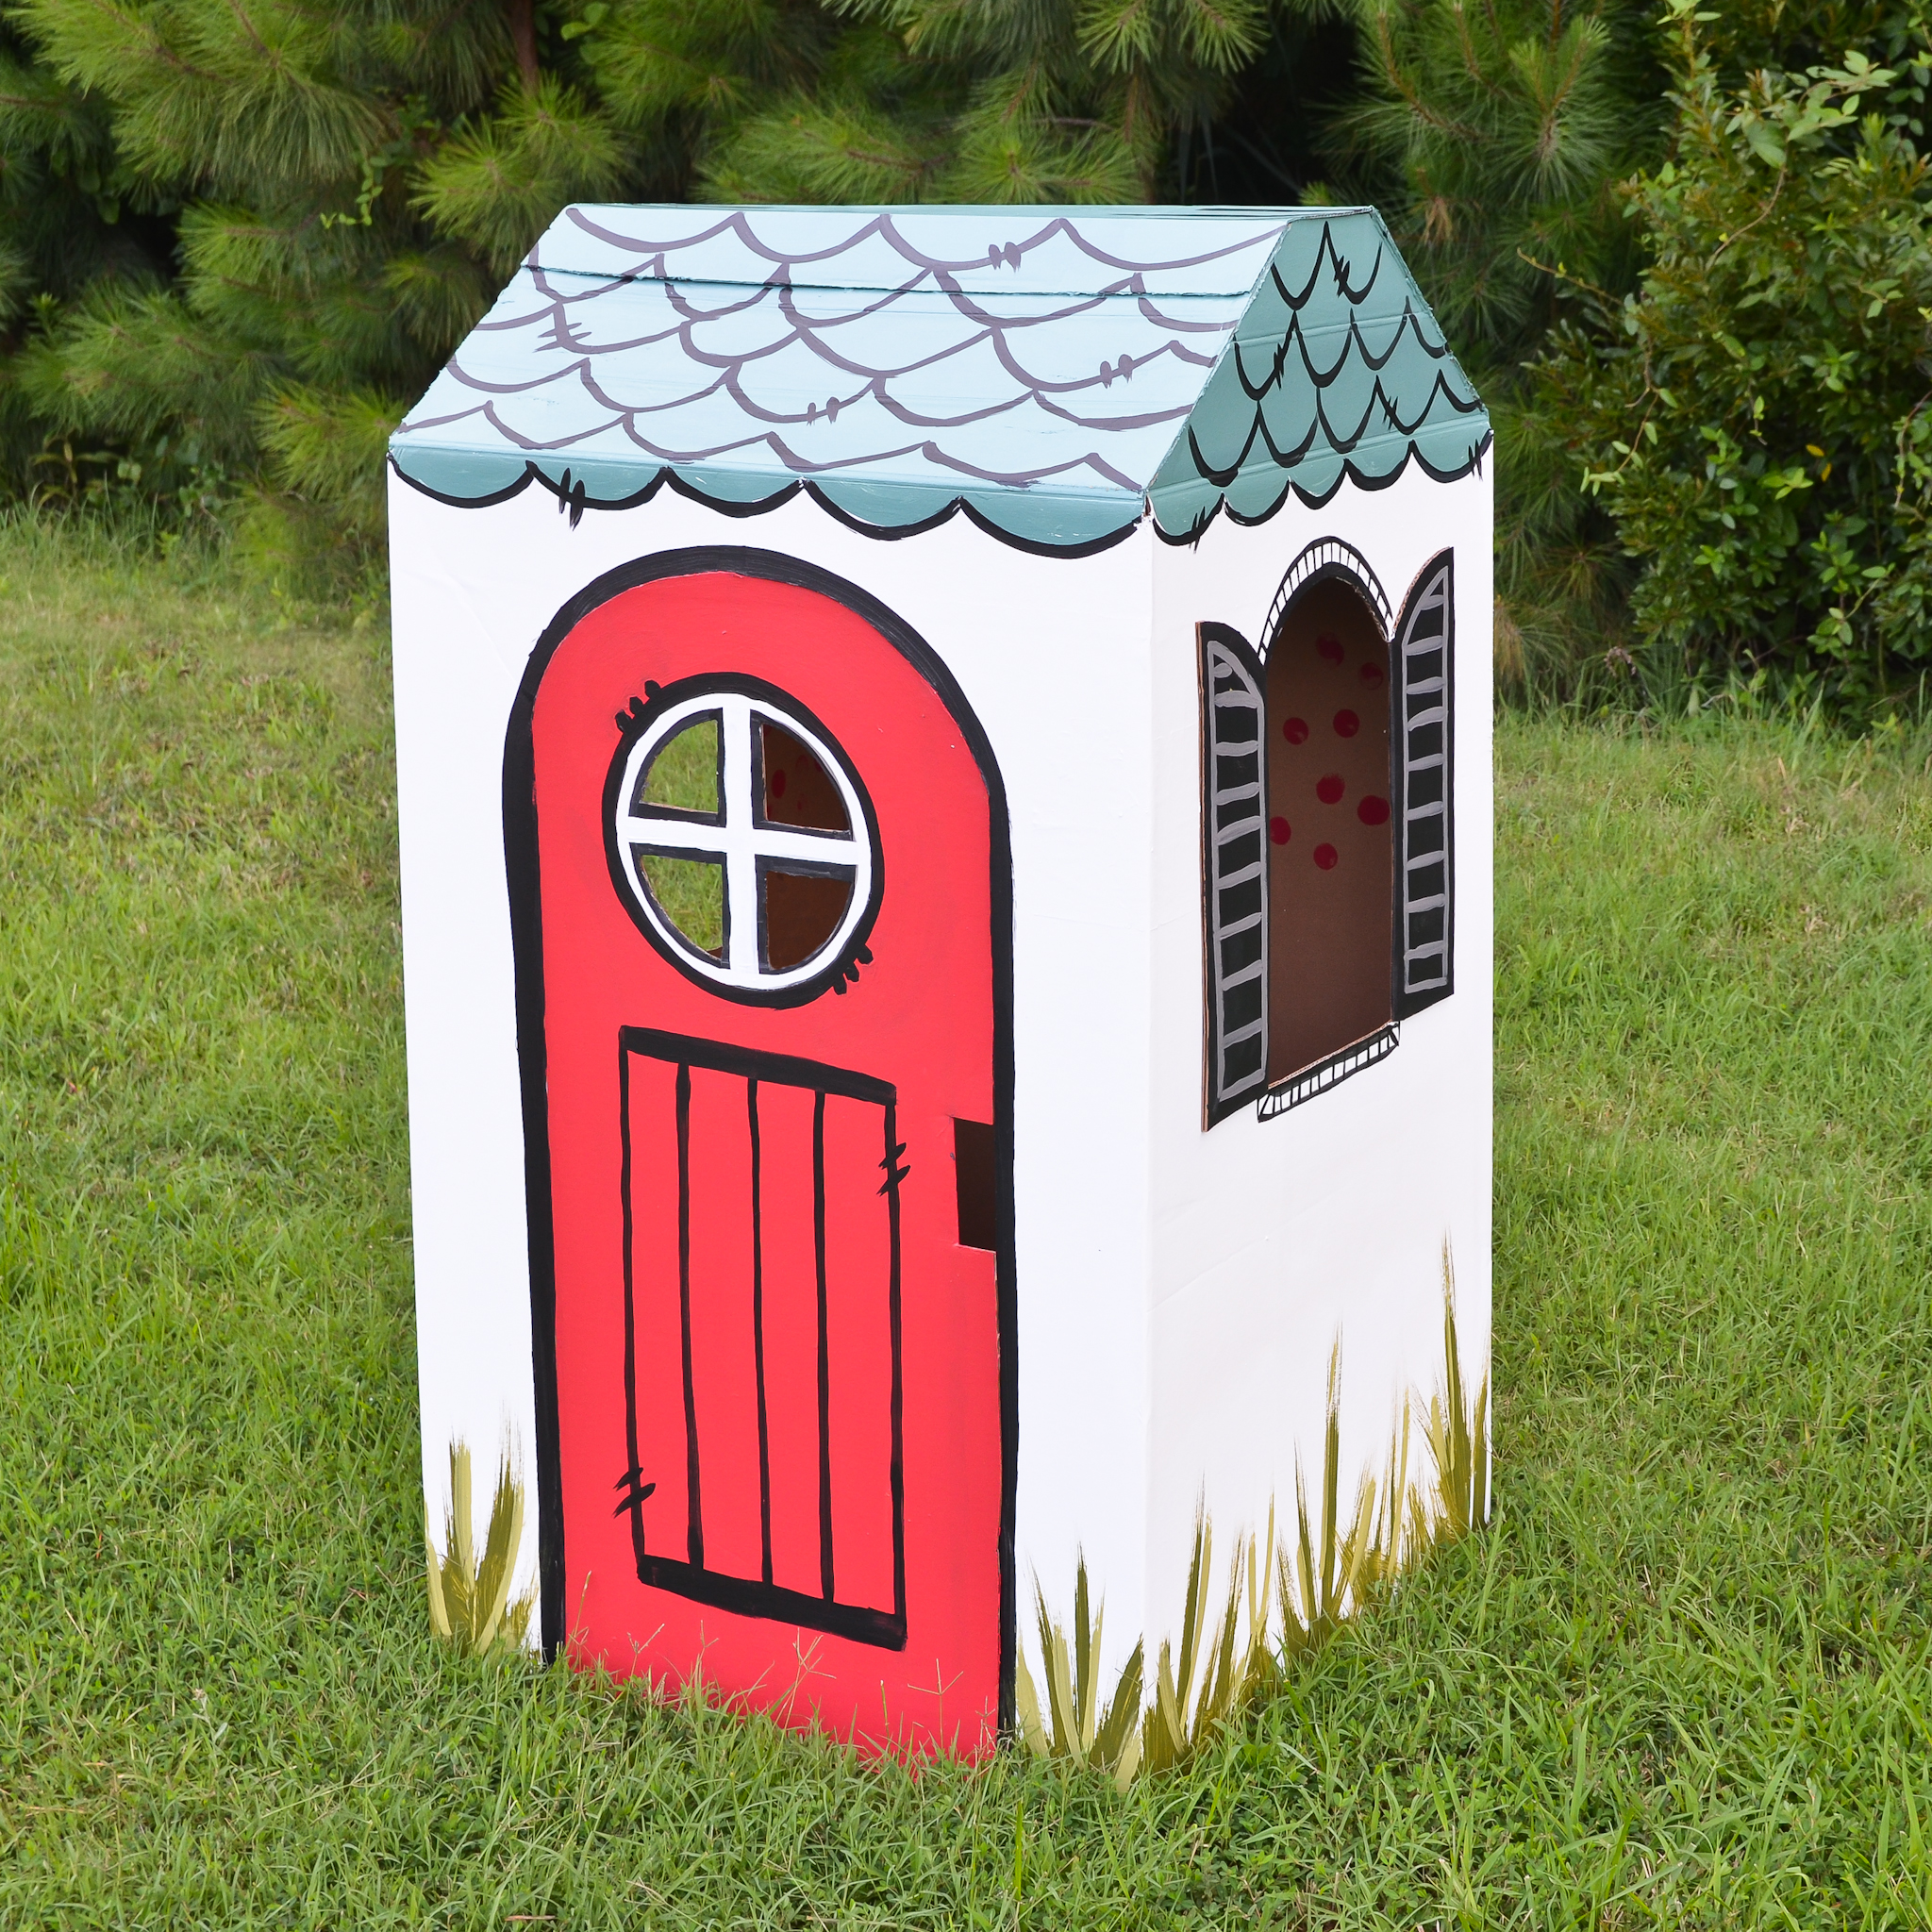
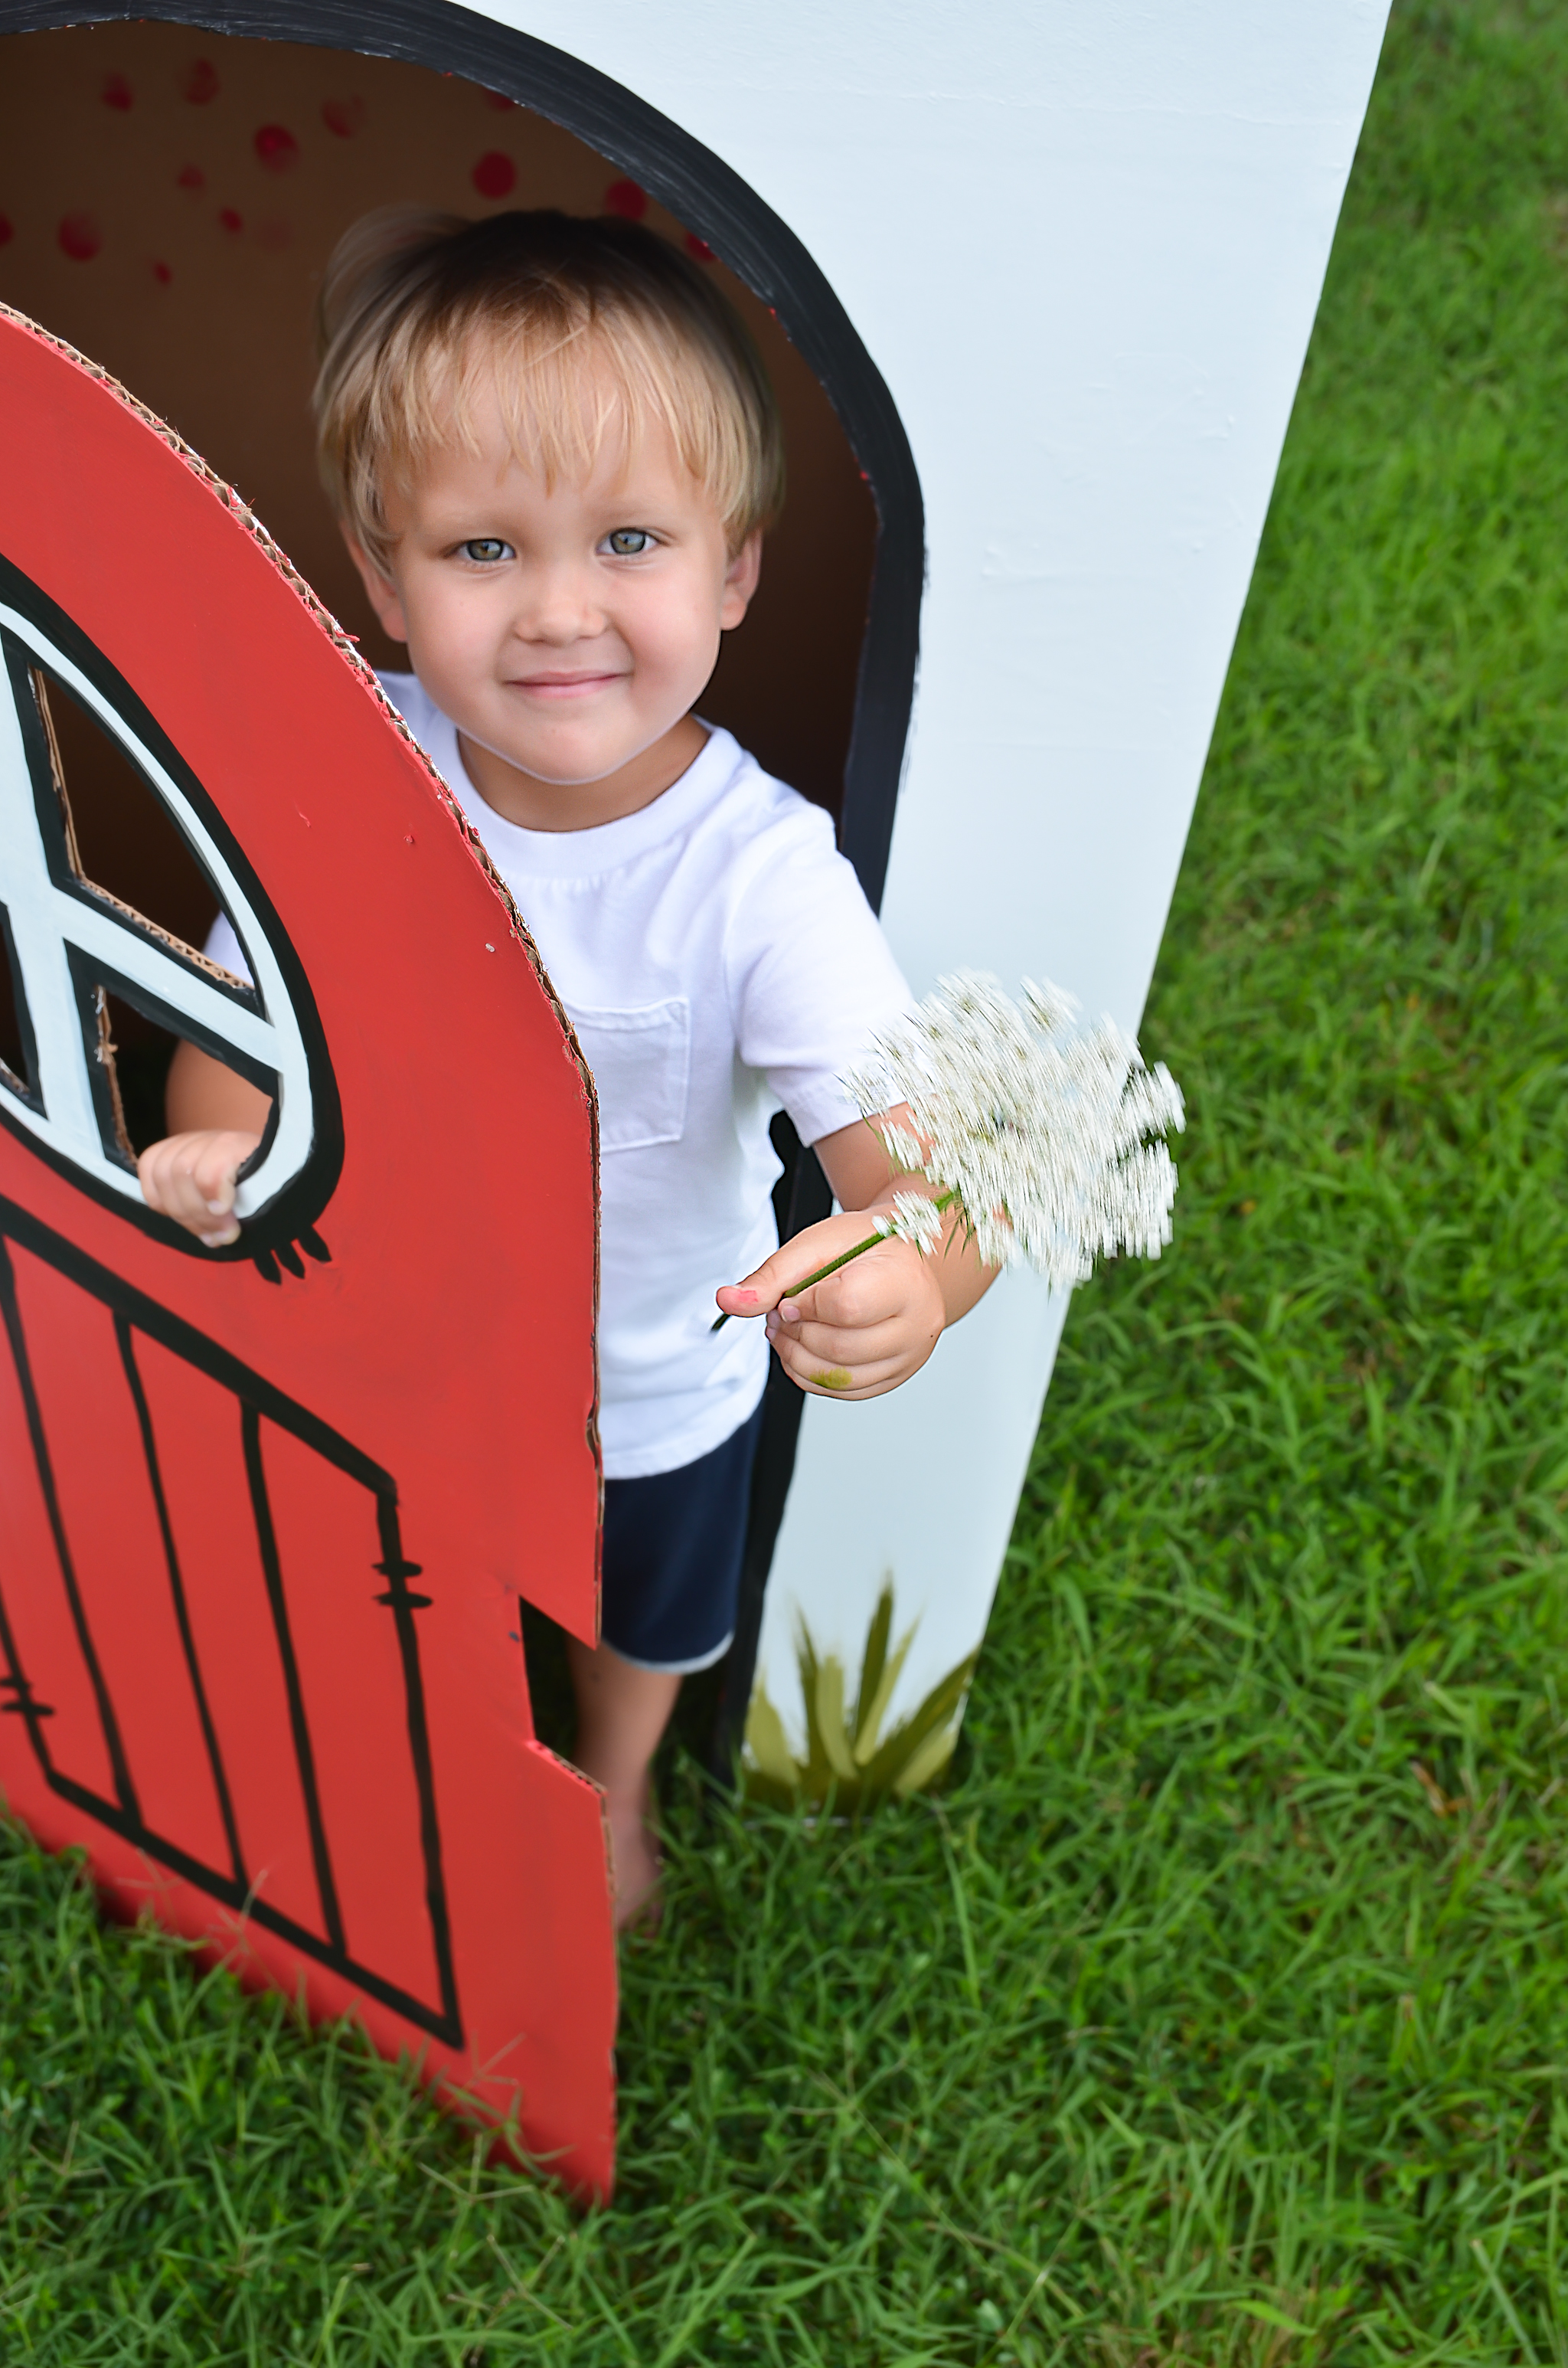
Will you make your cardboard box playhouse into an ice cream shop, a pirate ship or a fairy’s hideaway? The design possibilities are endless. Hours of fun and imaginary play await—just be sure not to leave it out in the rain!





Comments
Charlie
Absolutely beautyful… I’ll try my best to do some alike…