Here at Project Nursery, we strive to bring you amazing and useful DIY projects. We have partnered with Springs Creative, a company with a 90-year heritage that is rich in tradition and quality. This is our third project in a three-part series (check out the DIY Fabric Wall Art Project and Fabric Baby Mobile) featuring simple, stylish DIY projects to complete your next children’s design project, and we think today’s DIY Teepee project would make the perfect handmade gift for your little one this holiday season.
We are so excited to share our latest DIY project! What toddler doesn’t love a good book? And when you make your little one her own pint-sized teepee to read in, she’ll be begging you for story time. All you need to complete this DIY teepee are some basic sewing skills and supplies.
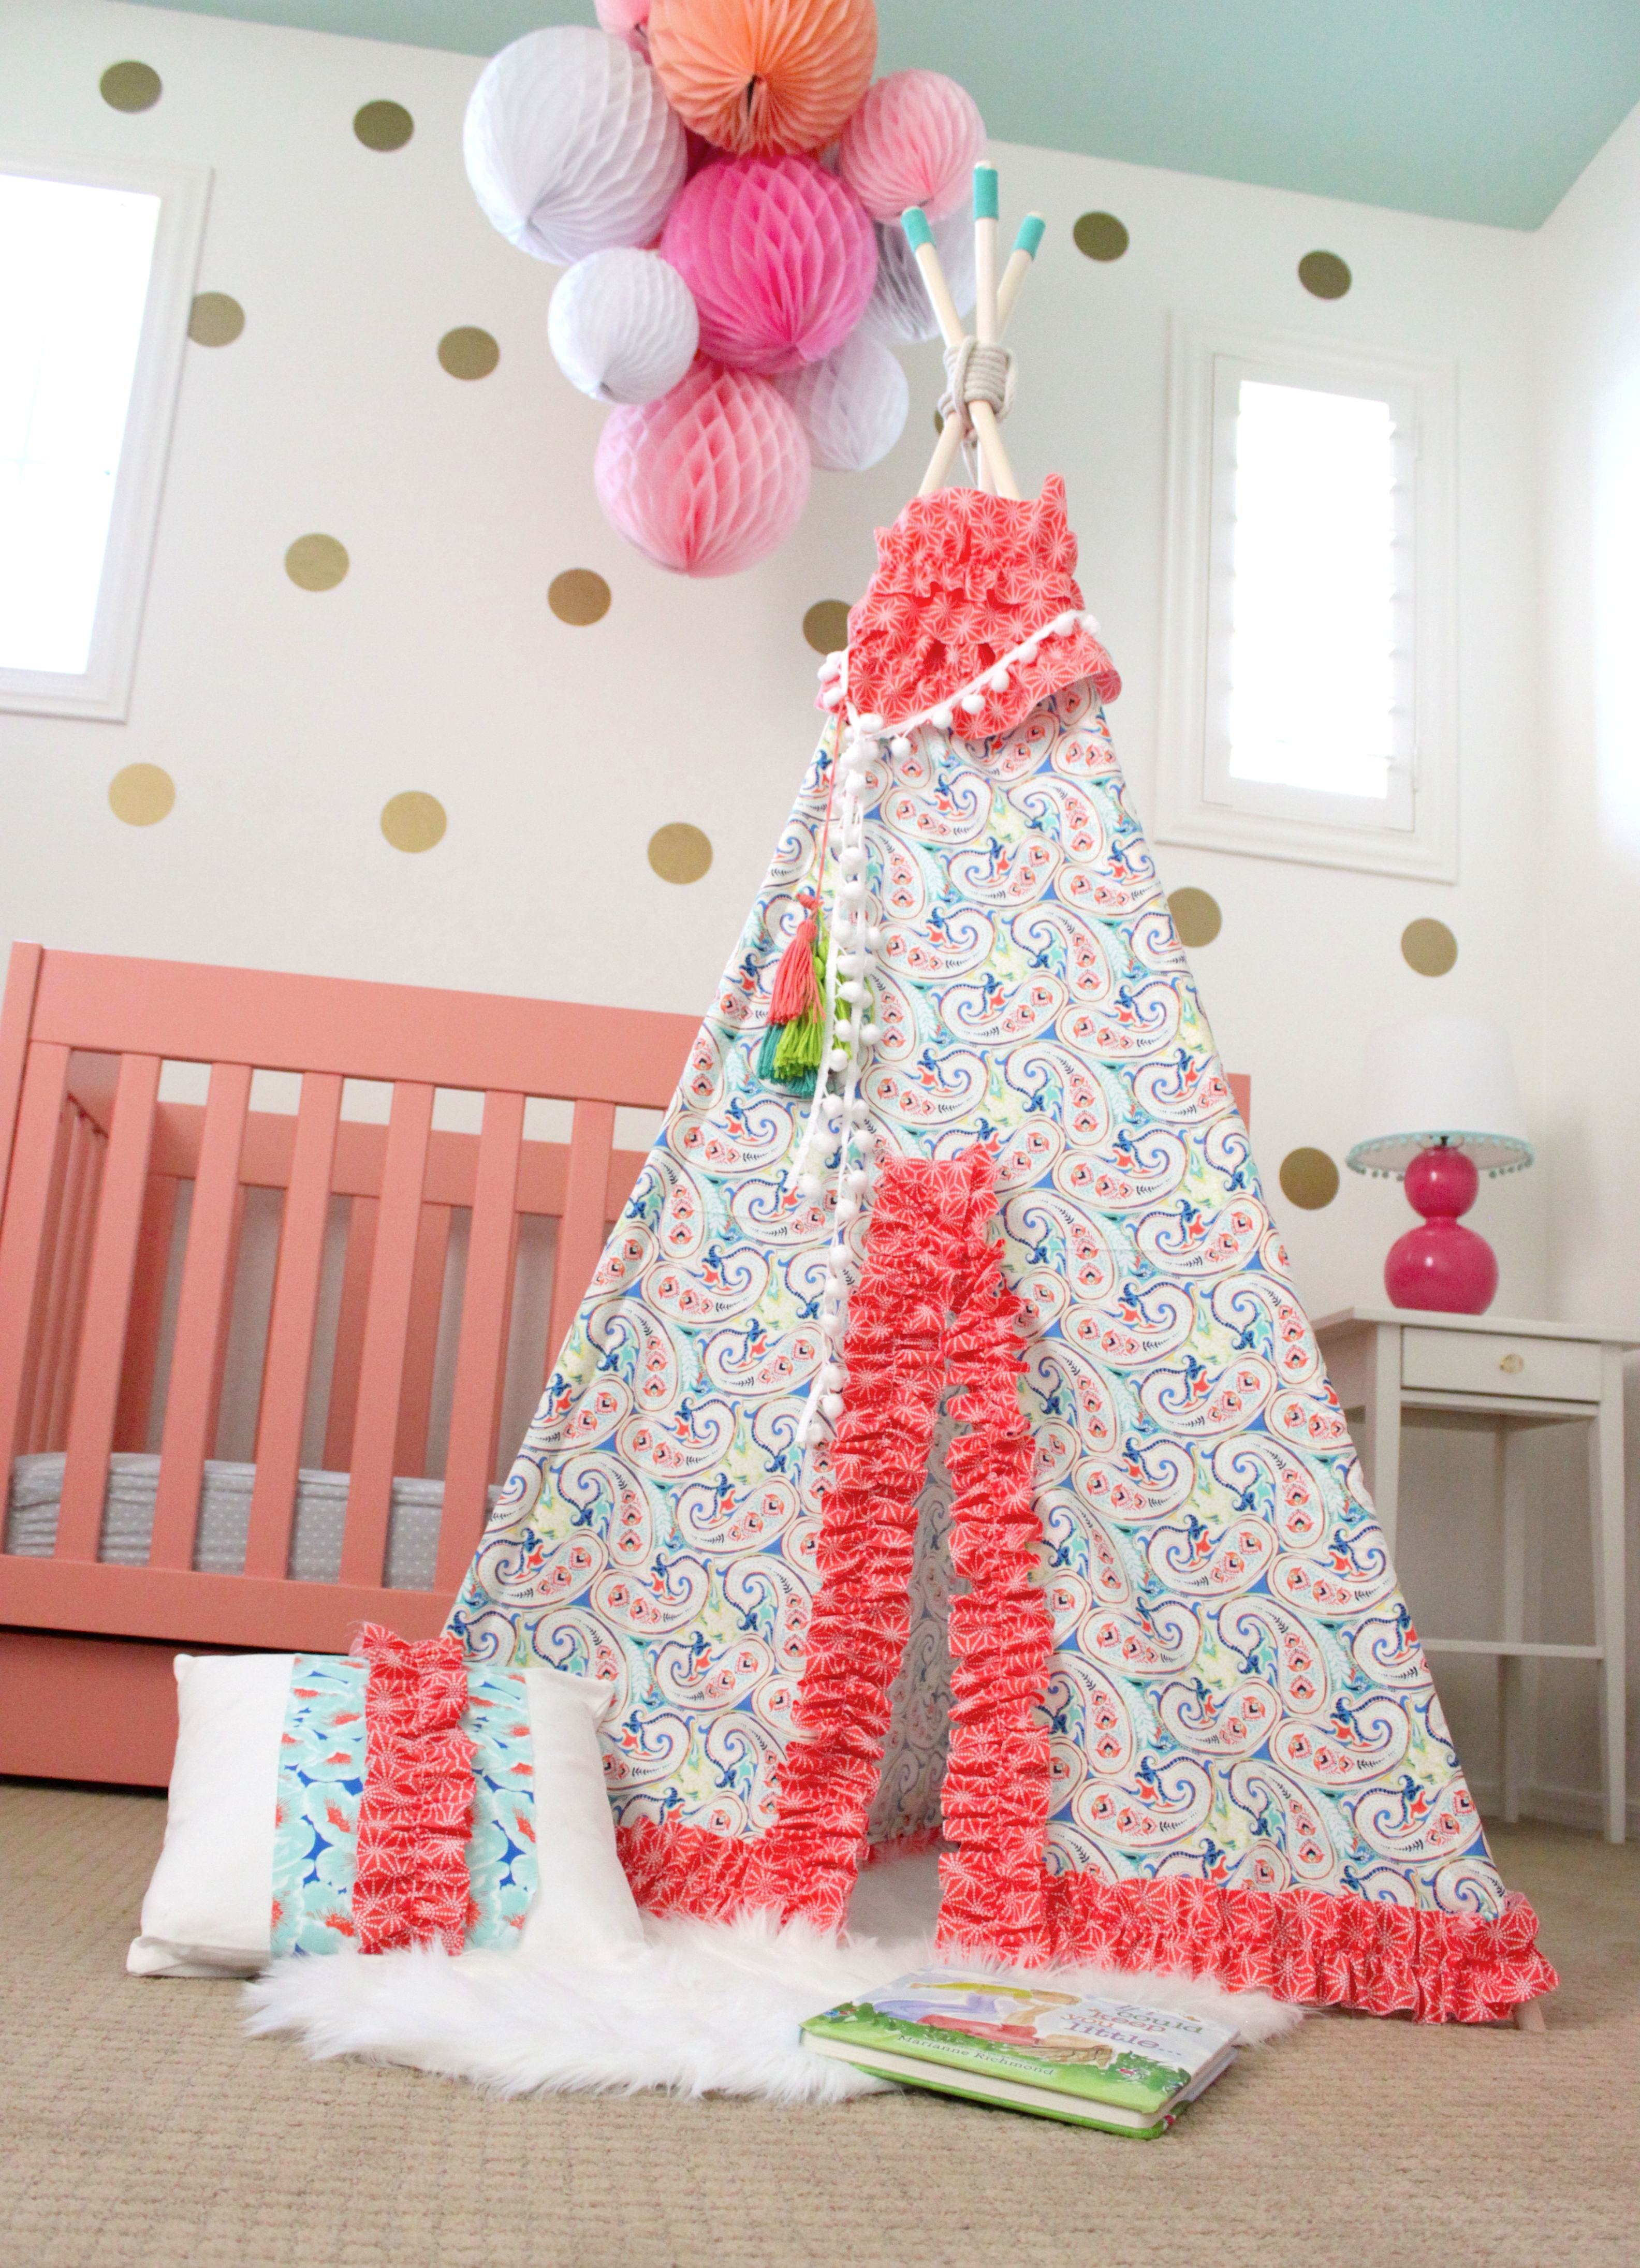
Materials: 3 yards of fabric for the body of the teepee (I used the Adele Collection from Springs Creative’s Springmaid fabric line, available at Jo-Ann Fabrics), 1.5 yards of coordinating fabric for the trim, 3 wooden dowels (72″ long x 3/4″ diameter), 4′ of rope, scissors, hot glue gun, (optional: pom pom trim, yarn tassels)

Start by laying out your fabric and cutting the following pieces.
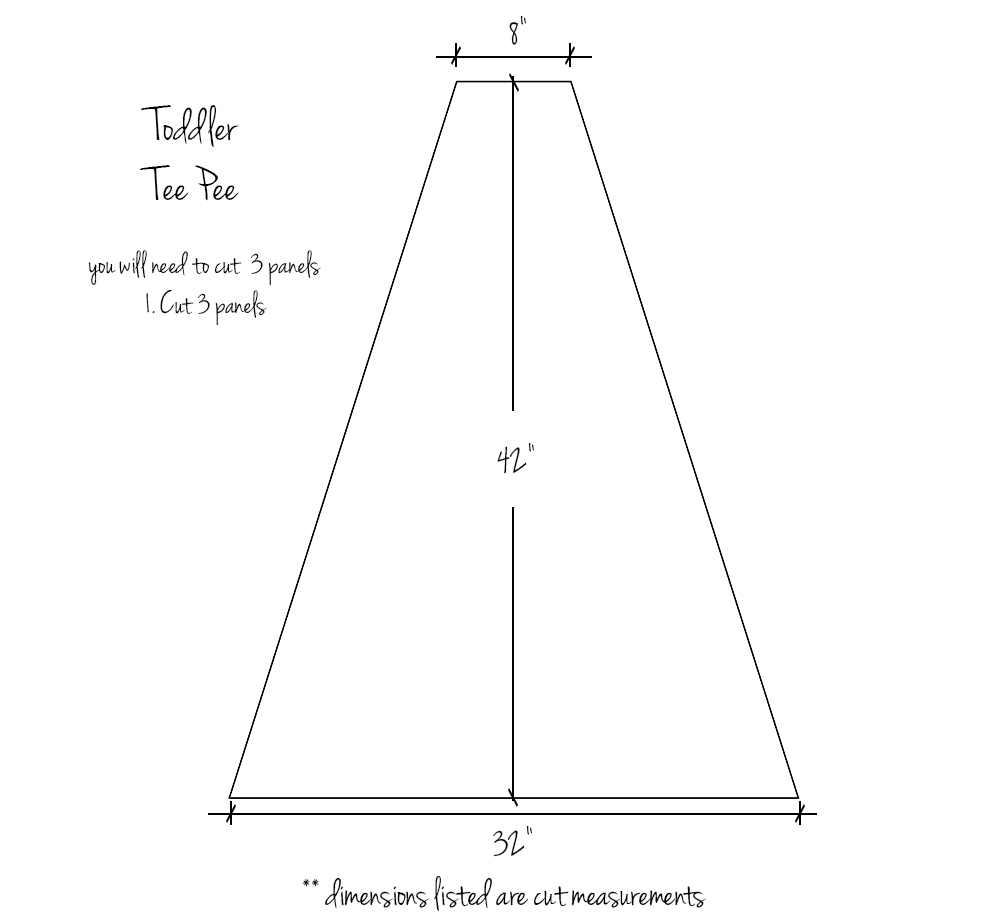

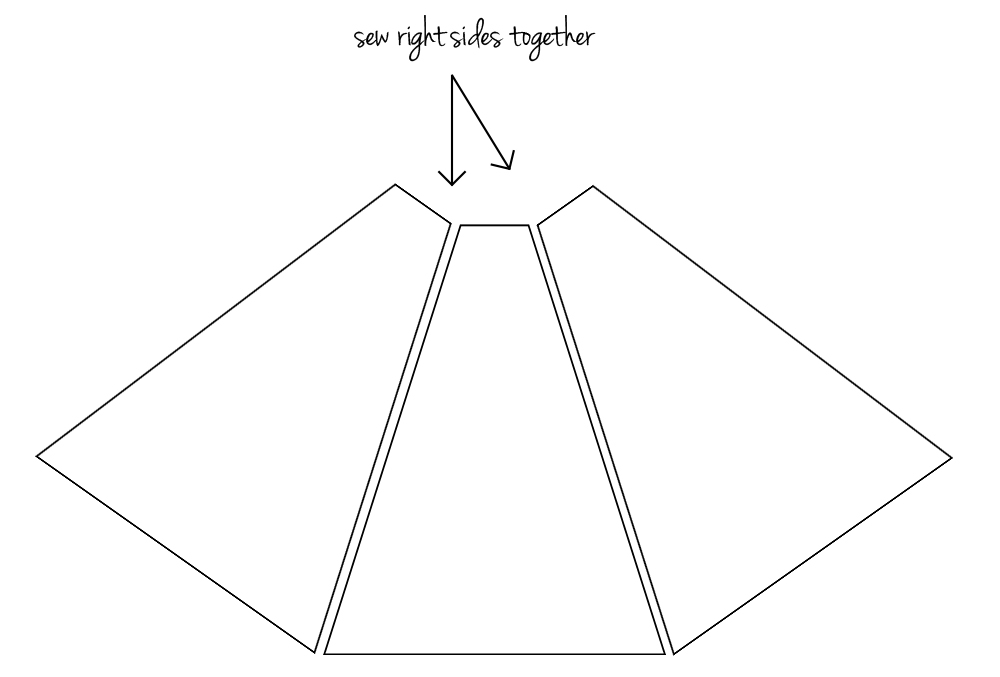
Once you have the three panels cut, sew them right sides together, as seen in the diagram below.

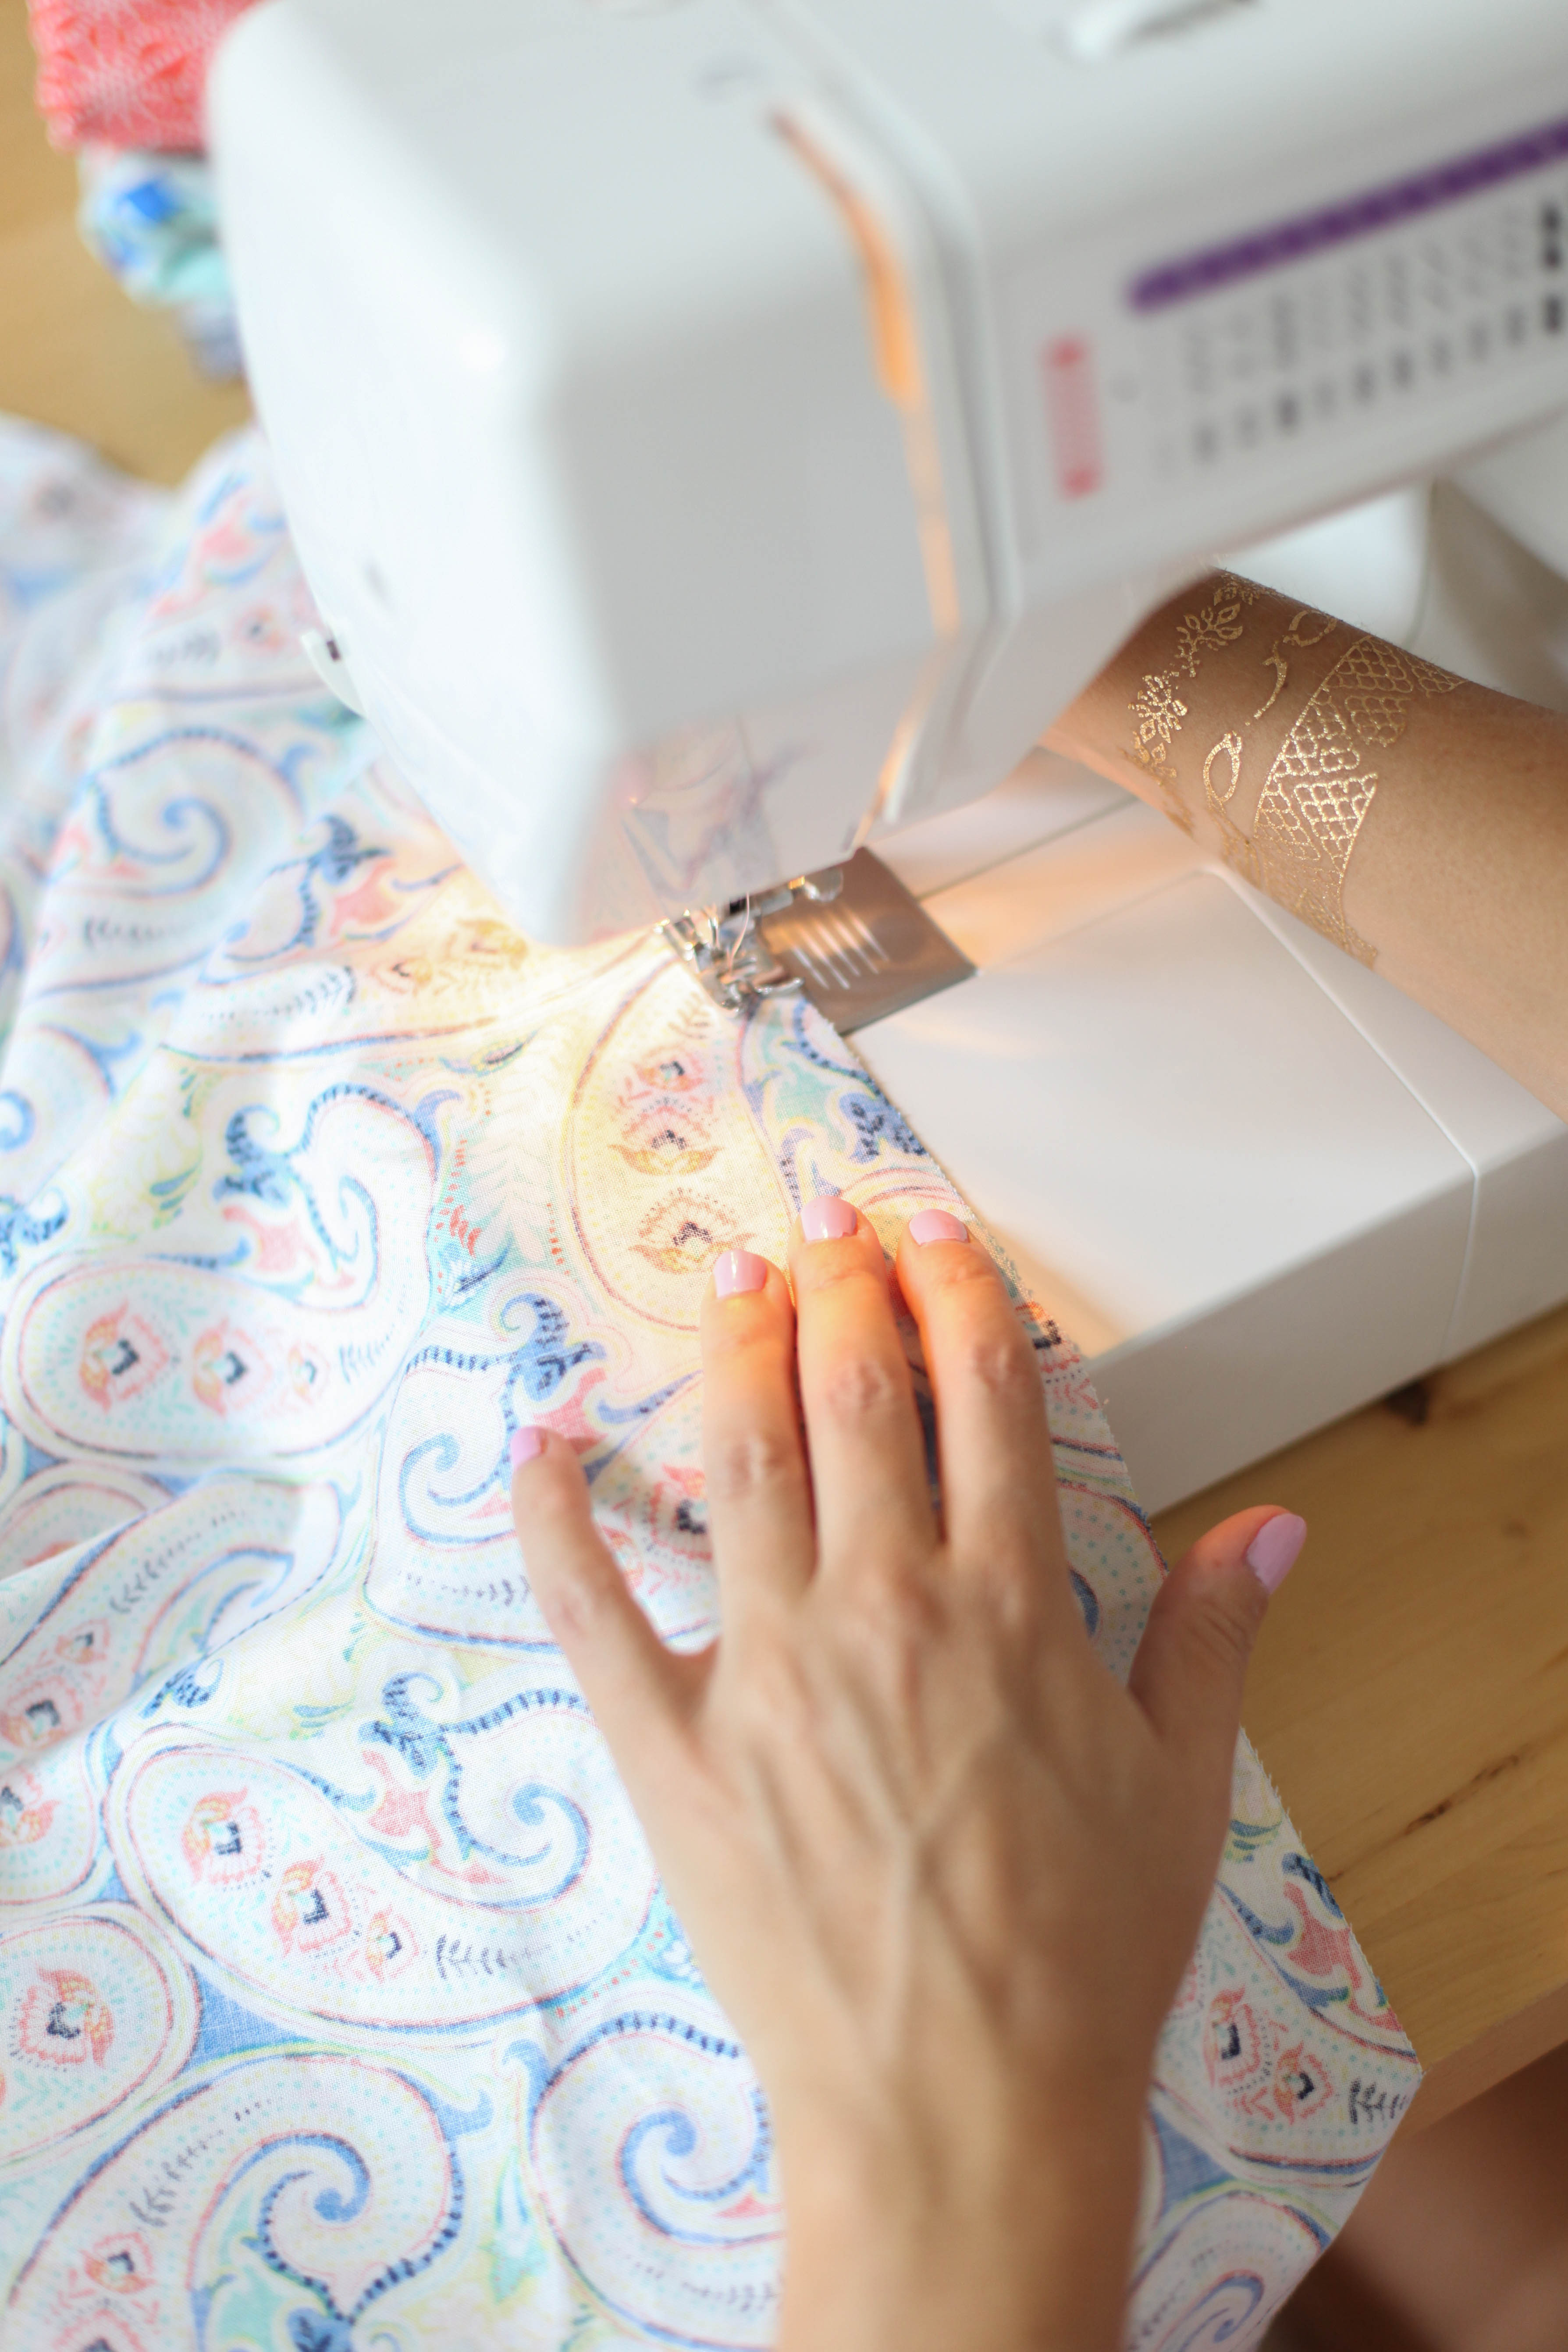
Now that the three panels are sewn together, you will want to hem the top and bottom edges using a top stitch.

After you finish hemming, take the two long edges that haven’t been sewn and sew them up (right sides together again) to form the body of the teepee.

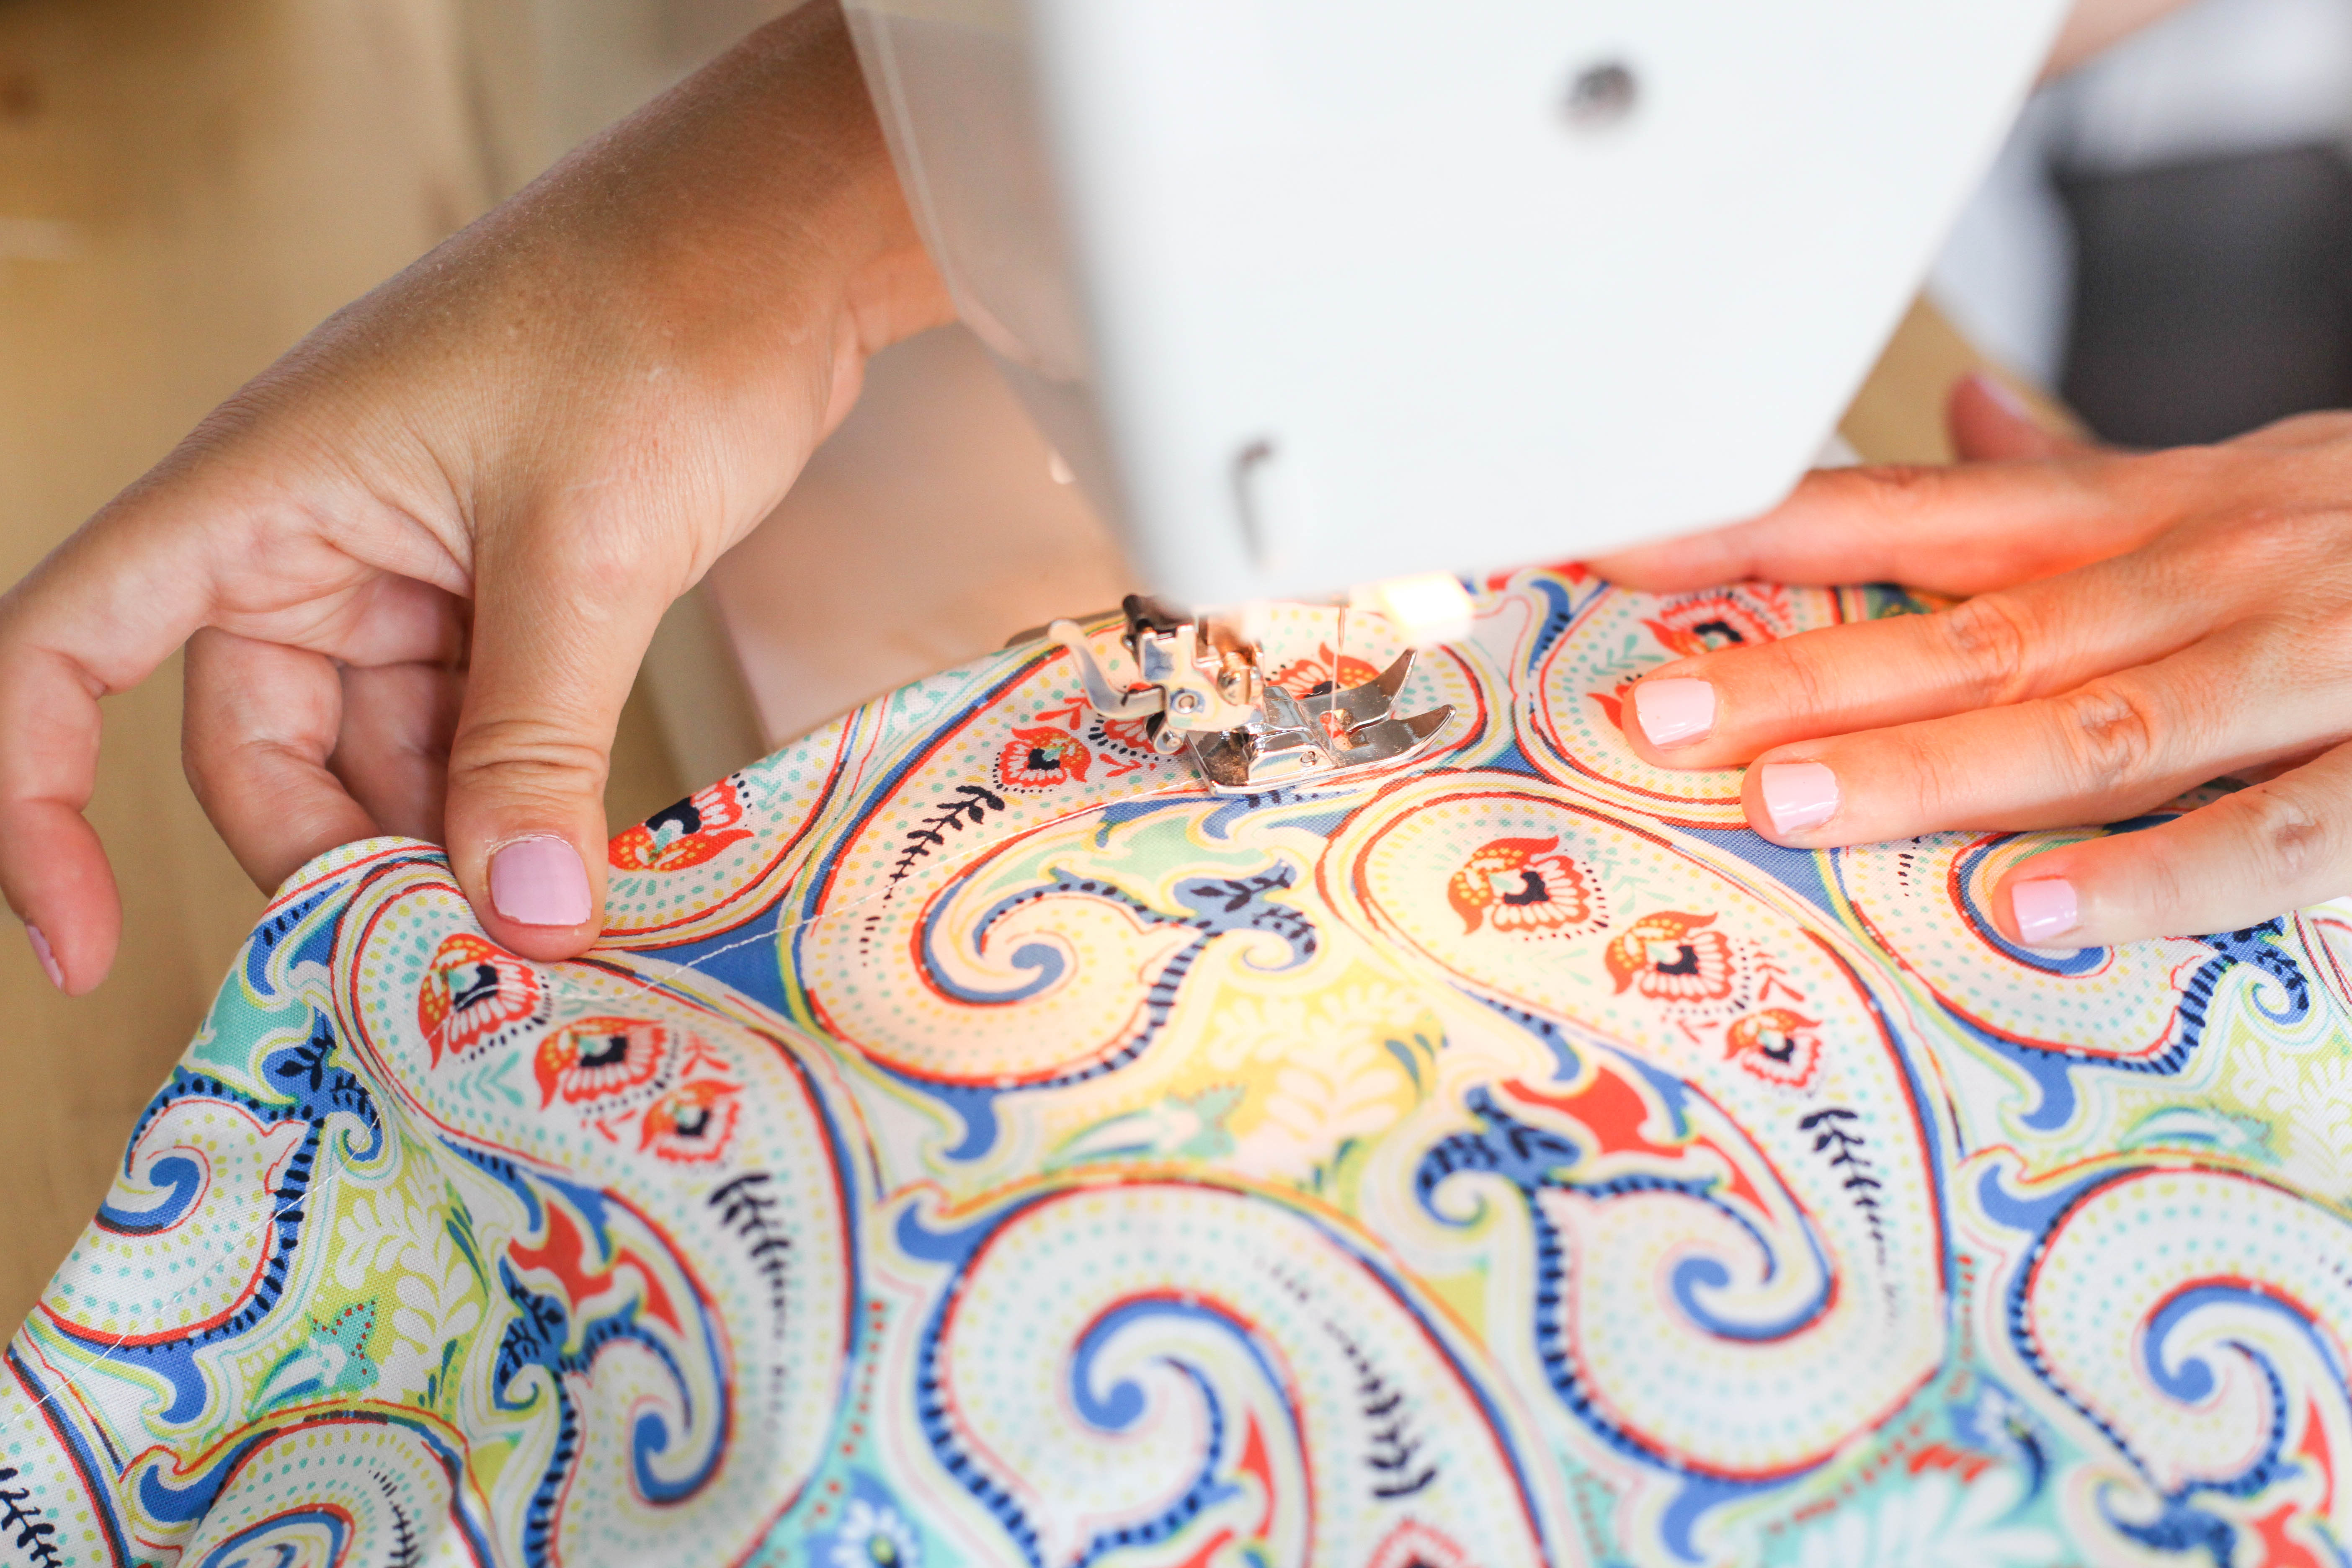
Next, turn the fabric right side out to sew the pocket holes that will hold the dowels. Using the dowel as a guide along the seam, wrap the fabric around the dowel from top to bottom and pin along the dowel, allowing a little room for movement. Once you have the fabric pinned, remove the dowel and start sewing parallel to your seam. Our pocket holes were approximately 2″ wide. Repeat this step three times—one pocket for each of the dowels.
Insert the dowels into the sewn pocket holes. Once the dowels are in position, wrap the rope around all three dowels and then up and around a few times until they are secure.
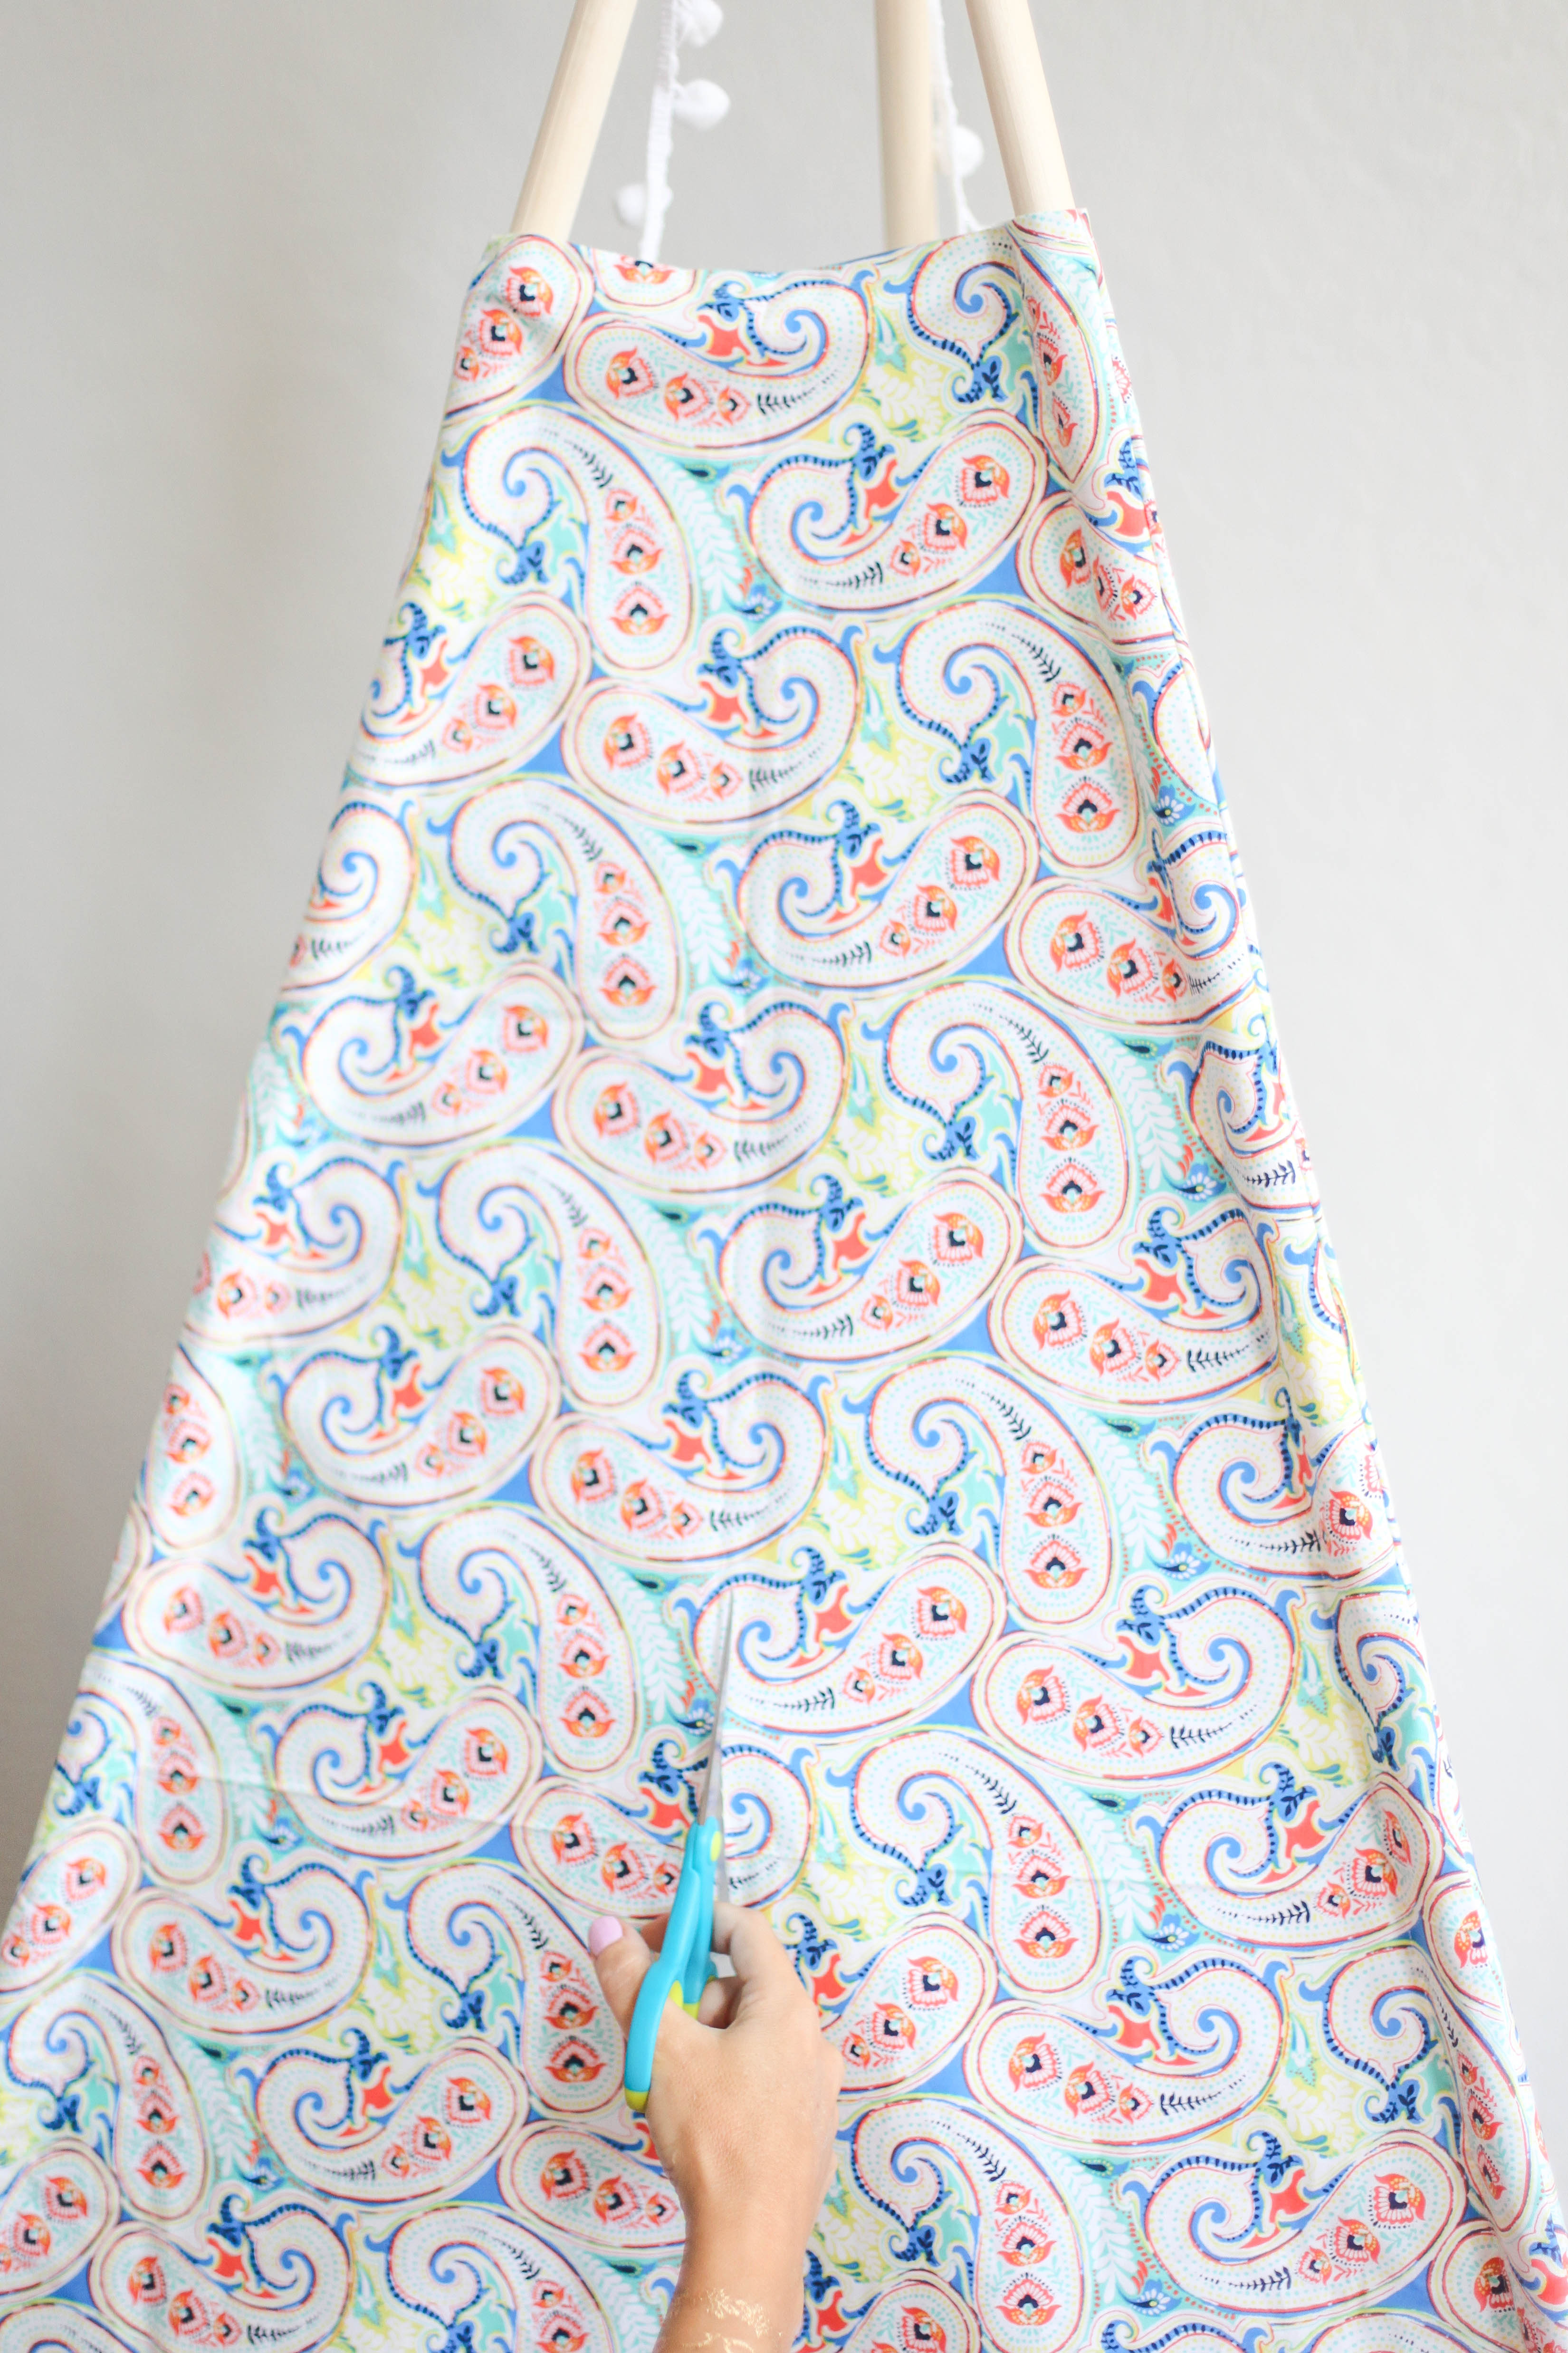
Now that the teepee is set up, you’ll want to cut a straight line in the center of one of the panels for the opening—we cut up about half of the height of the teepee.
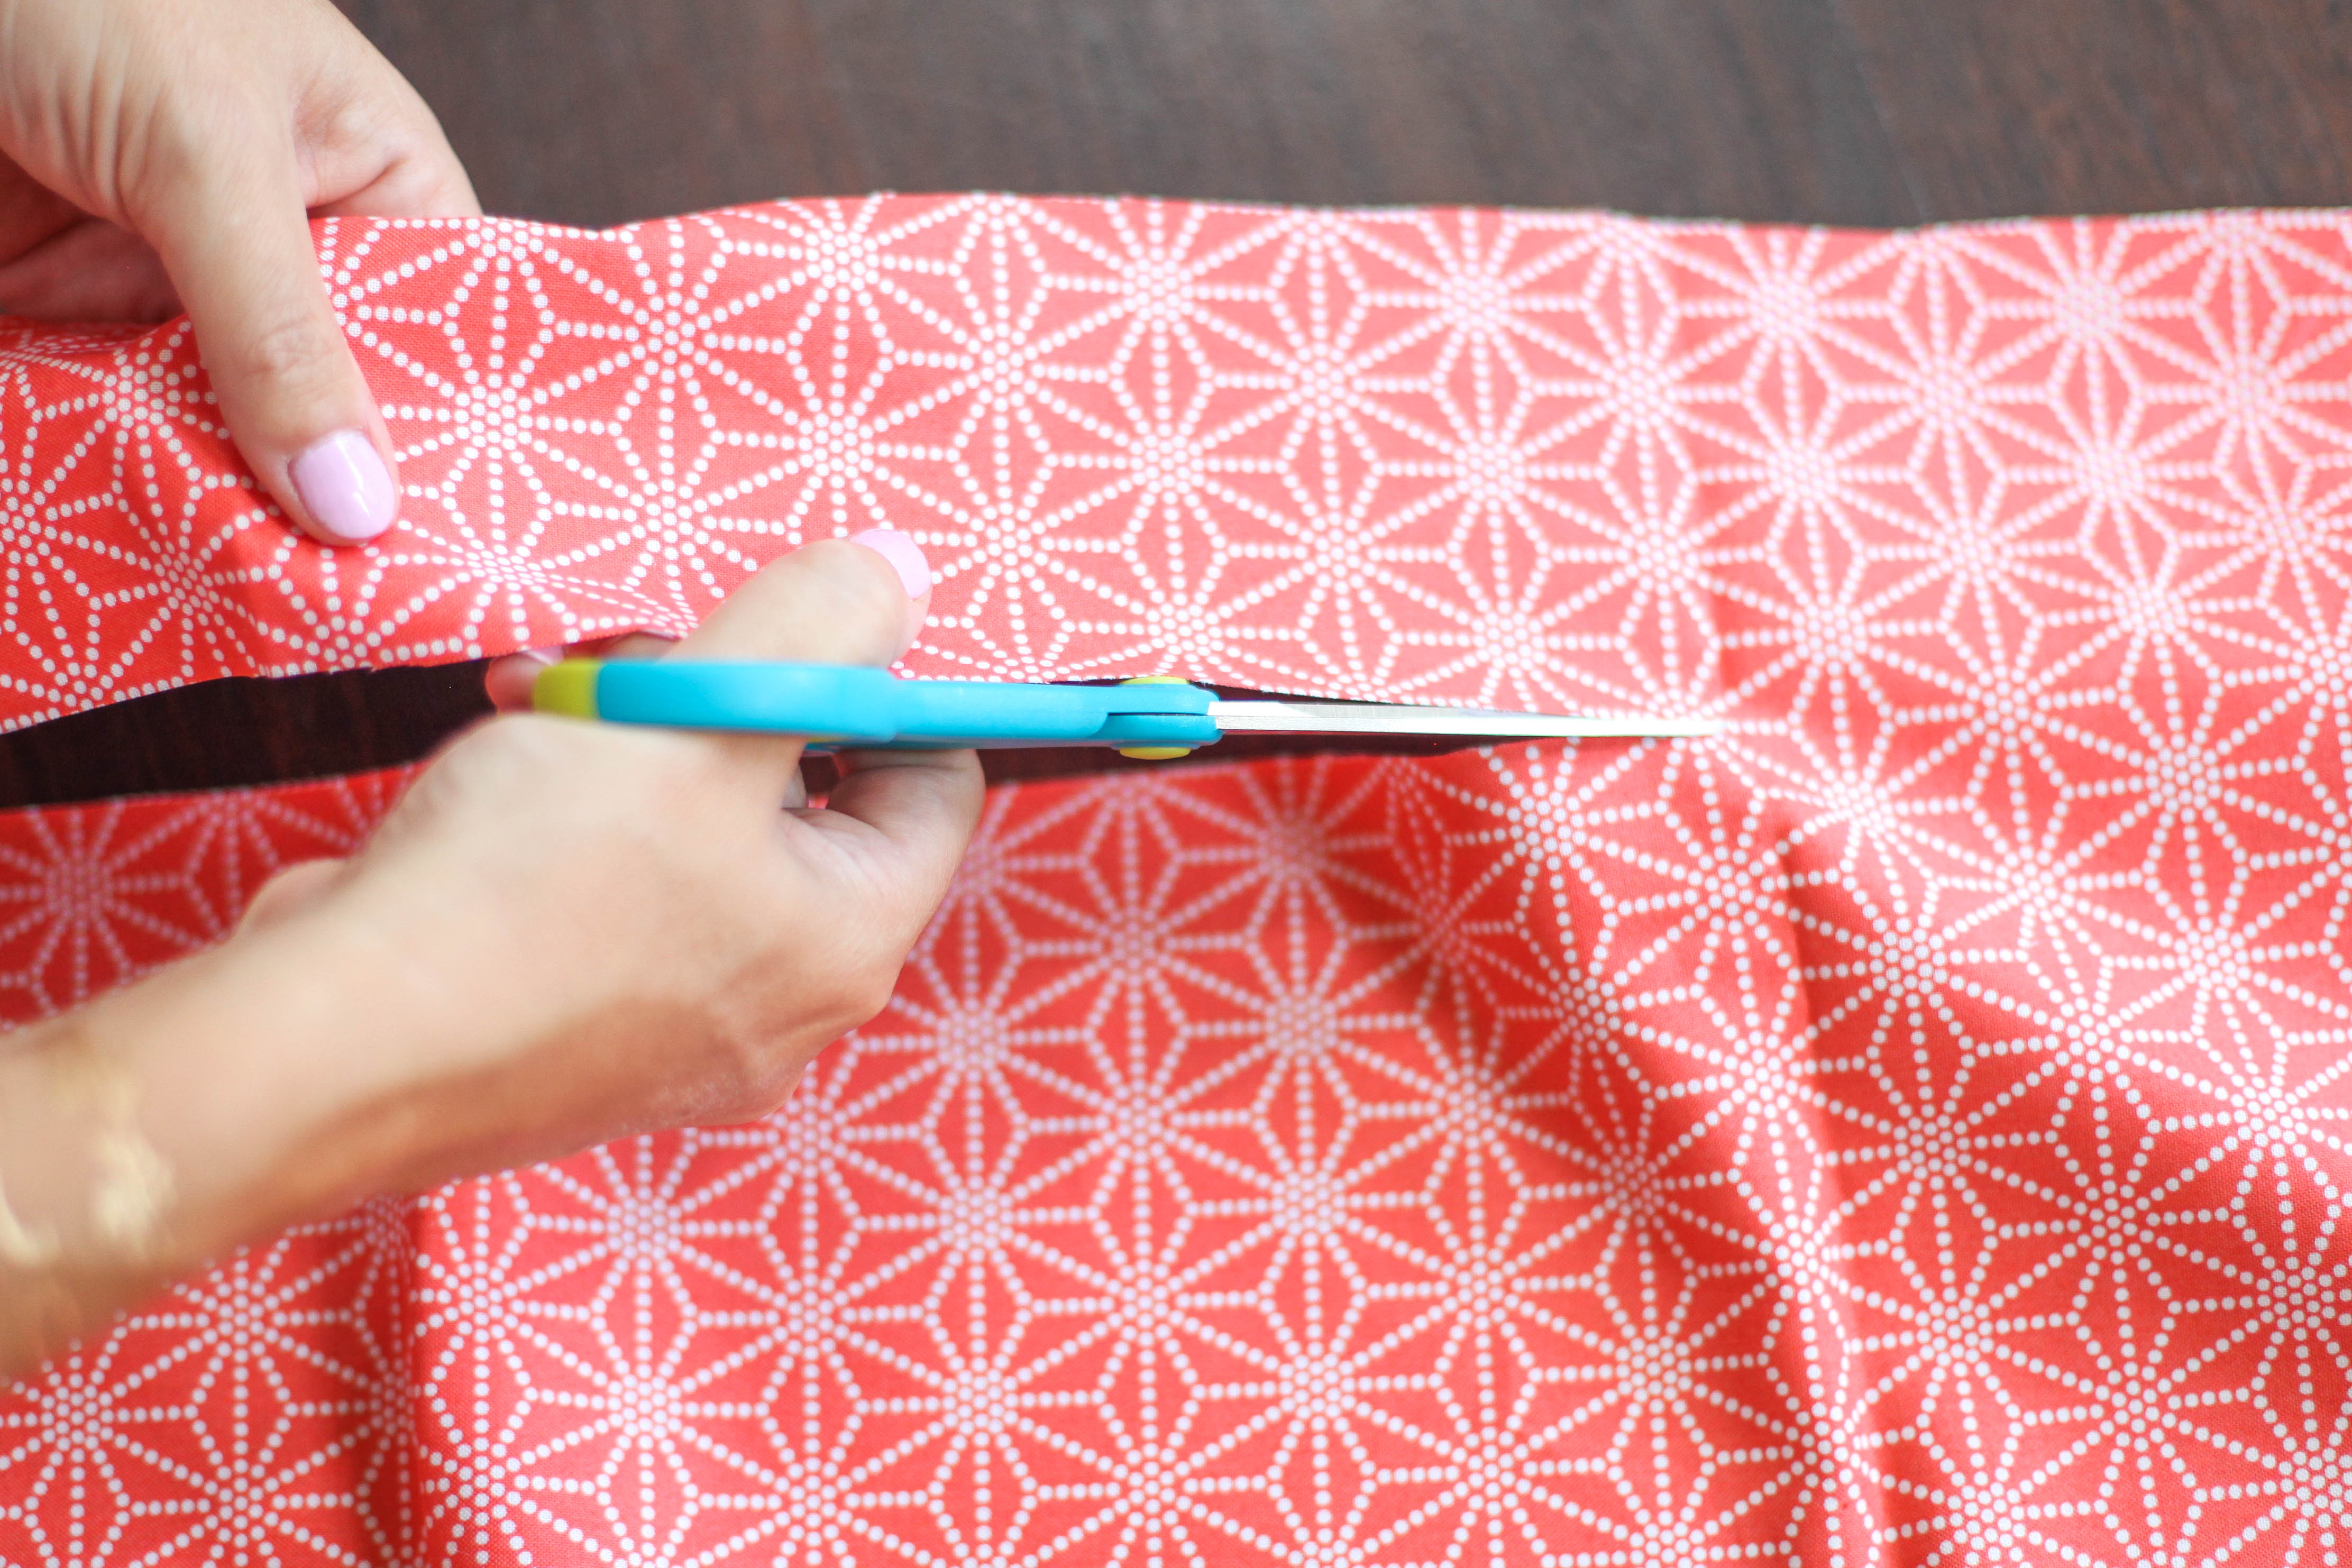
To finish off the cut edges of the opening, we embellished them with a very simple ruffled edge in a coordinating fabric. To make the ruffles, cut about 6 strips of 4″ x 42″ fabric to start. You may need more or less depending on the finished size of your teepee.
Set your sewing machine to the highest tension and a long stitch length and begin to sew down the middle of each strip of fabric—the machine with magically create ruffles!
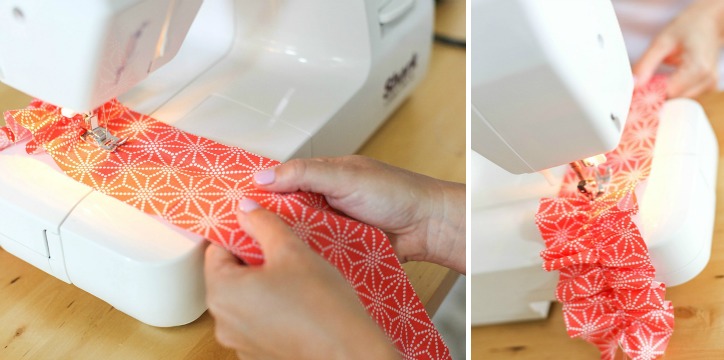
We left the edges raw, but if you want a more finished look, you can always hem the edges of your fabric strips before ruffling. Once we had a bunch of ruffles made, we used hot glue to attach them to the opening of the teepee and all around the base.


We used the same technique with 6″ strips of fabric to layer at the top of the teepee. Secure the ruffles to the top edge with hot glue.
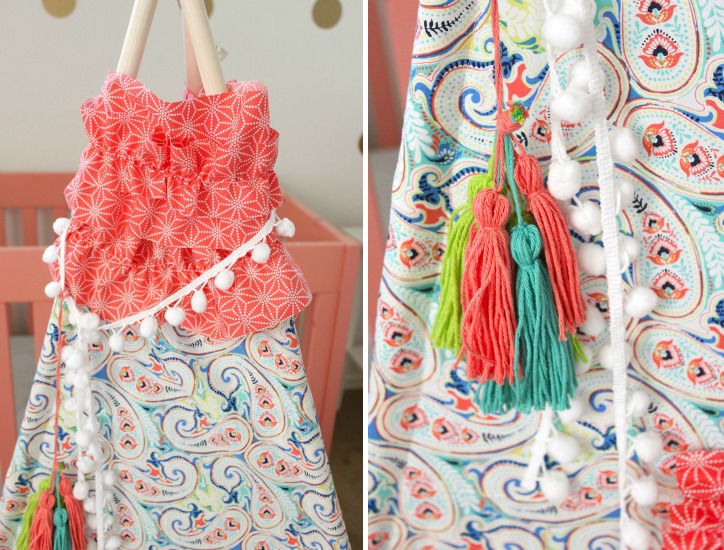
Embellish your teepee however you like. We used pom pom trim and yarn tassels, and we wrapped the tops of the dowels with coordinating yarn to add the perfect finishing touches to our DIY teepee.

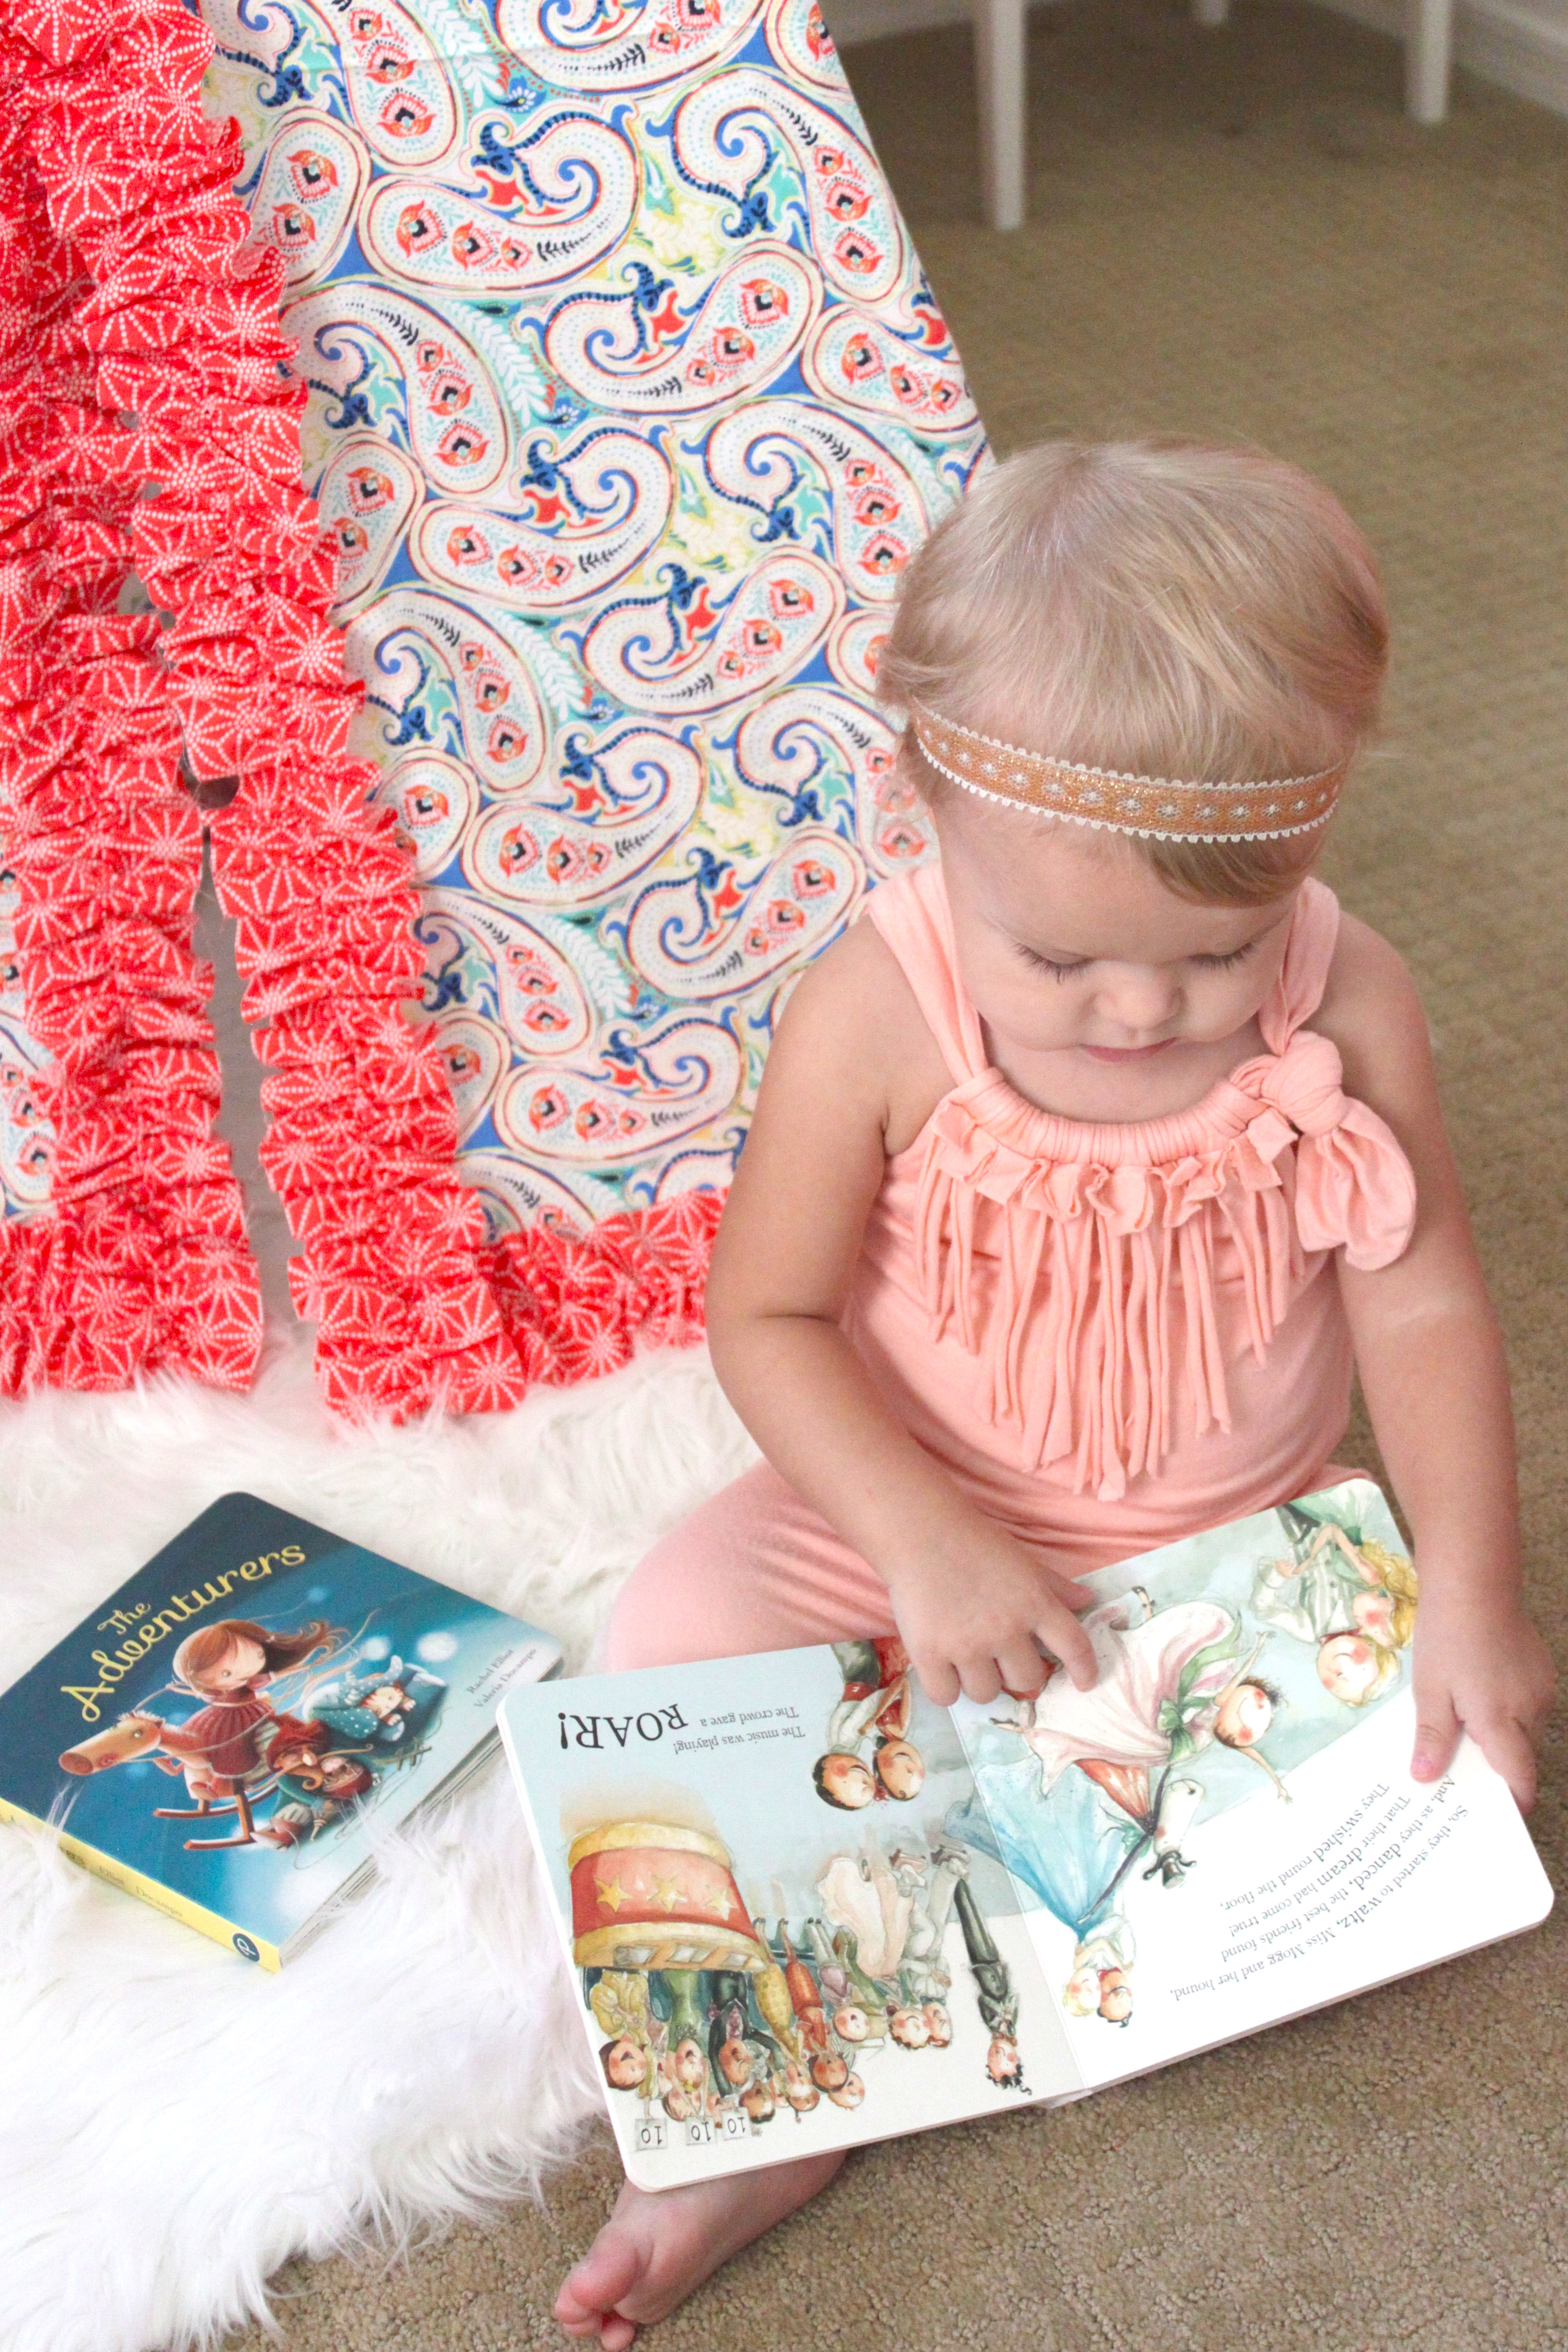
Accessorize with pillows, a faux fur rug and of course some books!

Now what’s that saying… If you build it, they will come! It wasn’t too long before our little friend moved in and sat down to enjoy her new reading spot!


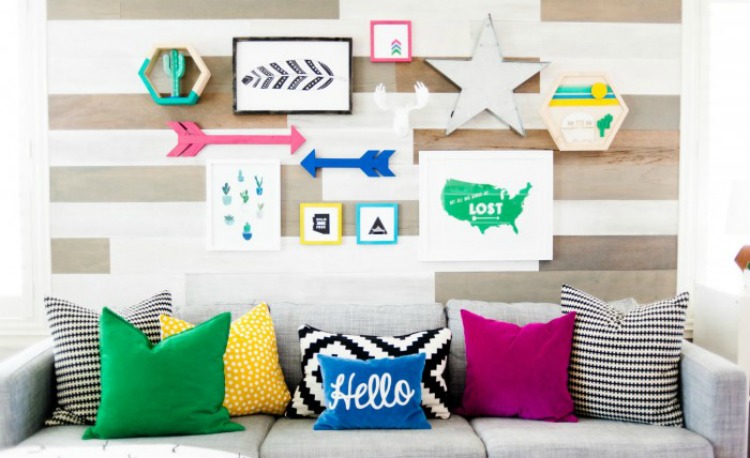
And here’s what it looks like in a nursery styled with other DIY projects using the Adele Collection from Springs Creative’s Springmaid fabric line.

More About Springmaid & The Adele Collection
With a 90-year heritage that is rich in tradition and quality, Springmaid holds a strong place in Springs Creative’s history as one of the flagship licensing brands —a brand on which the company was founded and a brand that consumers today continue to recognize and trust. Nine decades ago, they planted the seeds of a brand that was simple, unpretentious and trustworthy. With strong roots, it retains those traits today and into the future. The entire new Springmaid collection has been created from pieces from Baxter Mill Archive, housed at our headquarters in South Carolina. Each collection represents several eras, ranging from the classic look of 1940s to the pop art of the 1960s.
With its delicate patterns, bright blend of colors and unique designs, the Springmaid Adele collection marries the classic Springmaid brand with a new age of sophistication. This collection combines purples, blues and pinks with floral, plaid and paisley, creating a truly exceptional work of art that is also practical and suitable for a wide variety of sewing projects and crafts.
This is a sponsored post. Thanks for your support
in our effort to bring you exciting content.




Comments