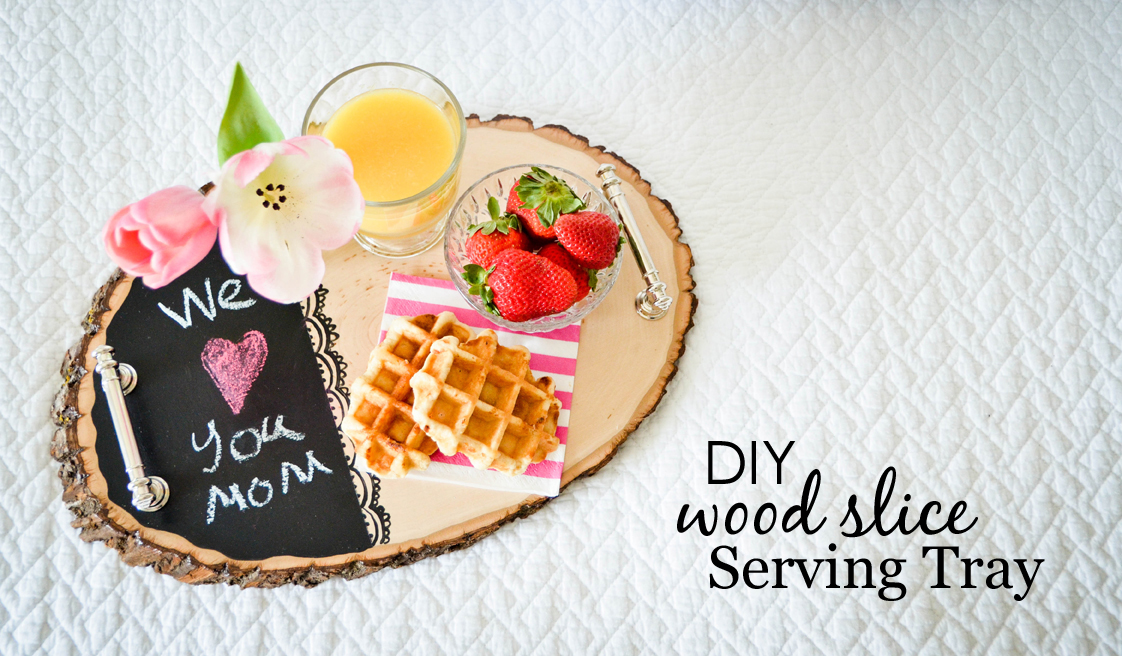
There are two things I am not—an early riser and an enthusiastic chef. So there are two days a year that my family knows the best gift they can give me is to allow me to sleep in and not have to cook anything for anyone. Mother’s Day (and my birthday) are my favorite holidays for this very reason! Wouldn’t it be lovely to leisurely wake up and find your breakfast on the nightstand atop this gorgeous DIY wood slice serving tray? It’s easier than you think to put one together for yourself.
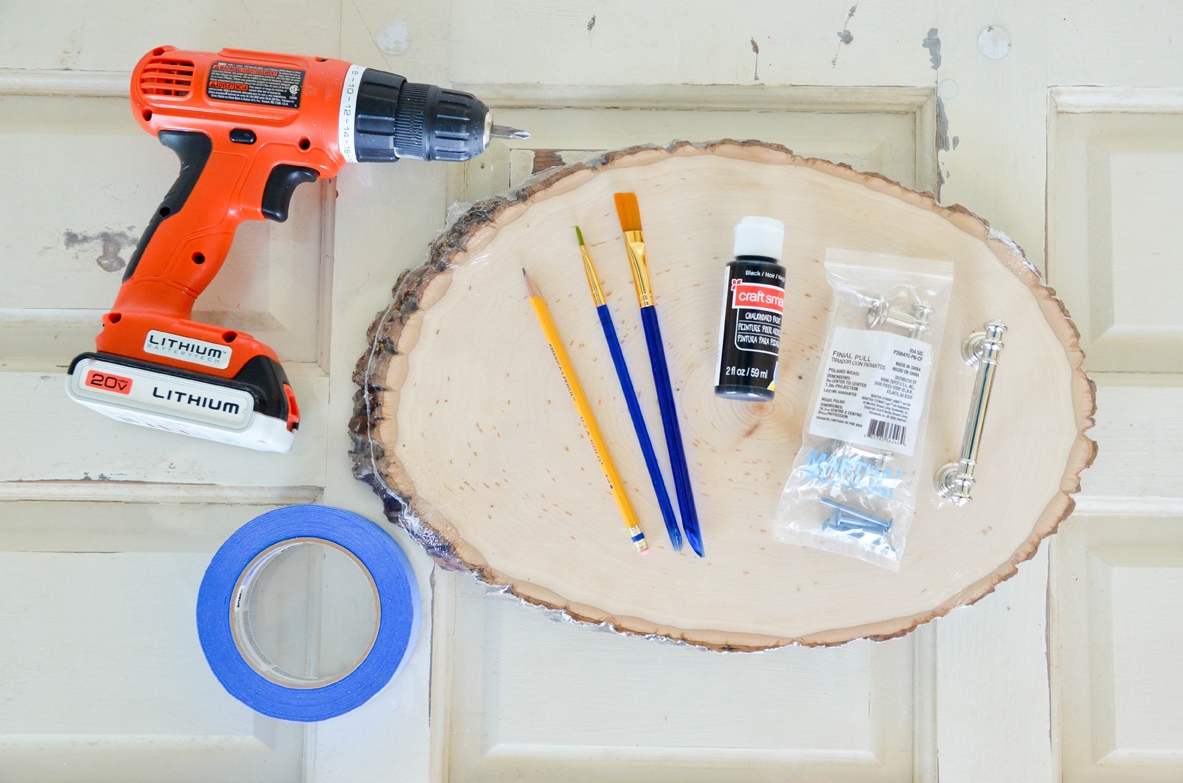
Materials: 1 medium to large wood slice (available at most craft stores), 2 drawer handles (mine are from the Martha Stewart Living collection, found at Home Depot), tape, chalkboard paint, paintbrushes, drill, drill bit, screwdriver, semi-gloss polycrylic (optional)
Even with my pricier drawer handles, by applying a 40% off coupon for the wood slice and using polycrylic I had on hand, this project cost me only $16!
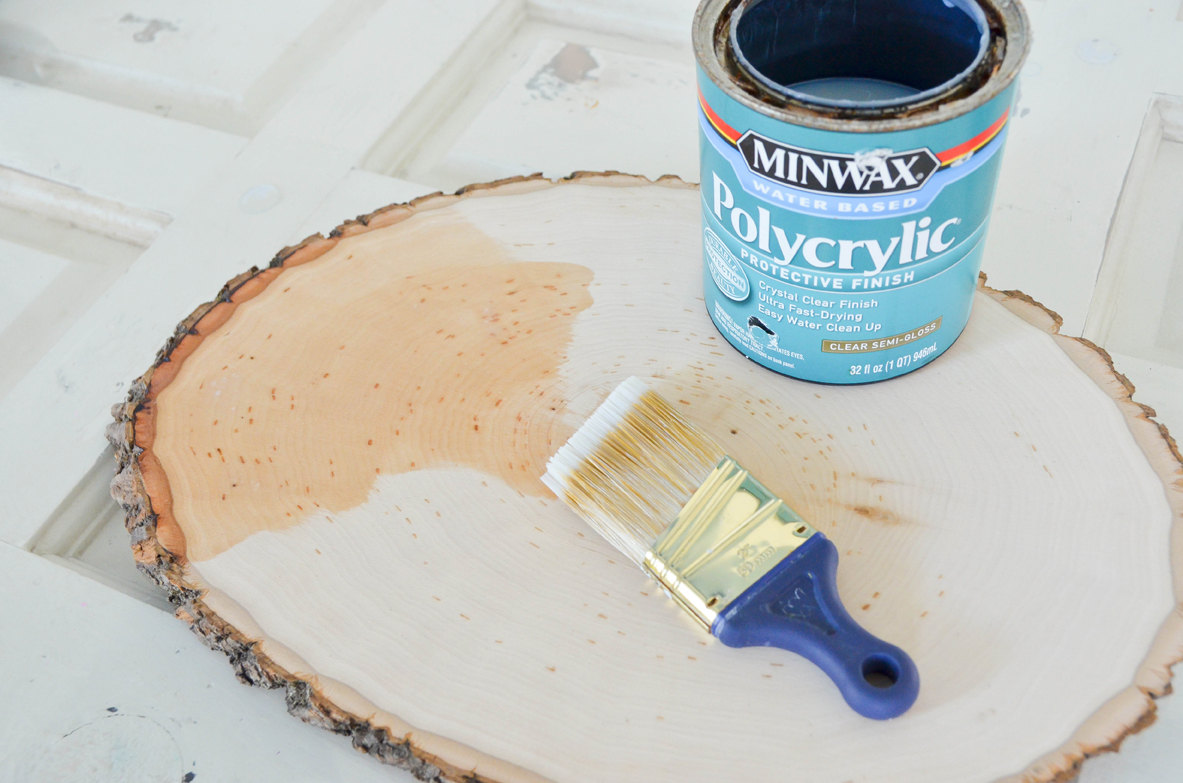
Most of these wood slices come raw and unfinished. To protect the serving surface from food oils or grease, I recommend coating the top with semi-gloss polycrylic first. I applied three coats, allowing each one to cure before continuing. This step is entirely optional.
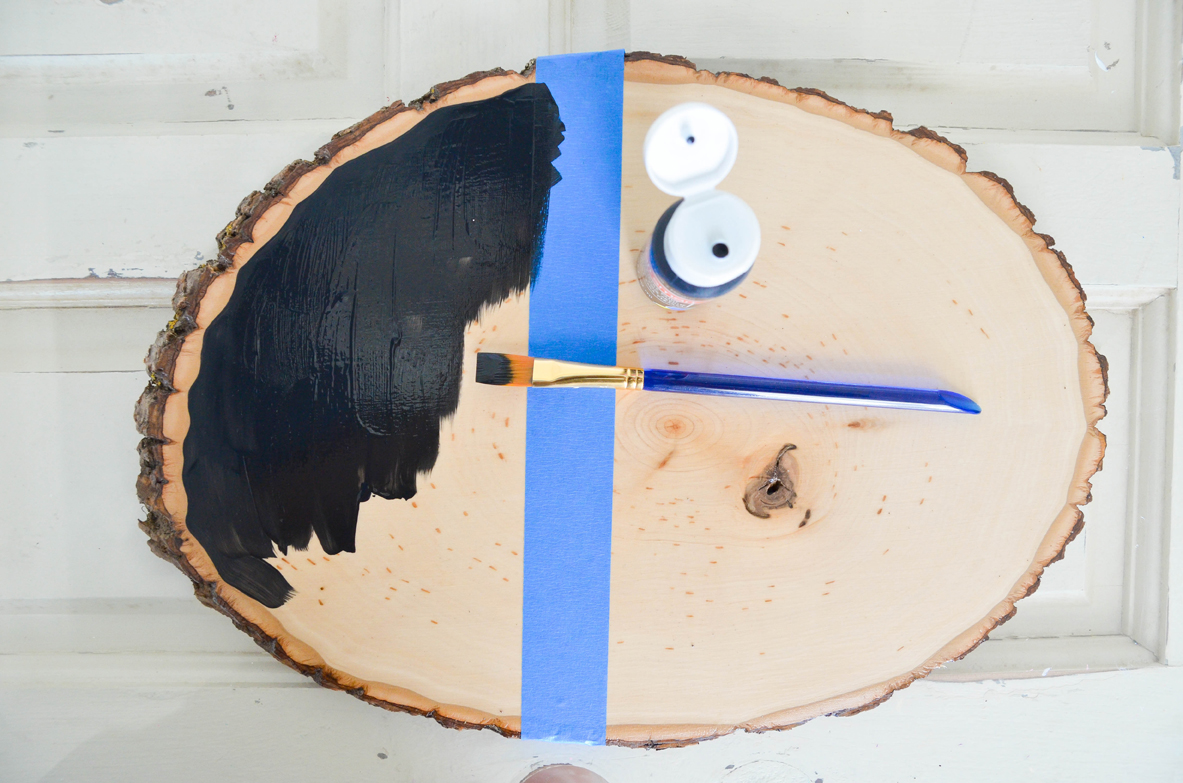
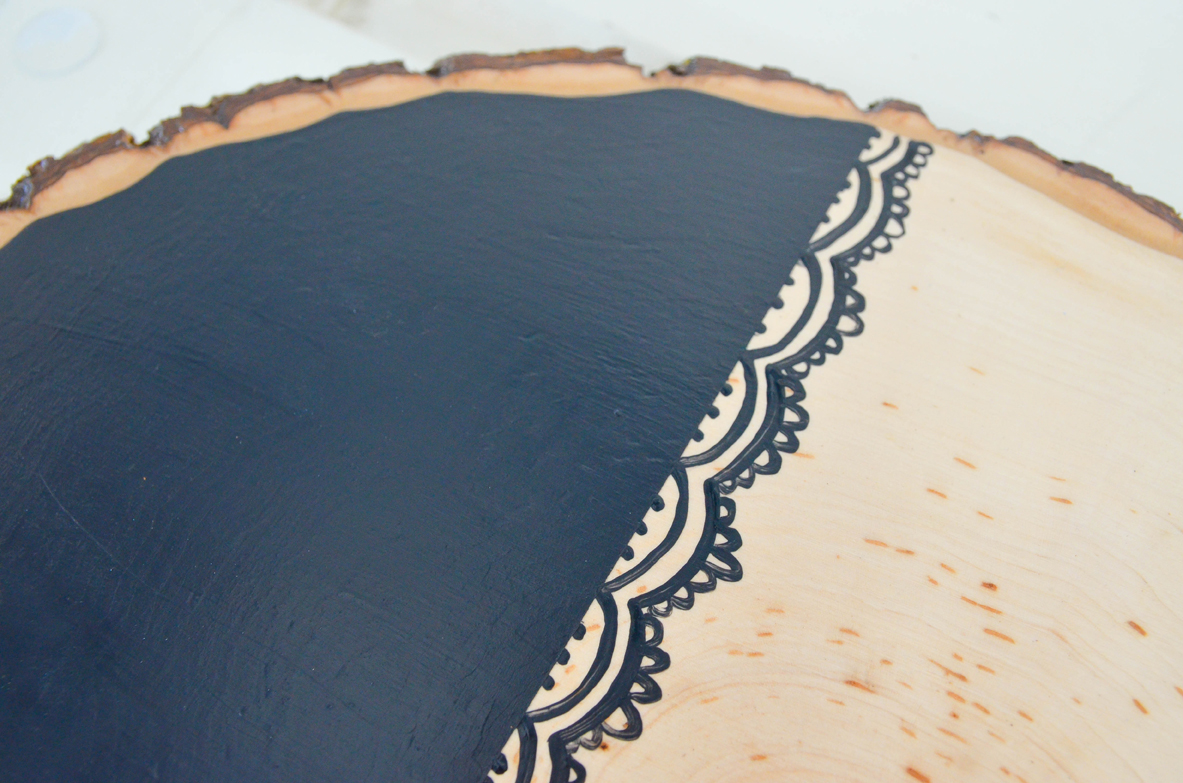
Next, tape off a section of the wood slice and cover it with chalkboard paint. To add a little character, I also free-handed a lace detail along the edge.
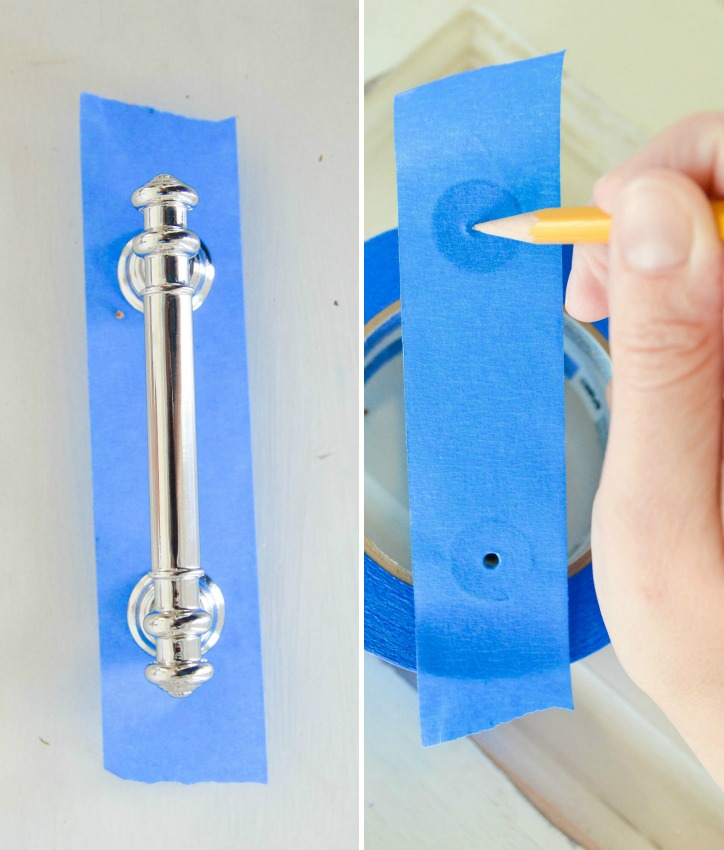
Trying to measure and mark the exact distance between the holes on your drawer handles is a pain. It’s quicker to stick a piece of tape to the bottom of the hardware, flip it over and punch out the holes with a pencil. Voila! An instant and accurate template!
Position your tape templates where you want to attach your handles.
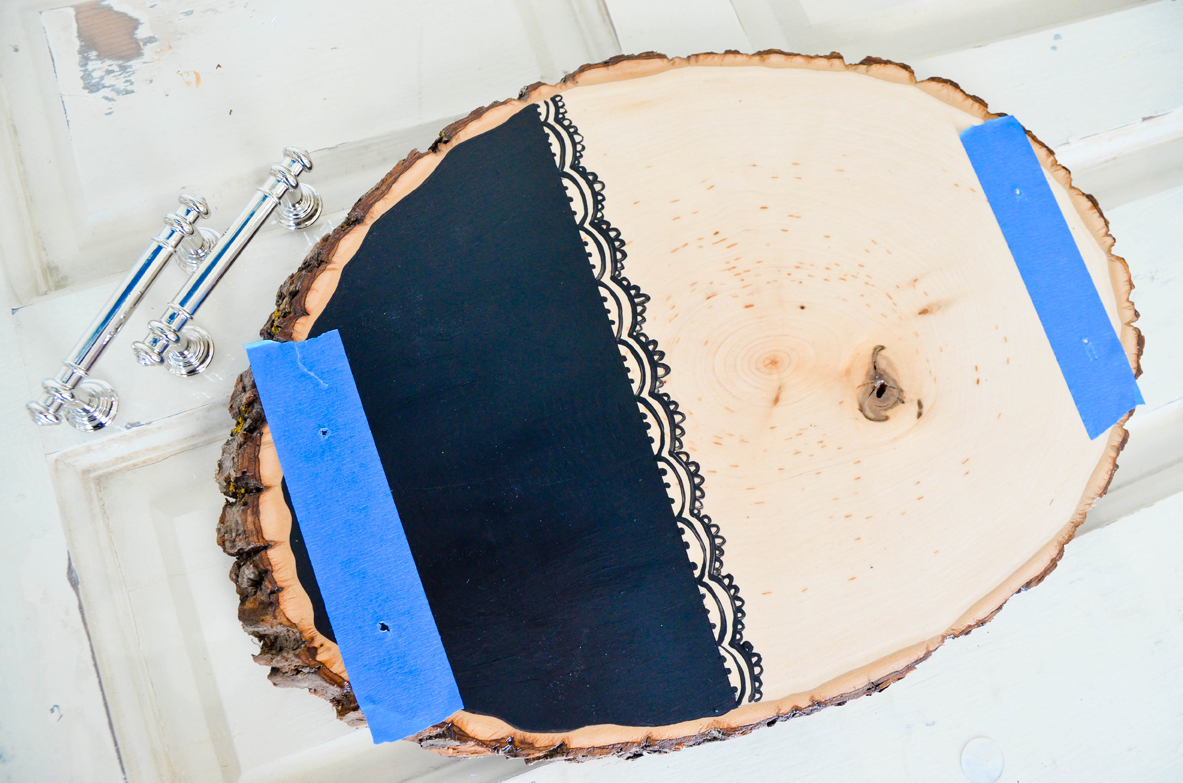
Drill through the templates with the correct size drill bit for the screws that accompany your drawer handles. Then attach the handles from beneath with a screwdriver.

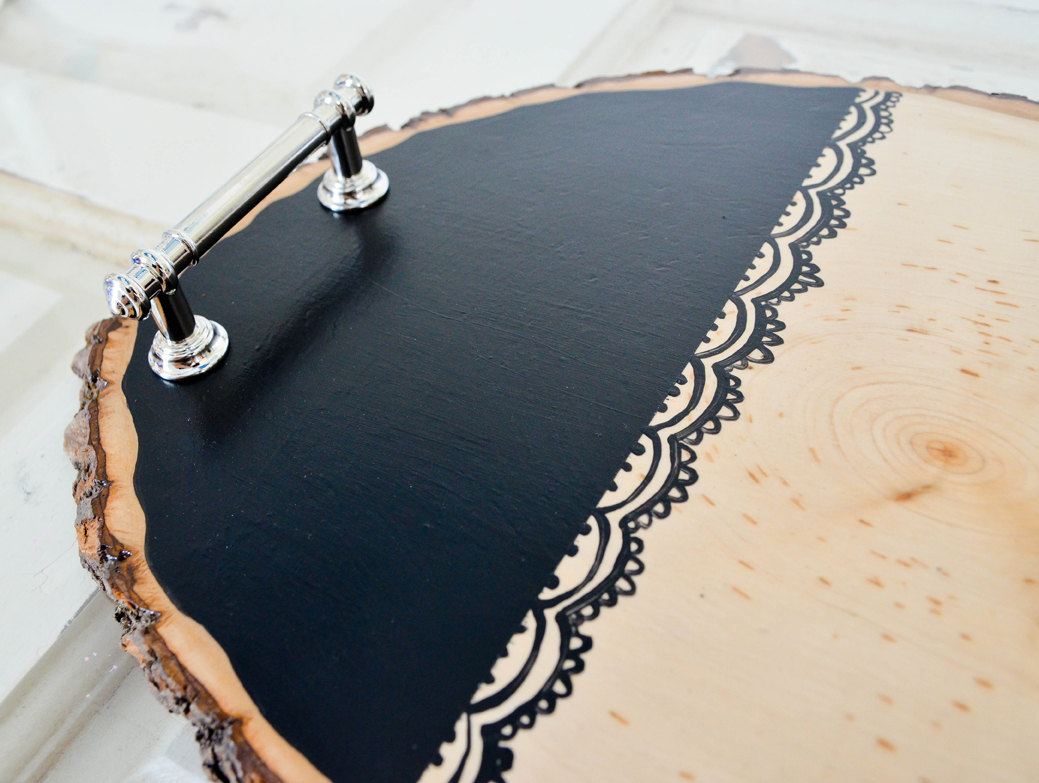
Unless your spouse or children are craft-inclined (and you give them a link to this tutorial), I realize you will probably be making this yourself. Mine aren’t and I did. But I fully intend to display this beautiful wood slice serving tray in our kitchen for the next couple of weeks as a not-so-subtle hint of what I really want this Mother’s Day—to sleep until 9:00 and munch Belgian waffles under my covers.
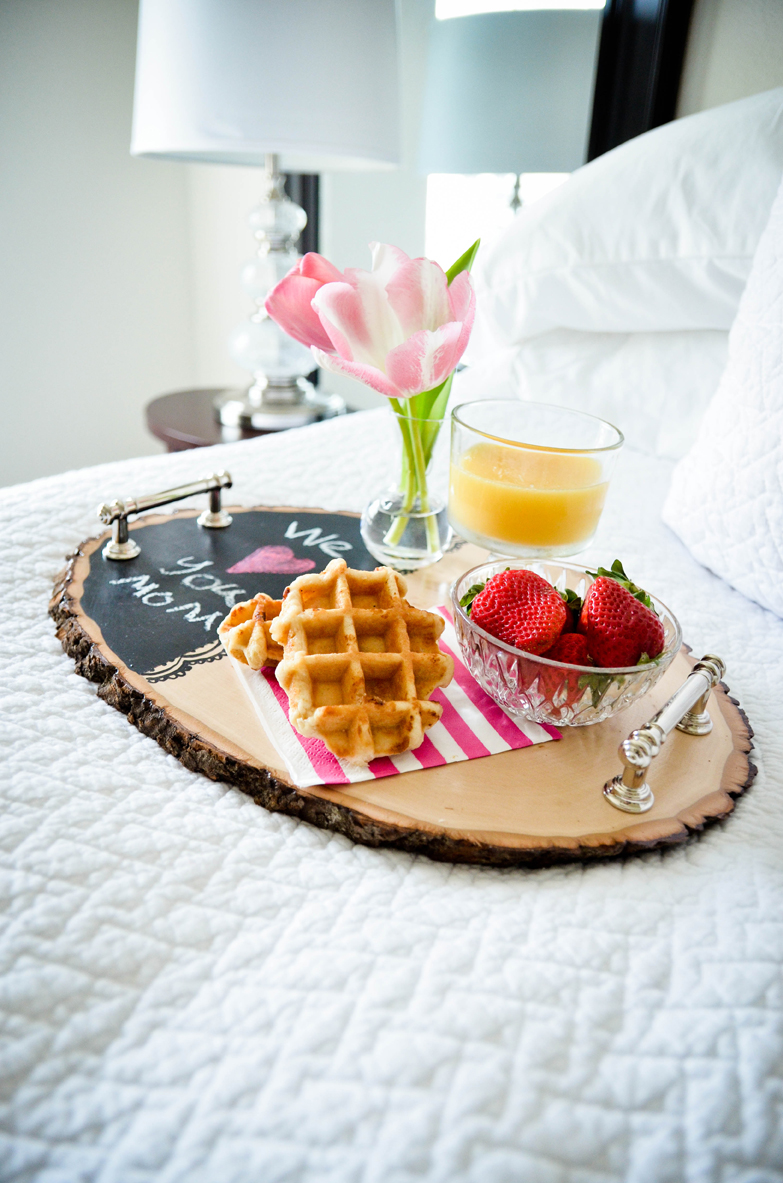
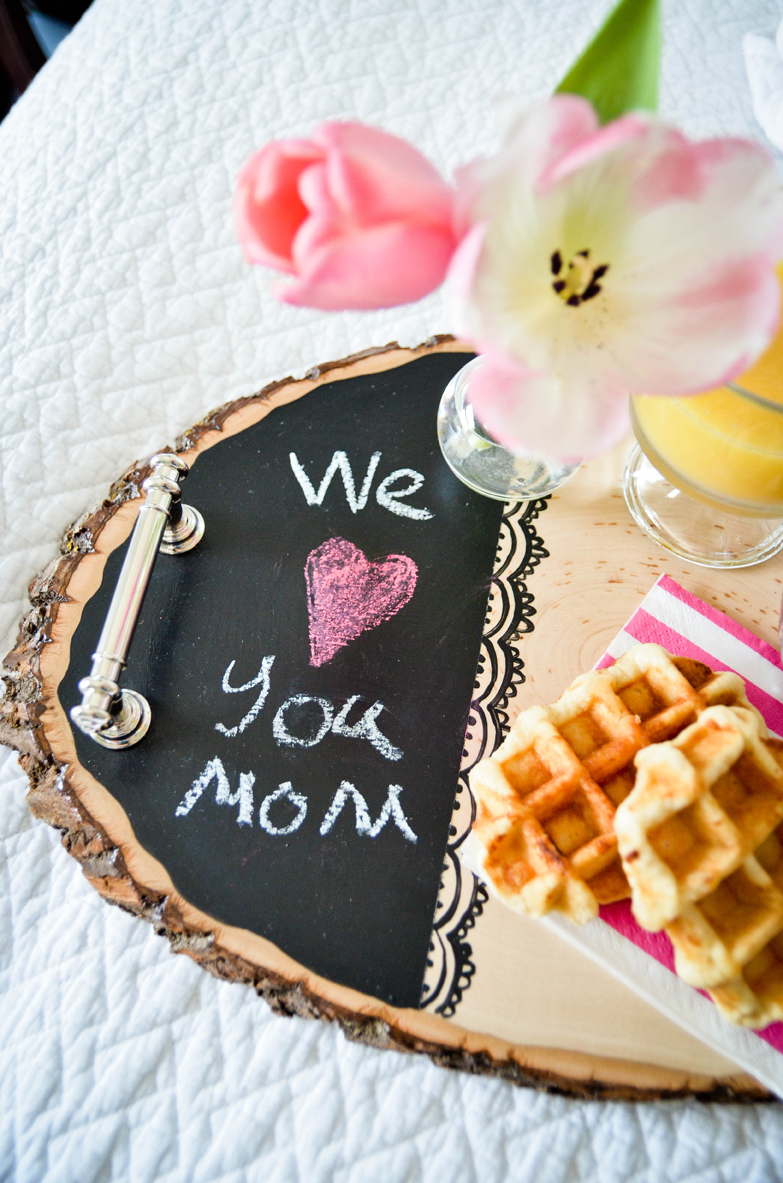
Happy Mother’s Day!




Comments
Gram
I found it, disregard the last comment, this is really beautiful, I love it.
Reina
hi I’m from nz and nobody sells wood slices here so I have to get it cut from a mill, can you give me dimensions? Di and depth
Grey House Harbor
Hi Reina. My wood slice is 11.5″ x 17″ x 3/4″ thick. Hope that helps!