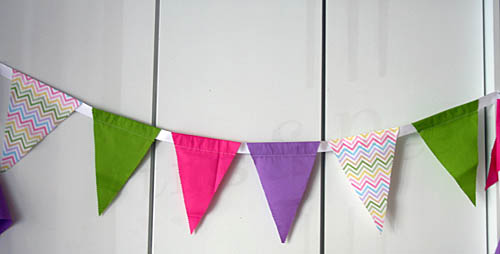
Last month, Project Nursery asked me to create a fabric pennant banner for one of the stylish vignettes that they were designing for their exciting MDB event.
Pennant banners are not only simple to make, they offer a versatile and chic way to decorate any area in a nursery or child’s room.
Here is a step-by-step guide to make your own 8′ pennant banner, but you can adjust the amount of fabric and ribbon length to make whatever size you need.
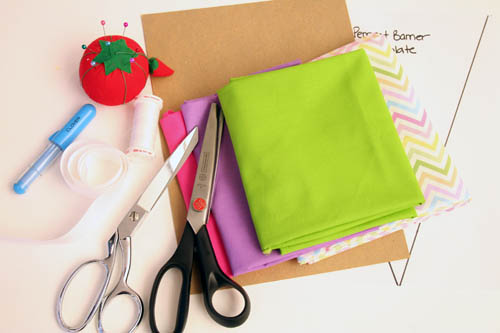
Materials:
Approximately 1/4 yard of fabric in assorted colors/prints
Pennant banner template (download here)
Coordinating ribbon (I used approximately 3 yards)
Thread
Fabric scissors
Pinking shears
Pins
Fabric marker/pen (I recommend the Clover Chaco Liner Pen)
Piece of cardboard or stiff card stock
Sewing machine (craft or fabric glue can be used instead of sewing)
Safety pin
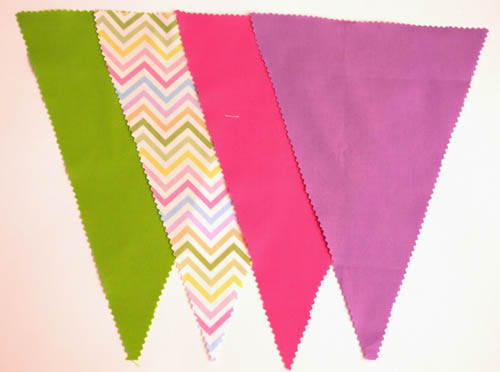
You can make your banner as large or small as you like using as many or as few fabrics as you want. Mixing a bunch of colors and prints can be pretty, but it depends on the look you are trying to achieve. For my banner, I chose the pastel chevron as the “feature” fabric and three coordinating colors.
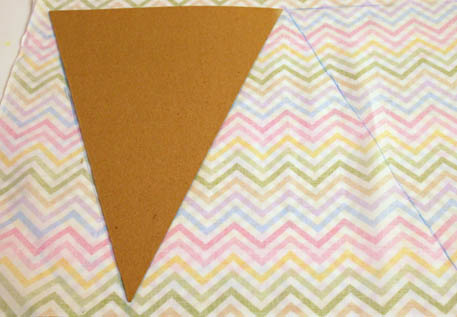
Step 1: Print and cut out the pennant banner flag template and trace onto your piece of cardboard or card stock. This will be your pattern.
You can get creative with the shape and size of your pennant flags. I chose a standard triangle for this tutorial, but I have made squares, hearts and letters. You can even mix and match.
Step 2: Using the pattern, trace multiple pennant flags on your fabrics using your fabric pen/marker. I recommend tracing each triangle next to each other, alternating up and down, so you don’t waste any fabric.
After tracing, cut each pennant out with your pinking shears. There are a few ways to to finish the edges of the flags. You can use a regular scissor or even fold under and top stitch the edges down for a more polished look.
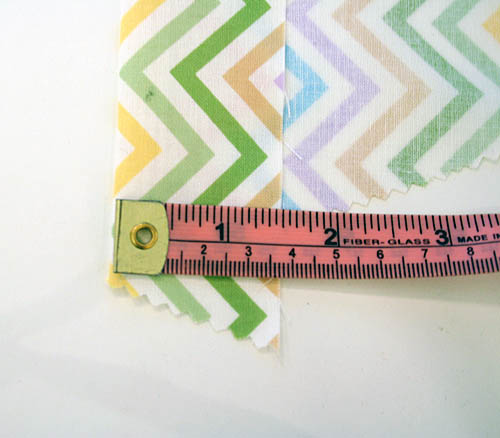
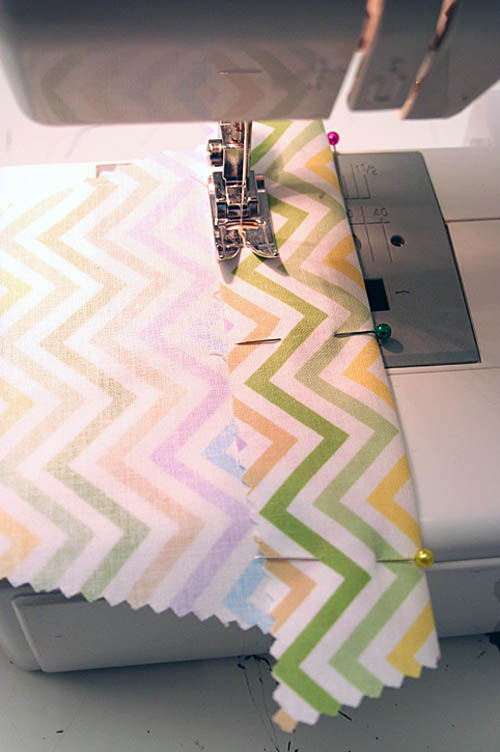
Step 3: Fold over the top of each flag 1.5”, and sew it down close to the bottom edge to create a tunnel for your ribbon to pass through. Do this with each flag.
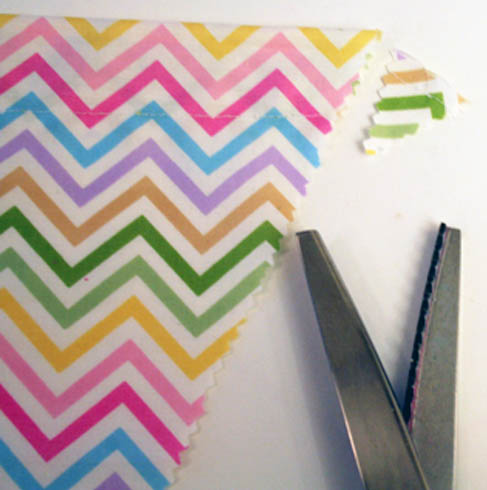
Step 4: Using your pinking shears, cut off the excess fabric so the sides of the flag are even.
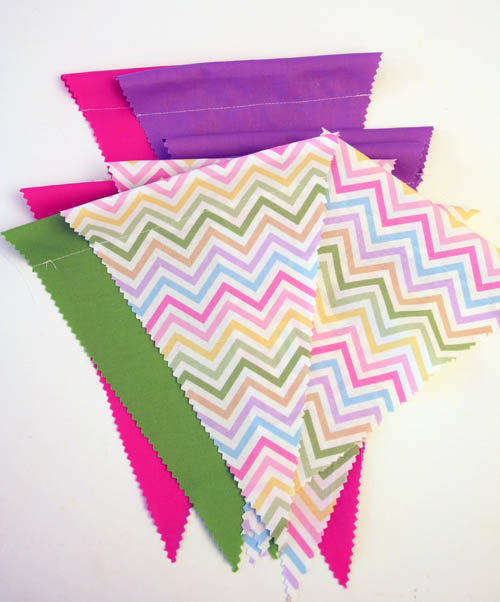
Step 5: Lay out all of the pennant flags in the order you would like them to appear on the wall.
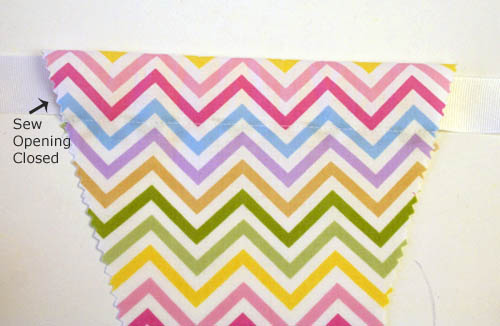
Step 6: Pin the safety pin to one end of your ribbon and pass it through the back of each flag where you created the tunnel. You can leave as much or as little space between flags, depending on the look you want.
I like to go back and sew the opening closed where the ribbon comes through so that everything is secure and stays in place.
All done—now you have a fabulous banner ready to hang!
We can’t wait to see examples of your banners in the gallery!








Comments
Jillian Scotts
Thanks for this tutorial. I’m not really a big fan of banners, but my sister is!
Shai Virtuso
I love the fabric and the colors that you used here. So bright, fun and festive!
Rebekah {A Blissful Nest}
Darling! Wish I could sew! Welcome to such a great team!!
Lindsey Hermelink Hollifield
Loving this! I have a toddler daughter and a baby boy on the way and they will be sharing a room for a while. I’m going to use these banners as room borders switching colors to differentiate between his side and hers. How do you recommend attaching the banner to the wall?
L. Olson Designs
Super cute! Thanks for sharing :)
Karen Wolowicz
Love it. Looks familiar: http://sugarspiceliving.blogspot.com/2012/09/little-update-for-little-lady.html http://instagram.com/p/UK93g5m6an/
Elmer Cruz
I like these. I have always wanted to make them. Thanks for the lovely tutorial.
https://www.elmersflag.com/
Elmer Cruz
This is a great idea! I’ve linked to your post from my blog. I wrote a
post about using party decor in everyday decorating and this tutorial is
a great one to show a no-sew idea. Thanks!
https://www.elmersflag.com/