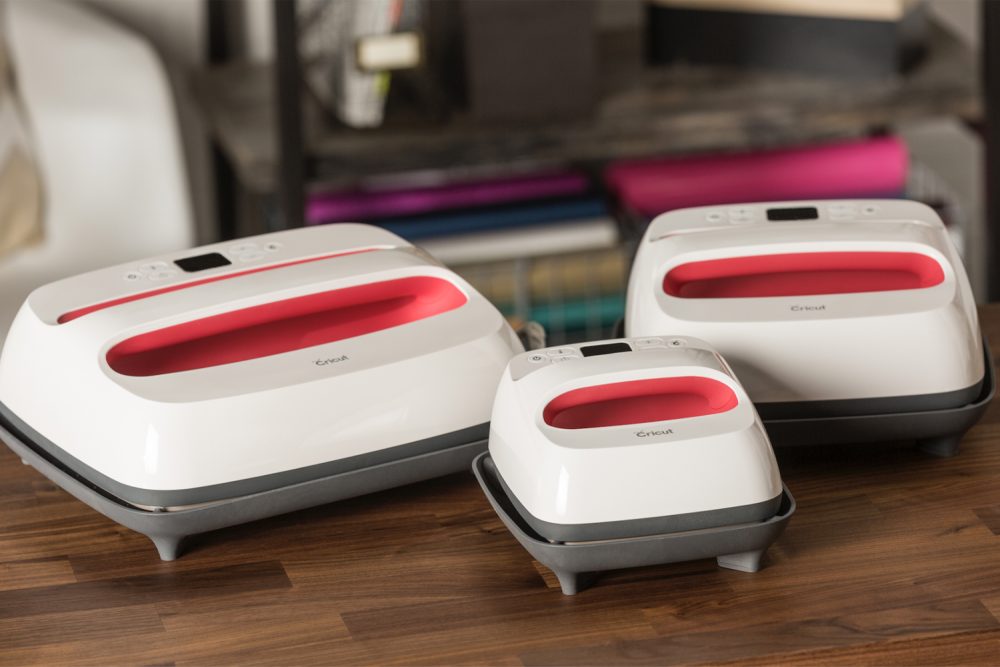
You have all heard me rave about Cricut EasyPress. This amazing tool has been a total game changer in the DIY’ing game. And just when you think it couldn’t get any better, Cricut releases something new! Today we are introducing the new EasyPress 2! The EasyPress 2 now comes in three different sizes and one amazing color.

The new sizes include the new large 10″x12″ (think BIG projects), the original 9”x9″ (perfect for T-shirts and totes) and our own personal favorite, the 6”x7”—just perfect for onesies and all things baby. After all, here at Project Nursery, we love all things pint sized! One of the great new features of the EasyPress 2 is that it heats up quicker—up to 25% faster!
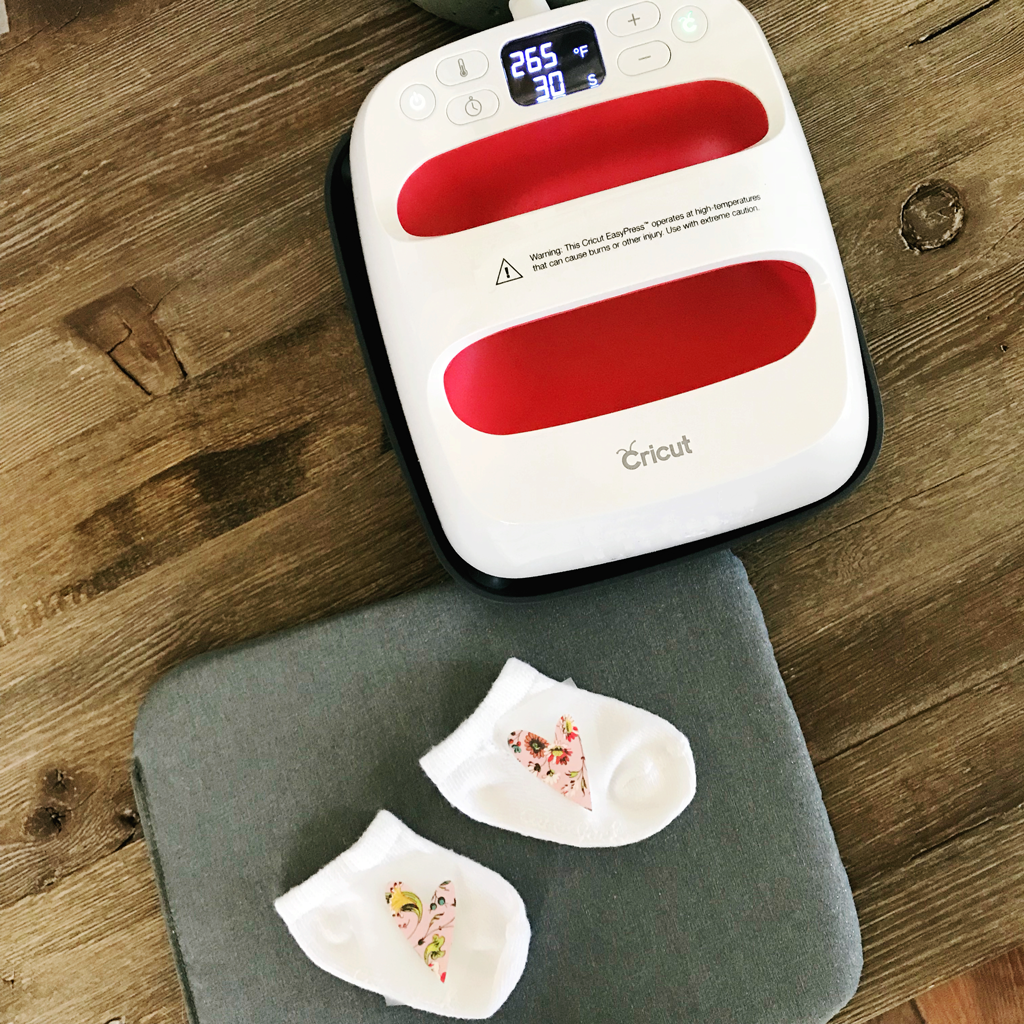
So, to celebrate the launch of the EasyPress 2, we put the 6”x7” to the test. I mean, really, how could we not try out a product that was developed with baby in mind? Now, mamas, how many of you have wasted HOURS of your life trying to match socks? To help end the sock epidemic, we’re sharing a fun and simple project. Simply add a design to every pair of socks. Not only does it give your baby’s basic white socks a little personality, but it will also make the matching game so much easier.

 Materials: White Baby Socks, Cricut Maker,12×12 Standard Cricut Cutting Mat, Pattern Iron-on or Standard Cricut Iron-on, 6”x7” Cricut EasyPress 2, and Cricut EasyMat
Follow the link to our baby socks design in Cricut’s Design Space. You can customize the size and colors. If you are feeling extra creative, add your own designs or customize the socks with names or initials.

You’ll need the 12×12 Standard Cricut Cutting Mat. Once you have your mat and blade loaded in, click “Go.” Be sure to check the mirror image box for iron-on. Load your iron-on face down on the mat and set to the iron-on setting.

Once you have your design fully cut, carefully remove all the excess vinyl using your Cricut weeding tool to reveal your design.

Next, place the iron-on design onto the socks. Be sure to lay out the iron-on material exactly how you want the final design to look. Once you apply heat, the design can’t be changed.

 Now it is time to put the new 6”x7” EasyPress 2 to the test! Follow the iron-on instructions that are found on your roll of material. You’ll want to set your temperature and timer to the recommended setting for the type of iron-on material you picked for the project. Note: You can still complete this project if you do not have an EasyPress. Use a standard iron, just be sure to follow the instructions on the package.

That’s it! You now have adorable, personalized socks that are easy to match! Tell us, what other fun projects would you make with the new EasyPress 2 sizes? These new products will hit the market in the Fall!
This is a sponsored conversation written by me on behalf of Cricut. The opinions and text are all mine.


