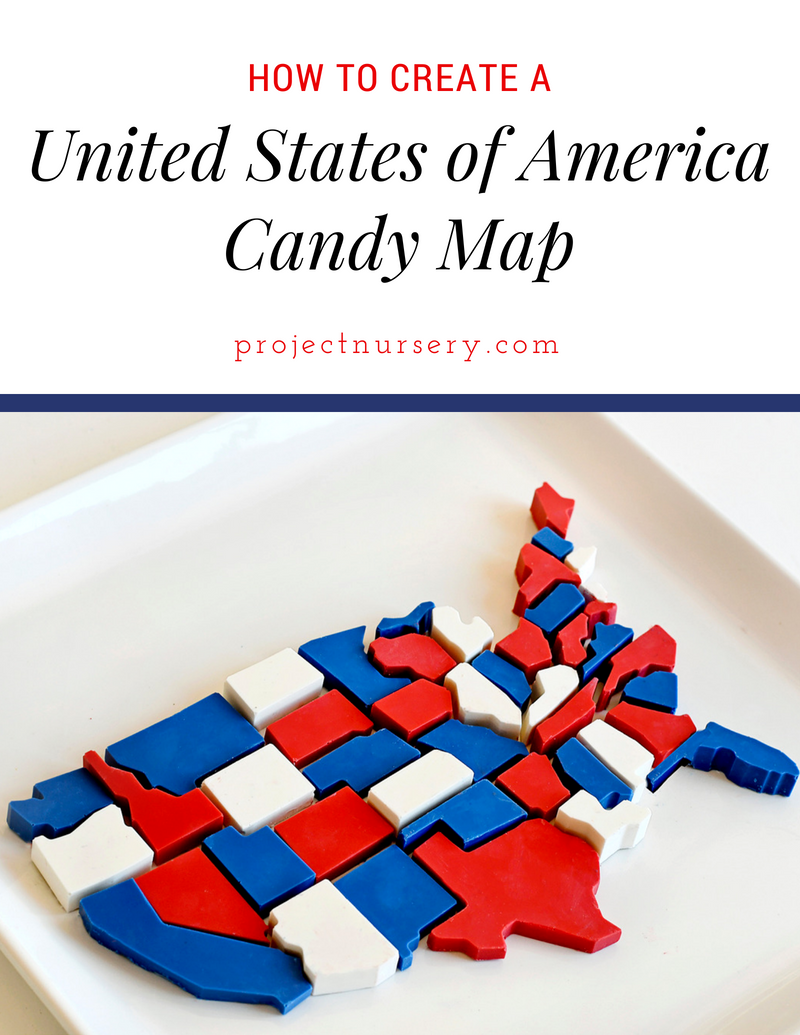
Looking for a unique AND patriotic dessert that will be the talk of this year’s 4th of July party? How about a DIY candy map of the USA? Party guests will marvel at your skill, but I’ll let you in on a little secret—it’s actually pretty easy! Follow my steps below for this delicious (and educational!) red, white and blue candy dessert map!
First, gather all of your ingredients and tools. You will need the following items.
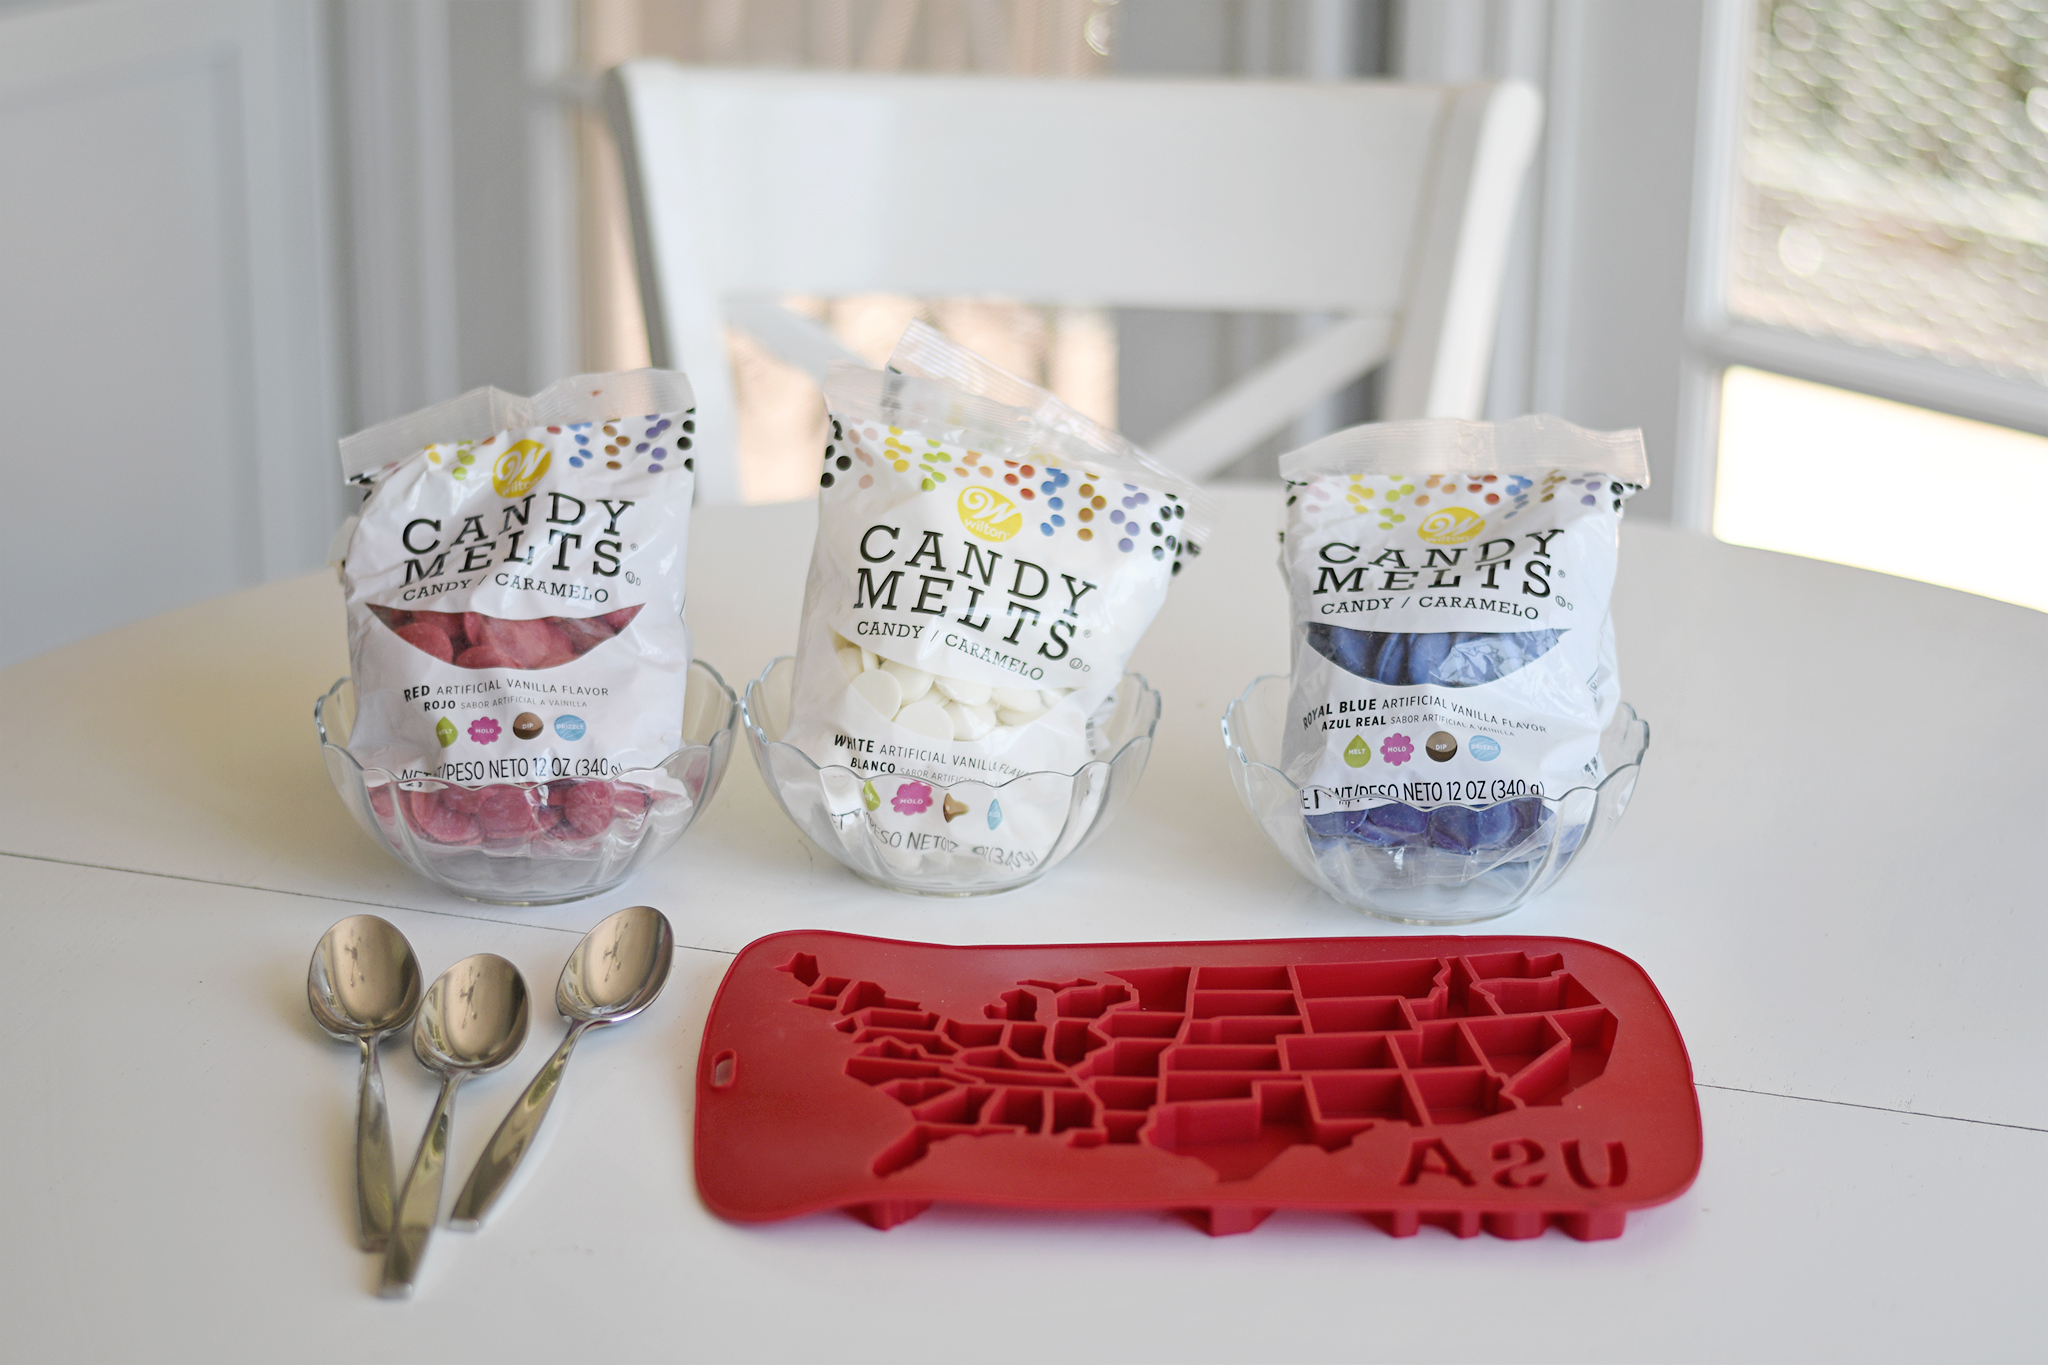 Materials: Red, white and blue candy melt chocolates (also available at Amazon), Silicone mold of the United States of America (available at Michaels and Amazon), Glass bowls (3) for mixing the melting chocolates, Spoons (for stirring the chocolates and filling the molds), Microwave, Flat platter to display your USA candy map!
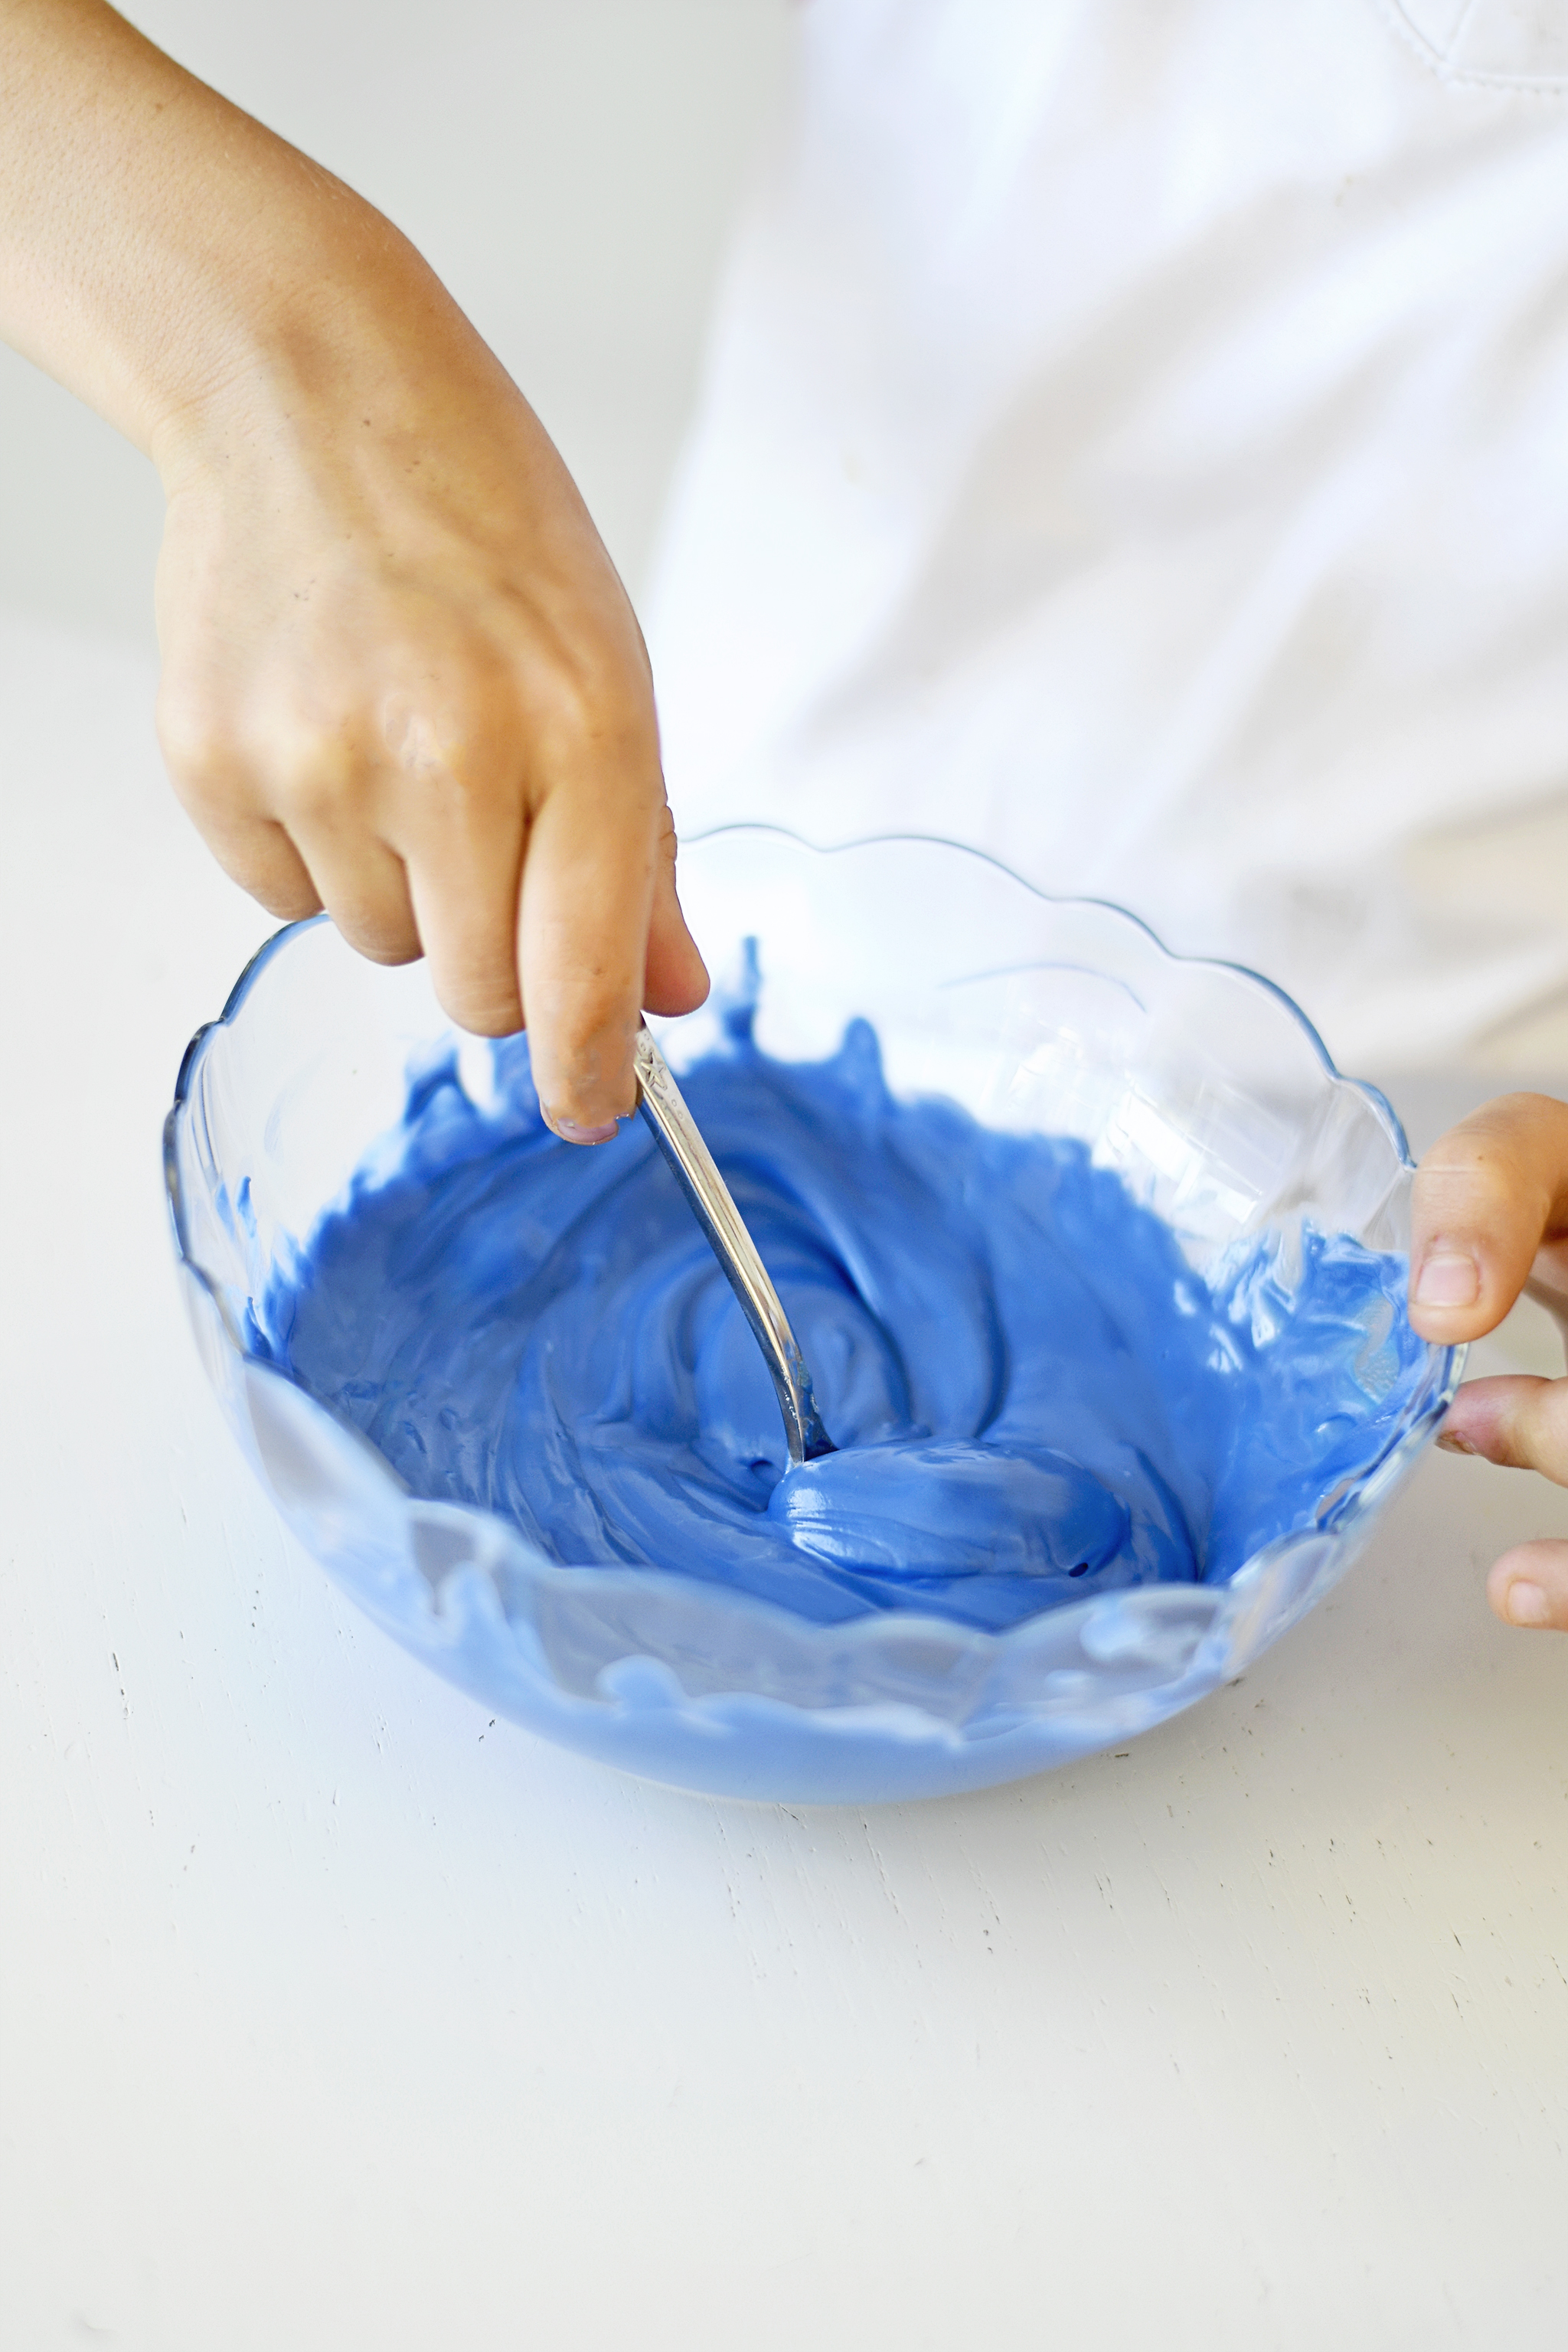
Second, follow the instructions on the back of your bag of the candy melts for melting instructions. You will usually have to melt them in the microwave on half power in one minute or 30 second intervals while stirring in between each round. I recommend starting with only one of your three colors first. If you leave the melted candy out for too long, it will harden, so just do one color at a time. I started with blue first. Kids love to get in on the candy stirring action!
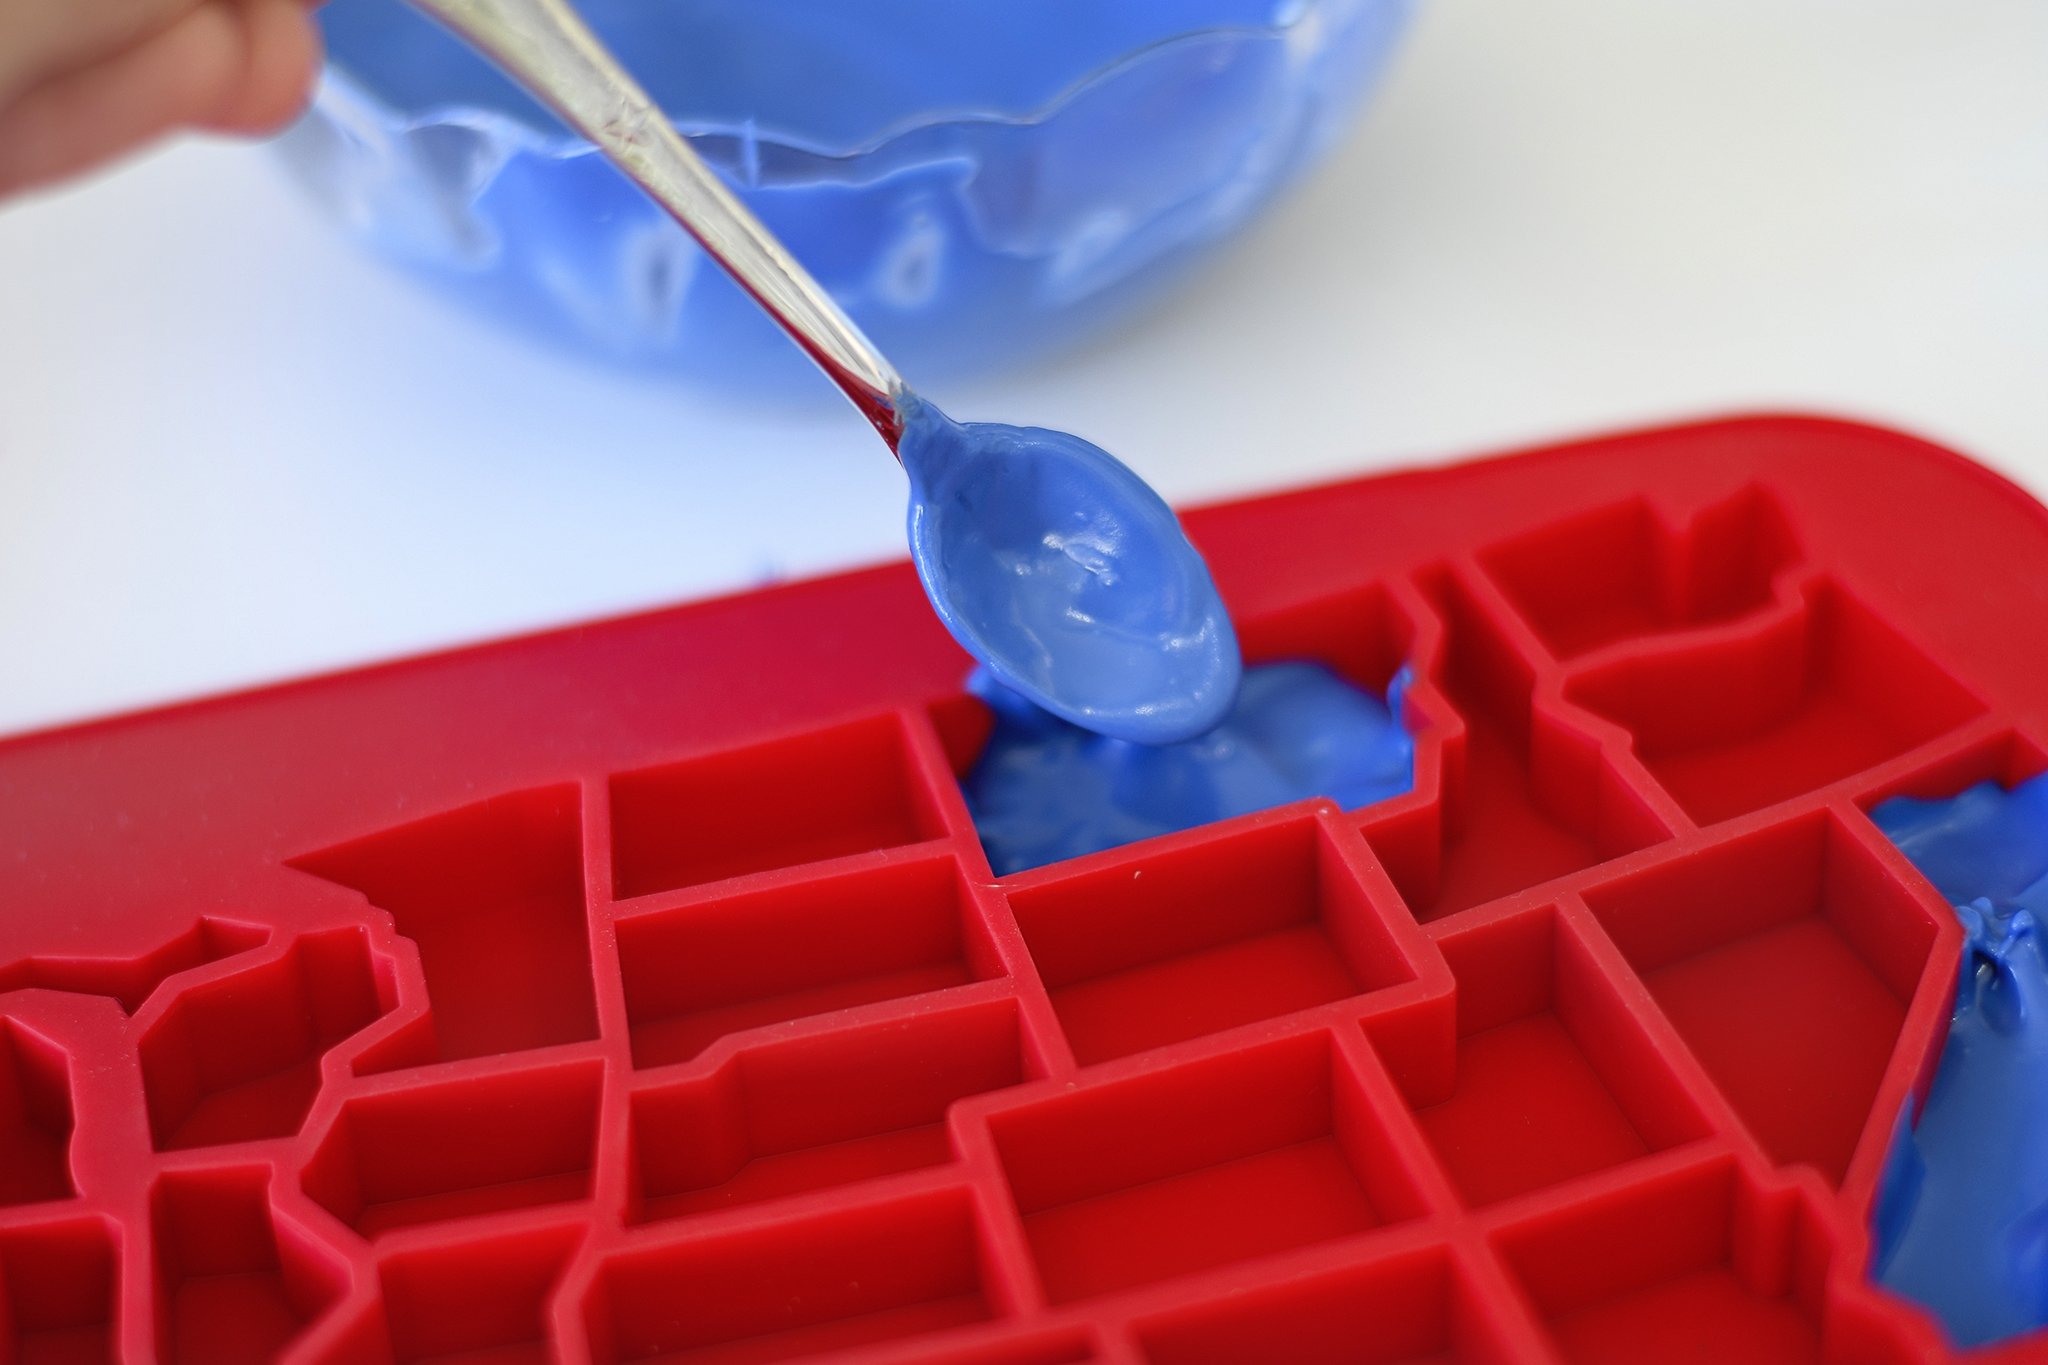
Next, start filling up the states with your liquid candy! I did a random selection of states in the blue color first. I just tried to spread out all the colors as best I could so that the red, white and blue pattern was varied. Tiny spoons also work well for the small states!
Repeat this process with the red and white melting candies until all of the states are filled up! Don’t worry if some of the candy spills over onto the other chocolates—remember this is actually the the back of your candy map, so it won’t show when you flip it over! Also, you can shake and gently drop the mold onto your table to help get the air bubbles out and make sure the candy fills into all the corners.

Once your entire map is filled, pop it into the freezer for about 30 minutes to let the candy harden and set. After it’s set up in the freezer, gently start to bend and flex the silicone mold to separate the states and loosen them from the sides of the mold.
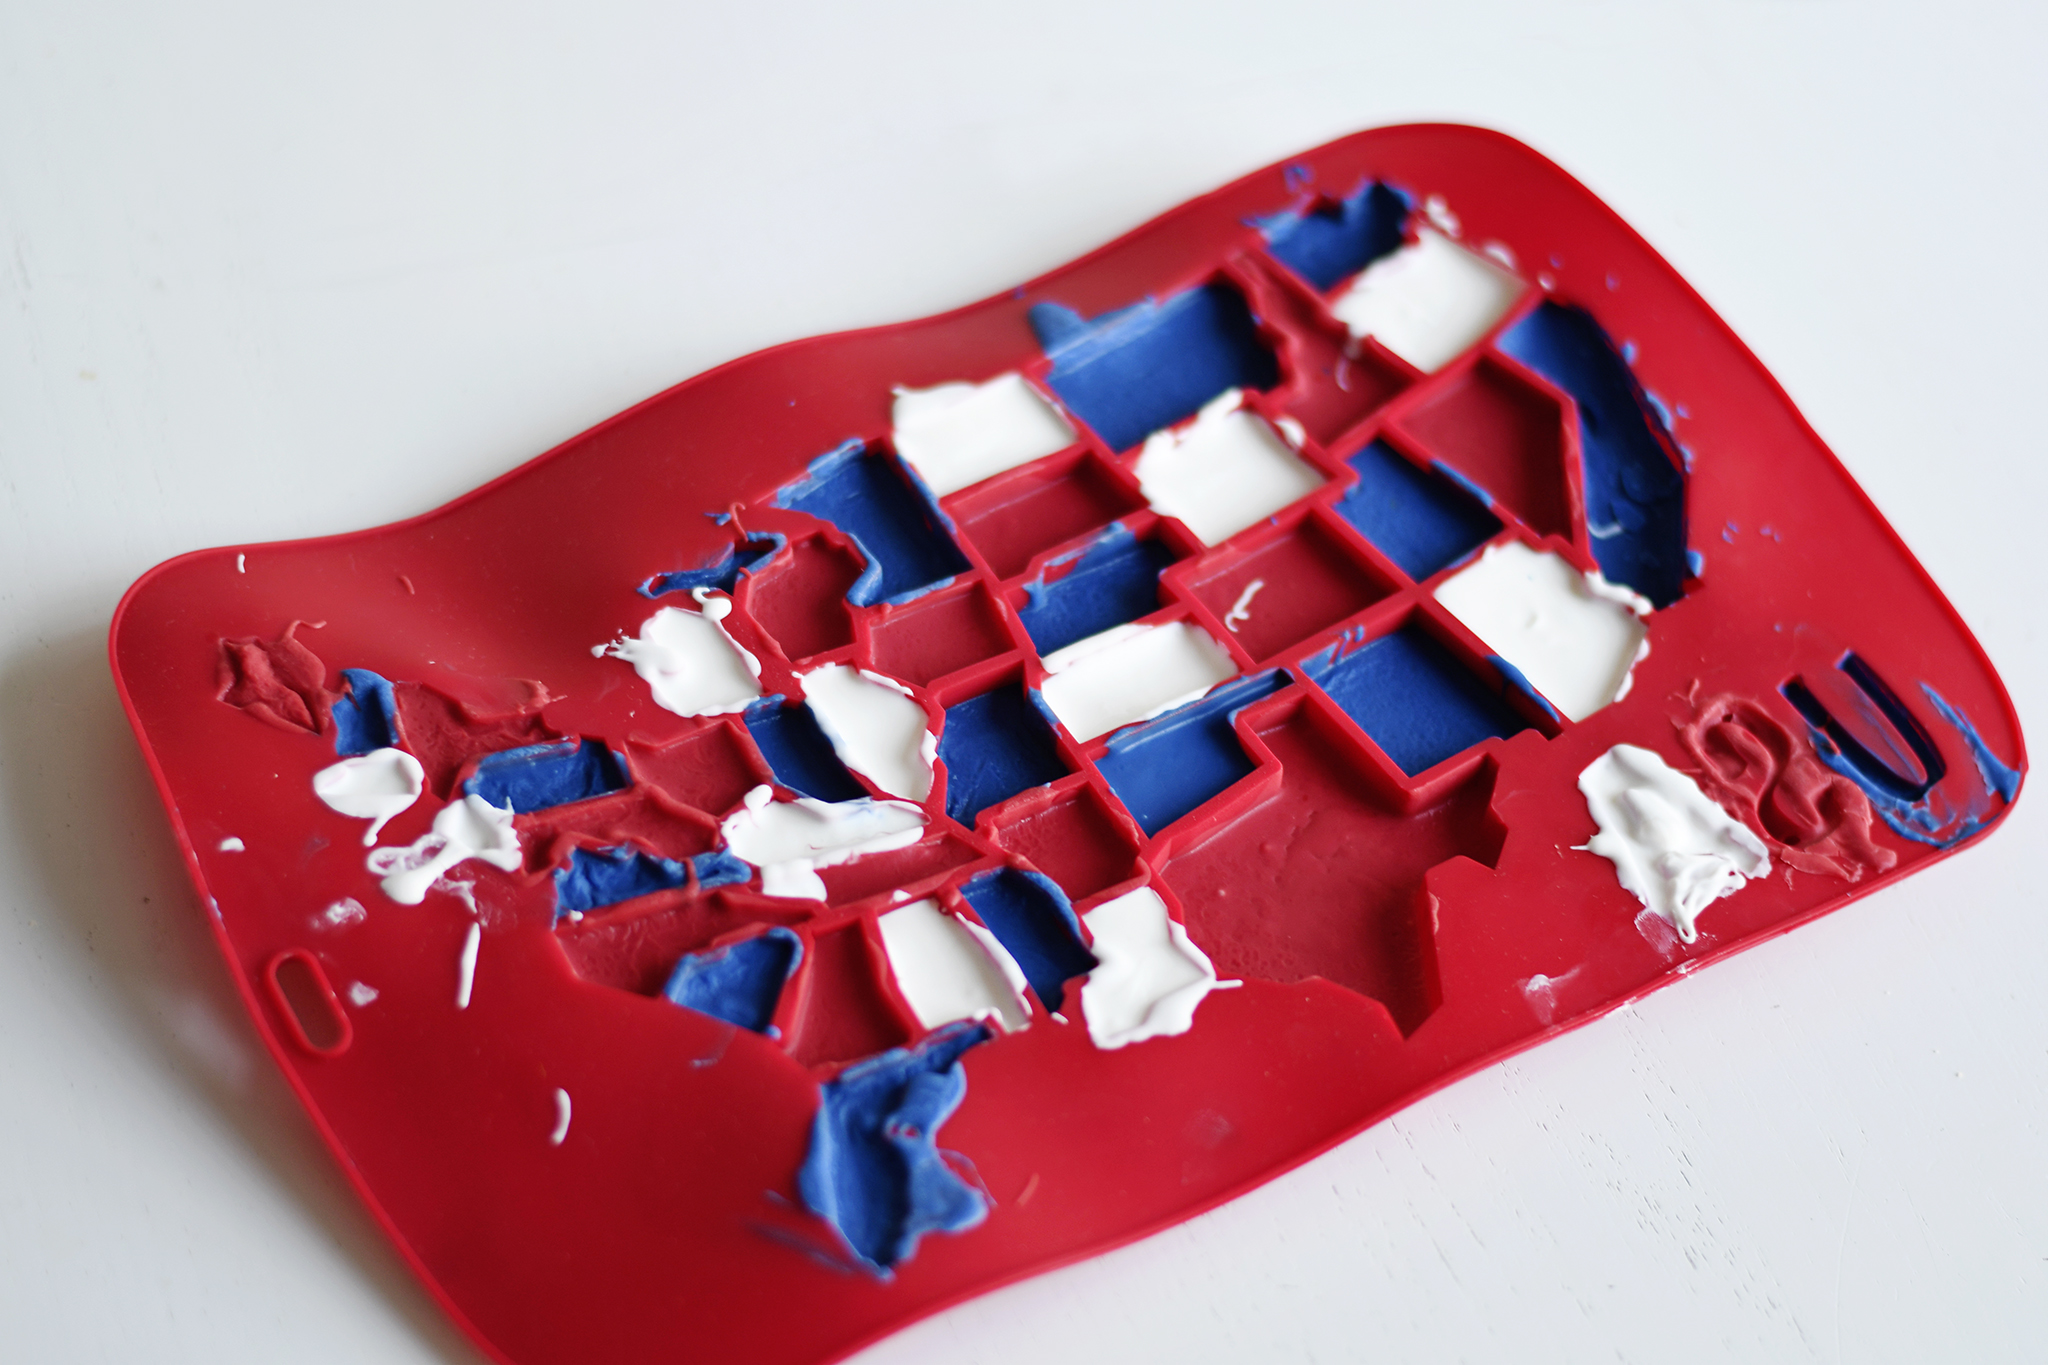
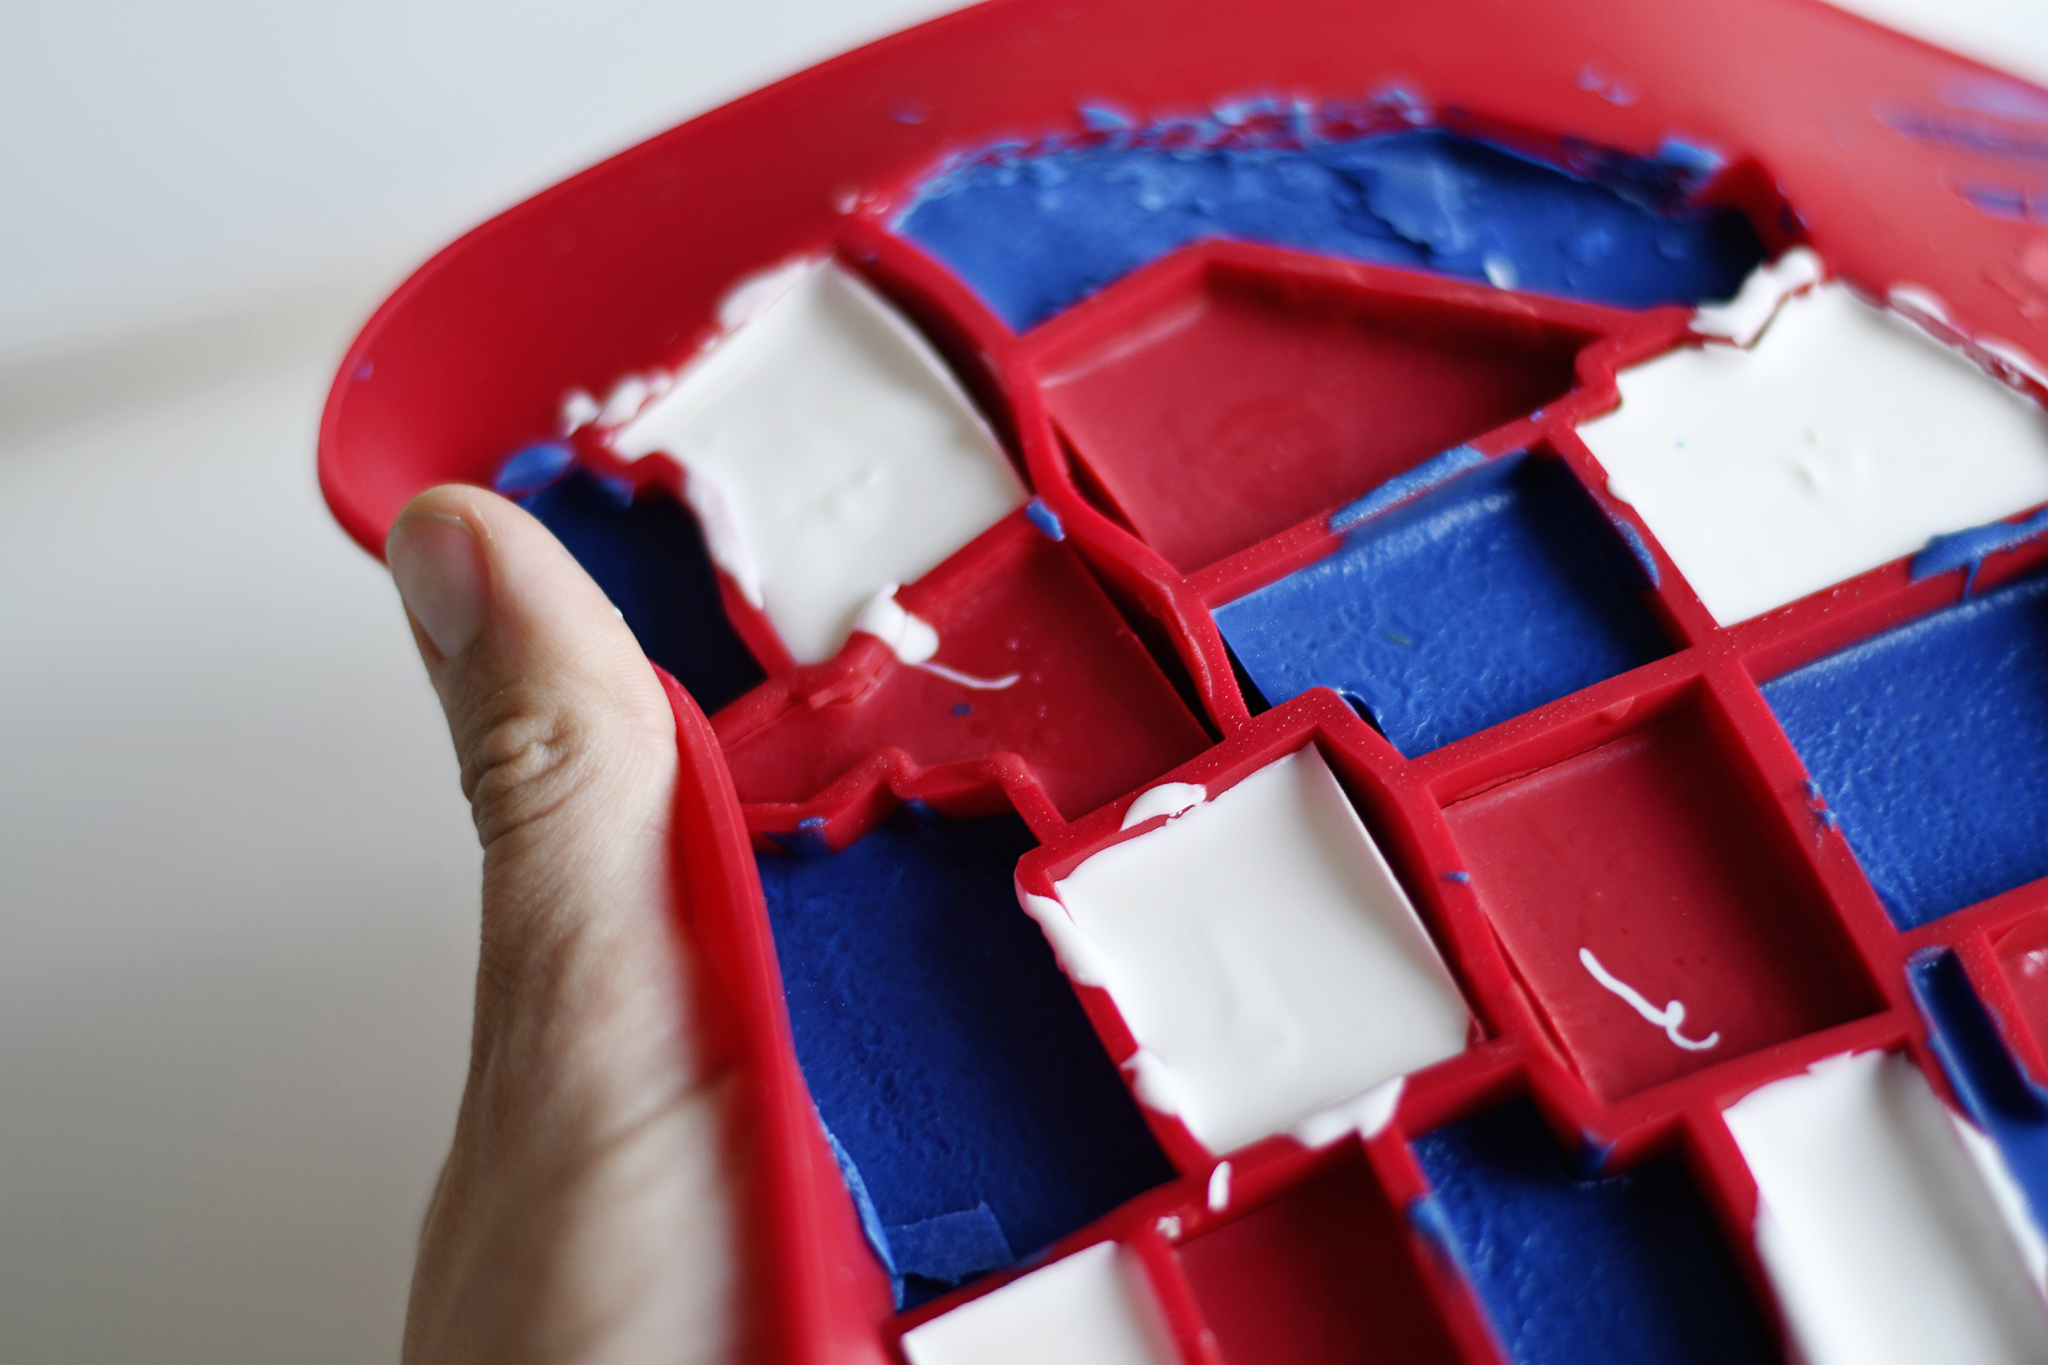
Flip the mold upside down and the states will slowly come out when you bend the mold around. Make sure to do this process very slowly and carefully as some of the states have very thin parts that may break. Don’t worry about the little bits and flakes that break off—those can be cleaned off.
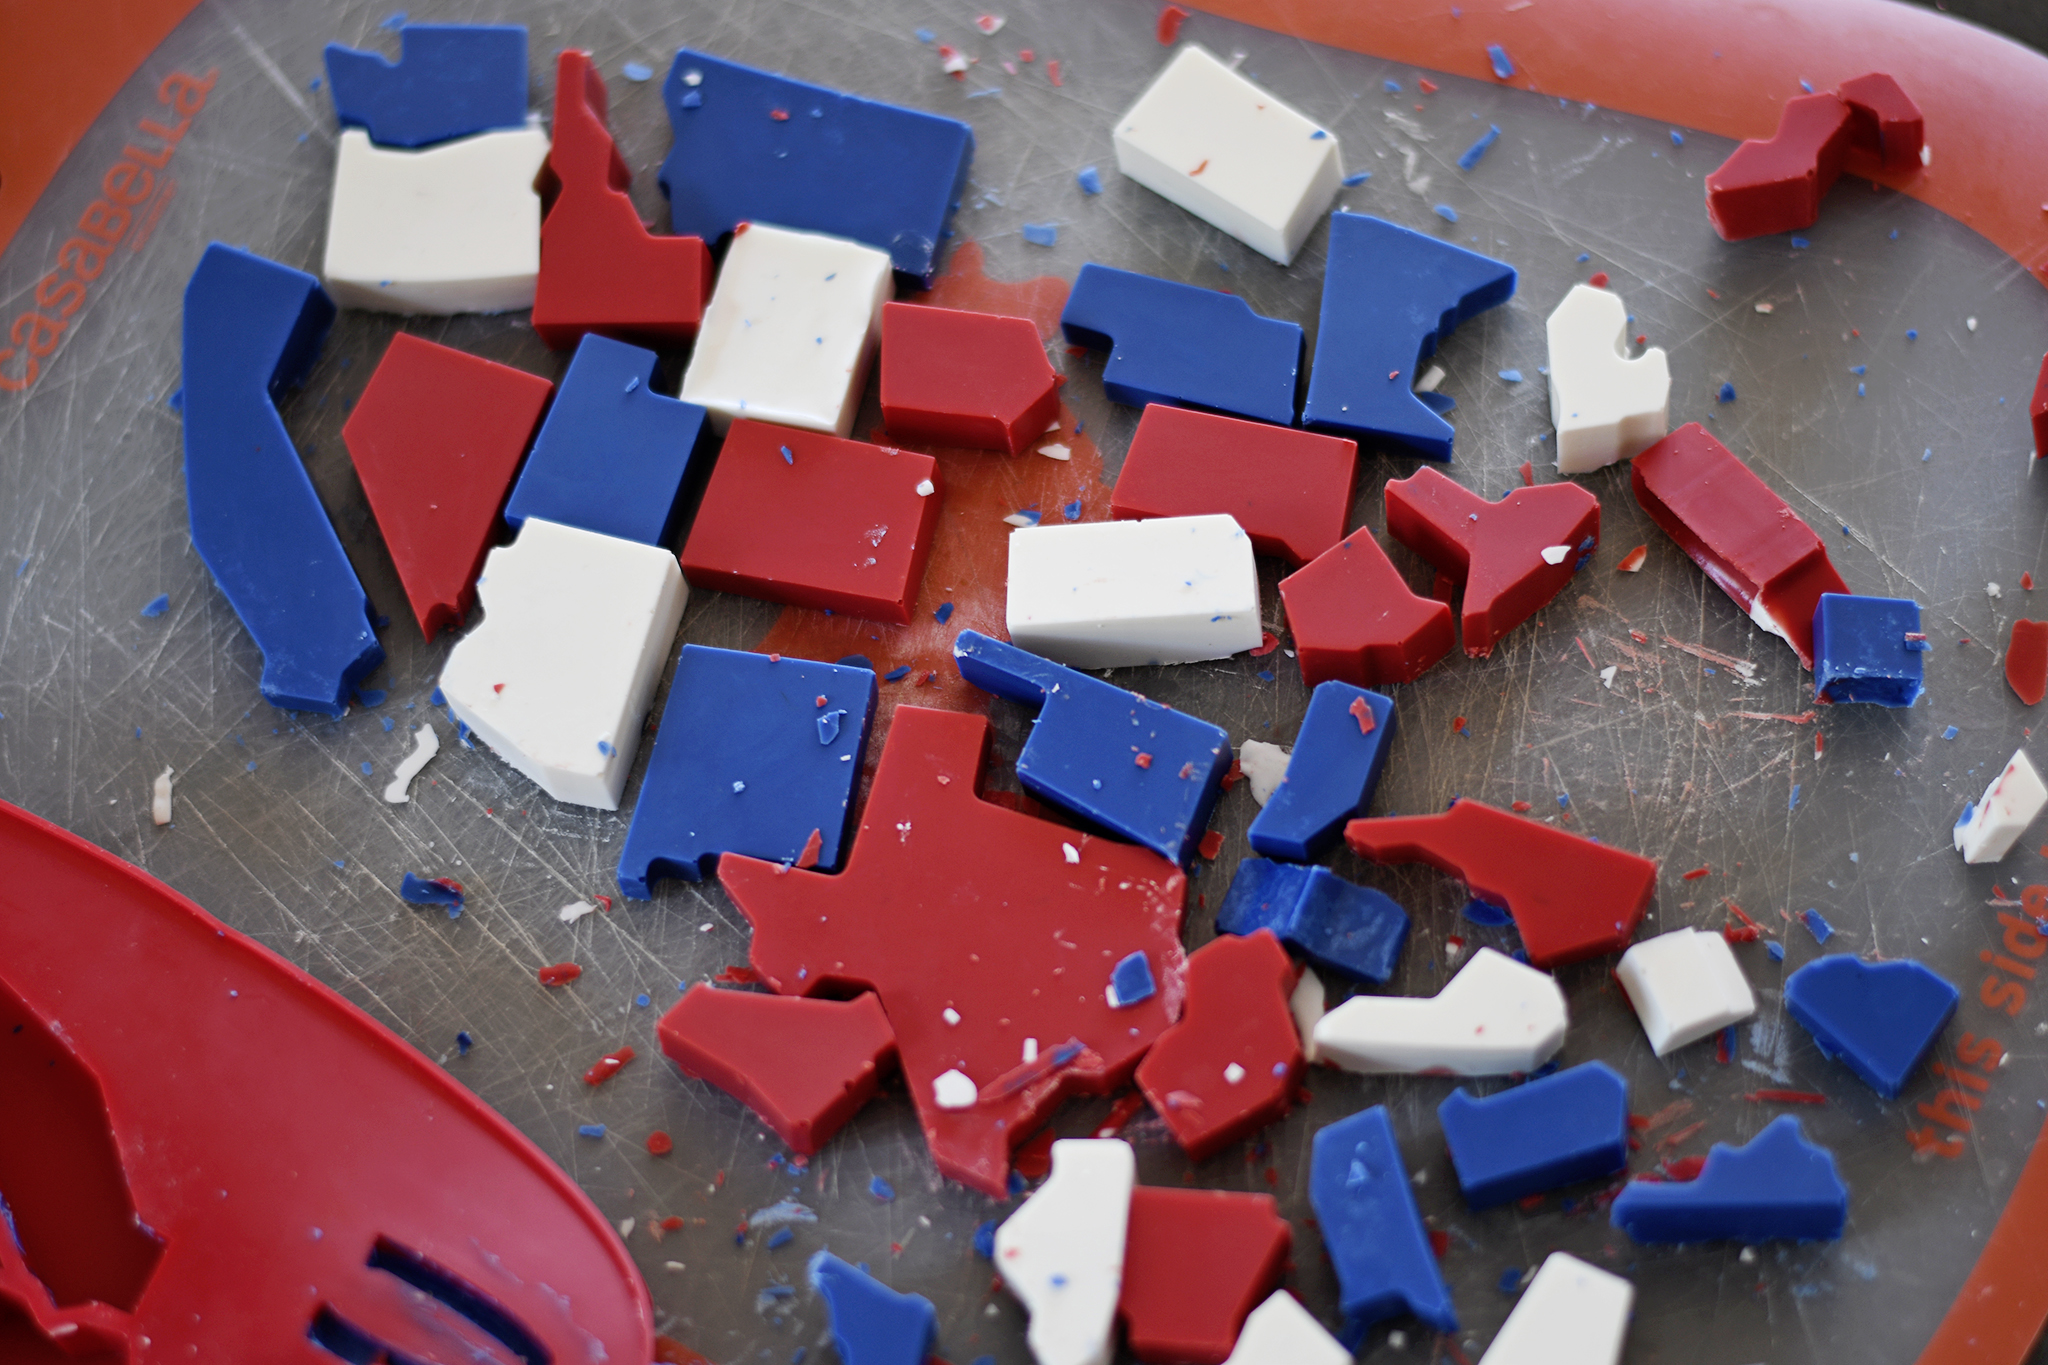
Now comes the fun (and somewhat challenging) part—putting the map back together! Use the mold as a point of reference to see how all of the states line up.
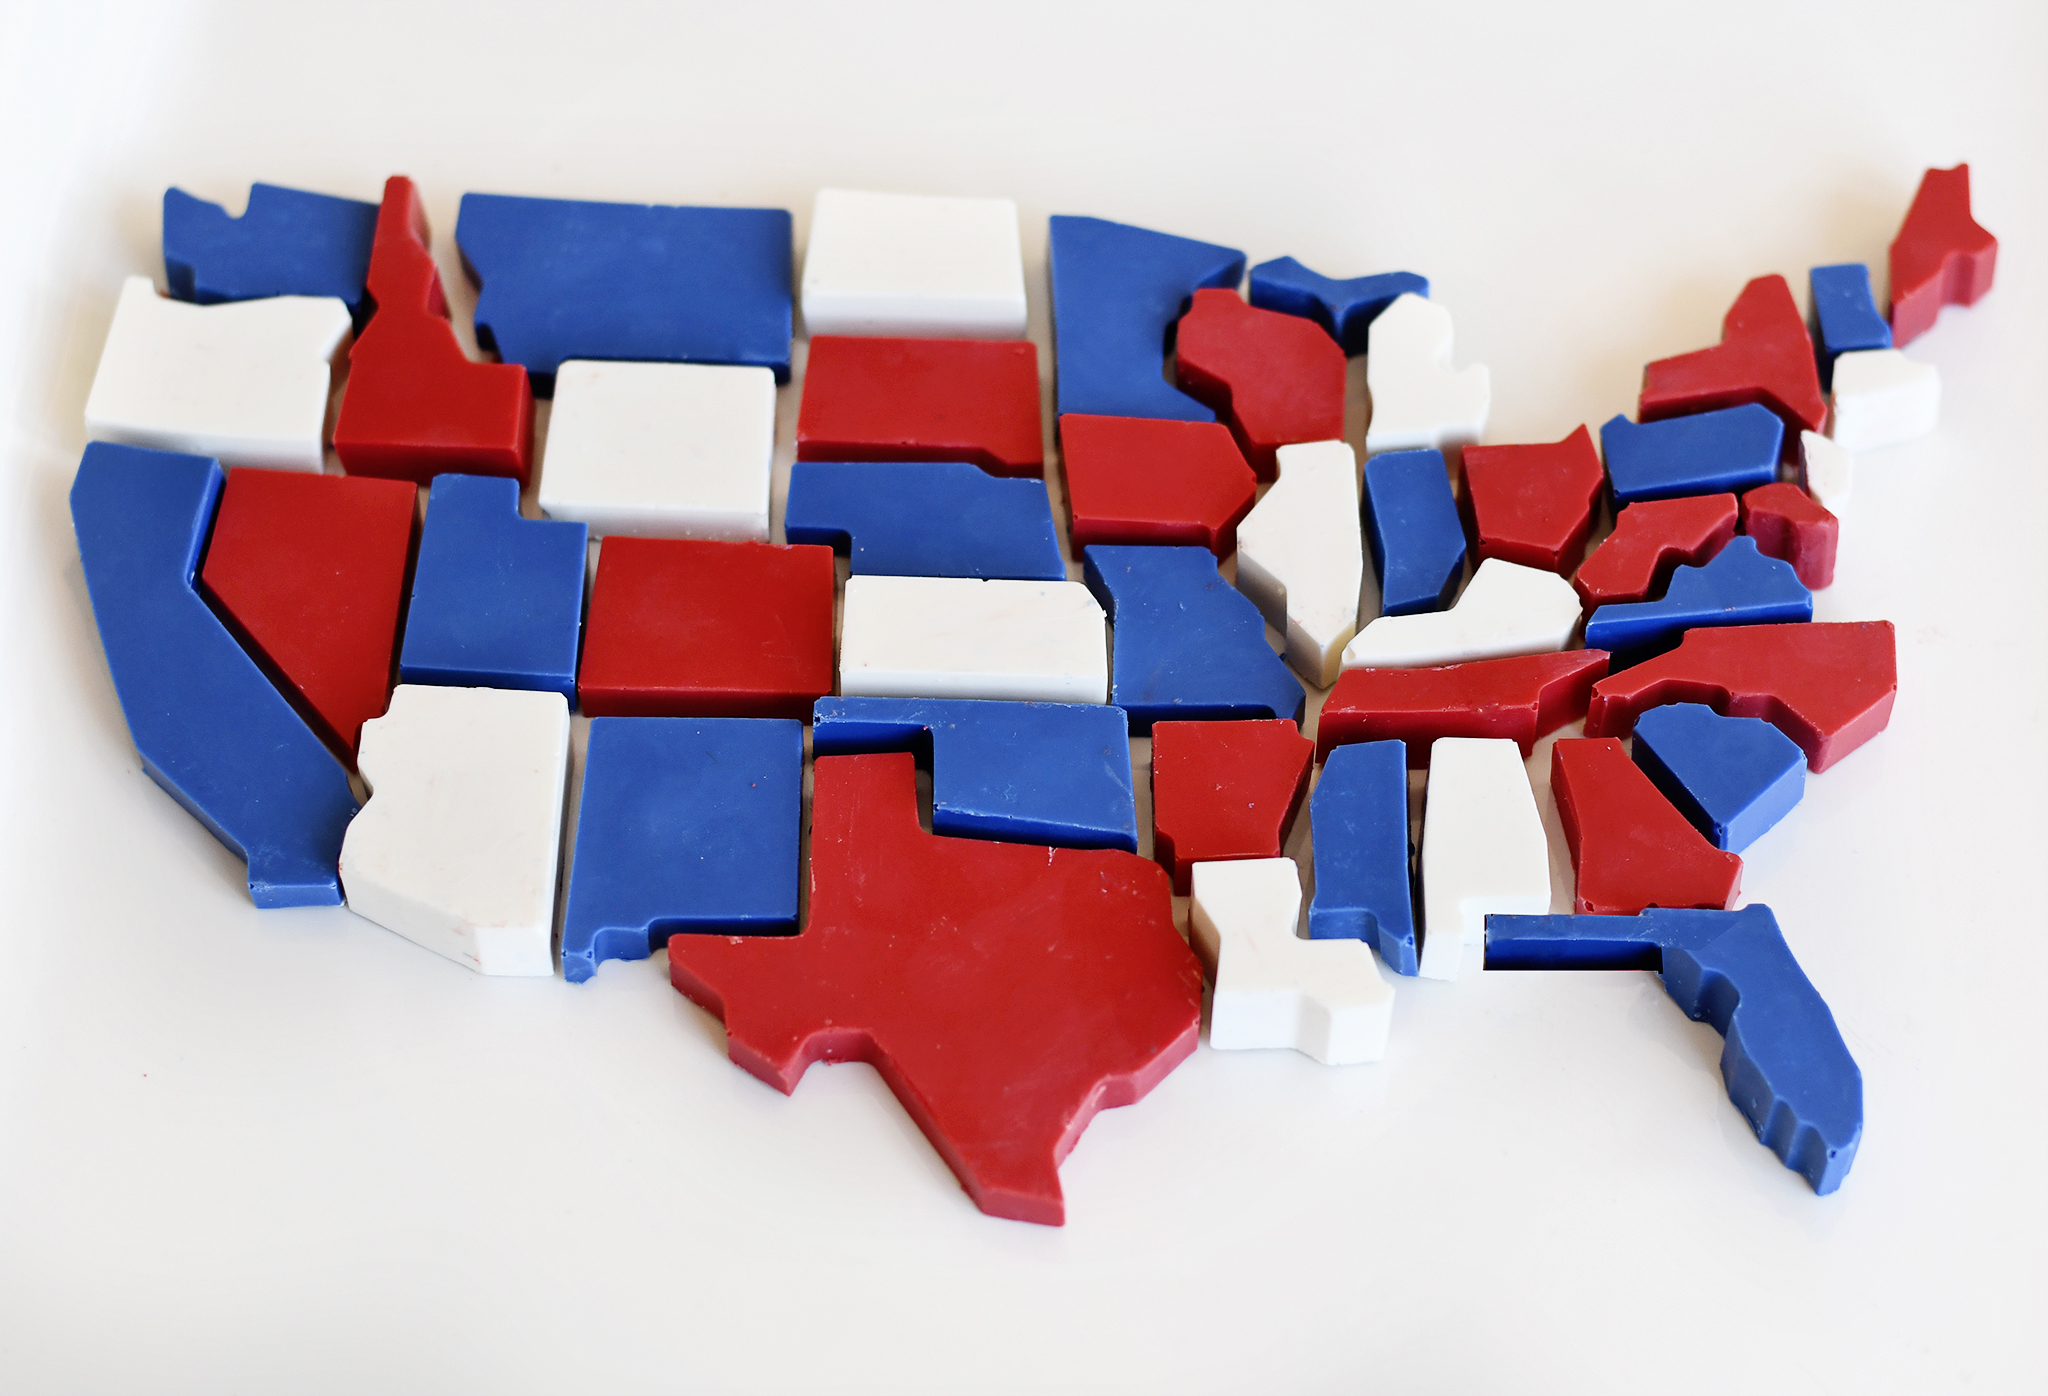
Get your flat platter out and start from one end of the map to the other. If any of the candy states aren’t laying flat, you can “shave” the back of them with a knife so that the backs are flat and the candies will lie flat on your platter.
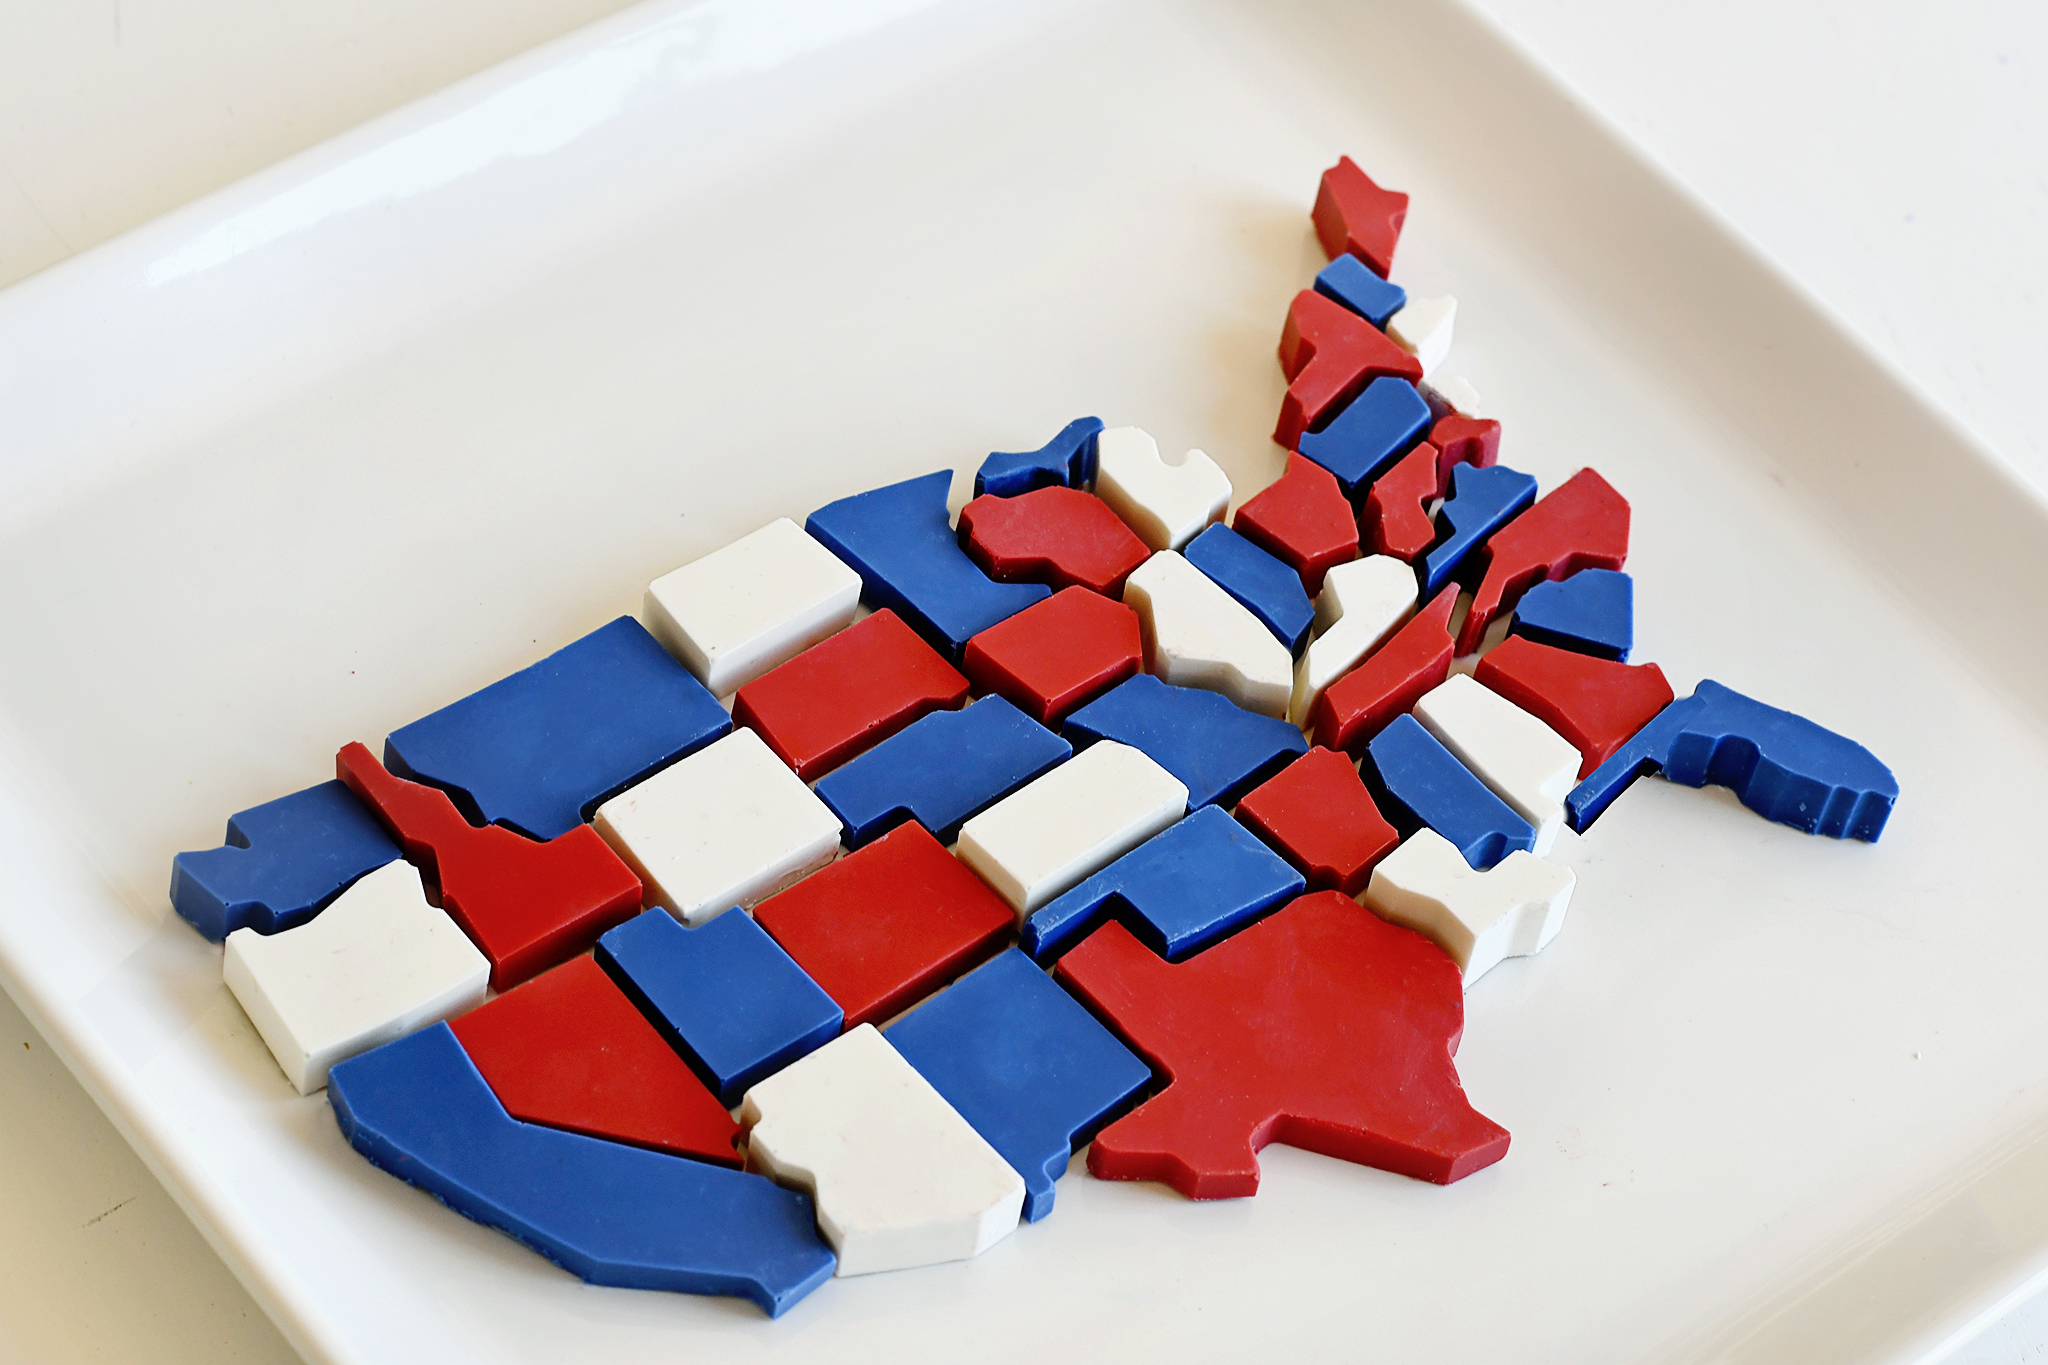
And there you have it—a lovely dessert for your table that the kids will love and adults will swoon over! Have fun picking out and eating your favorite state! Happy 4th of July!
*this post contains affiliate links*SaveSave
SaveSave
SaveSave
SaveSave
SaveSave
SaveSave



Comments
Olivia Marshall
This is such a great summer DIY project and is so perfect for the 4th of July. I’m always looking for a project to do with my kids over the summer and this DIY USA Candy Map is perfect for my little ones to get involve and learn geography. Thank you for sharing.
Albertina
This DIY USA Candy Map looks amazing and the 4th of July is next month so I am gonna make this with my kids. Thanks a lot for sharing this amazing DIY.