Are you are celebrating baby’s first Christmas or do you have a friend or family member expecting a little one? If so, we have the perfect DIY Christmas ornament for you! Throw on the holiday music and grab a cup of coffee because we’re ready to get crafting!

Materials: Cricut Explore Air2 or Cricut Maker, Clear Plastic Ornament, Standard Cricut Cutting mat, Glitter Vinyl, (you pick the colors!), strong transfer tape (included with the vinyl), Cricut Weeder tool and six inches of twine or ribbon.

Follow the link to our Holiday Ornament designs in Cricut’s Design Space. Customize with your baby’s birth year.

Once you have your design formatted, click “Go.” The design is set up for an ornament that is 3.15 inches in diameter. If you want to use a bigger or smaller size ornament, resize your design before clicking go.
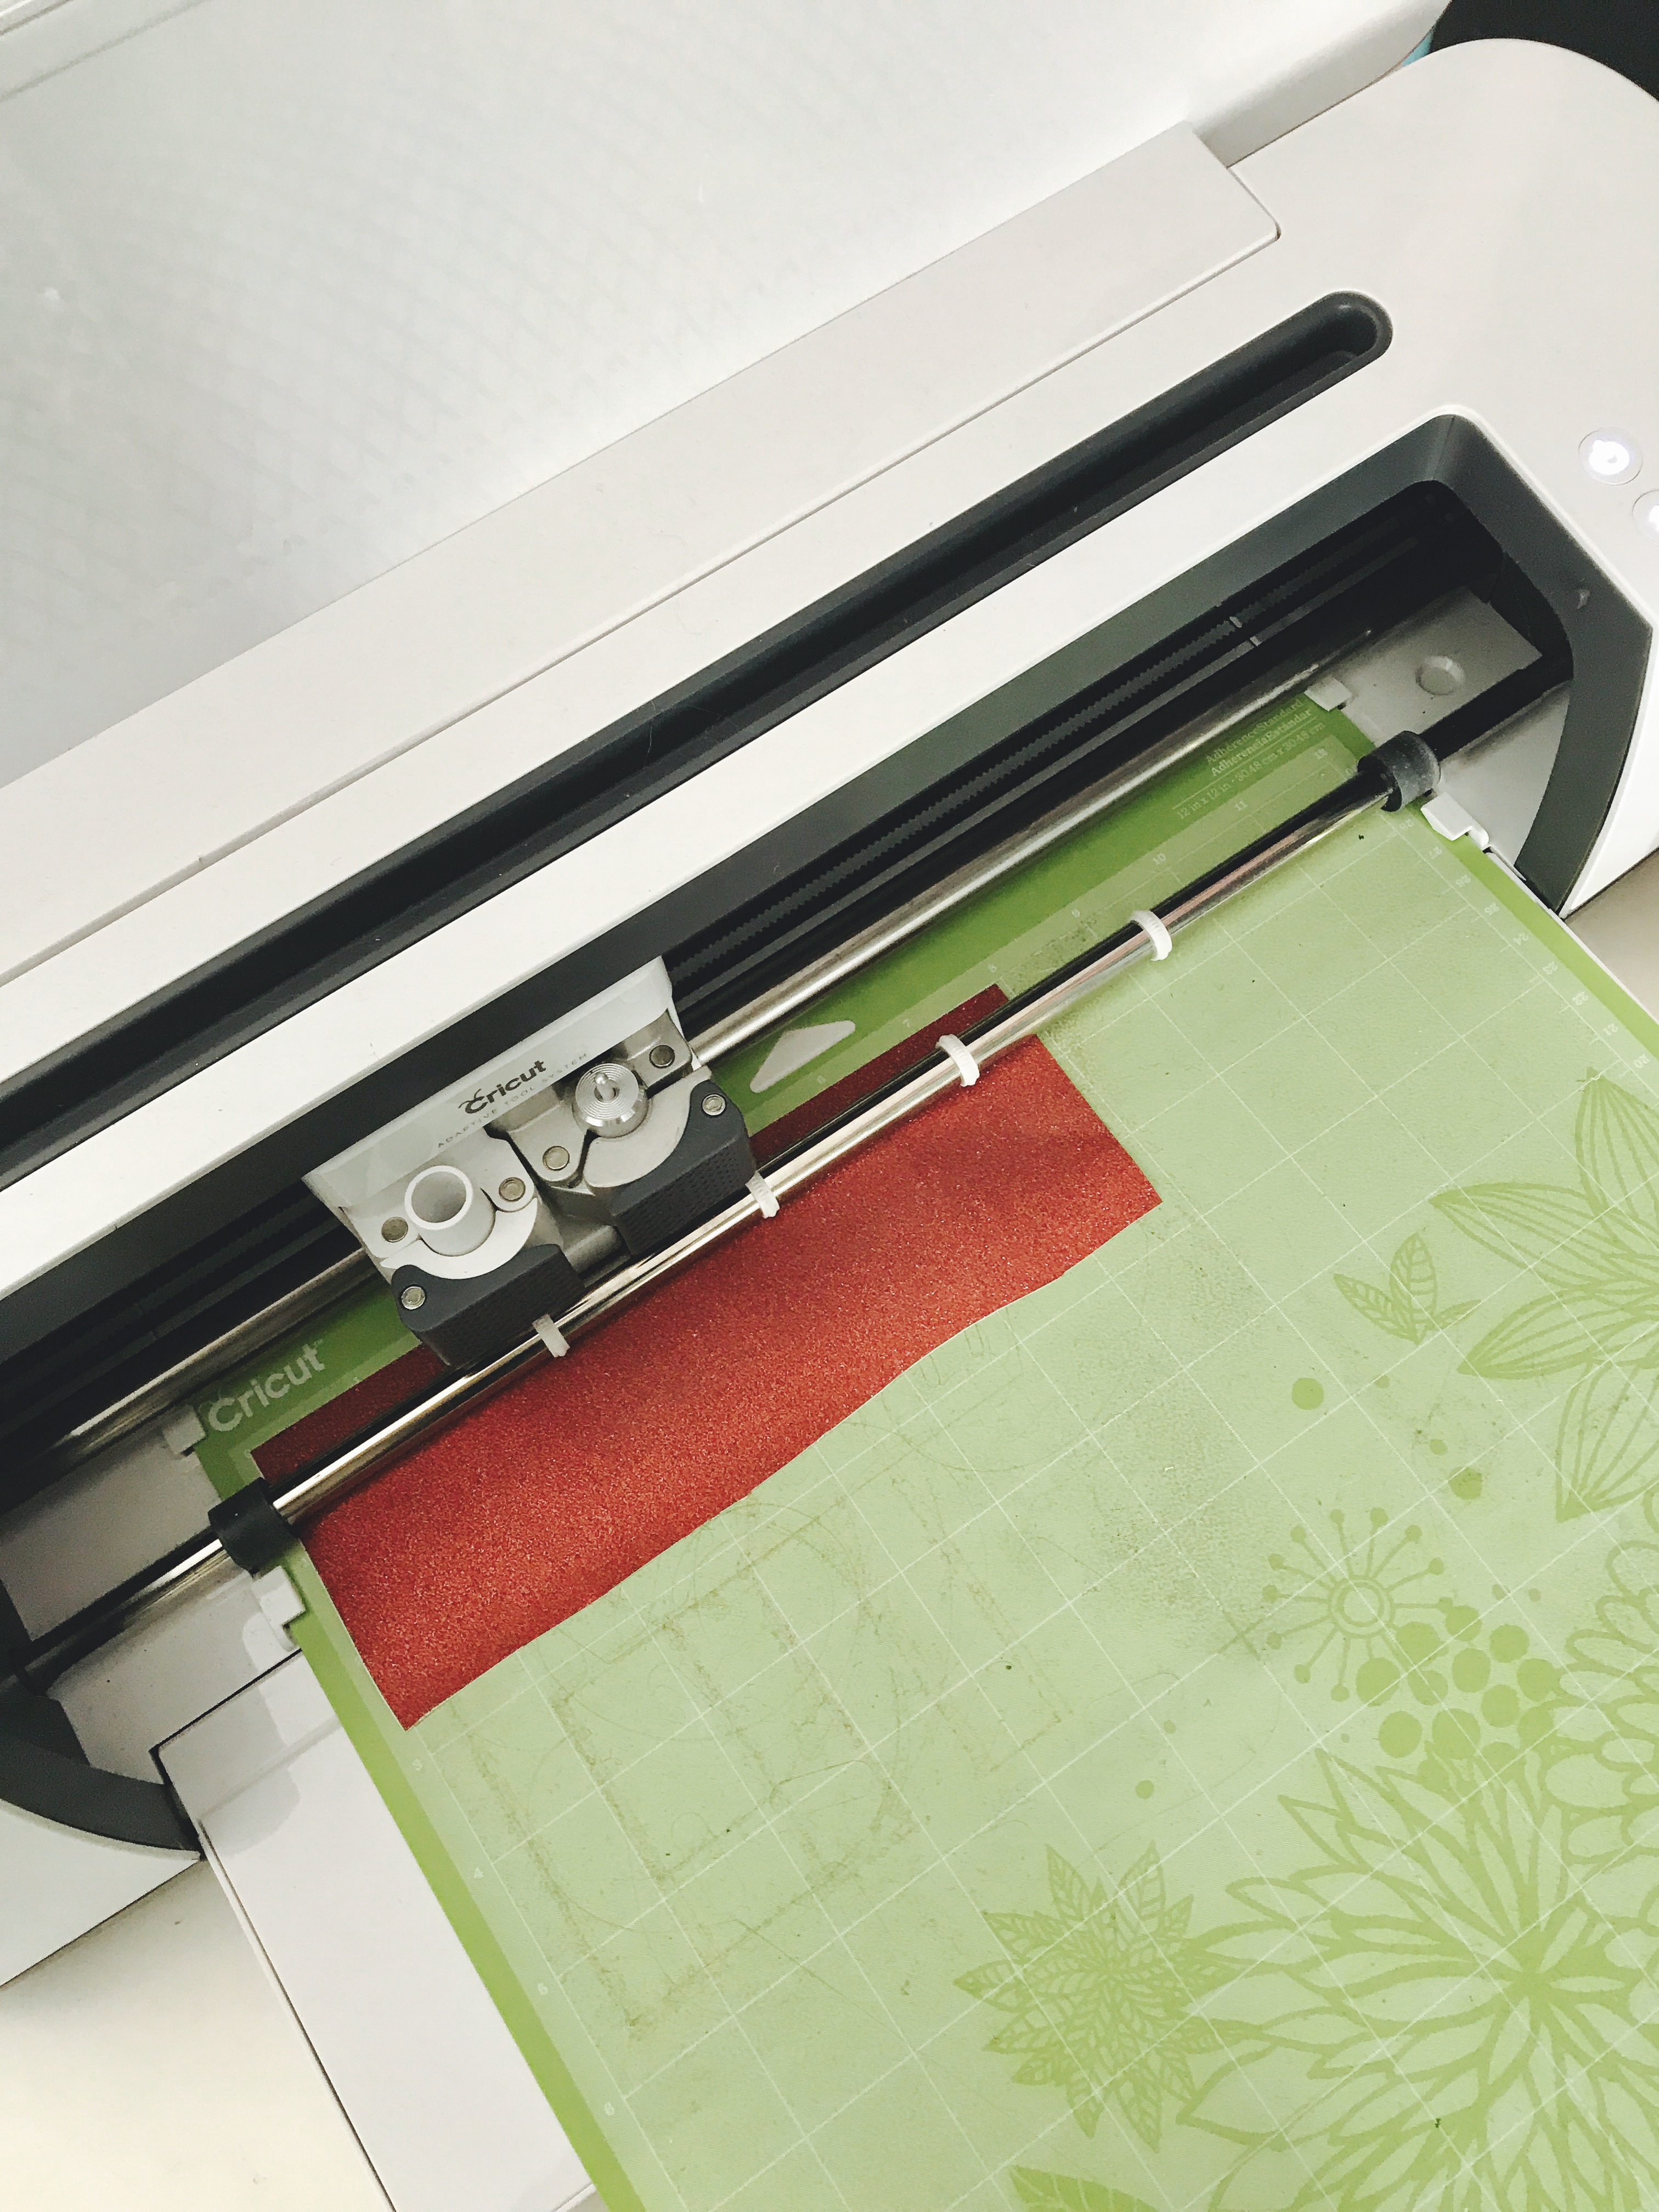
Once you have your design cut, carefully remove all the excess vinyl using your Cricut weeding tool to reveal your design! Note: it can be hard to see the cut in the glitter vinyl. I recommend using the BrightPad if you have one or holding the design up to light as you weed. Putting chalk or baby powder on it can also help expose the cut.
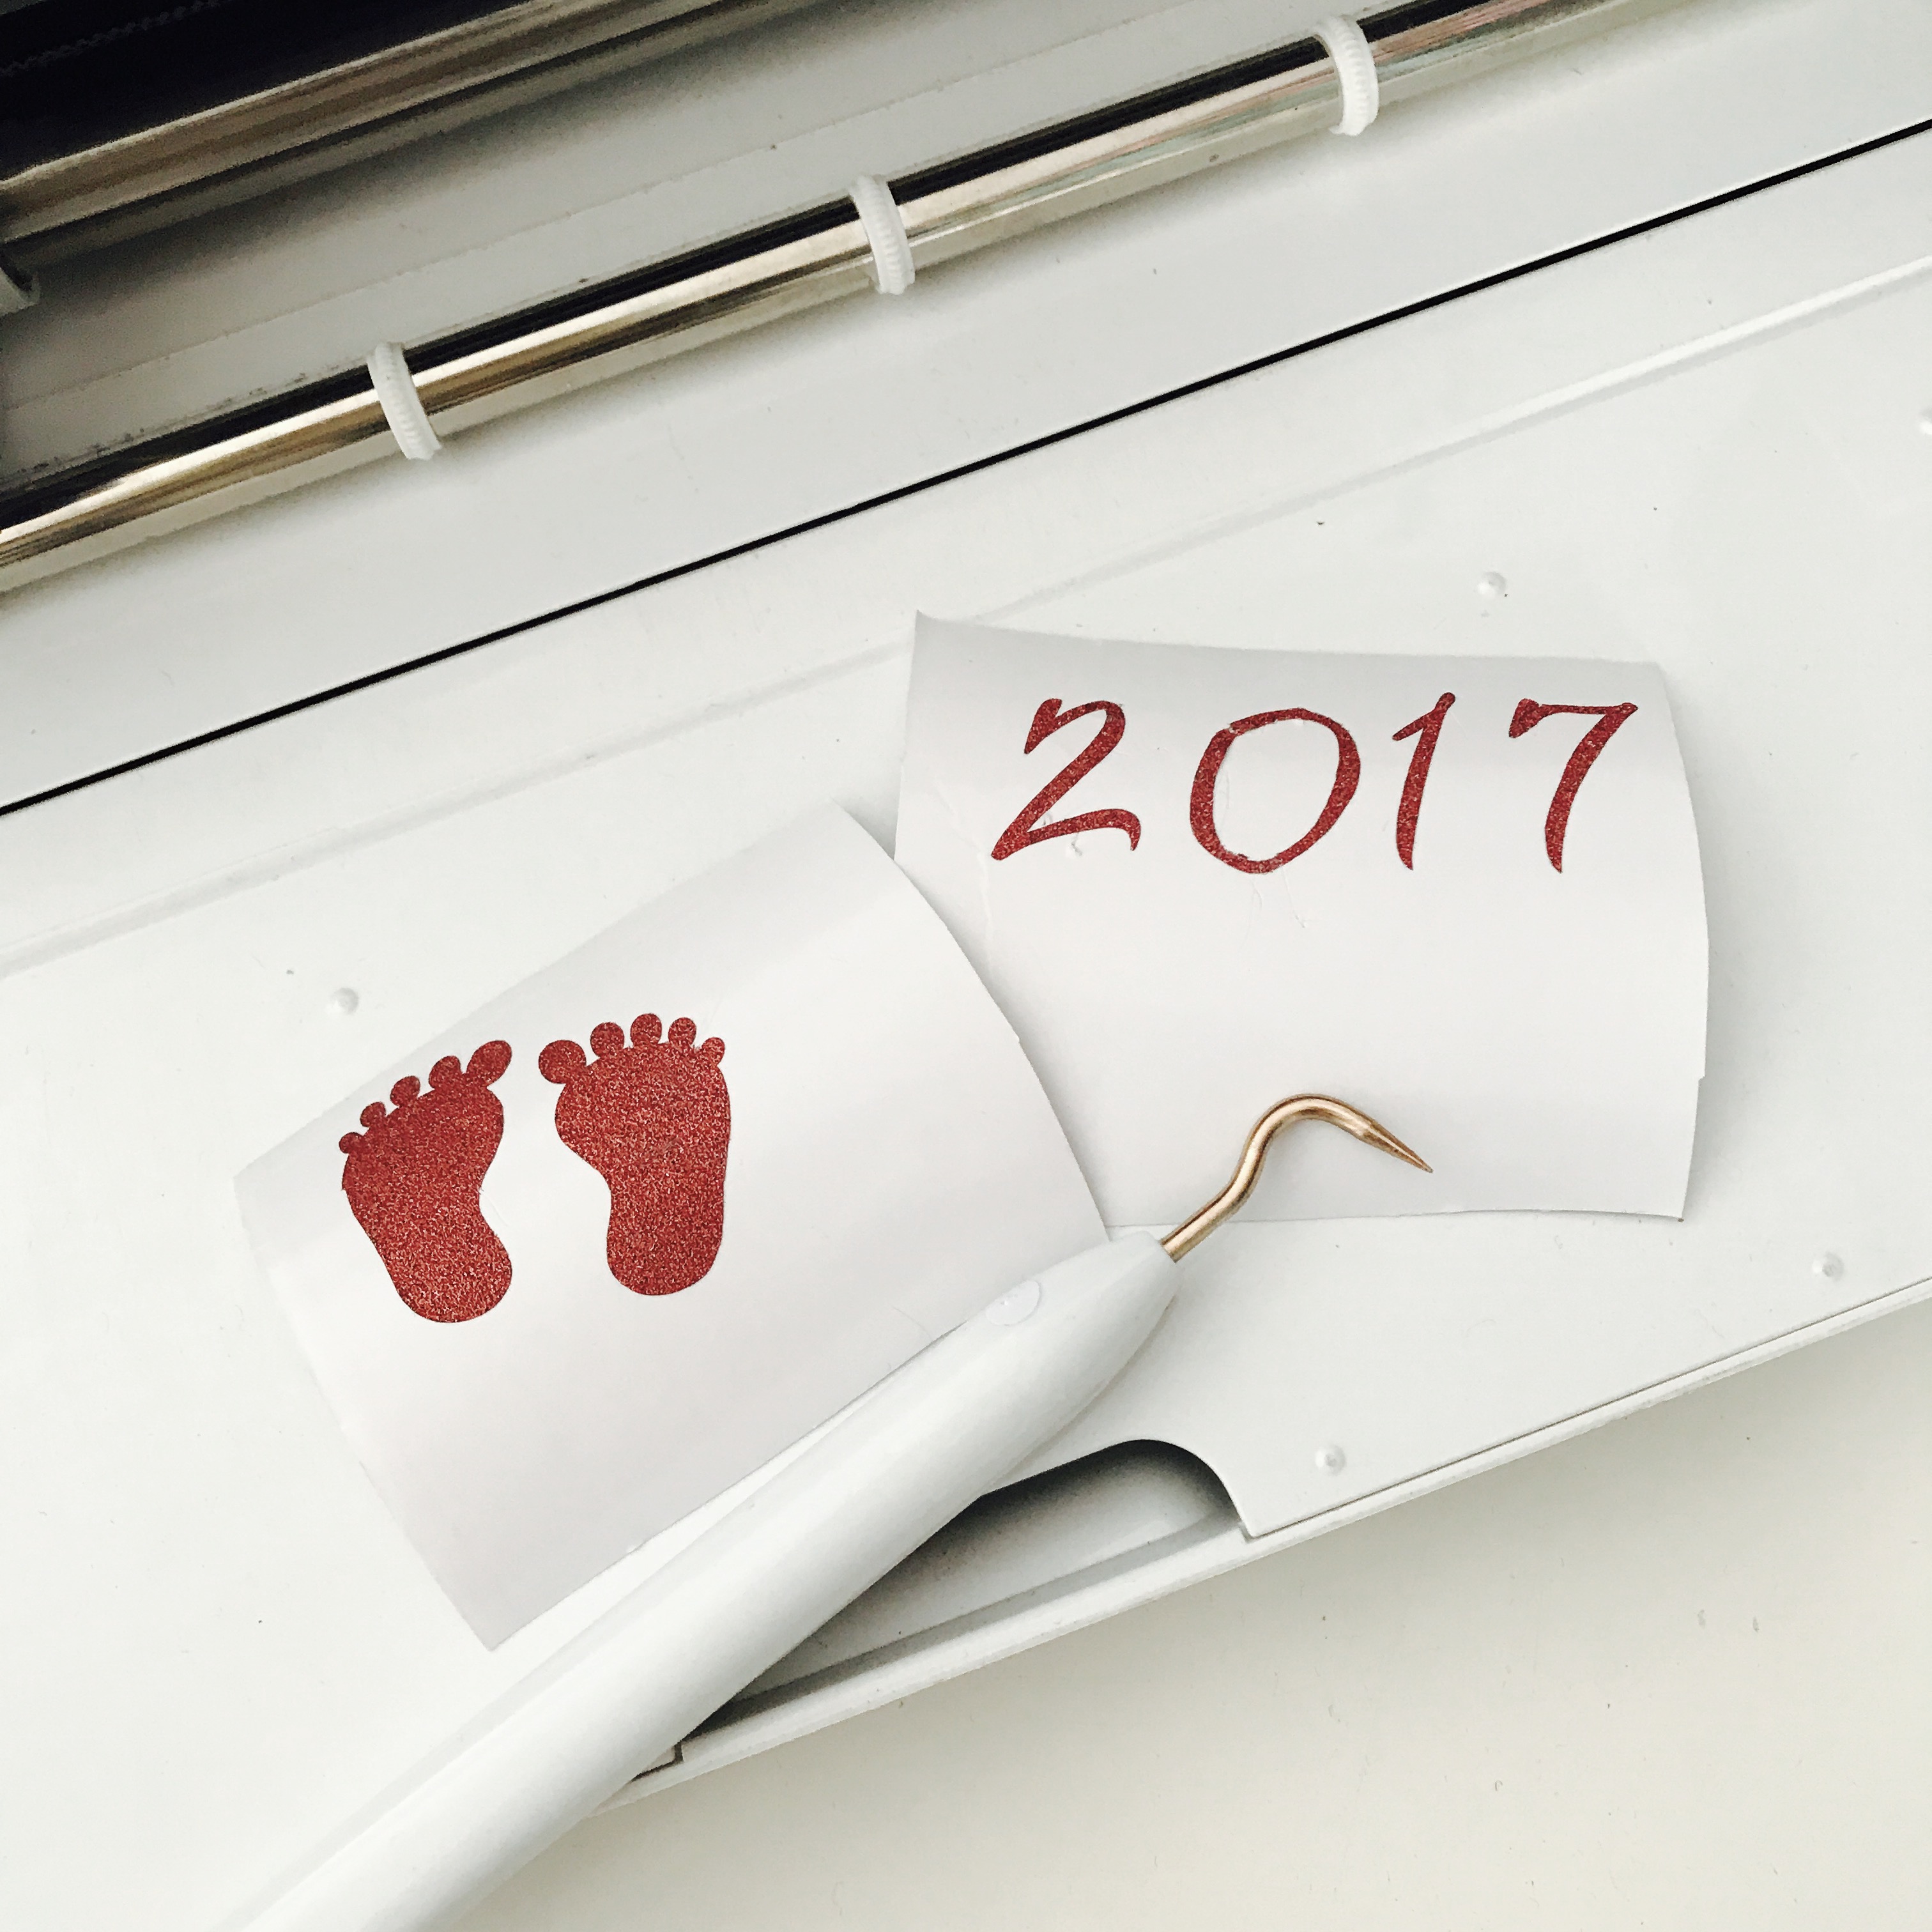
Once you have the design weeded, apply the strong transfer tape to the top of the design. I recommend using the scraper tool to help press the material to the transfer tape. Then peel off the back tape from the design. Repeat these steps for both the text and feet.
Once you have the design secured on the tape, place the design on the ornament where you want it. Then, remove the transfer tape. The strong transfer tape can be tricky. Apply a lot of pressure to the design and/or warm with your hands to ensure the design bonds to the ornament.
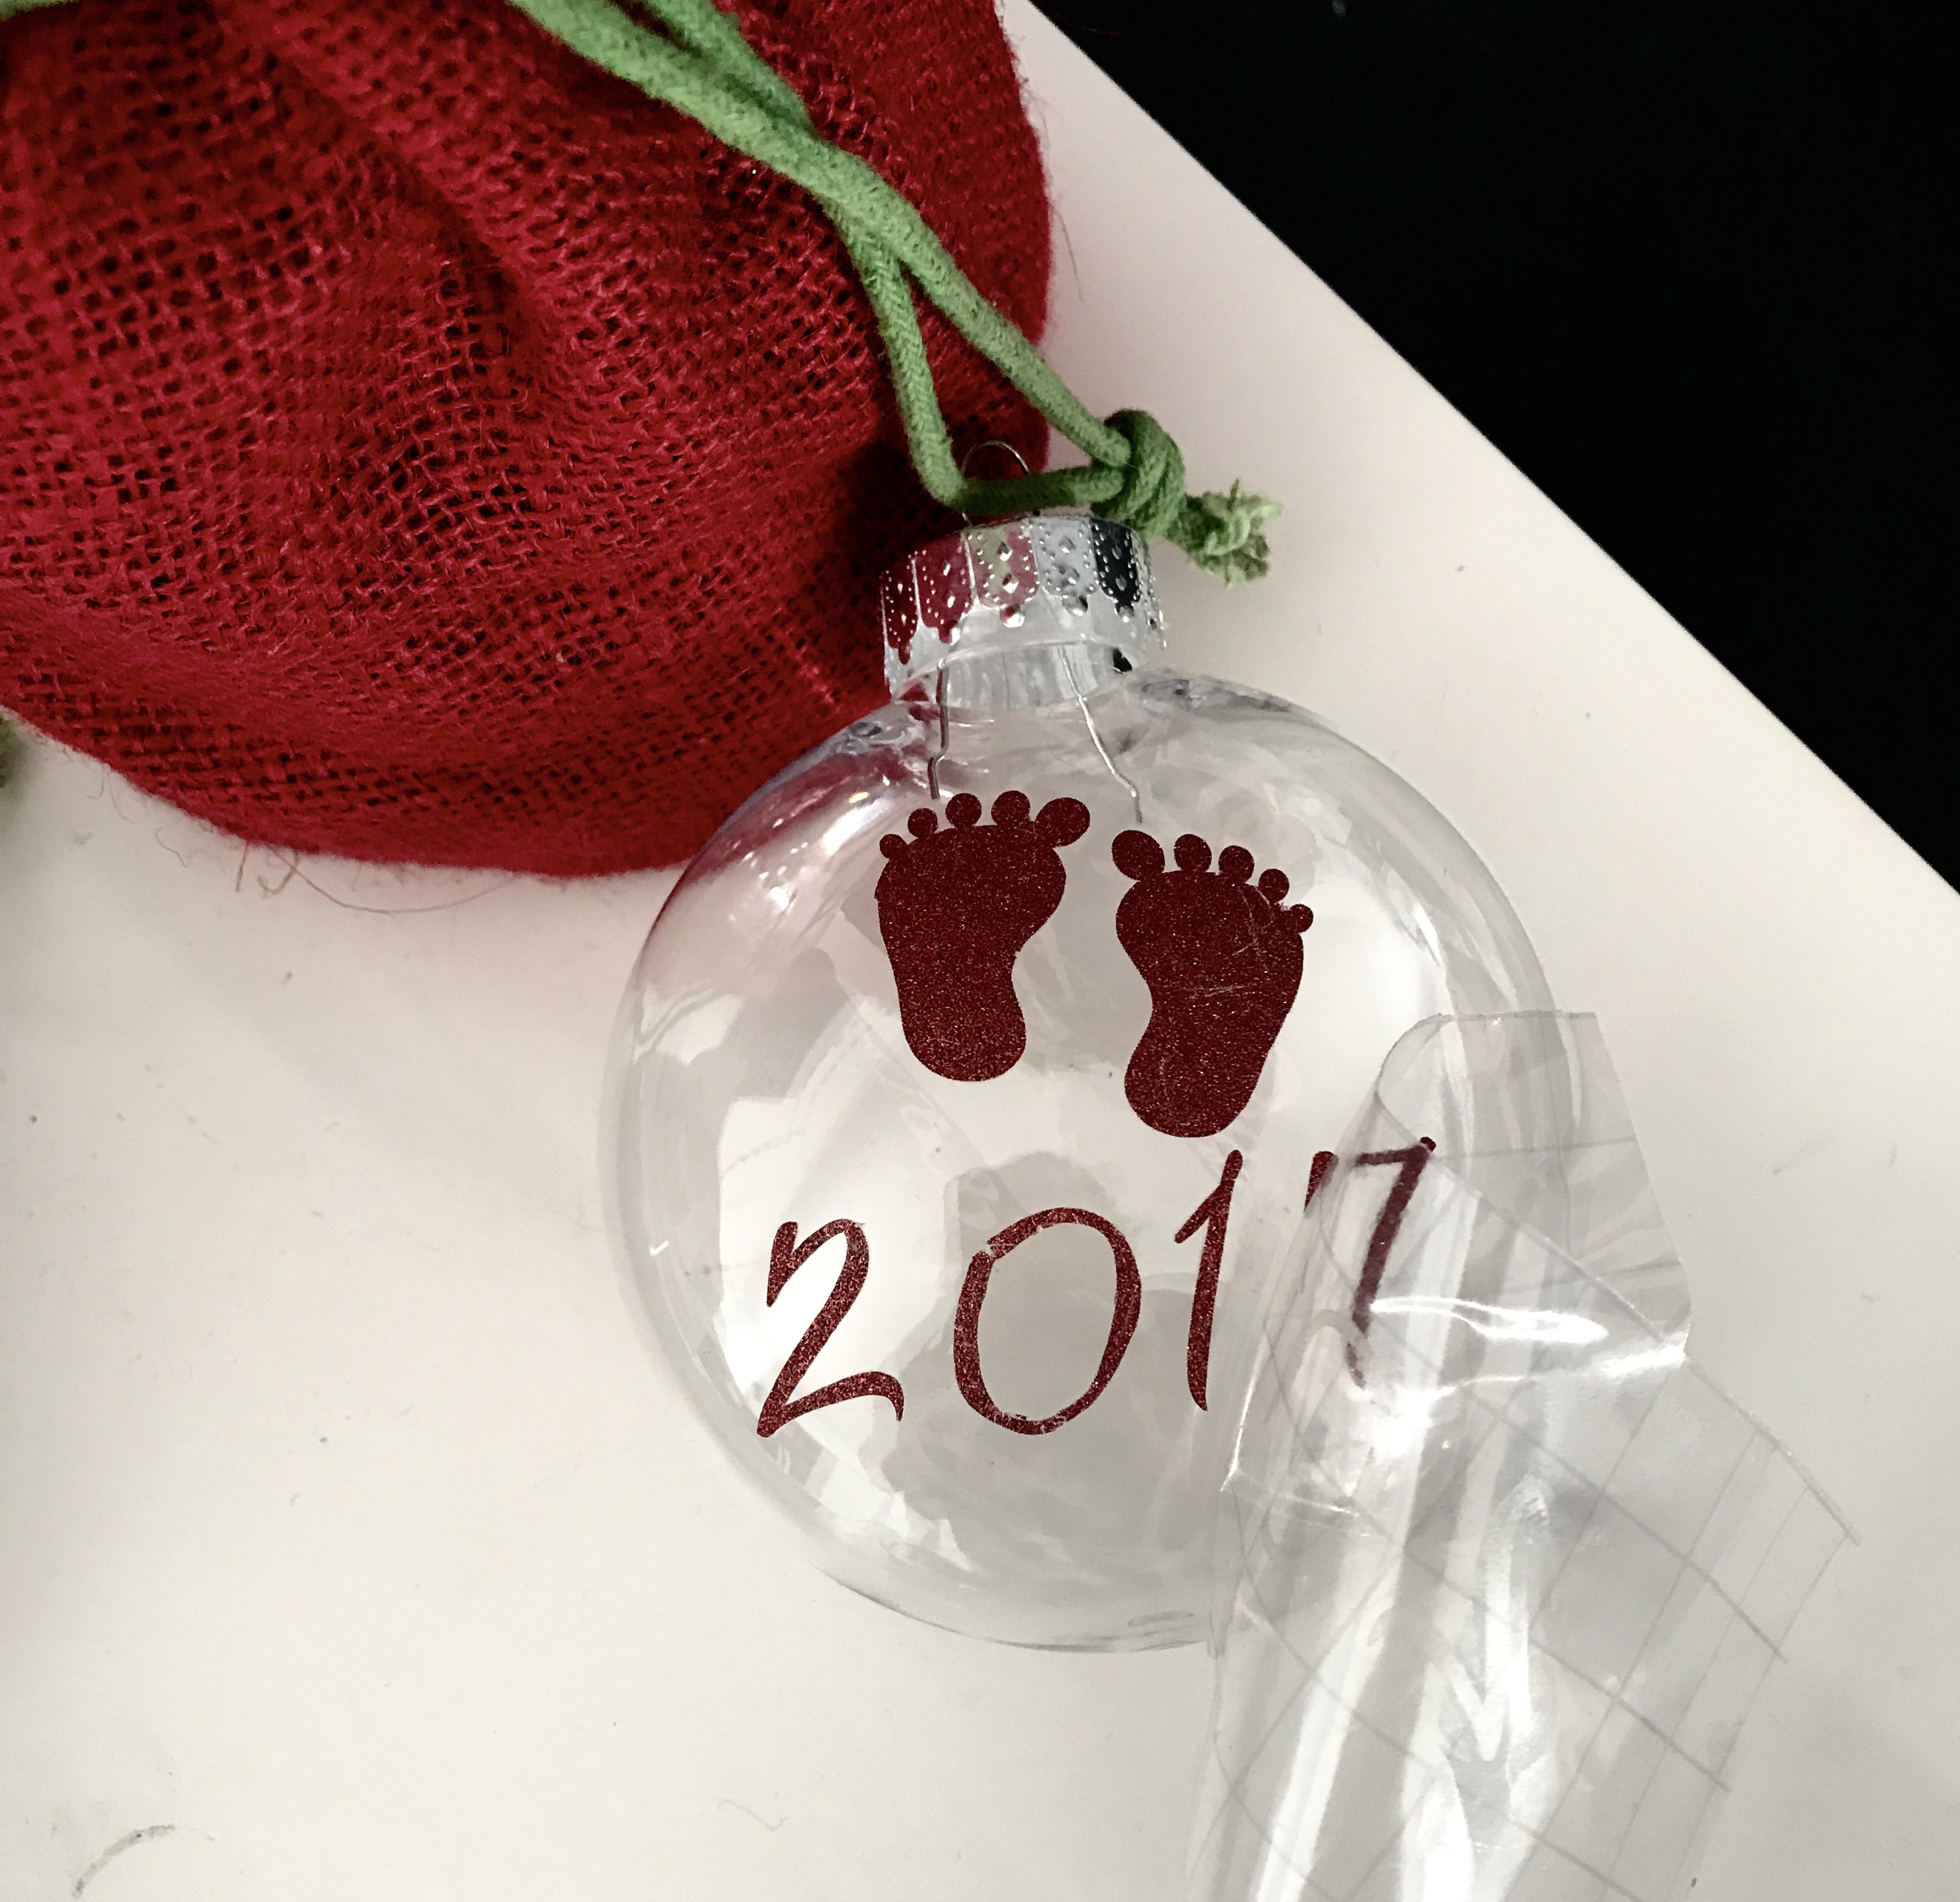
Fill ornament with fake snow, glitter, paint—whatever you want! For the final step loop the ribbon on the ornament.

Now all you have to do is hang it from the tree or wrap it up to make the perfect gift. Happy crafting this holiday season!
This is a sponsored conversation written by me on behalf of Cricut. The opinions and text are all mine.
*this post contains affiliate links*


