I was delighted to be asked to guest blog for the fab new Project Nursery site. It looks lovely around here.
By way of a quick introduction, my name is Stacy McCallum and I am the owner/designer of Pixie Dust Décor. Pixie Dust Décor is a textile and children’s décor design studio dedicated to bringing style minded parents enchanting décor options for their child’s special space.
Working with fabric 24/7 allows you so much freedom to come up with a zillion DIY projects. There is no end to what you can do with a scrap not to mention a yard.
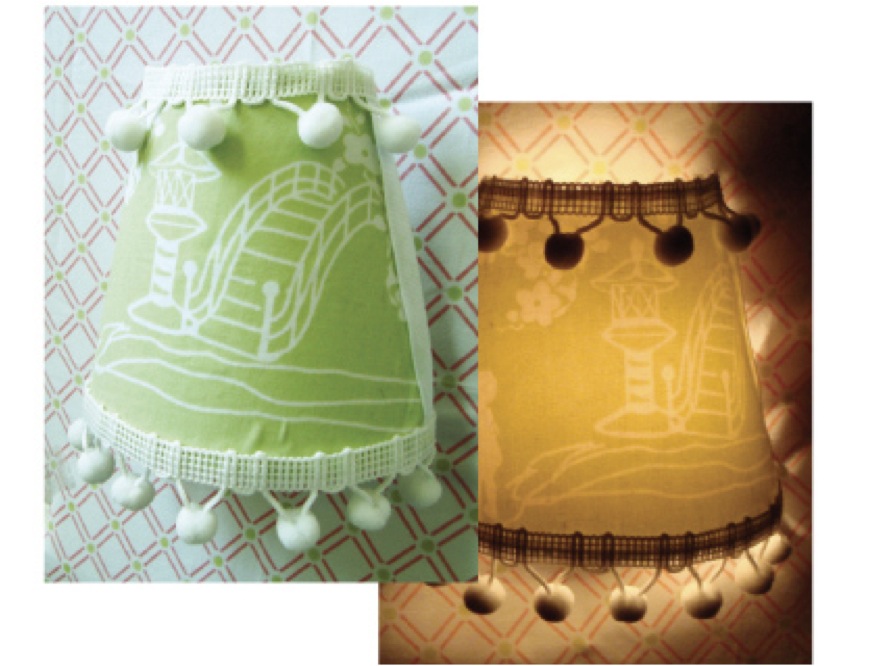
Here is one of my all time favorite projects, a nightlight. It is quick to put together, and requires very little precision (I need that!). Best of all, nightlights provide instant coziness to any room.
Older siblings can help too! Holiday break is upon us and we are looking for projects.
Supplies:

1. Self adhesive night light Hollywood lights (available at Hollywood Lights and Crafts).
2. 1/4 yard fabric
3. 1 yard trim (ricrac, pom pom, & grosgrain work well)
4. 4 clothes pins
5. fabric glue
Directions:
1. Using included night light template cut fabric to fit front of night light and adhesive surface.

2. Cut your trim to size. One piece for each side to frame night light.
3. Using fabric glue dot along edges of nightlight. Adhere trim pieces, using clothes pins to hold trim in place until it dries.
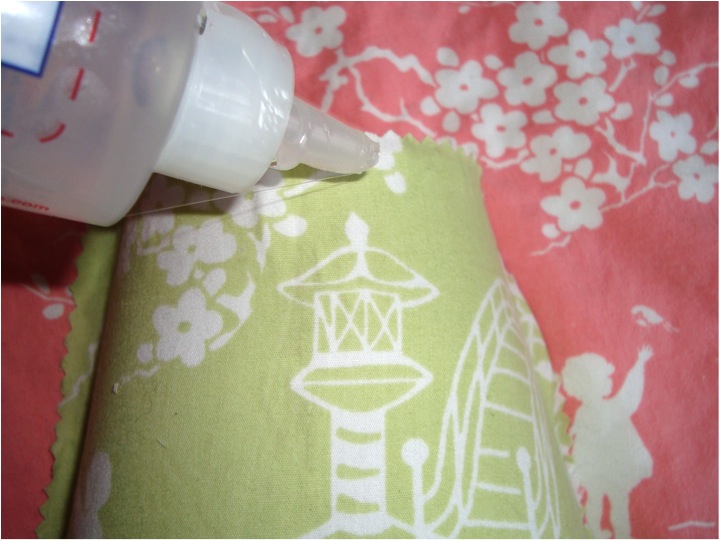

4. For a finished look over lap trim at corners and adhere to the back of the night light.

TA DA!






Comments
Helen
What an easy project – I might try it!
Stacy
Thanks Helen! I’m glad you saw that it IS an easy project. It only takes a bit of fabric. Have fun.
Kim
We made these last year at one of our girlfriend’s “craft nights”….they turned out super cute and they are super easy! You can also customize with a pre-made embroidered letter, silk flowers, crystals, you name it!
CaliMommy
What a cute idea! I love it.