Wow, when we spotted this DIY ombre wall mural on Stephanie Pohlman’s instagram account, we just had to get the details. Lucky for us Stephanie is as generous as she is talented and is sharing her step-by-step process for creating this gorgeous, on-trend look.
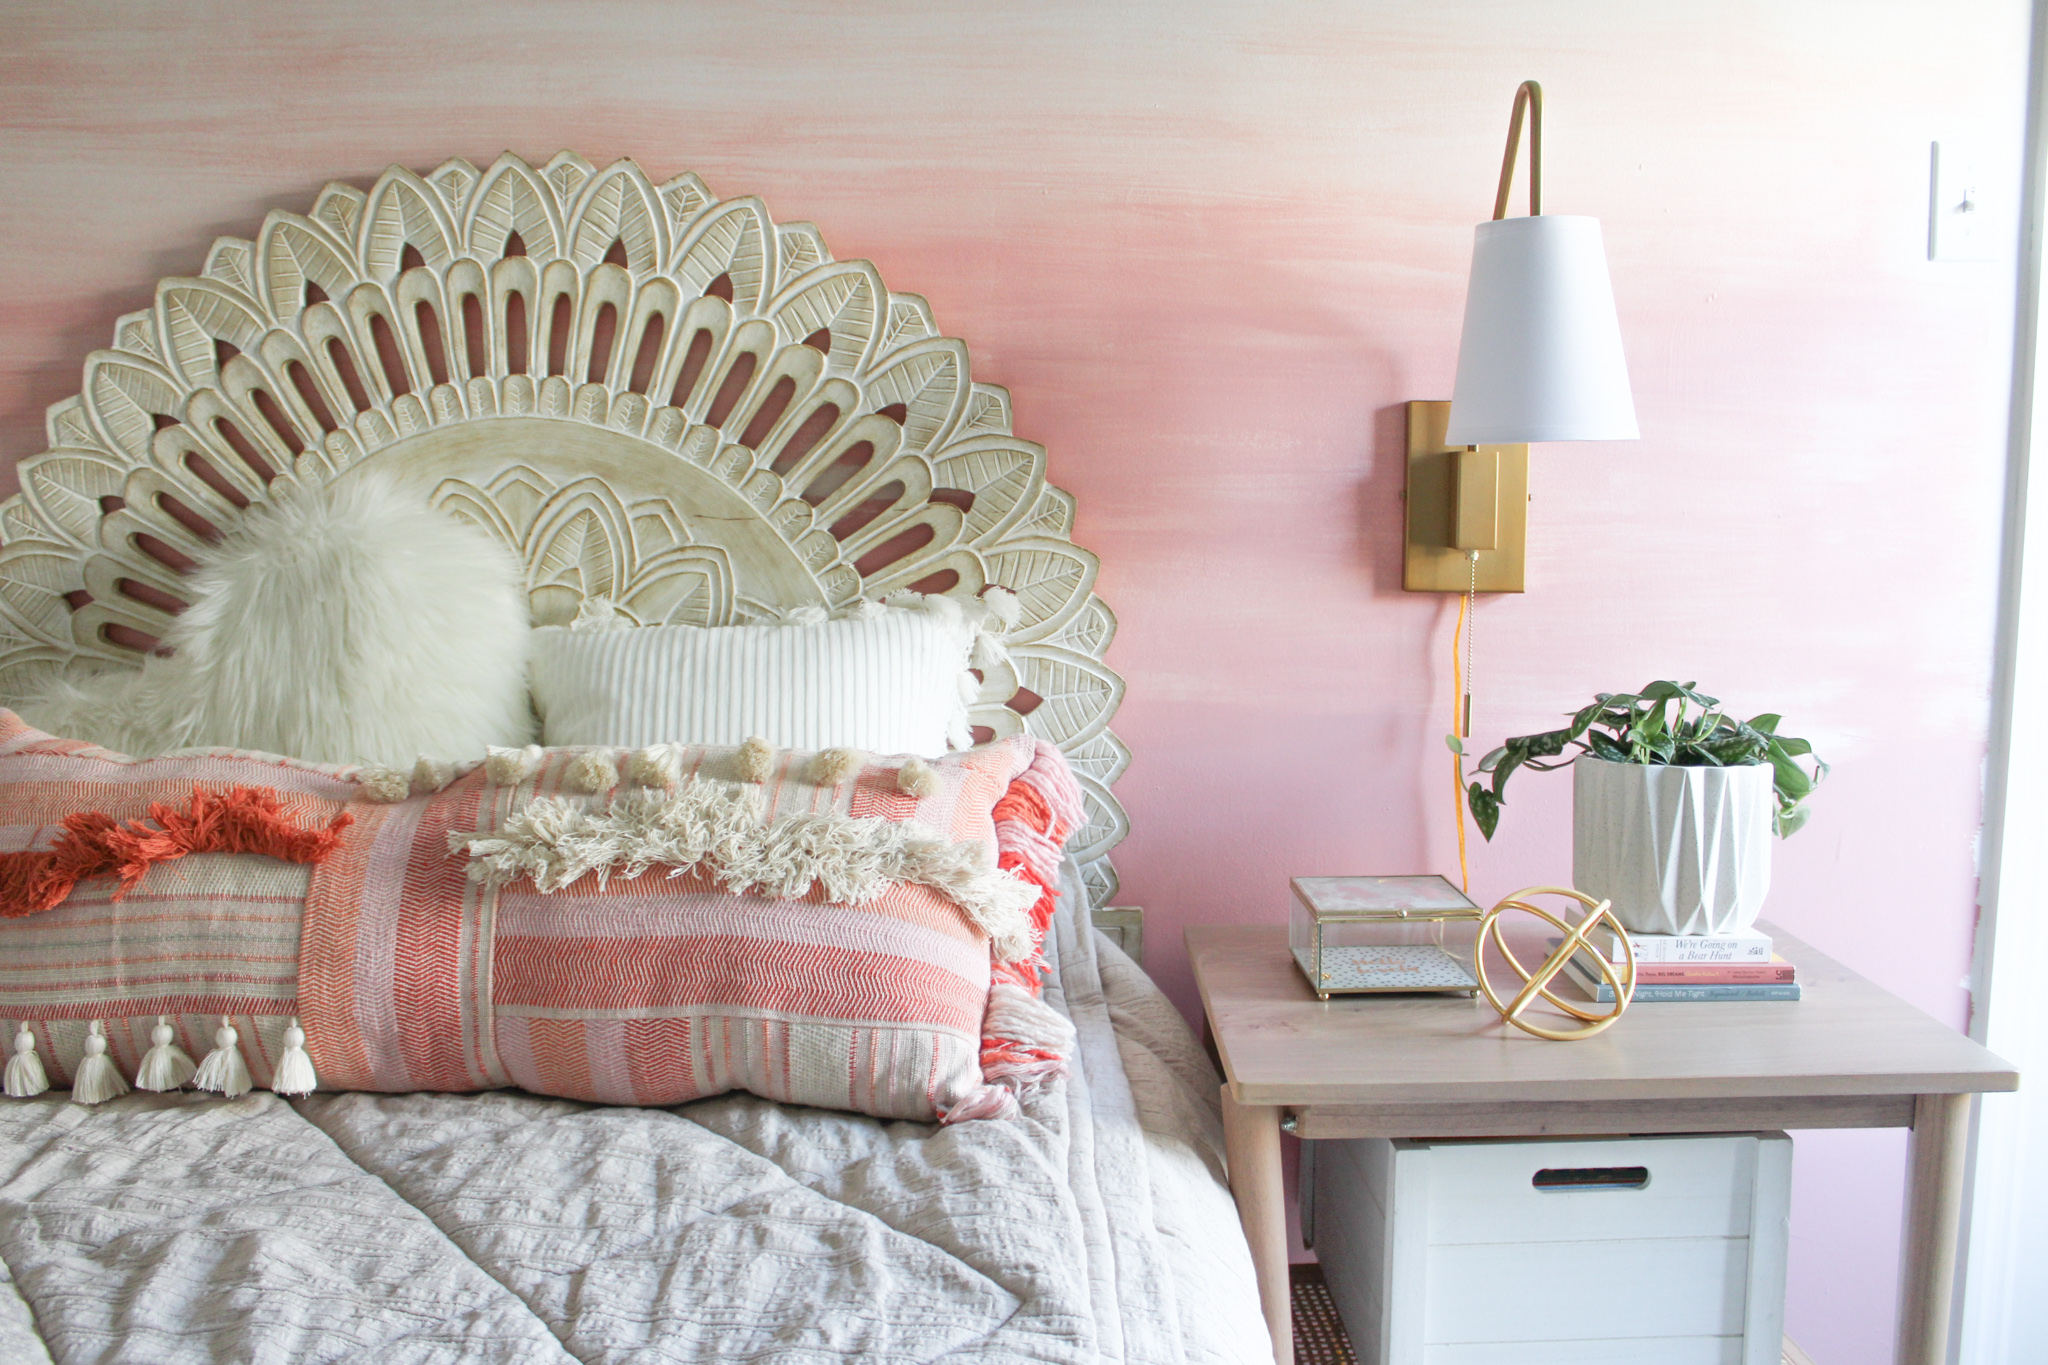
Stephanie is a professional interior designer based in St. Louis, MO. She’s had a passion for design since she was a young girl and started her own business Stephanie Pohlman Designs after the birth of her daughter. Her motto is to help others love their home, and she’s been using projects like this DIY ombre wall mural in her toddler daughter’s big girl room to help her get through this tough time and to continue inspiring others. Be sure to follow along here. Thank you, Stephanie, for sharing your project with our readers.
1. I used matte paint, a paint brush and water. My specific color is Resounding Rose at 50% by Sherwin Williams.
2. First, I measured and marked the wall about every twelve to eighteen inches to make sure my “ombre” effect faded evenly.
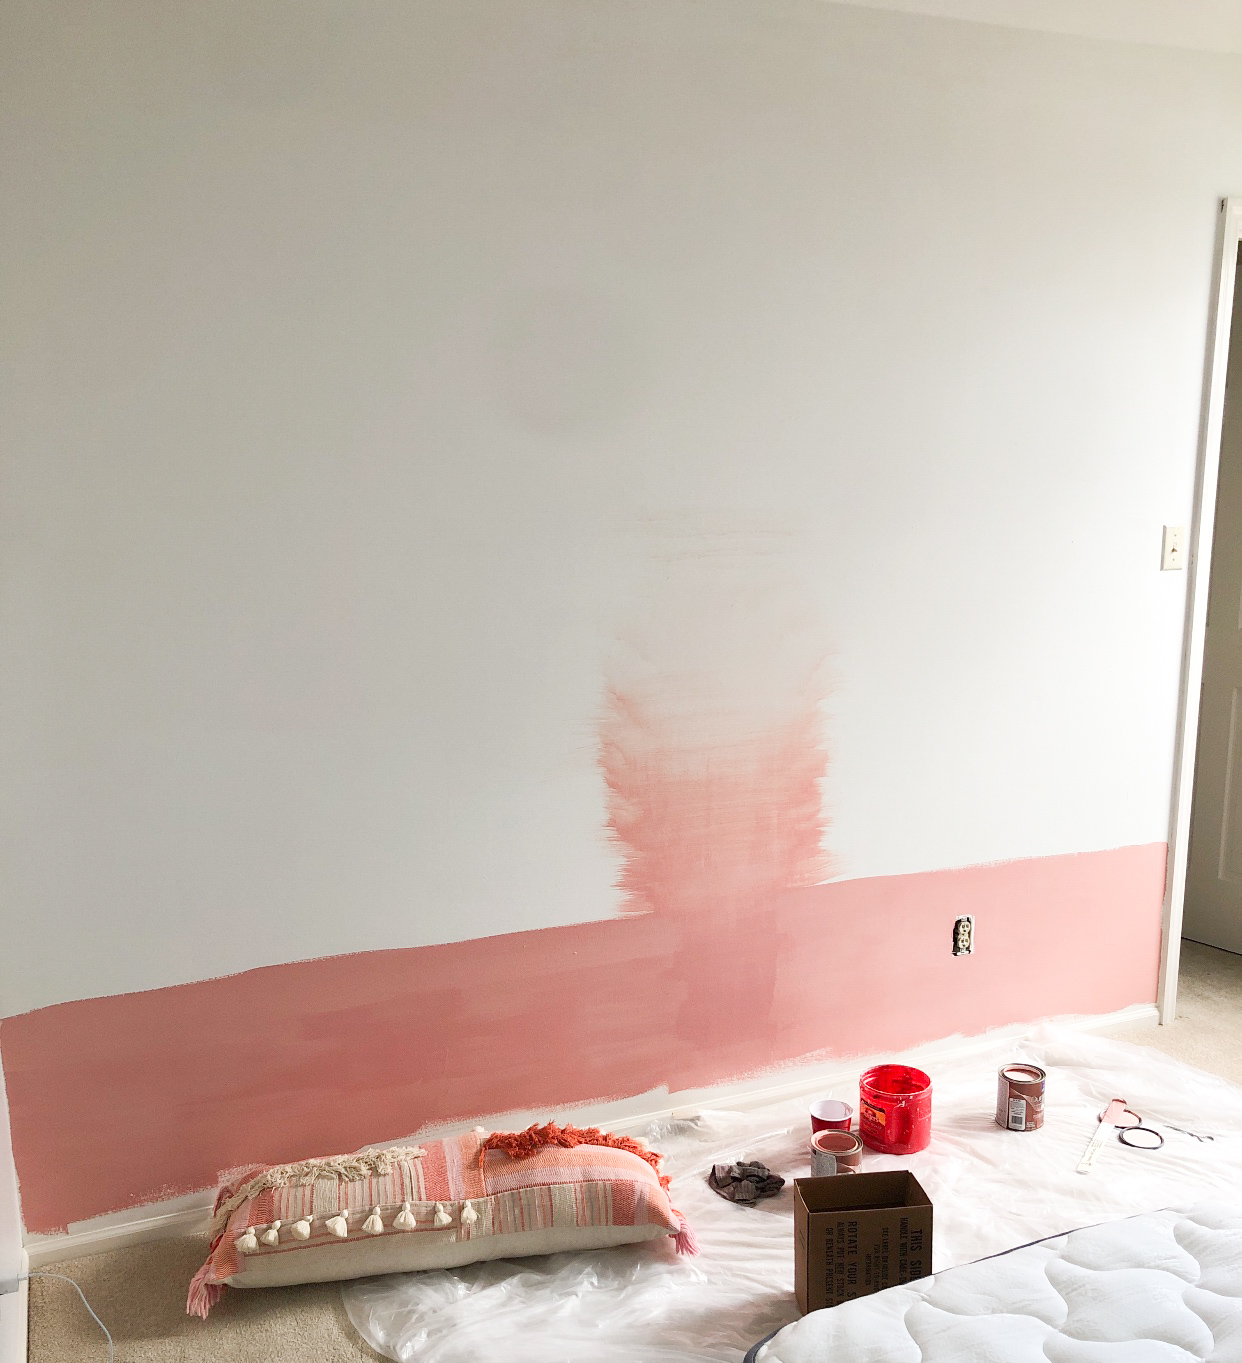
3. I painted the bottom section solid, with no water mixed in.
4. As I reached each new section that I had originally measured, I dipped my brush in the paint, then the water to lighten the color as I went up.
5. Each time I reached a new section, I wiped off my paint brush with a dry rag (this step is crucial so it doesn’t drip down to the last layer) and used more water and less paint.
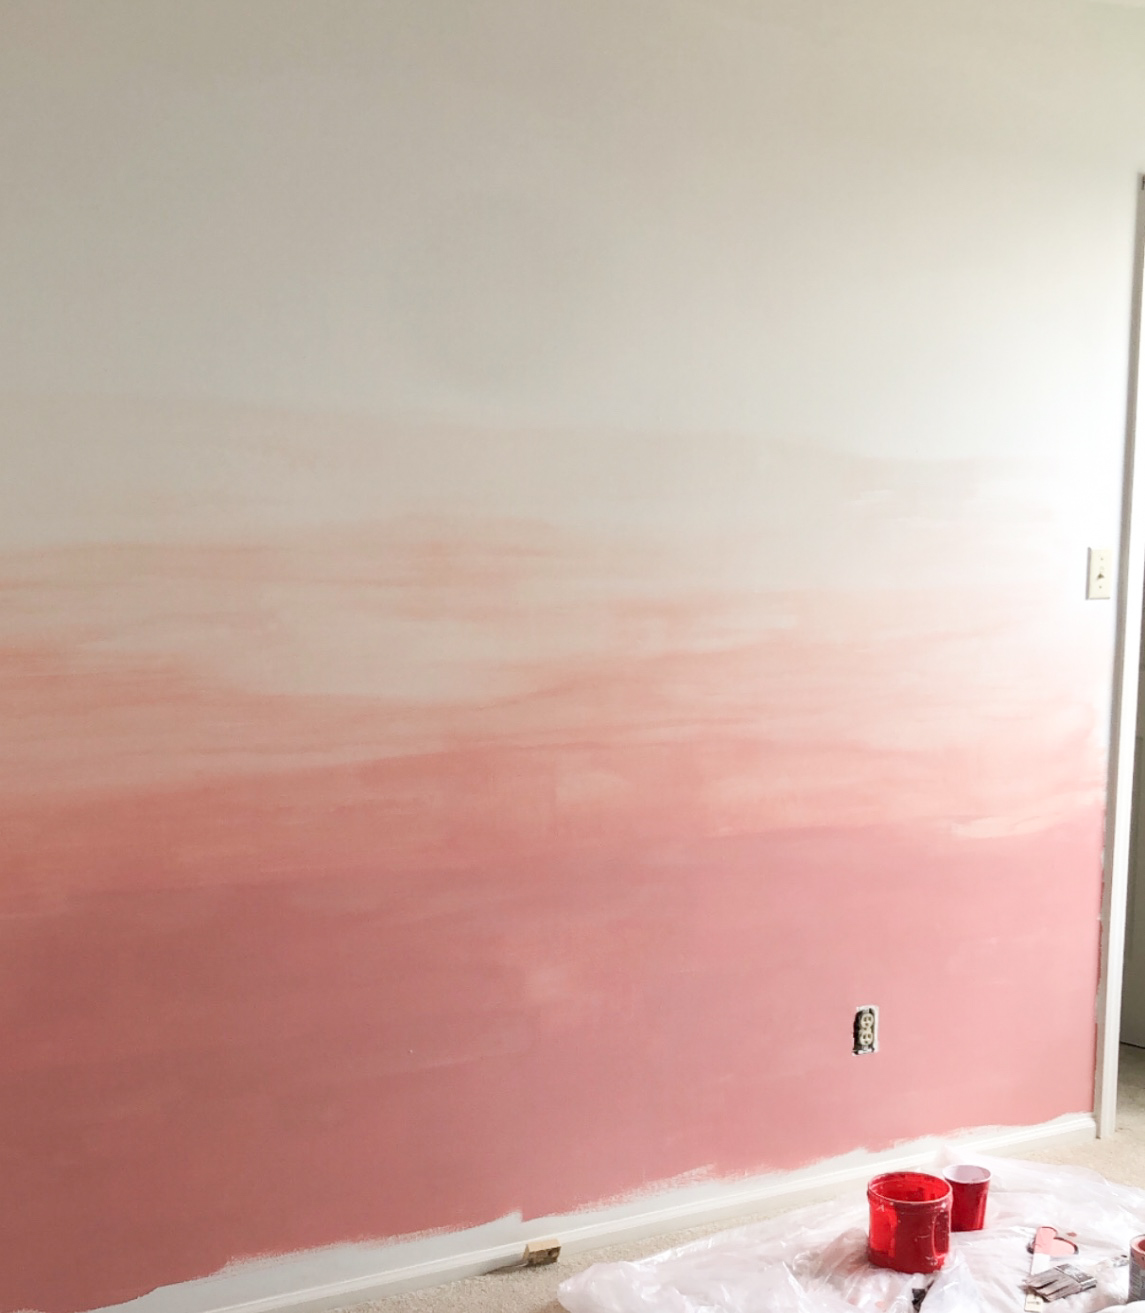
6. The top section should be mostly water and just a little bit of paint.
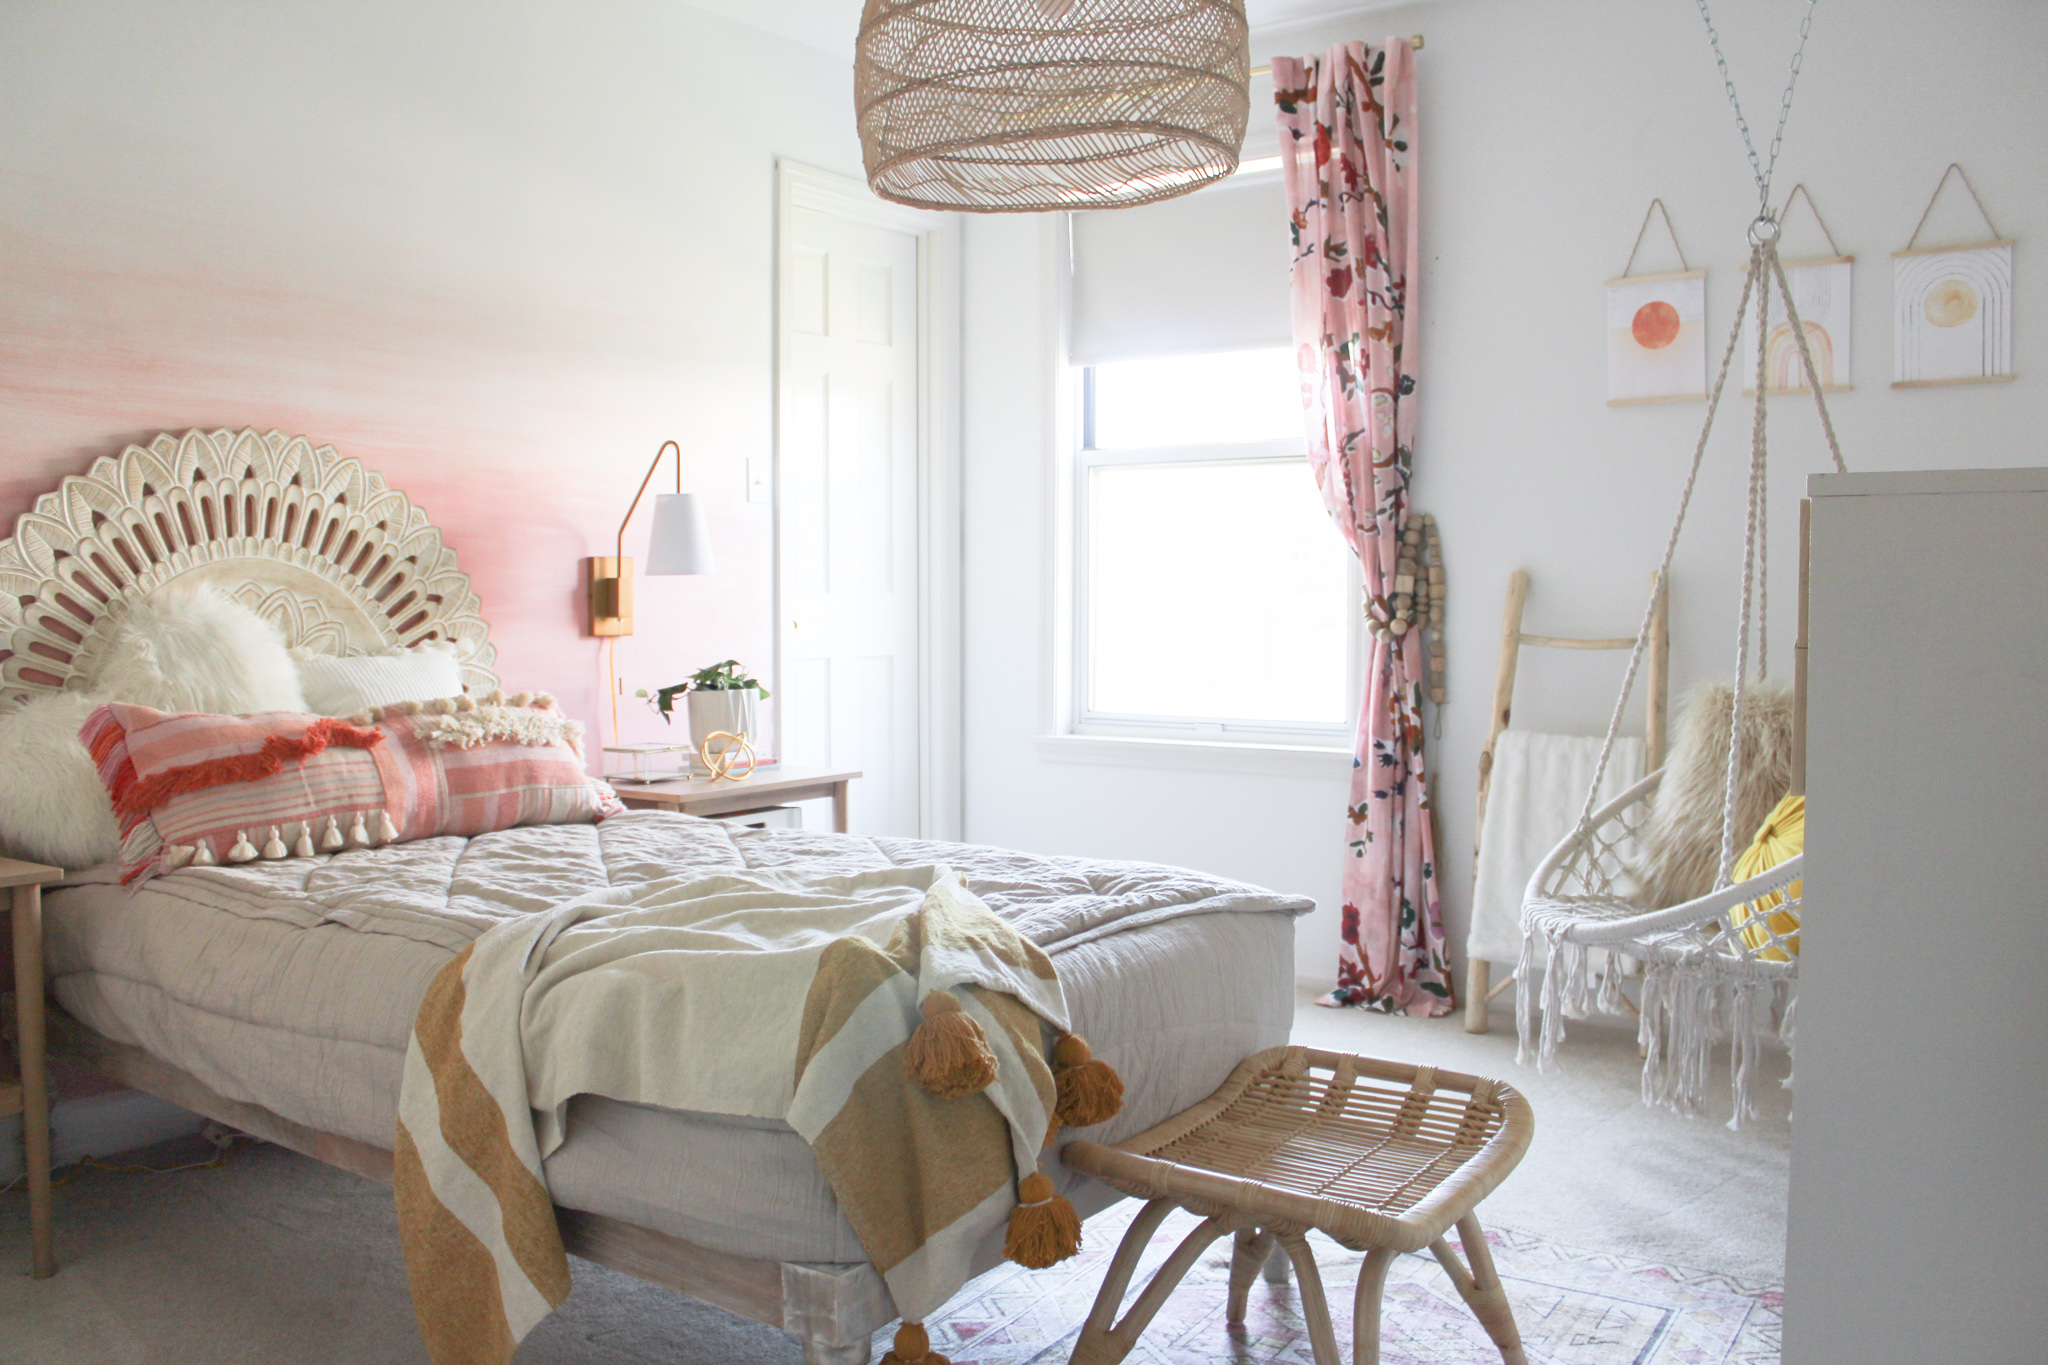
I had so much fun creating this ombre wall! It only took about 1-2 hours and was very simple to achieve the look.
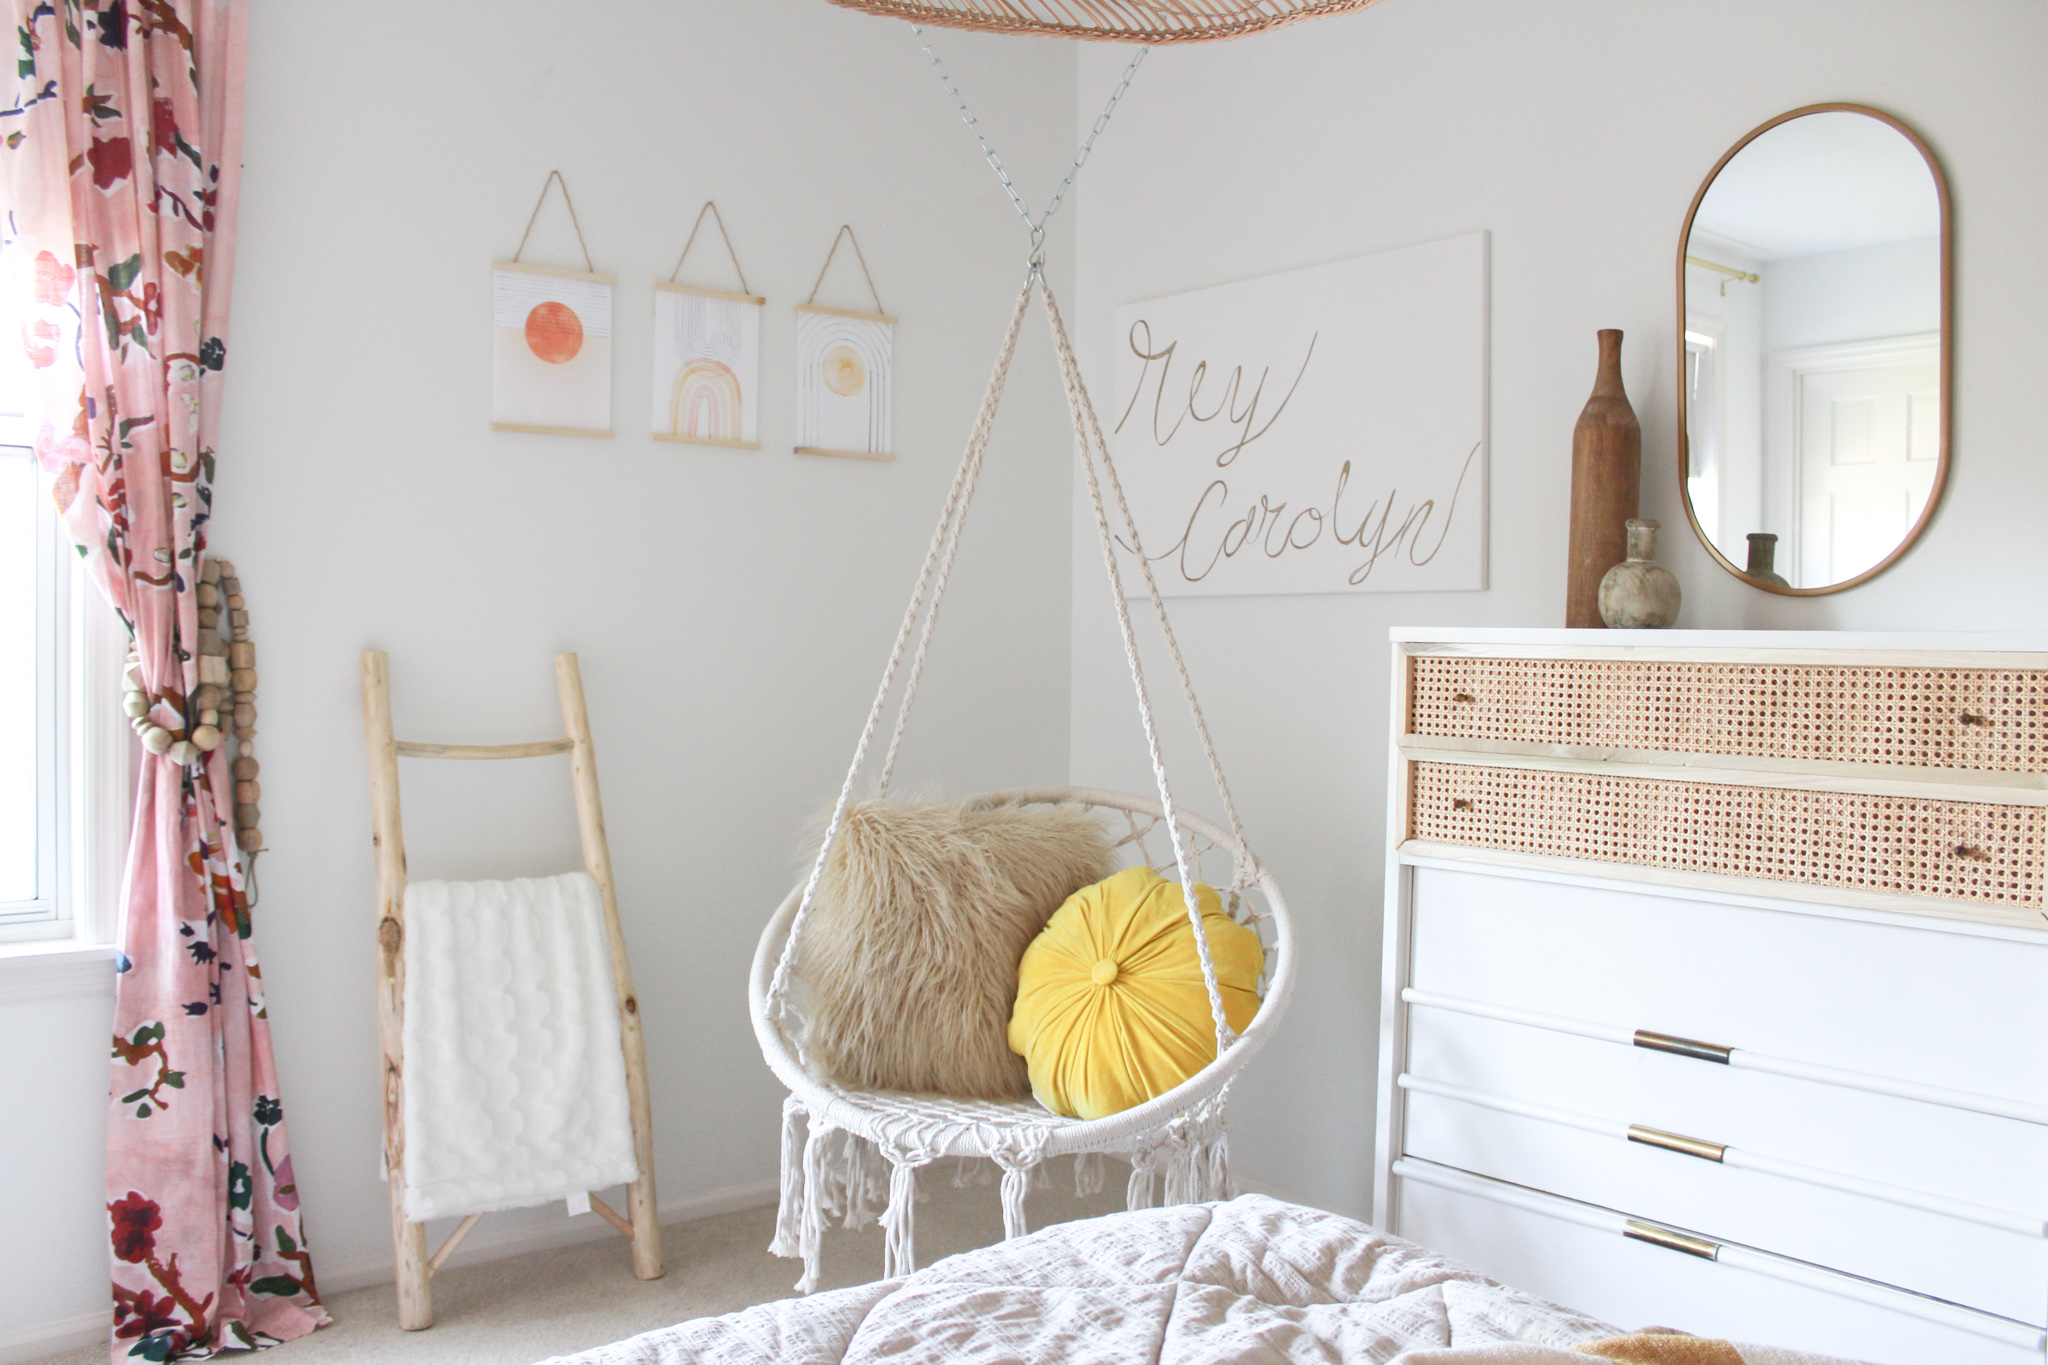
Photography by Stephanie Pohlman
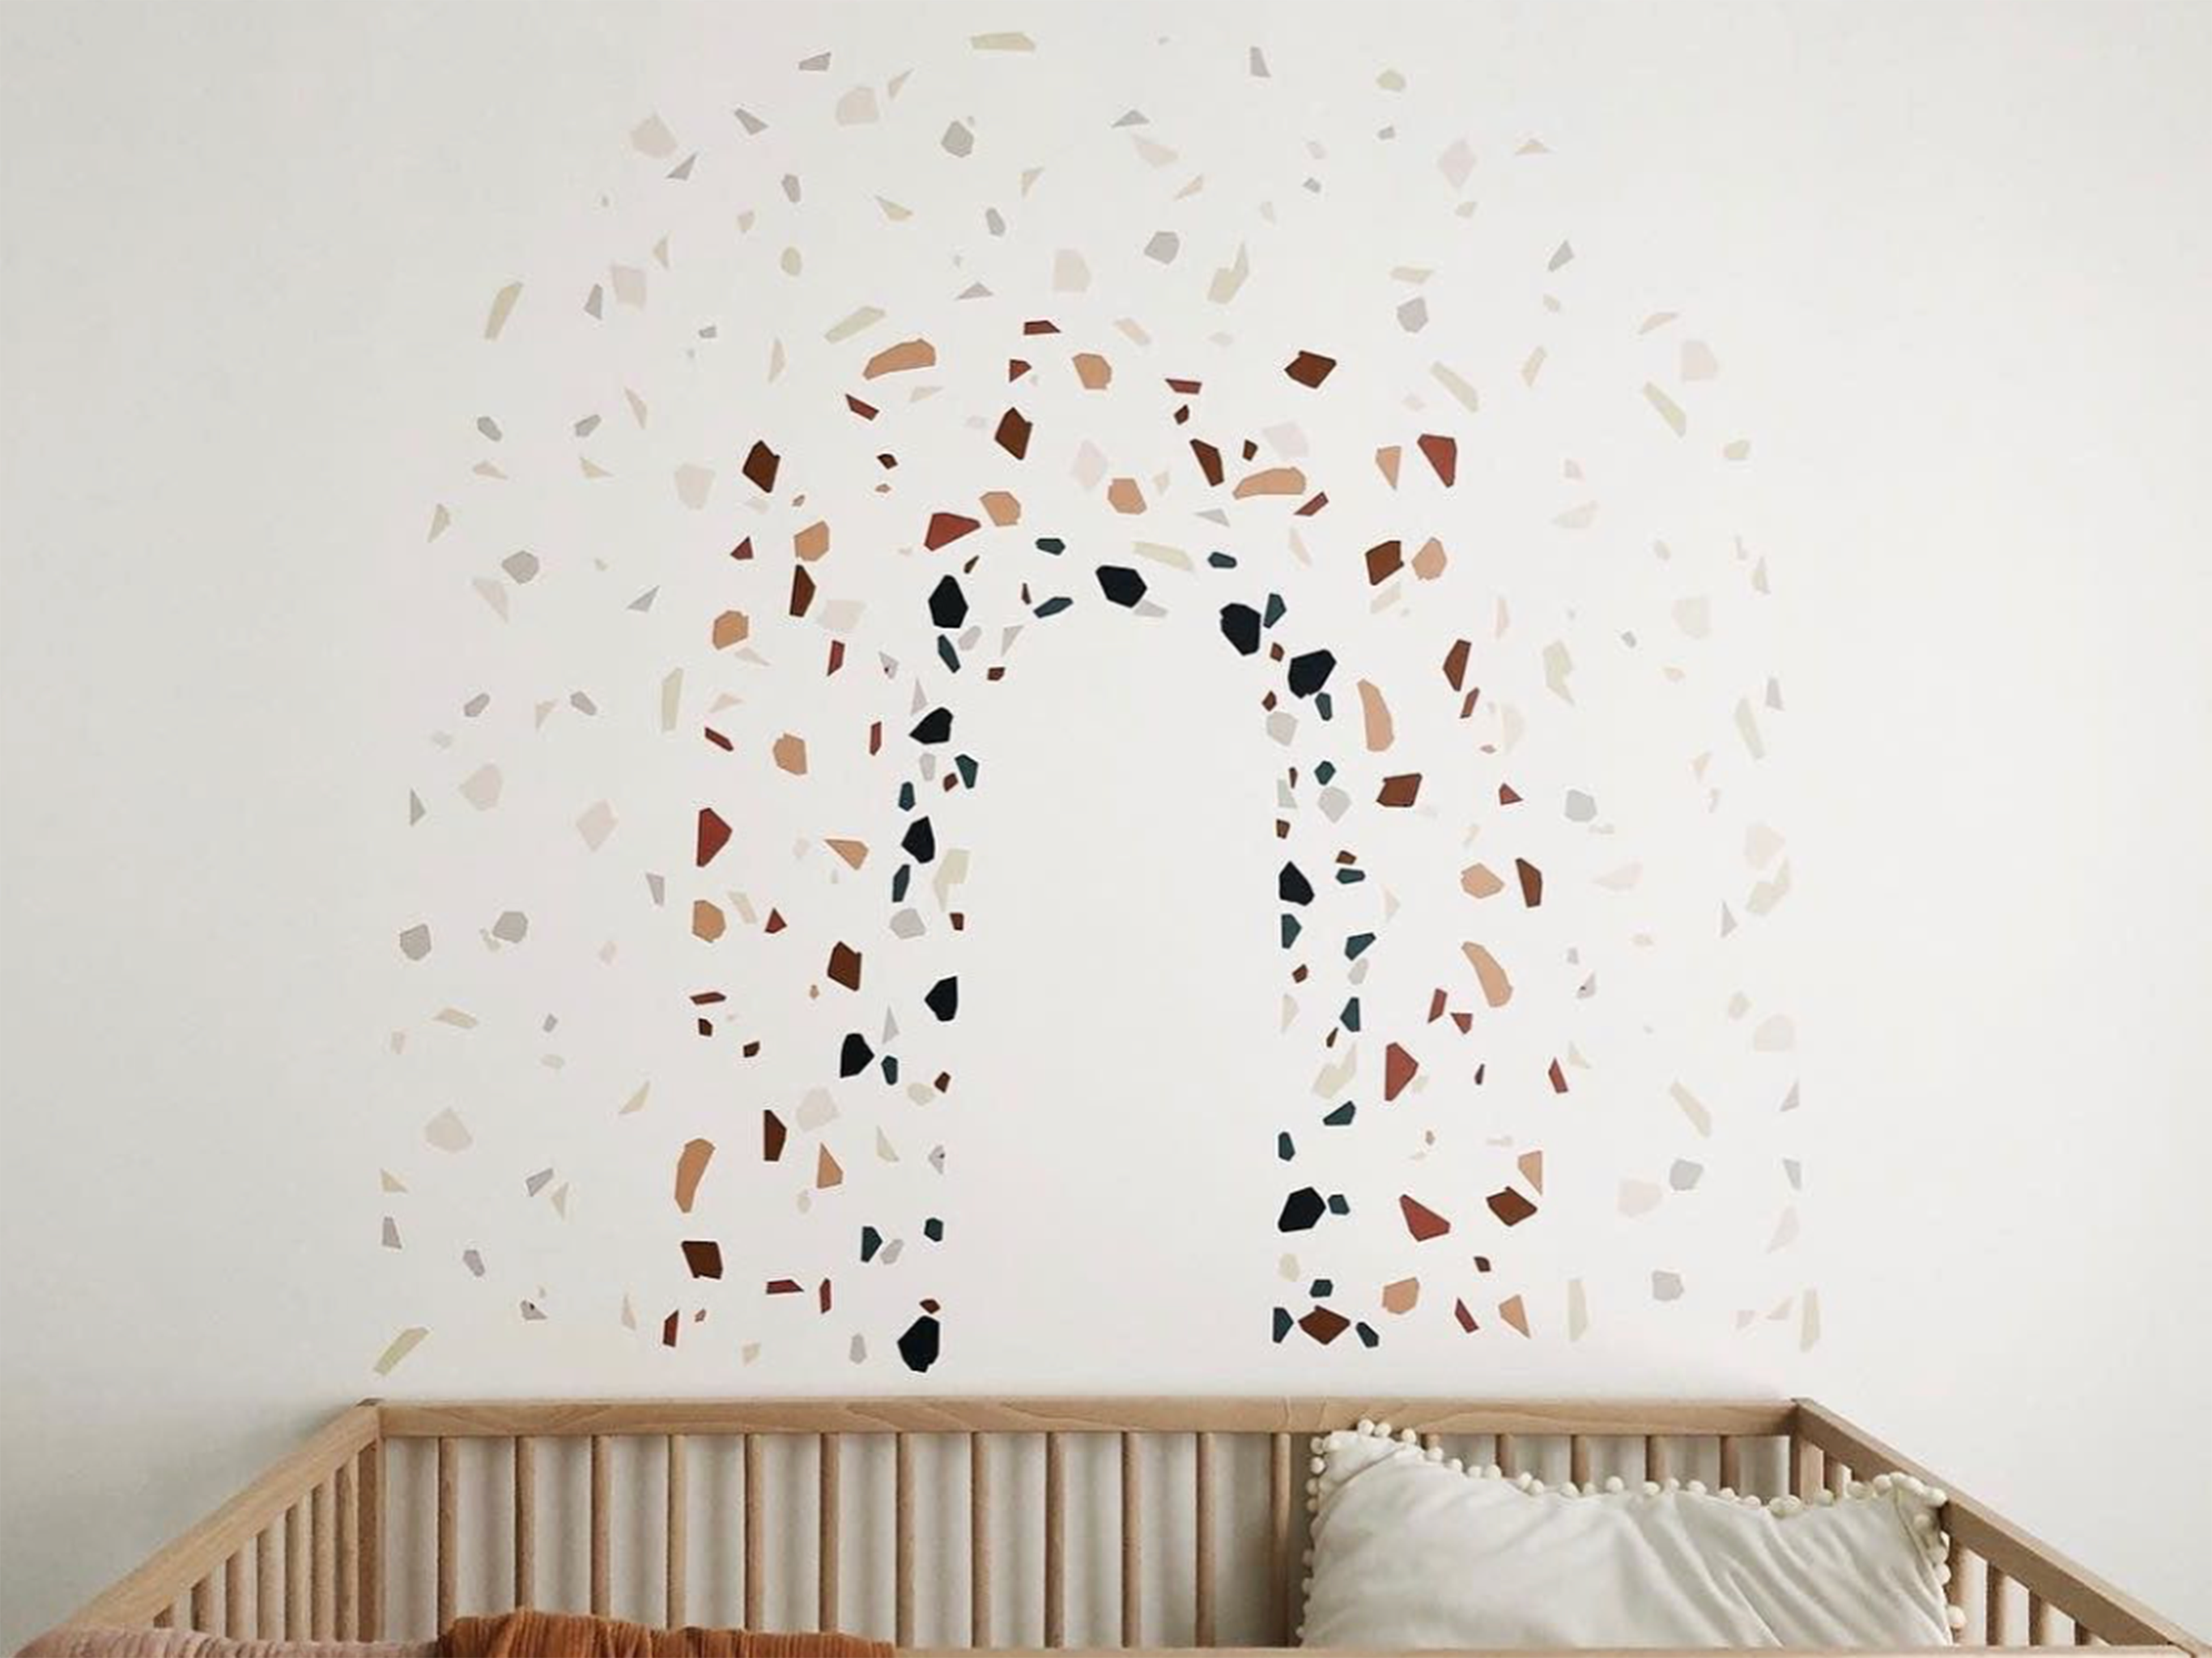
Love the abstract ombre look but not crafty? Check out these wallpapers for a similar effect.


Comments