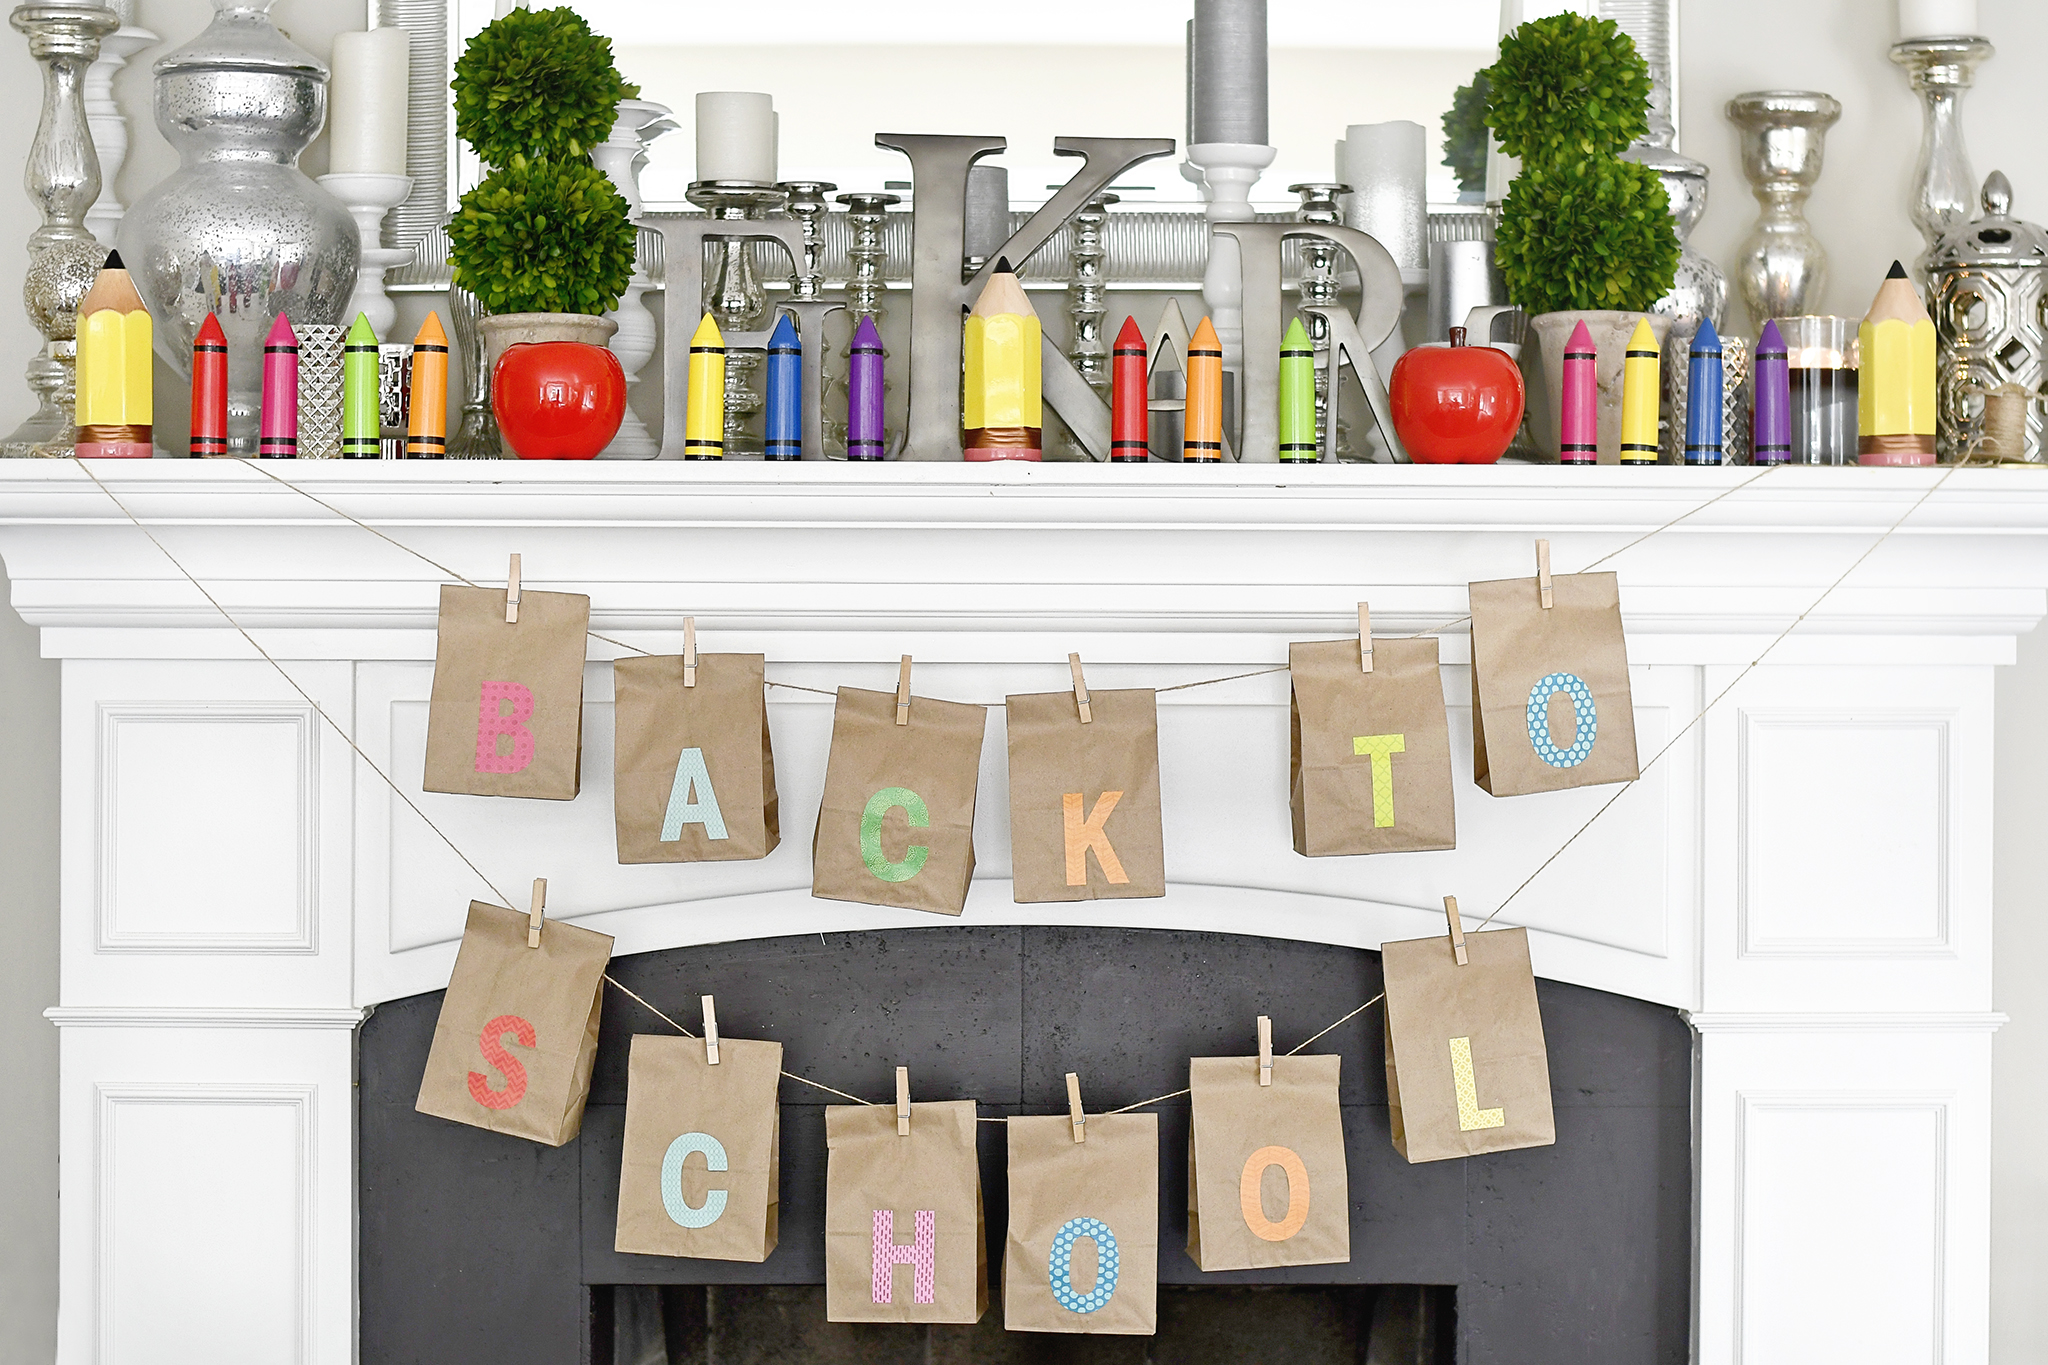
August means back-to-school month for many of us, unless you’re one of the lucky ones who start after Labor Day. I wanted to get my house in the “Back-to-School” spirit, so I made this SUPER easy DIY brown bag banner that didn’t require scissors, glue or tape! It’s also a great project for little hands to help out with!
Materials: brown lunch sacks, clothespins, twine, some old tissue paper (color doesn’t matter) and some 4″ tall large letter stickers. I chose brightly colored ones, but you could do all black or white if you’d like.

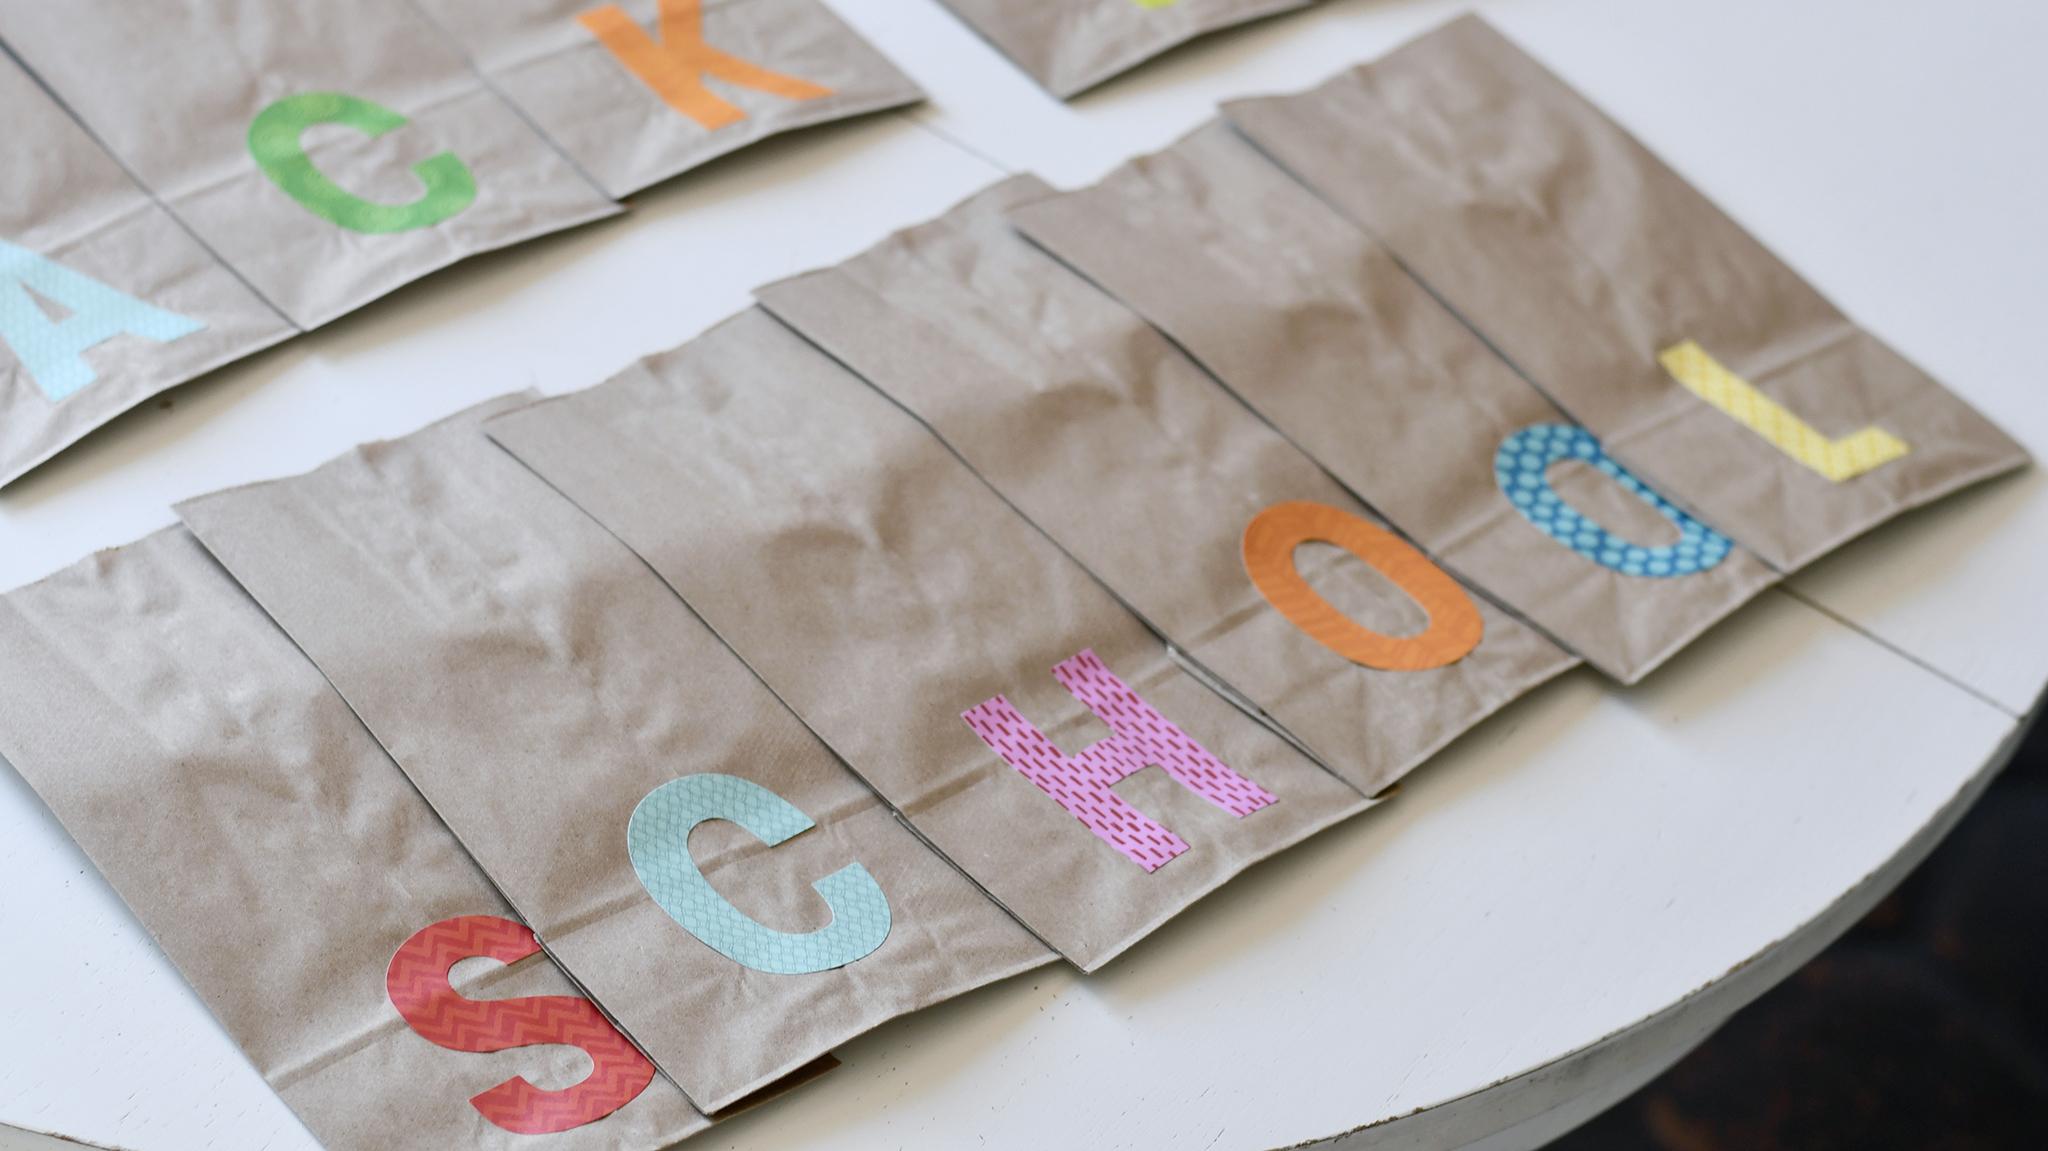
For my banner, I spelled out the phrase “BACK TO SCHOOL.” But you could spell out whatever phrase you like! I centered each letter on the front the sack about 1″ from the bottom of the bag. Each bag also has a vertical seam in it, which helps when trying to center each letter.

Since I was using a mix of colorful letters, I made sure to alternate them accordingly so that I didn’t have two of the same color next to each other.
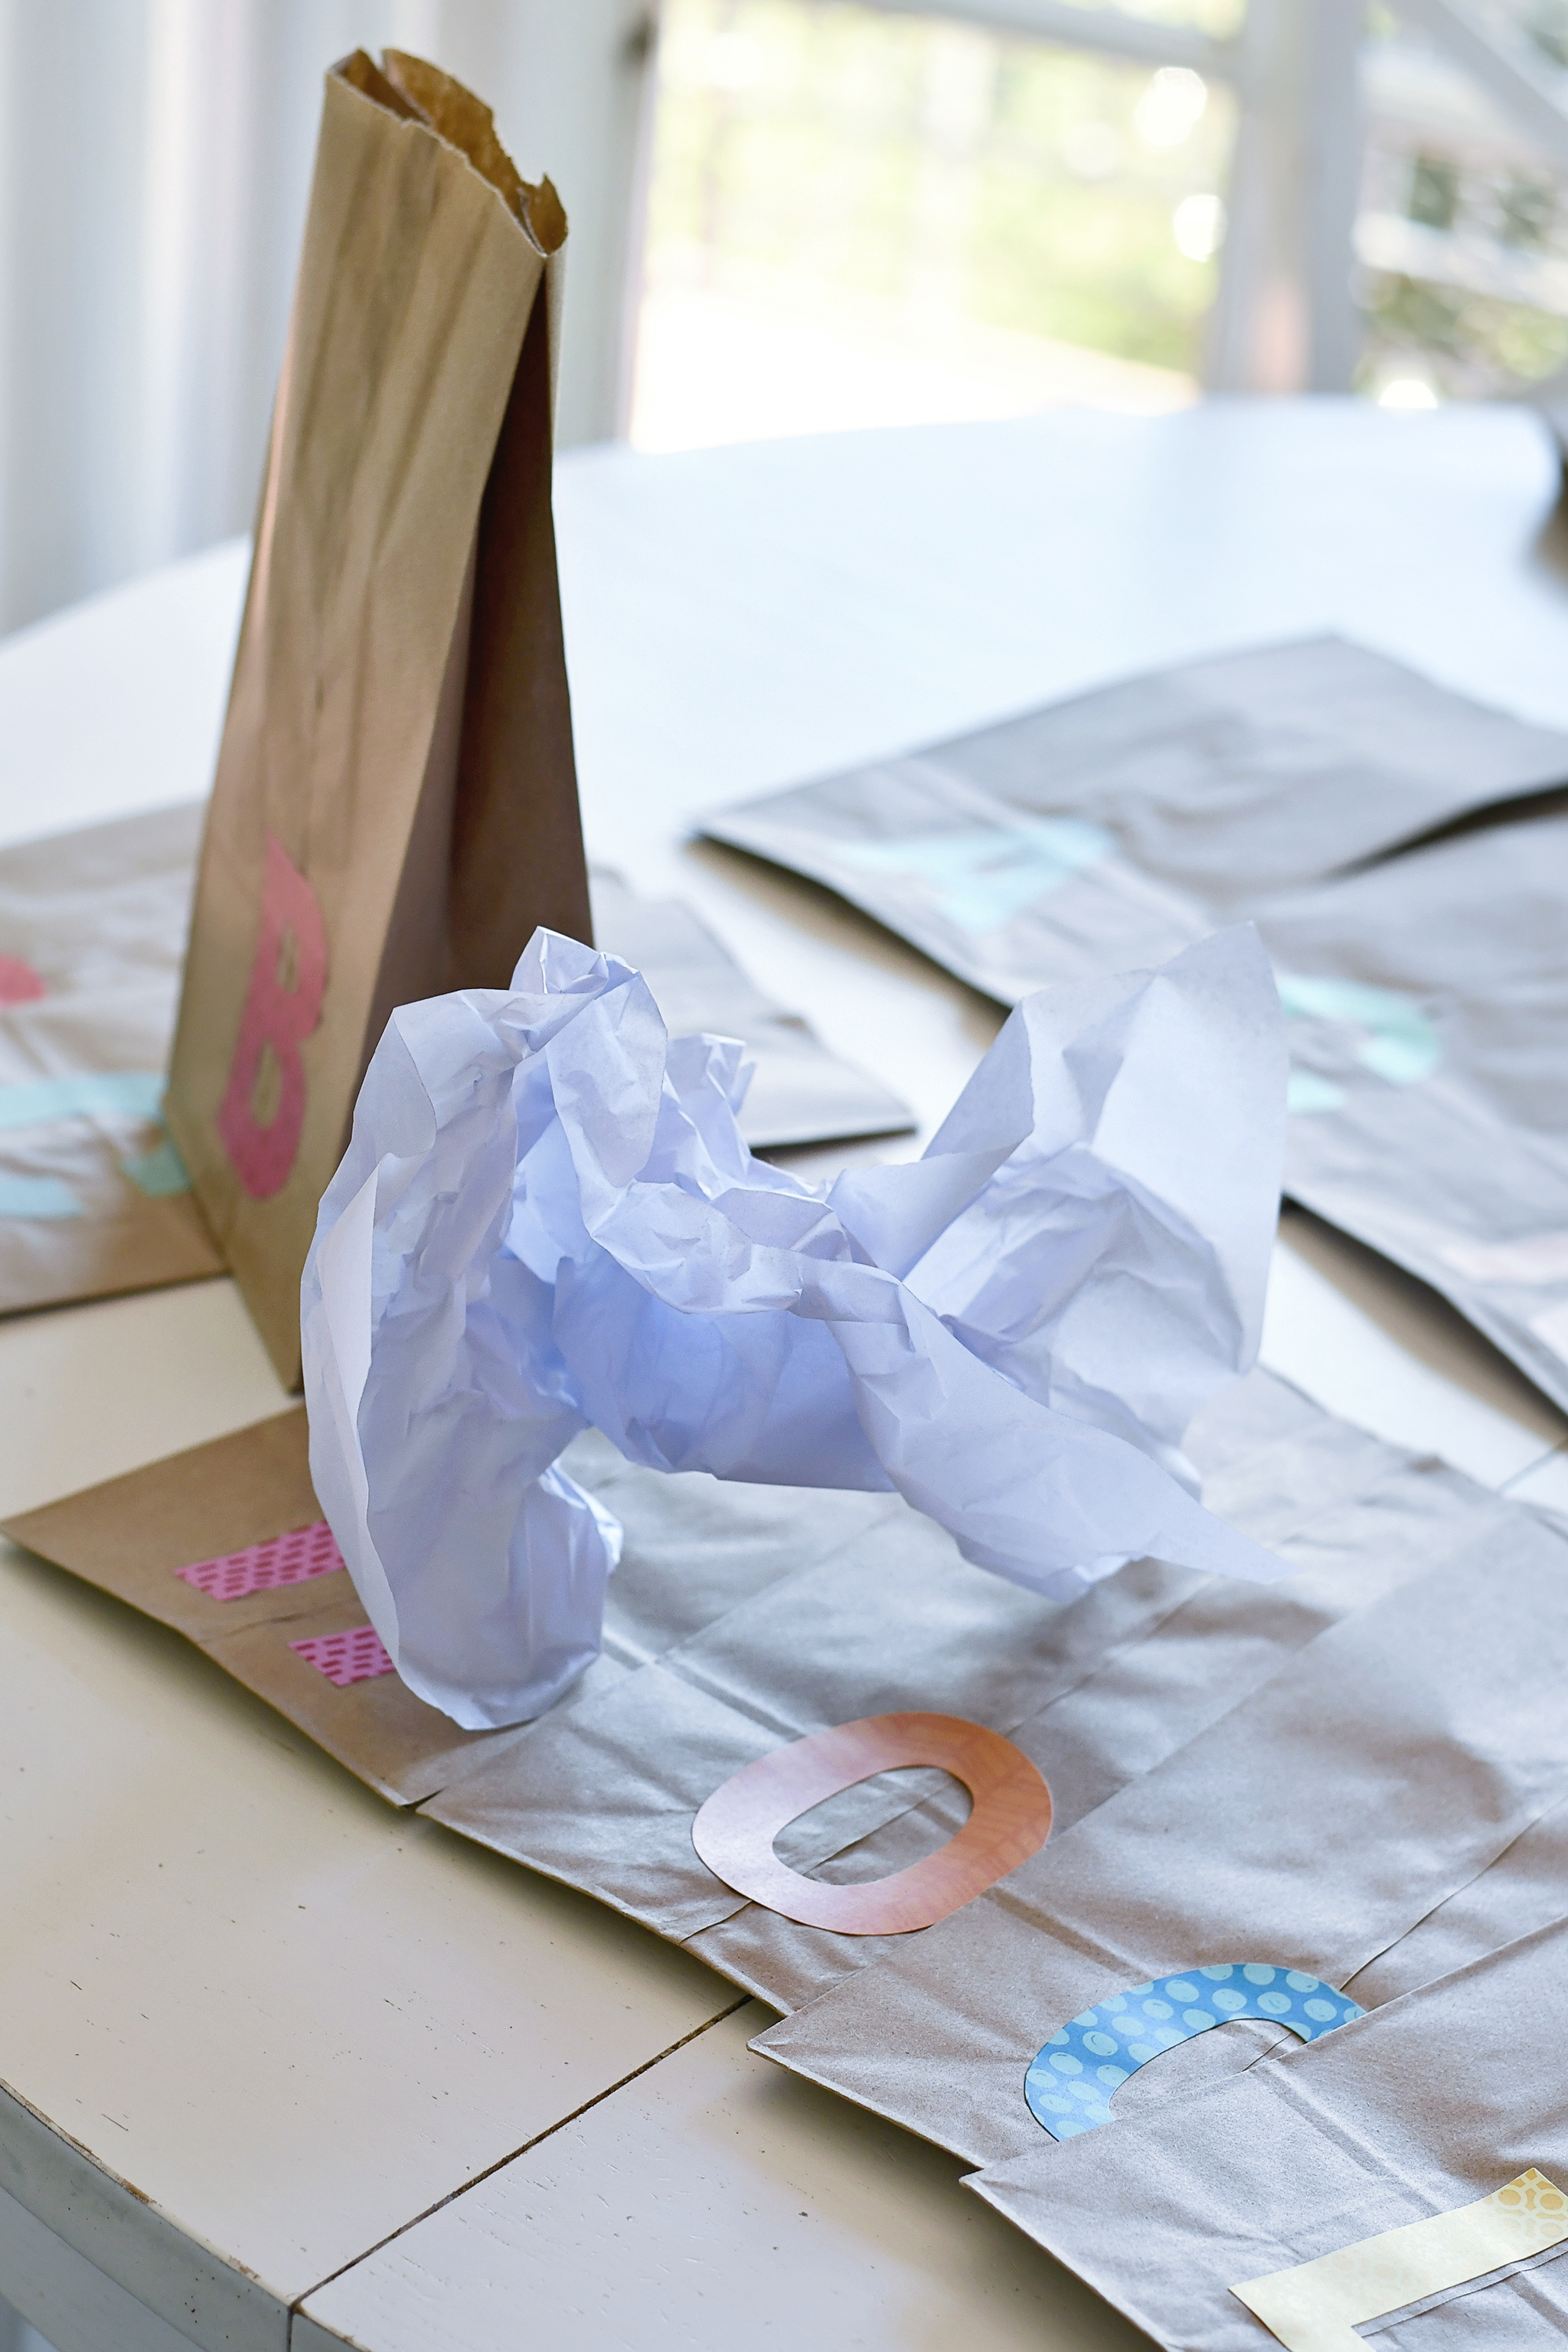
Next, I opened up the lunch sack so that it had a flat bottom. Then, I used about half a sheet of old tissue paper to crunch into a ball to make the sack look “full.” This also helped the bag not to collapse when I hung it on my twine.
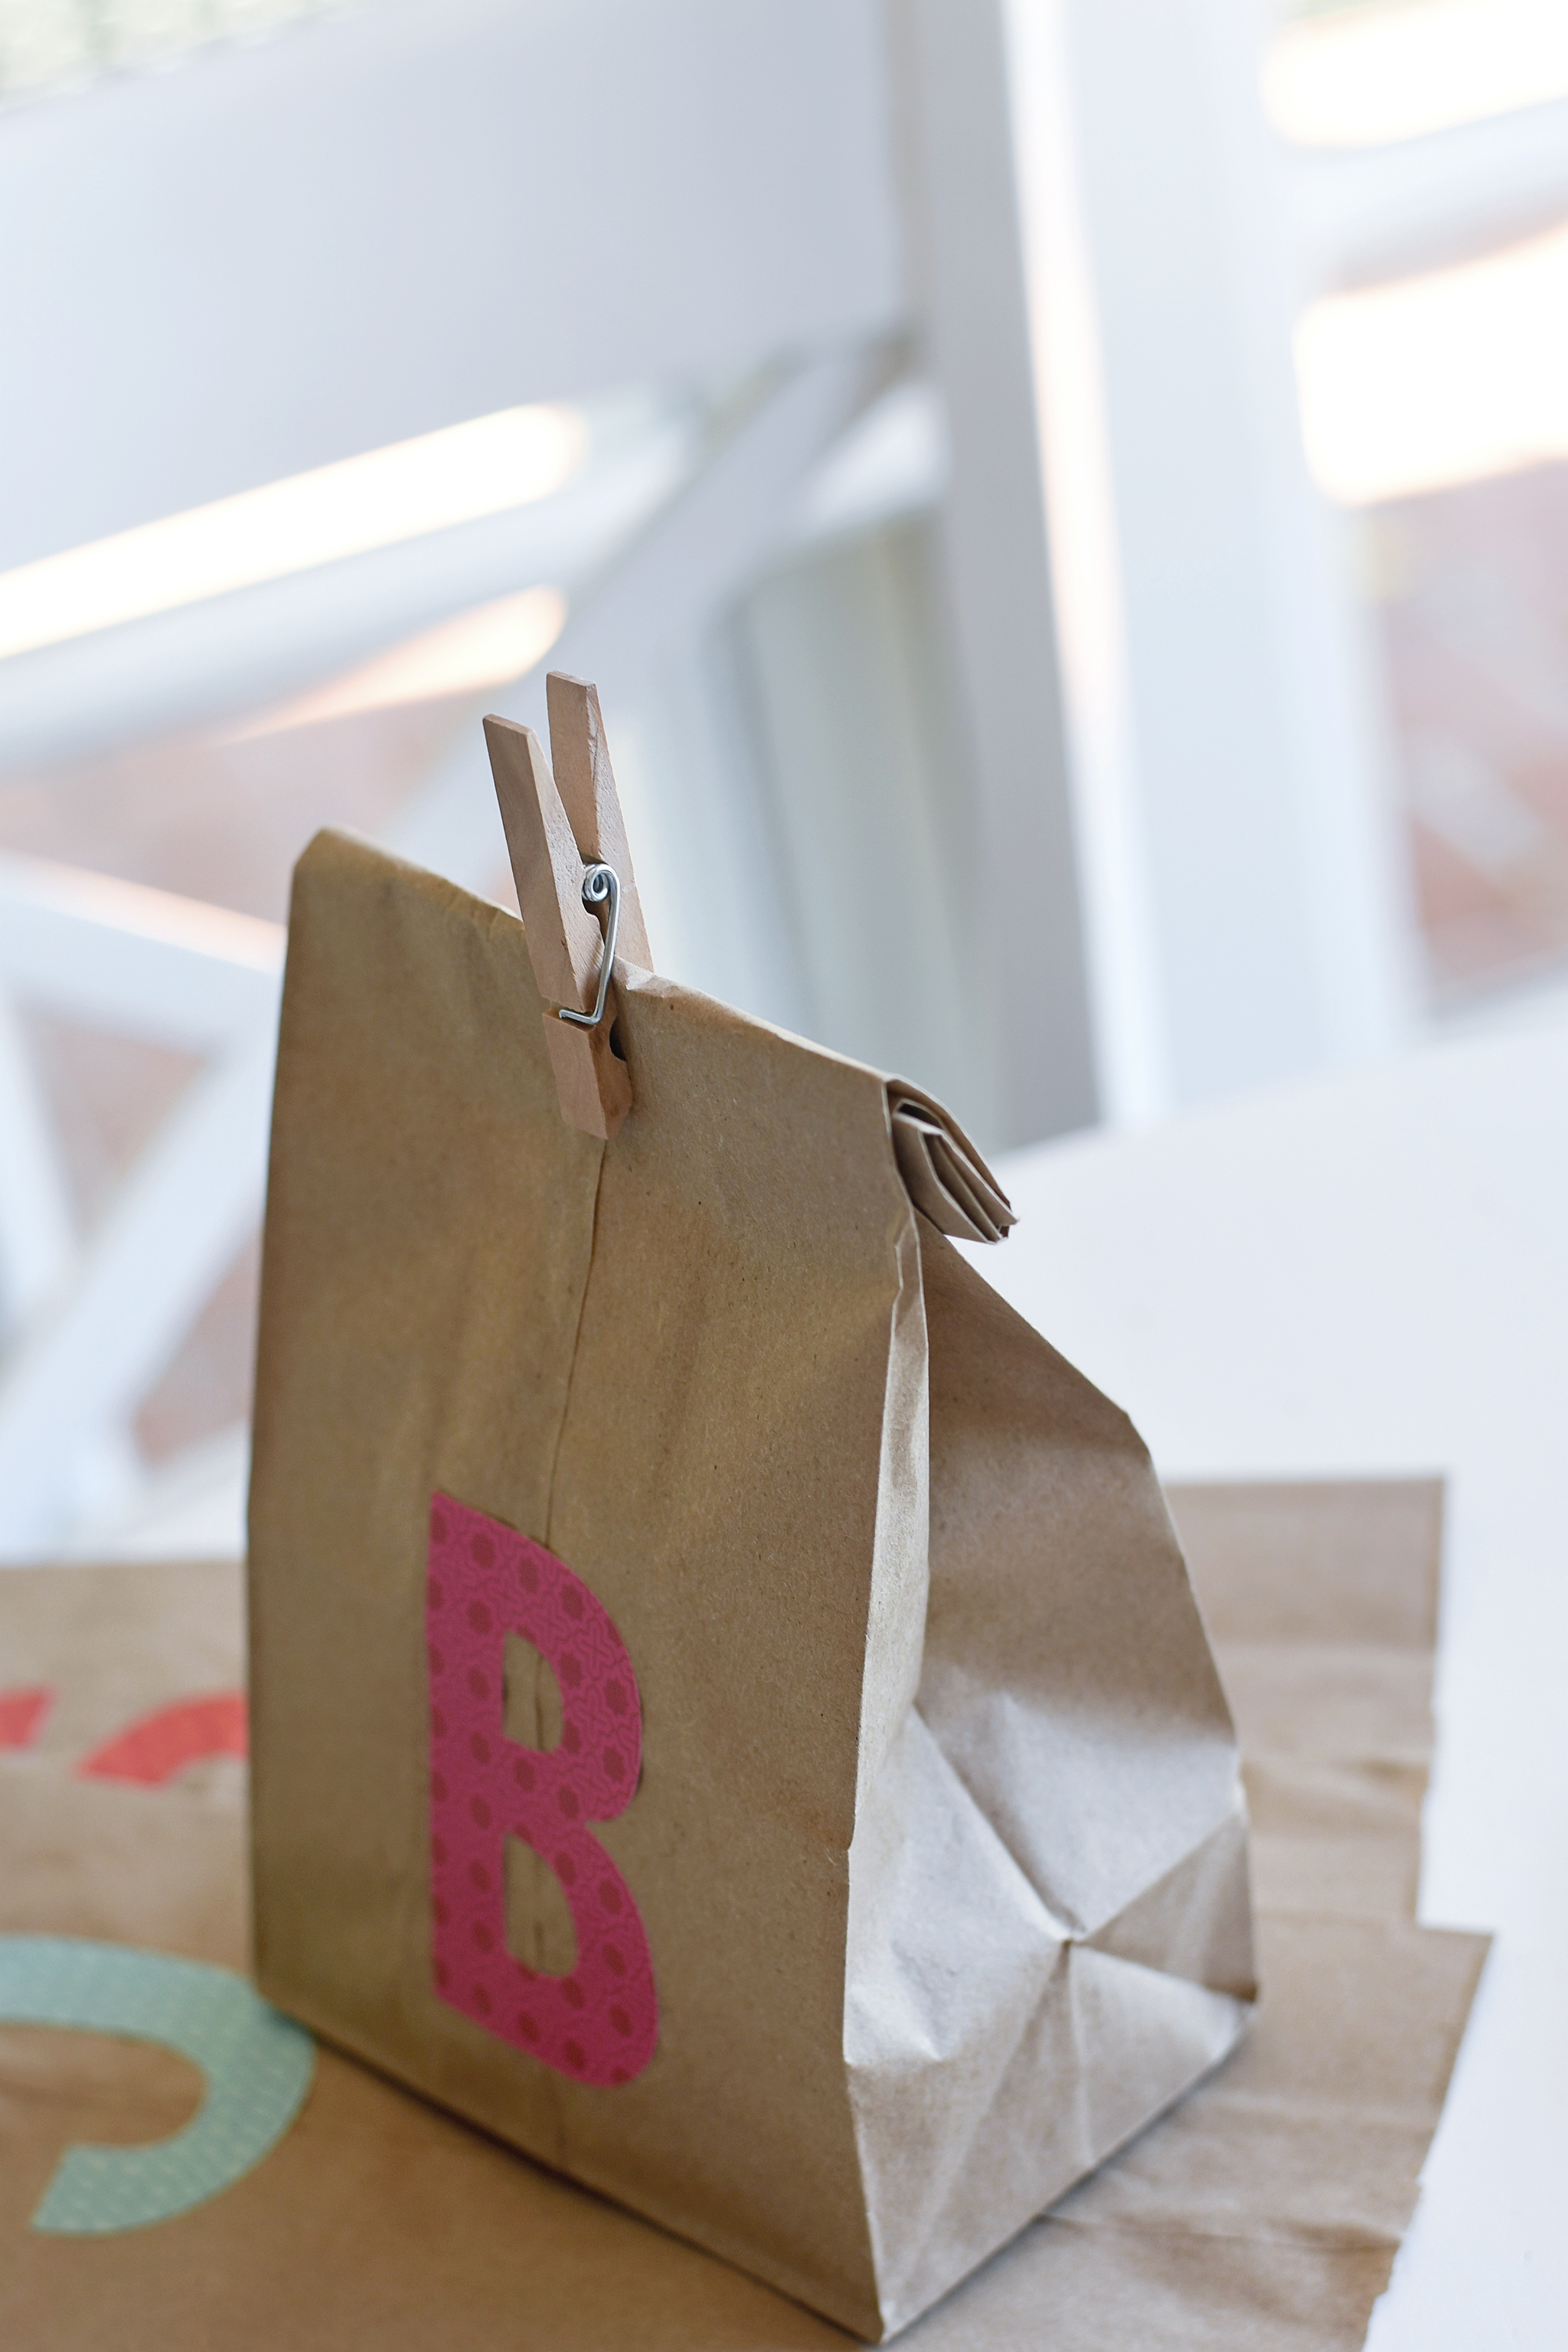
Then, I folded the top of the lunch sack down three times and secured it with a clothespin.
Do the same thing to the remaining lunch sacks, making sure that they are all relatively the same height.
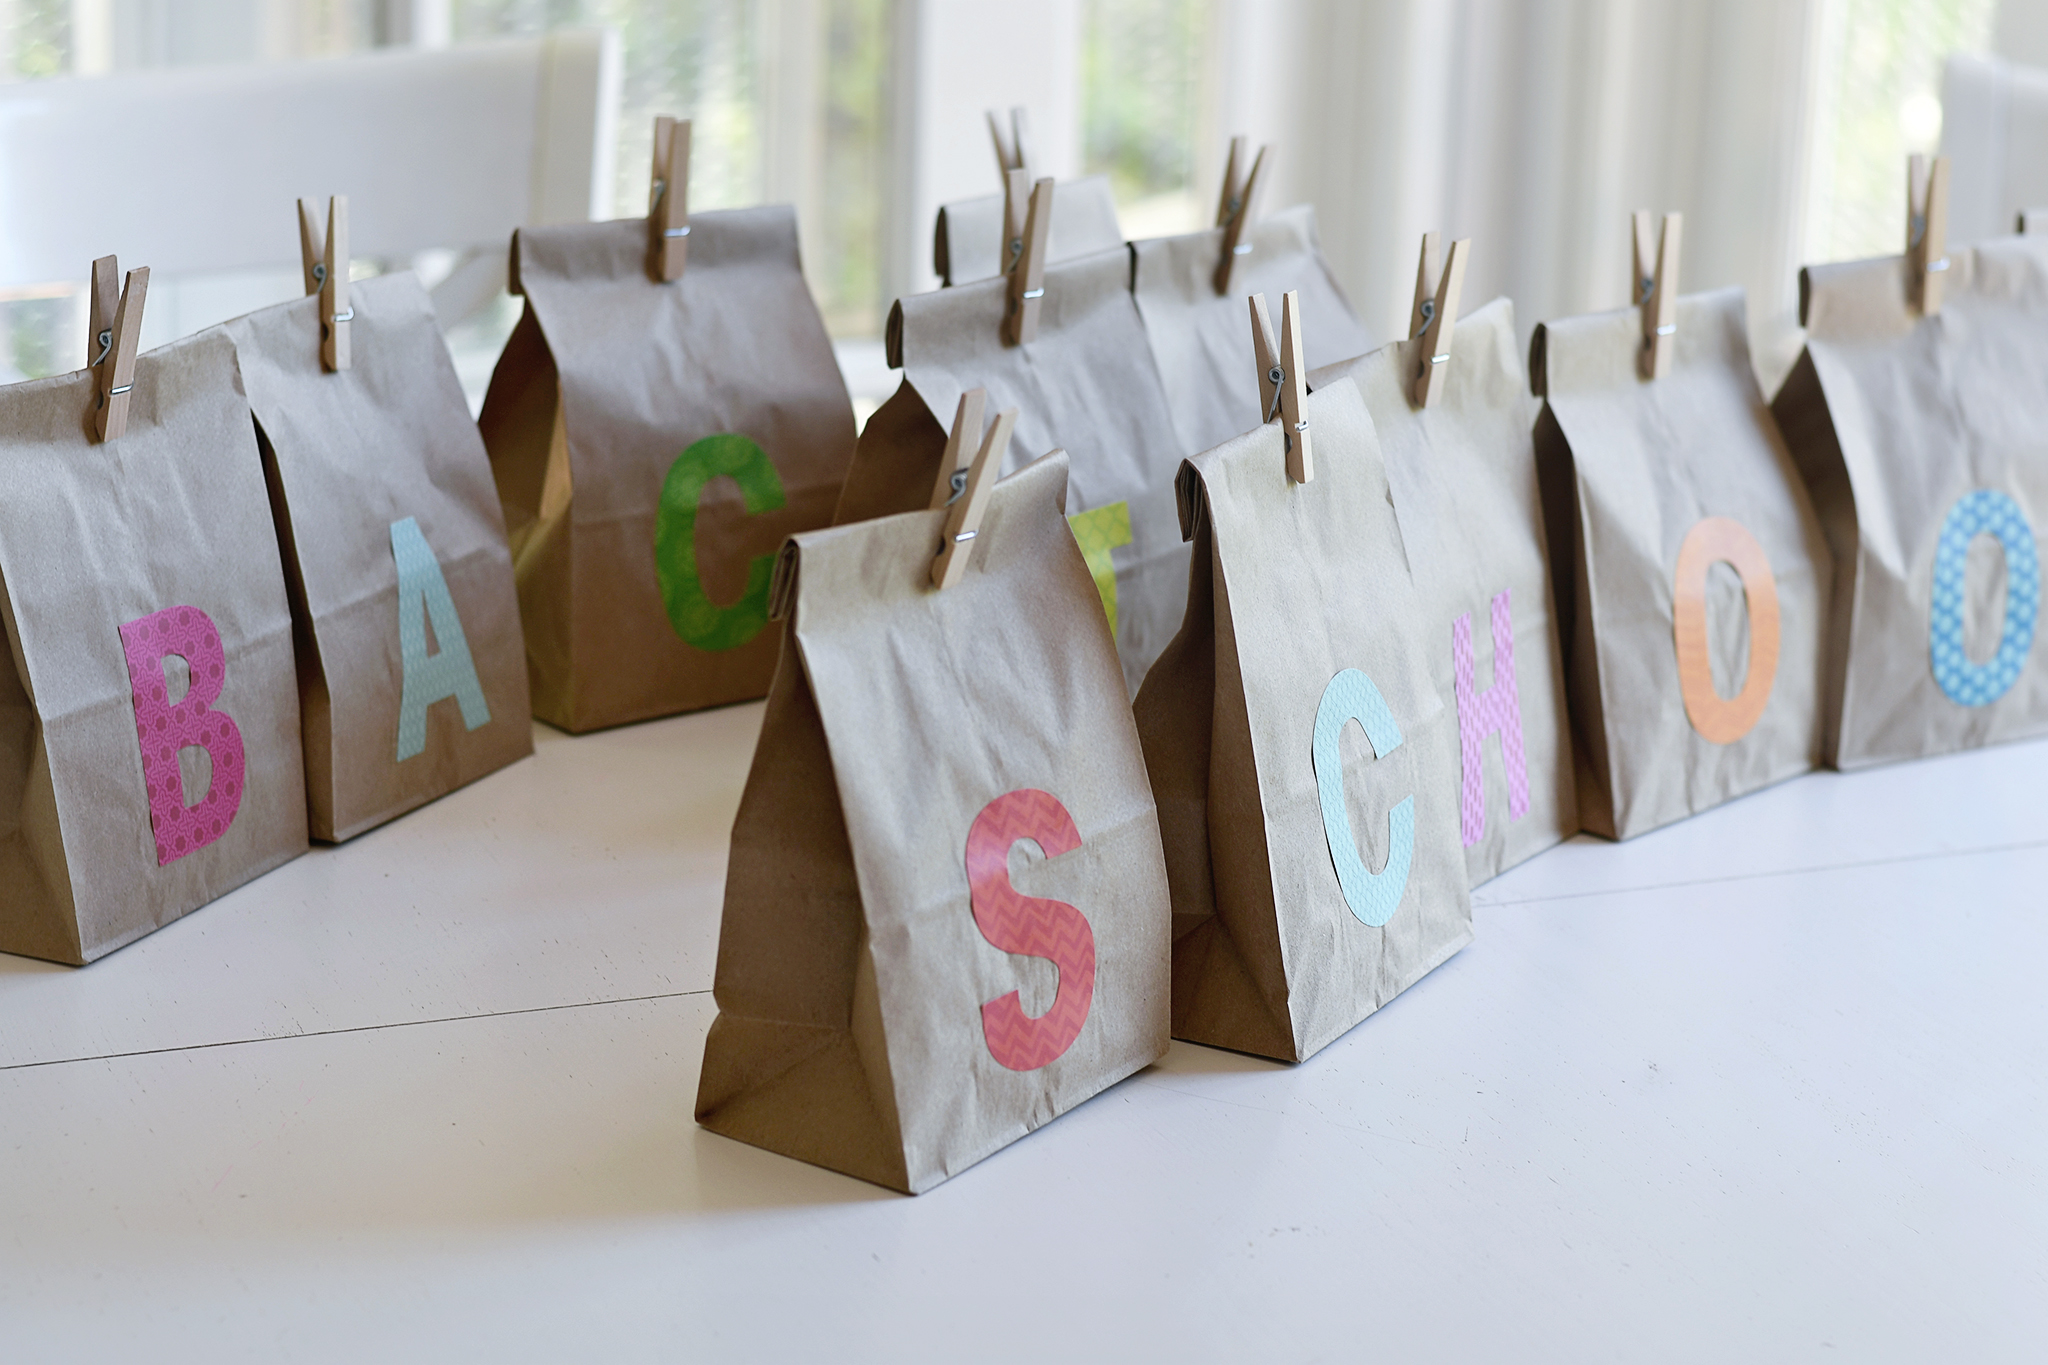
Clip each sack to the twine that you’ve just strung. You don’t even need glue or tape!

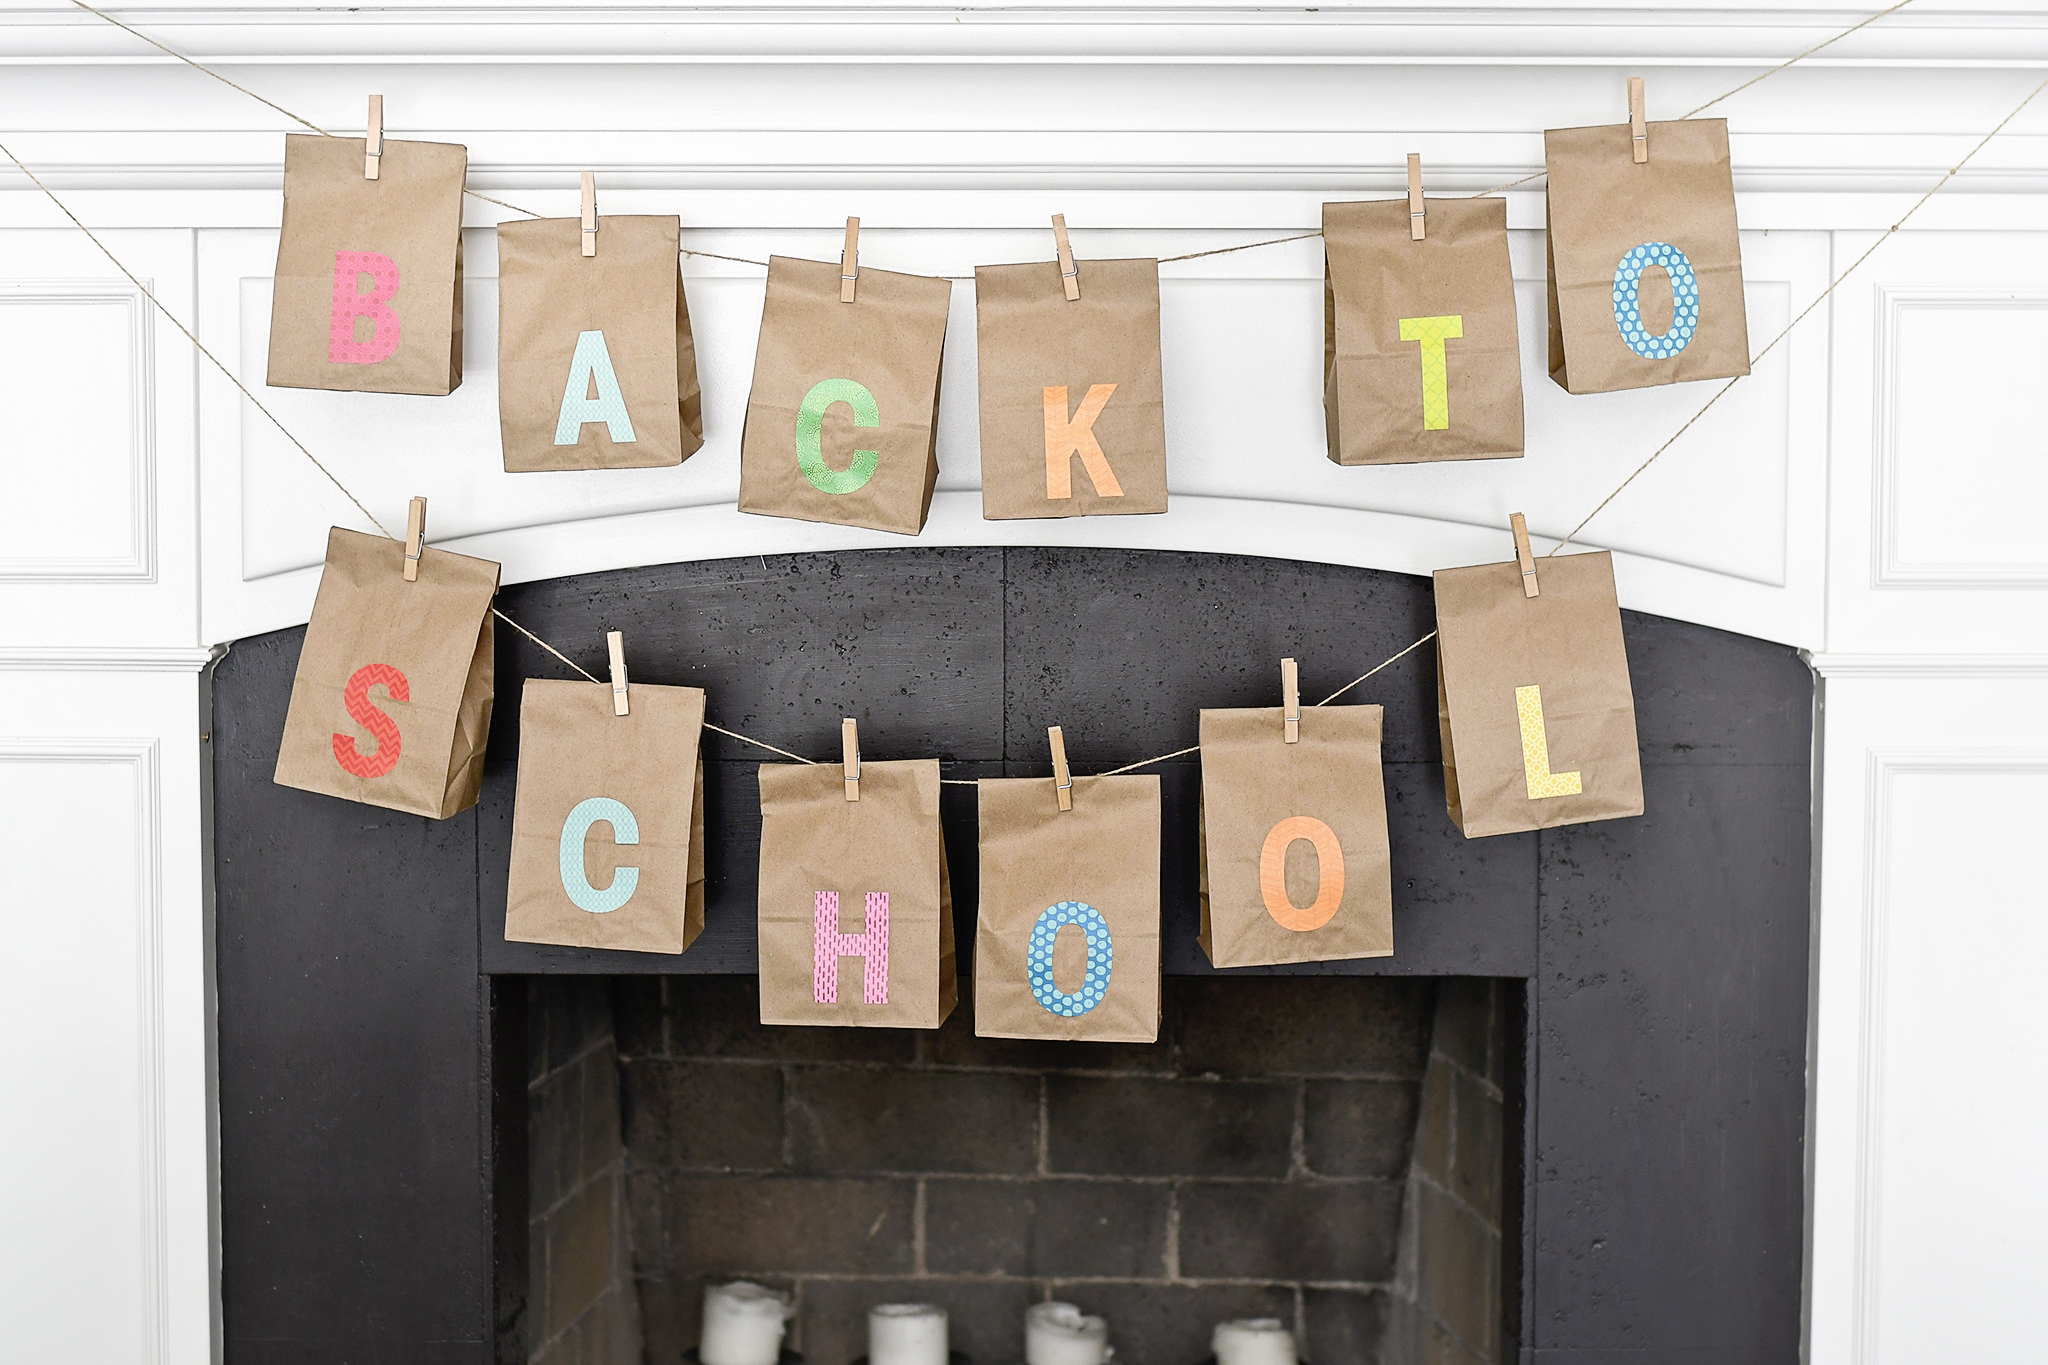
Depending upon your space or phrase, you may need to make two rows like I did. Be sure to space out the bags equally.
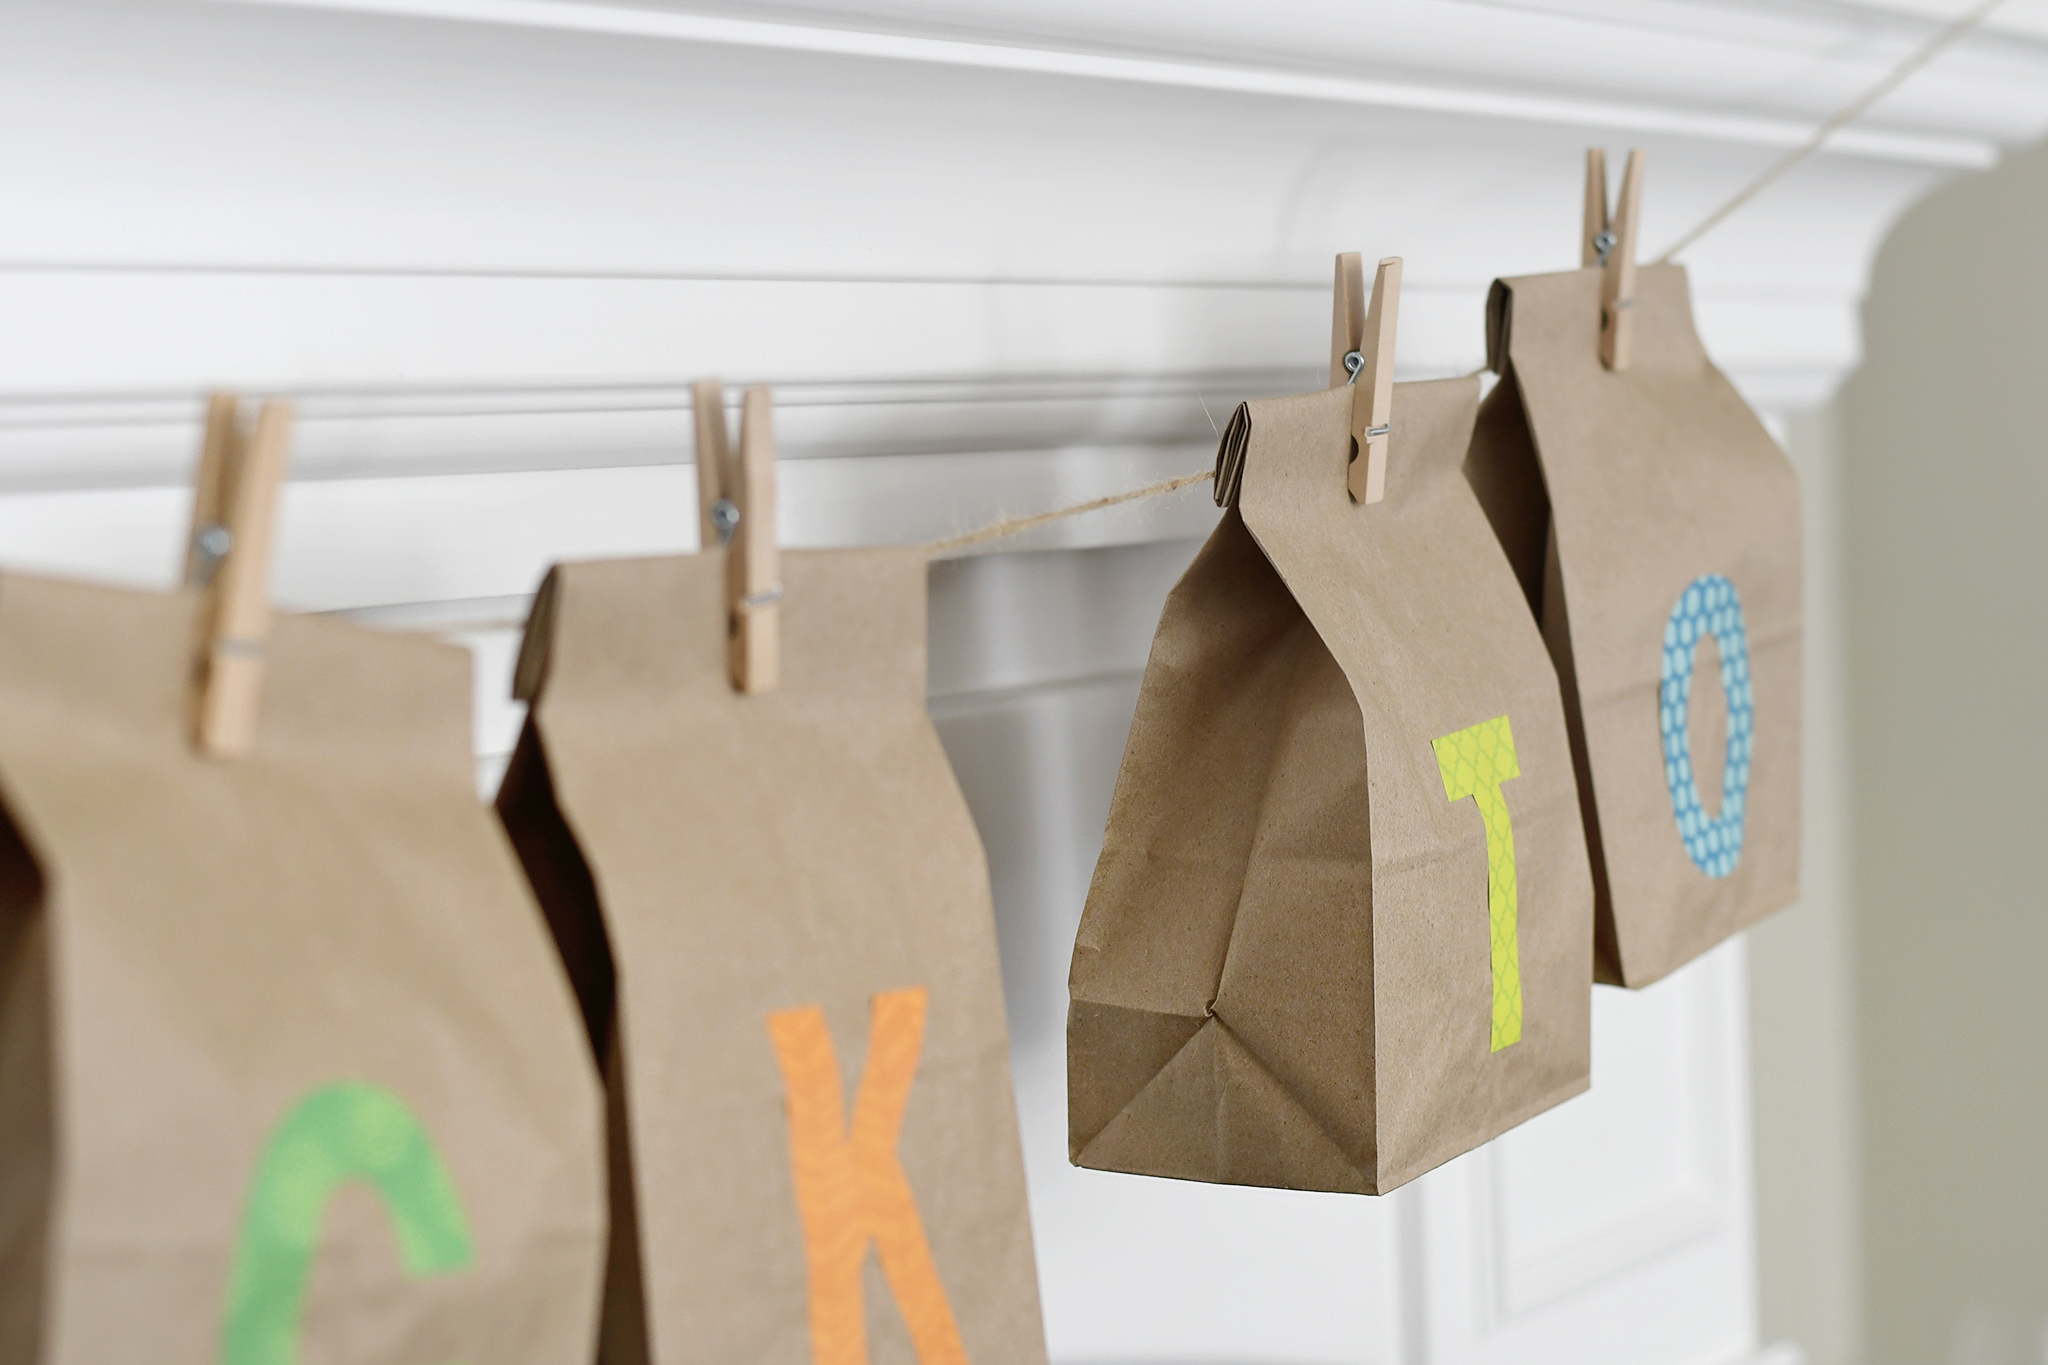
And there you have it—your super simple, no-mess ‘Back-to-School” banner! It will be the perfect backdrop for those first day of school photos and more!!
*this post contains affiliate links*




Comments