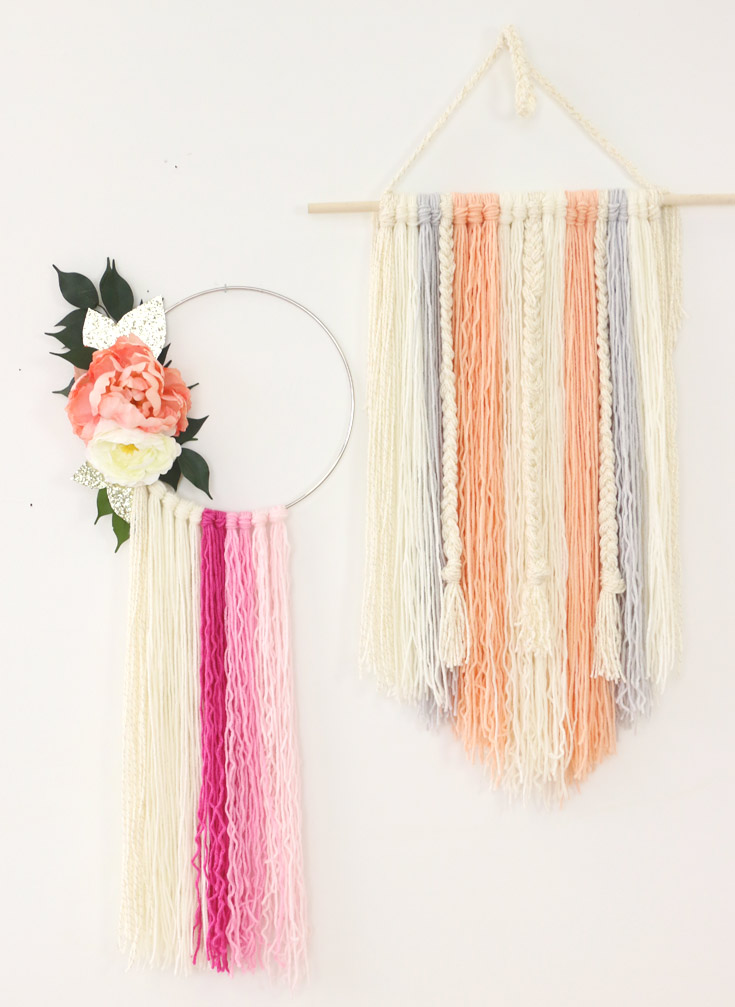
Boho is back, and I could not be more excited! I’m totally crushing on all the dreamcatchers popping up in nursery design, so I took an old school classic art project and gave it a modern twist with this simple and easy DIY yarn art. Every time I walk down the yarn aisle at my local craft store, I dream of projects I can do with the rows and rows of colorful options. Soft, sparkly, you name it—they have more colors than you could ever dream of, and until now, I thought my lack of knitting skills would limit the possibilities. Boy, was I wrong! My favorite DIYs require no sewing, no gule, no nothing. And oh baby, besides having a sharp pair of scissors in your craft supply collection, this is the easiest yarn project ever!

When creating a focal point in the nursery, it’s always good to vary the sizes, shapes and styles. How fun would an entire wall of yarn art projects be? Dowels come in all sorts of sizes and shapes, and although our DIY pieces were about 36″ long, you could easily create smaller or taller ones by following the same few steps! It’s all about how long you cut the strings!
All you need is a few simple supplies, all of which can be found at your local craft store. I stocked up on multiple colors of yarn because I’ve also had my eye on the nail head yarn art (that DIY is coming soon).
Materials: Yarn, dowels, 12″ metal ring, scissors, silk flowers and leaves (optional)

Choose your favorite yarn colors to coordinate with your nursery design, and cut the yarn! You want the length of one piece to be twice as long as the dreamcatcher because you will double over the yarn. For example, I knew I wanted the drop on my yarn art to be 30″, so the pieces I cut were about 65″ so that when doubled over, I still had a little extra wiggle room to tie the knots and even out the bottoms. I cut ten pieces at a time because I wanted 20 strings to hang from one section. You want it thick so you don’t see the wall through the colors.
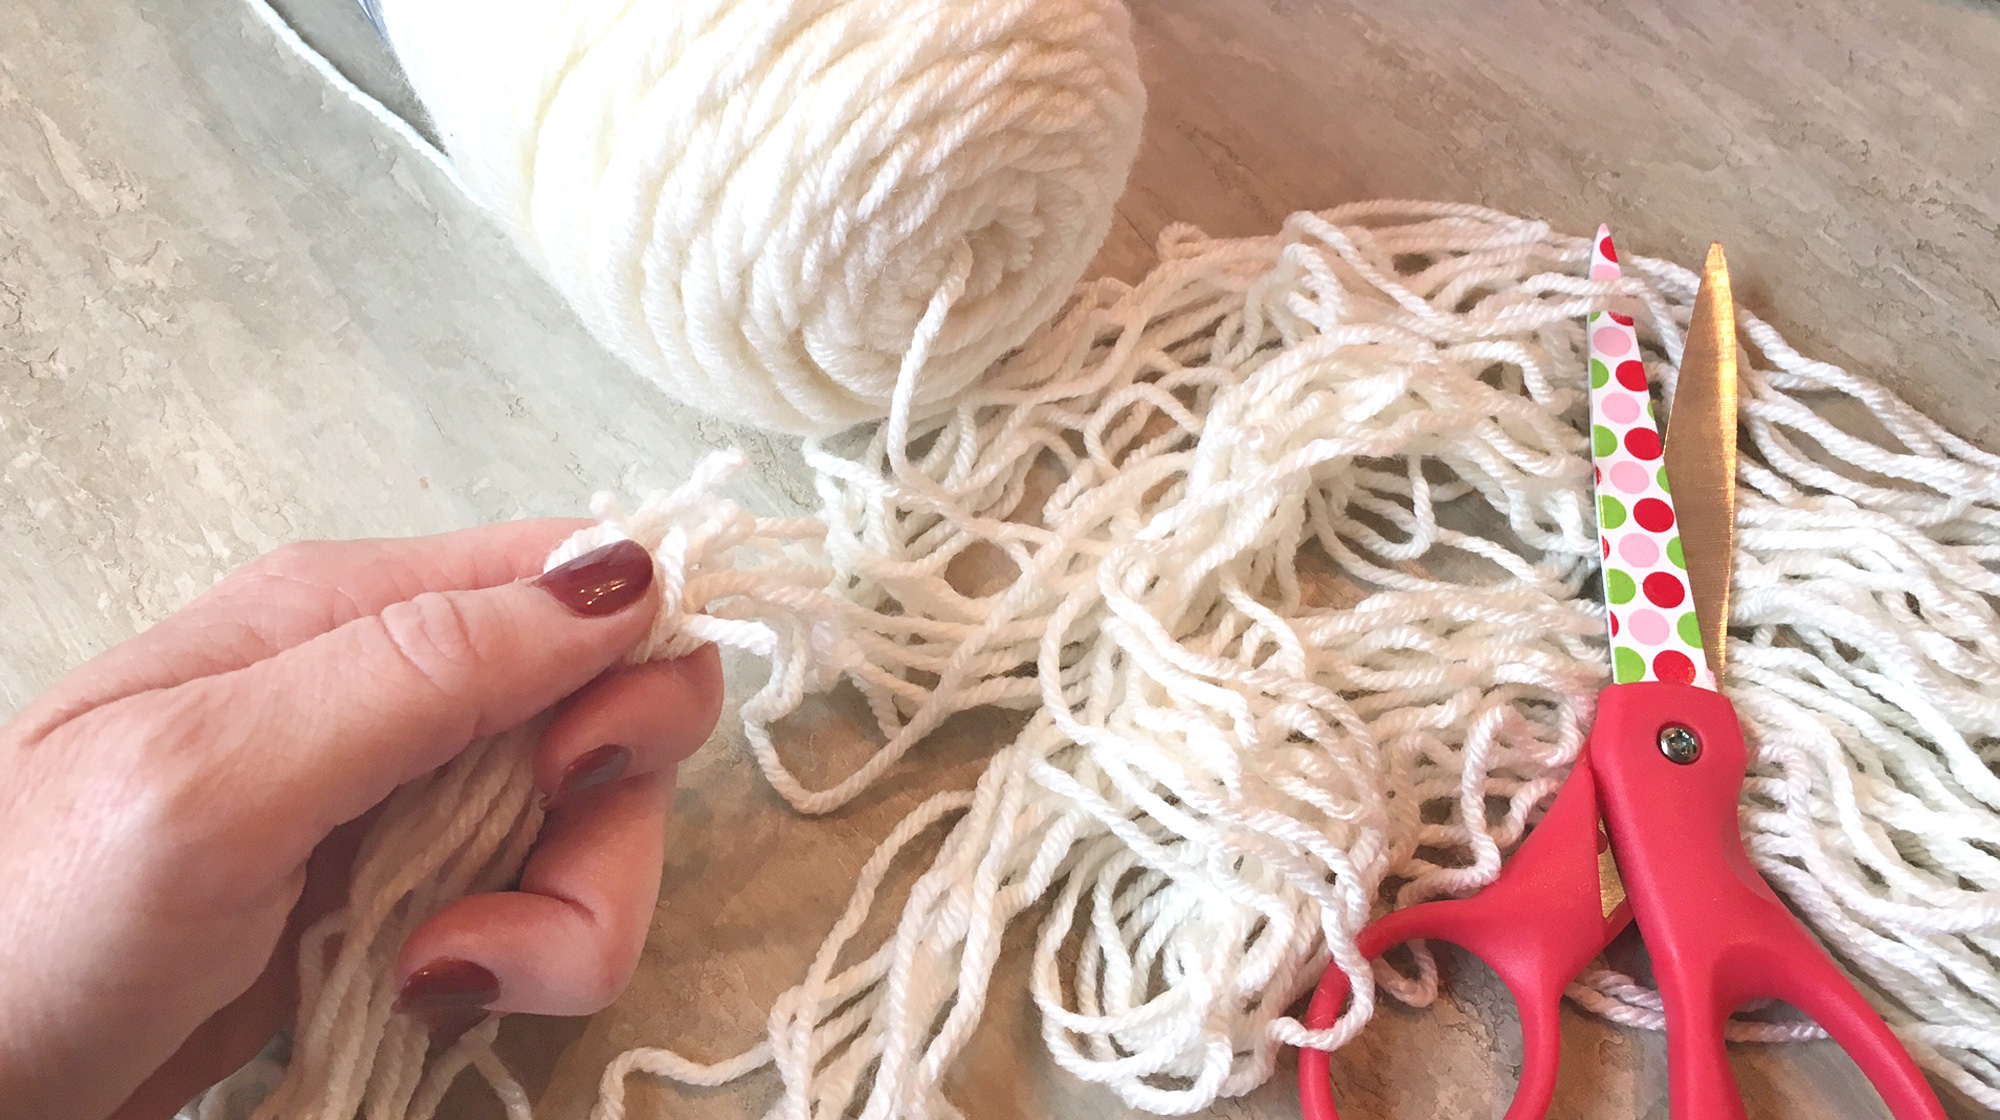
Take each ten string section and create these simple knots. I recommend holding up the yarn pieces to find the middle and then folding them over. To create the simple knot, you loop the yarn over the dowel or ring, then bring the ends through the loop and pull tight.

Repeat the three simple knot steps until you have as many rows across as you need. The larger piece in the picture above has 23 knots and measures about 24″ across. You can change up the colors and arrangement pretty easily! Once you start a color pattern, you’ll know what looks good!

I used yarn with a metallic thread woven through it for the braid. I definitely recommend braiding as the last step (maybe even wait until you trim the bottom)! Tie a simple knot at the end, making sure to let a good 3-4″ hang below to create the tassel effect.

The bottom gets a little messy, and I found it easiest to wait until every piece is in place, then lay it flat on a table and cut the diagonal to create an even line. Once you have both diagonals cut, hang it and just trim off the extras. Remember, the boho style isn’t perfect, so don’t stress if your yarn length is choppy—the funkier the better!
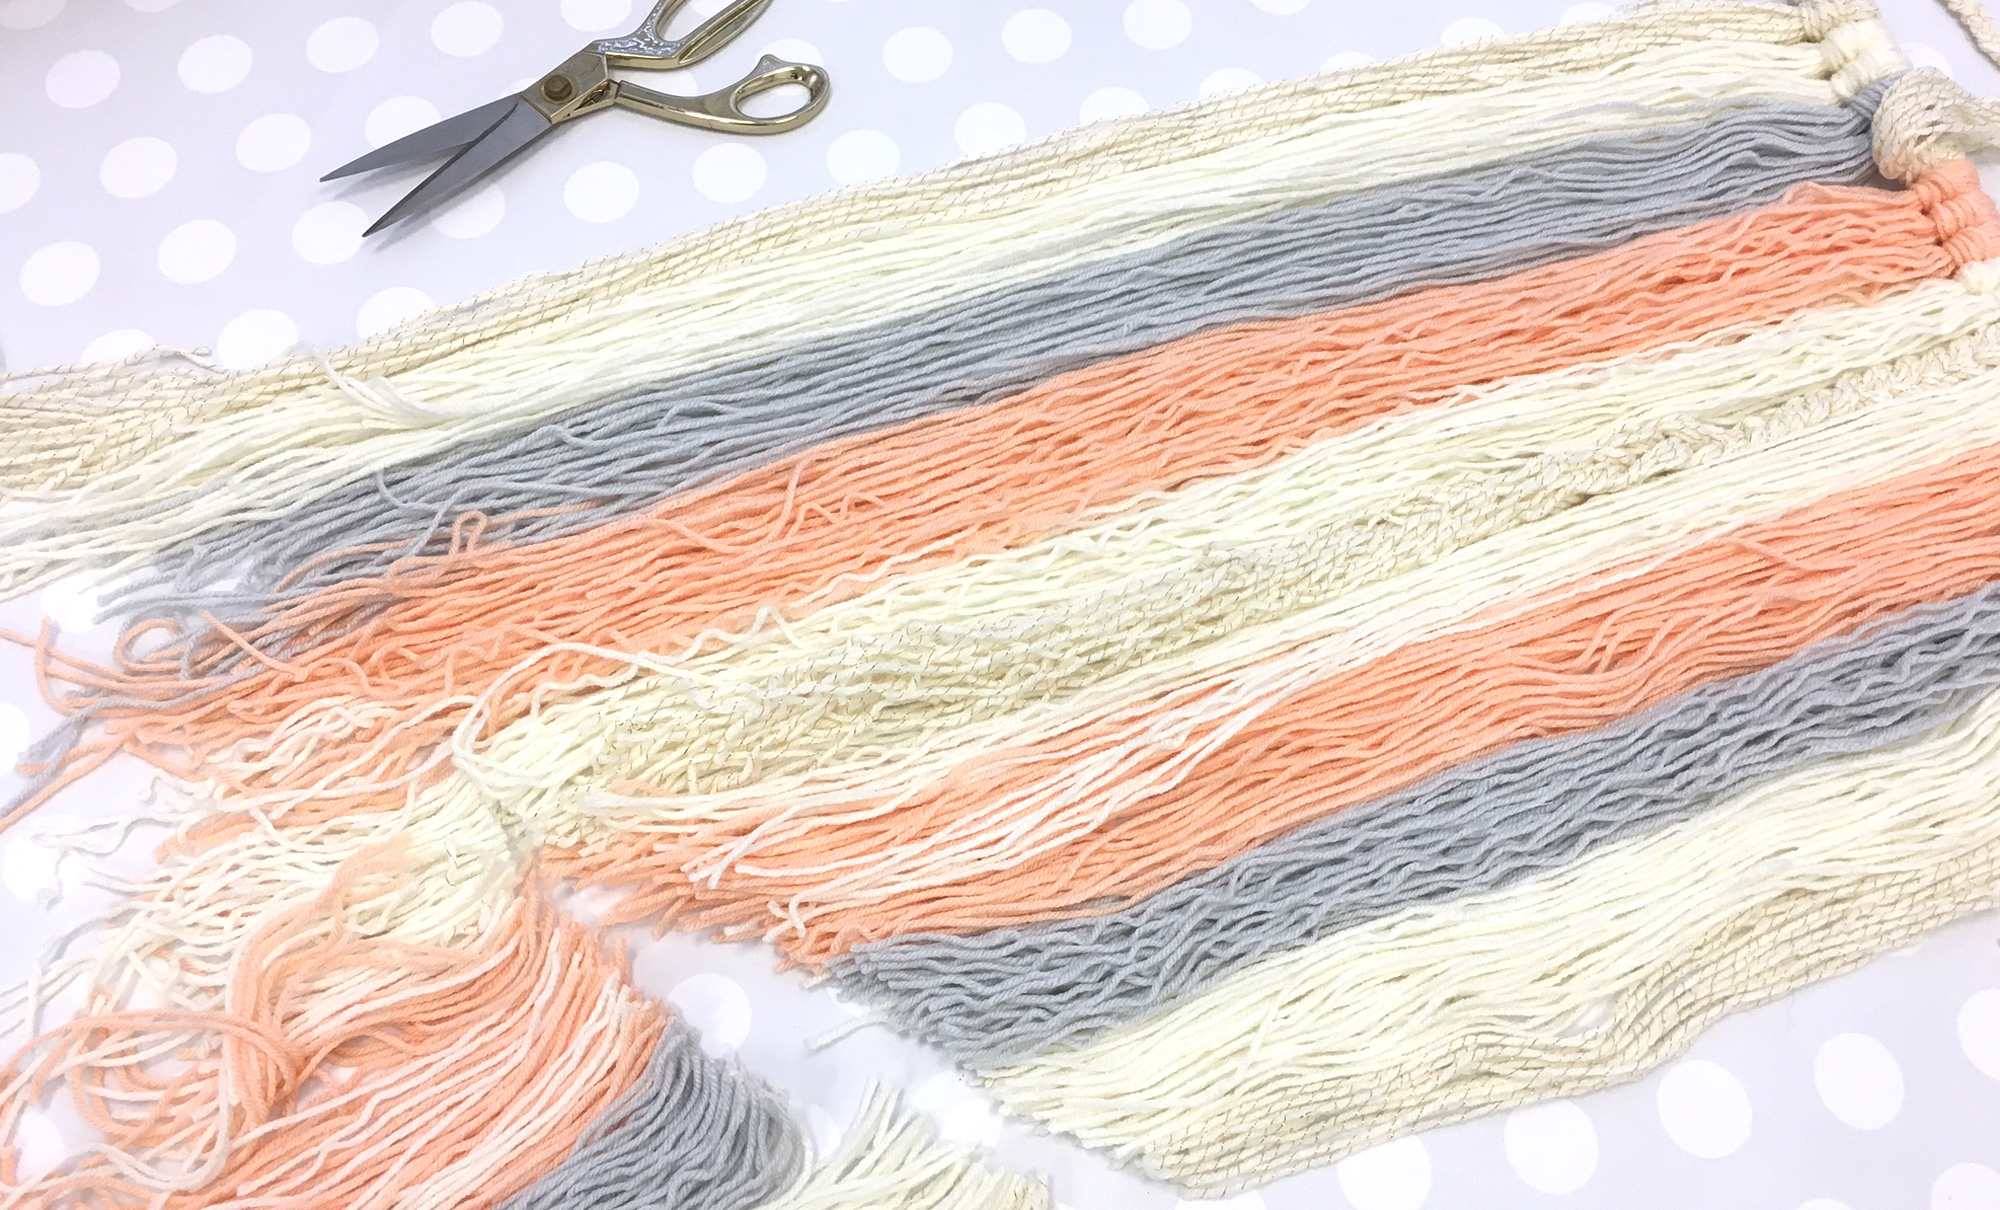
That’s it! It’s an inexpensive, easy DIY yarn art project that’s perfect for the nursery or a big kid’s room.
Add ribbons or pom pom trim to give your piece a funky twist! Nothing is permanent, so play with different textures and colors—all you have to do is untie the knots and keep designing until your little boho-loving heart is content. And since floral ANYTHING is so on trend, you could even add a few silk flowers and gold glitter leaves to the ring to give it an extra boho feel.

Happy decorating!



Comments
TMAC
A true “dream catcher” is a Native American ART and has the rope/yarn/string intertwined within the circle to “catch your dreams” do you won’t have bad dreams, this does not represent any type of dream catcher. This is just yarn art for a wall. Sorry but I find this to be a false craft. If it were a dream catcher, it is not doing a good job with all the yarn handing down allowing the dreams to fall.
Meaghan
What do you use to attach the flowers and leaves to the ring?
Danielle
Dreamcatchers have genuine cultural and spiritual significance to Native Americans, they’re not just “age old crafts”.