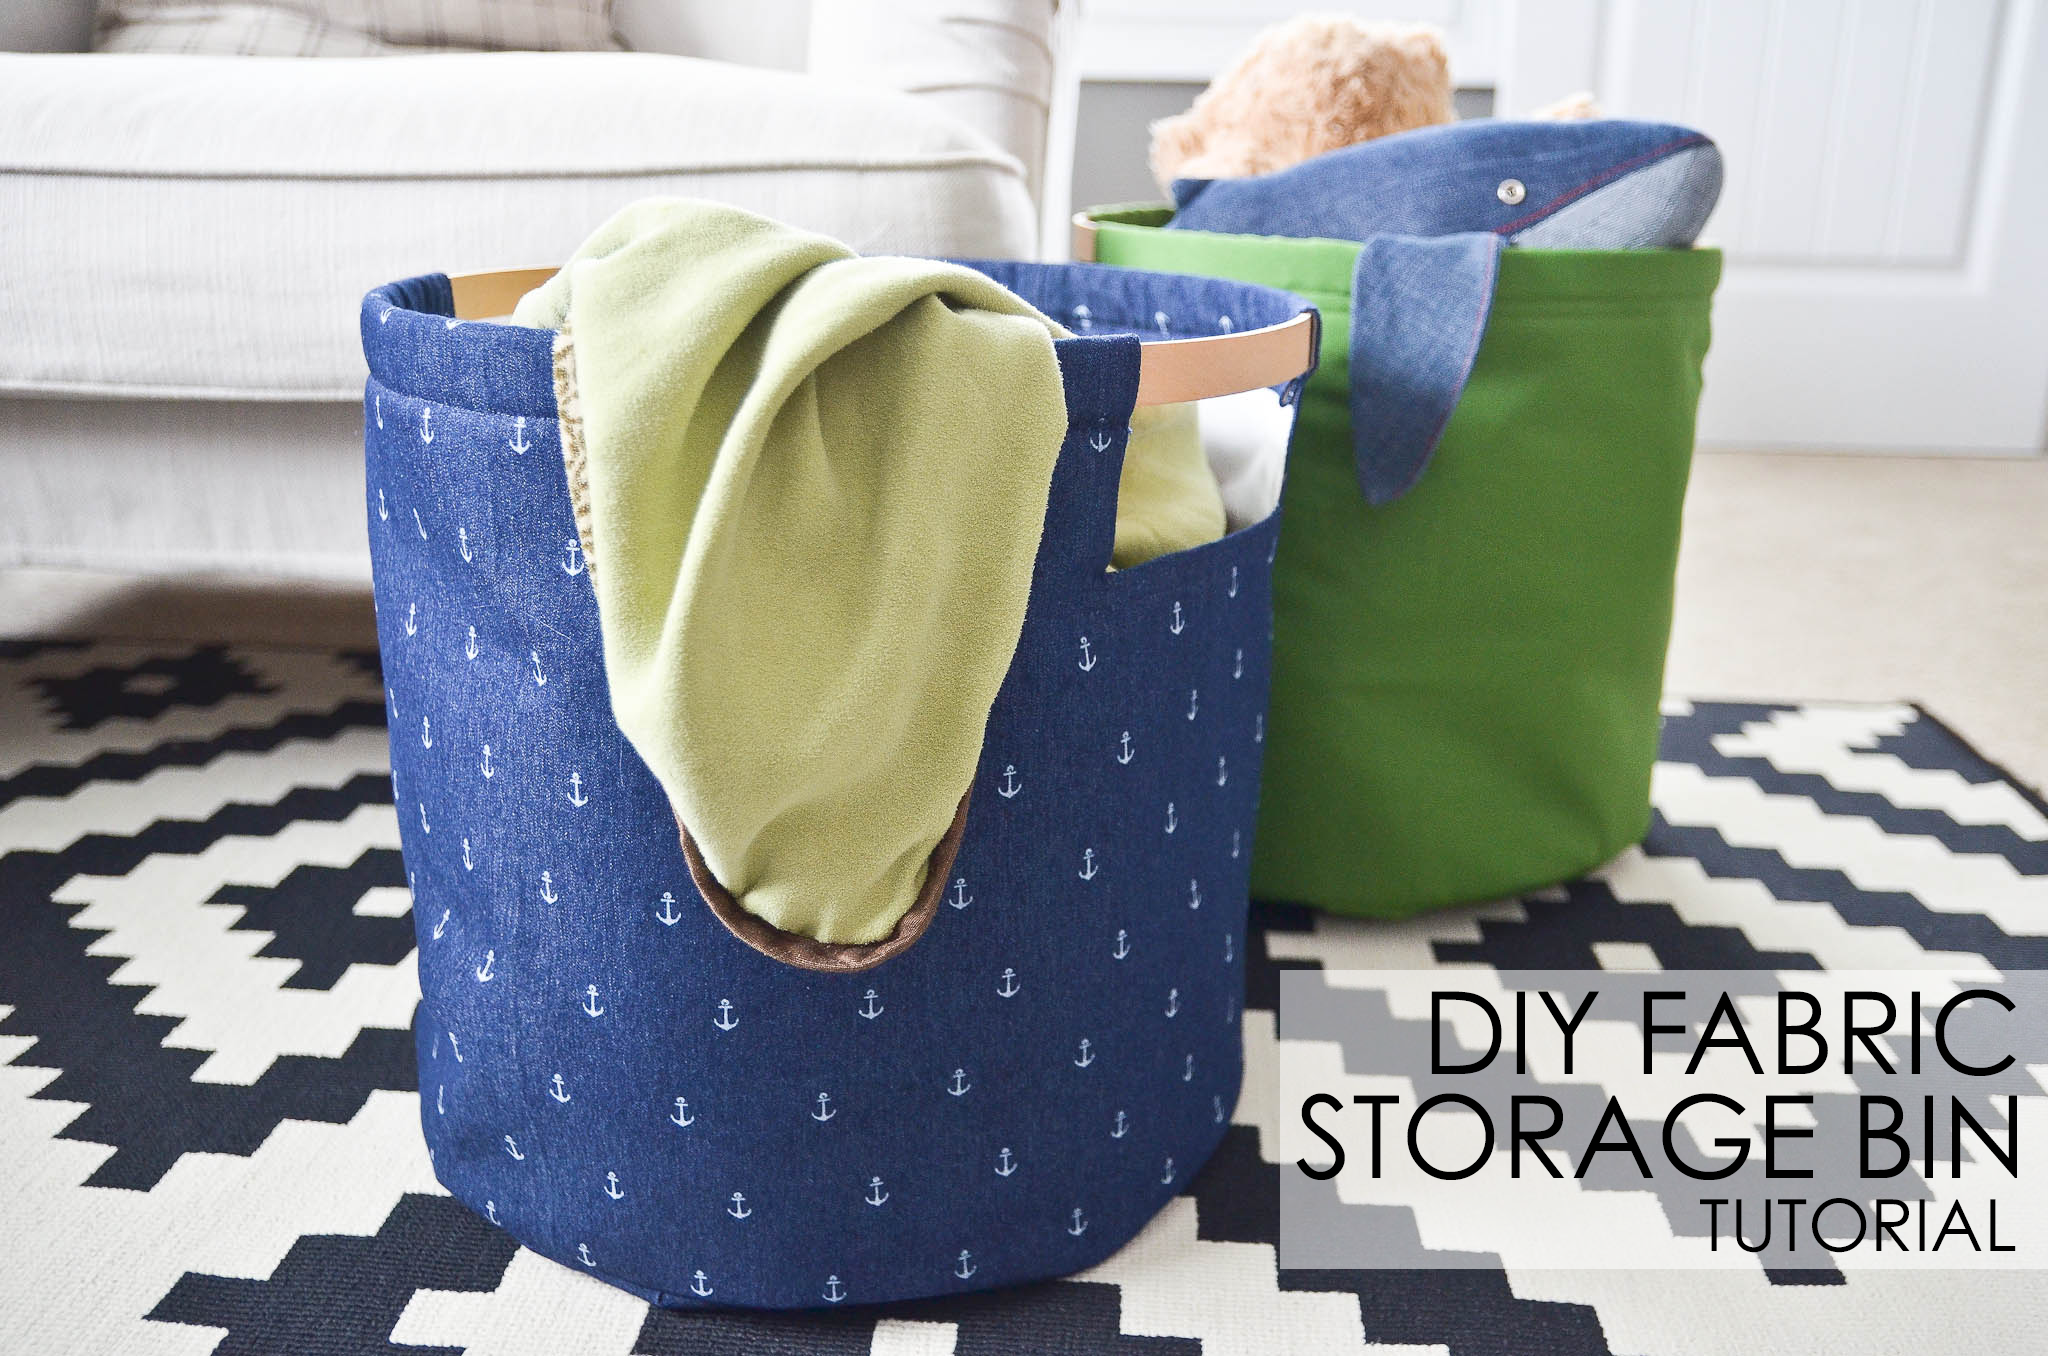
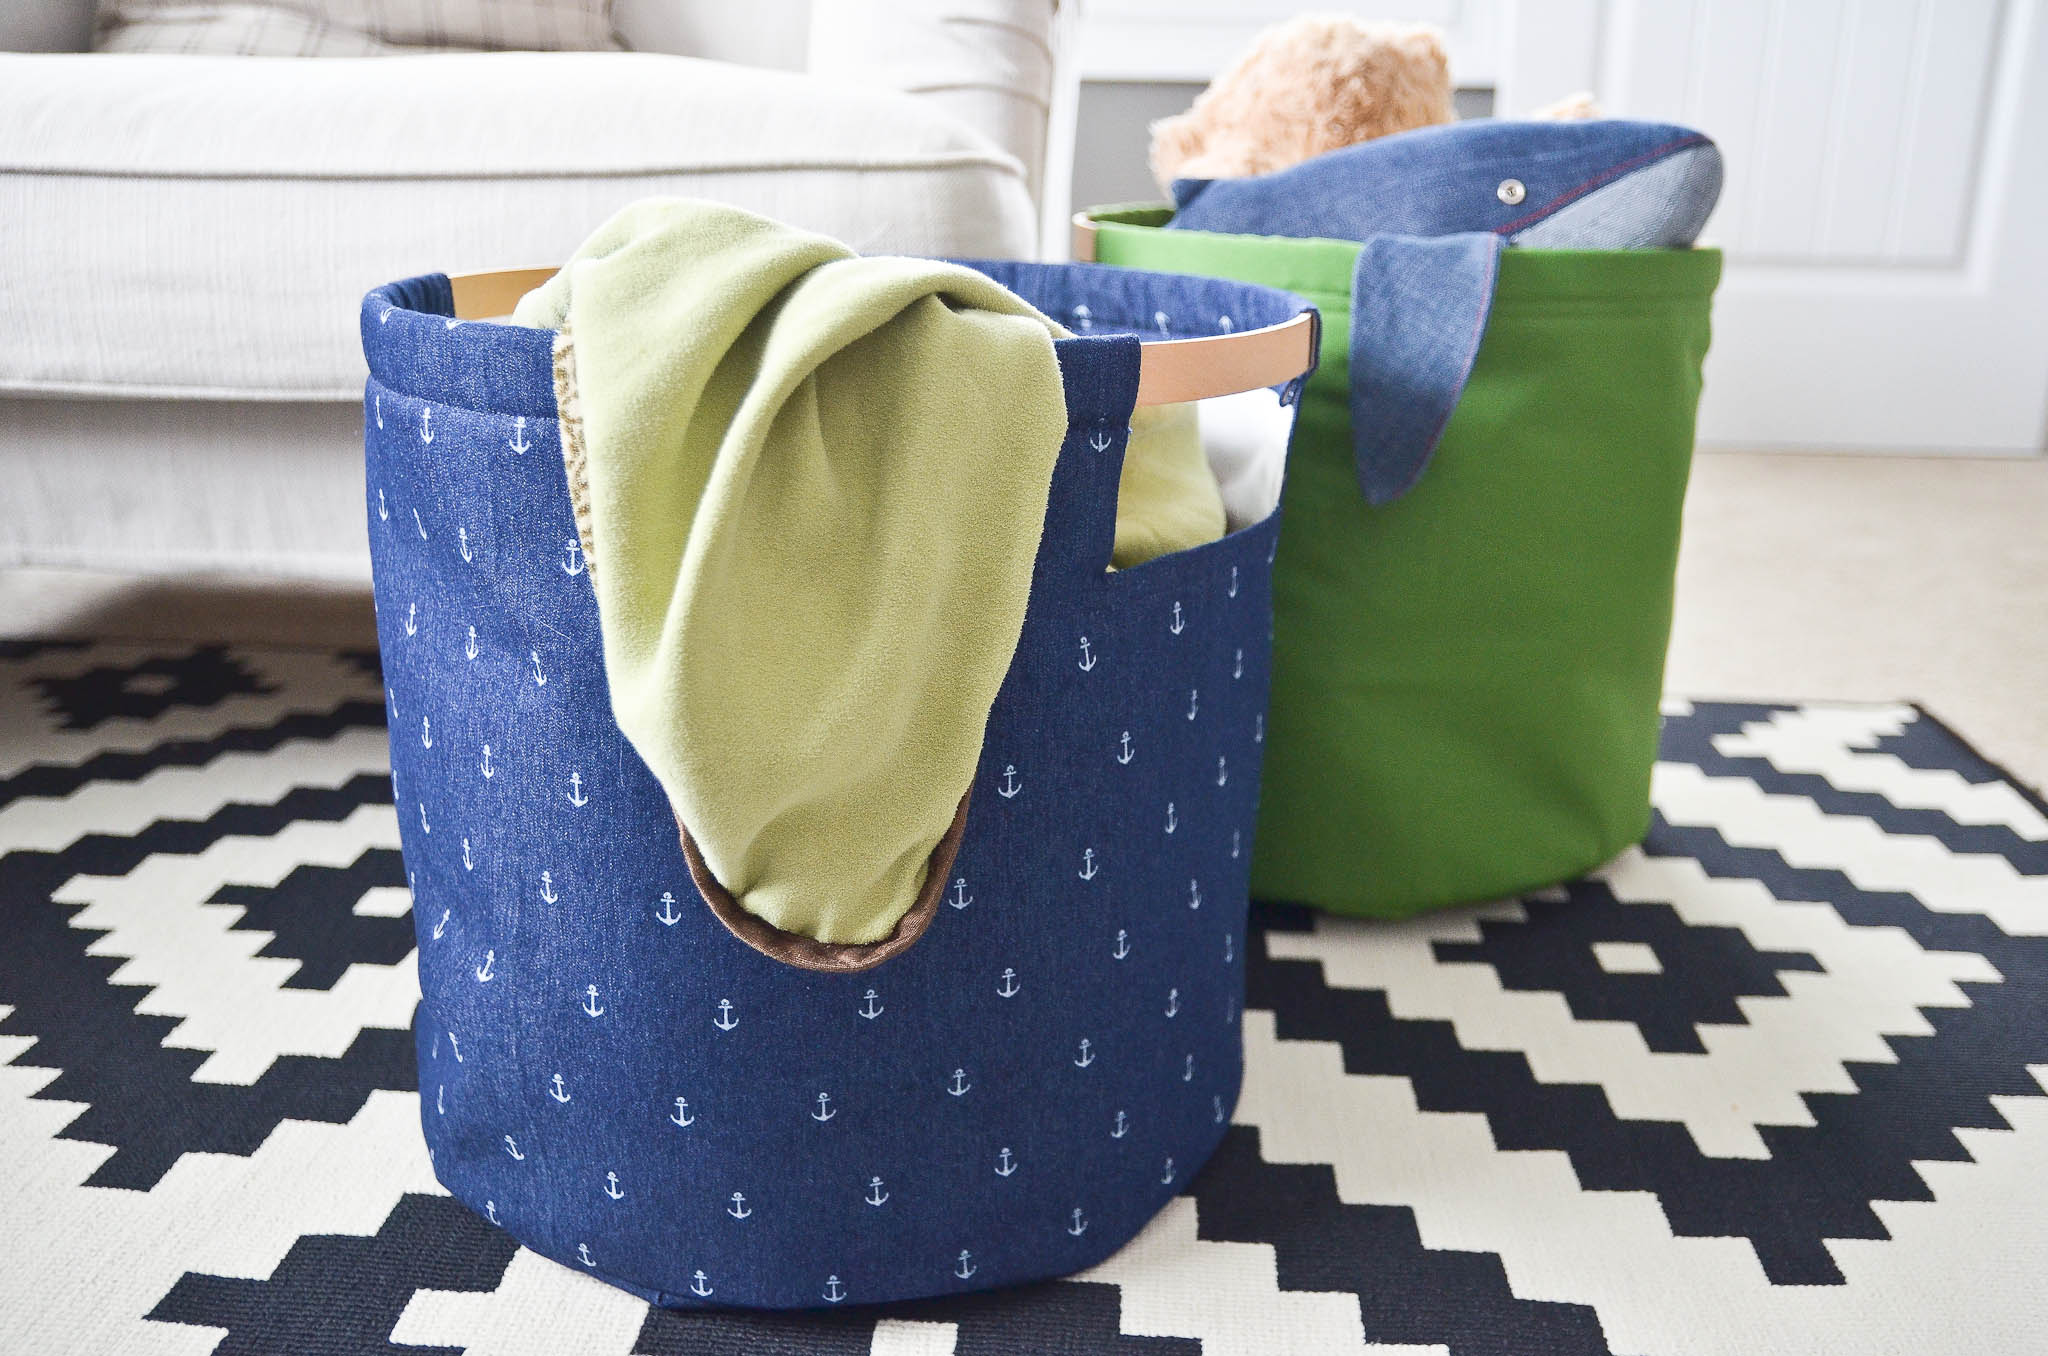
Why do these tiny humans have so. much. stuff?! Gifting grandparents, annual birthday bashes and the inevitable death grip on anything they see as “theirs”—all culprits of kiddo clutter. Fabric bins are a fantastically versatile organizing option. Able to round up everything from stuffed animals to books and all the in-betweens, these DIY fabric storage bins can be sewn in a couple of hours and customized to match your child’s room decor.
Skill Level: Confident Intermediate. Don’t be intimidated by the length of this tutorial. I literally photographed almost every detail to help you along the way.
Materials: printed fabric (1.75 yards), muslin fabric (1.75 yards), extra-firm sew-in stabilizer (Pellon 926), 14″ wooden embroidery hoop, white thread, colored thread (to match your printed fabric), pins, scissors, ruler, pencil, iron, sewing machine, zipper foot
I found my printed denim and decor weight solid green at Joann’s. Lightweight cottons will work too, but I like the added stiffness of the heavier weight fabrics.
Note: All seam allowances are 1/2″, unless otherwise noted.
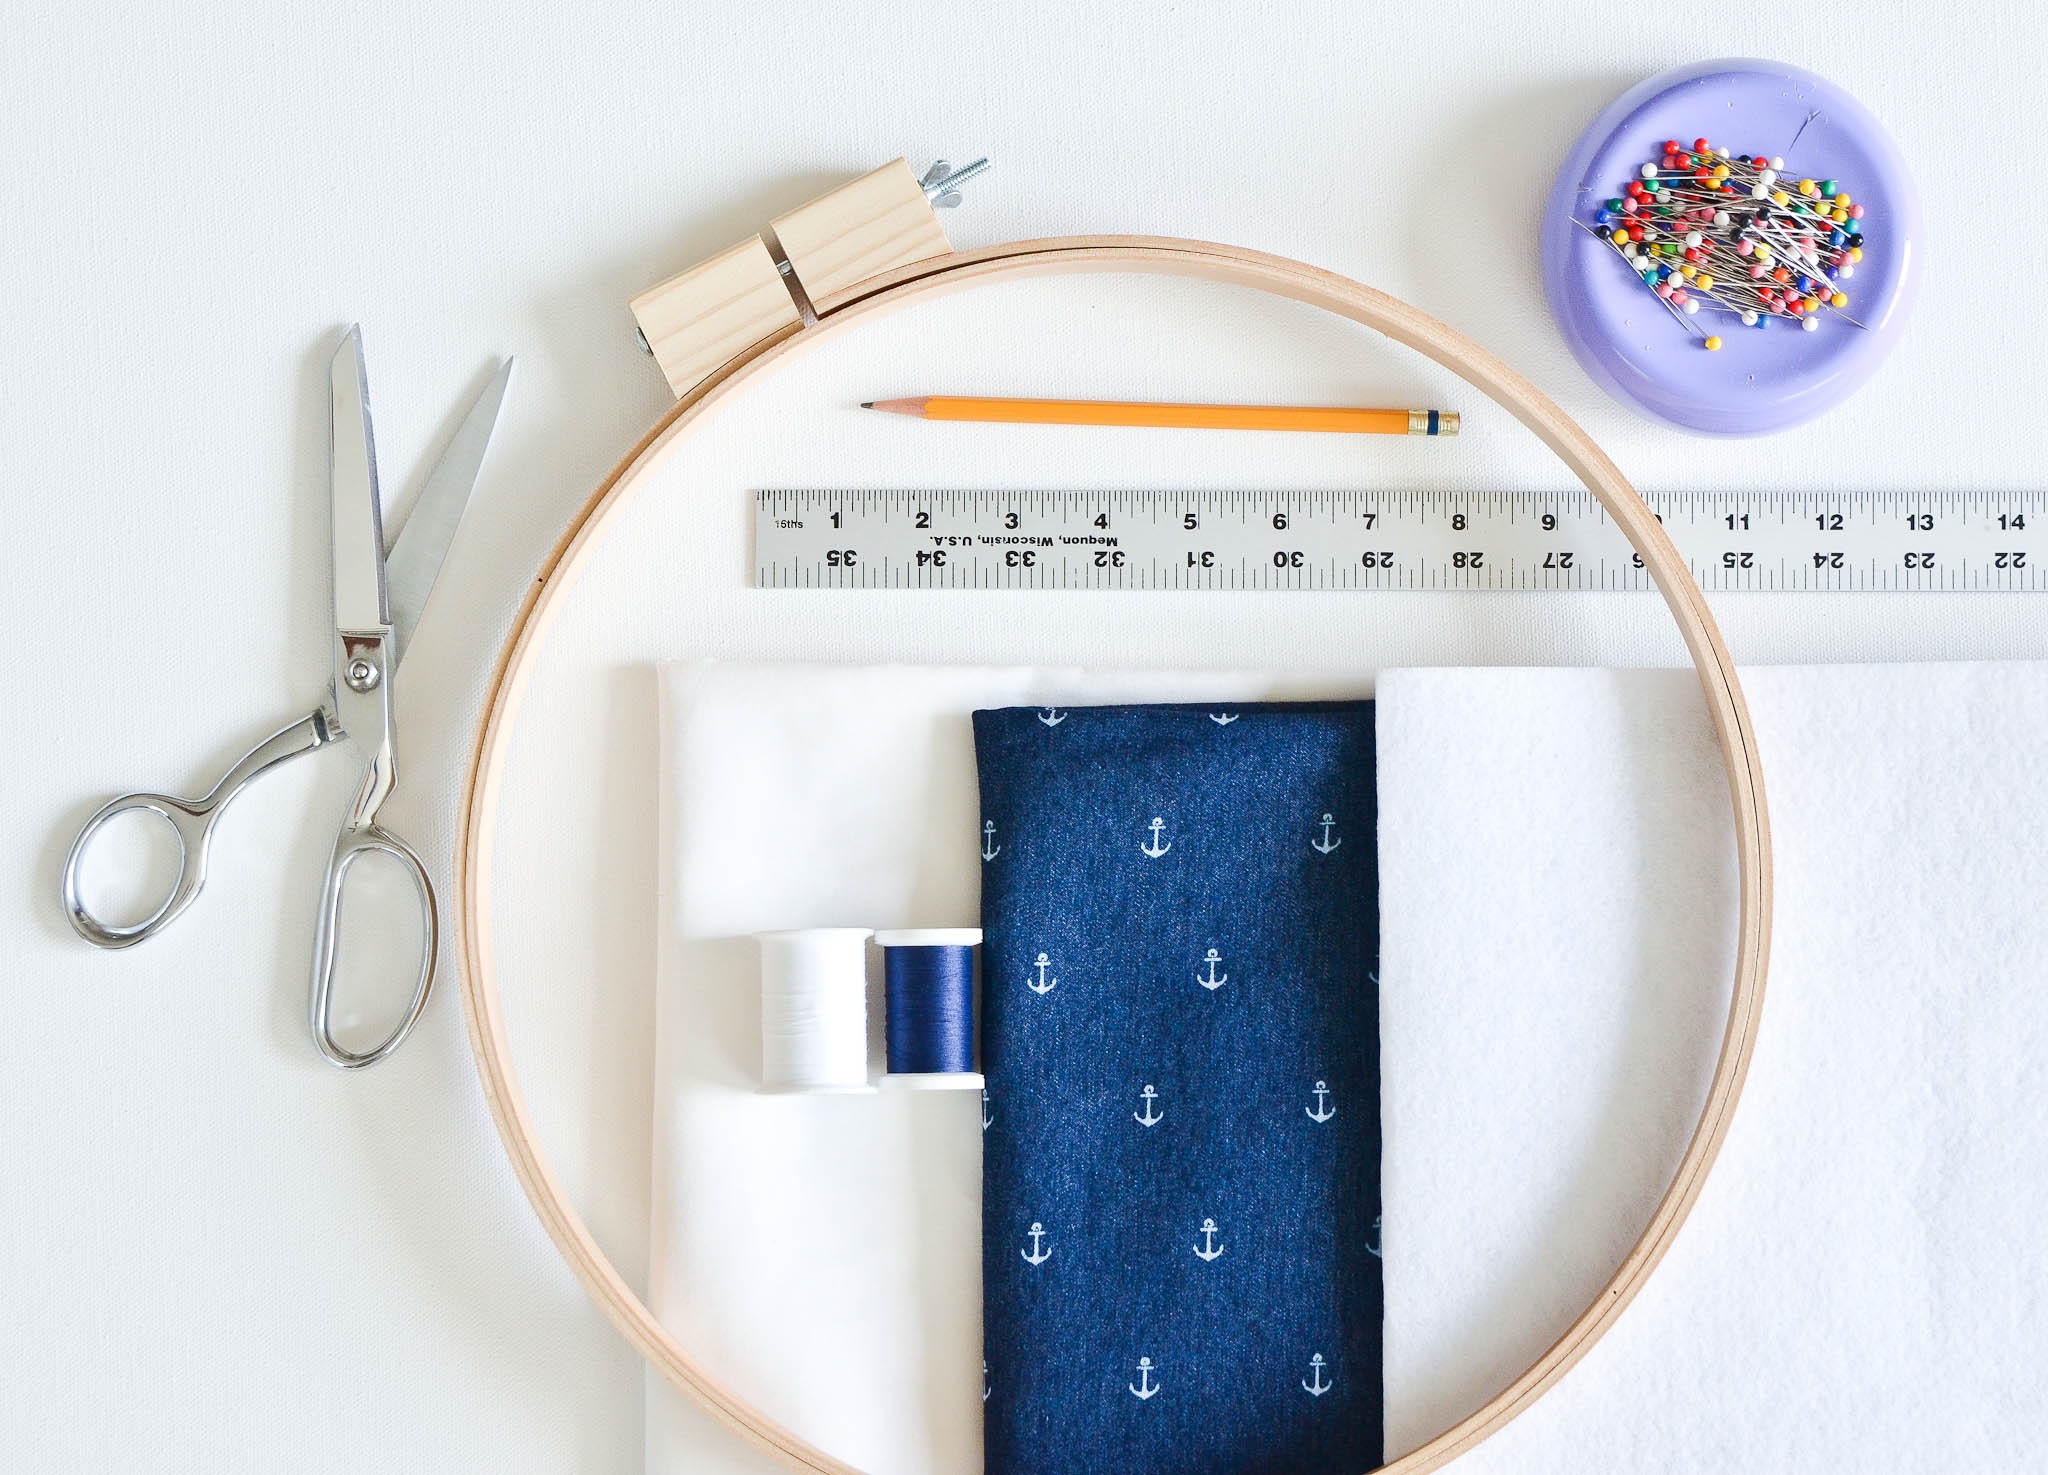
Separate your embroidery hoop, keeping only the solid inner circle.

Lay out your printed fabric, muslin and stabilizer. Cut a 16″ piece off the end of each.
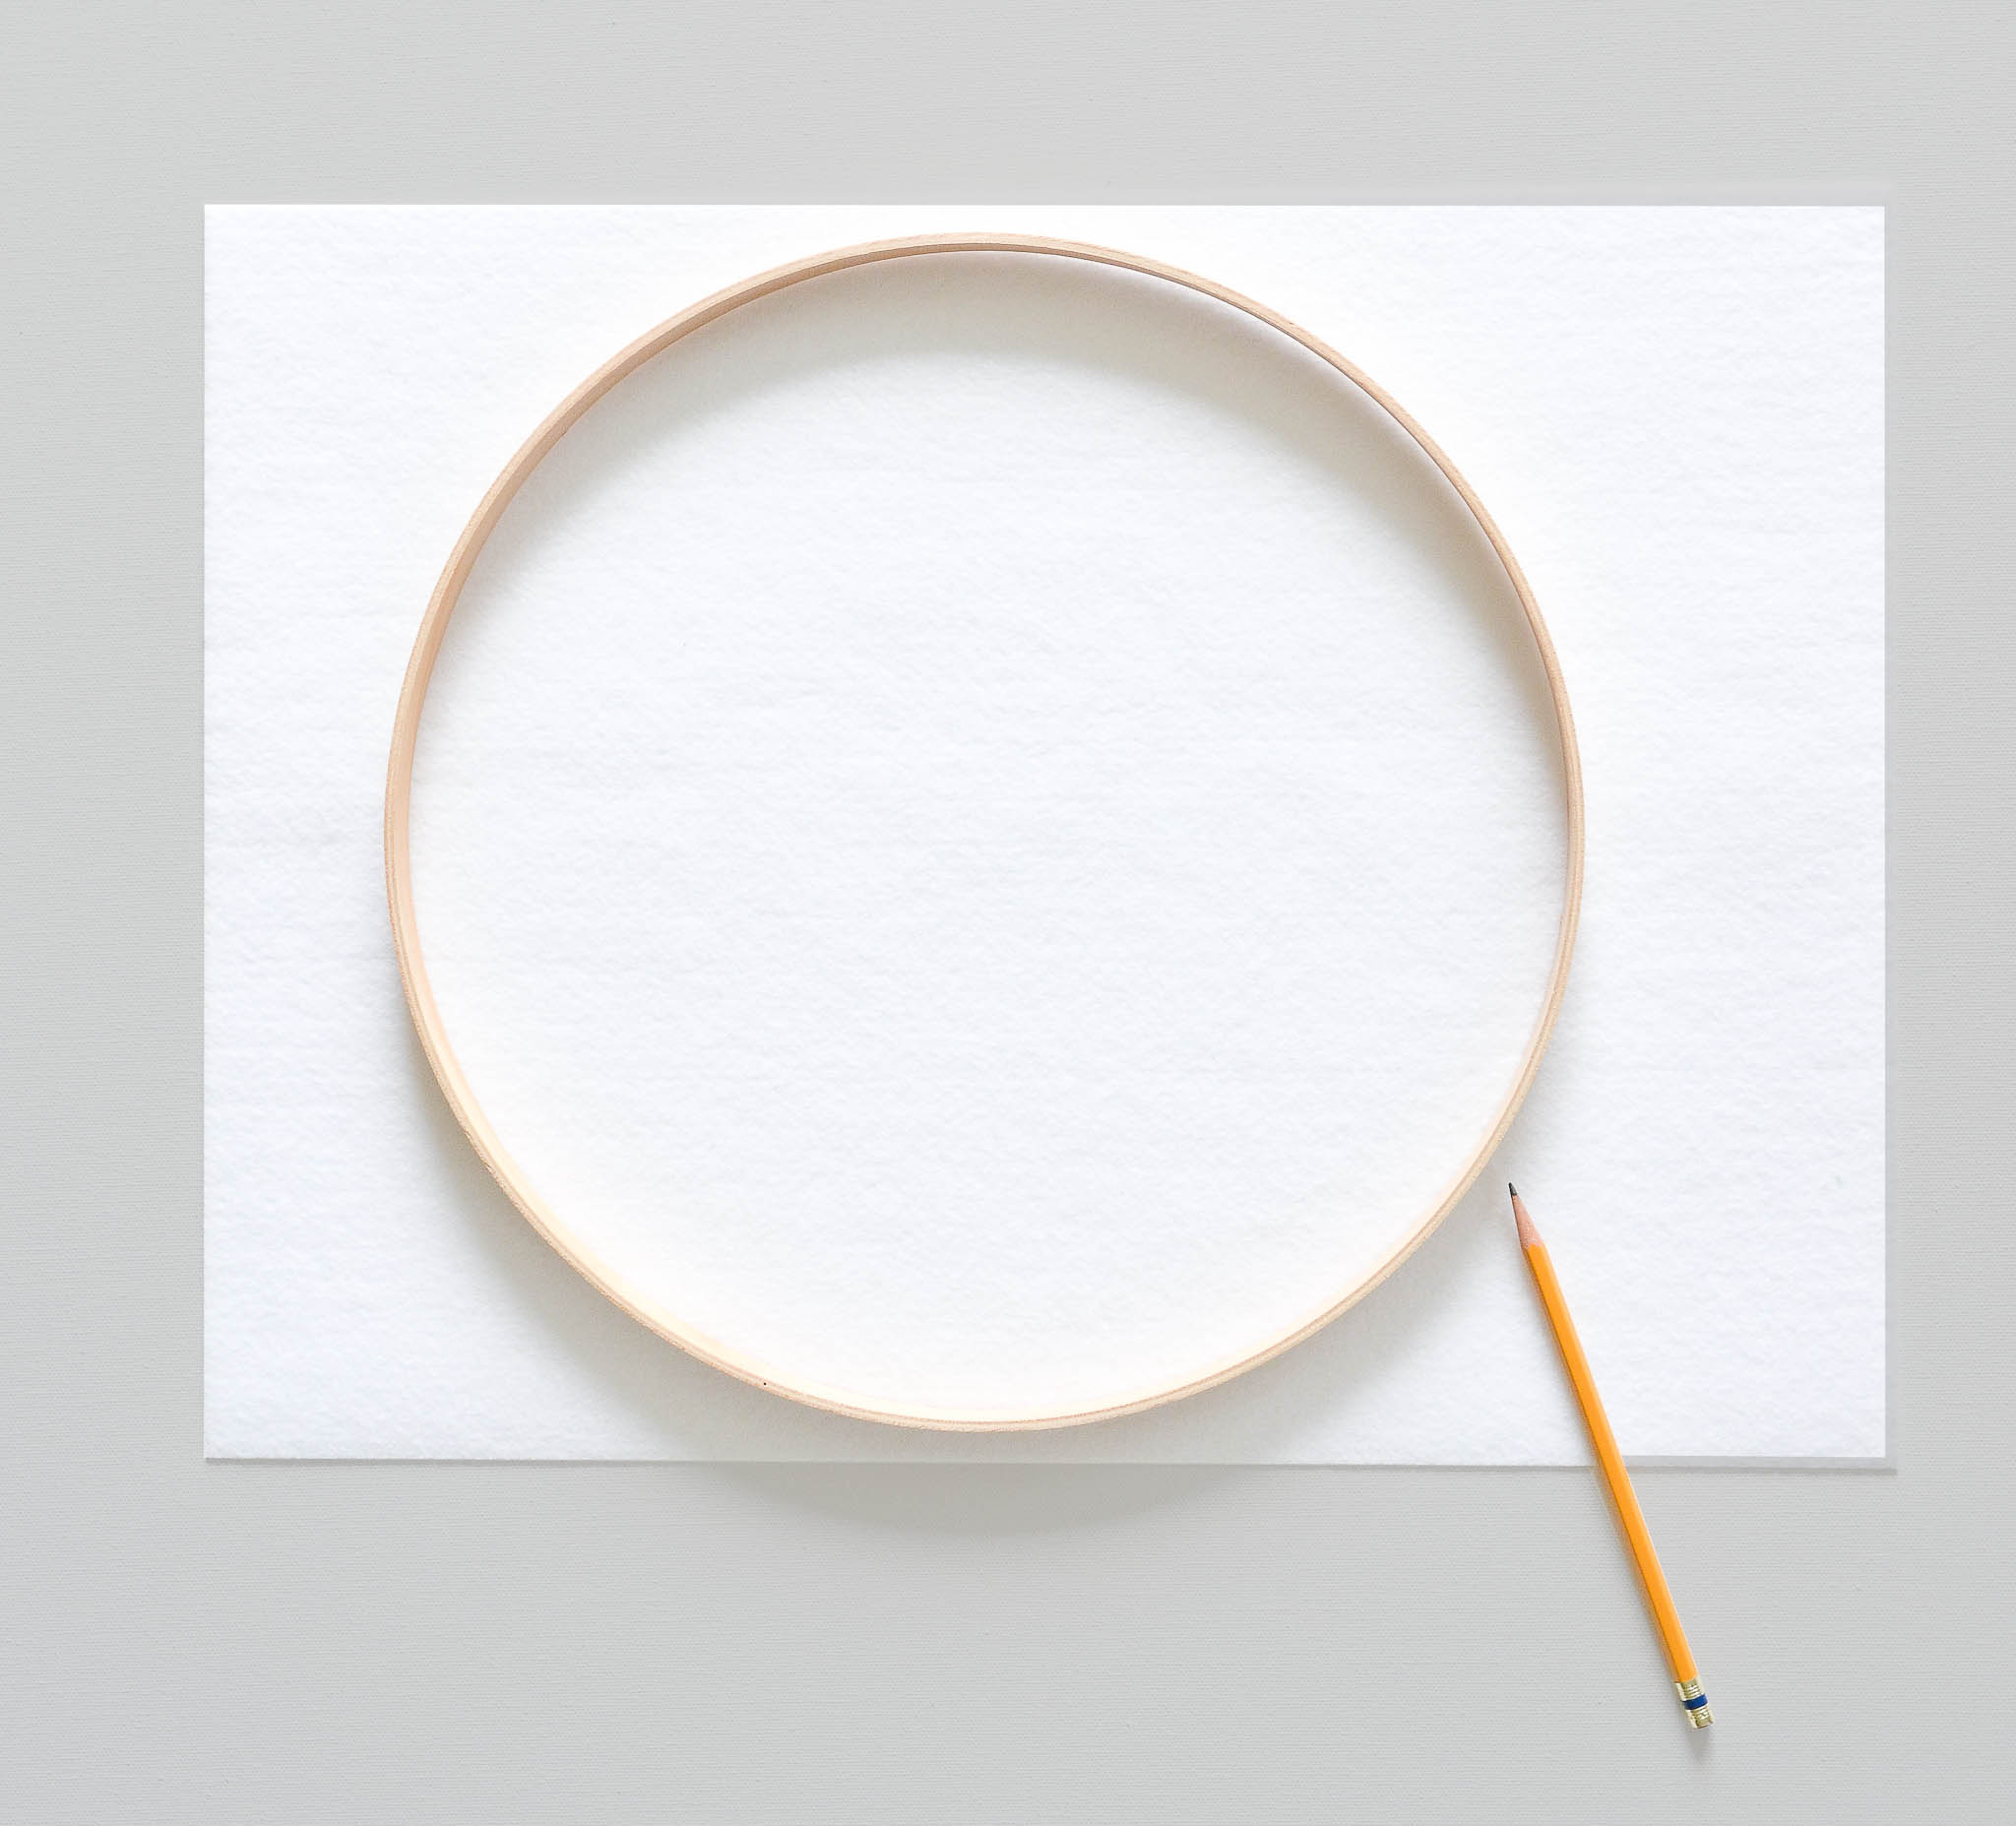
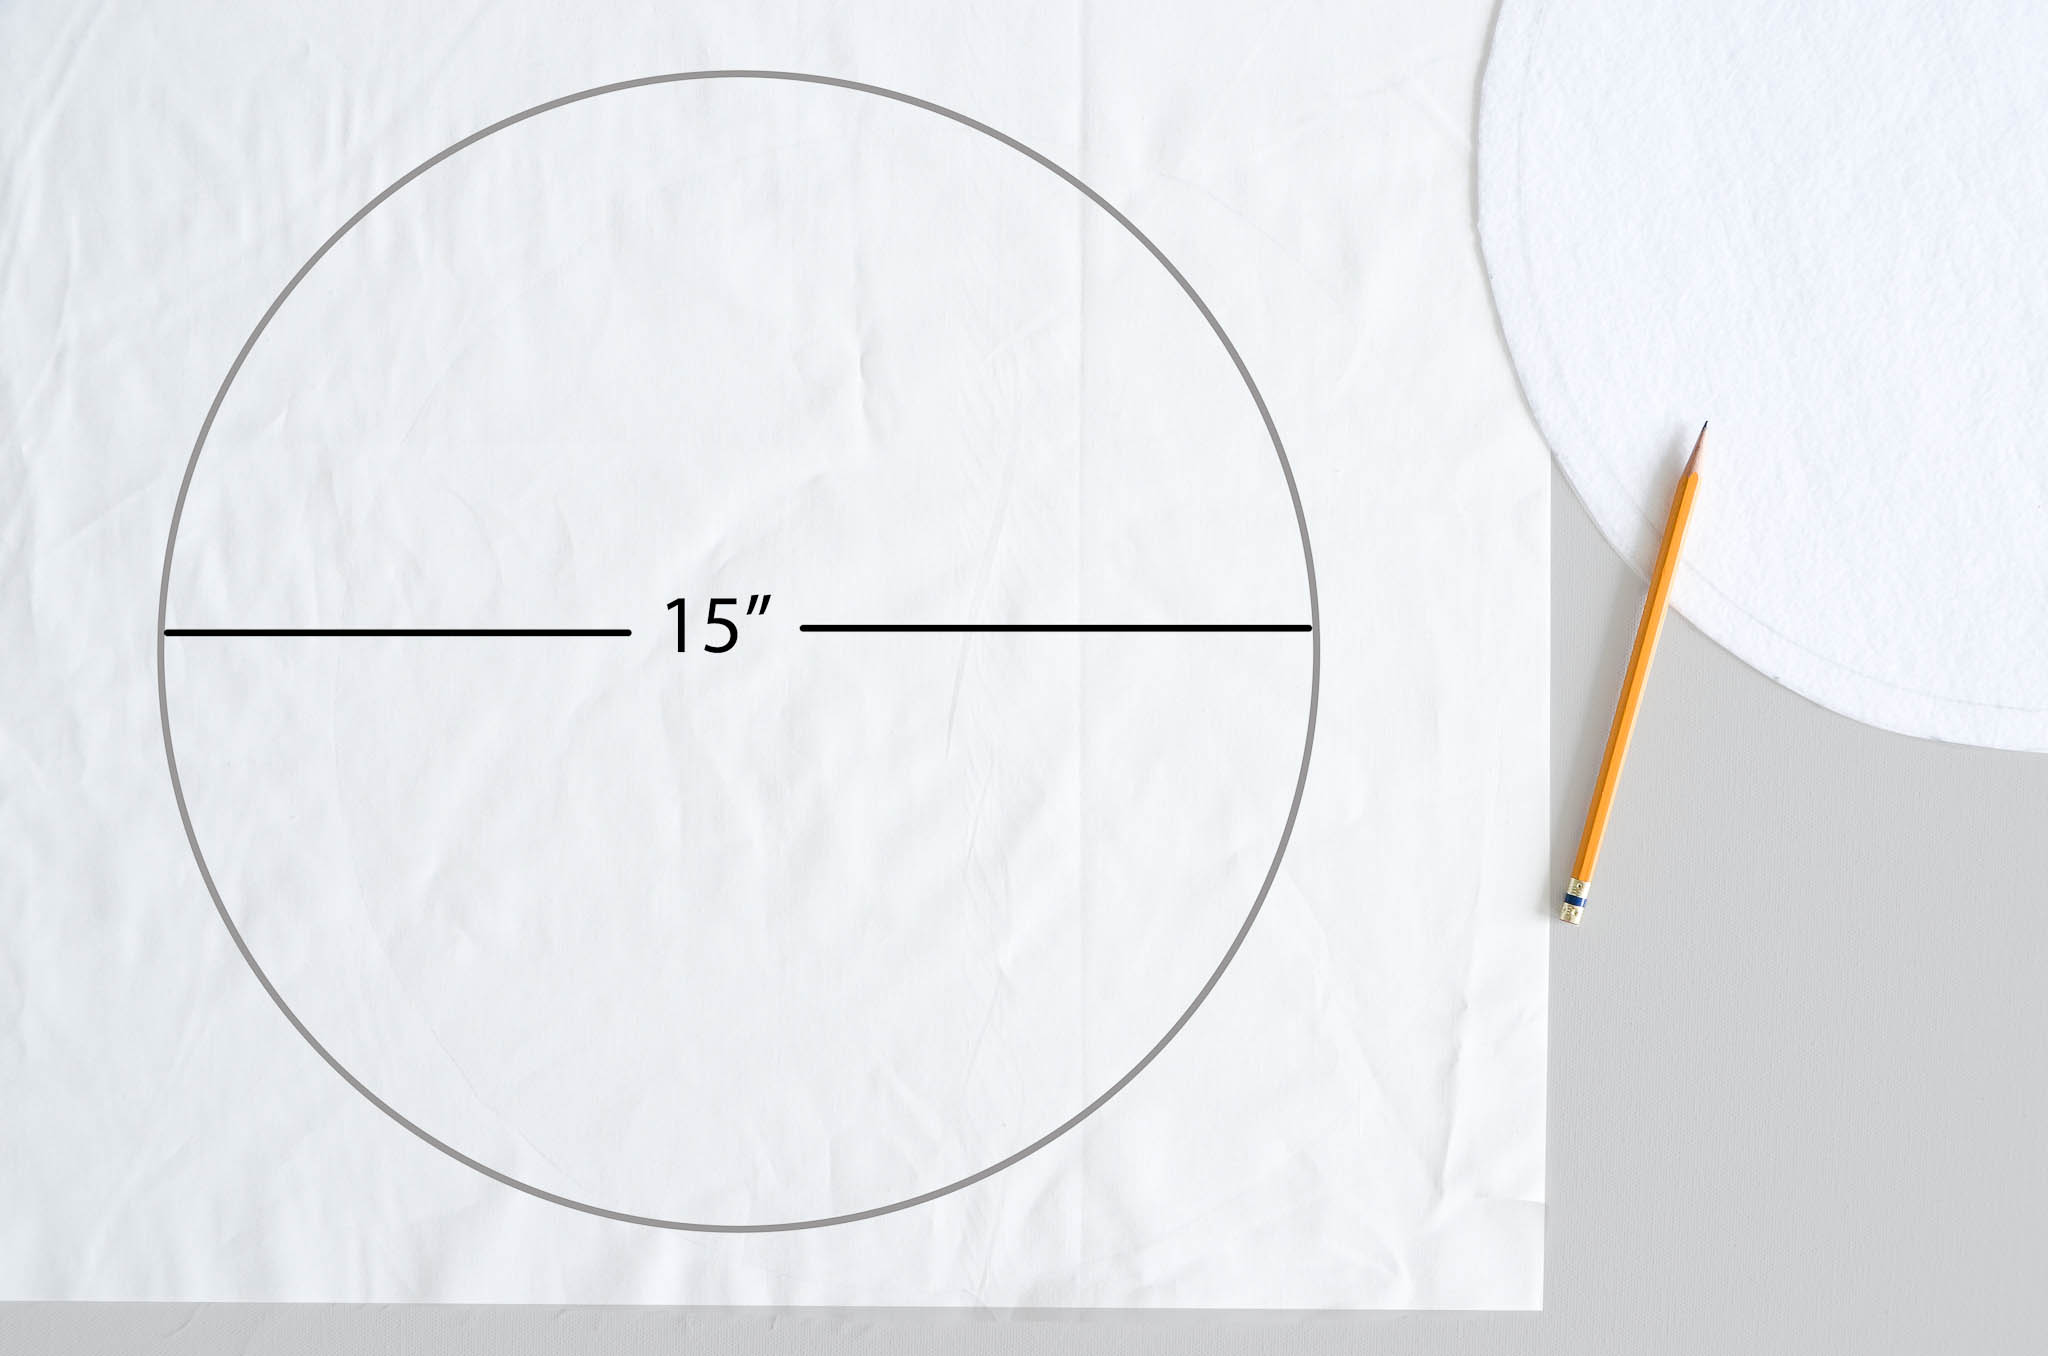
Center your embroidery hoop on the 16″ piece of stabilizer and trace the outside edge of your hoop with a pencil.
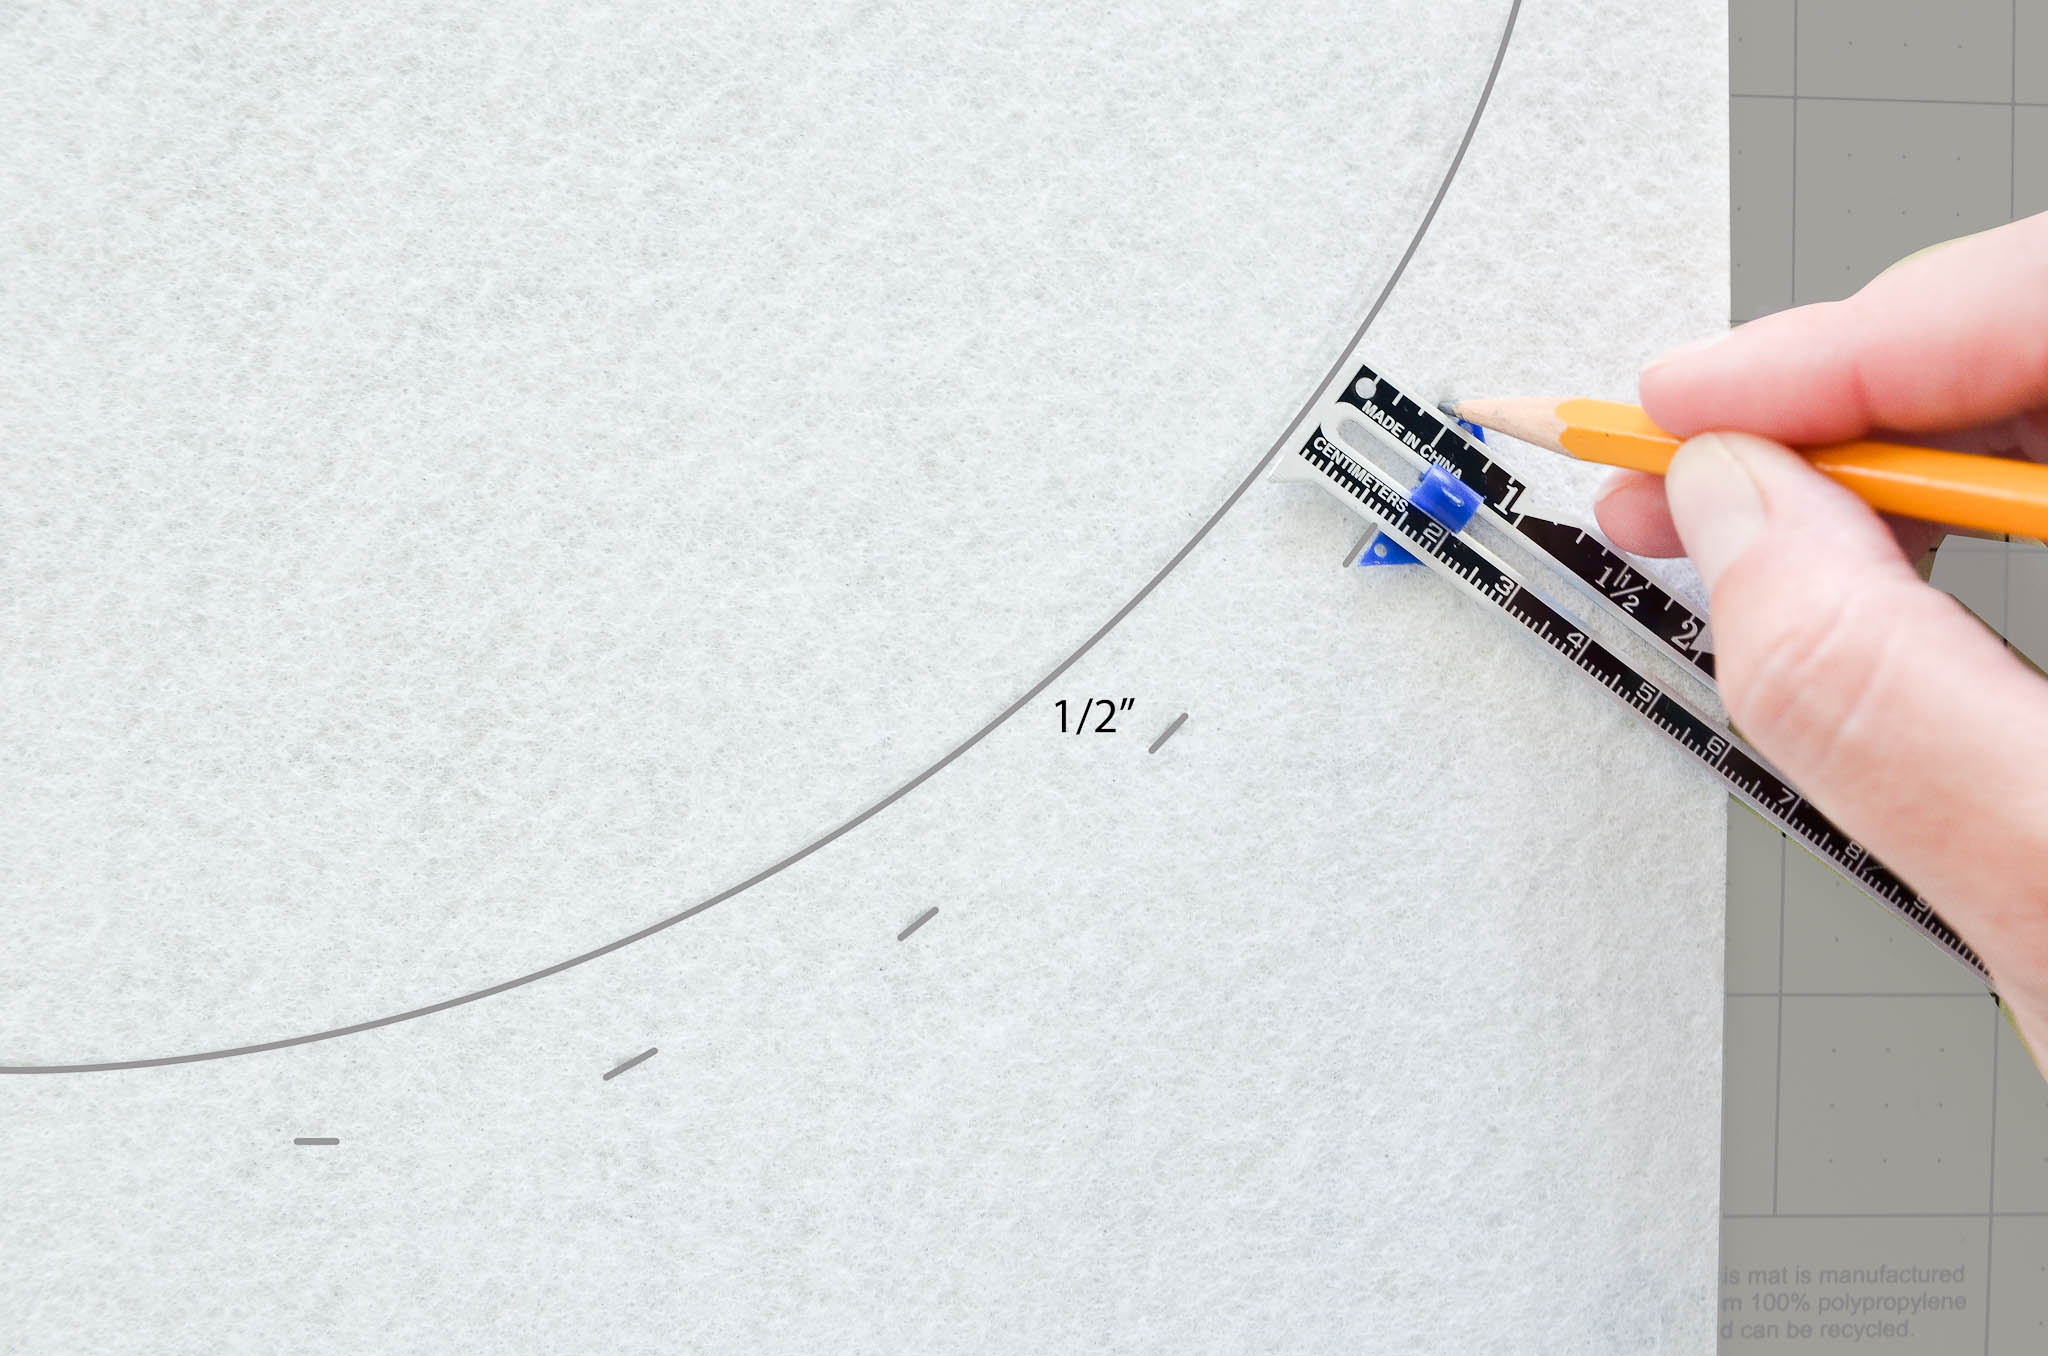
Use a ruler to mark and draw a line 1/2″ to the outside of the circle you traced. You should now have a circle with a 15″ diameter. Cut it out.
Place the stabilizer circle on top of your 16″ piece of muslin as a template. Trace the circle onto the muslin and cut it out.
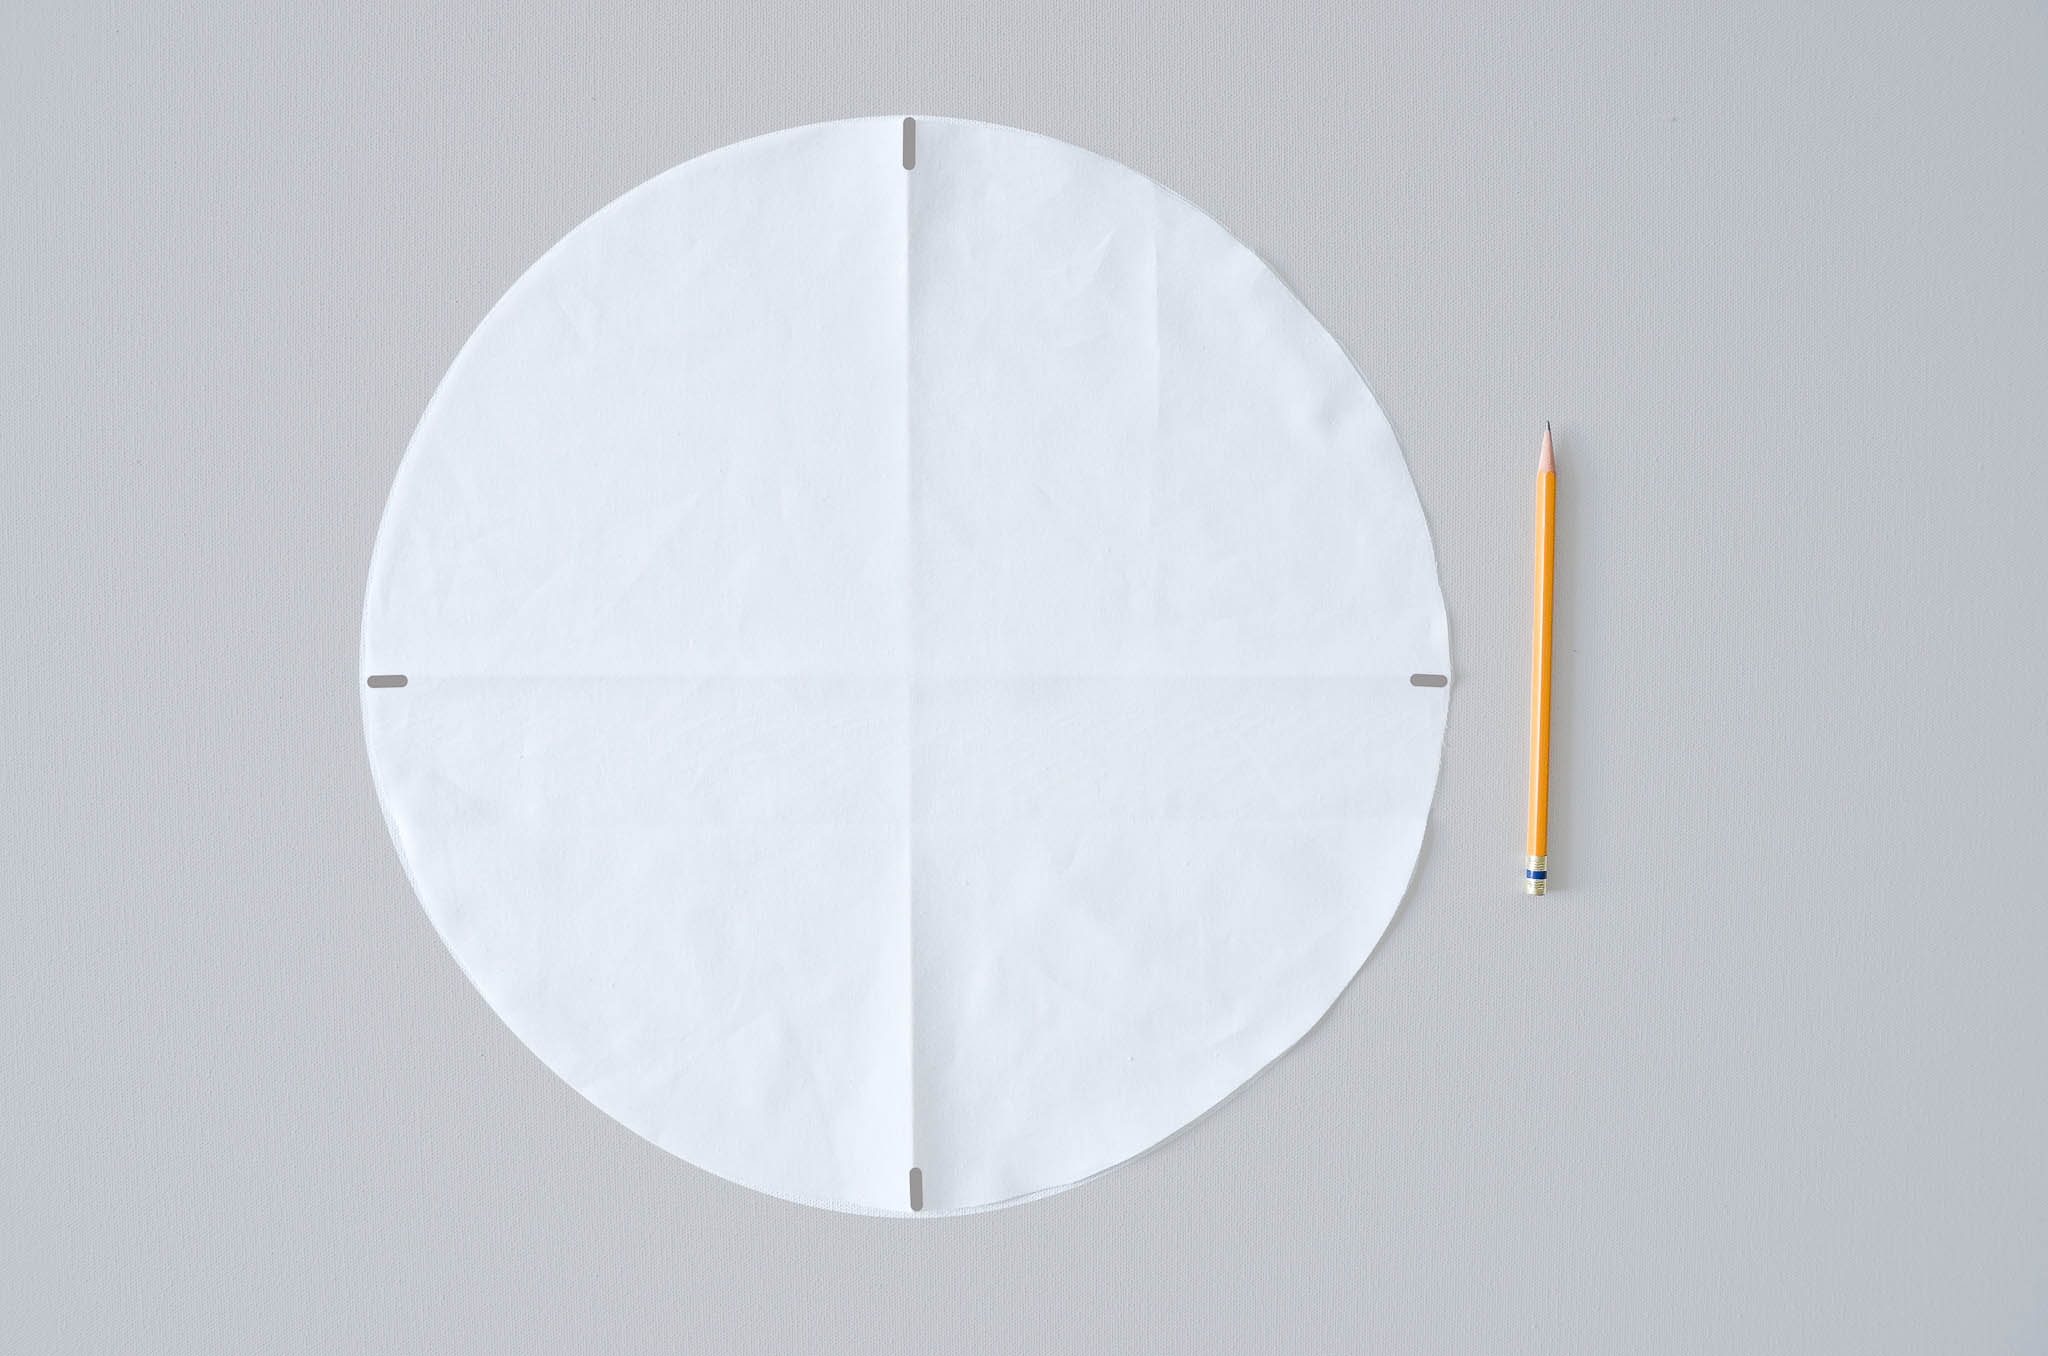
Now we need to make four points of equal distance around the circle. The easiest way to do this is to fold the muslin circle in half and crease the corners. Open it up and fold it in half the opposite way and crease it again to create four evenly spaced sections. Mark all four creases with your pencil. Set the circle aside.
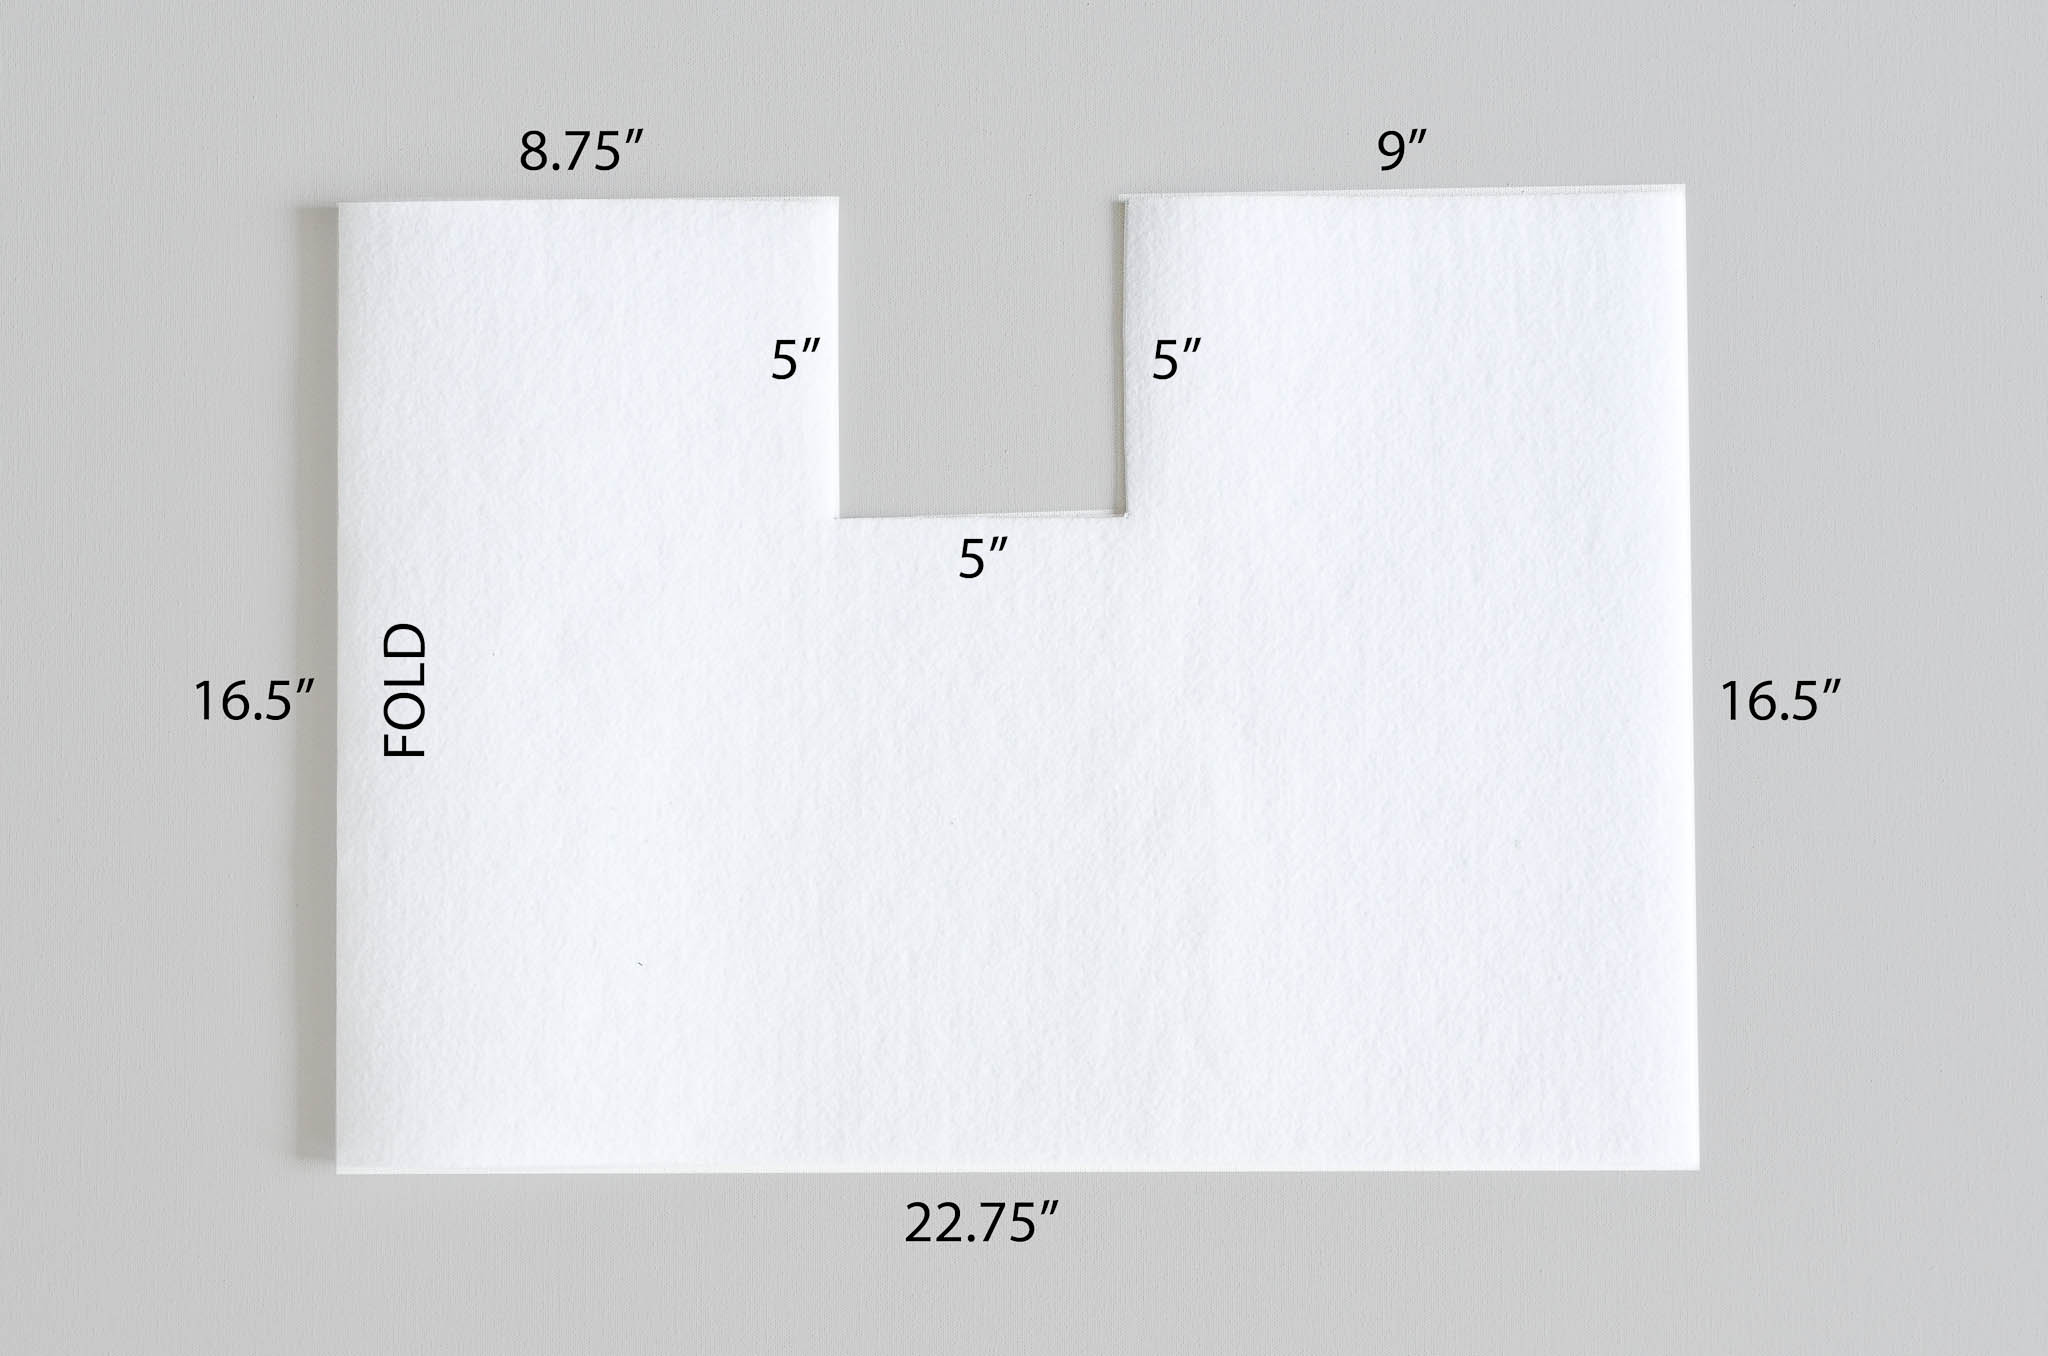
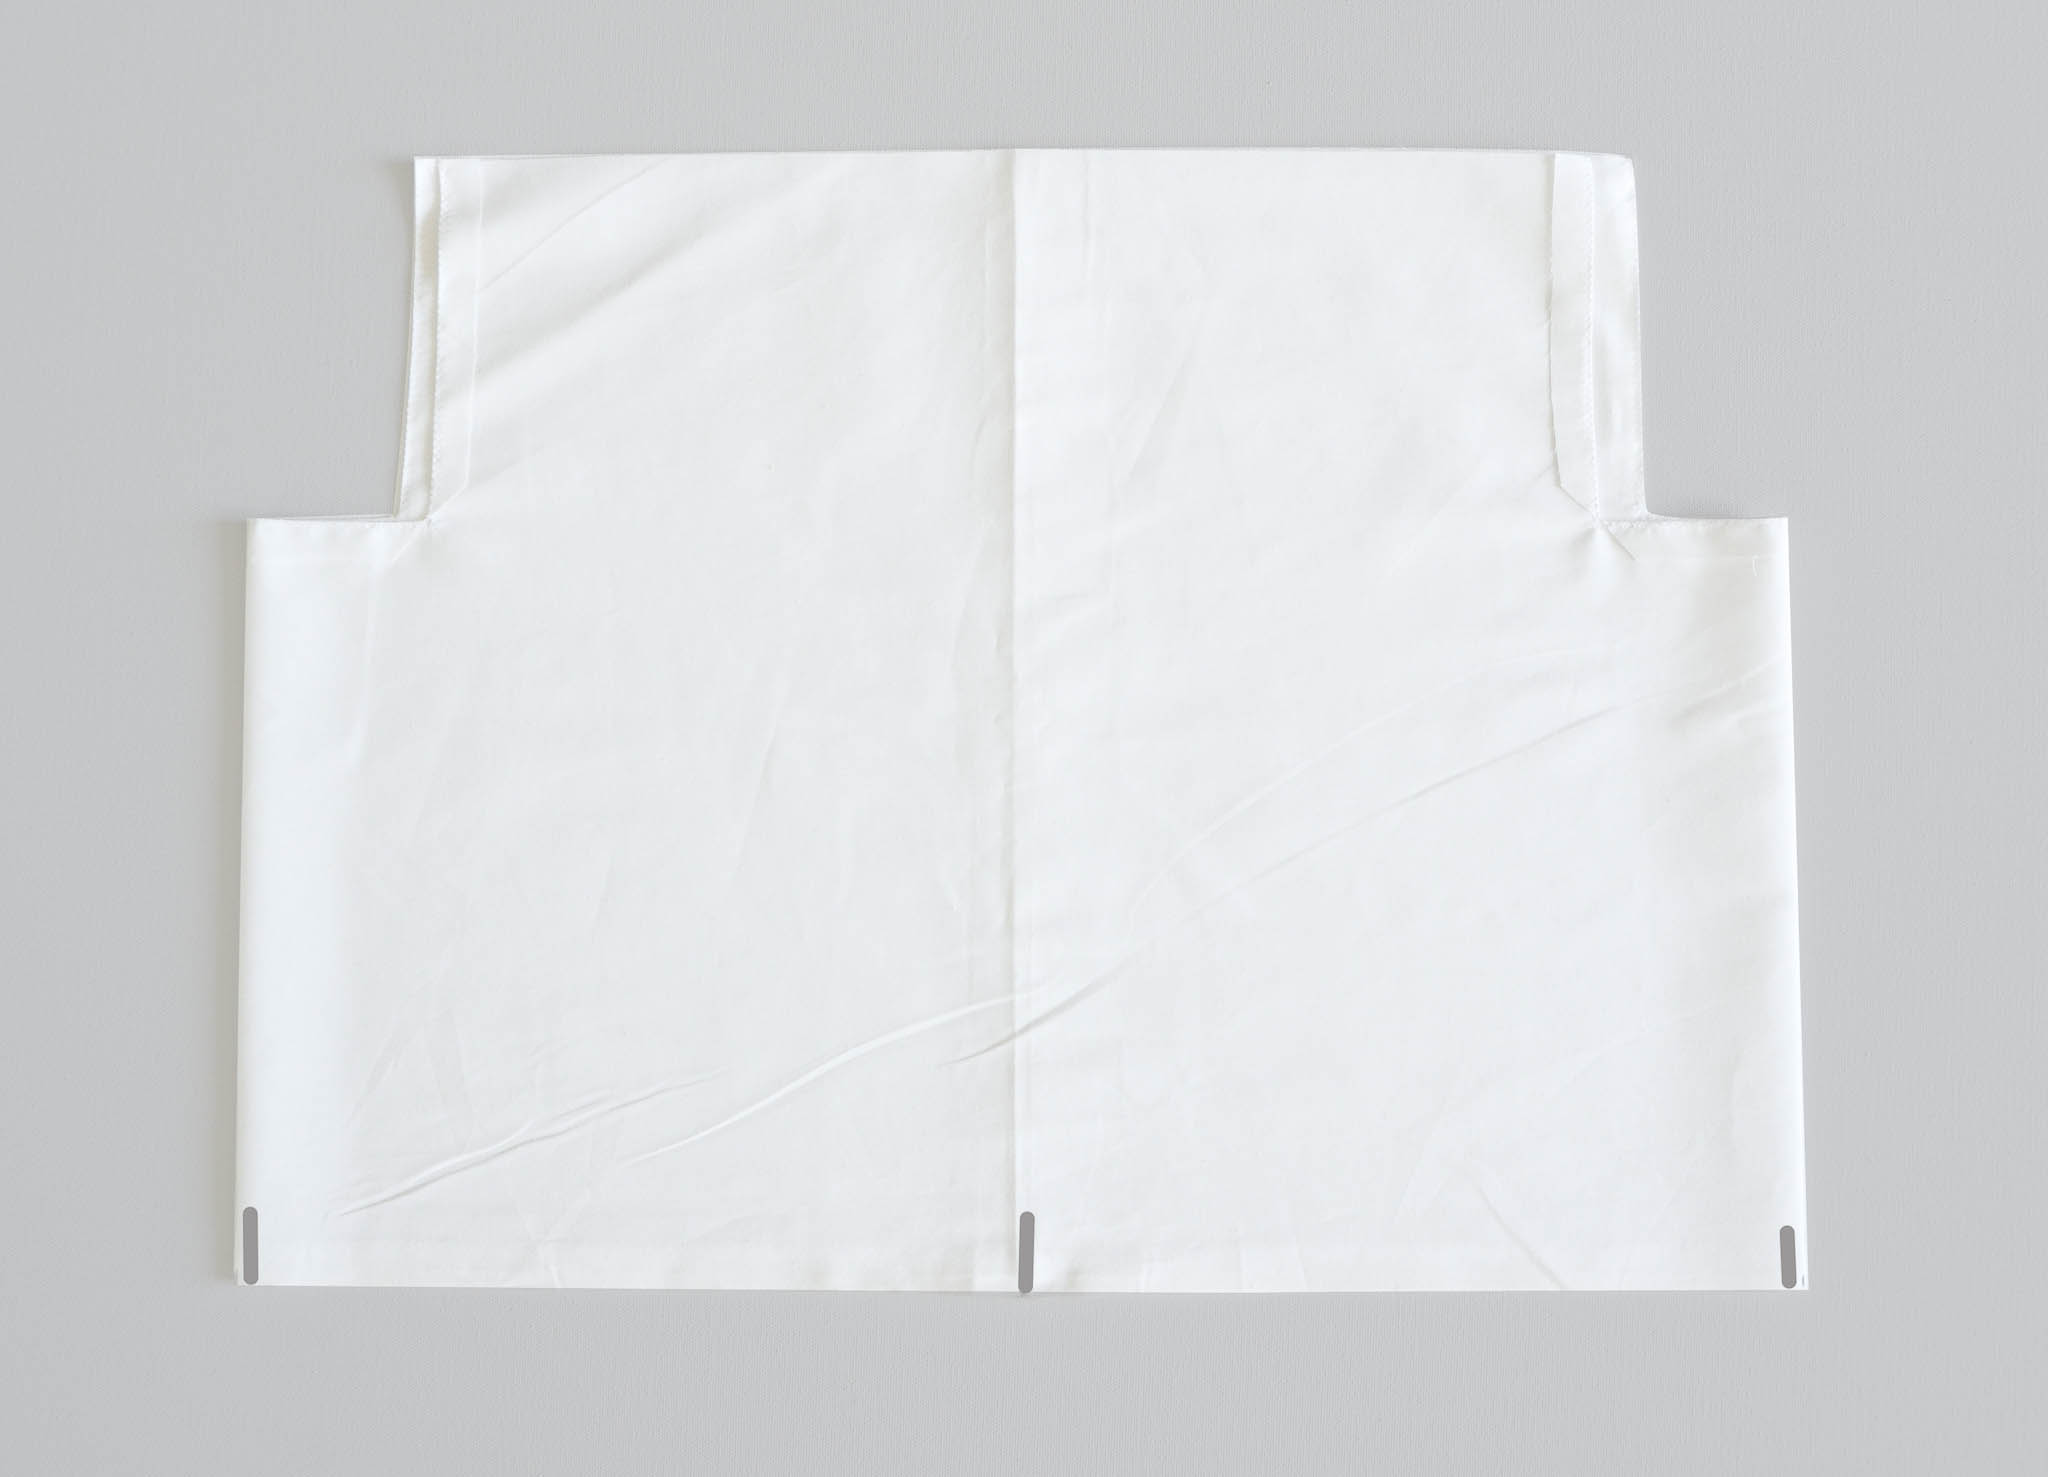
Fold the remaining stabilizer and trim down to a rectangle that measures 22.75″ x 16.5″.
While still folded, measure 8.75″ along the top from the folded edge and remove a 5″ x 5″ square—these will be your handle cut-outs. Your folded stabilizer piece should have the finished dimensions below.
Fold your remaining muslin fabric. Matching up the folded edges, place your folded stabilizer rectangle on top as a template. Cut out the three non-folded sides.
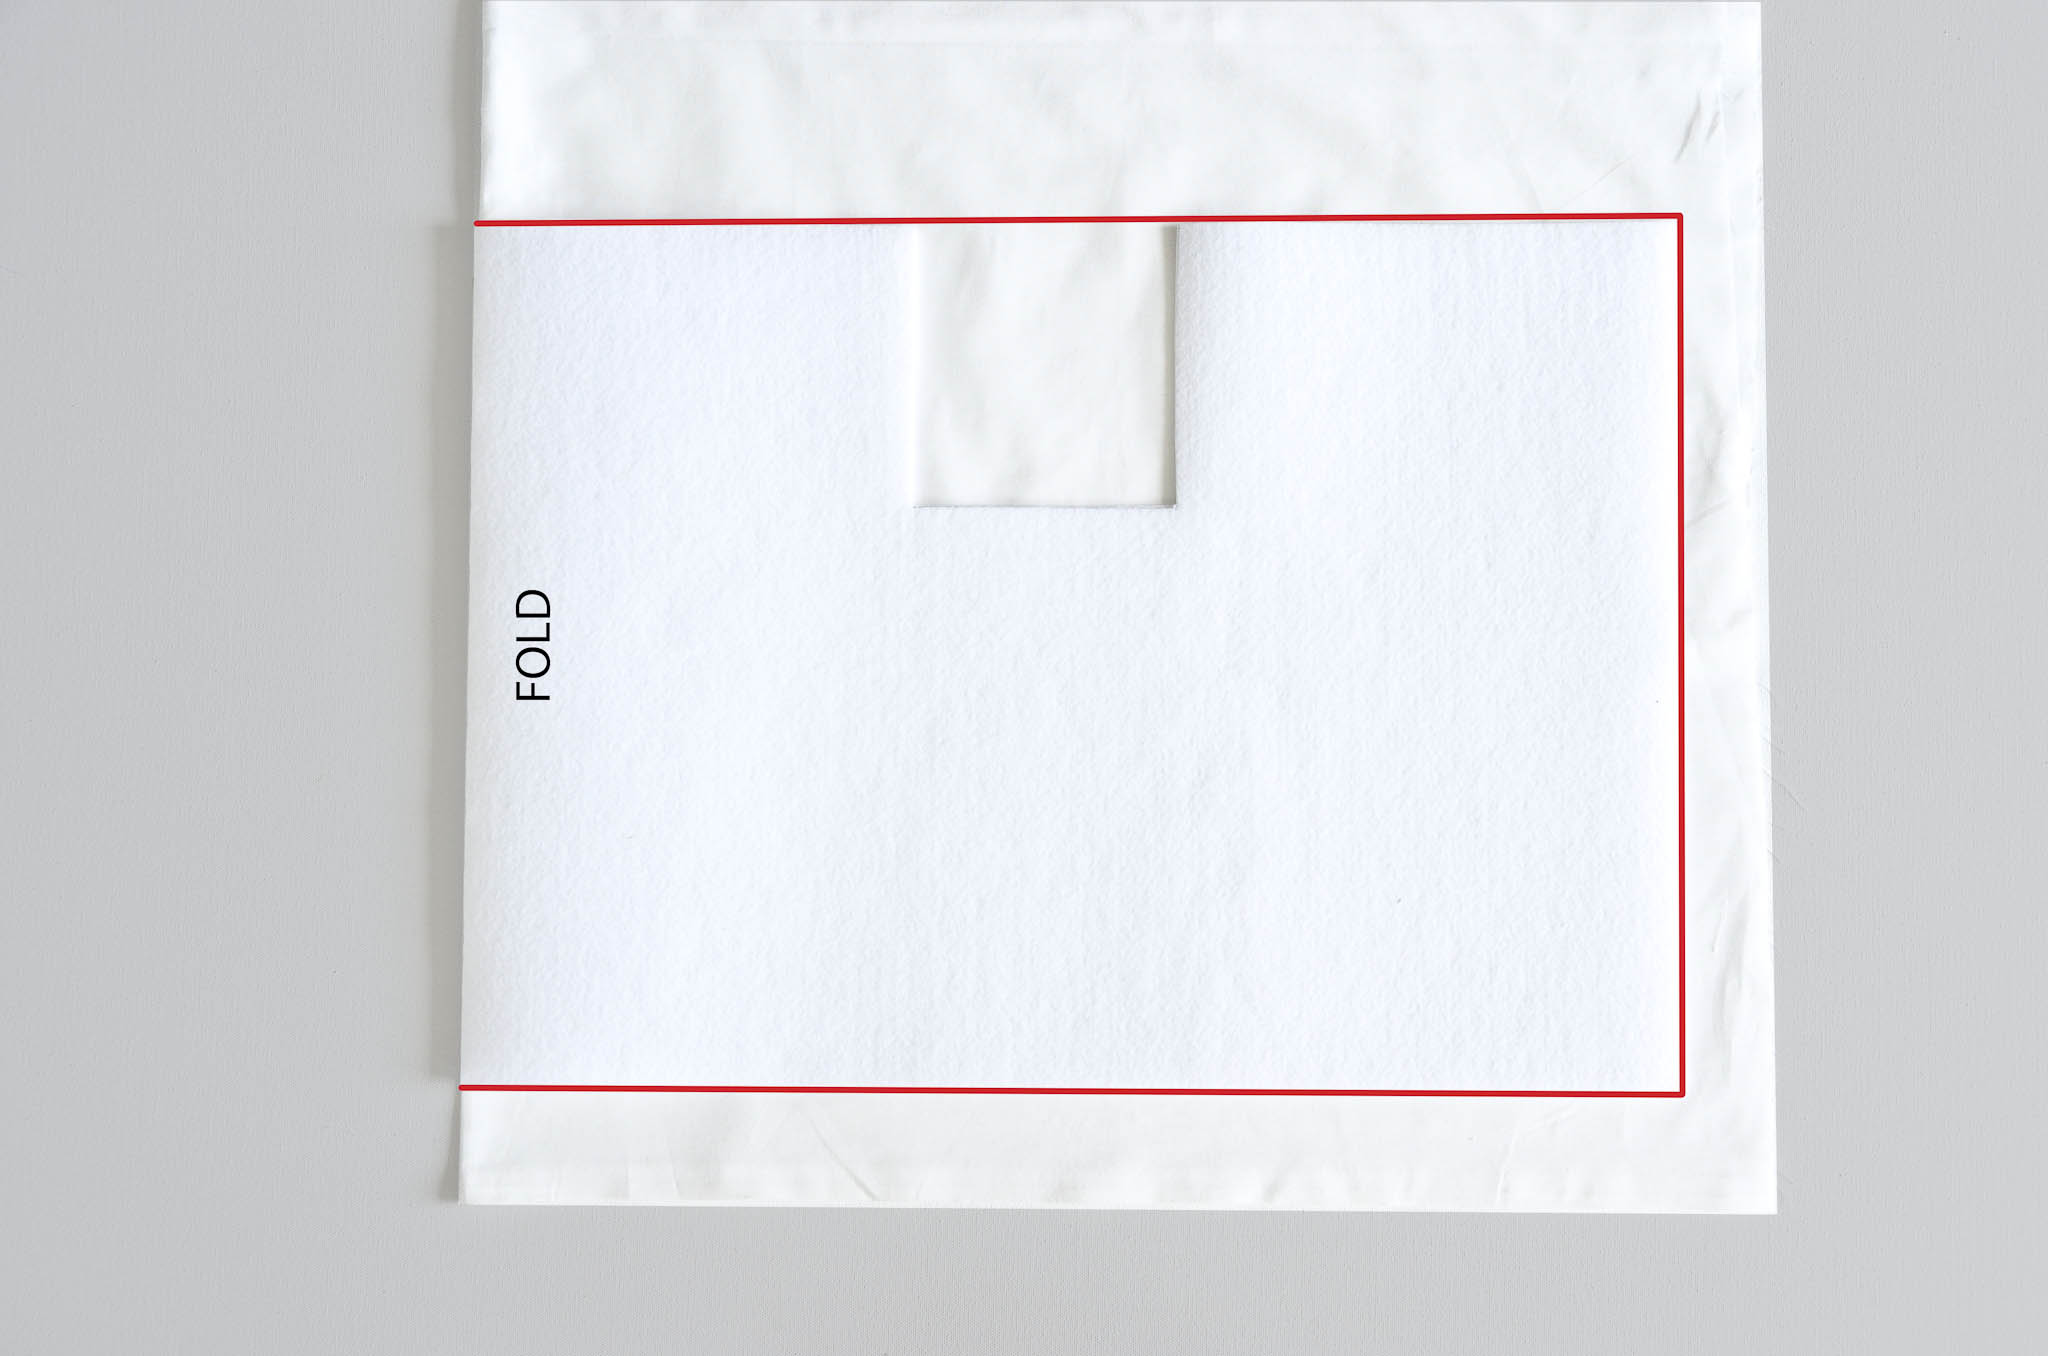
Keeping everything folded and aligned, add 1/2″ to the inside of the handle. Mark and cut out this smaller opening on the muslin.
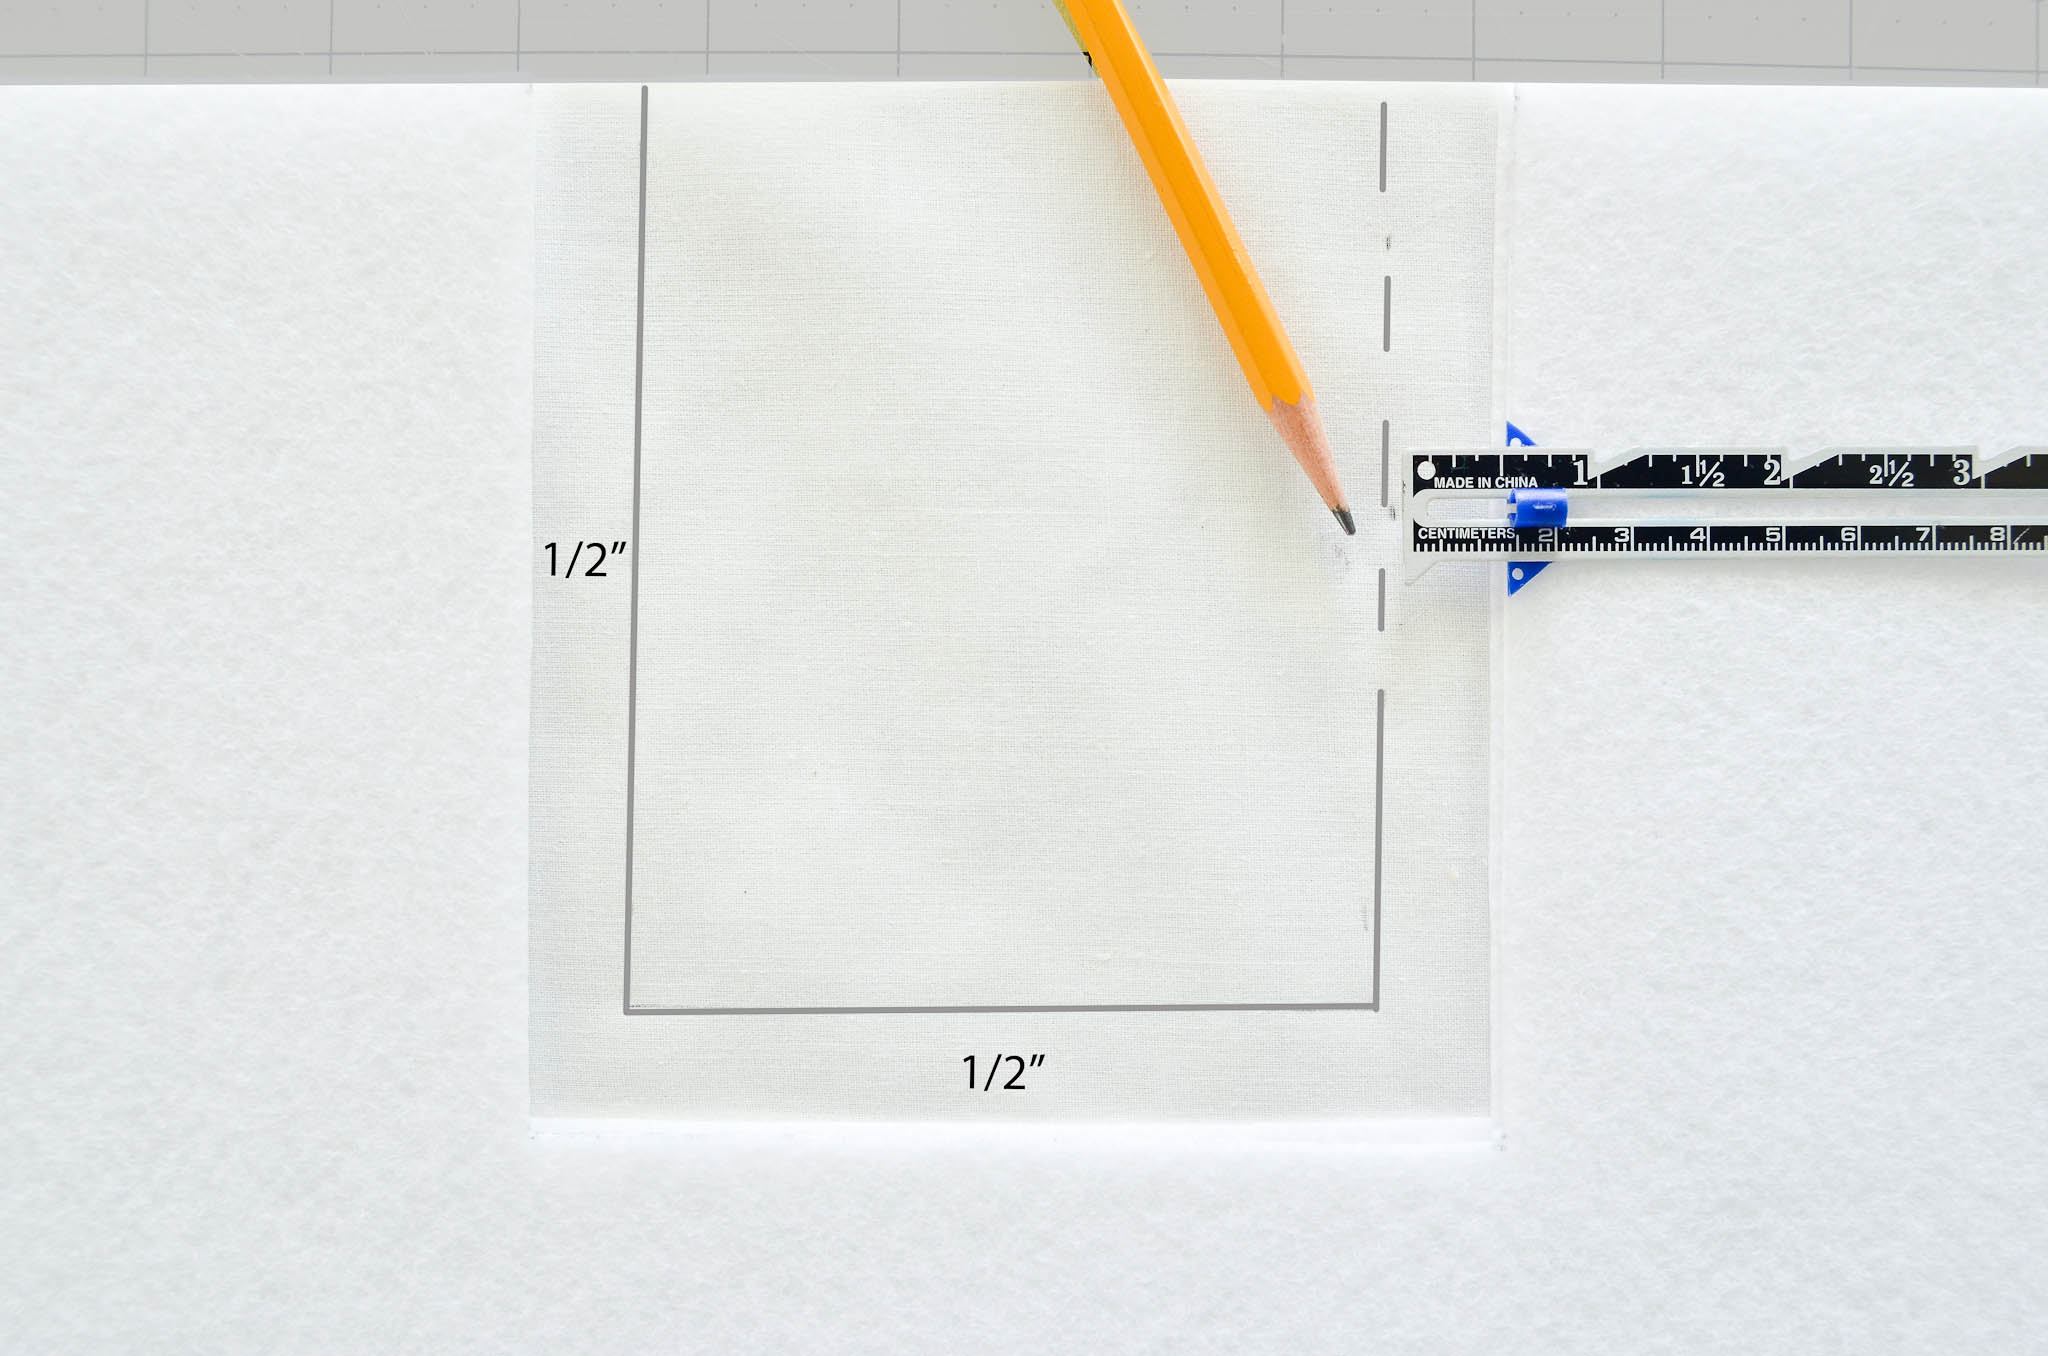
Then cut the corners of the muslin diagonally to the corners of the stabilizer.
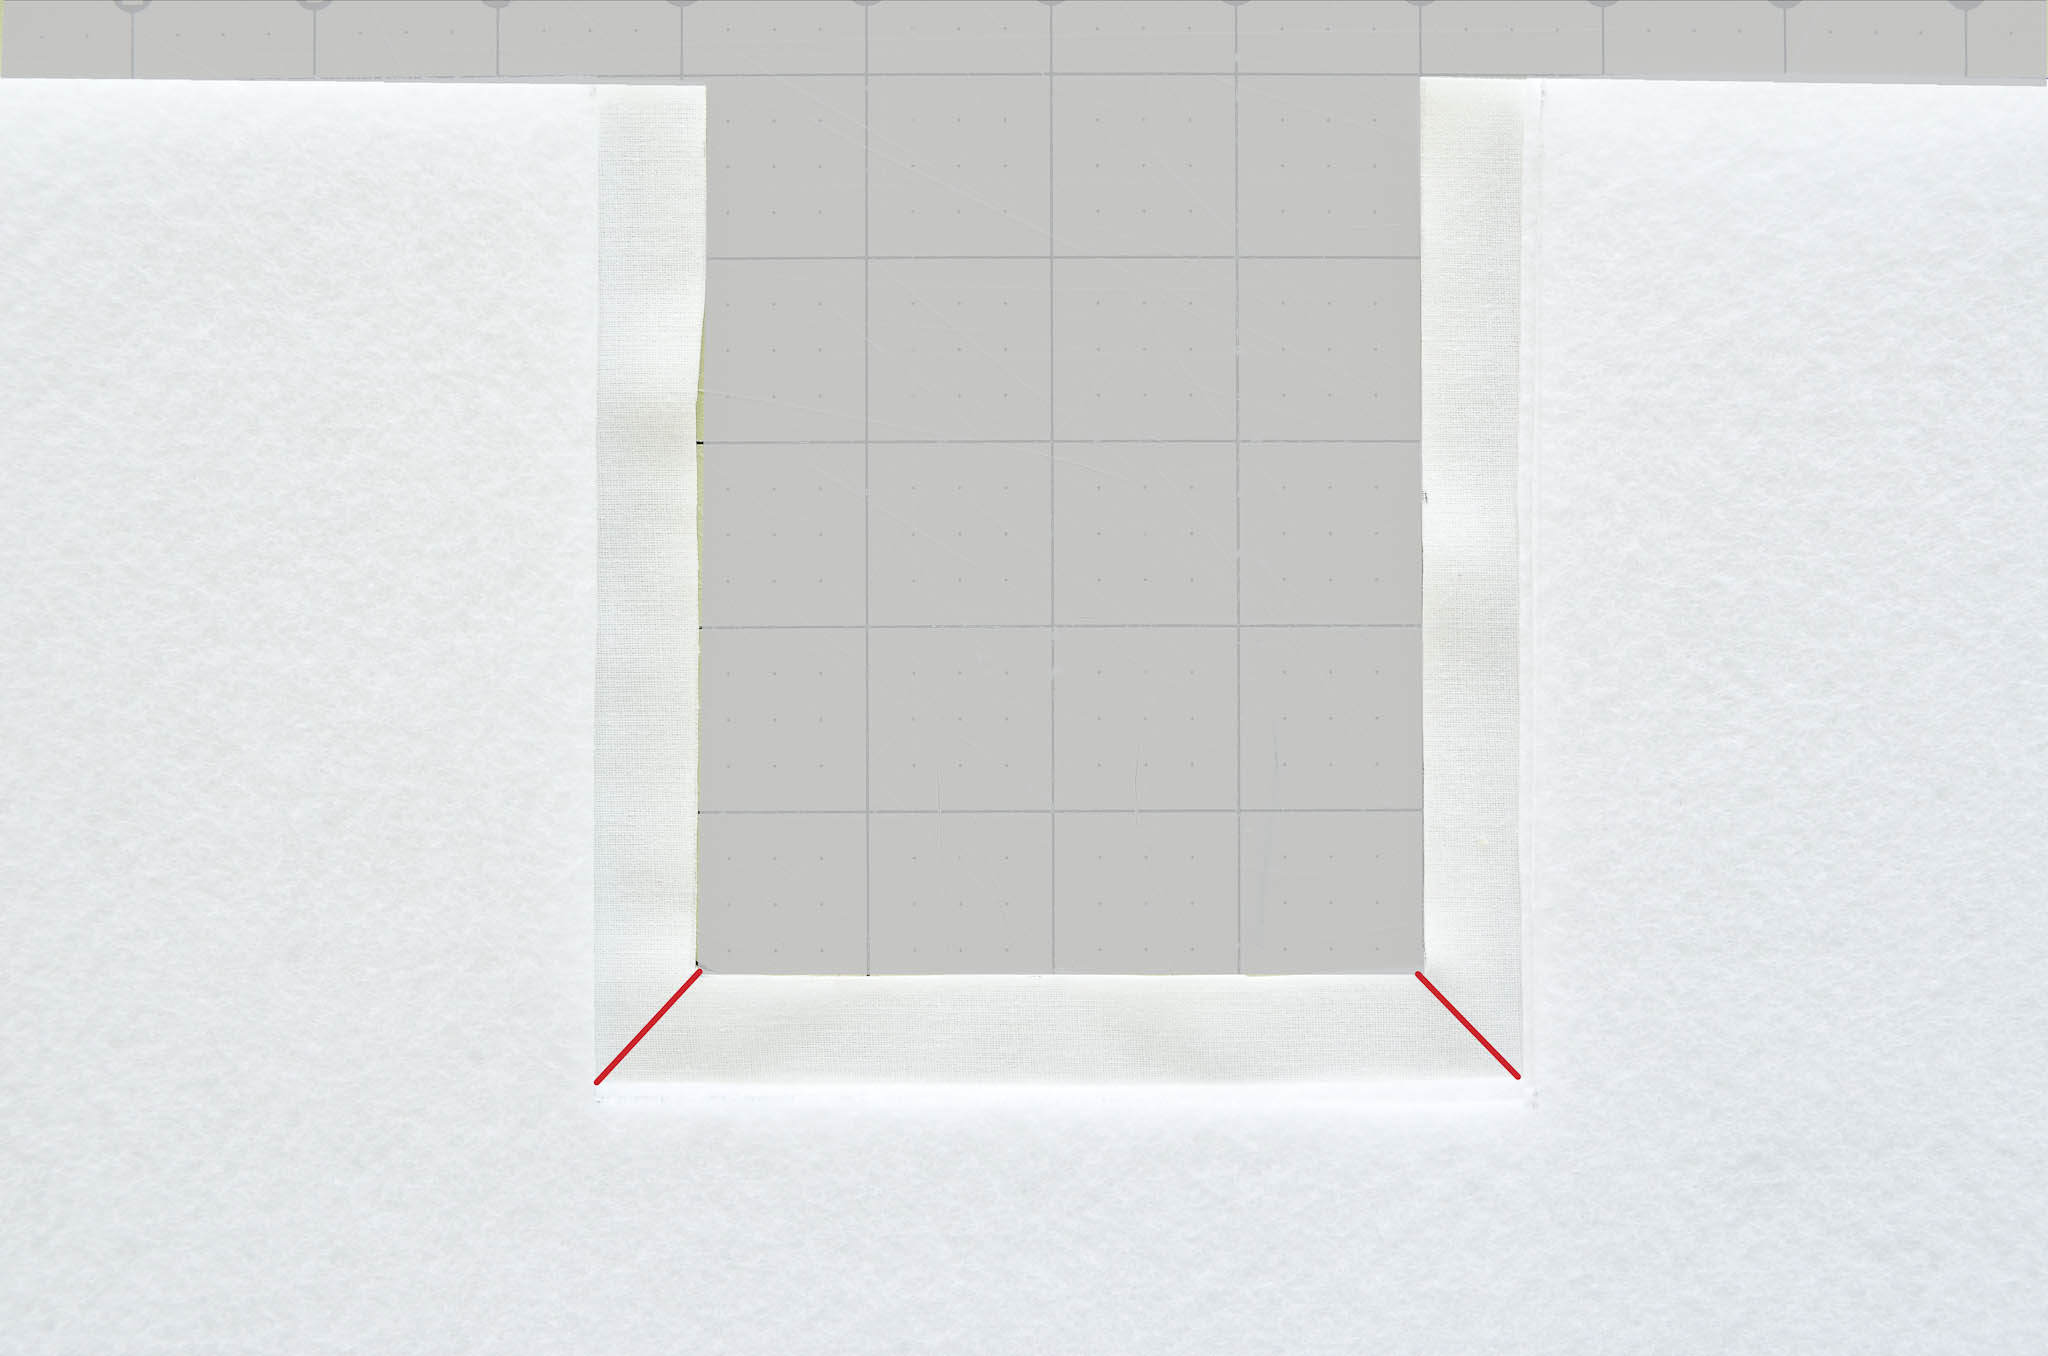
Remove the stabilizer template and set it aside. Open up the folded muslin and use a hot iron to press open the handle flaps you just created. With white thread, run a small zigzag stitch along the edges of the opening to keep the flaps down. Repeat on the other handle opening.
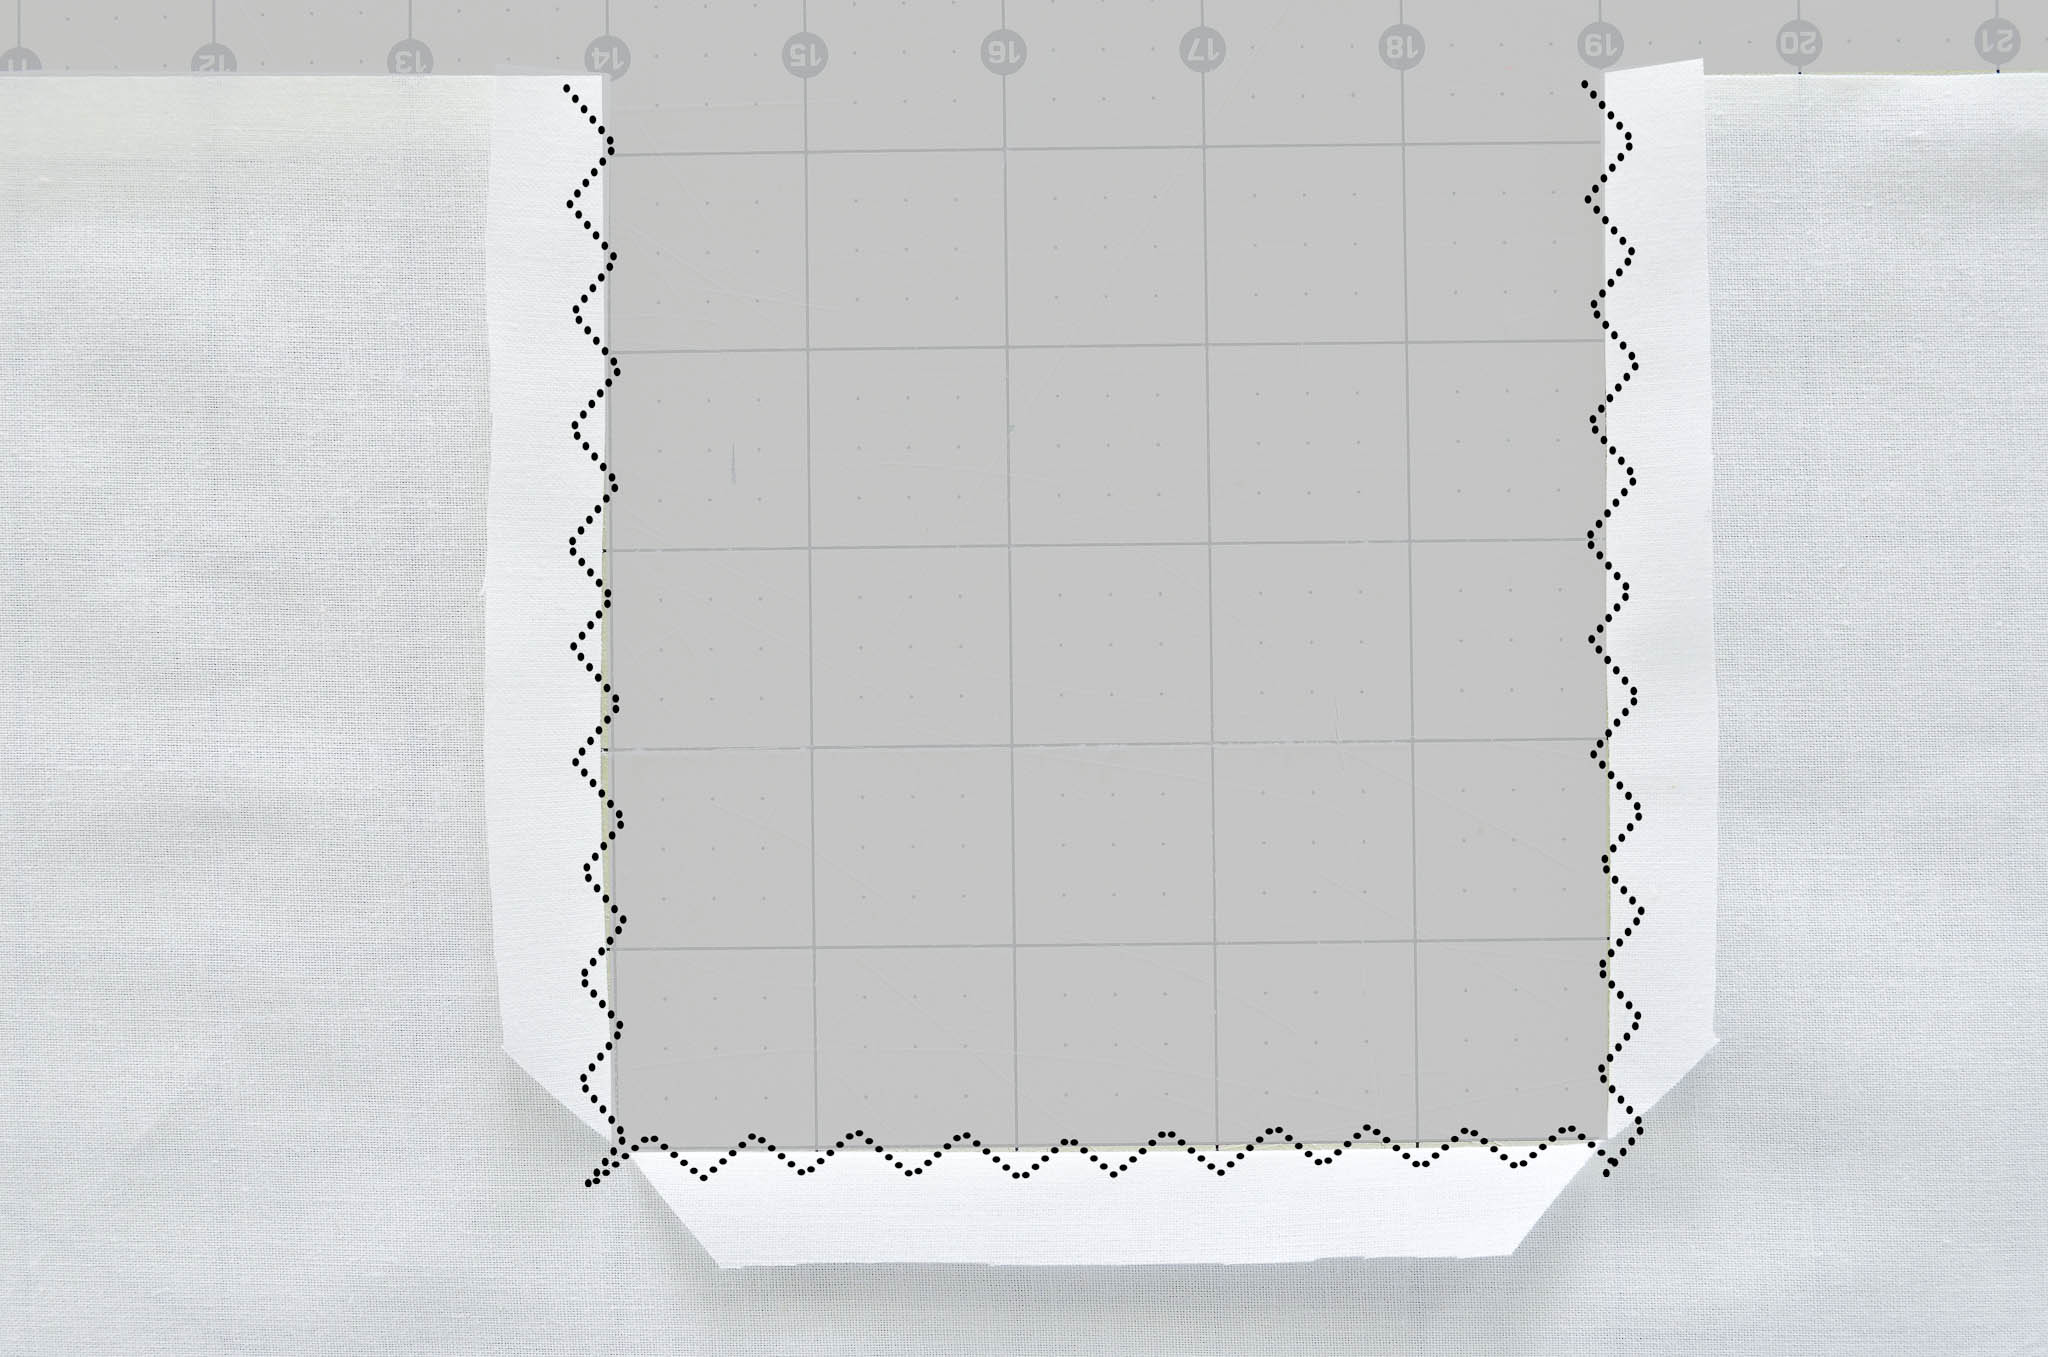
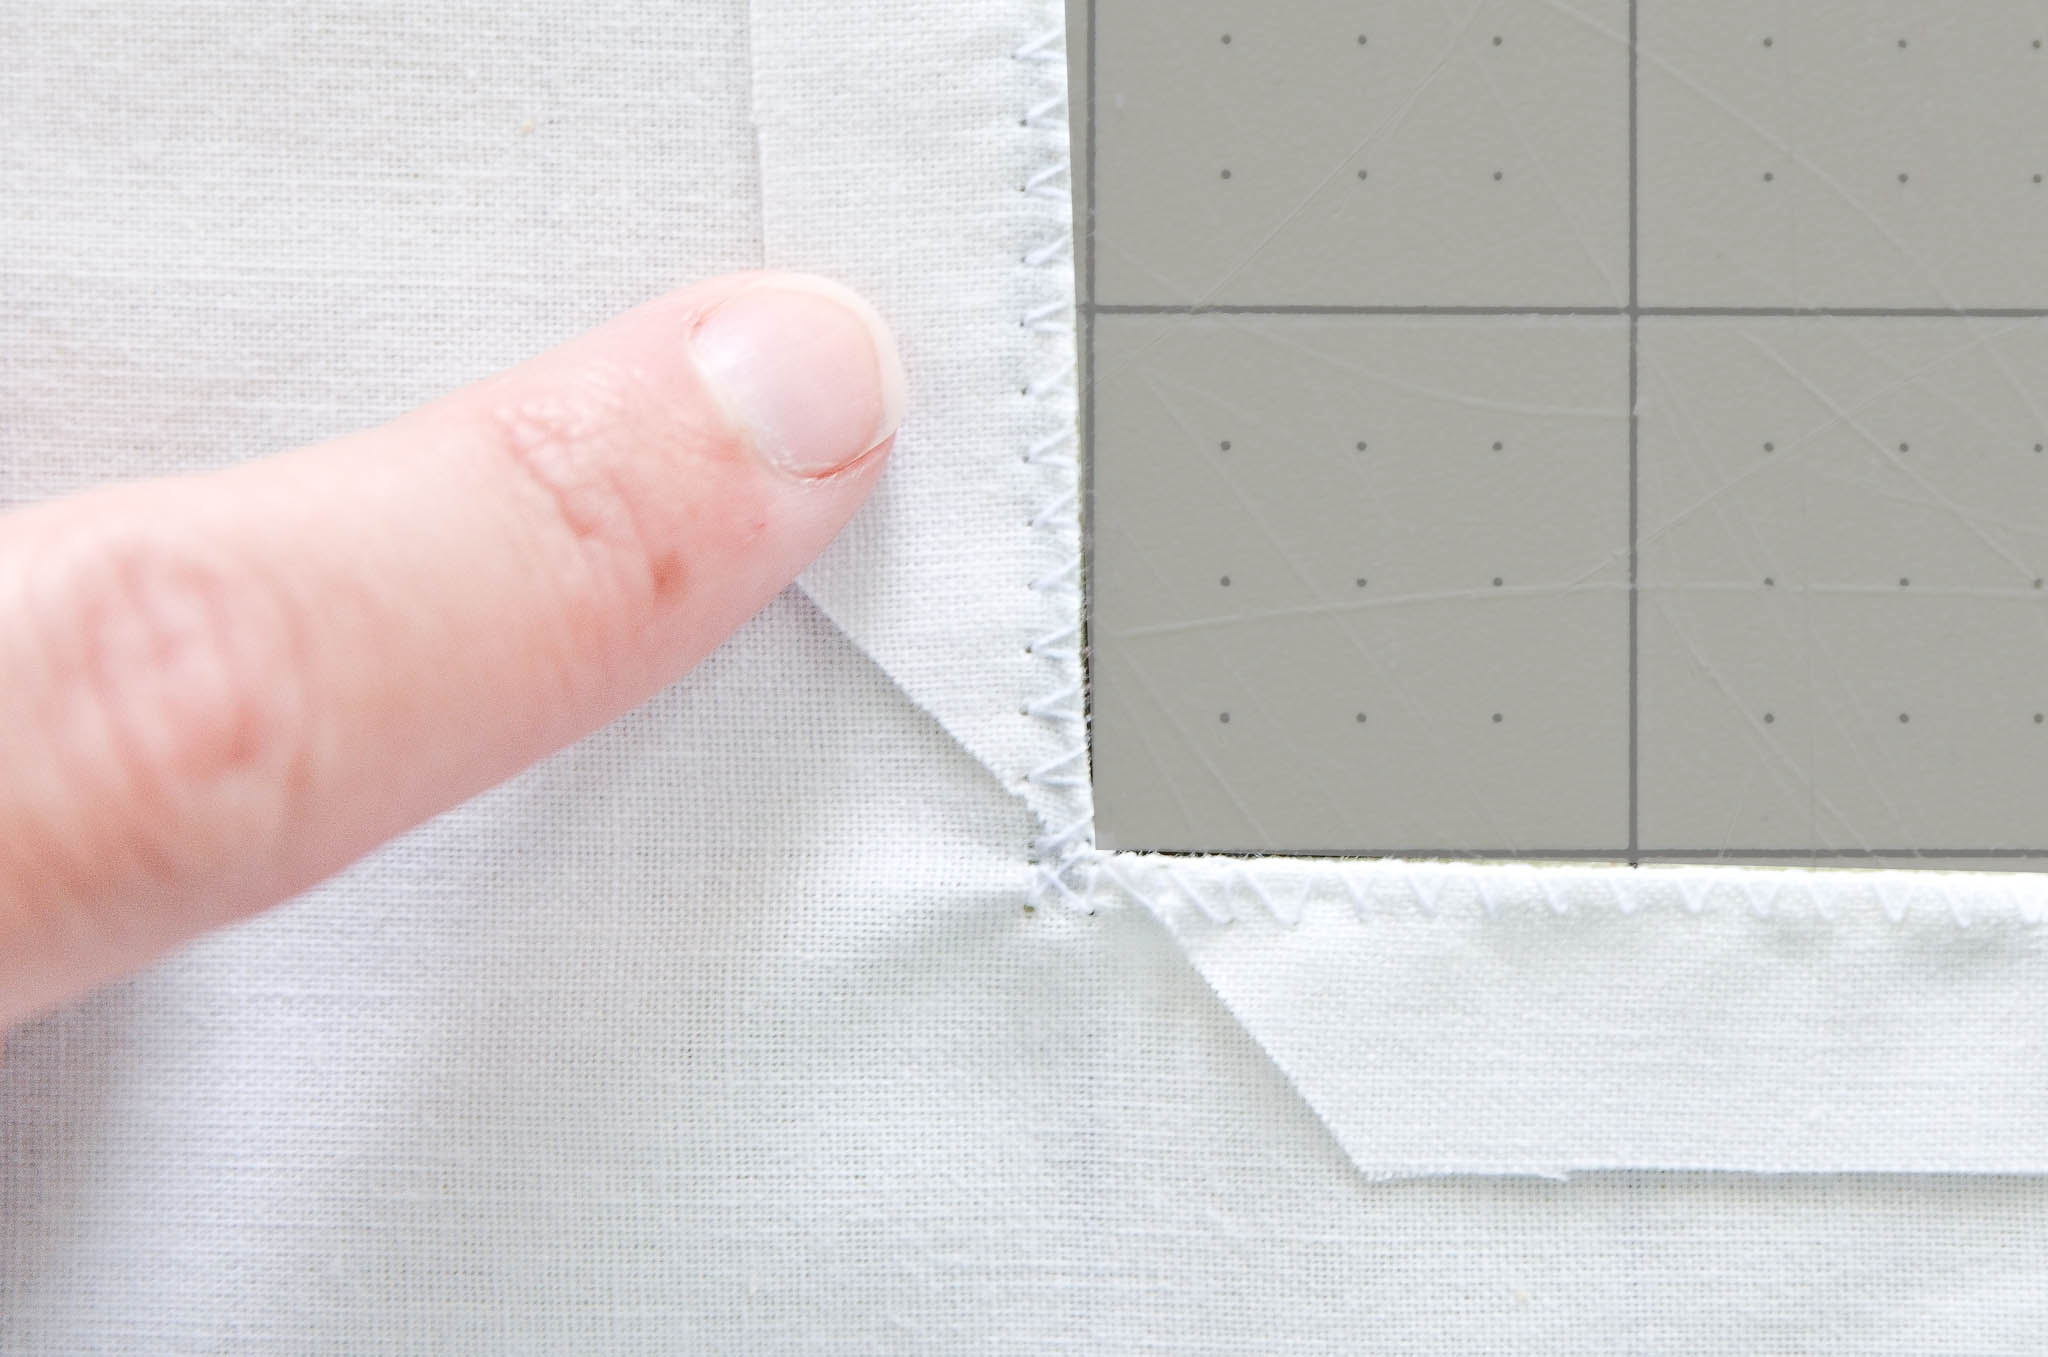
Fold the muslin piece in half again, with the handle flaps to the outside. Sew the non-folded short side closed.
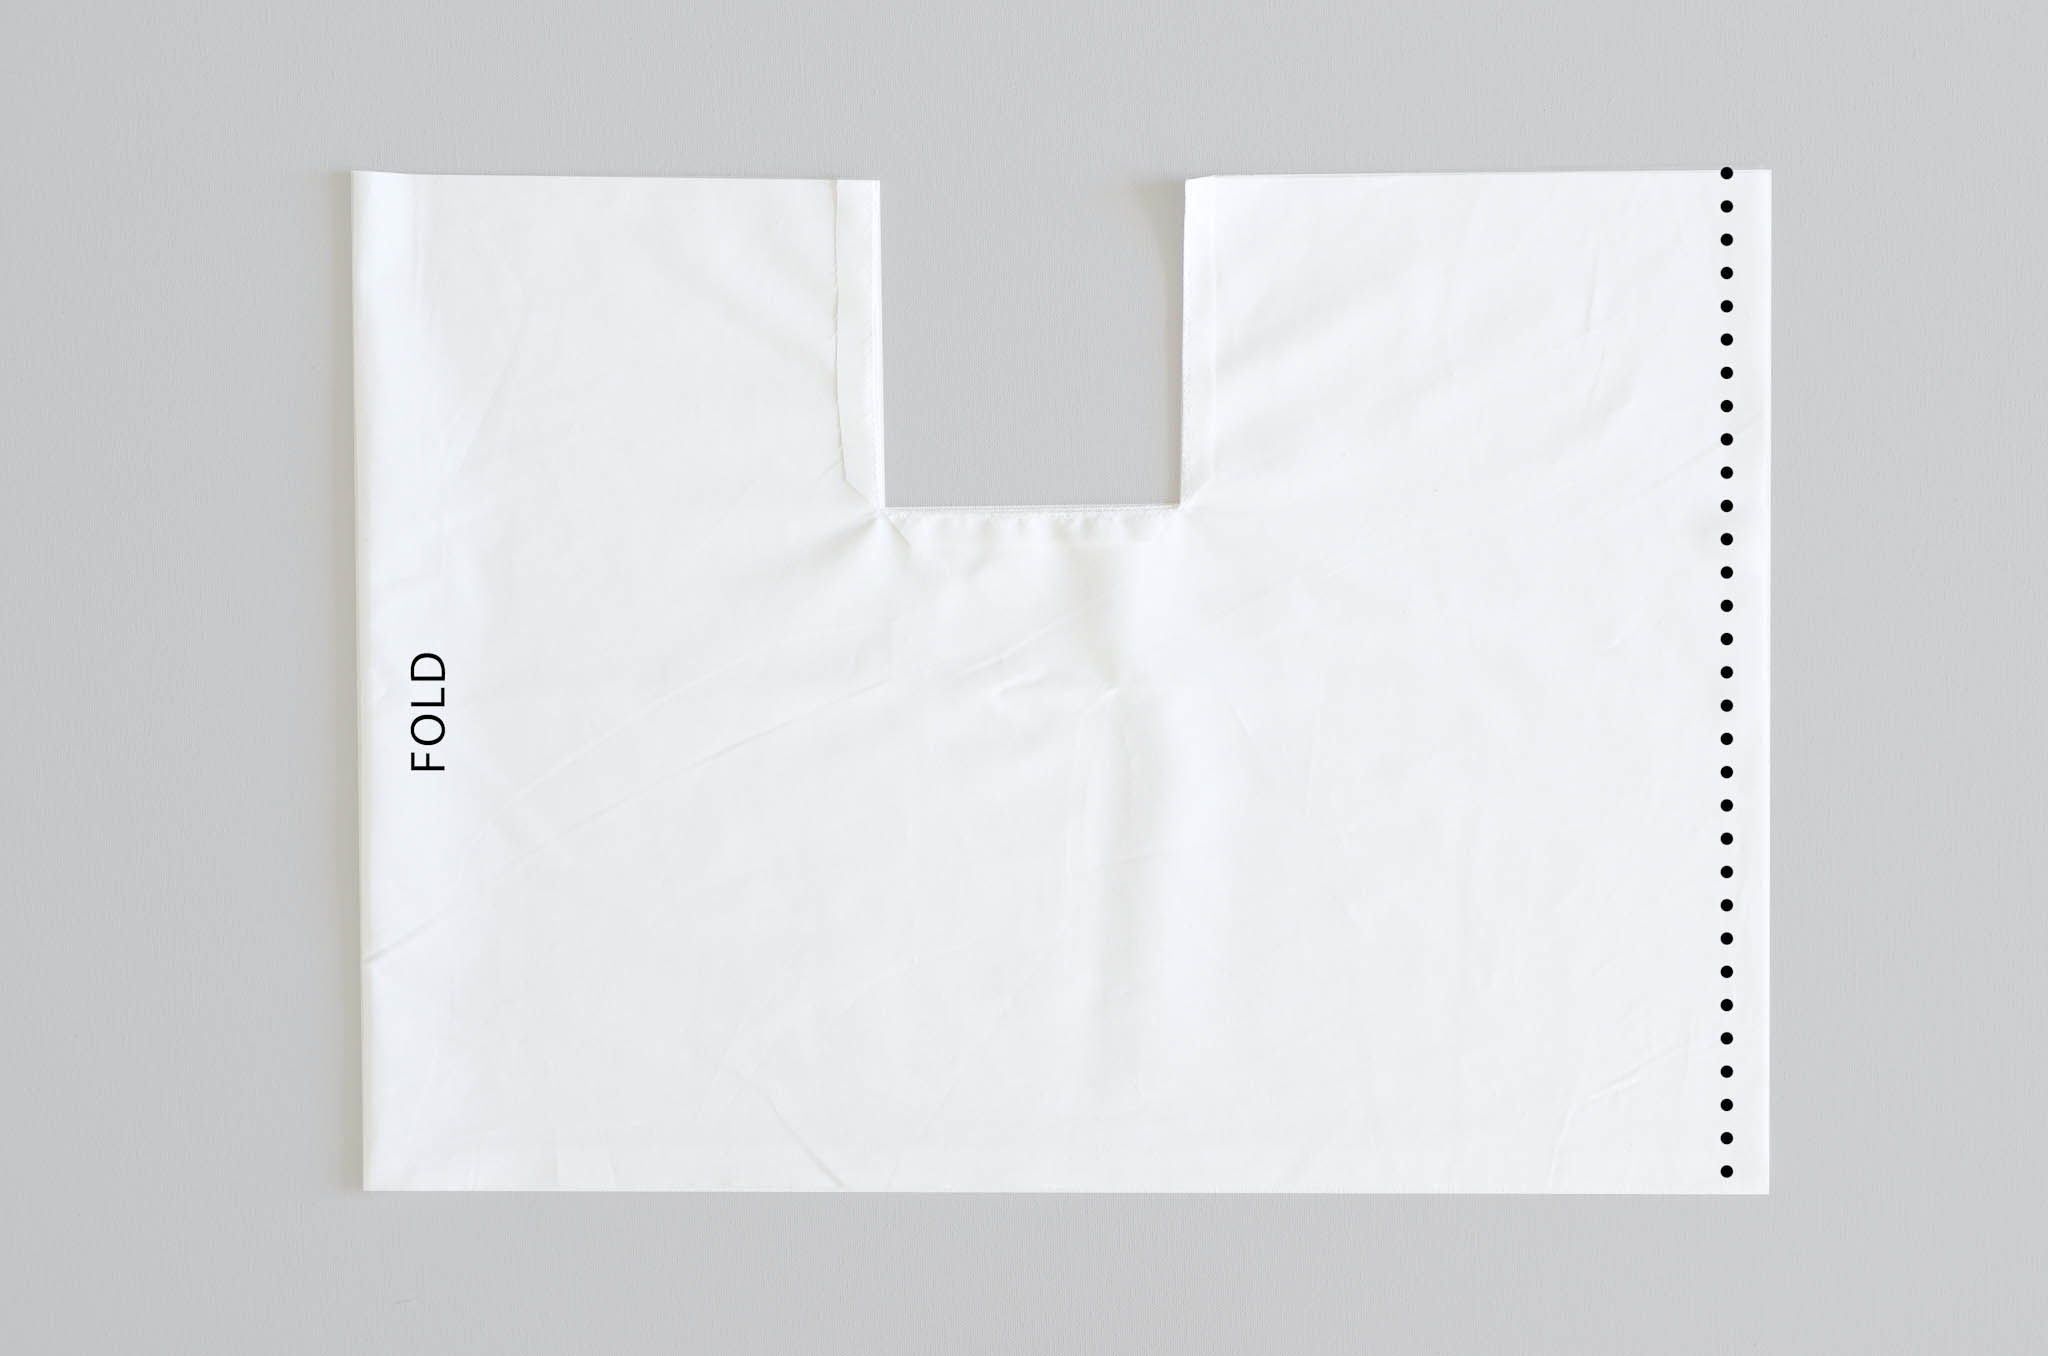
Iron the seam open.
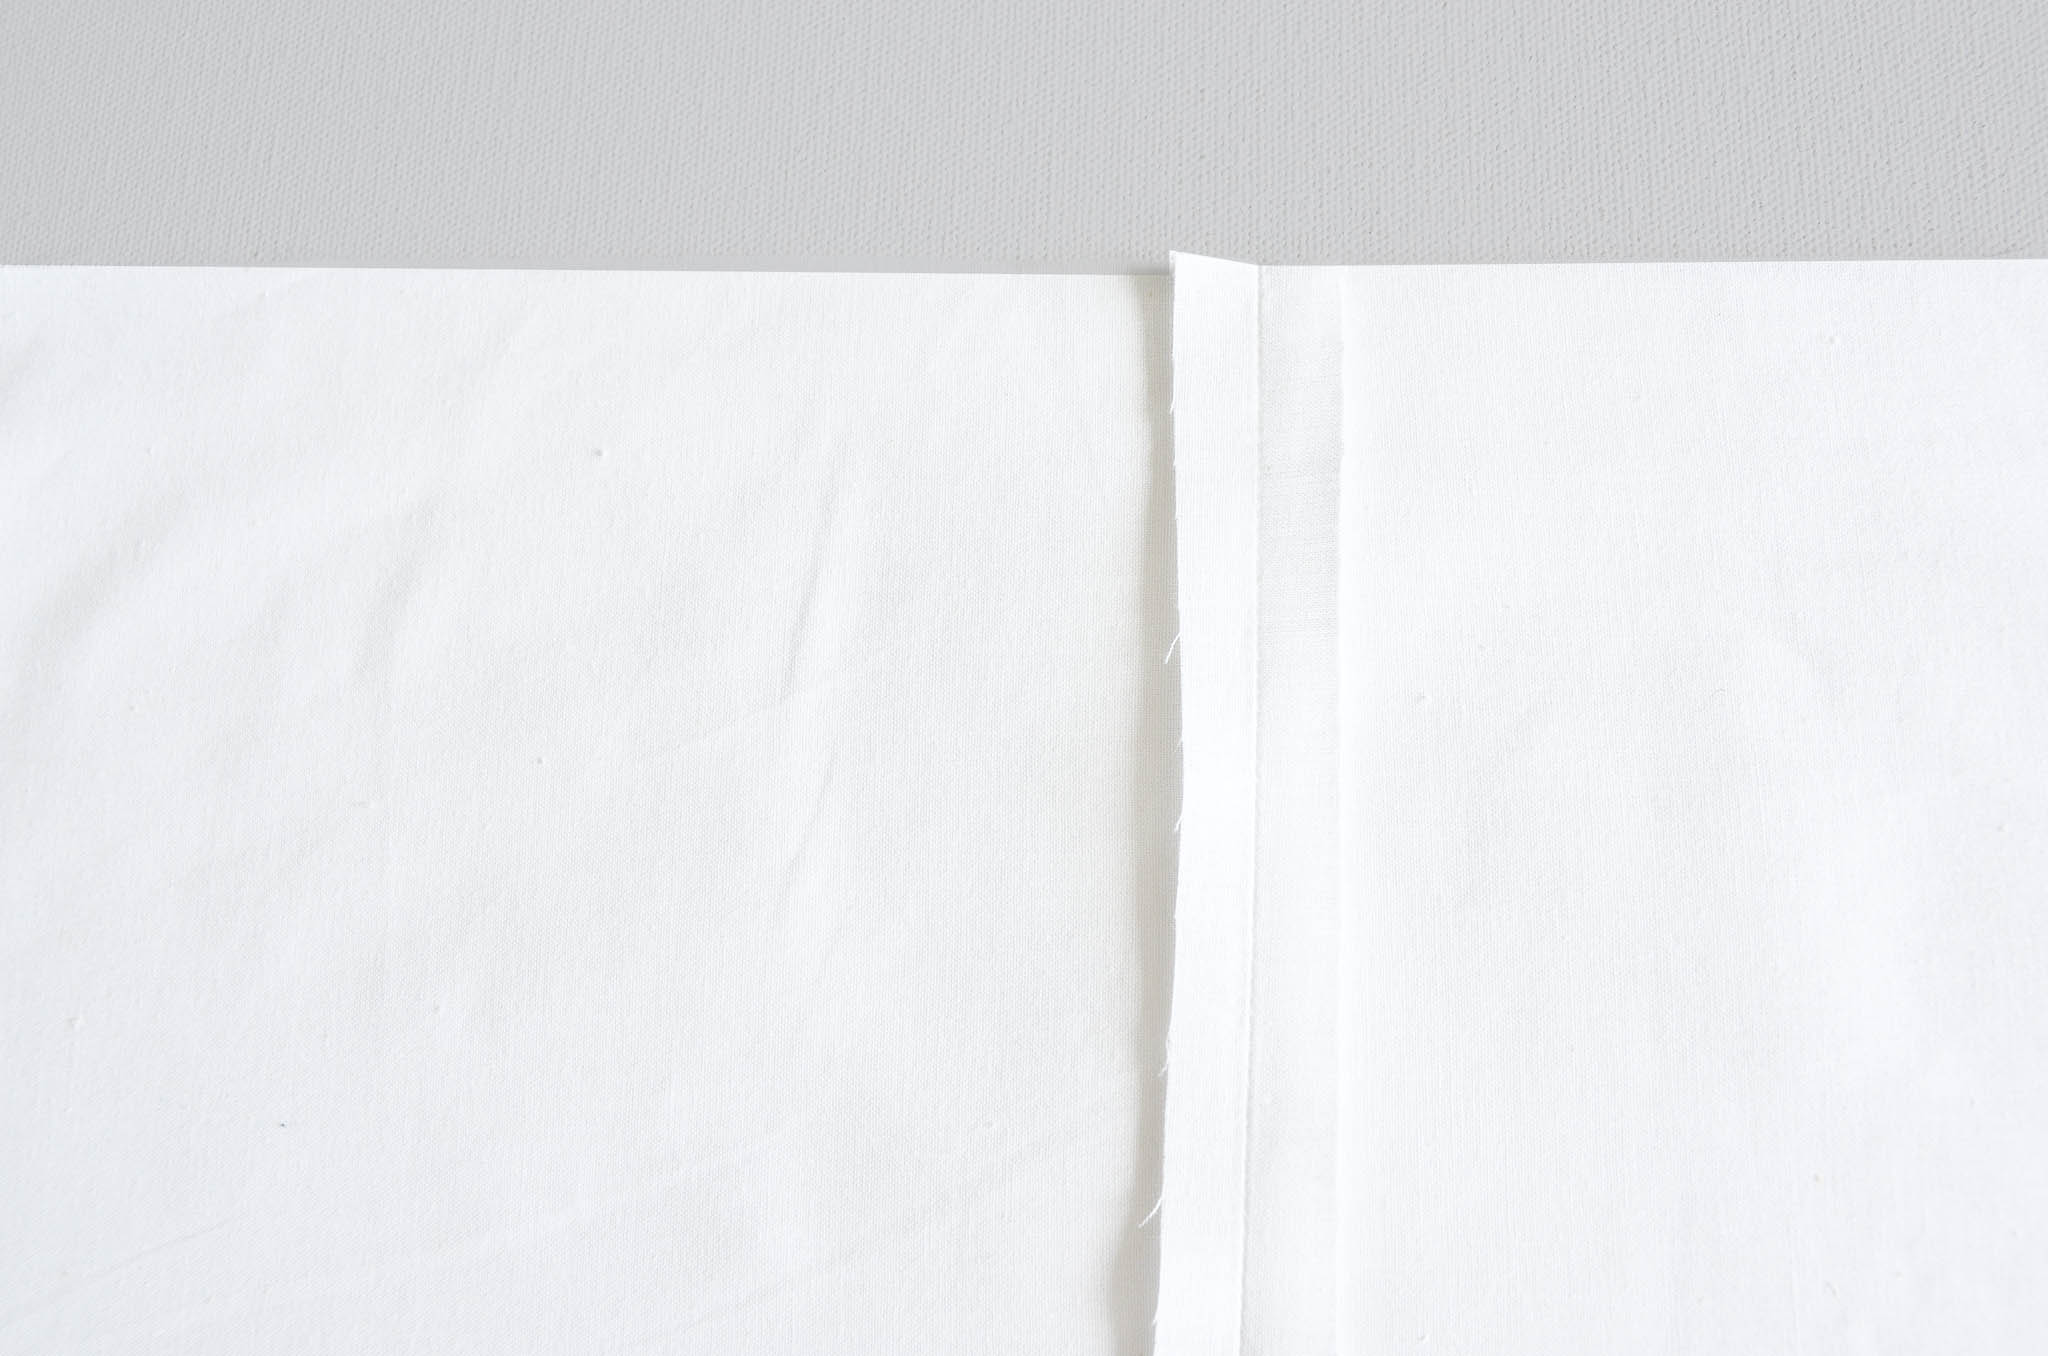
Now we need to mark four points of equal distance along the bottom edge of our muslin. With the muslin piece folded as before, mark the folded crease that’s opposite your seam with your pencil.
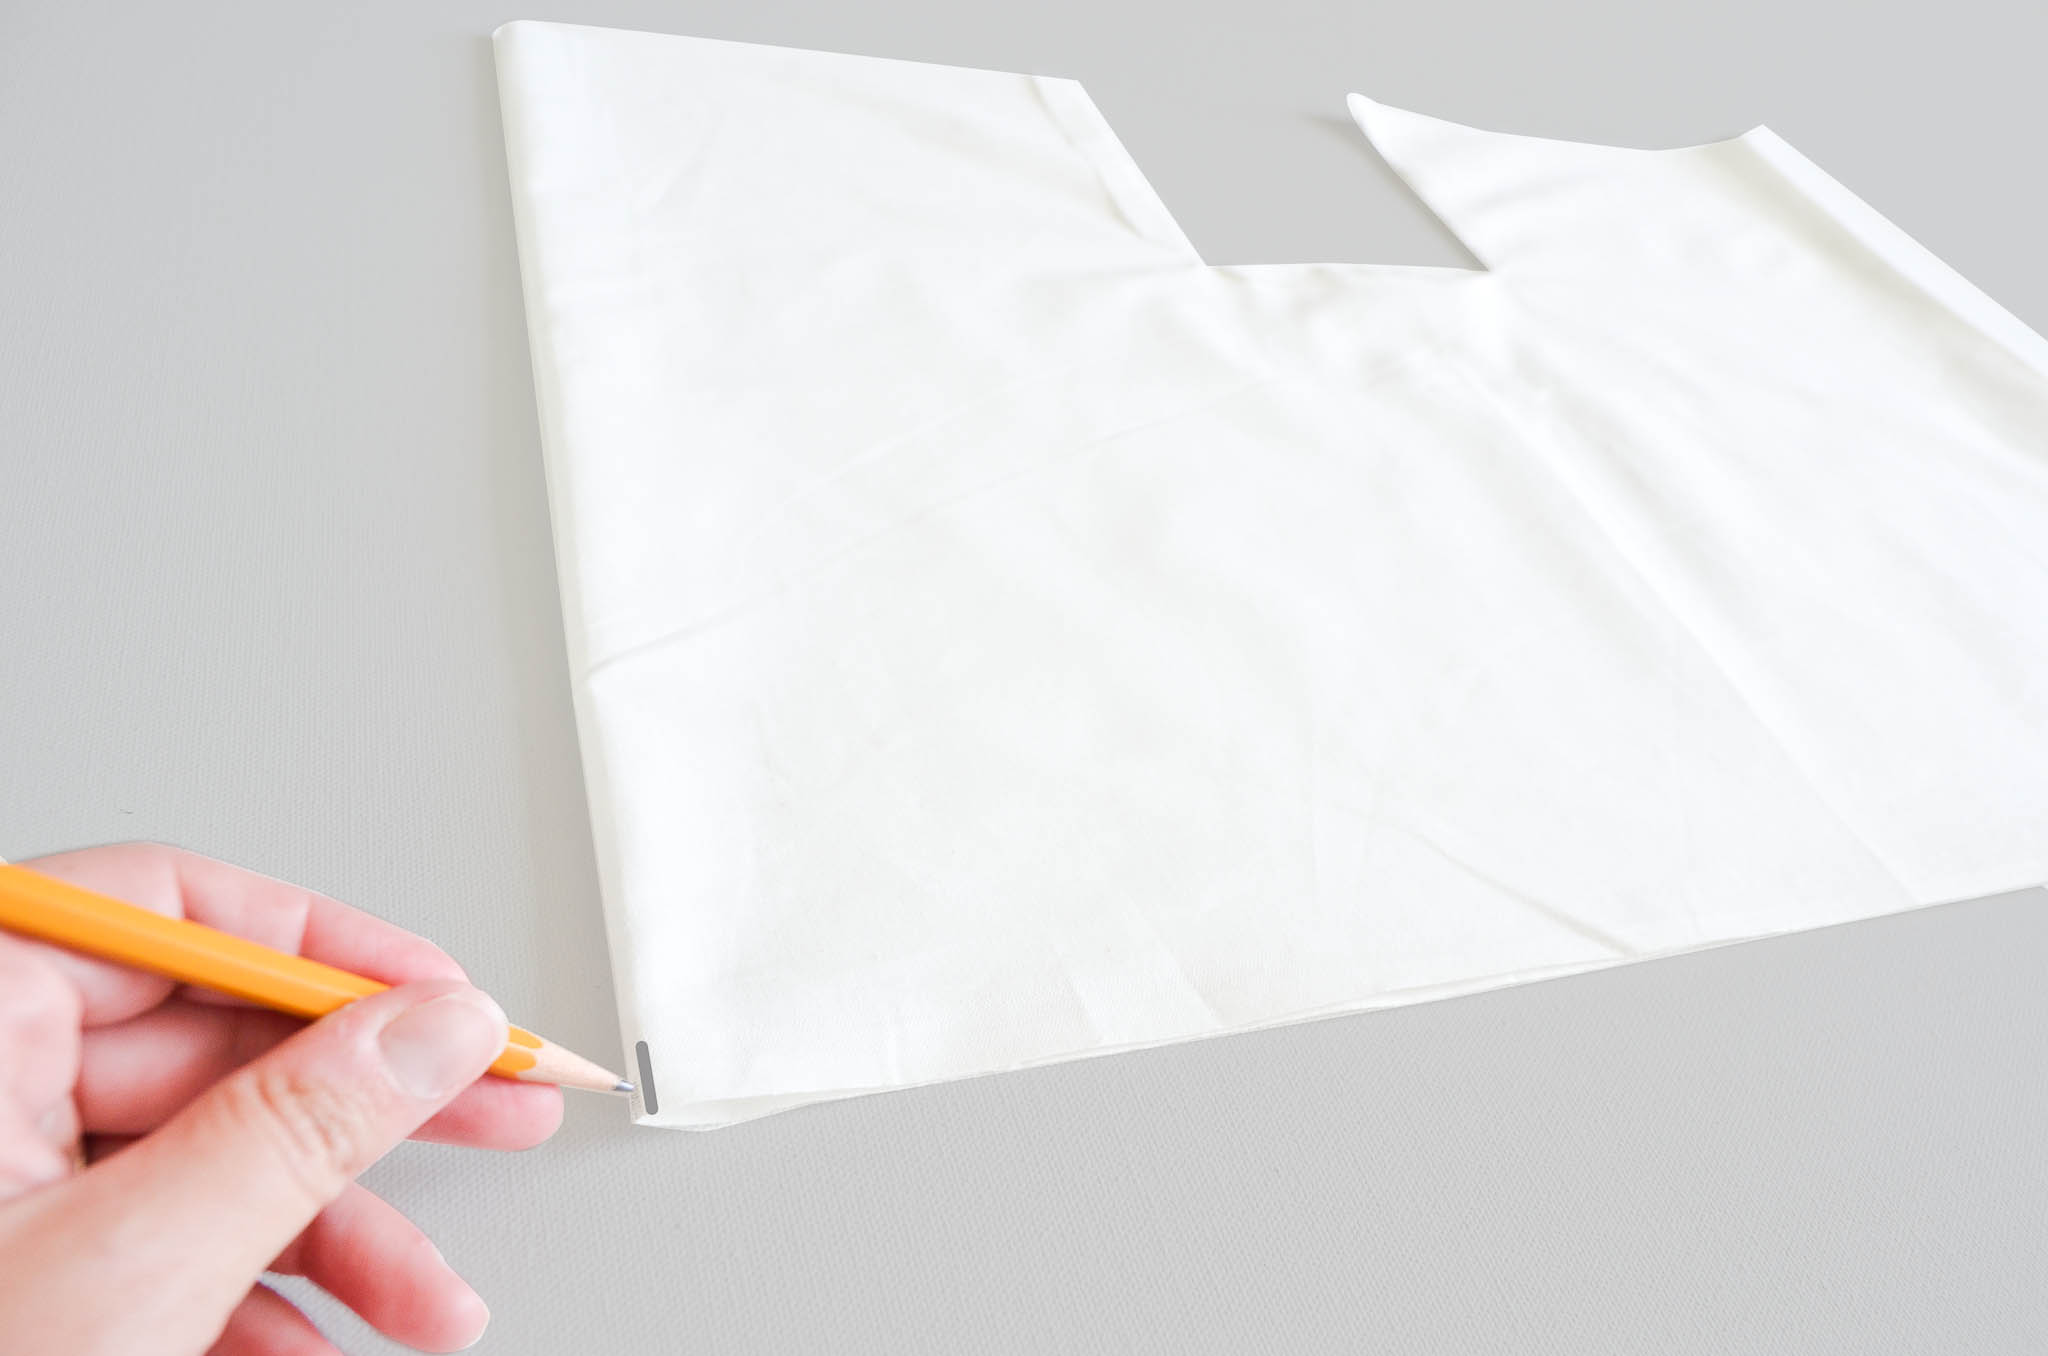
Match your pencil mark with the seam you just sewed. This should fold the muslin in half the opposite way.
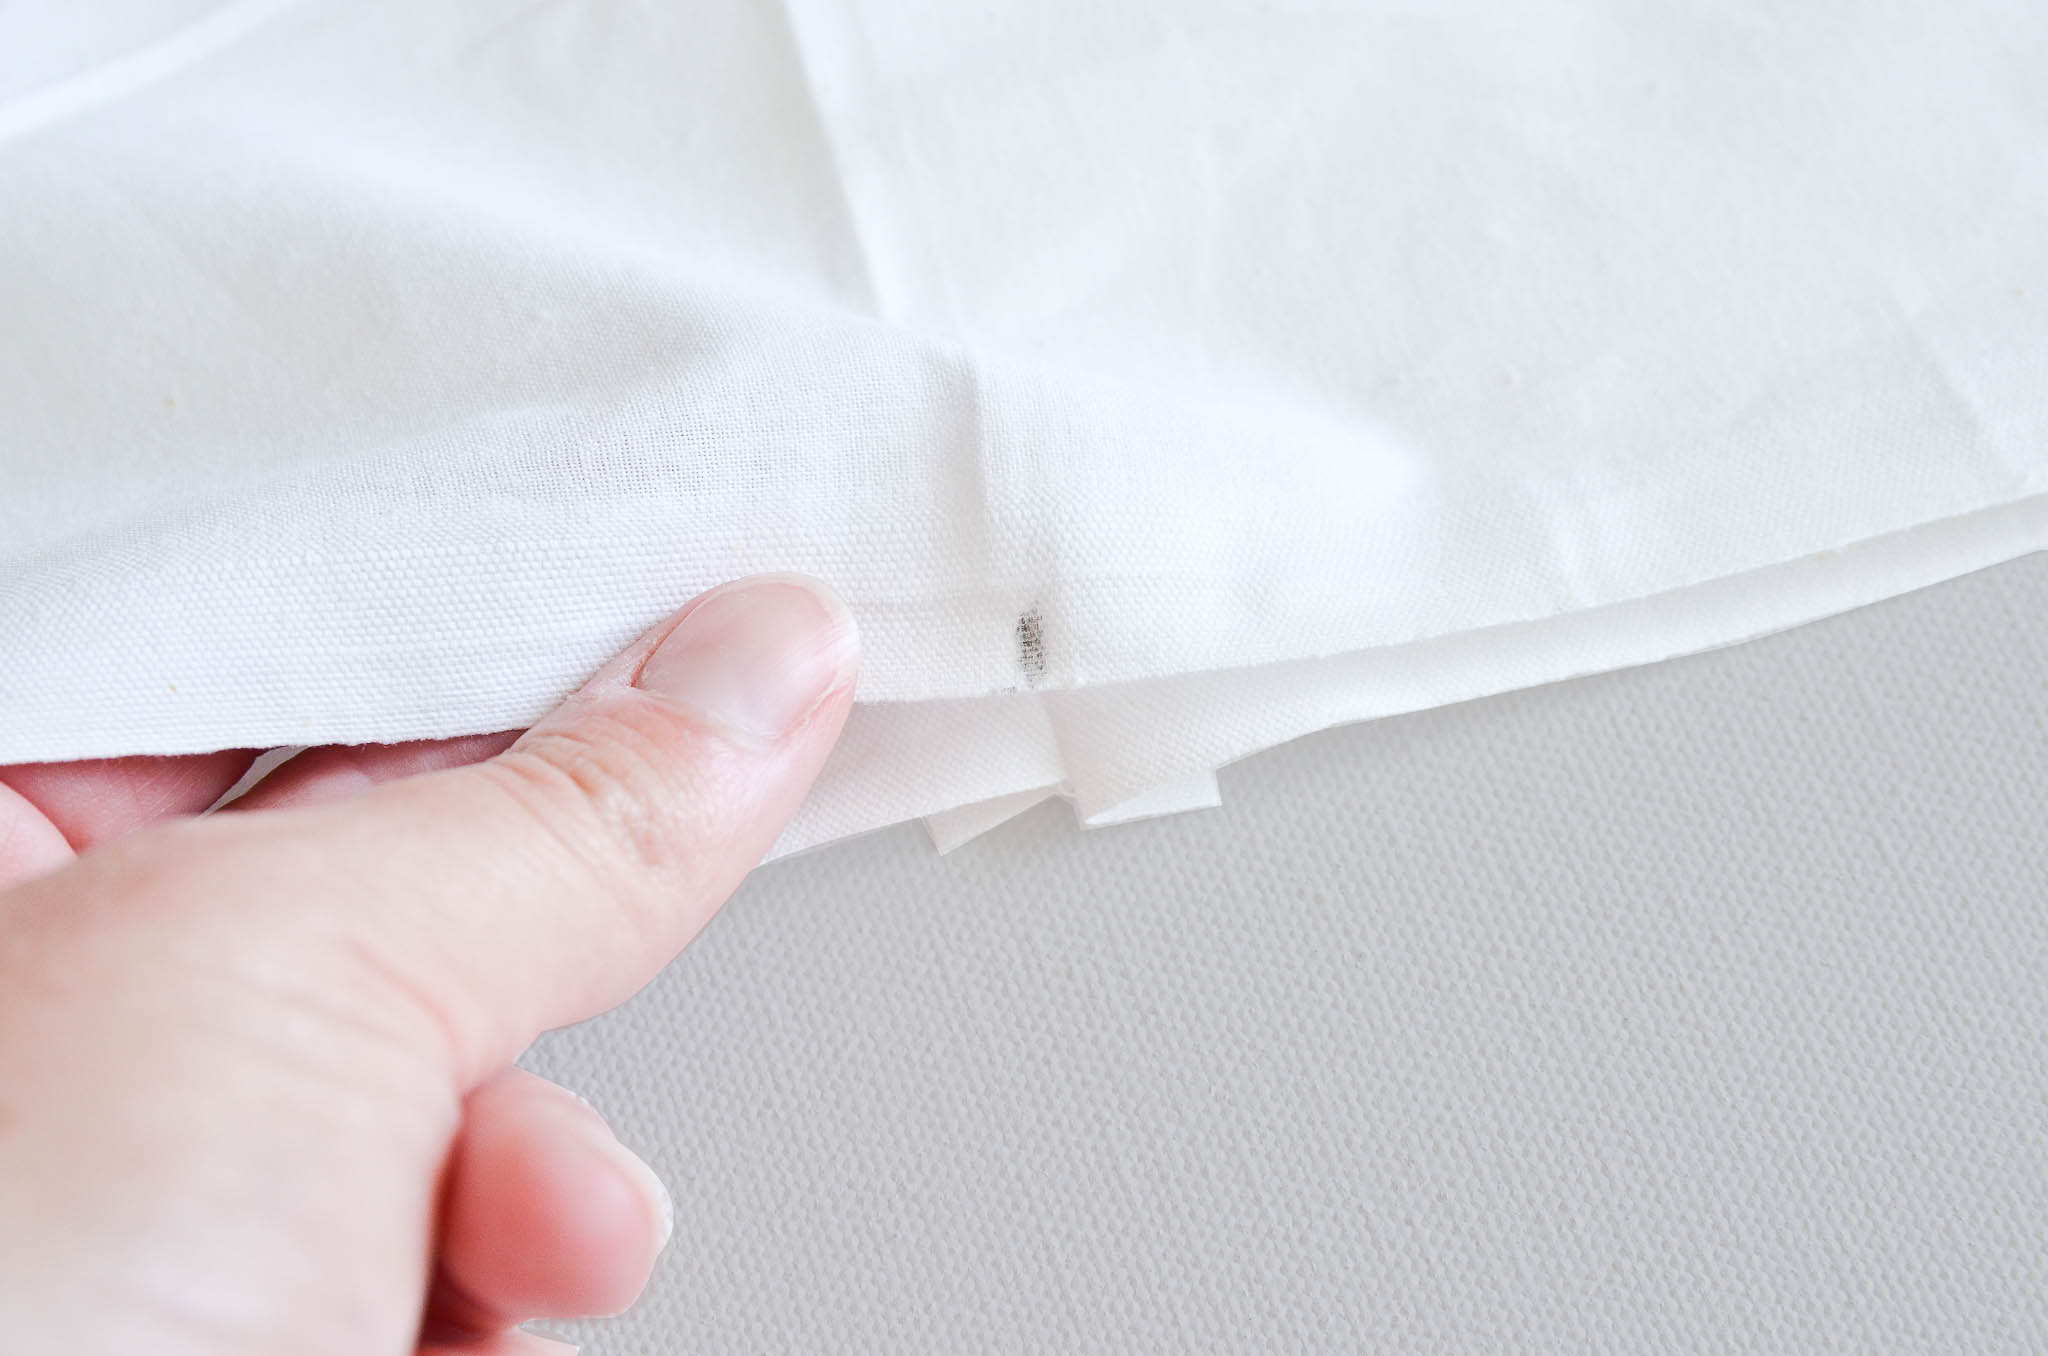
Mark the two new side creases with your pencil to get four equal points (the three pencil marks and one seam).
Match the four pencil marks on your muslin circle with the marks (and seam) of your muslin lining. Pin together.
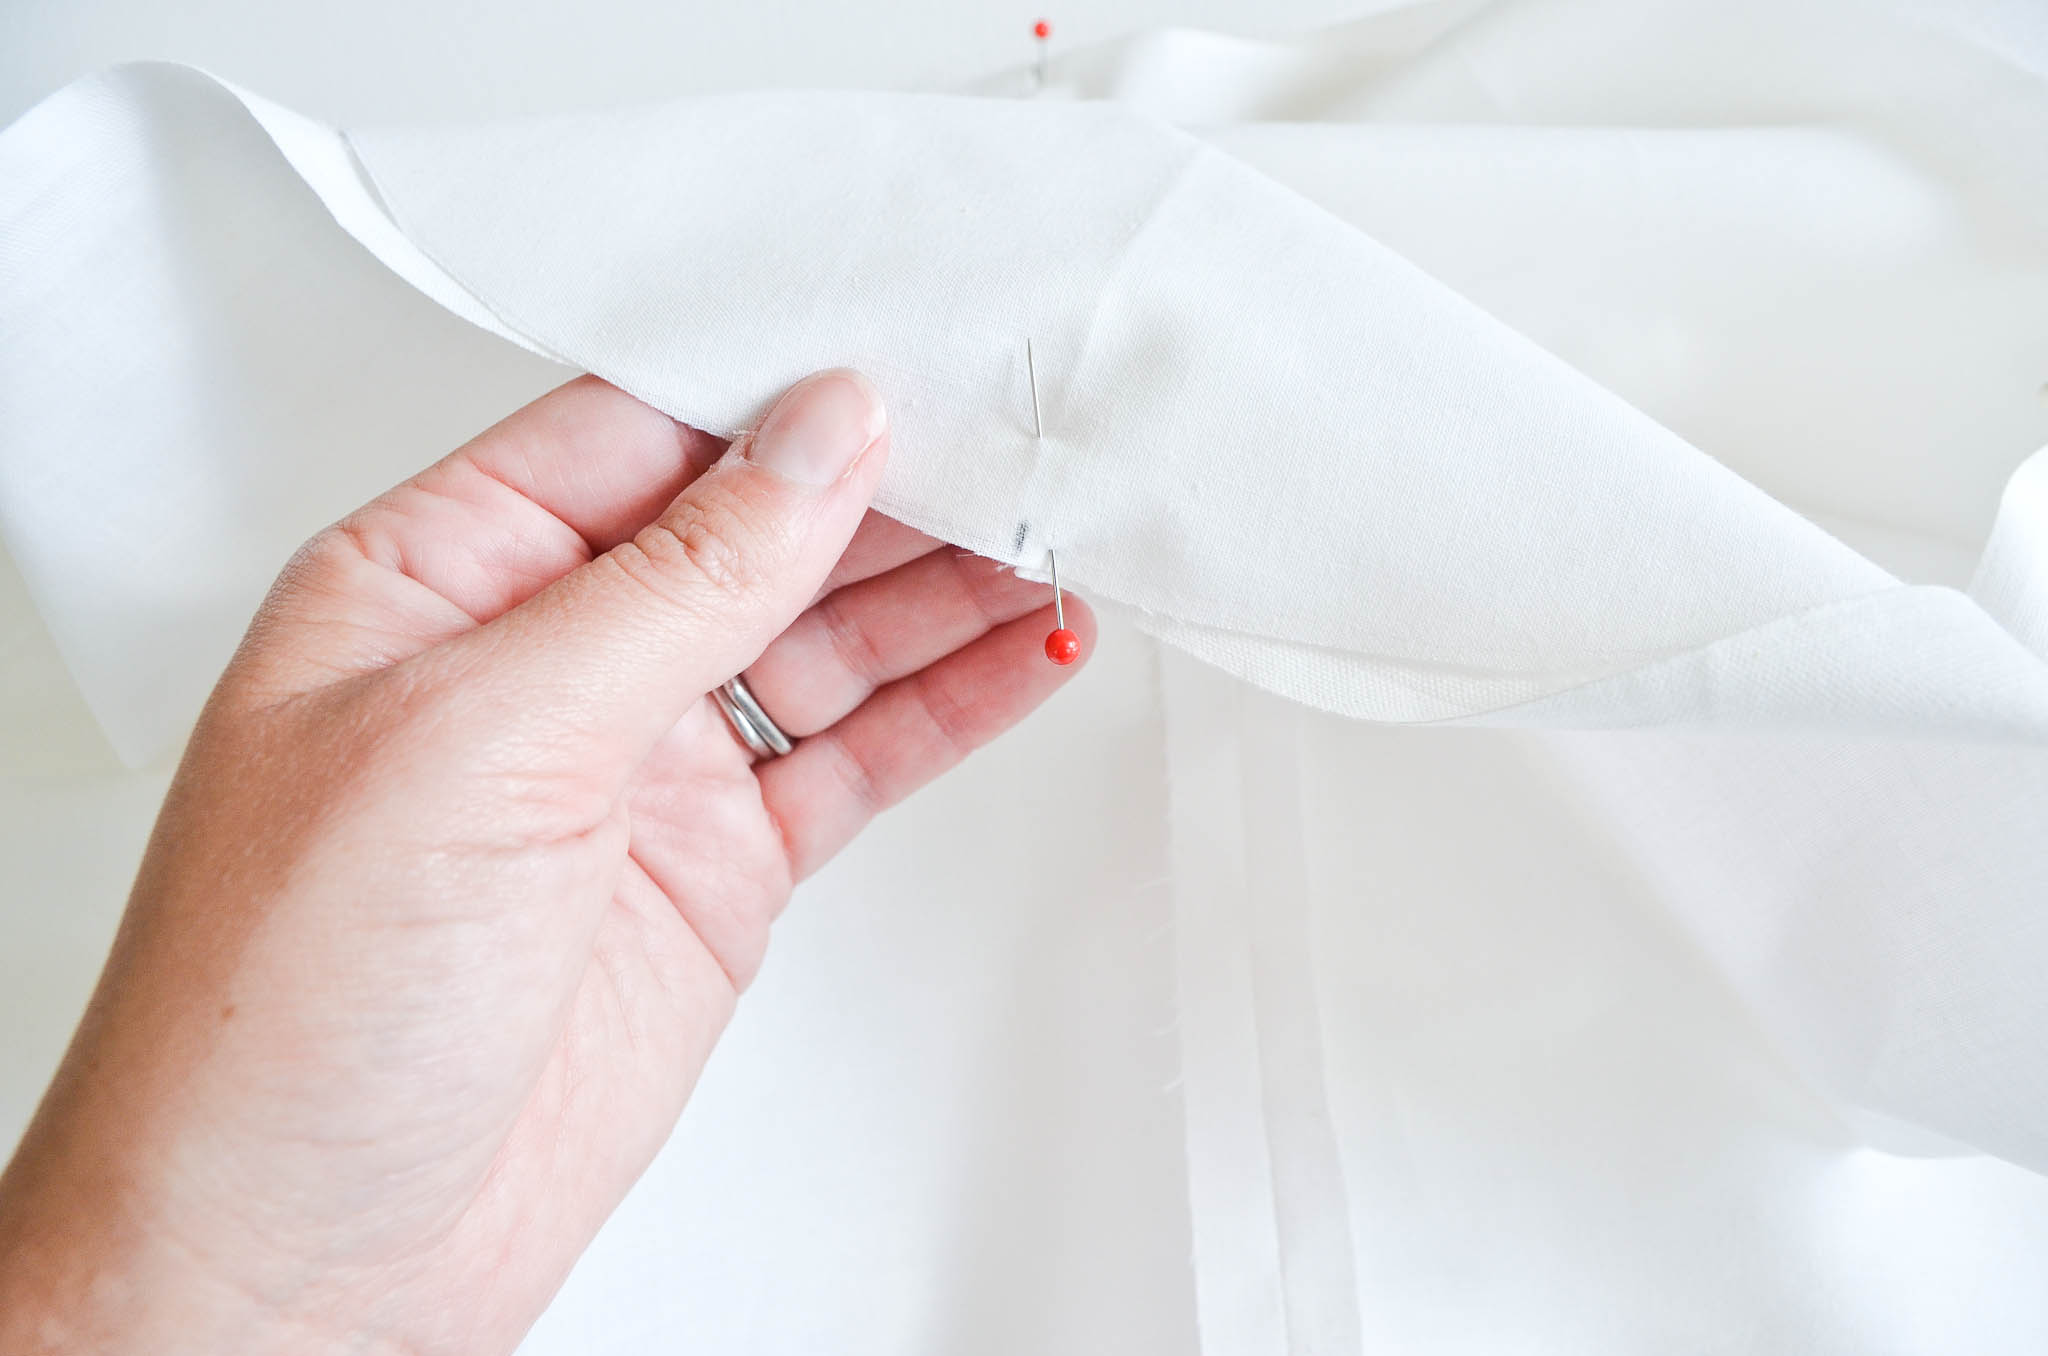
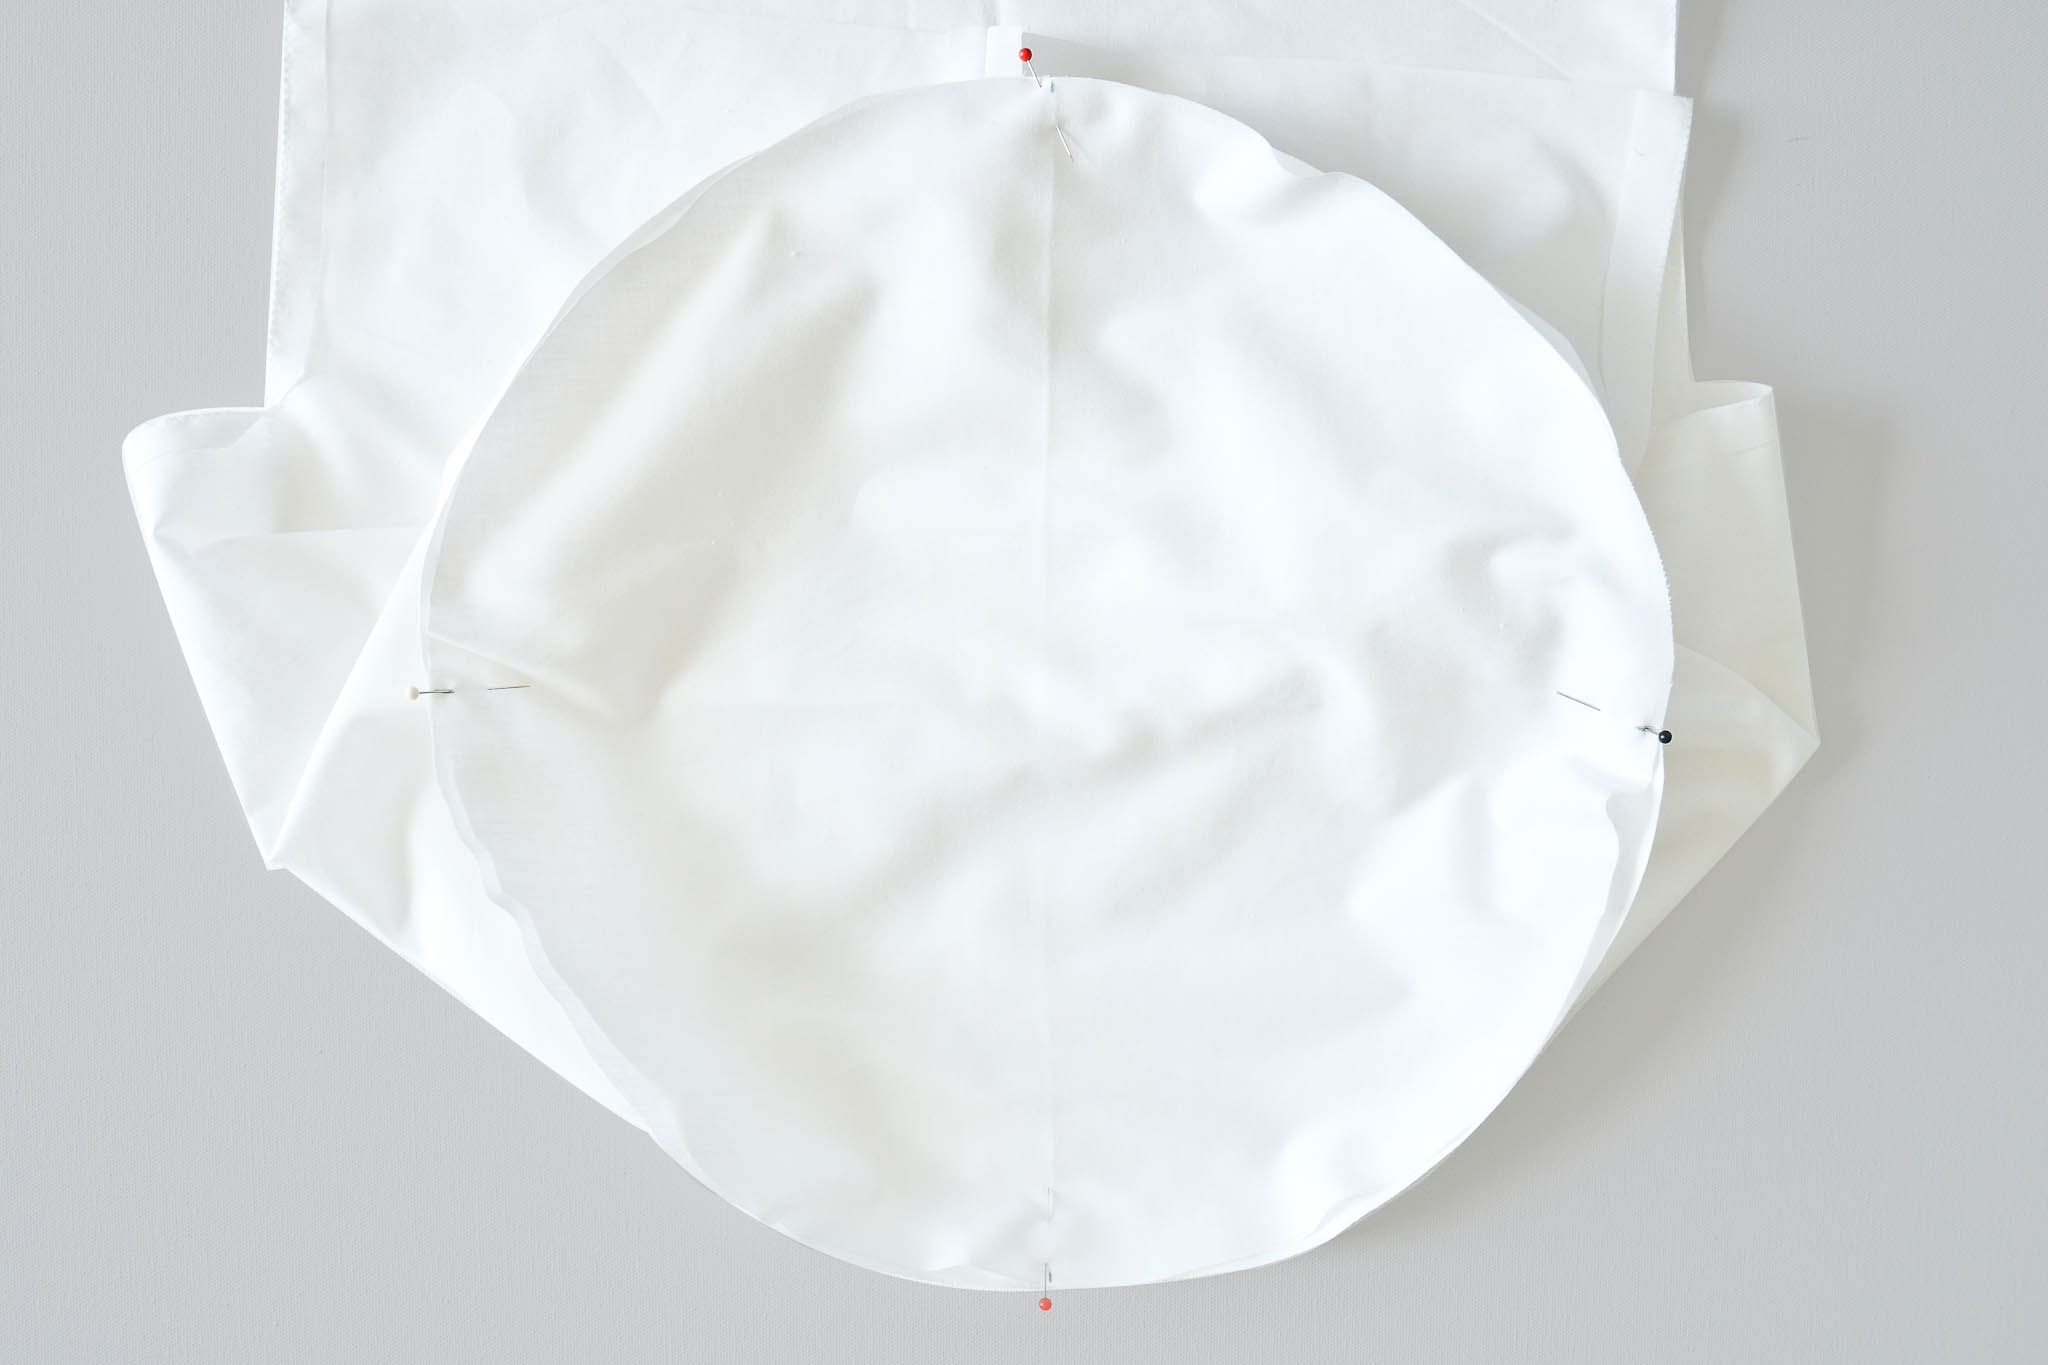
Add more pins to secure the entire circle to the lining and sew together.
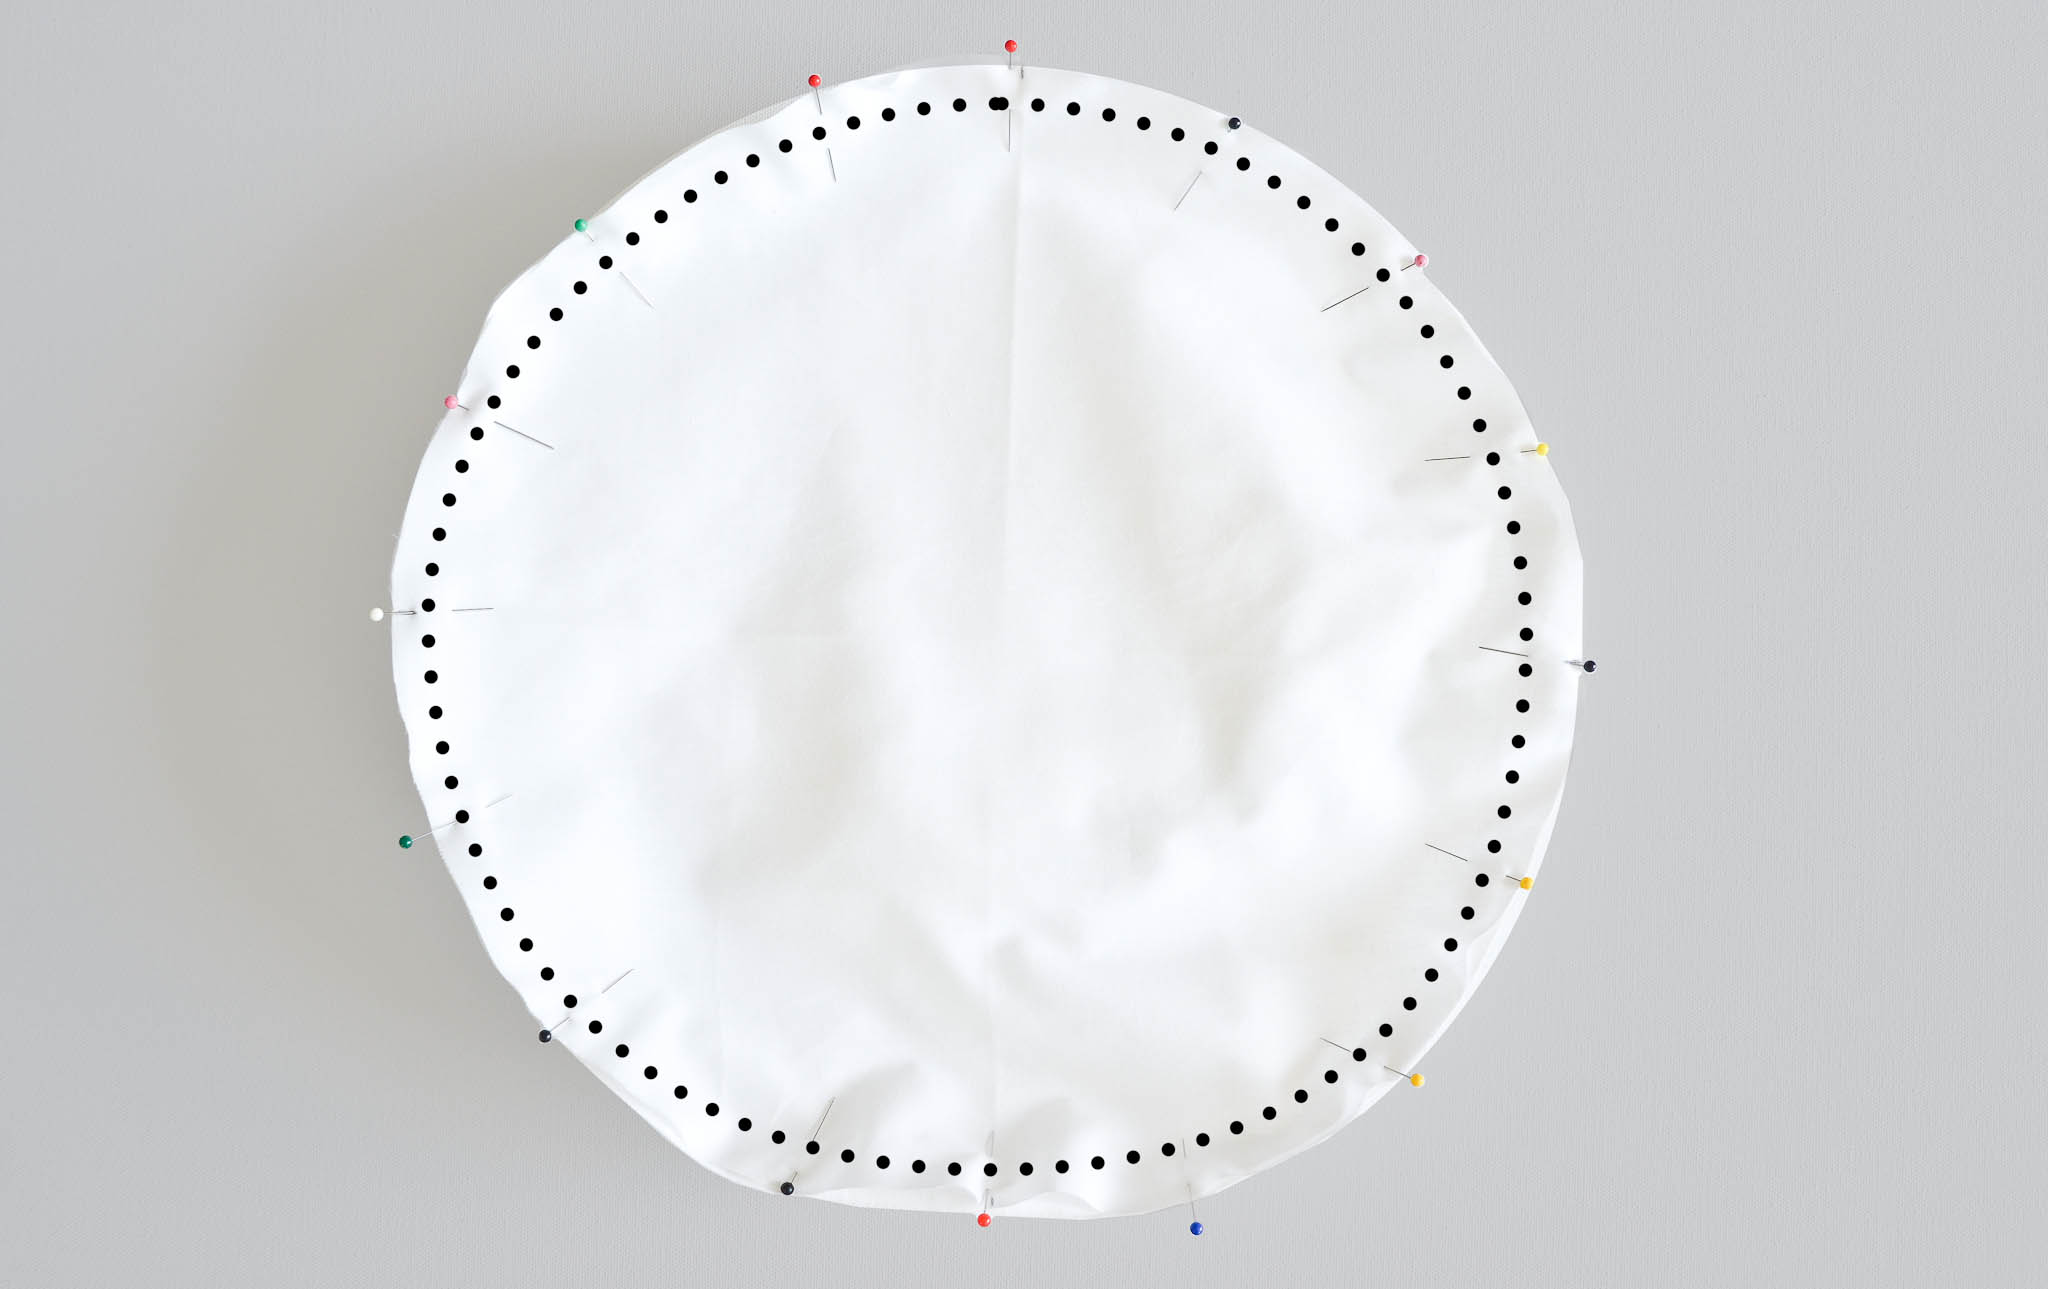
Leave the completed muslin lining inside out (with all the seams and flaps to the outside).
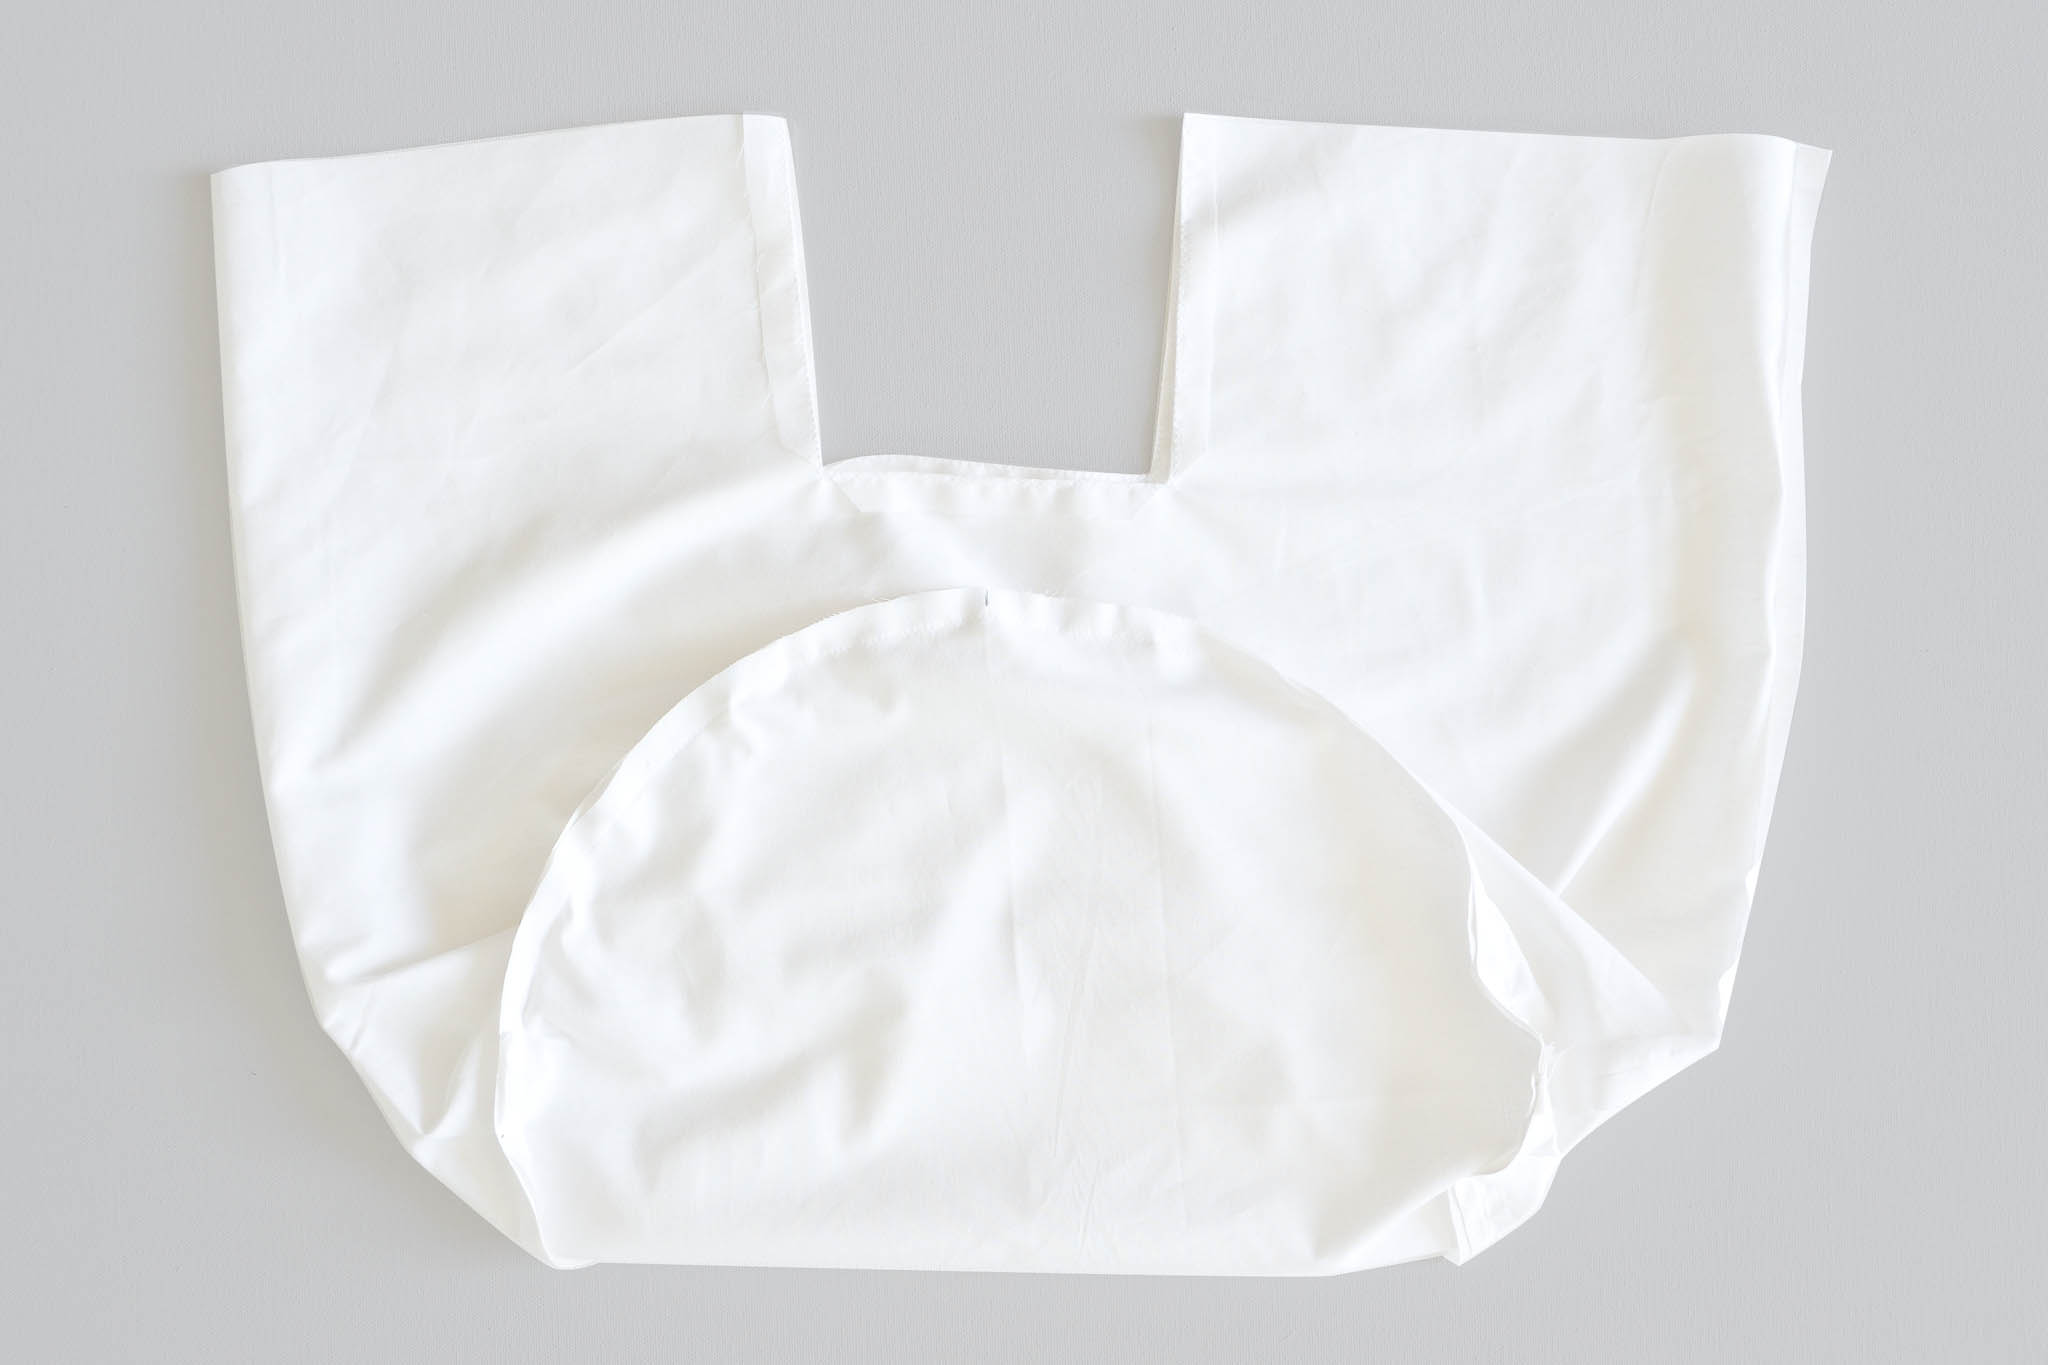
Now we’ll repeat most of the steps from above with our printed fabric. There are a few changes, though, so follow along closely.
Lay out your 16″ piece of printed fabric. Use the stabilizer circle as a template to cut a 15″ diameter circle from your printed fabric.
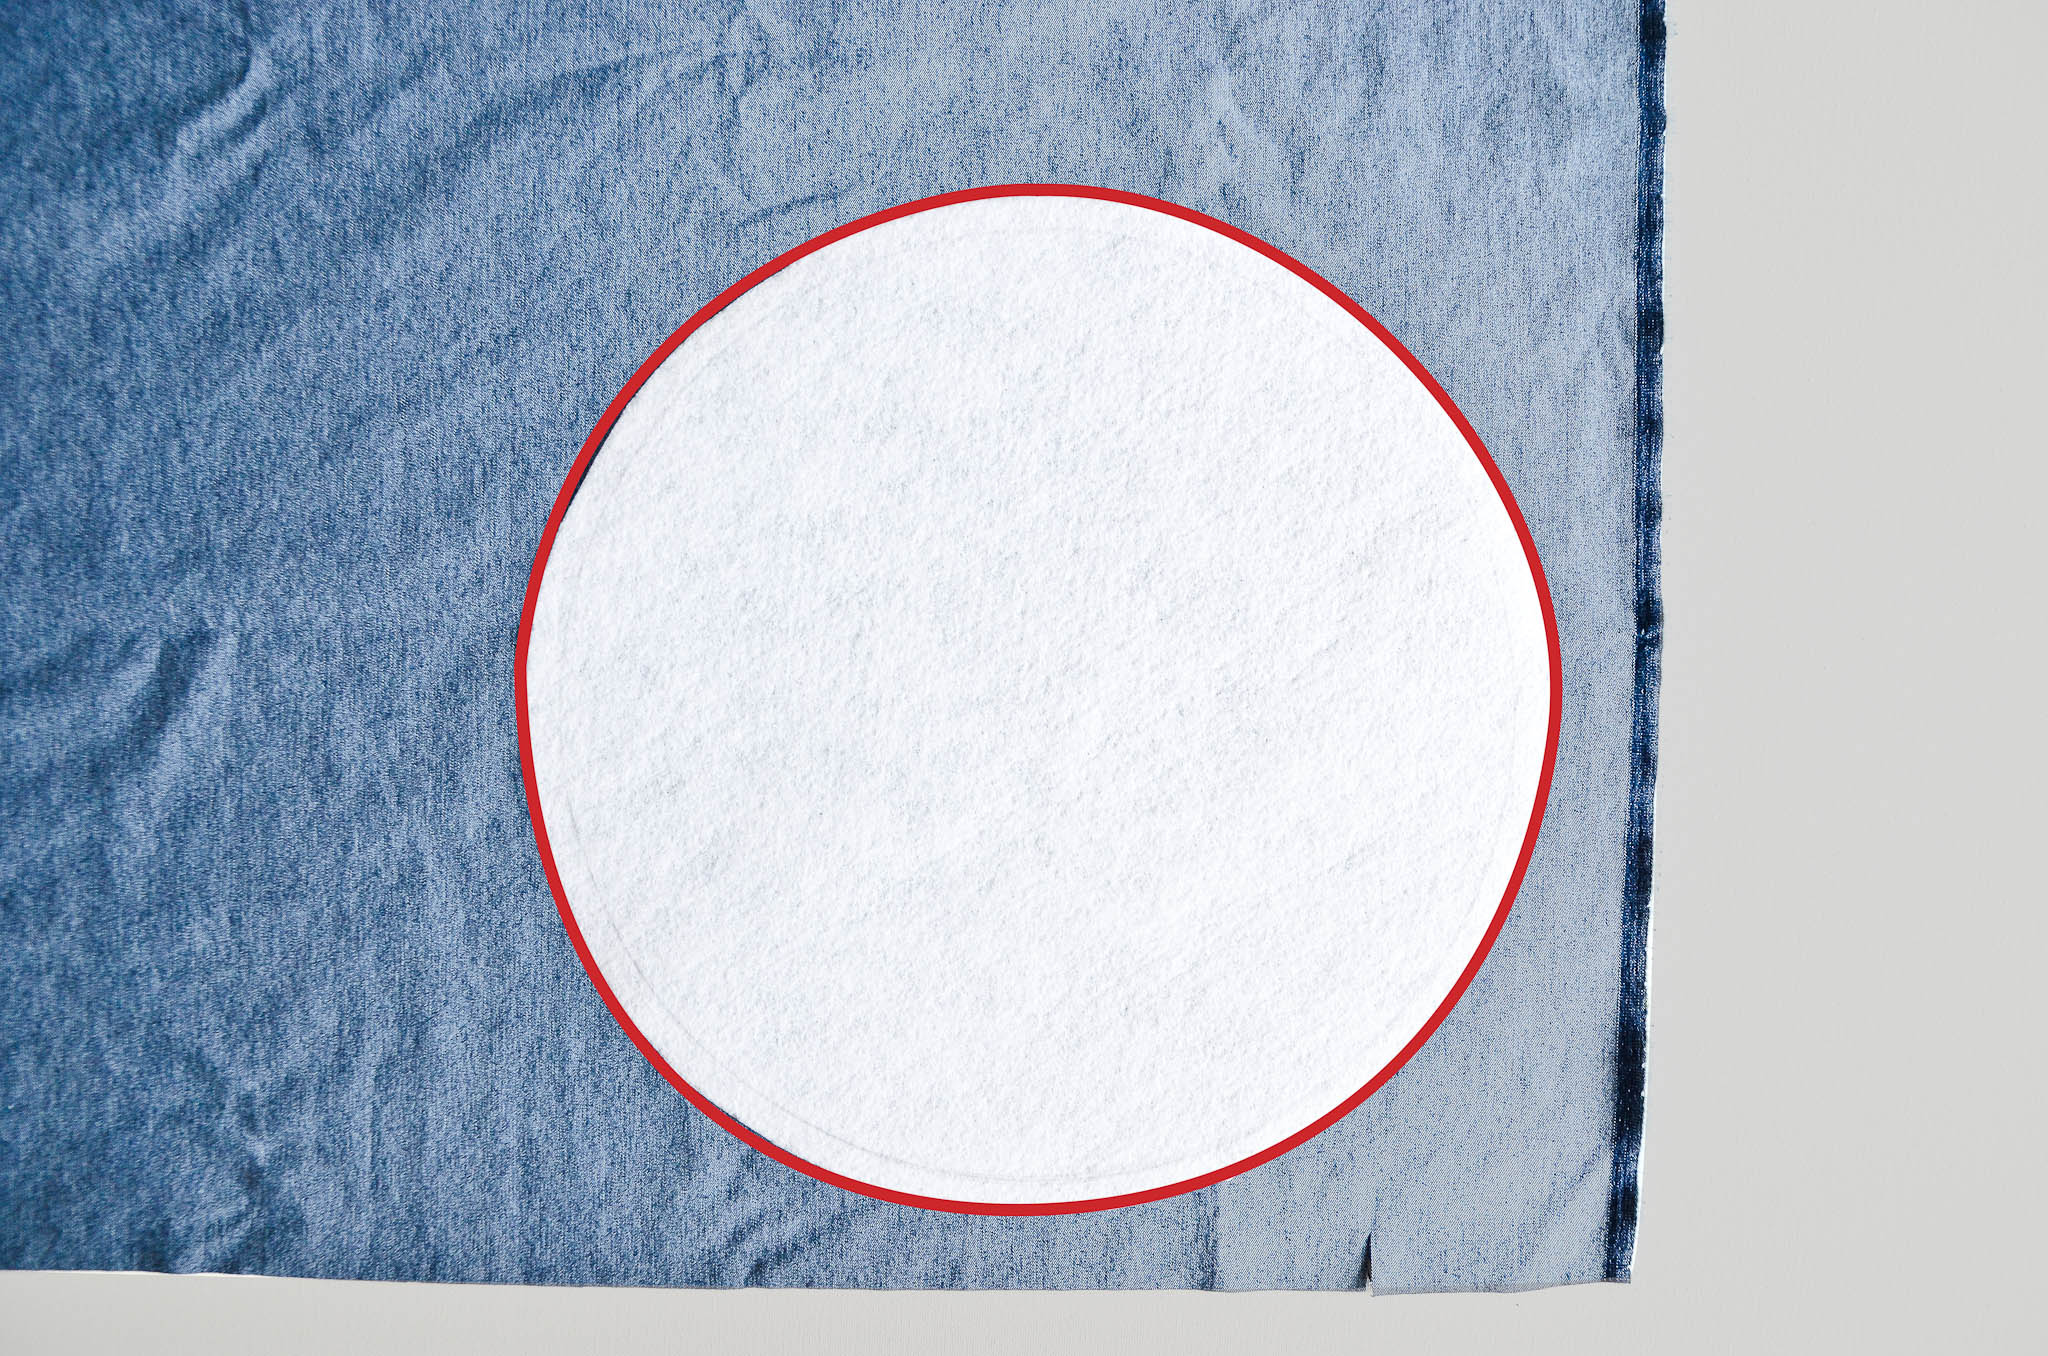
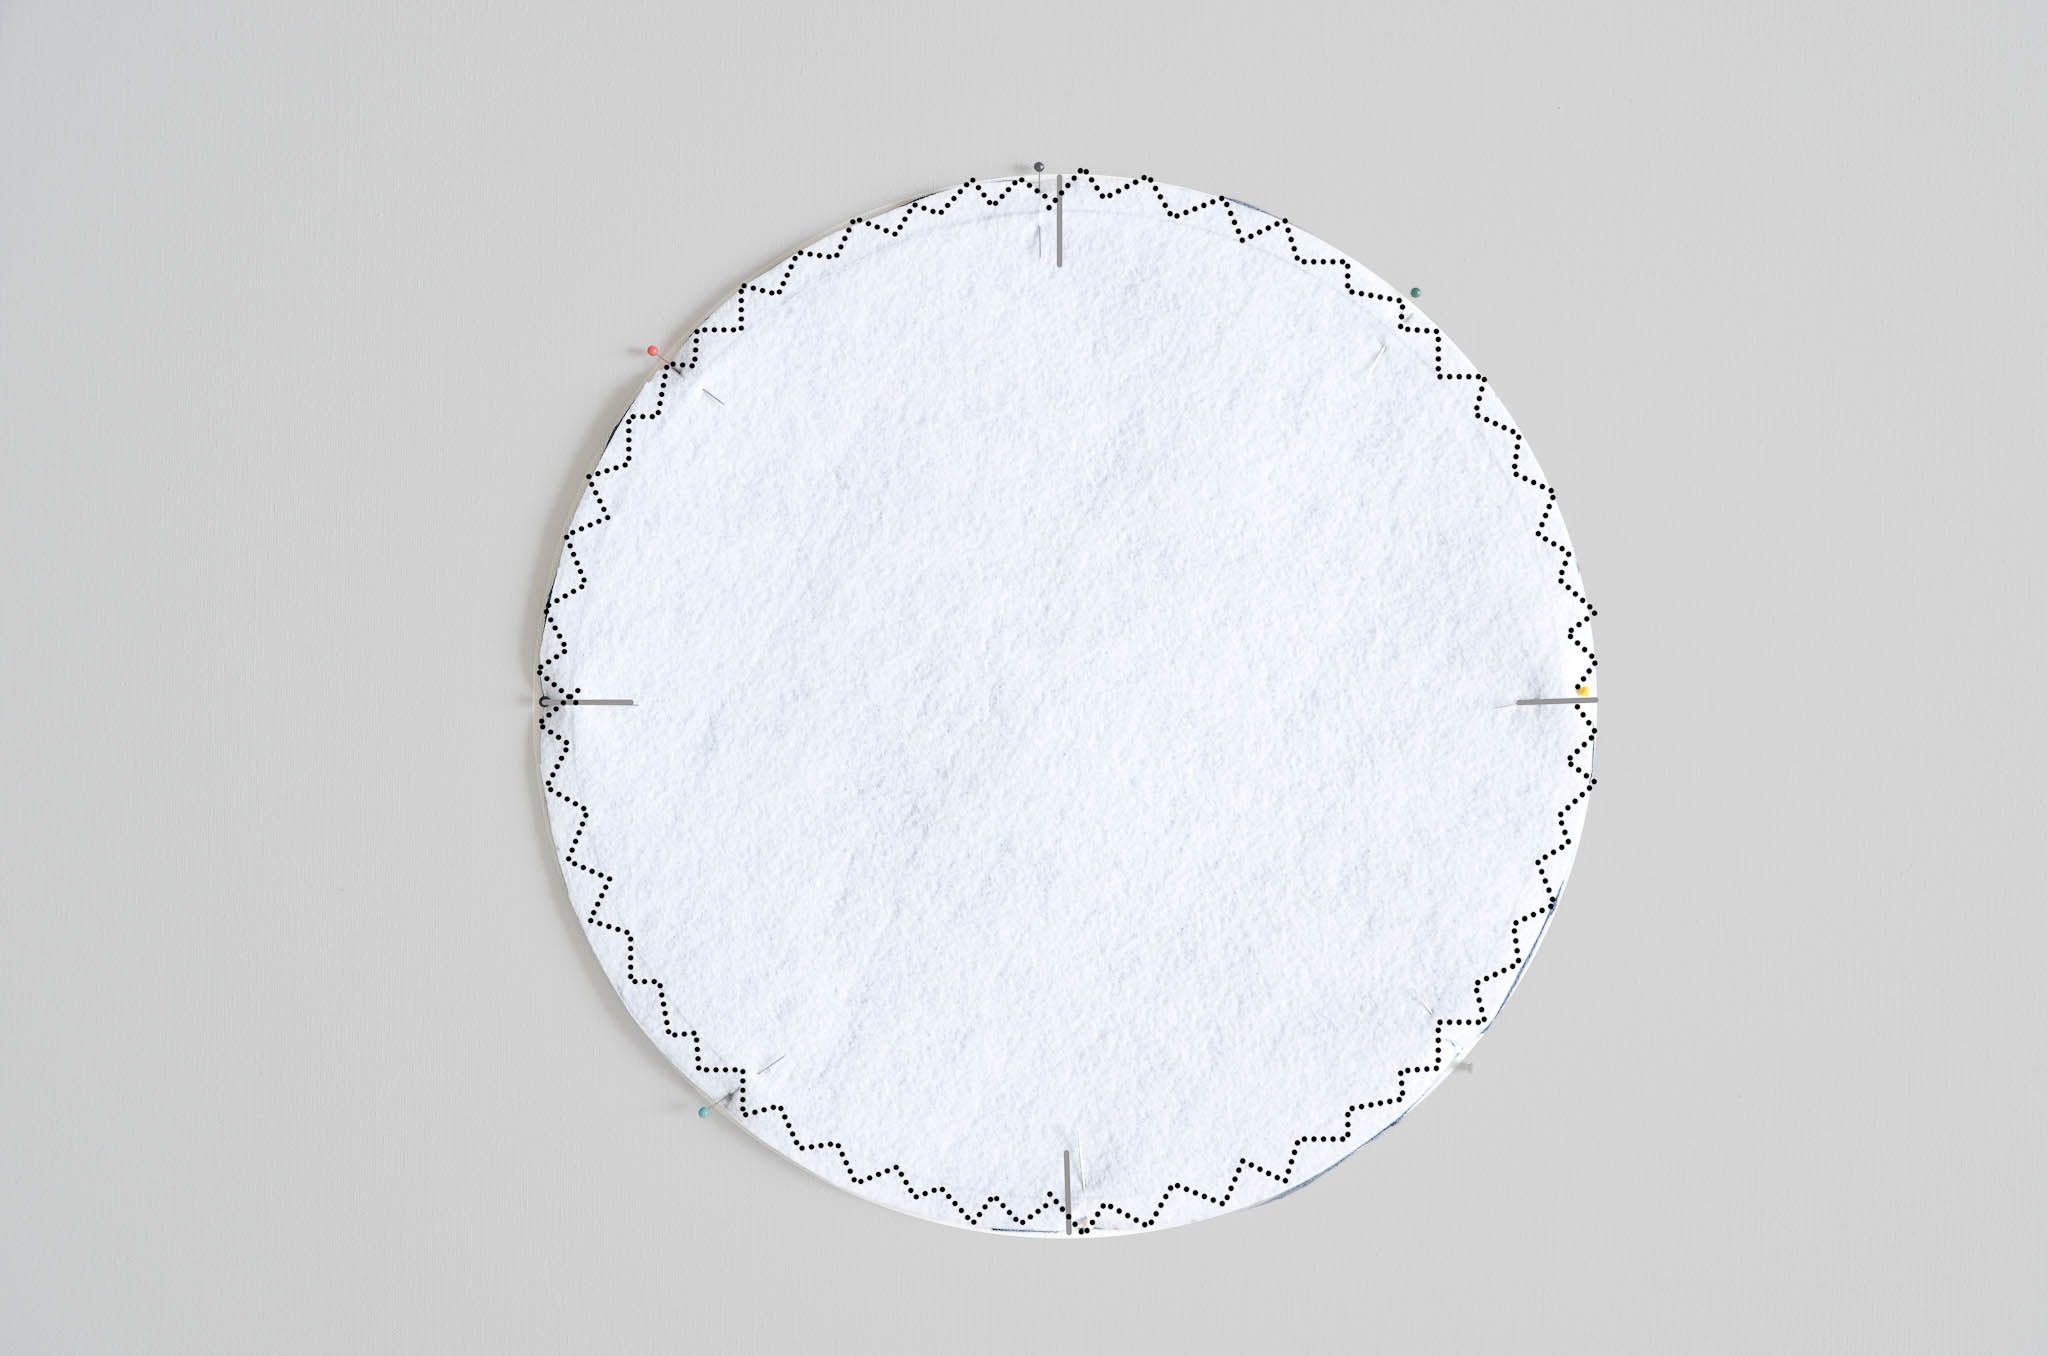
Create the four equal points on the stabilizer circle like before and mark with a pencil. With wrong sides together, sew the stabilizer to the printed fabric with a zigzag stitch around the edge. This is your bin bottom.
Fold your remaining printed fabric, wrong side out.
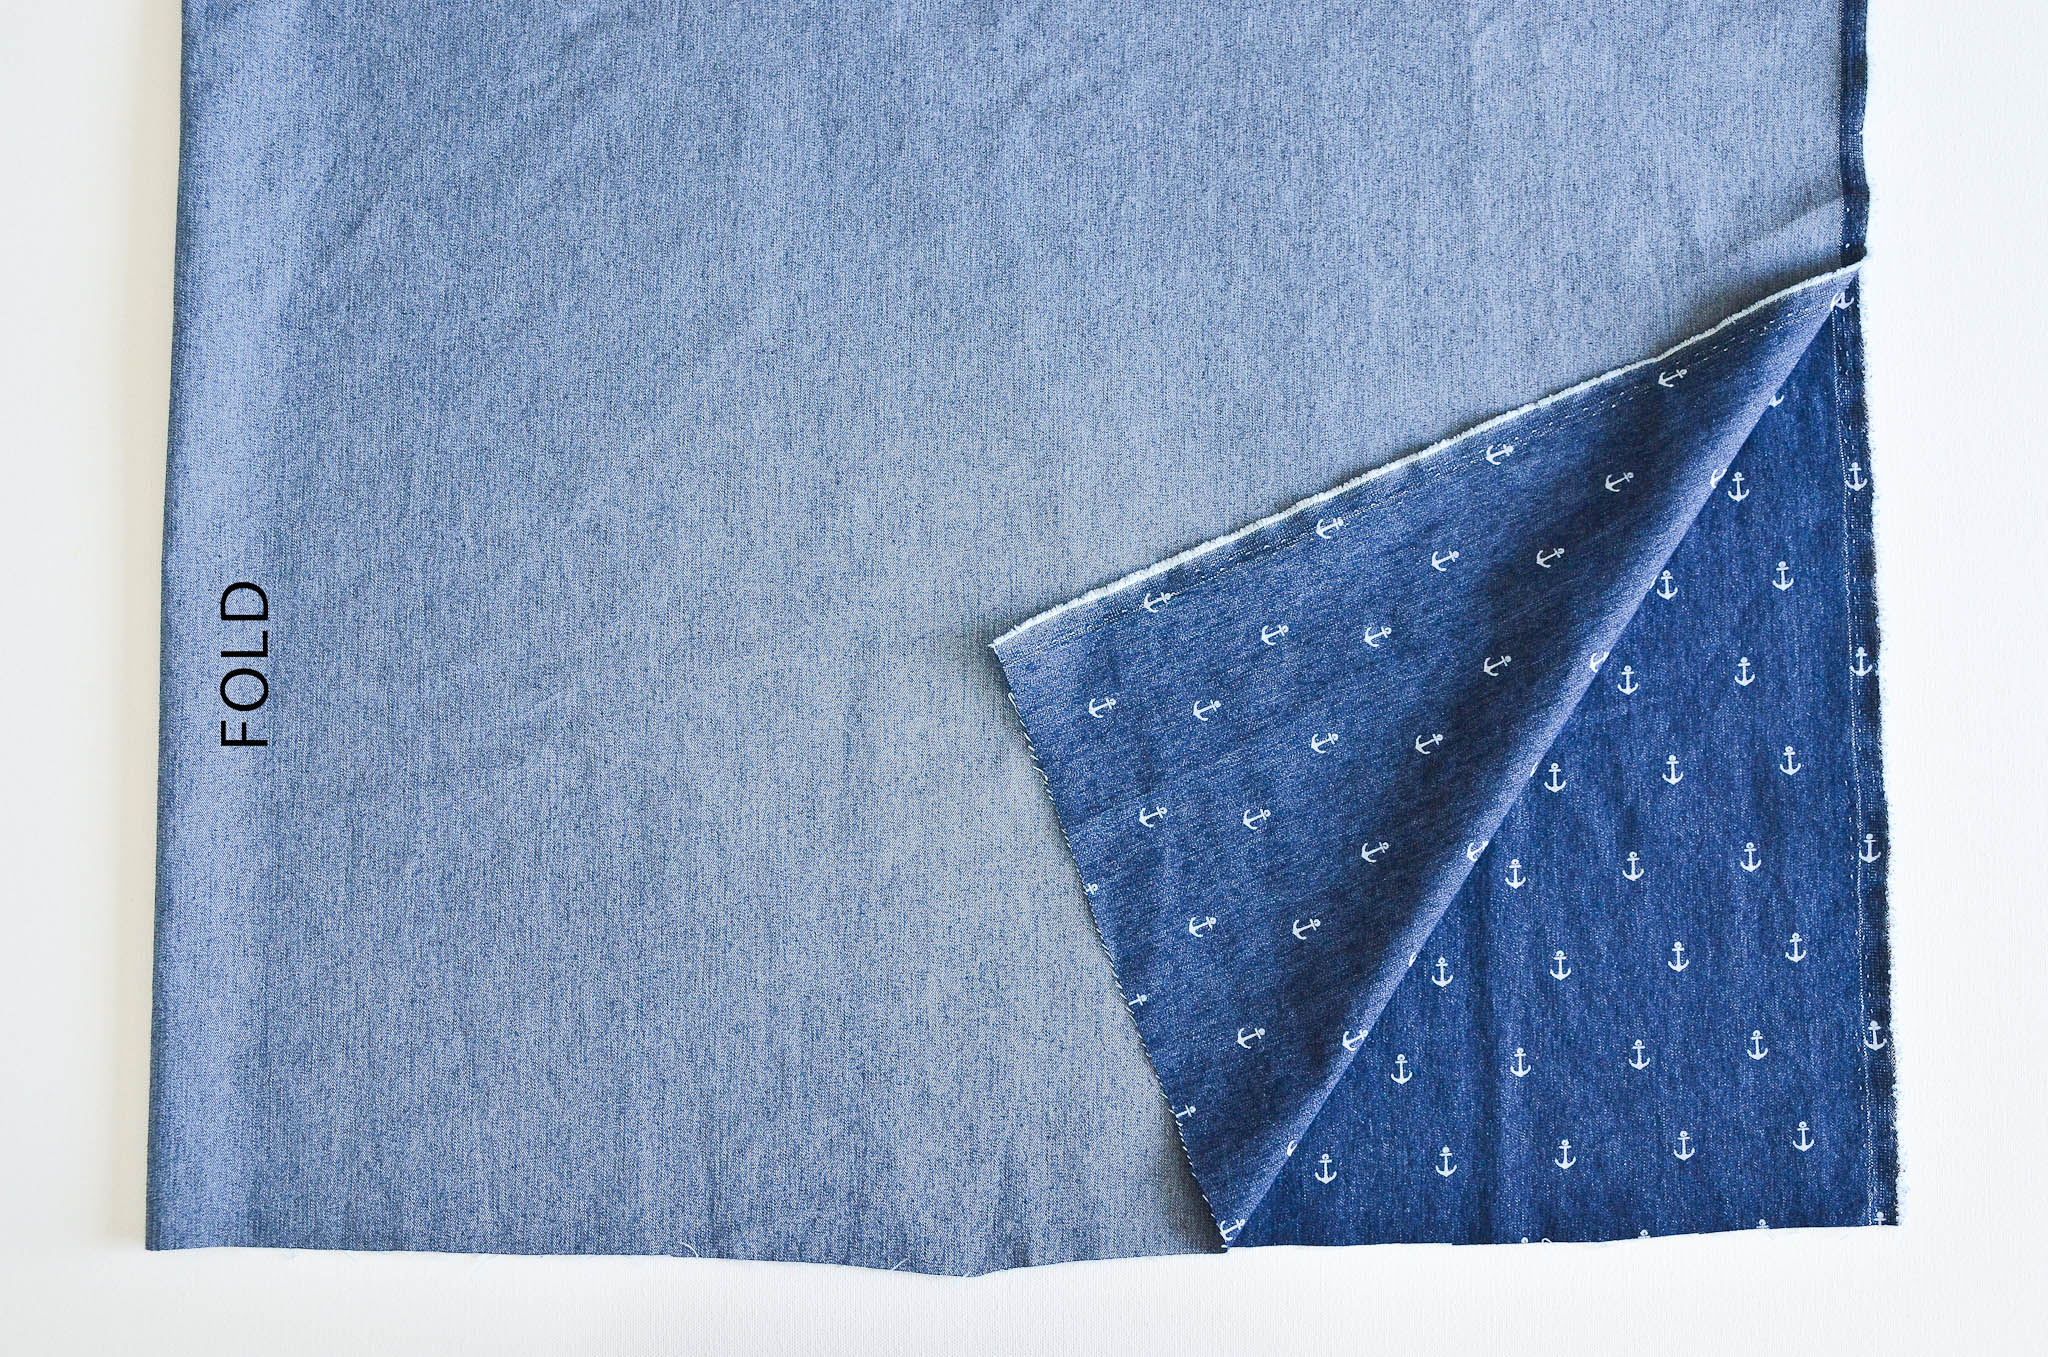
Matching up the folded edges, place your folded stabilizer rectangle on top as a template and cut out the three non-folded sides.
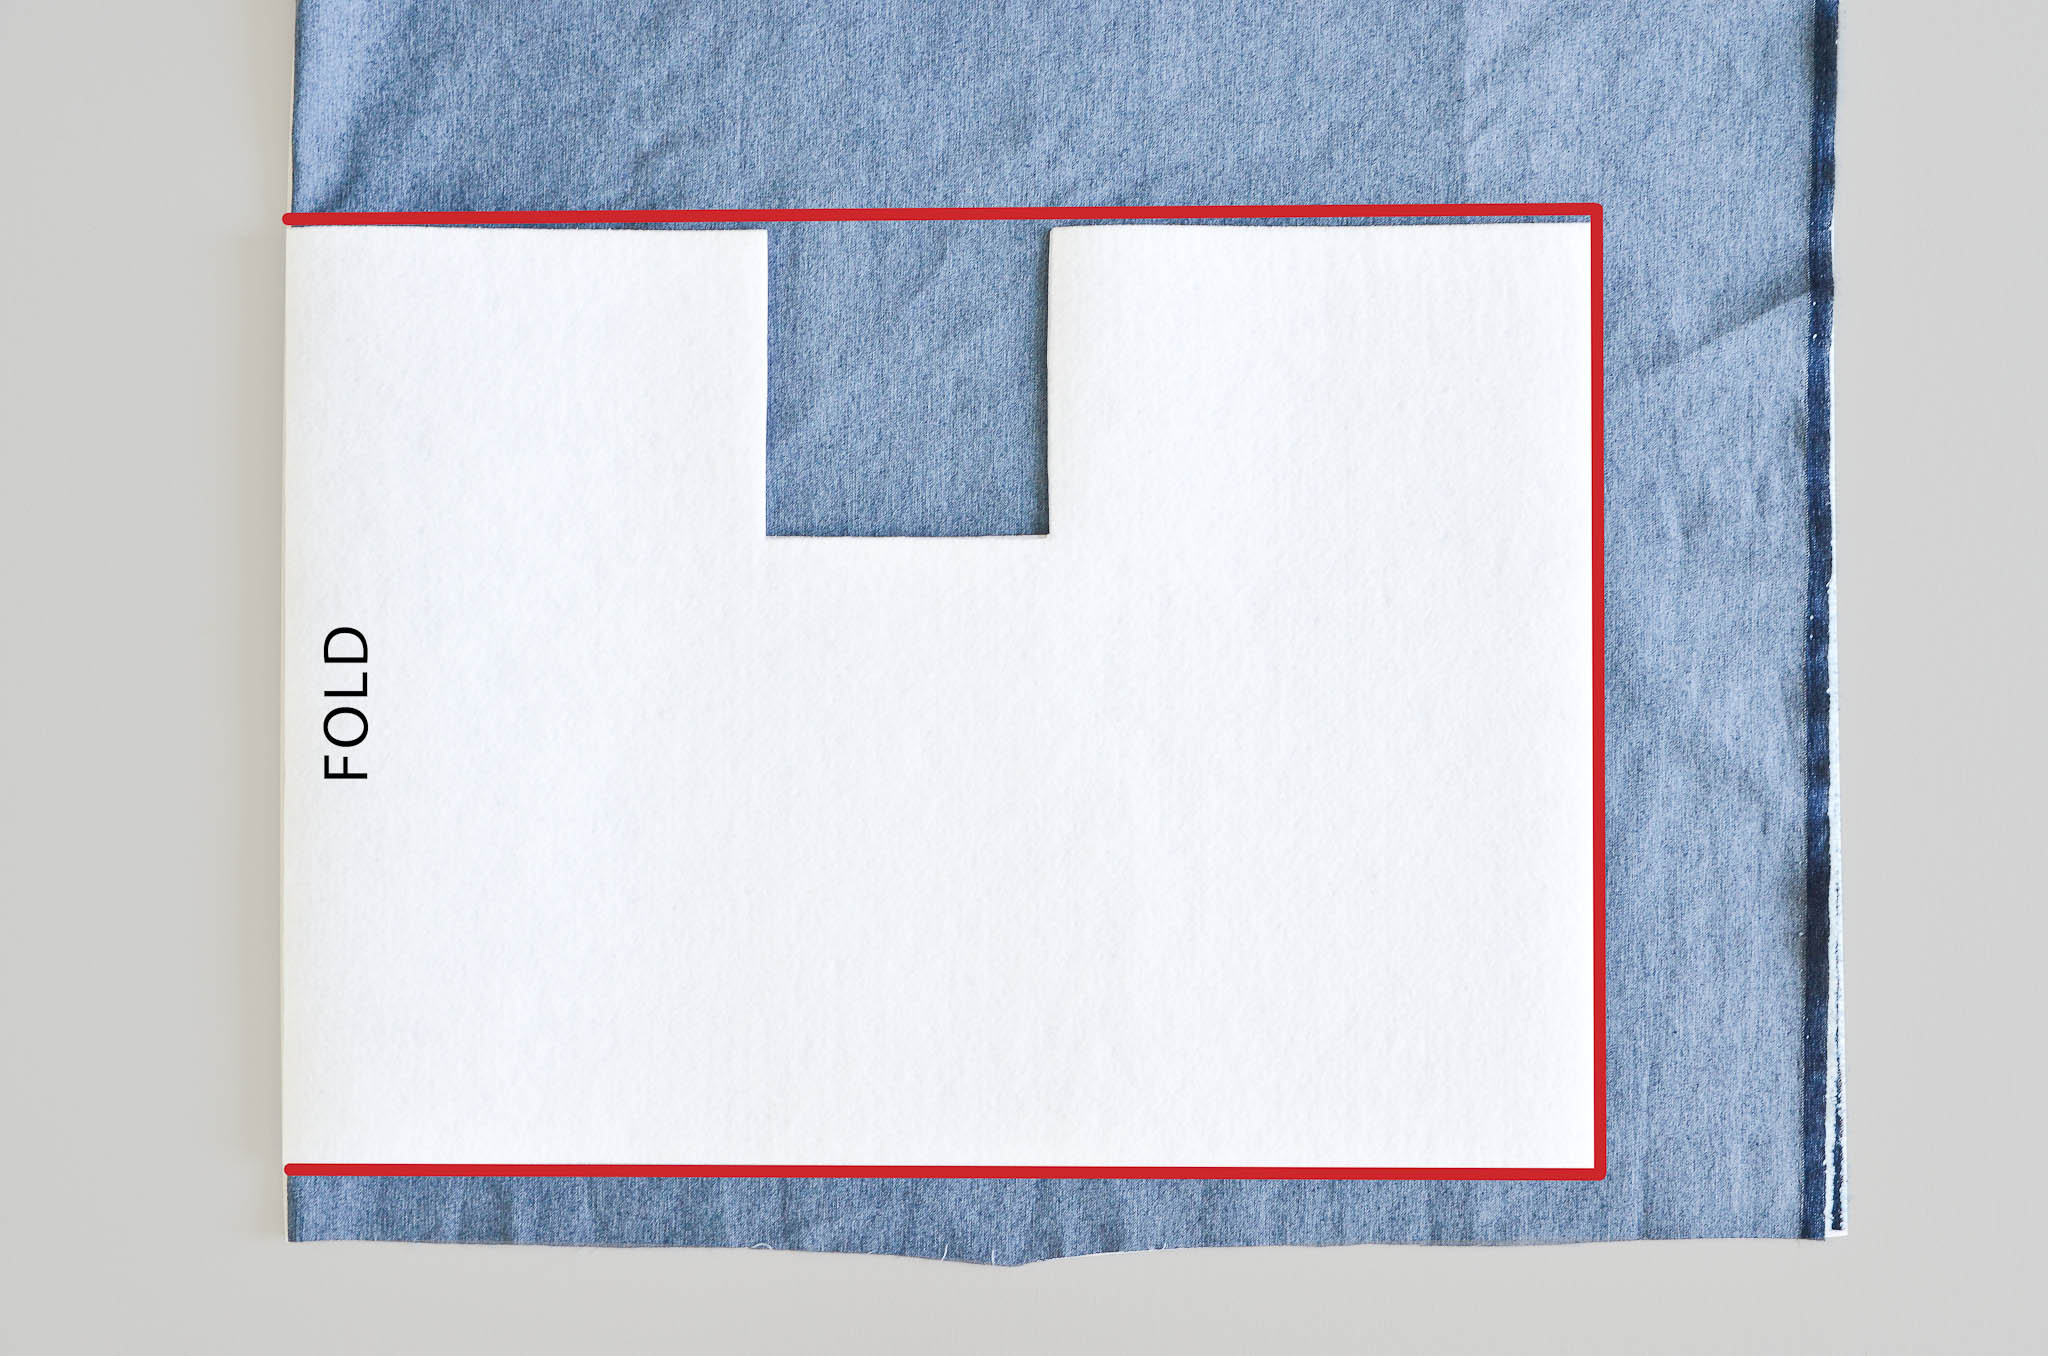
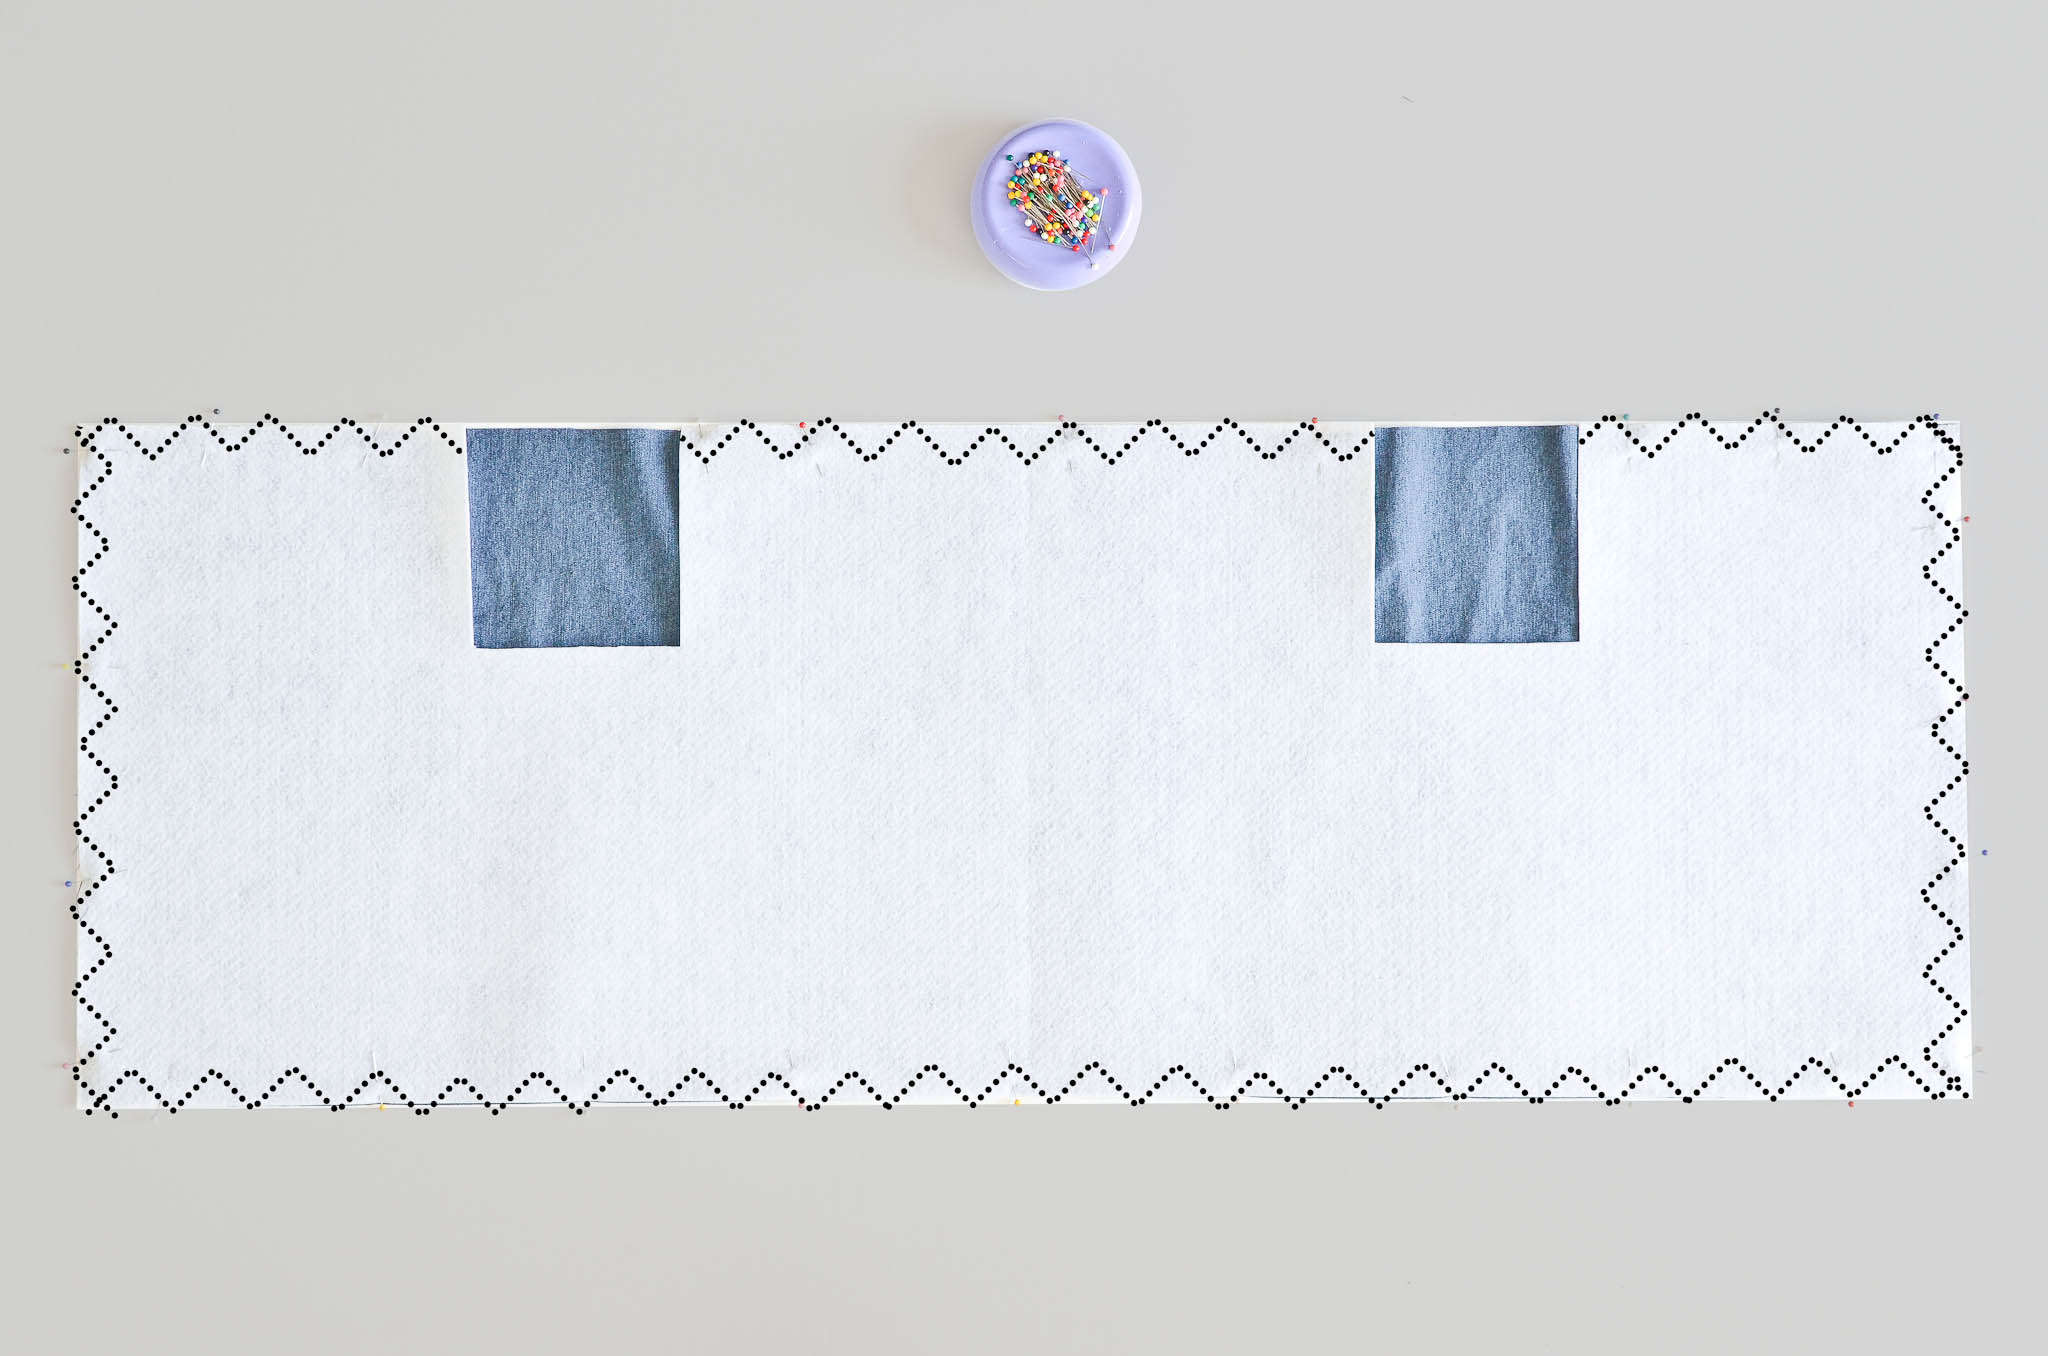
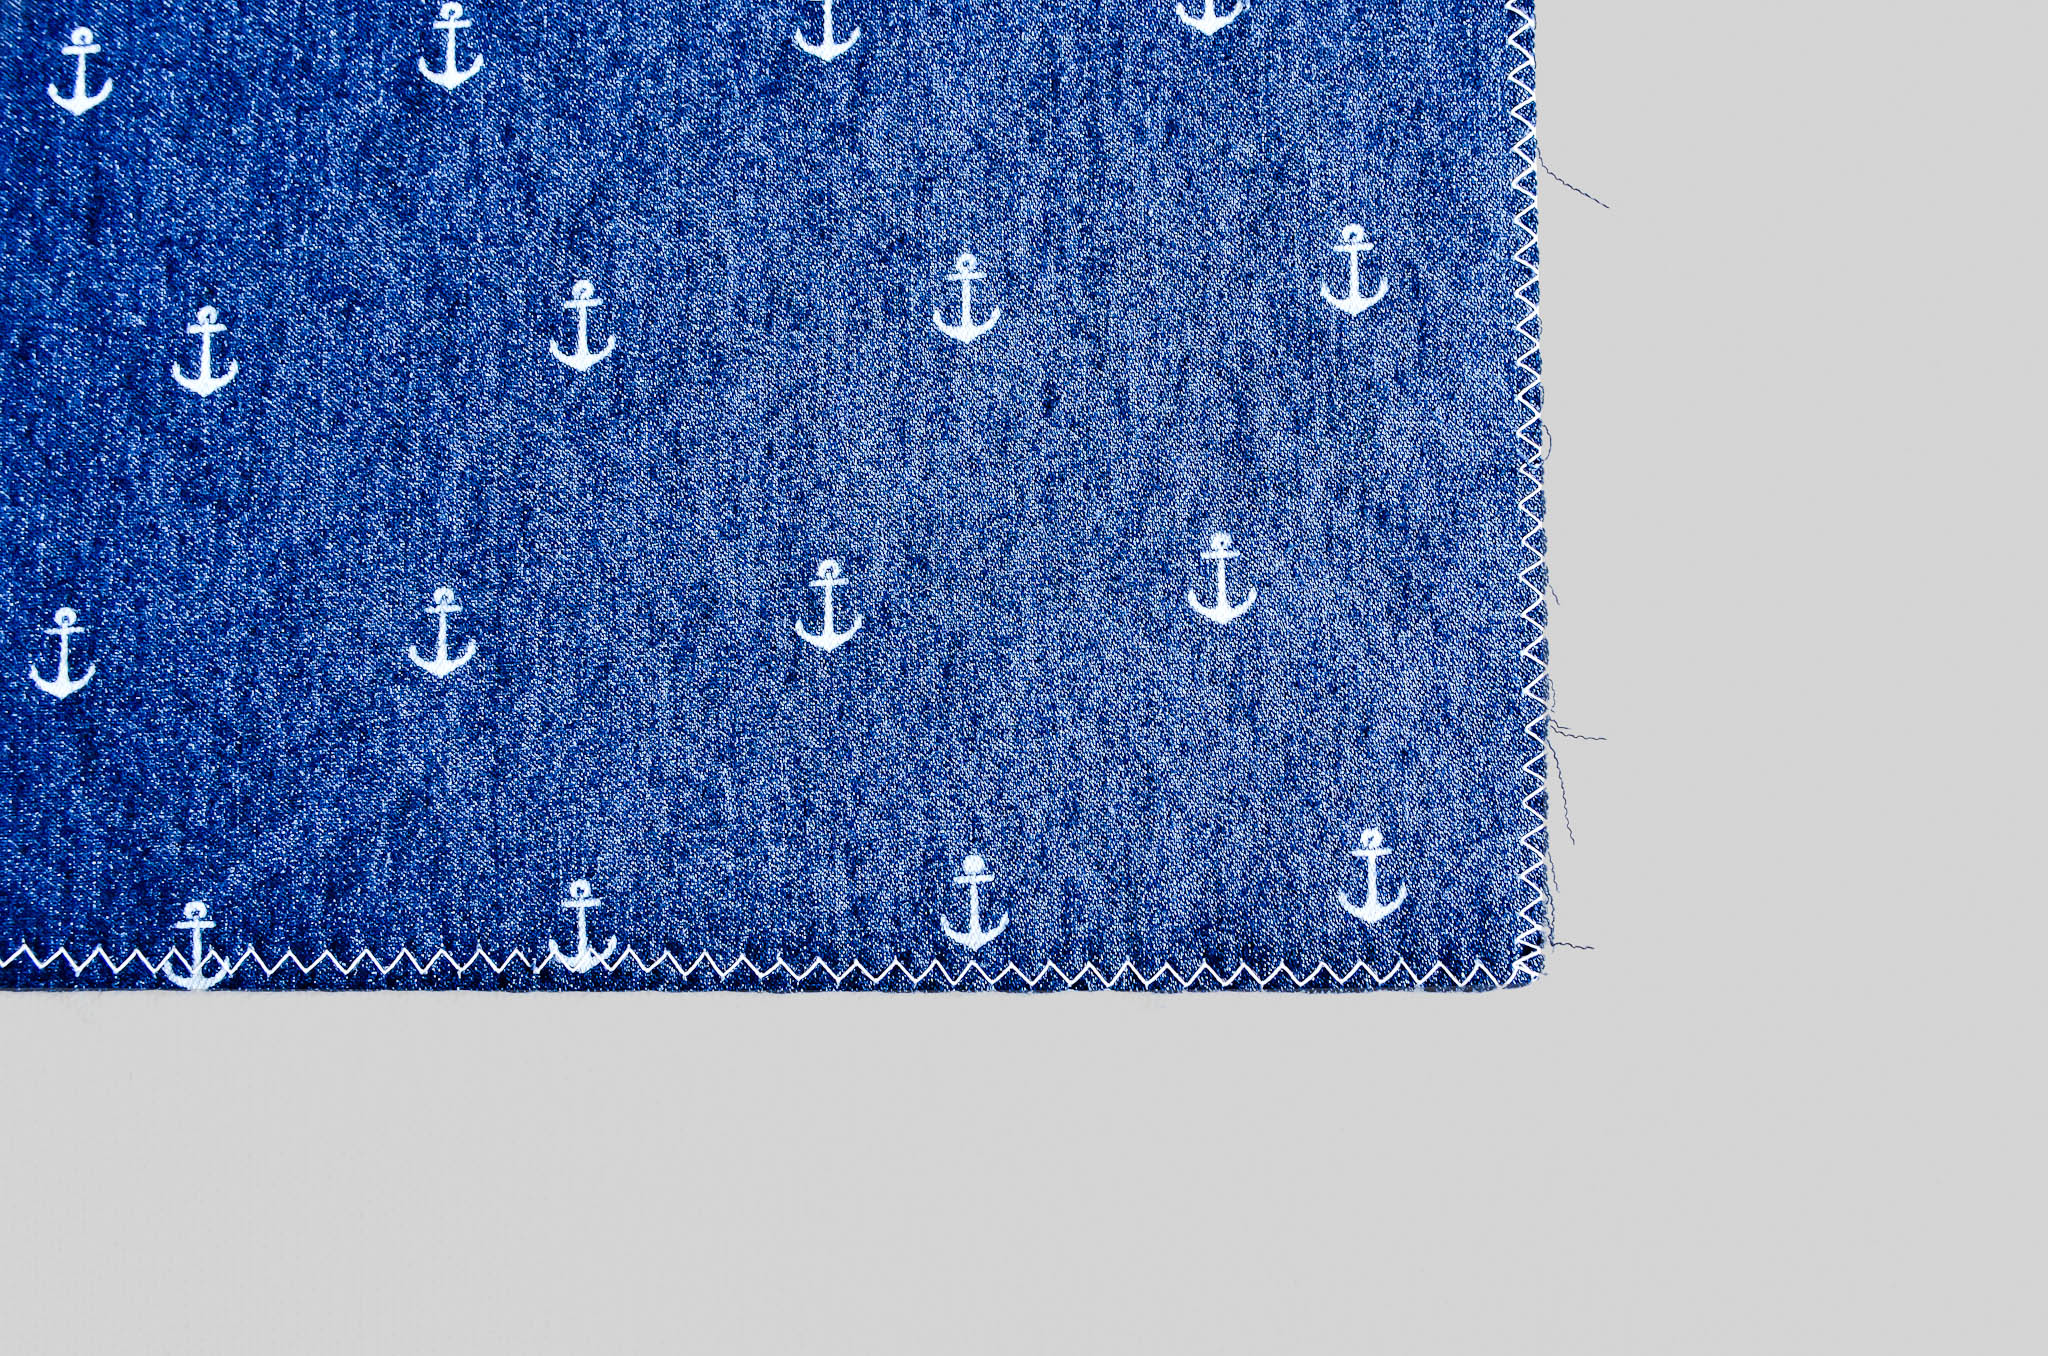
Unfold both the printed fabric and the stabilizer. With wrong sides together, pin and sew a small zigzag stitch around the outside edges. This is the bin body.
Do not sew the handle cut-out edges.
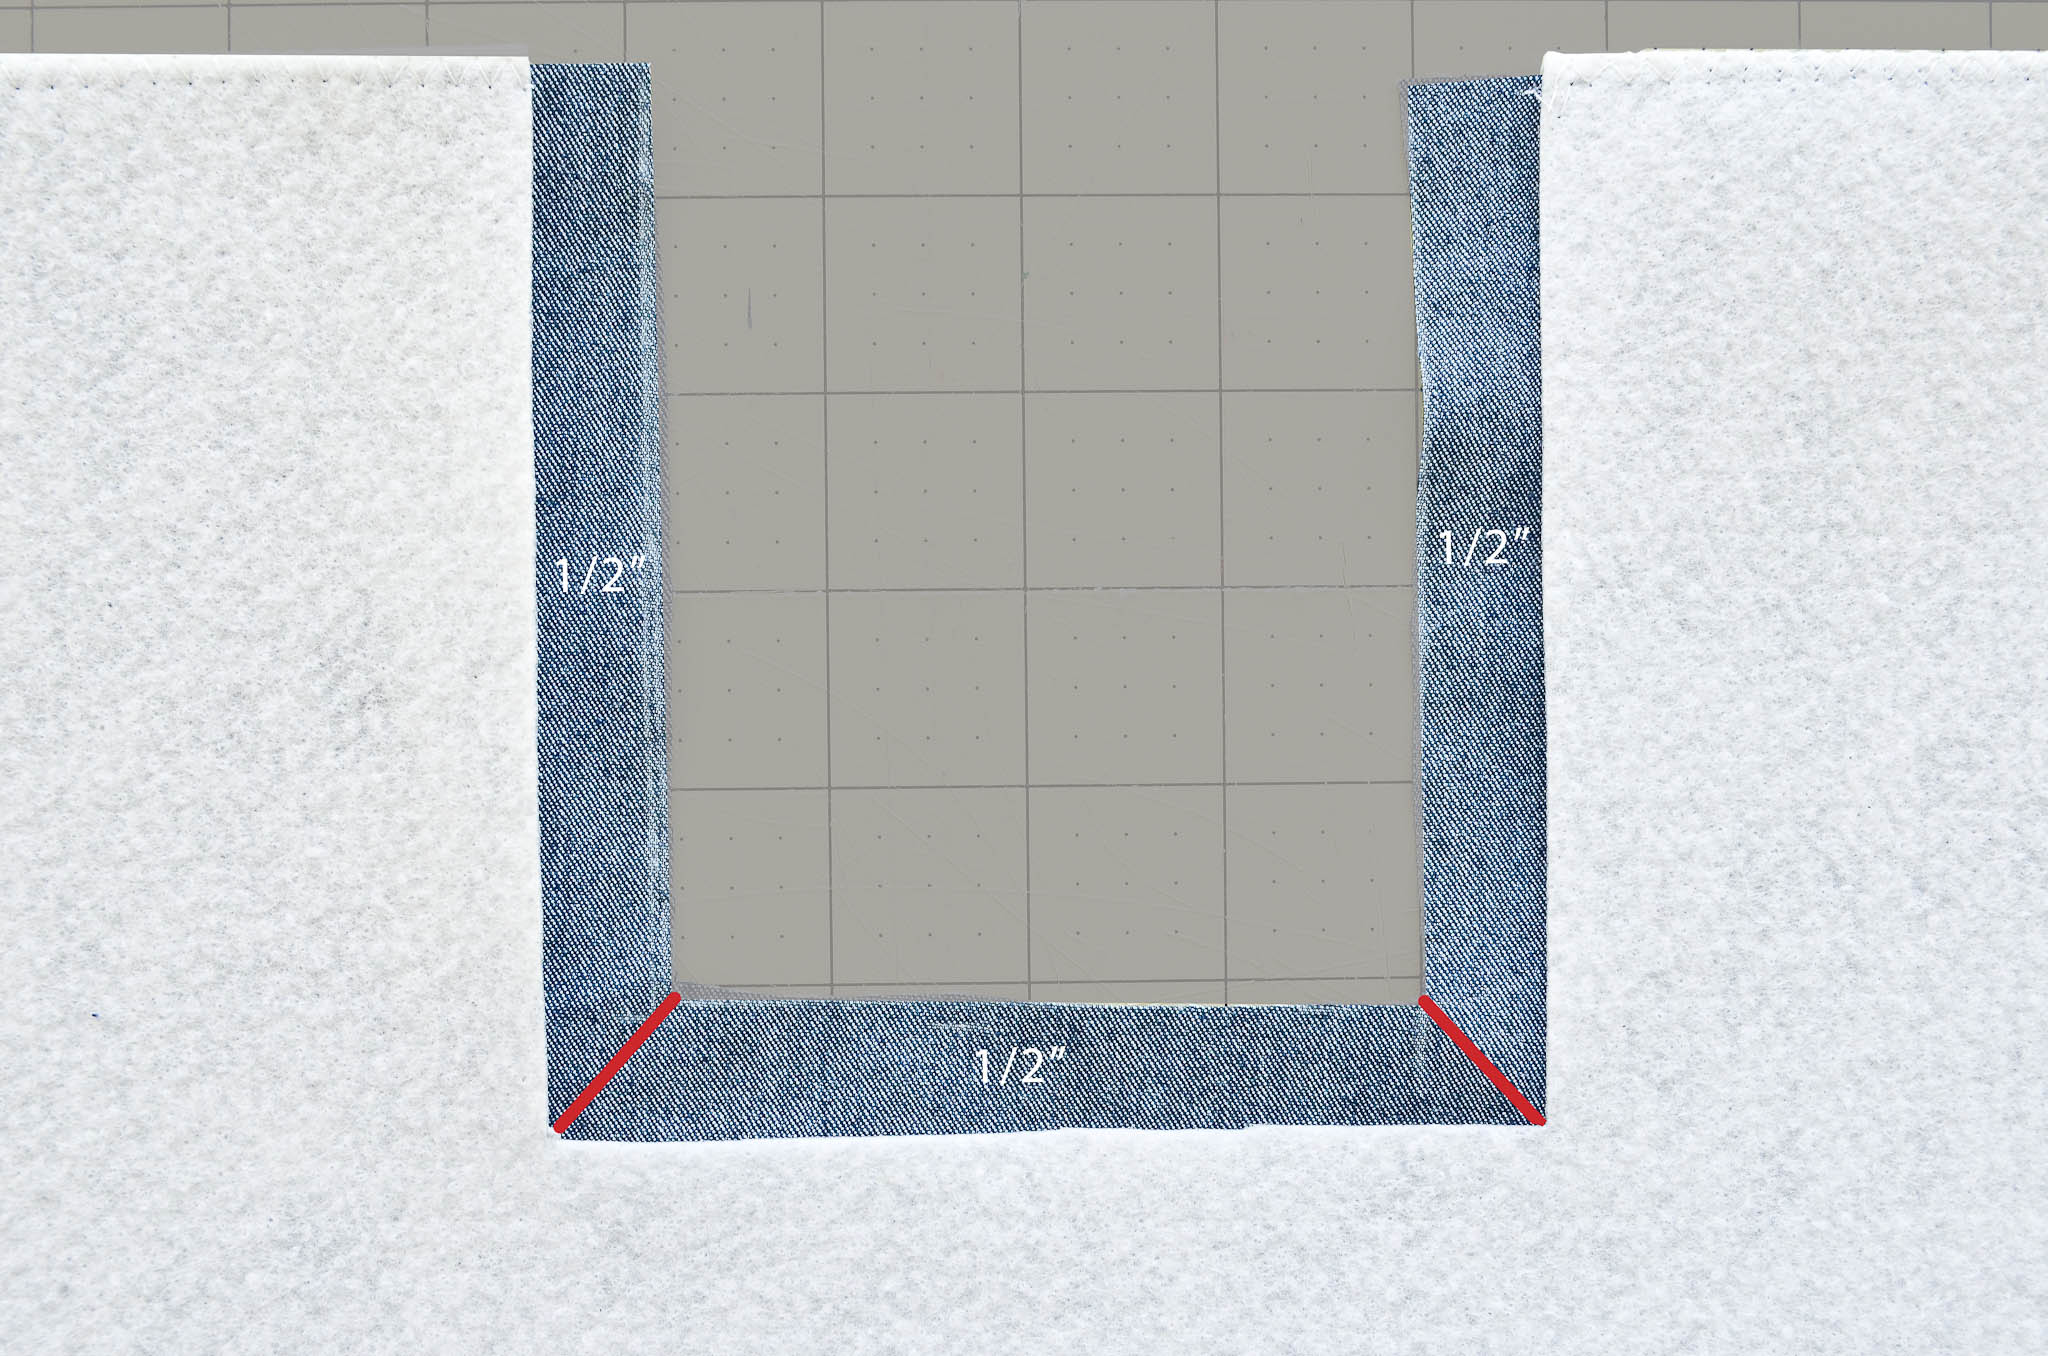
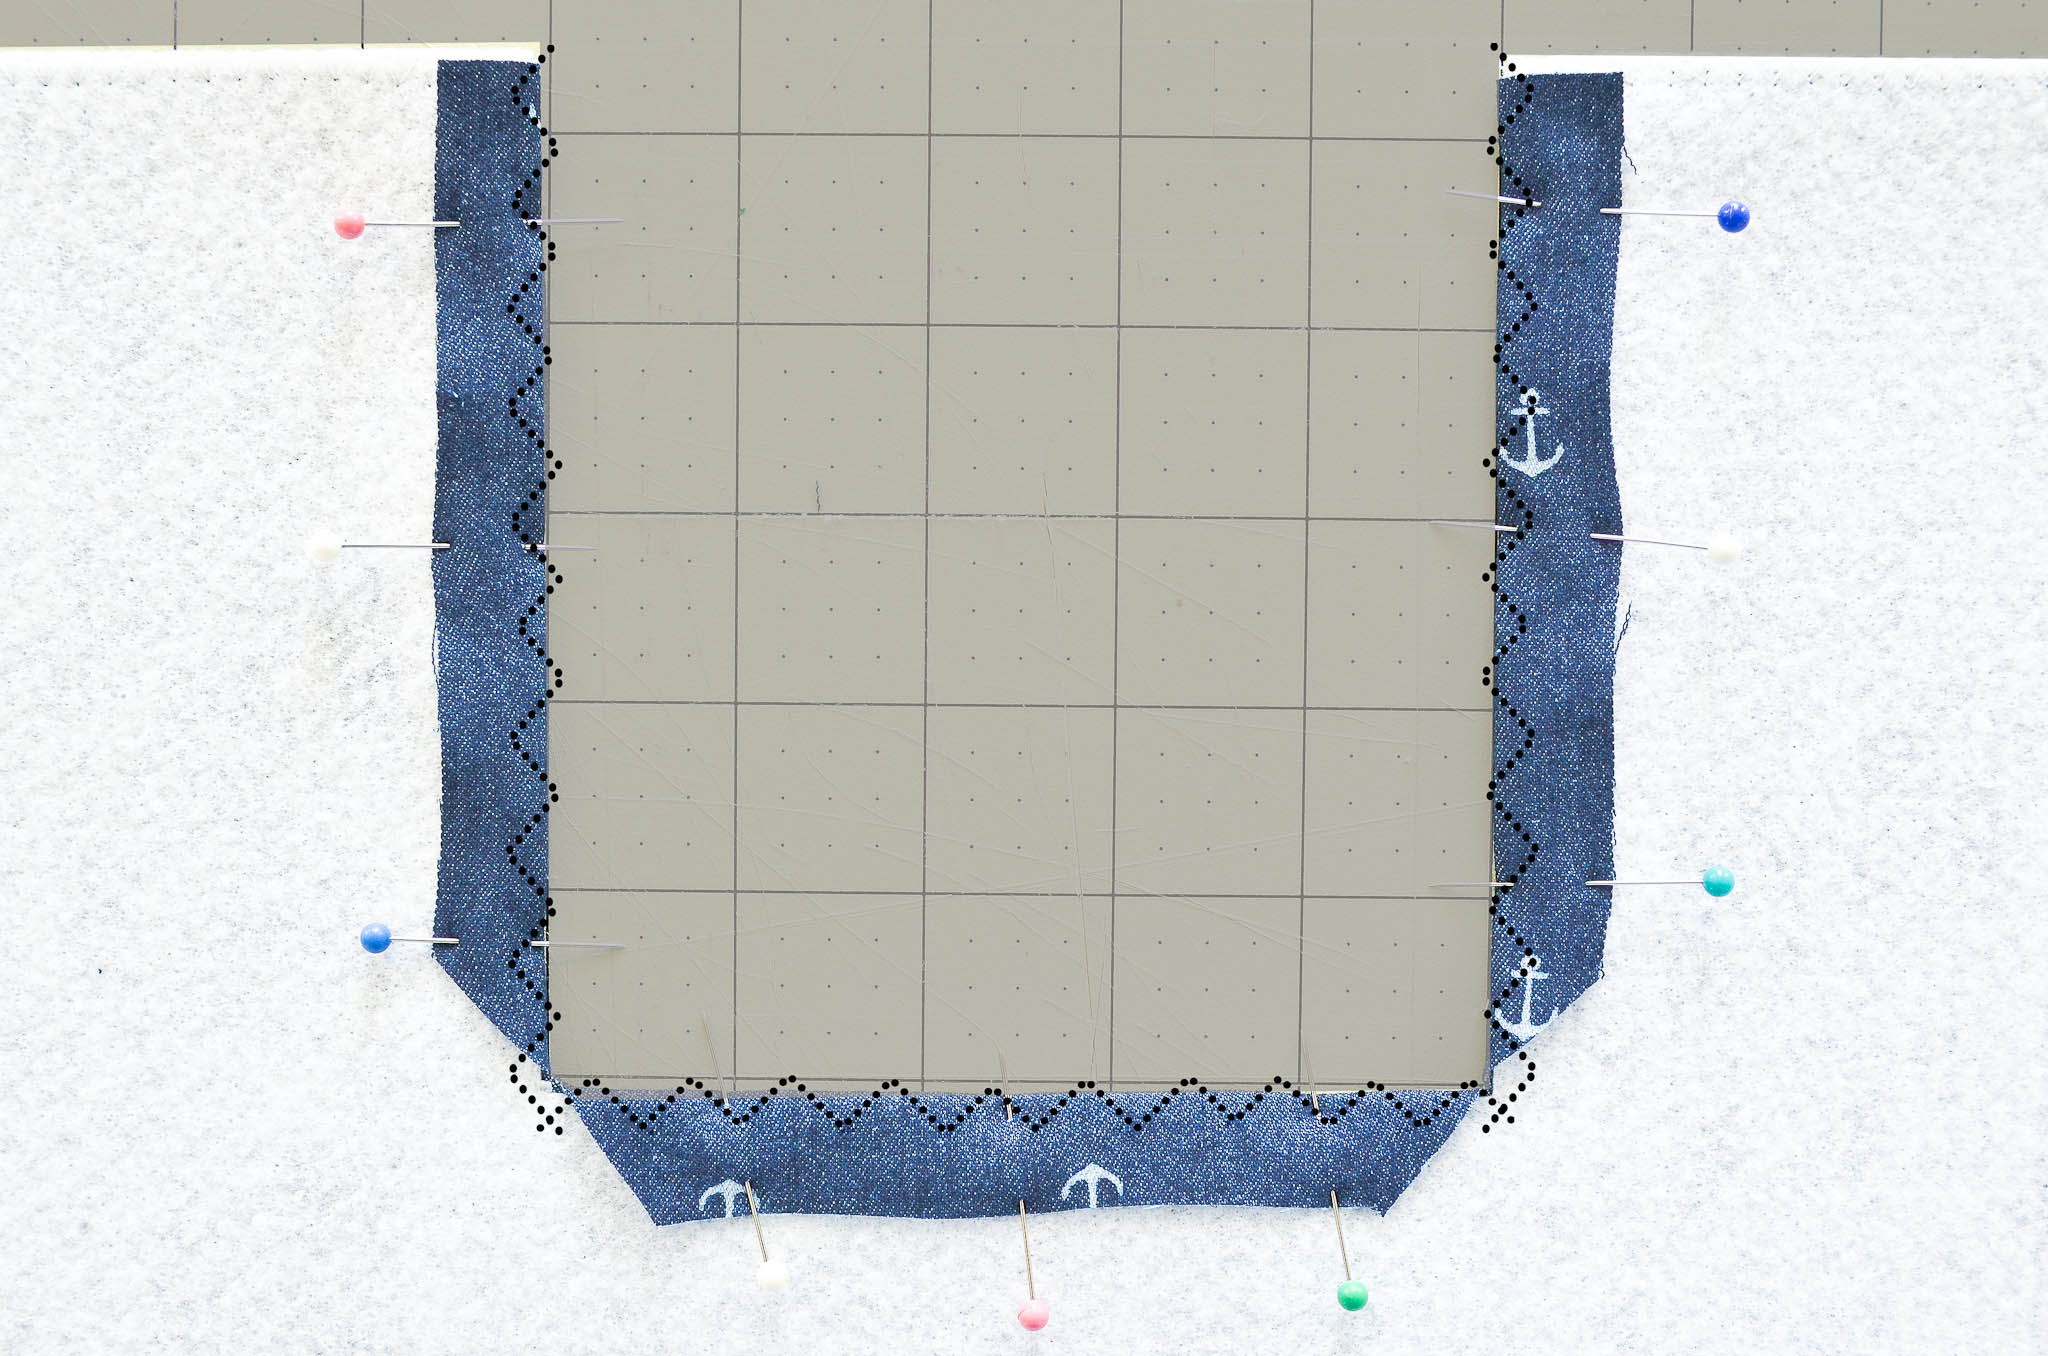
Just like on the muslin, add 1/2″ to the inside of the handle cut-out. Cut the corners diagonally.
Fold the printed fabric over the stabilizer and pin down. Change your thread and bobbin to the colored thread that matches your printed fabric. Zigzag stitch the flaps down.
Repeat on the other handle cut-out.
Fold the bin body in half, right sides together, and sew the seam closed.
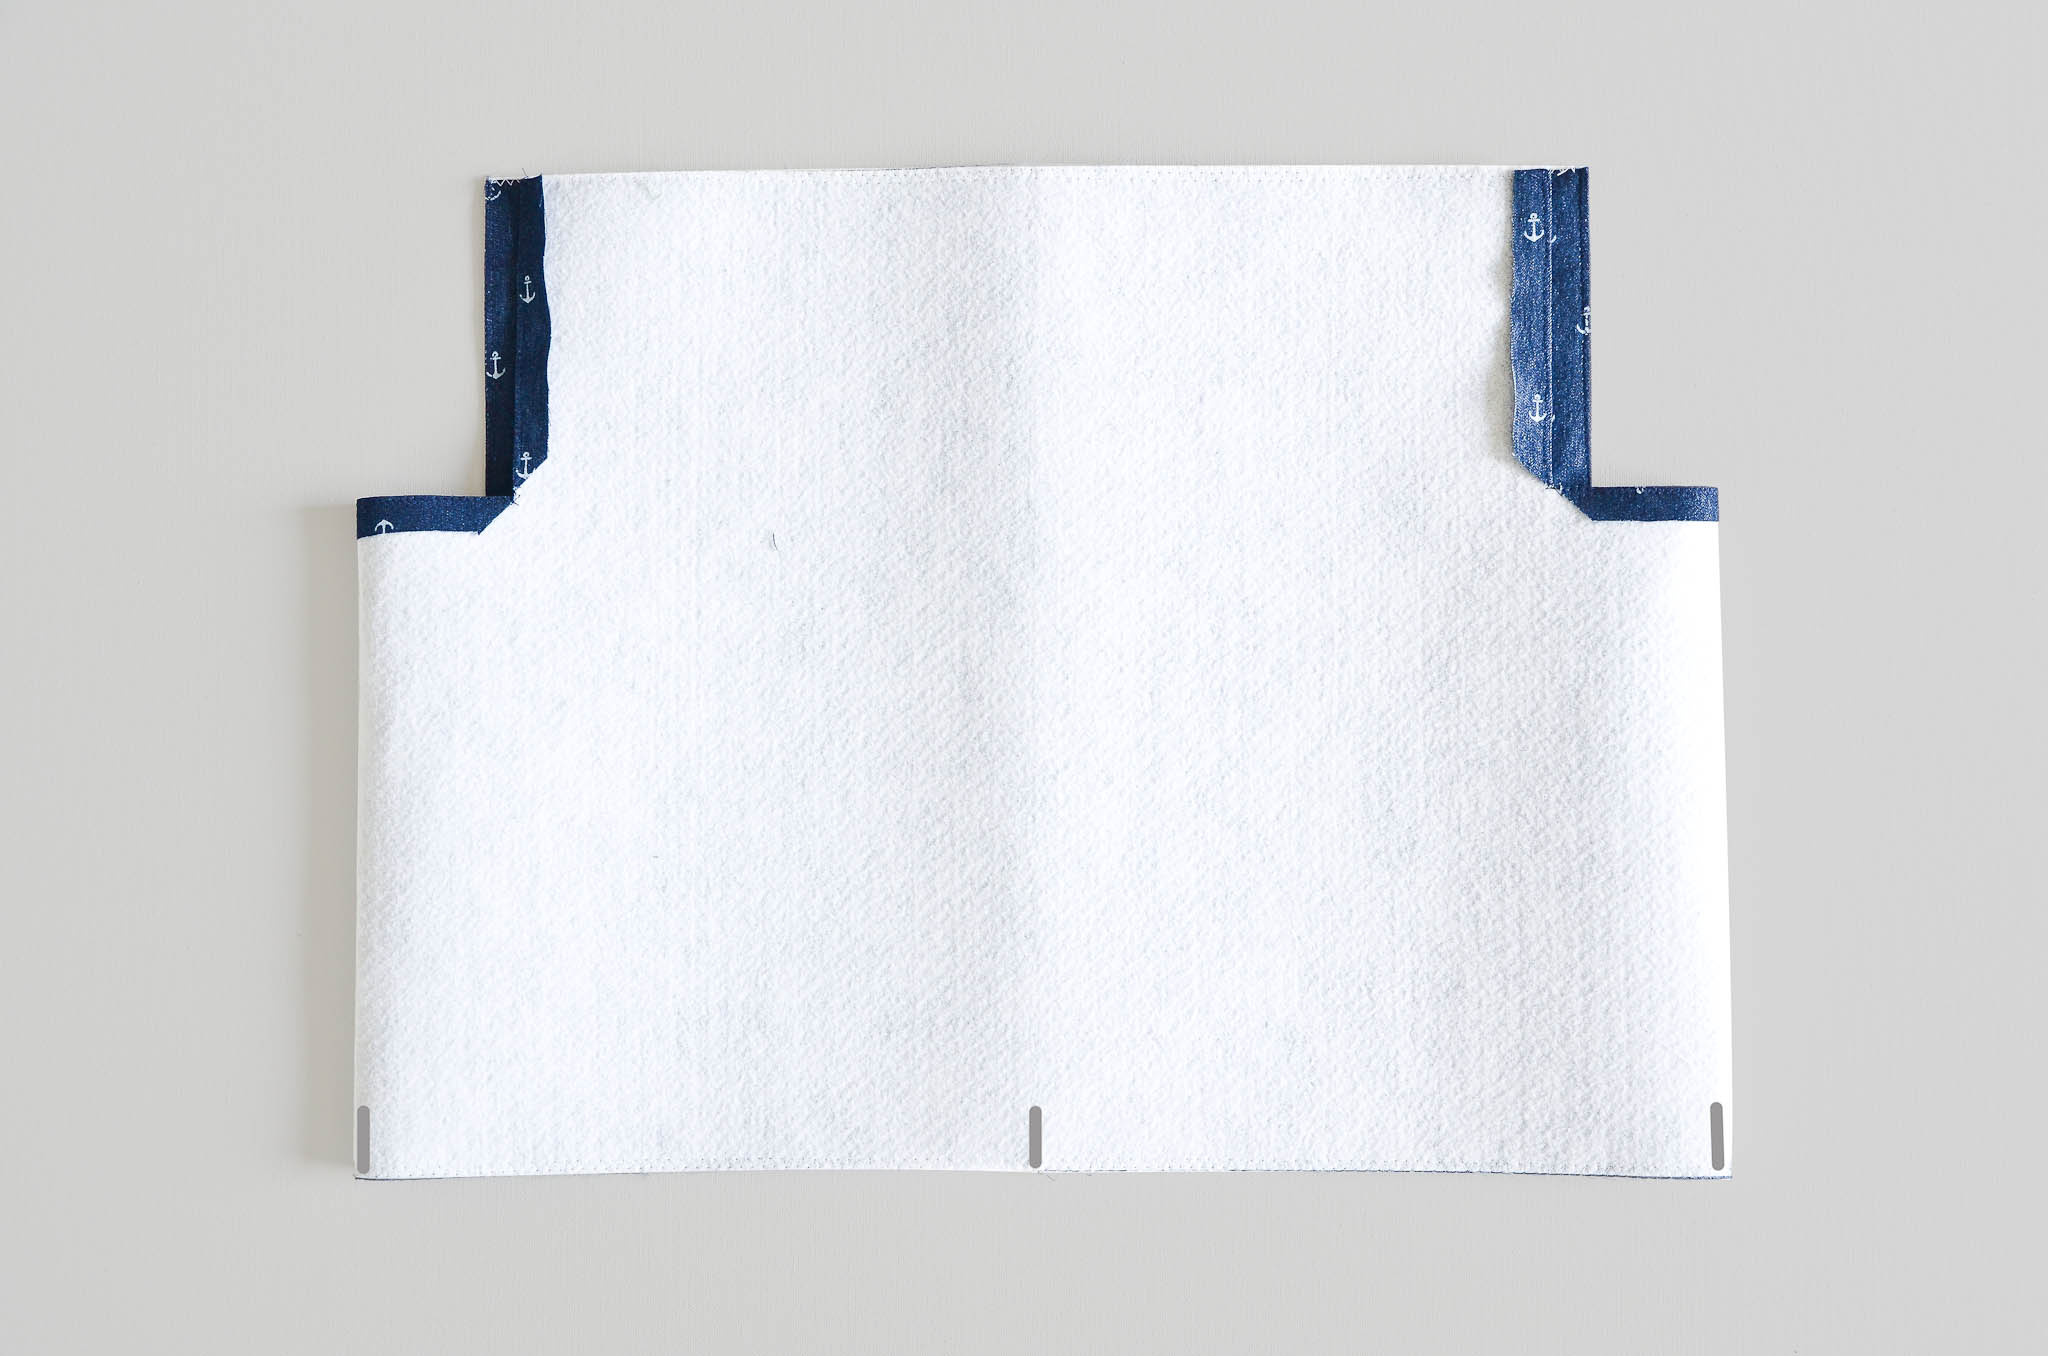
We need to mark our four equal points along the bottom edge here, too. So mark the folded crease with your pencil.
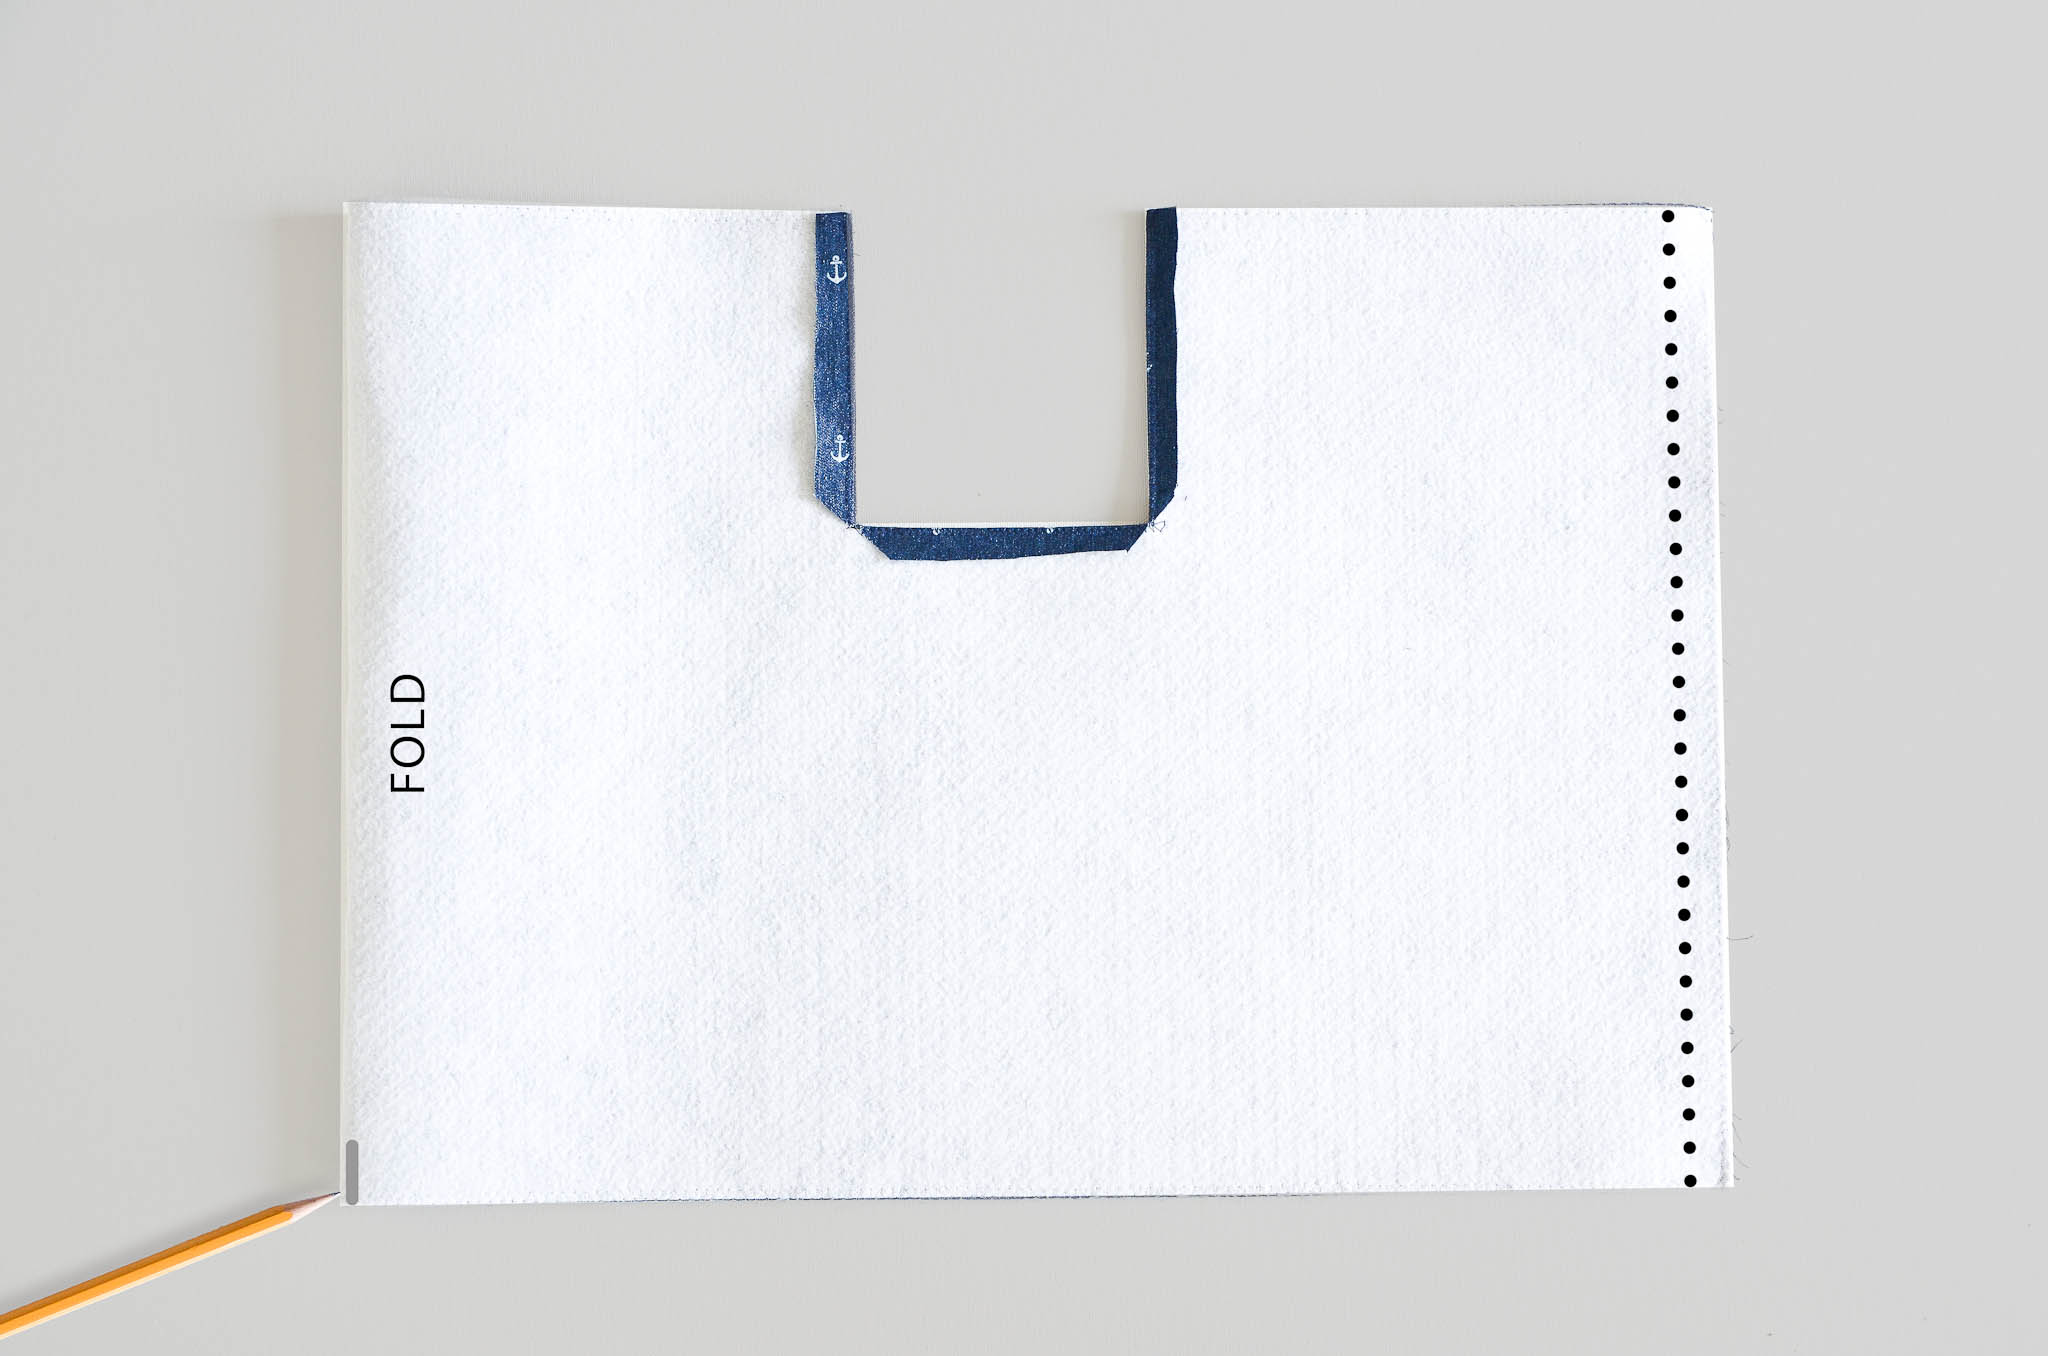
Match that pencil mark with the seam you just sewed. This should fold the fabric in half the opposite way. Mark the two new side creases with your pencil to get four equal points (the three pencil marks and one seam).
With right sides together, match one of the four pencil marks on your bin bottom circle with the seam of your bin body. Pin together.
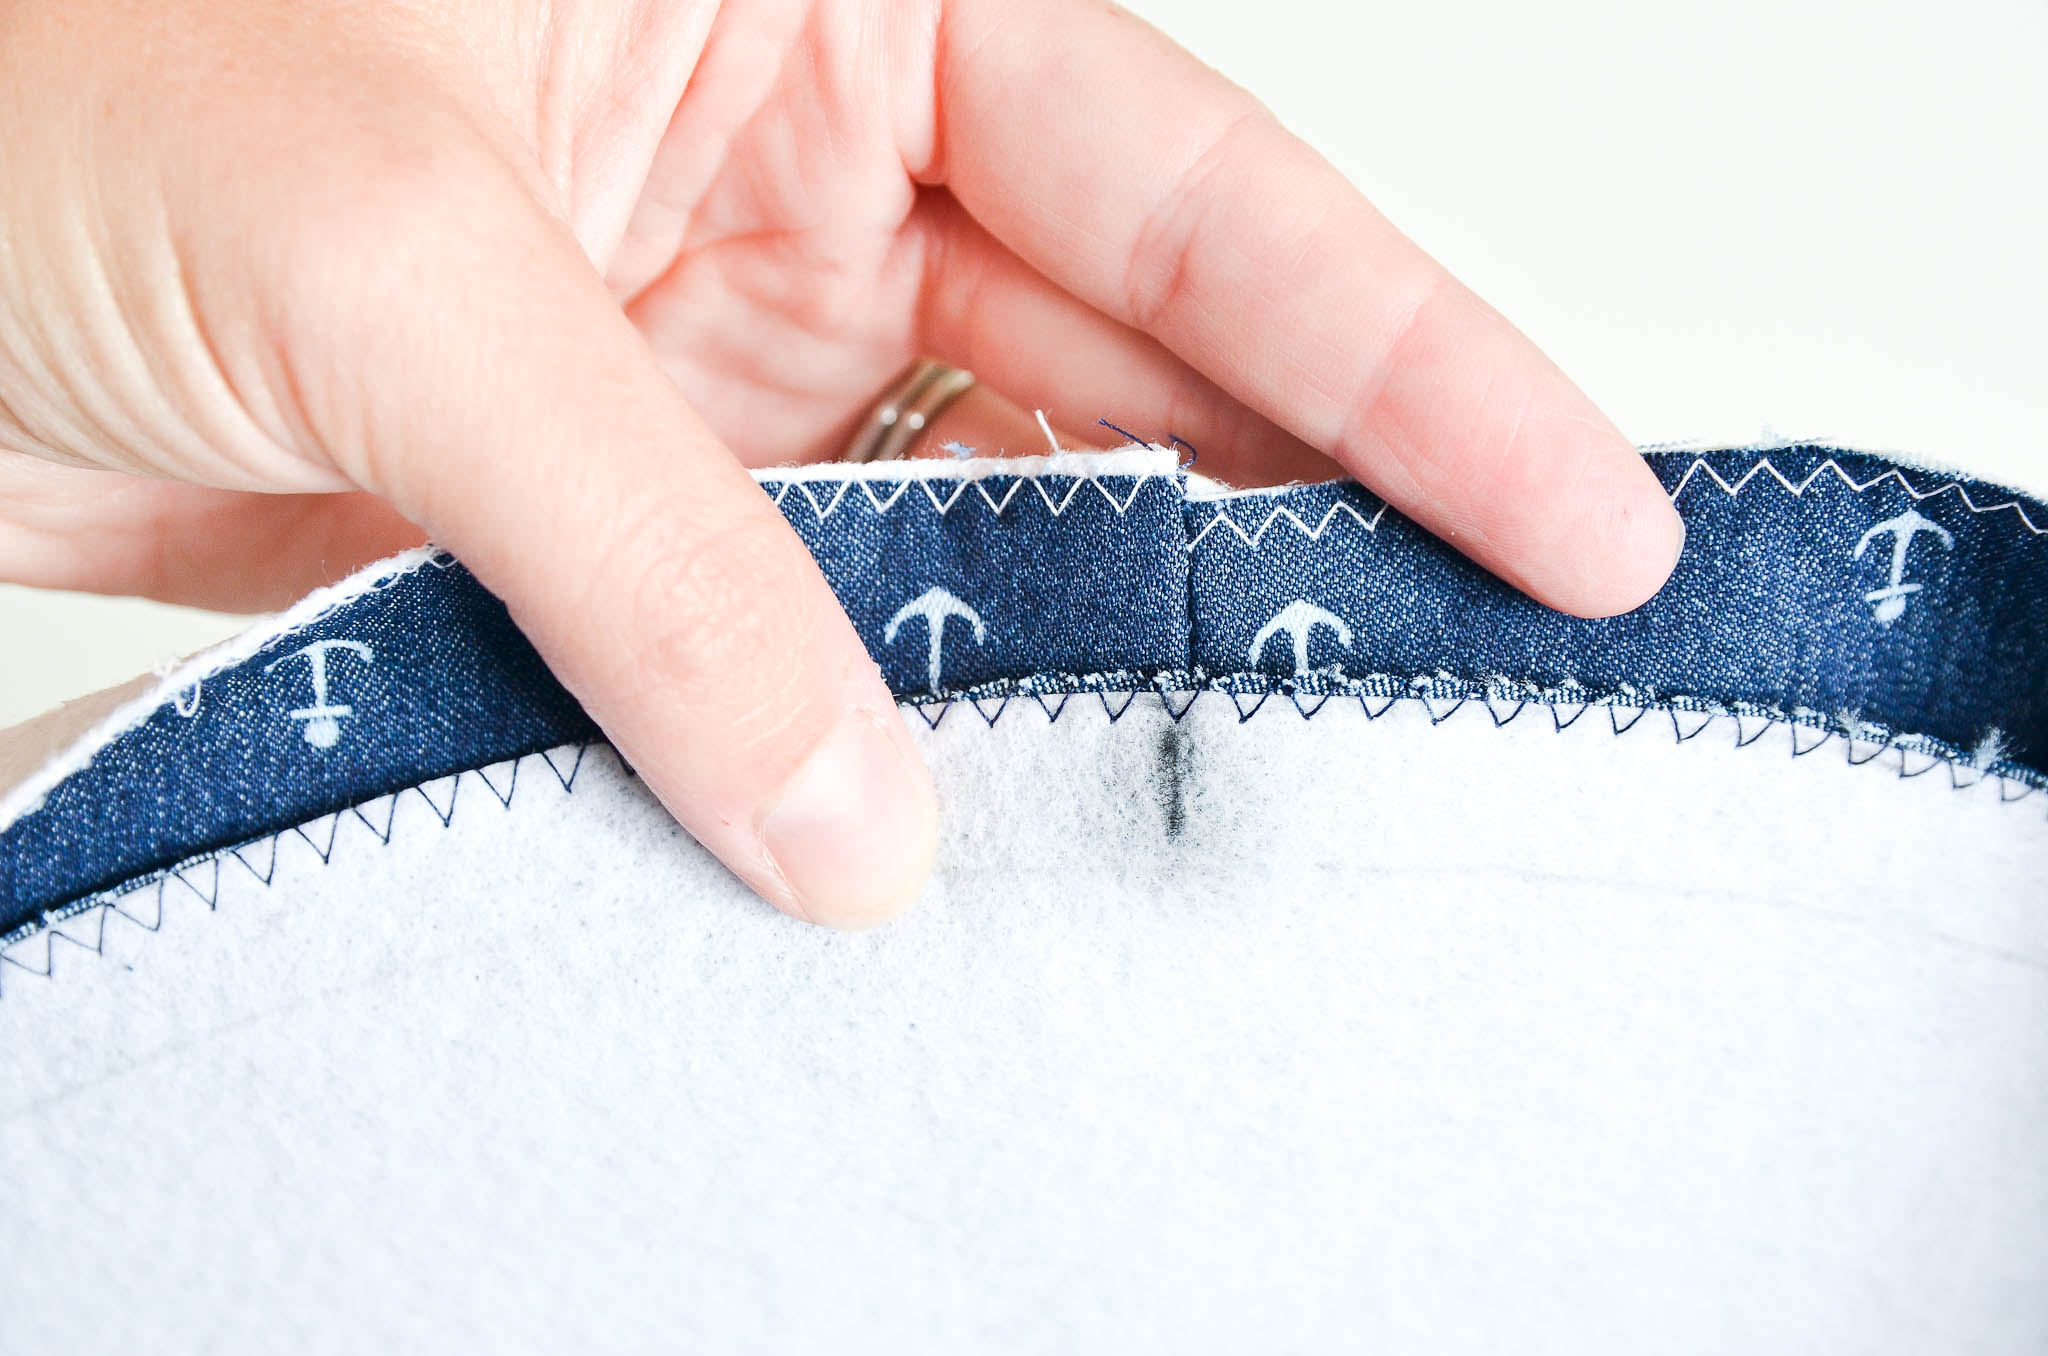
Align the other three pencil marks and pin the rest of the bin bottom to the bin body.
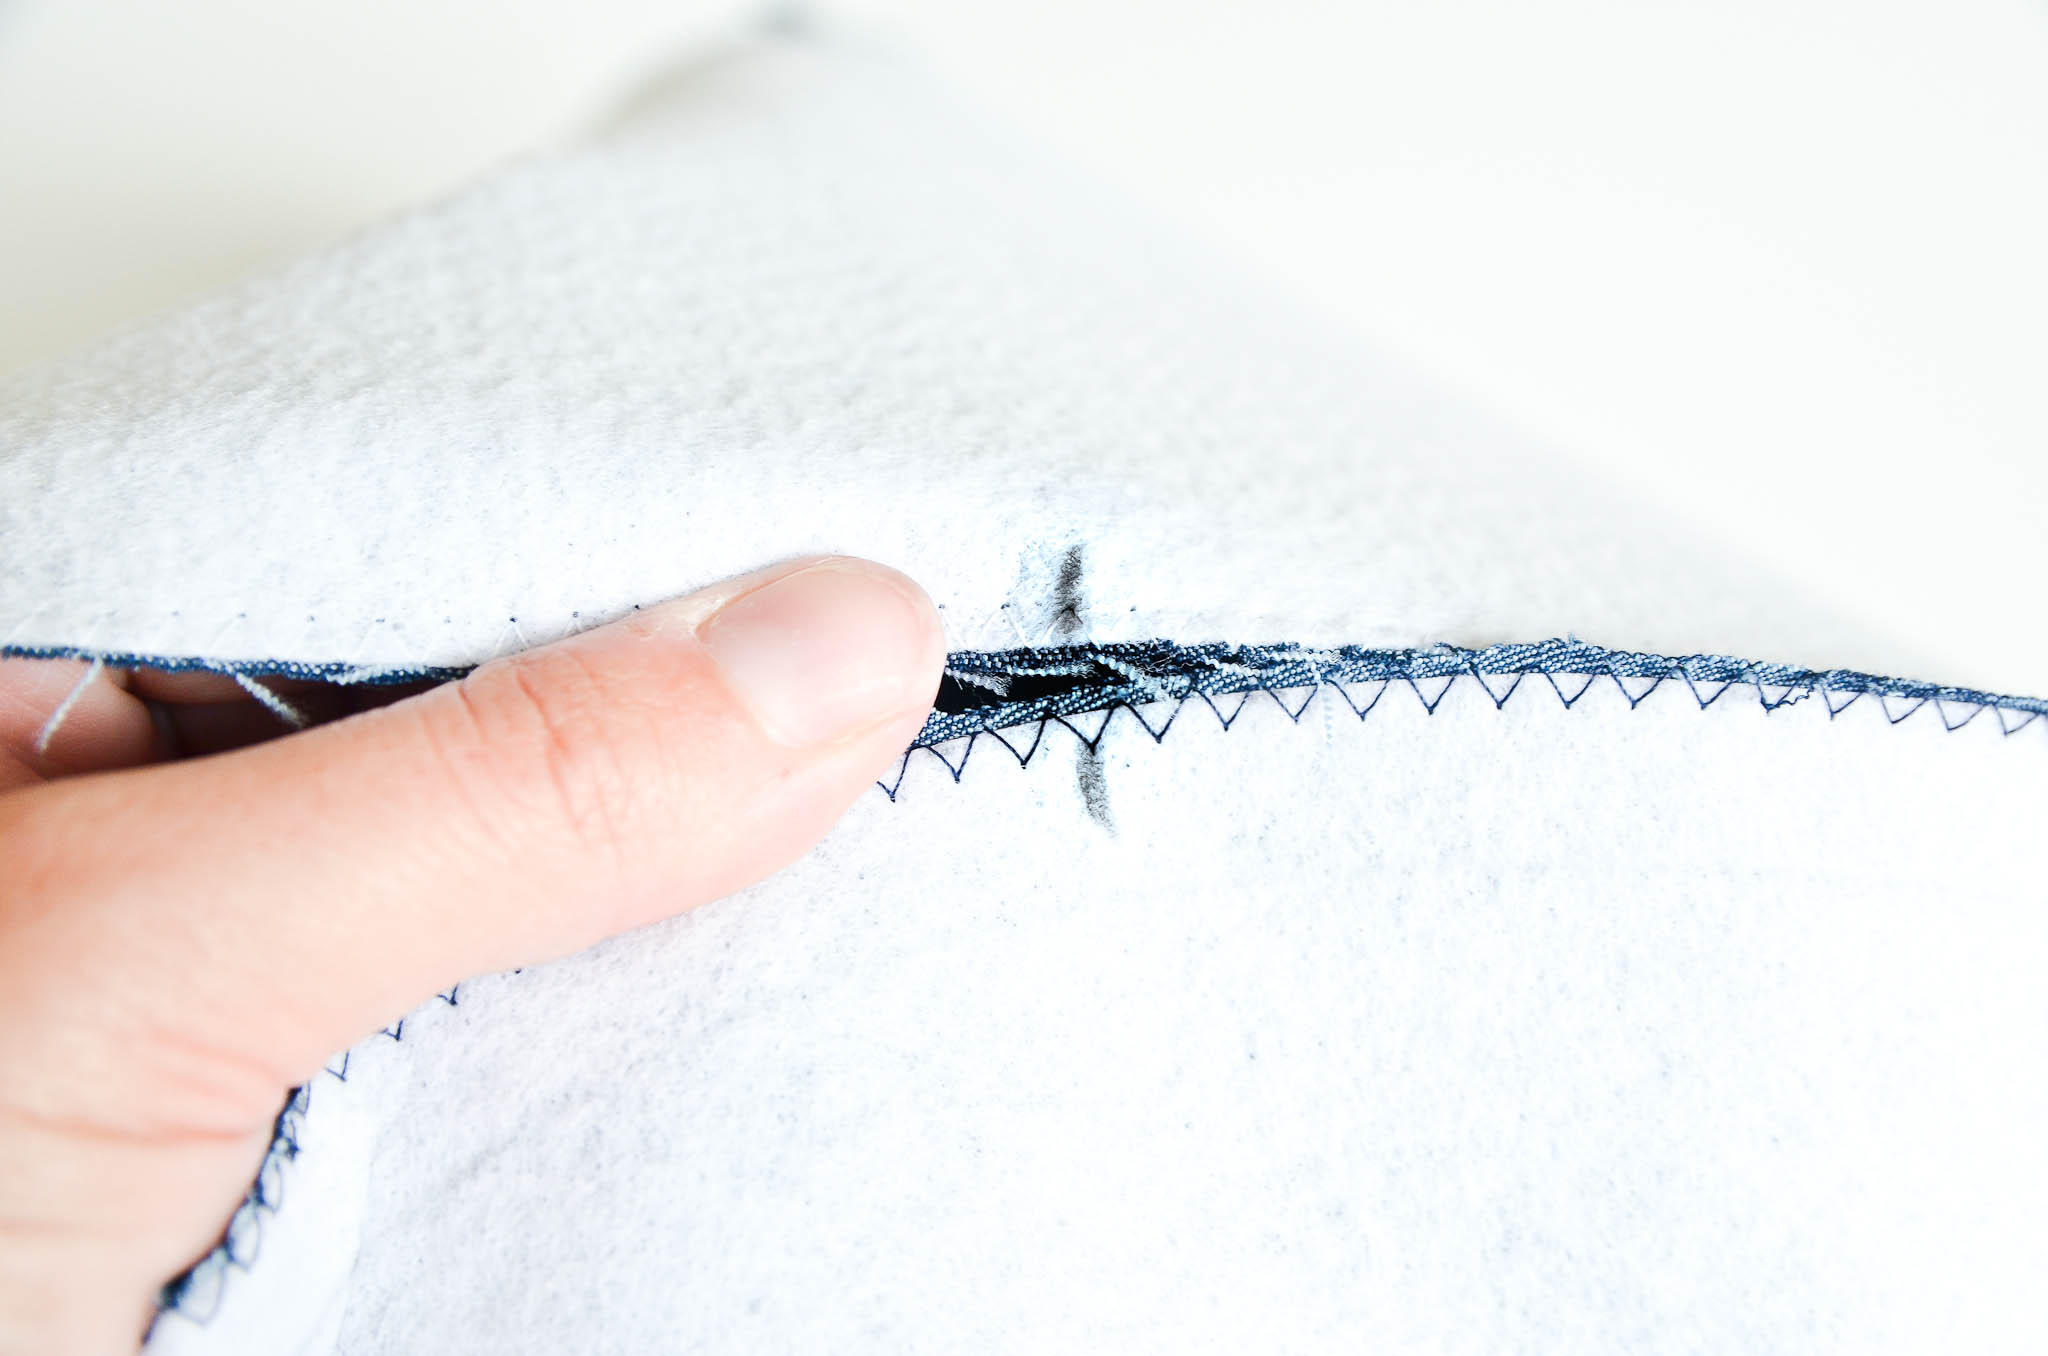
Sew the bin bottom to the bin body.
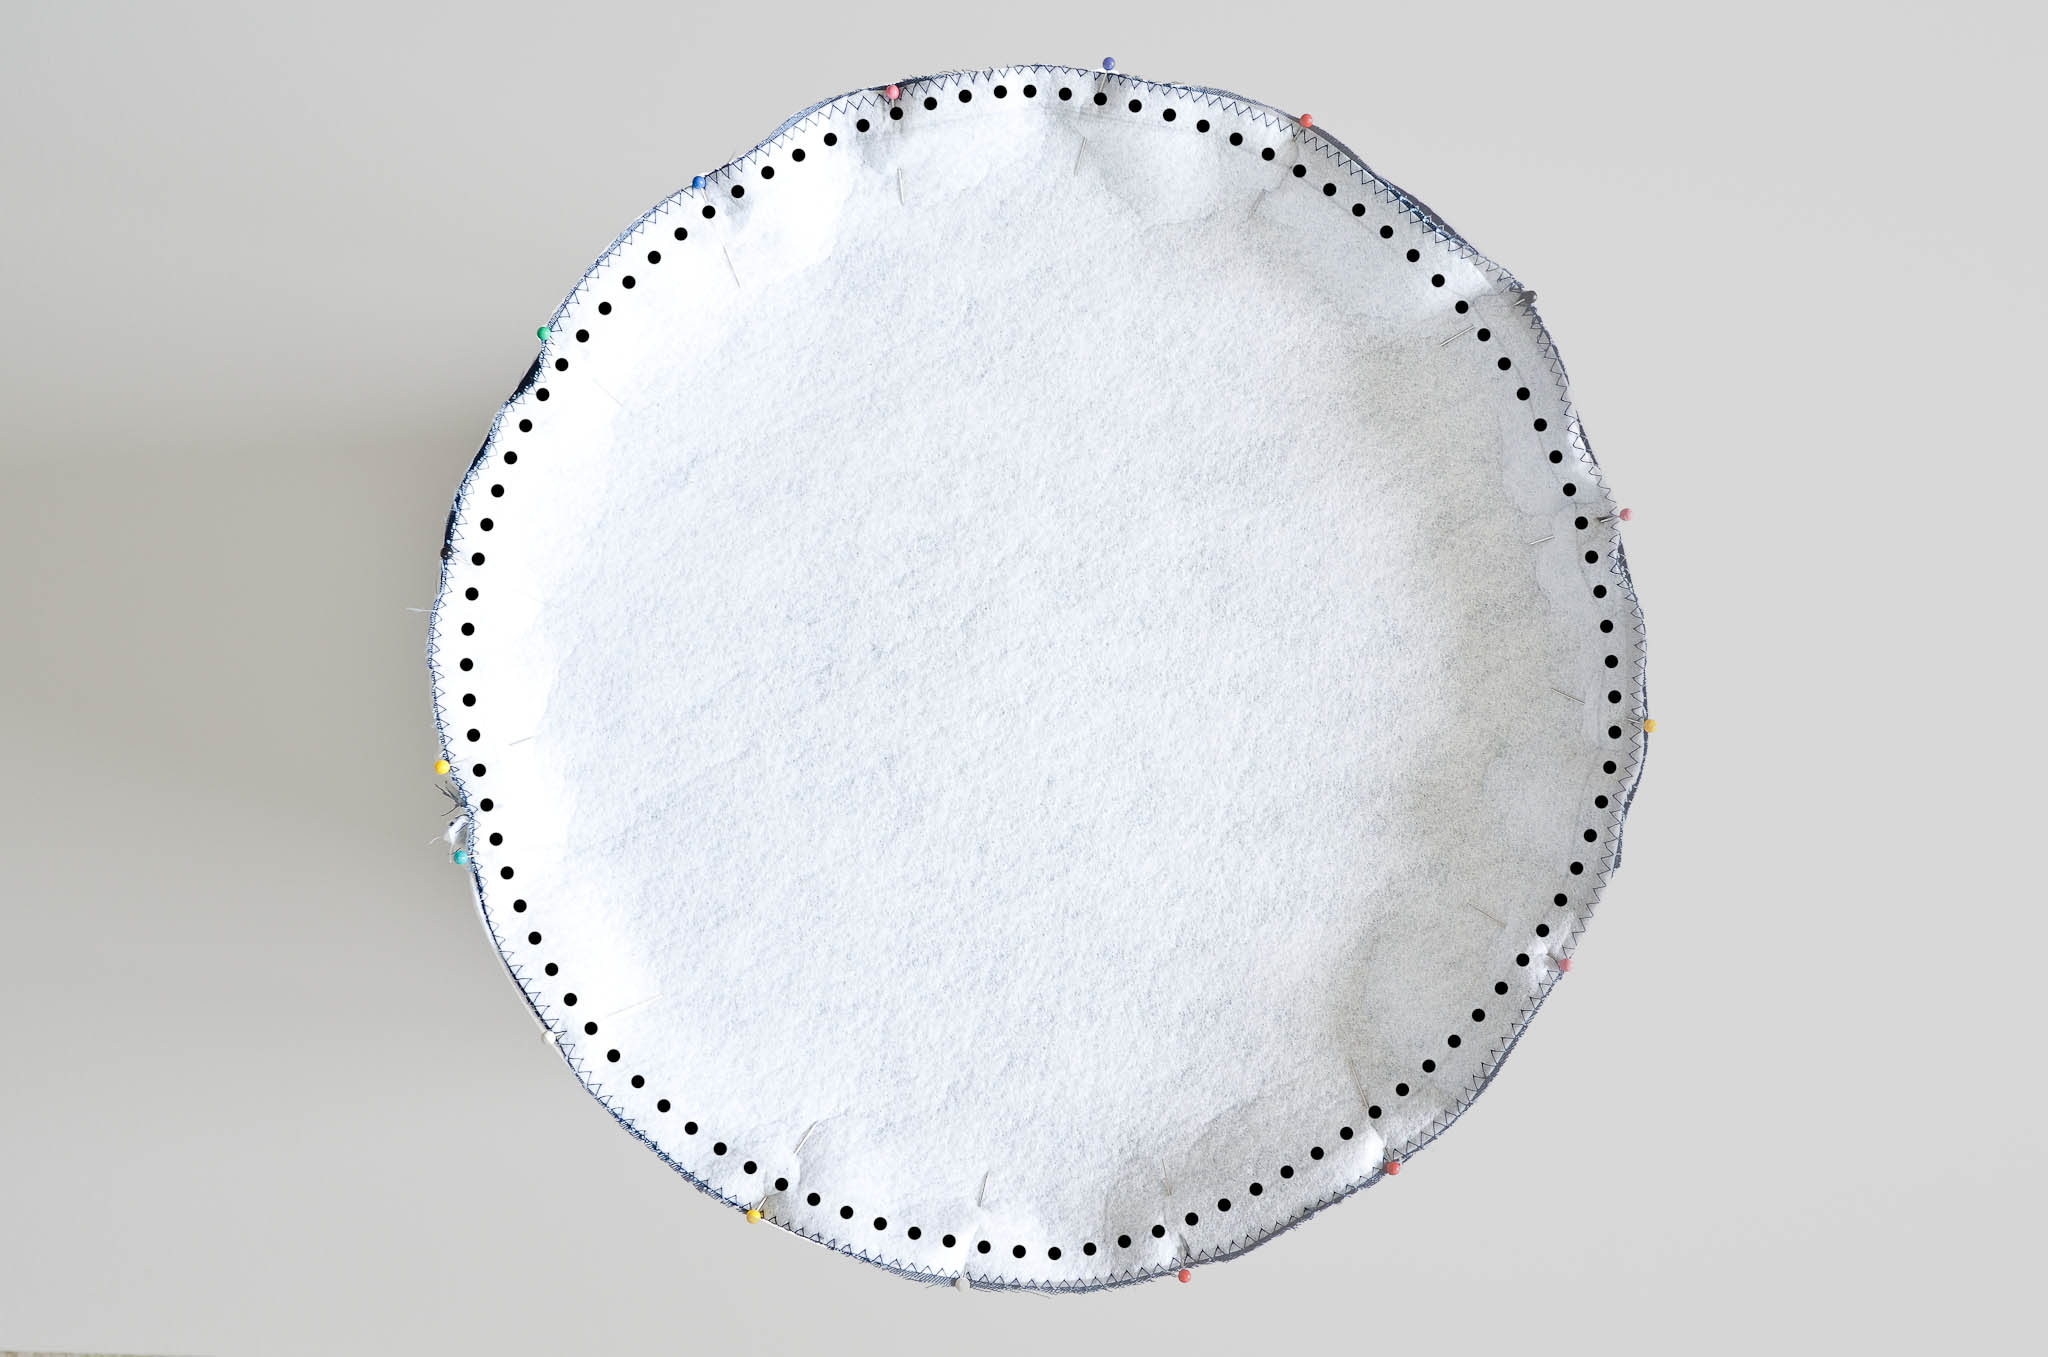
Turn right-side-out.
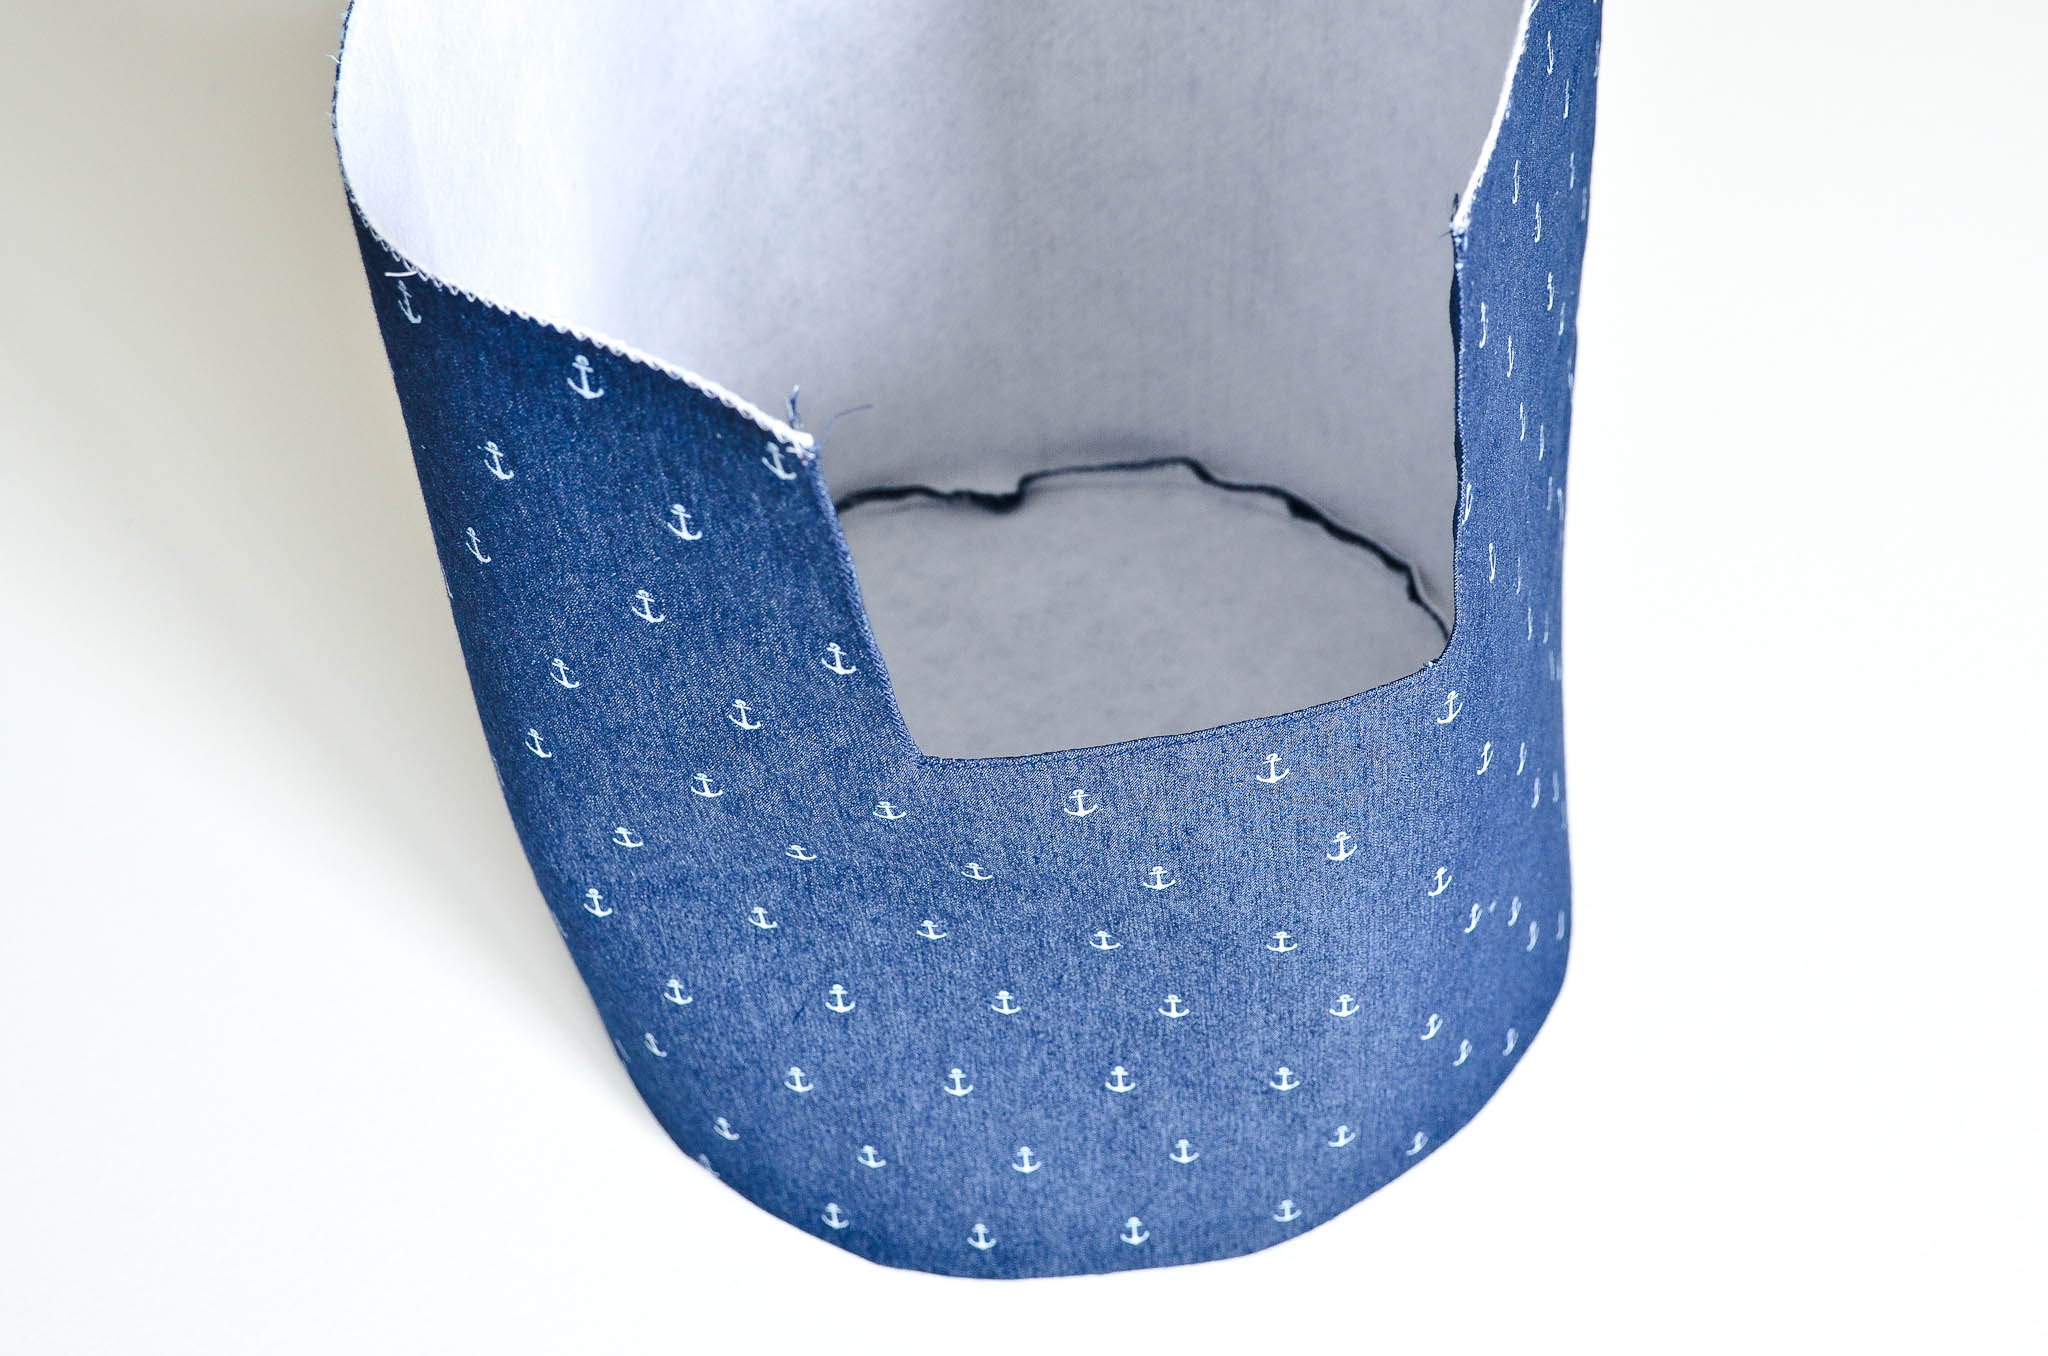
With wrong sides together, nestle the muslin liner inside of the bin body. Match up the seams first and pin together.
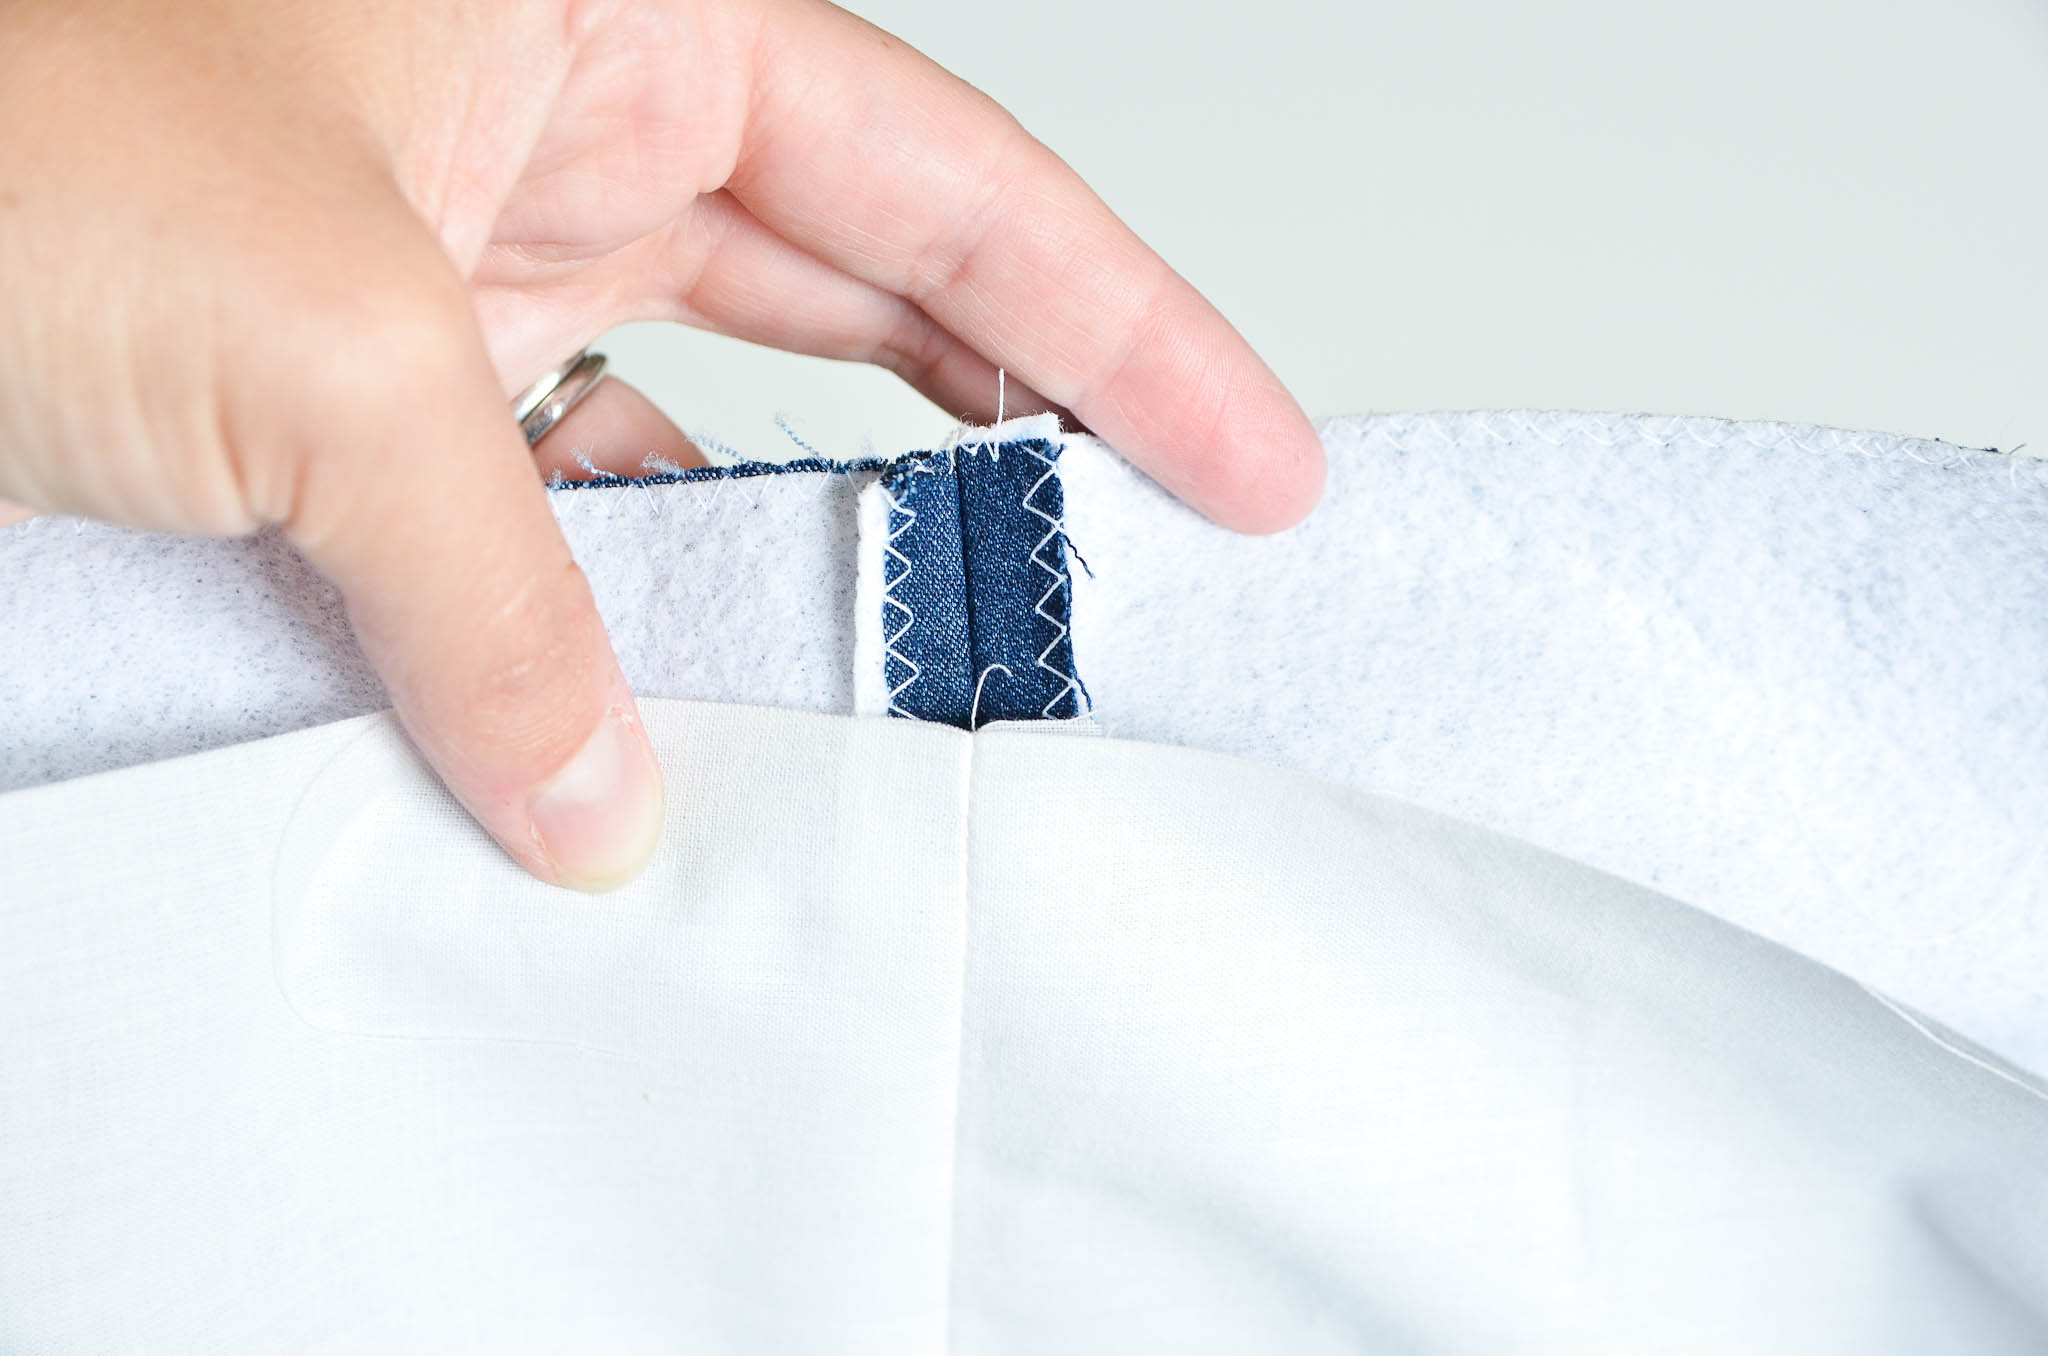
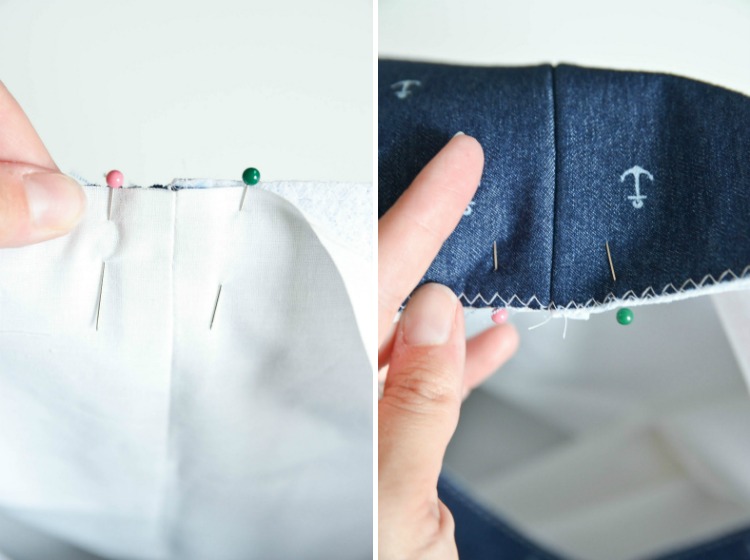
Then match up the handle cut-outs and pin. Sew the handle cut-outs together, first with a 1/2″ seam allowance and then again with only a 1/4″ seam allowance. Repeat on the second handle cut-out.
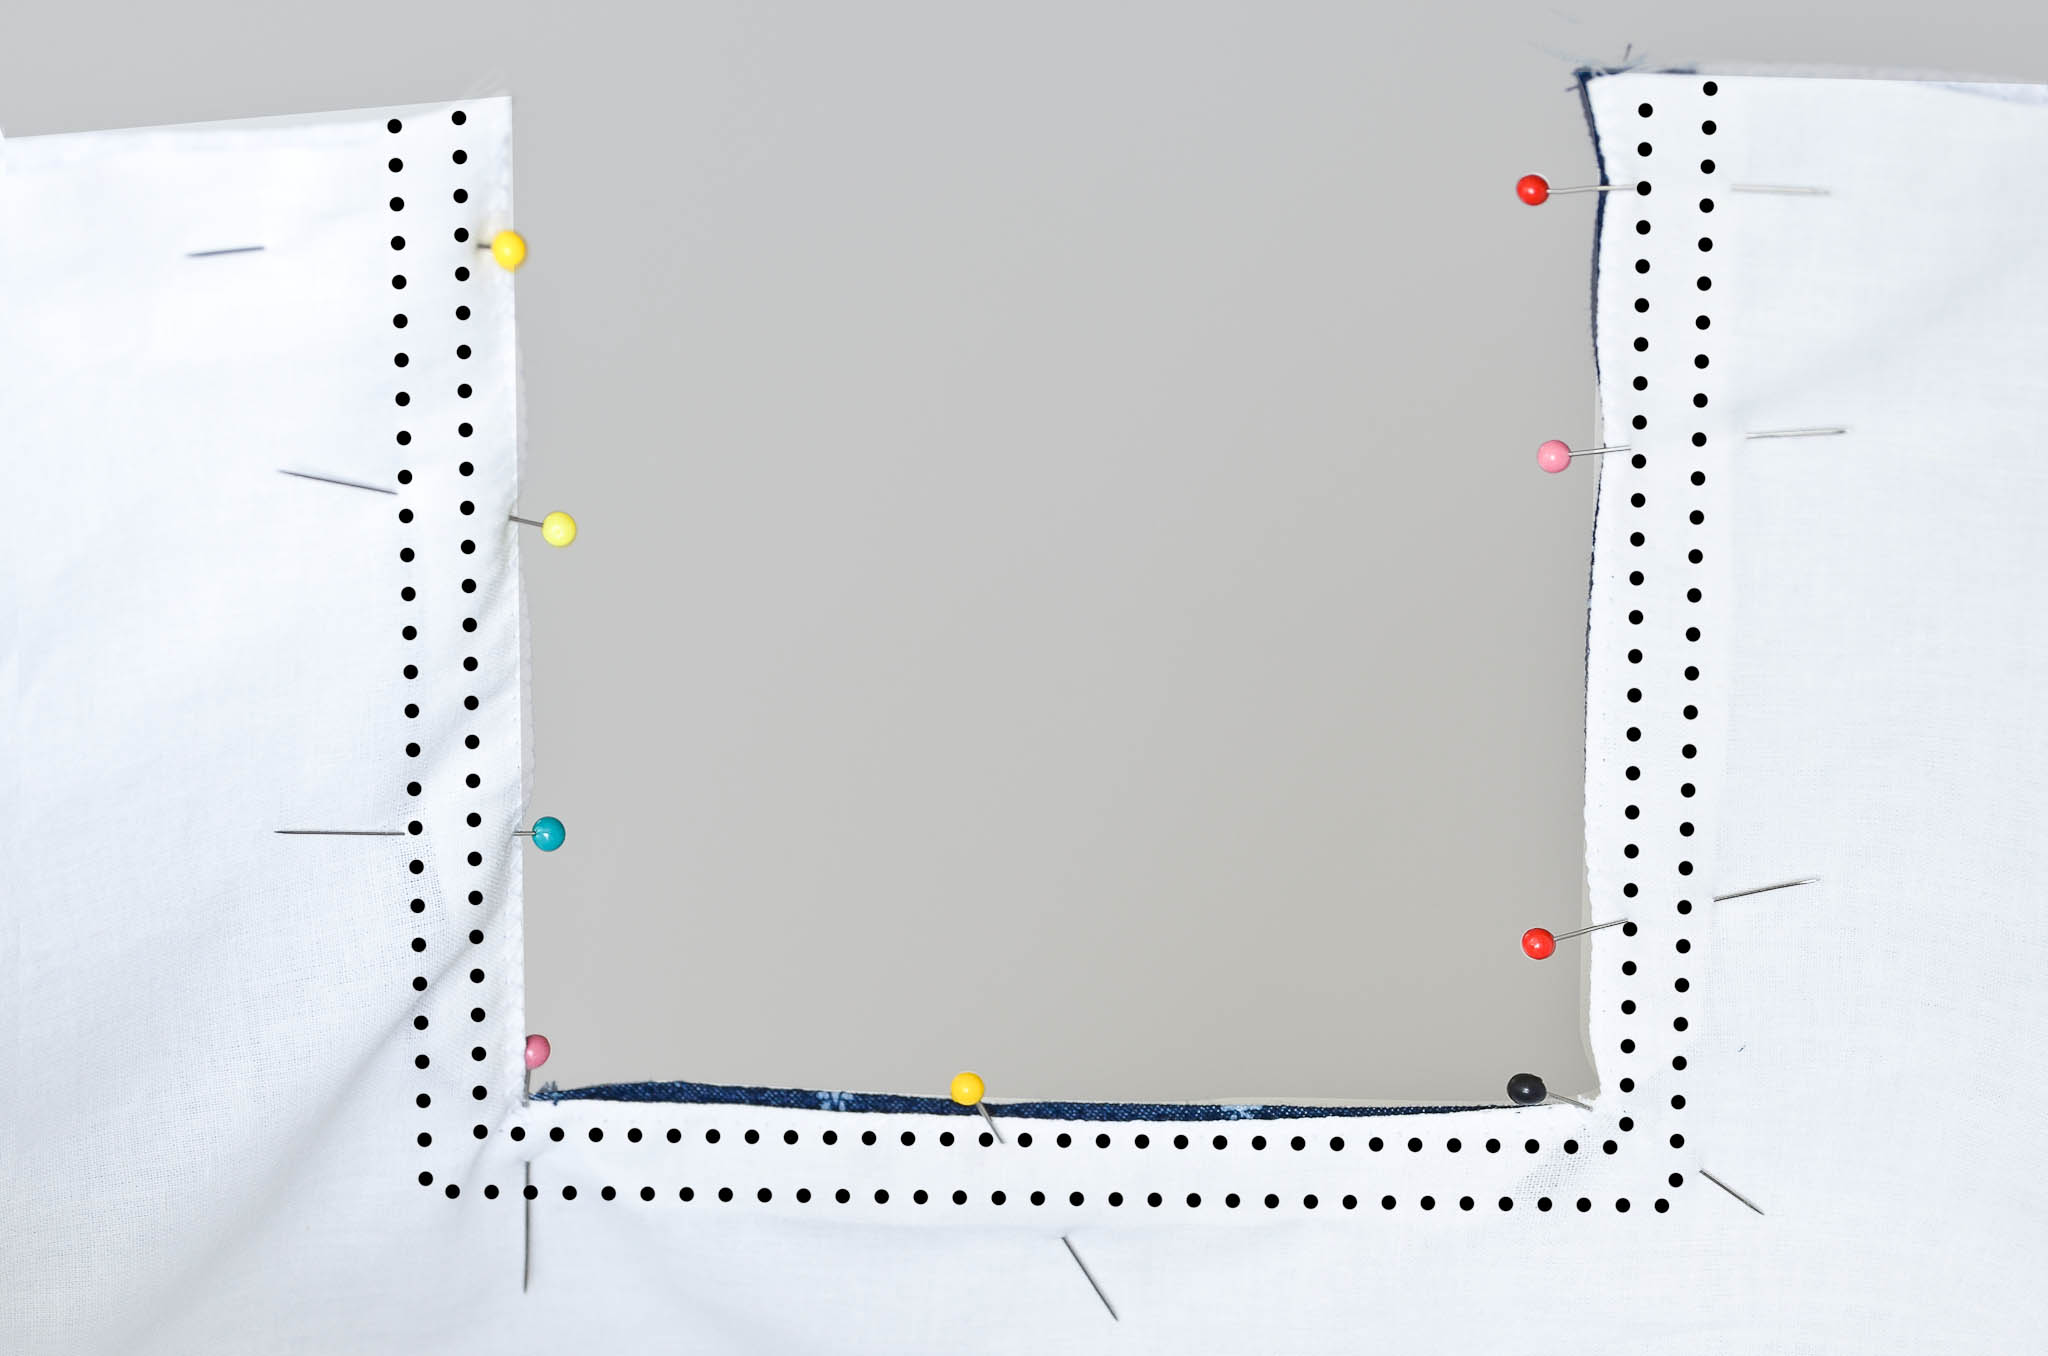
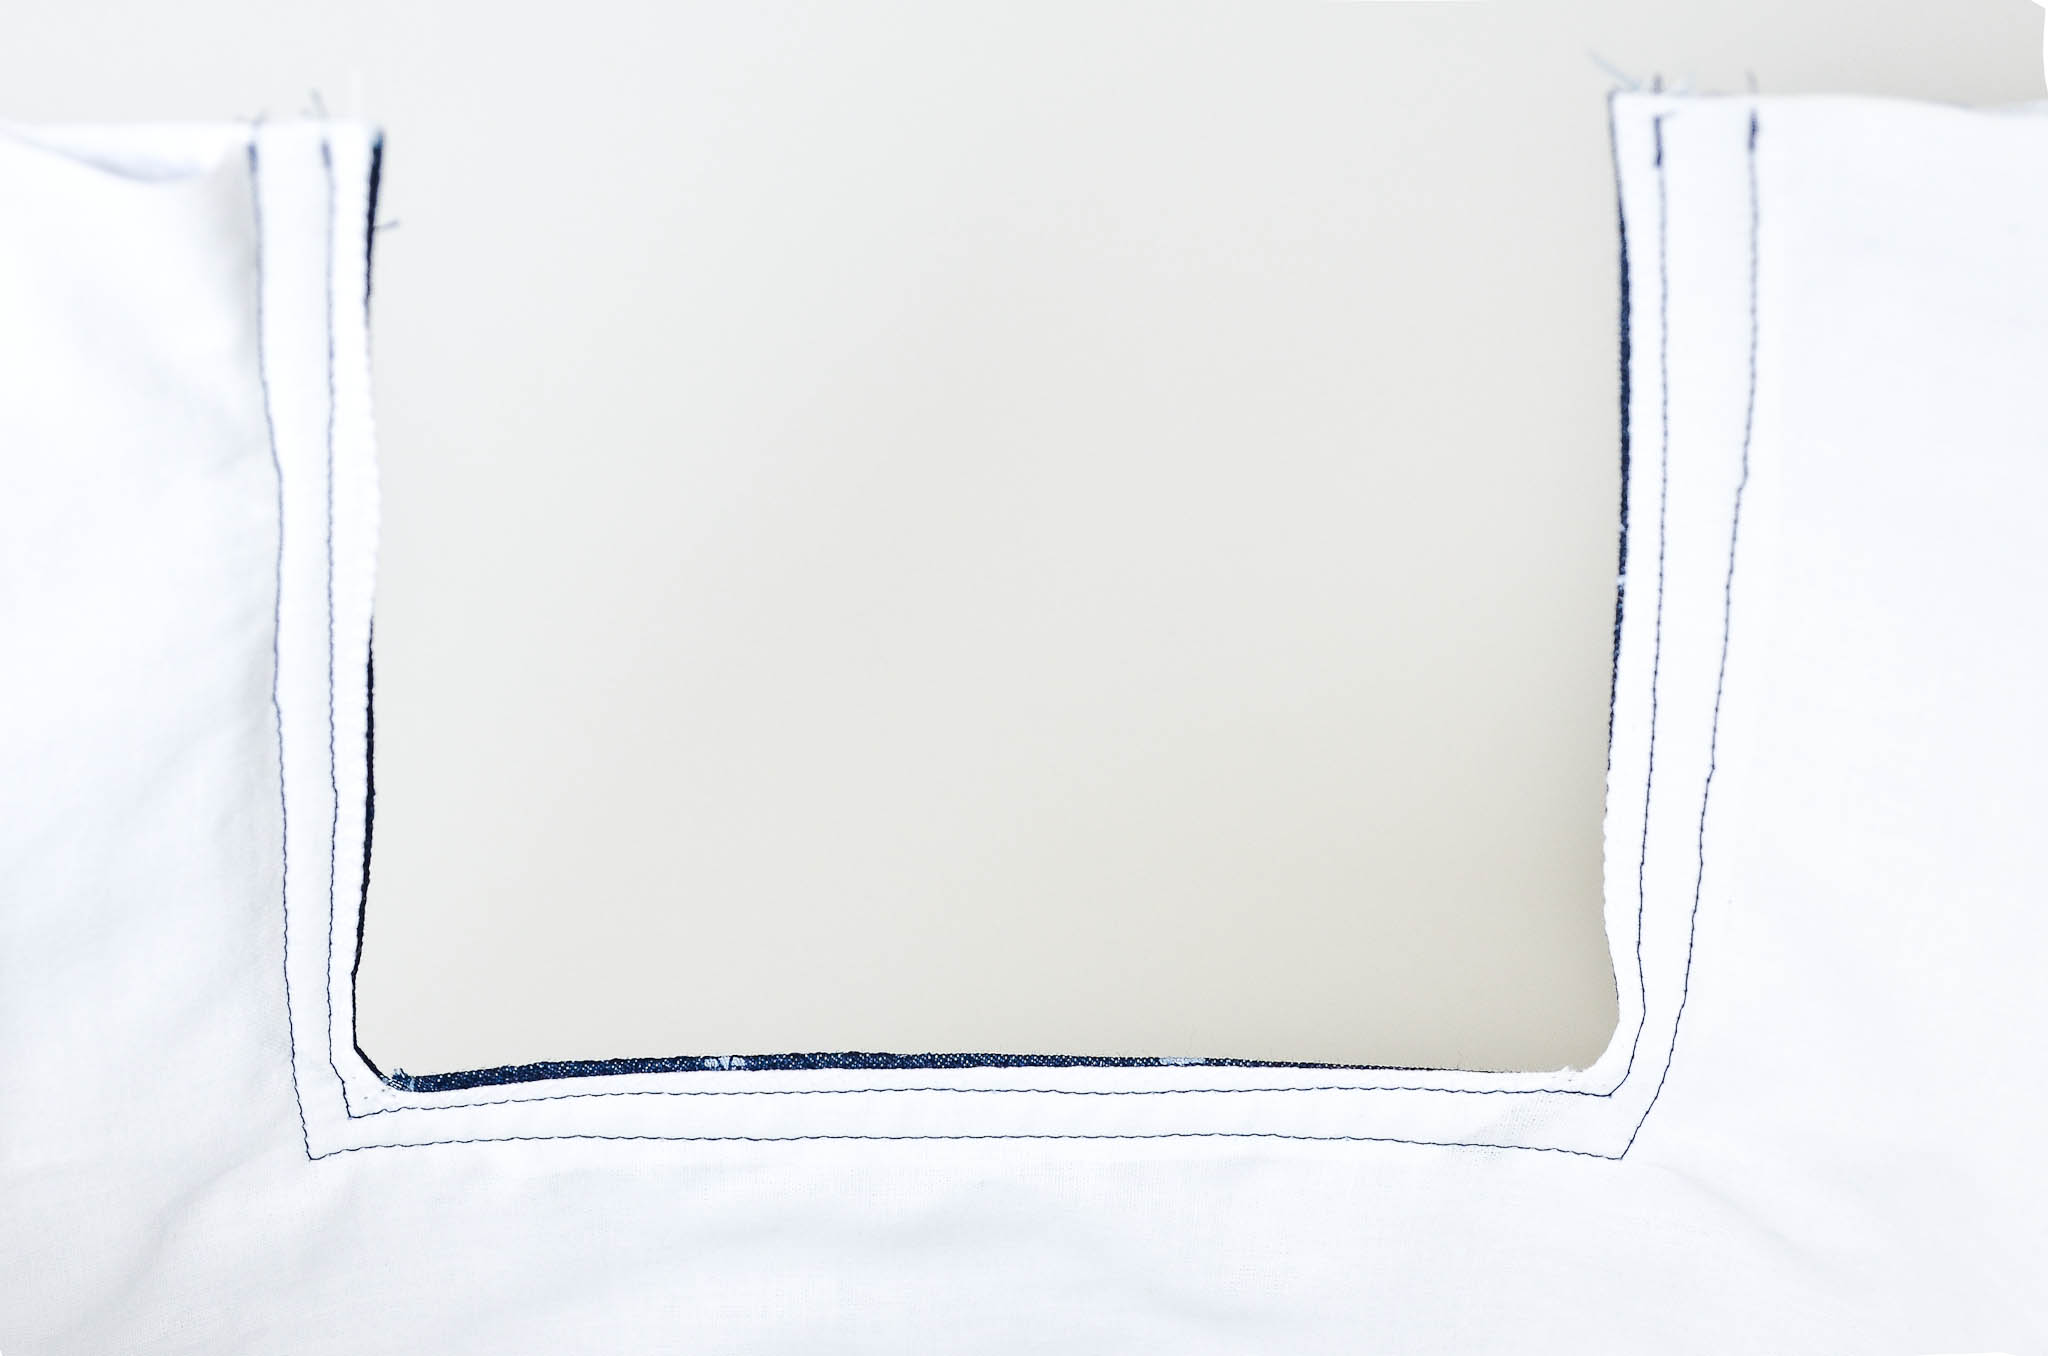
I should mention that this will be awkward to sew. If the bin is all up in yo’ face, you’re doing it right.
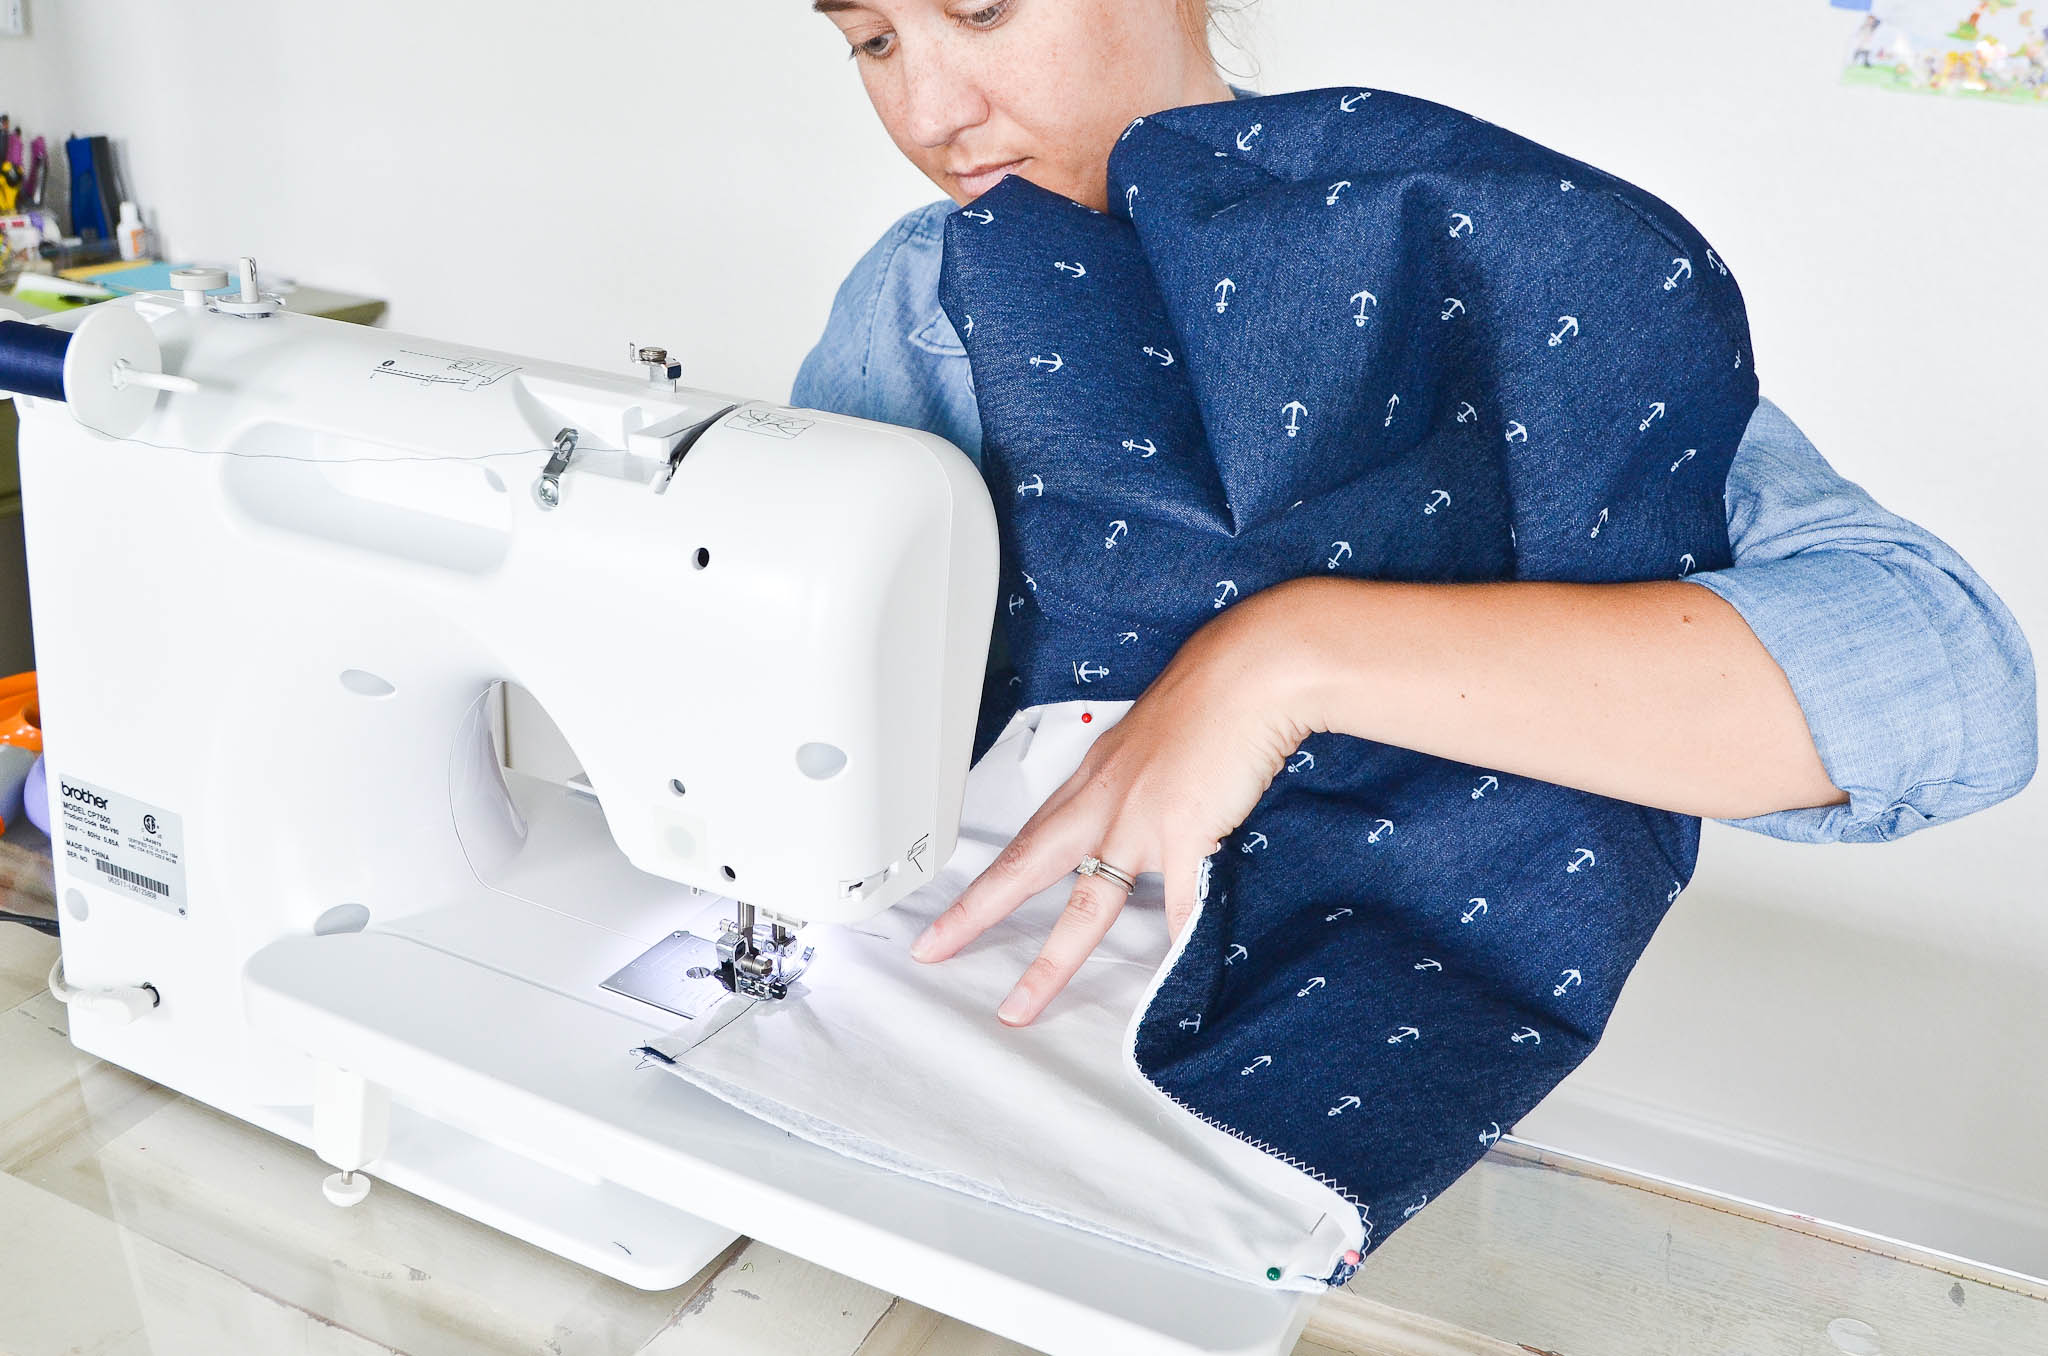
Fold the top edge of the bin over 1/2″ and sew down. Repeat on the other top edge.
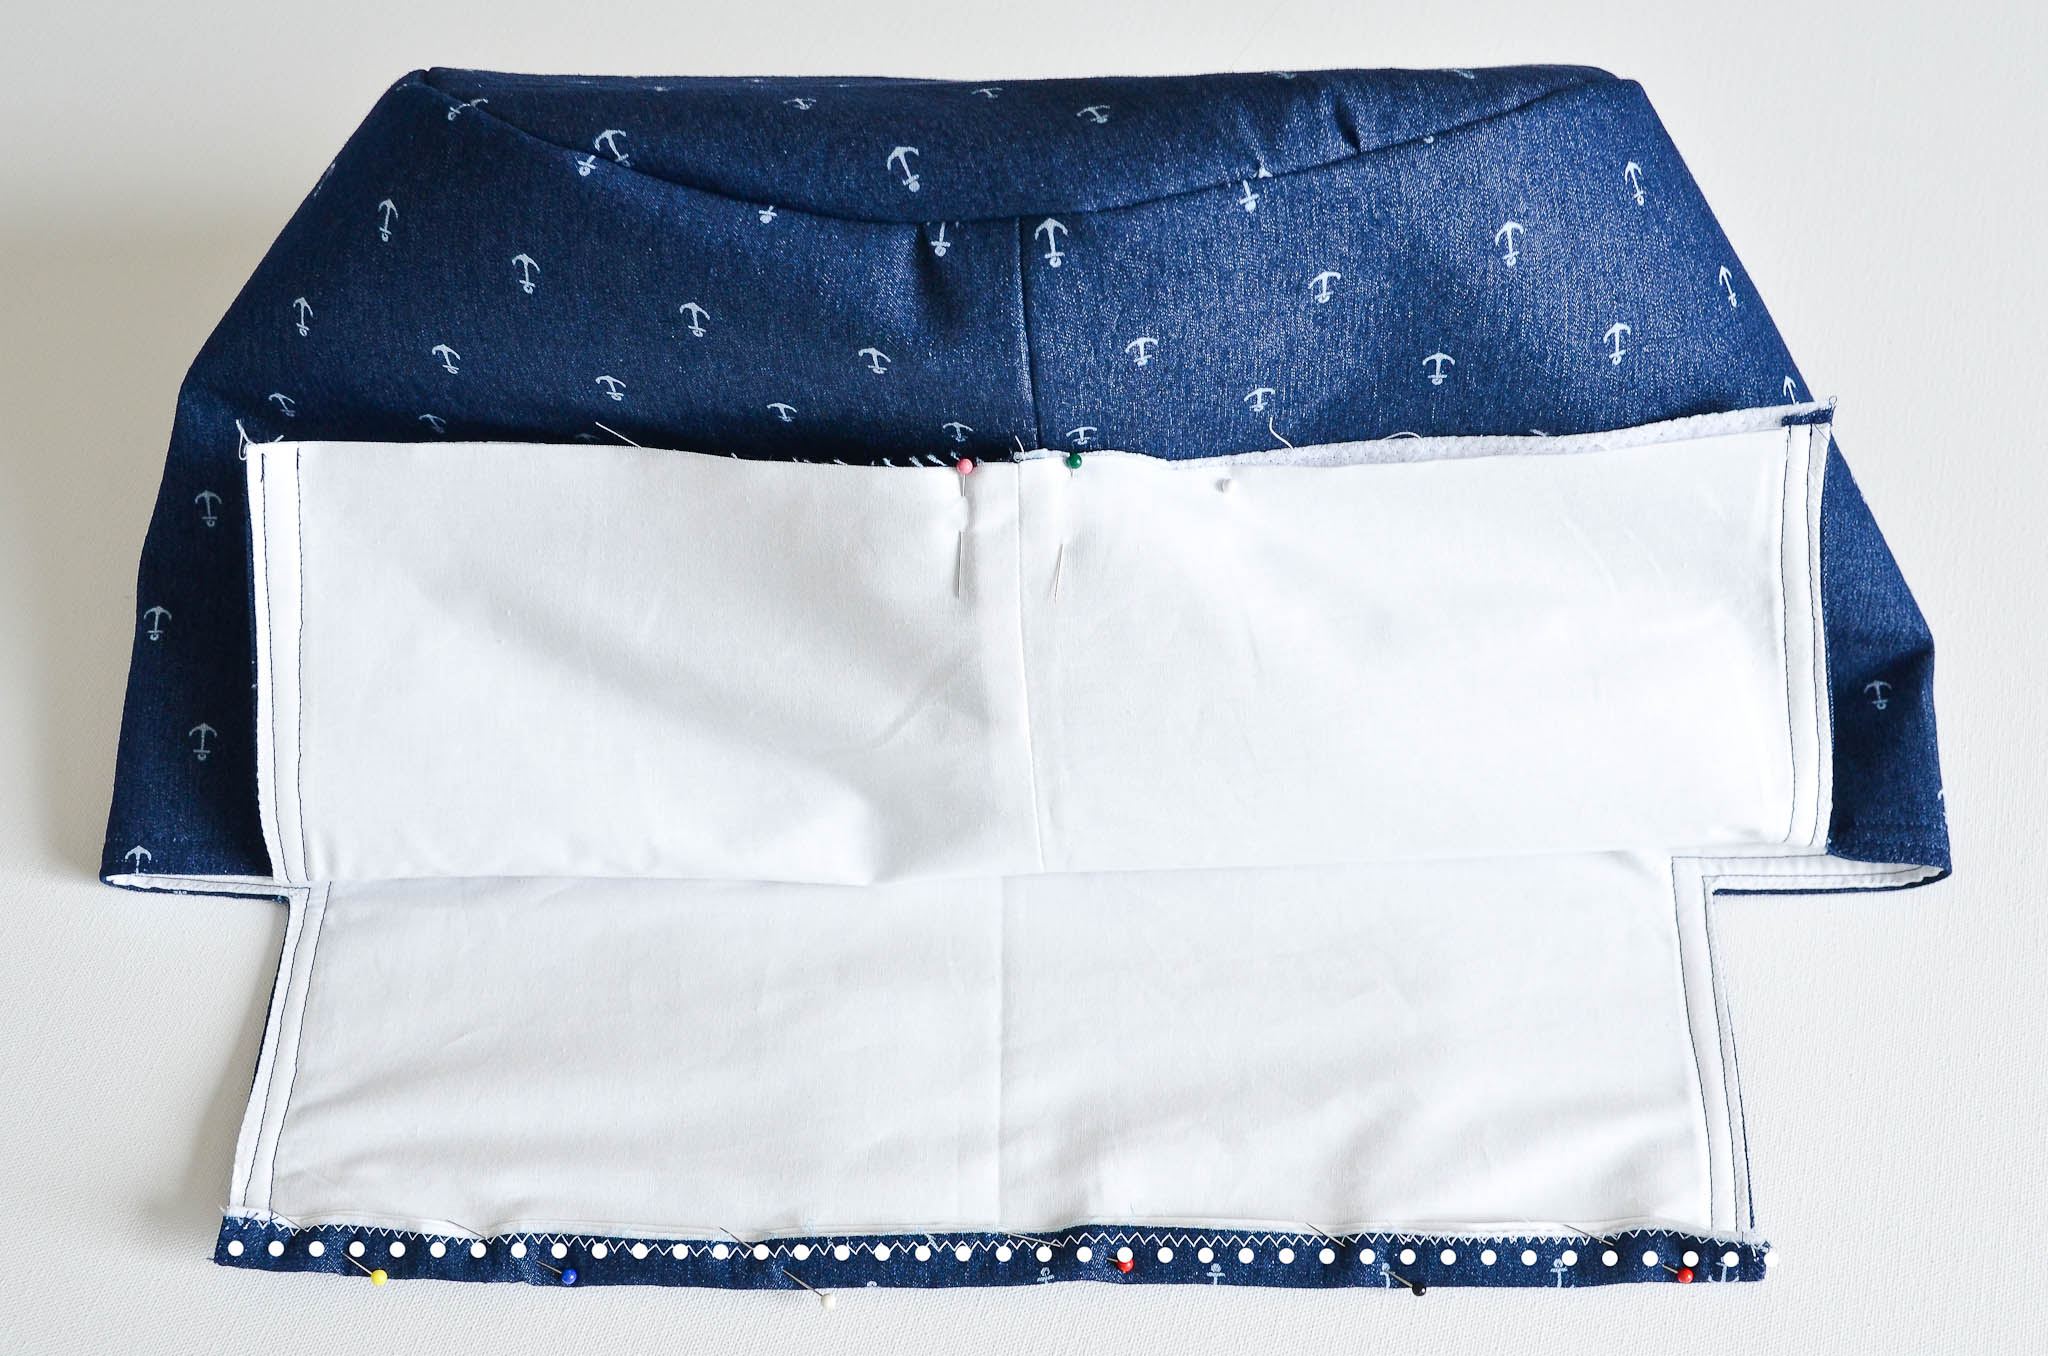
Slide your wooden hoop inside the bin.
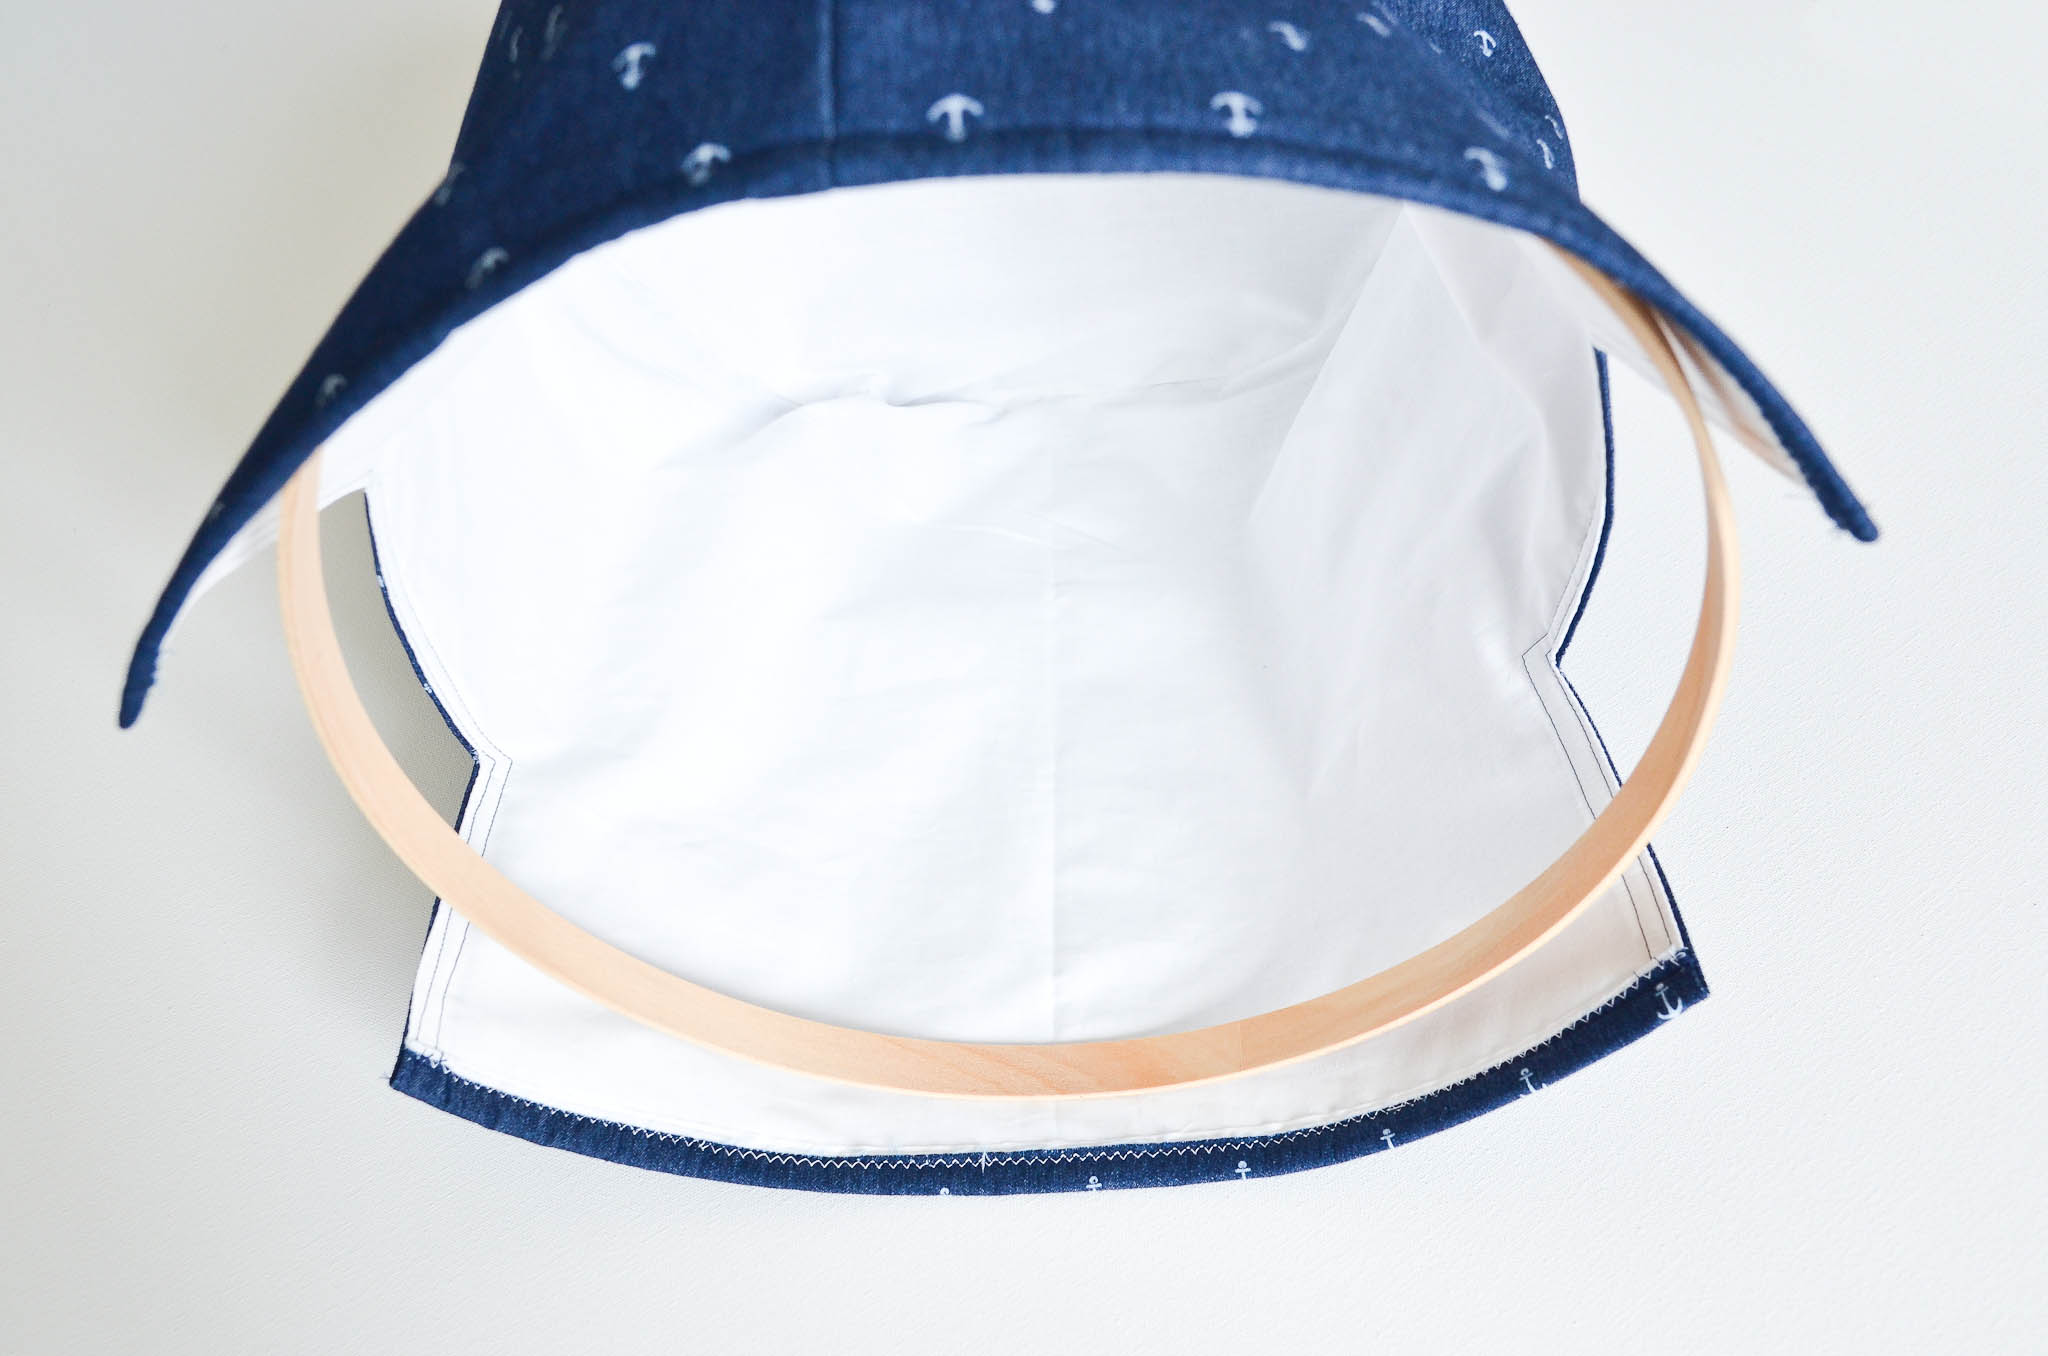
Fold the top edge evenly down over the hoop. Pin in place. Repeat on the other side so that both flaps are secured with pins.
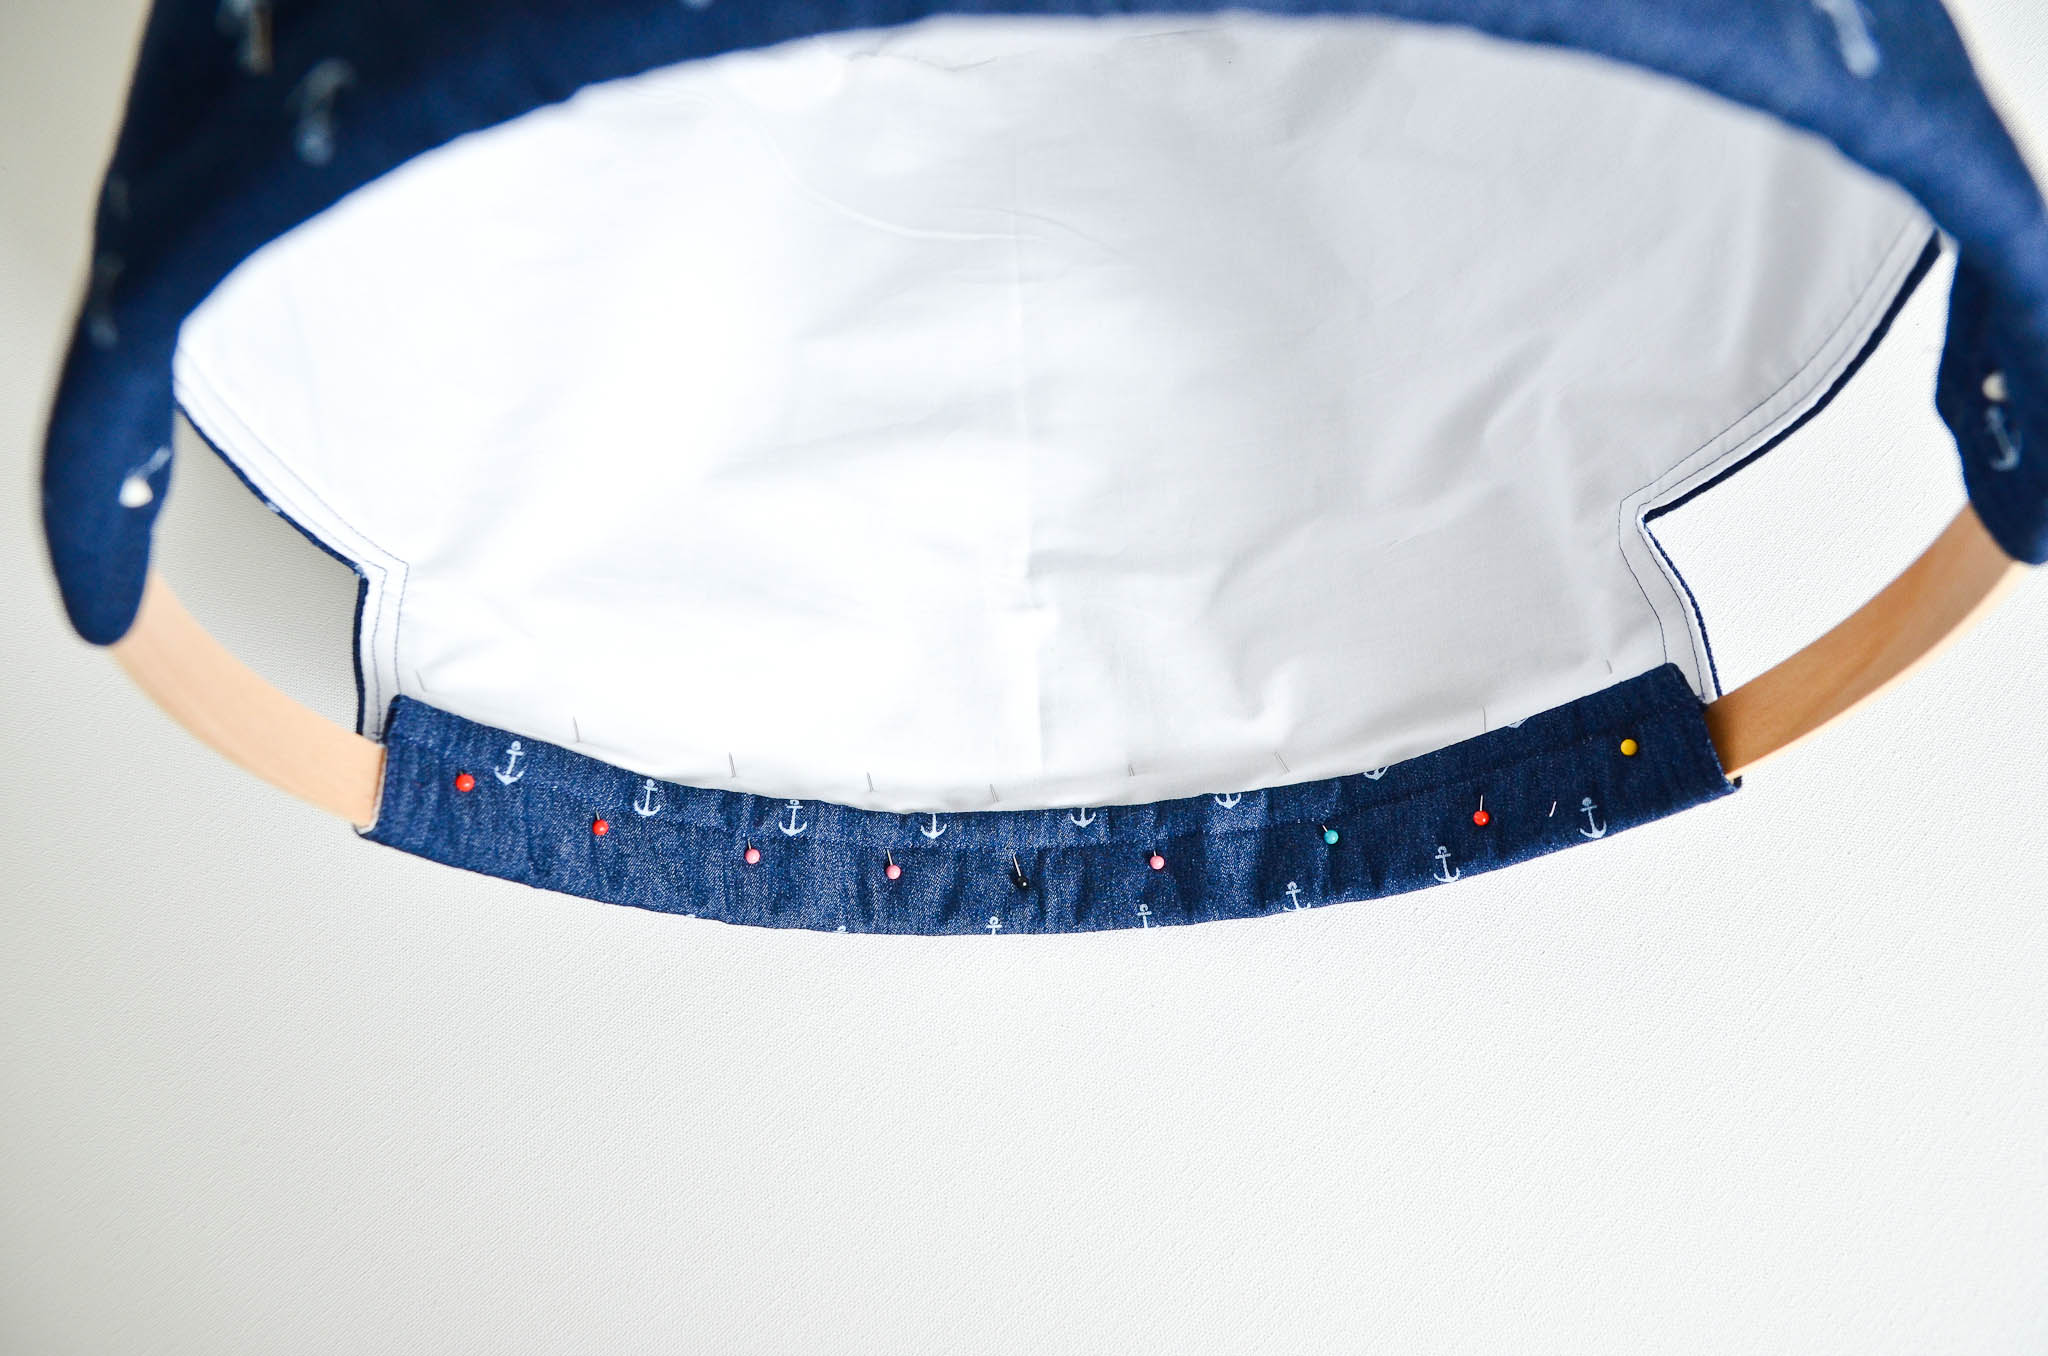
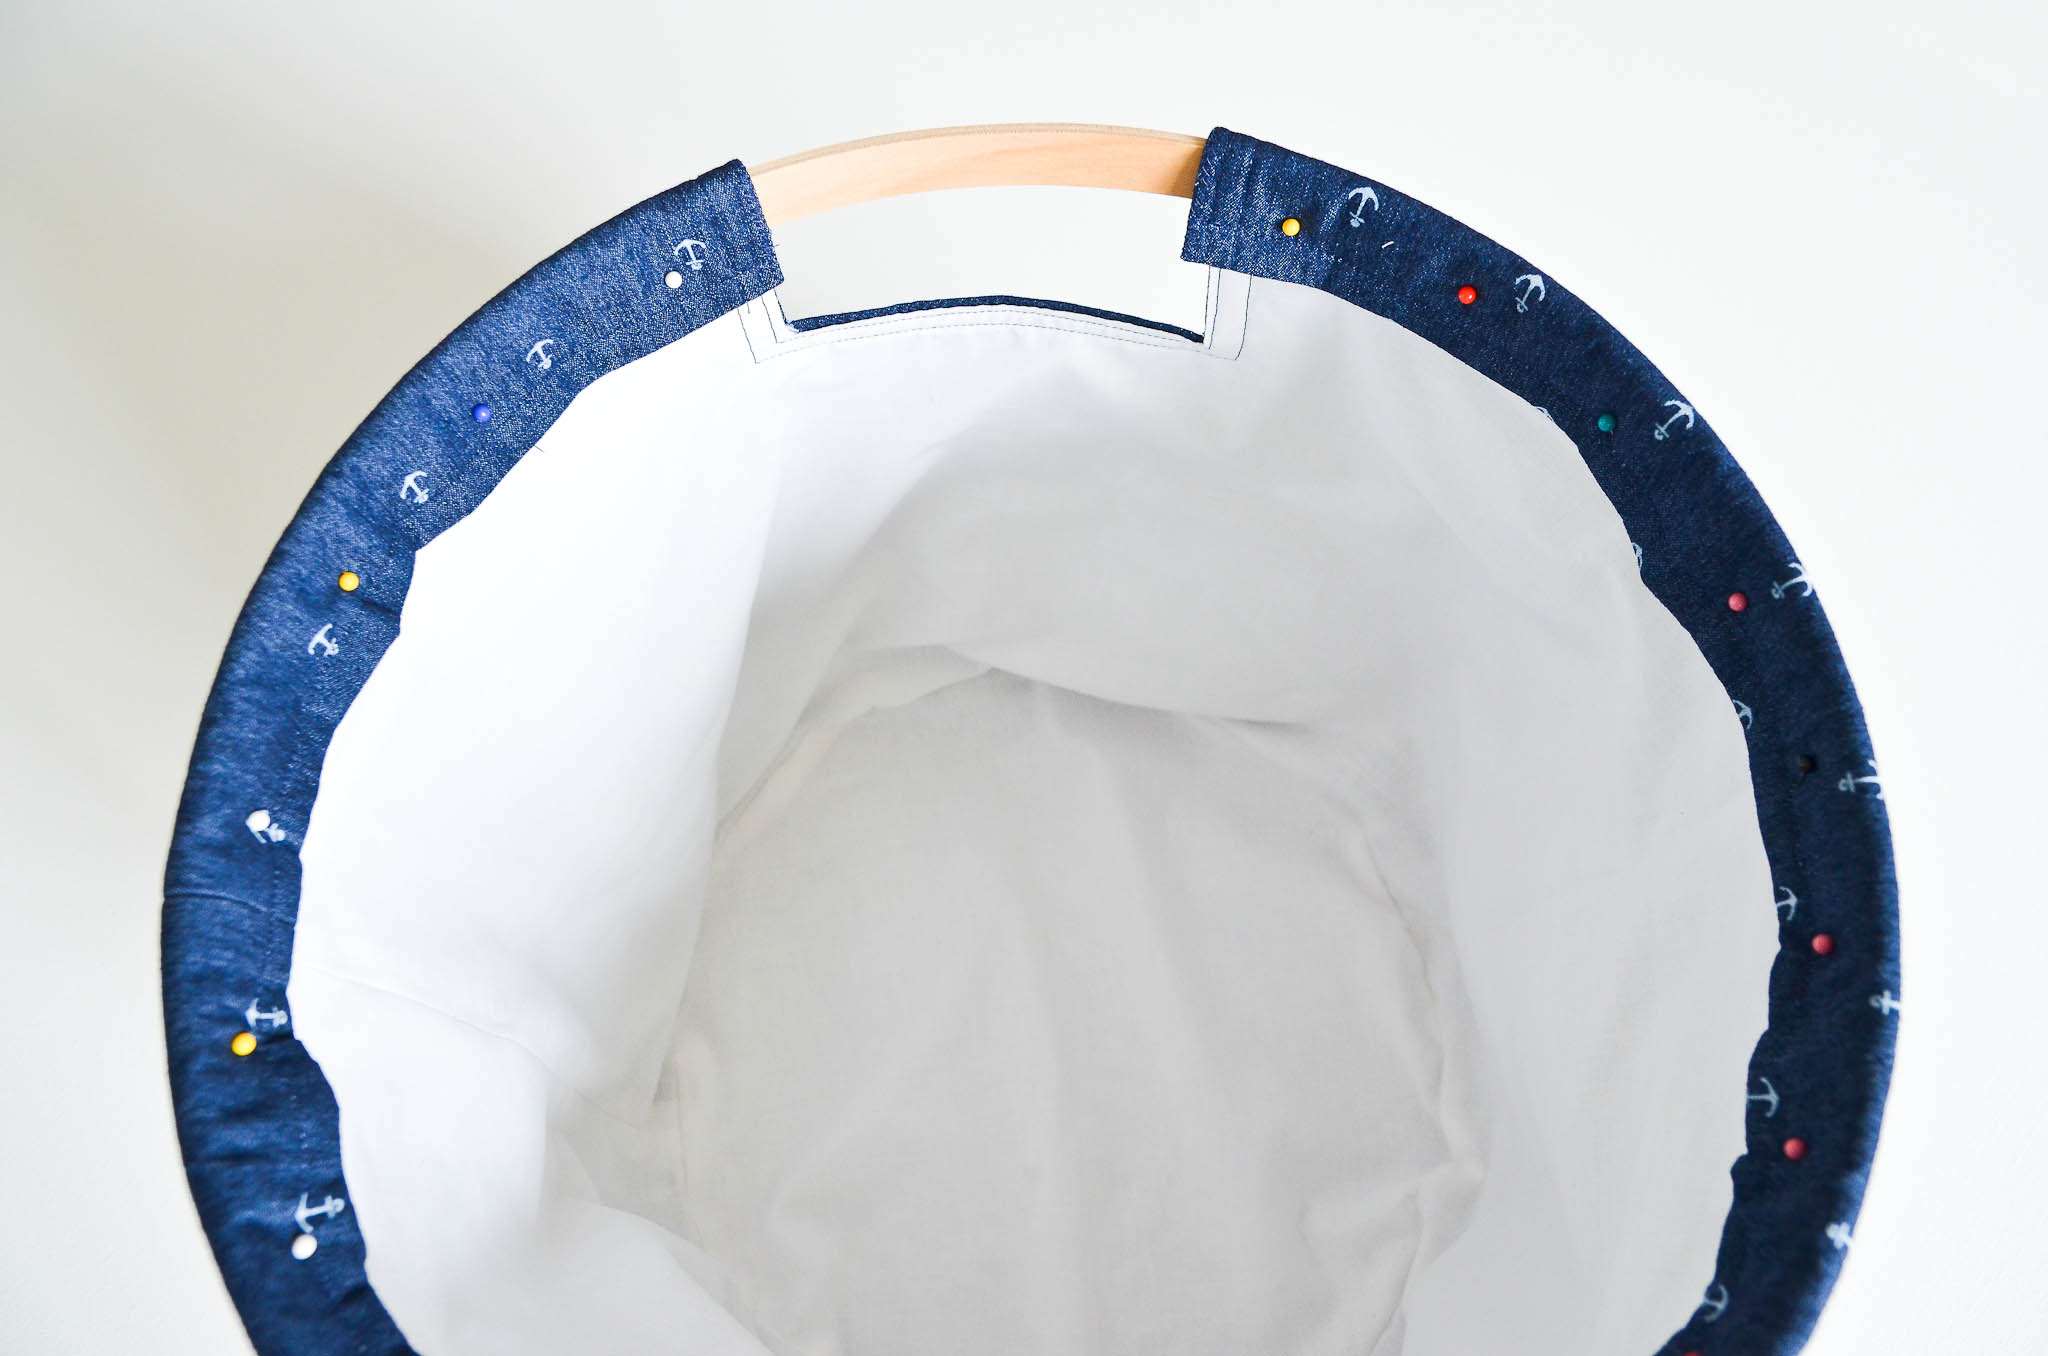
Change the presser foot on your sewing machine to your zipper foot. Align your needle to the right side of the zipper foot.
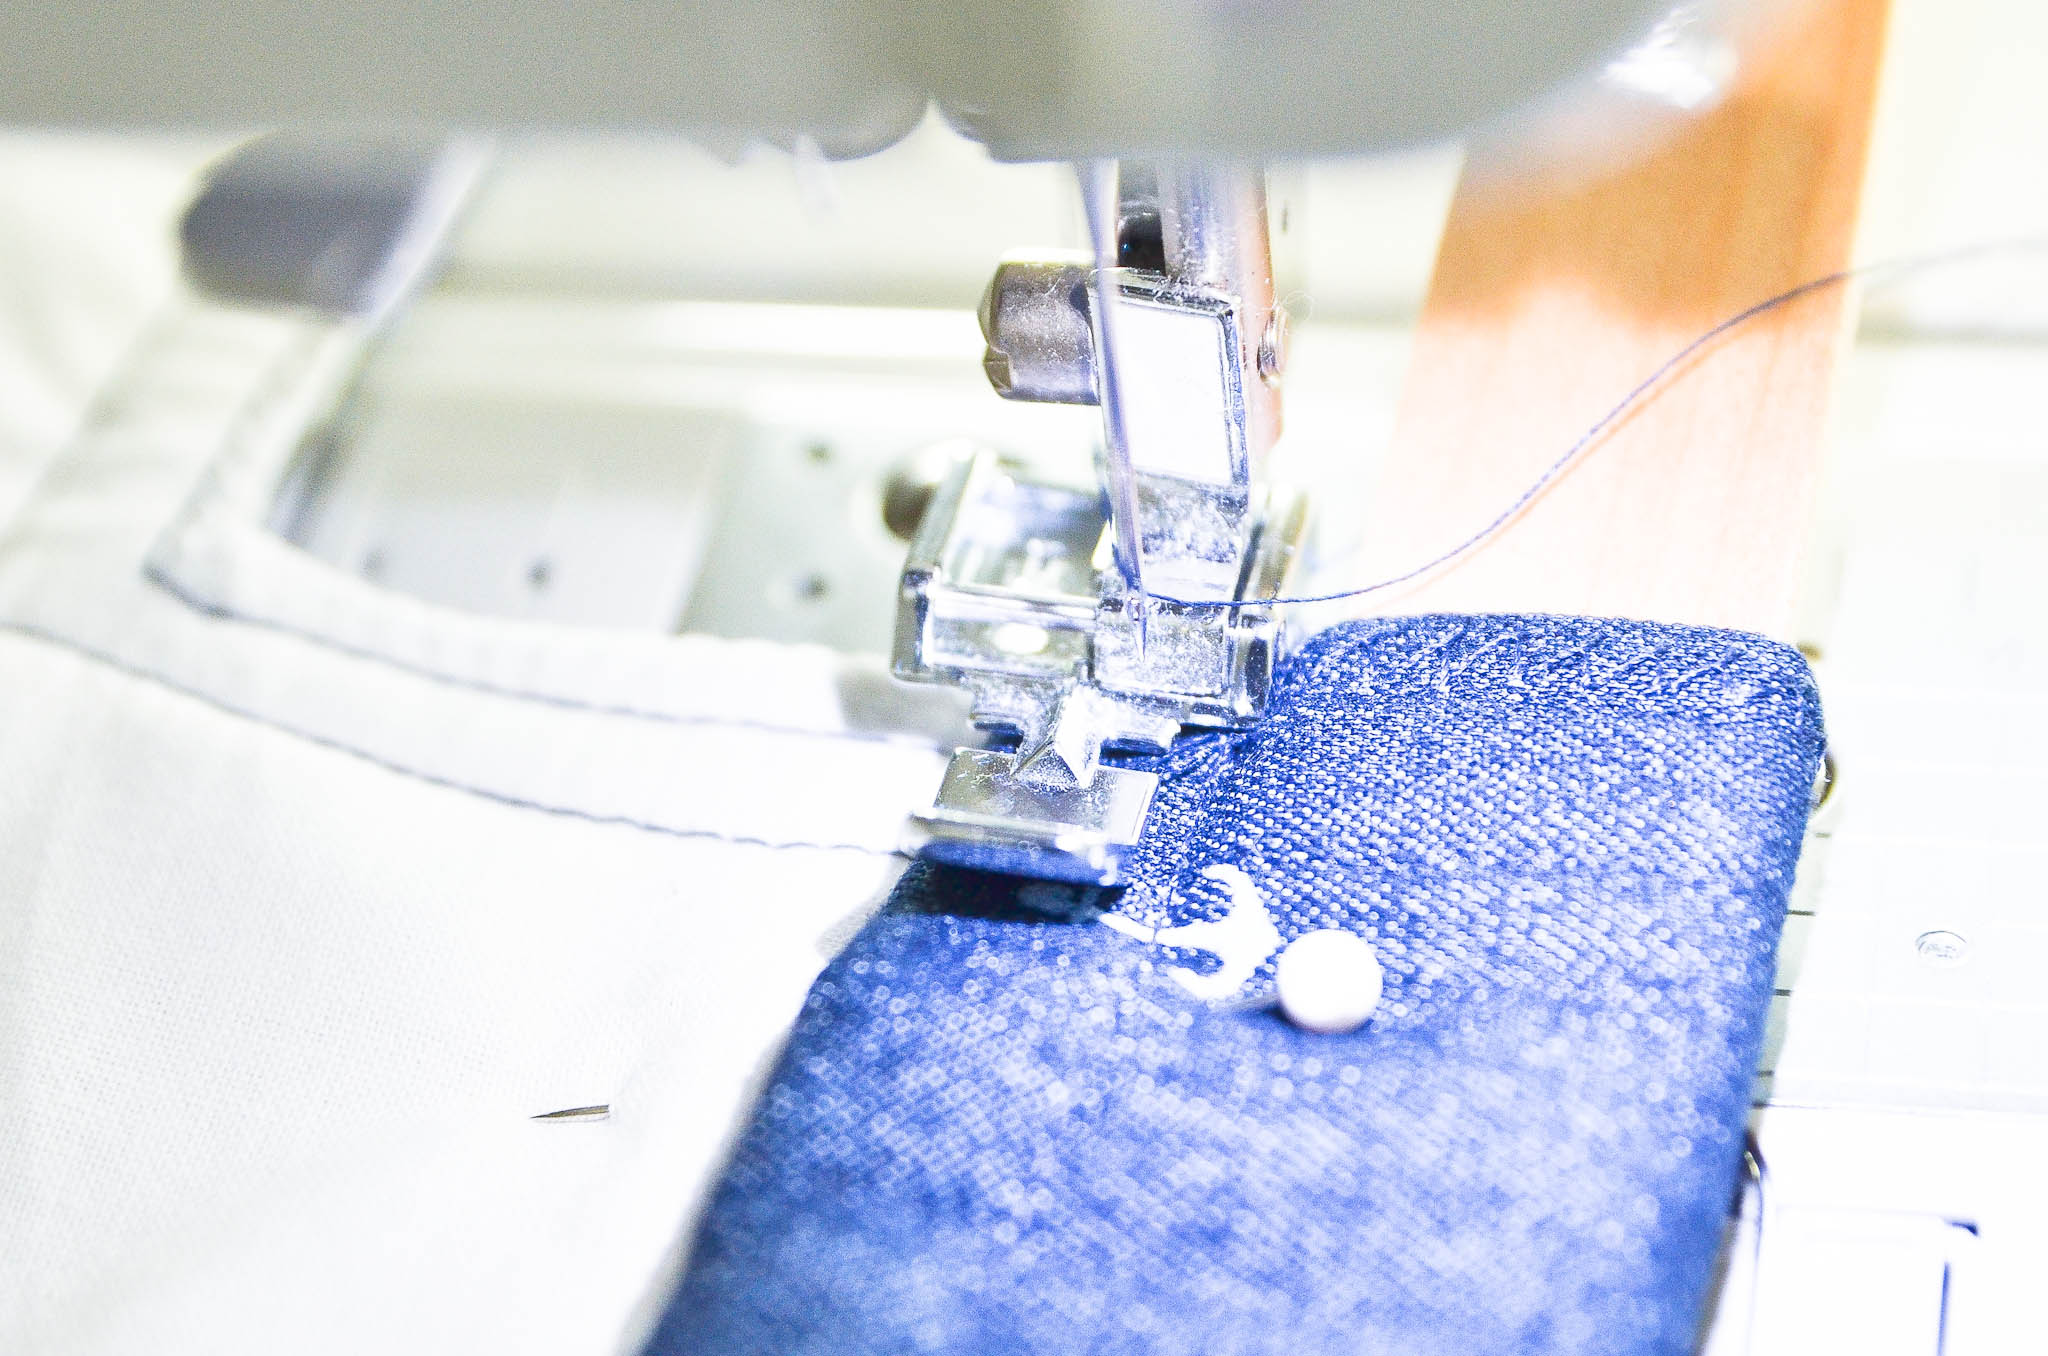
Slide the hoop under your zipper foot (you may have to lift the presser foot lever up extra high to get it under). With the edge of the zipper foot snug up against the wood hoop and your needle positioned to the right, slowly sew the top flap down. The fabric will be very thick on the ends; if your machine resists sewing with the foot peddle here, you may need to walk your needle through those parts by using the hand wheel. Don’t forget to back-stitch those ends for extra security!
Repeat on the other top flap.
Whew! You’re done. You just sewed a custom, fully-lined, wooden handled fabric storage bin!
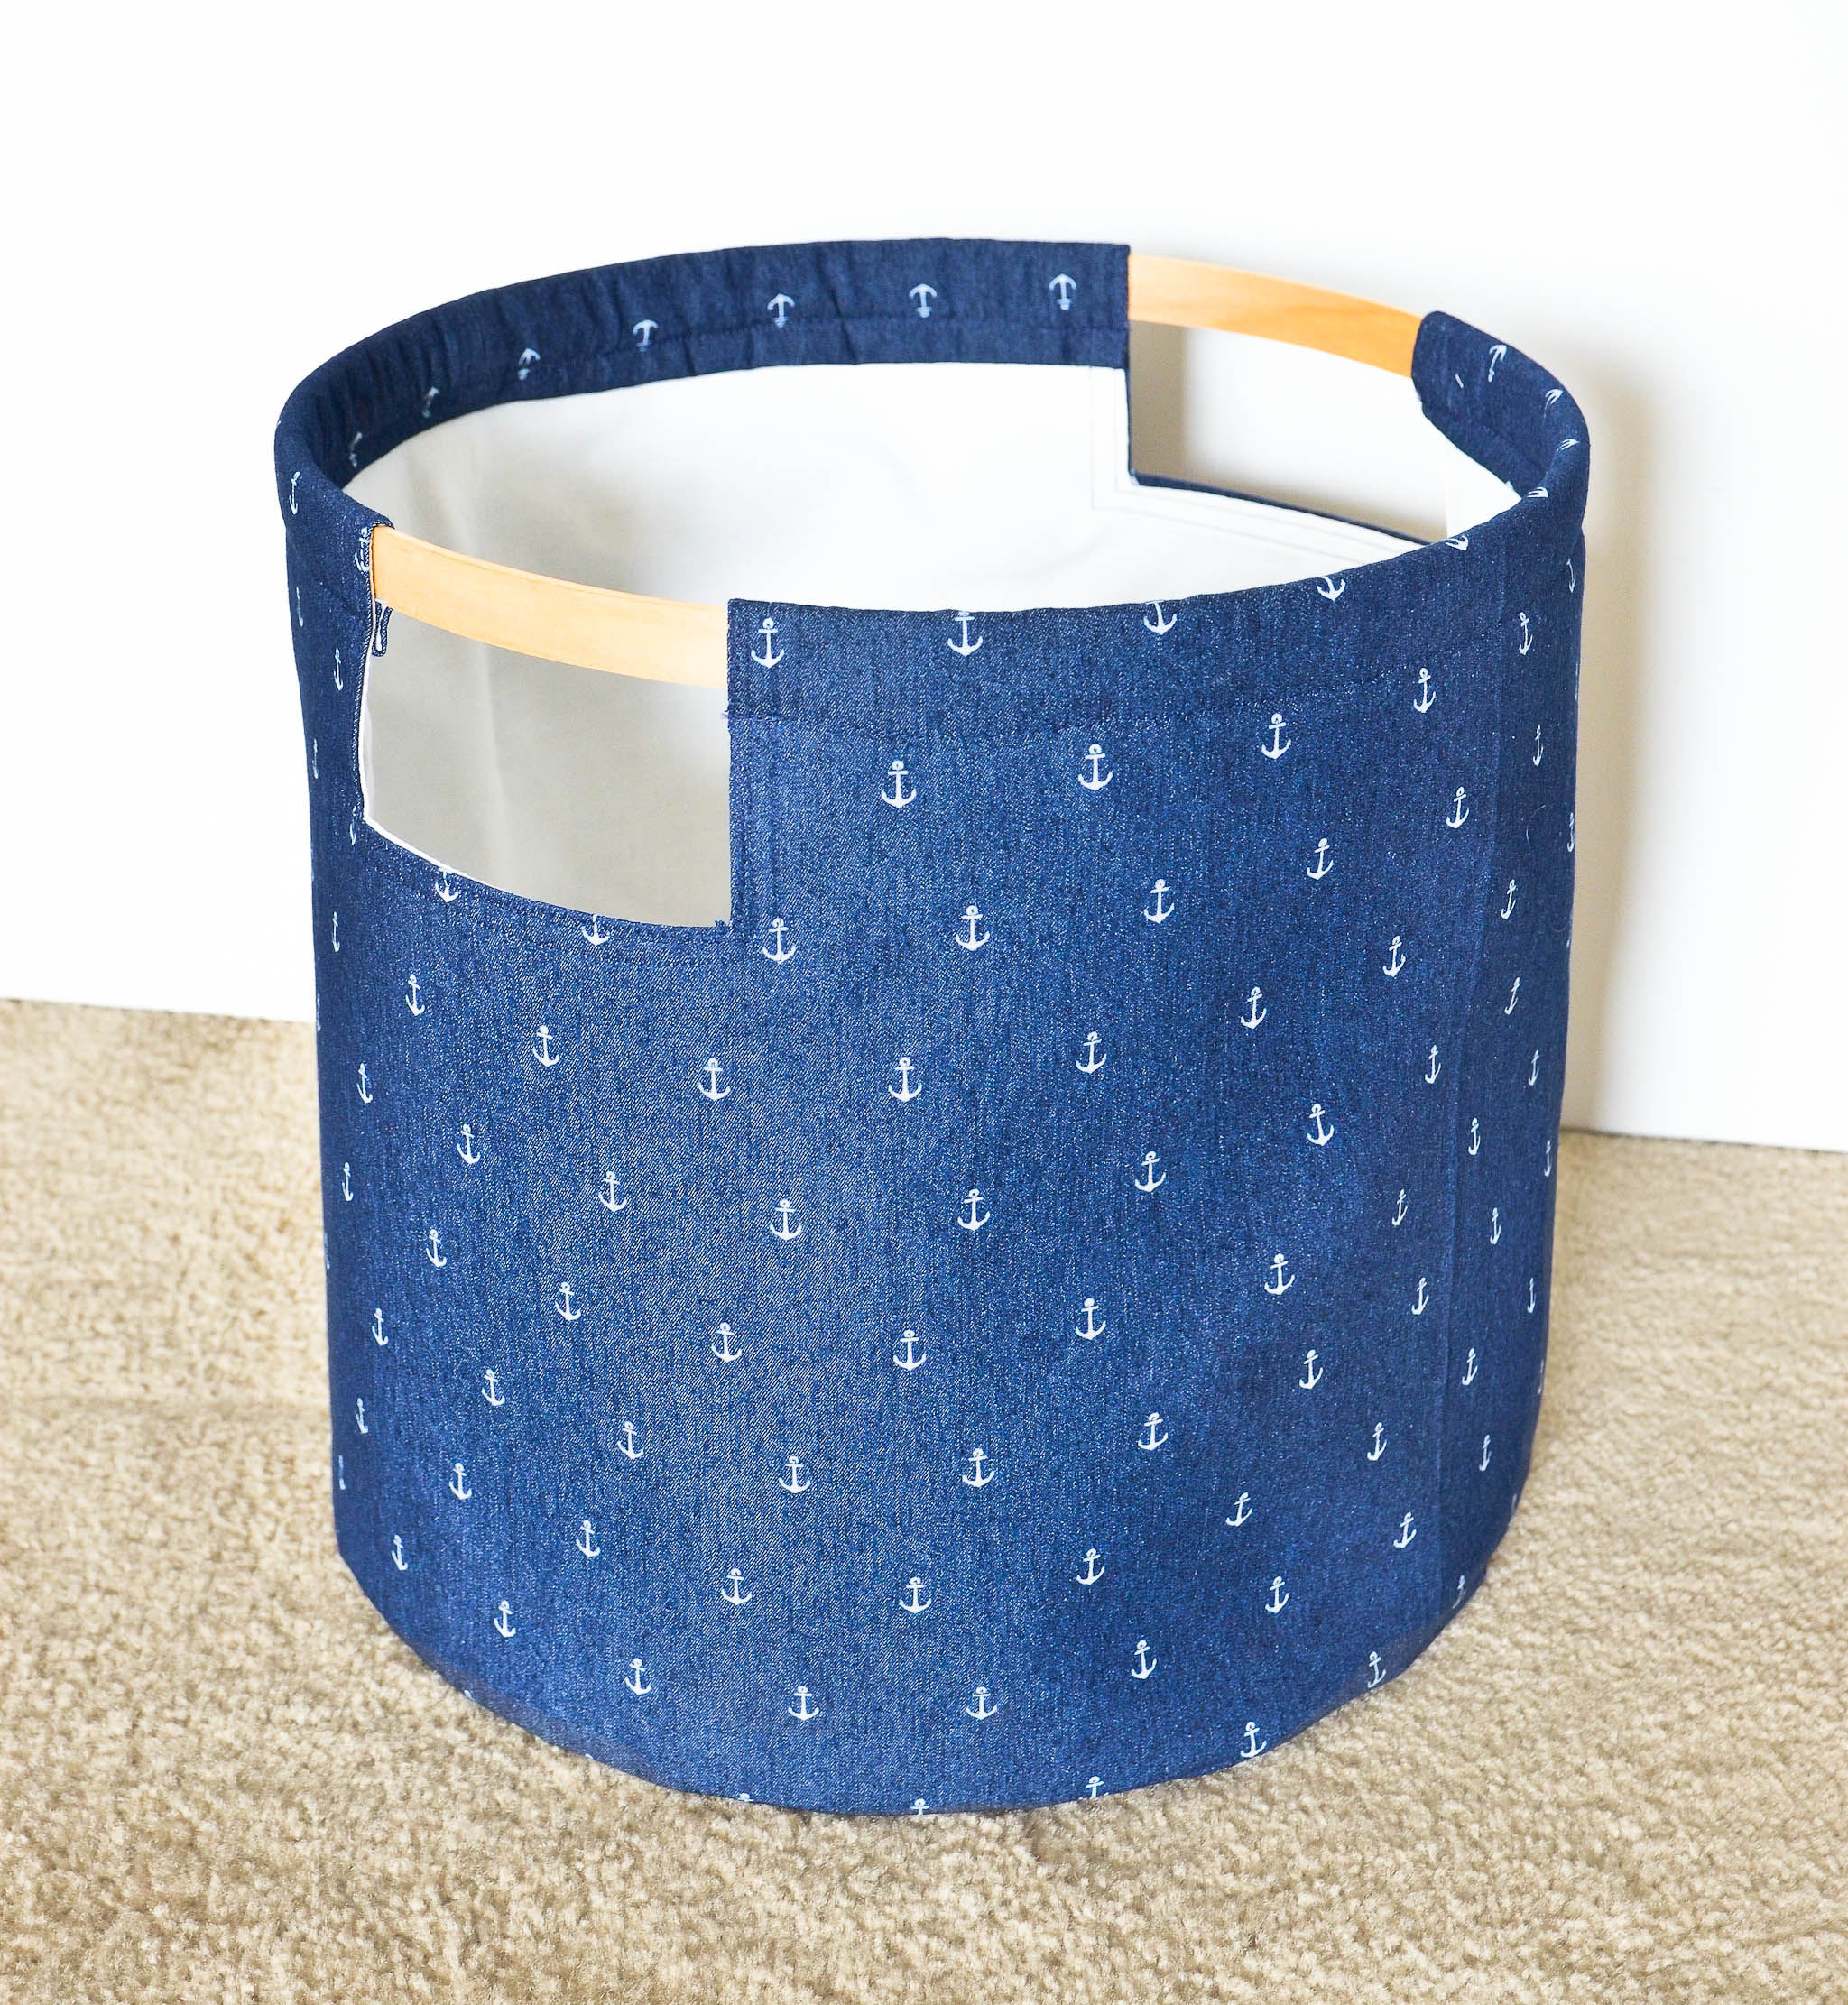
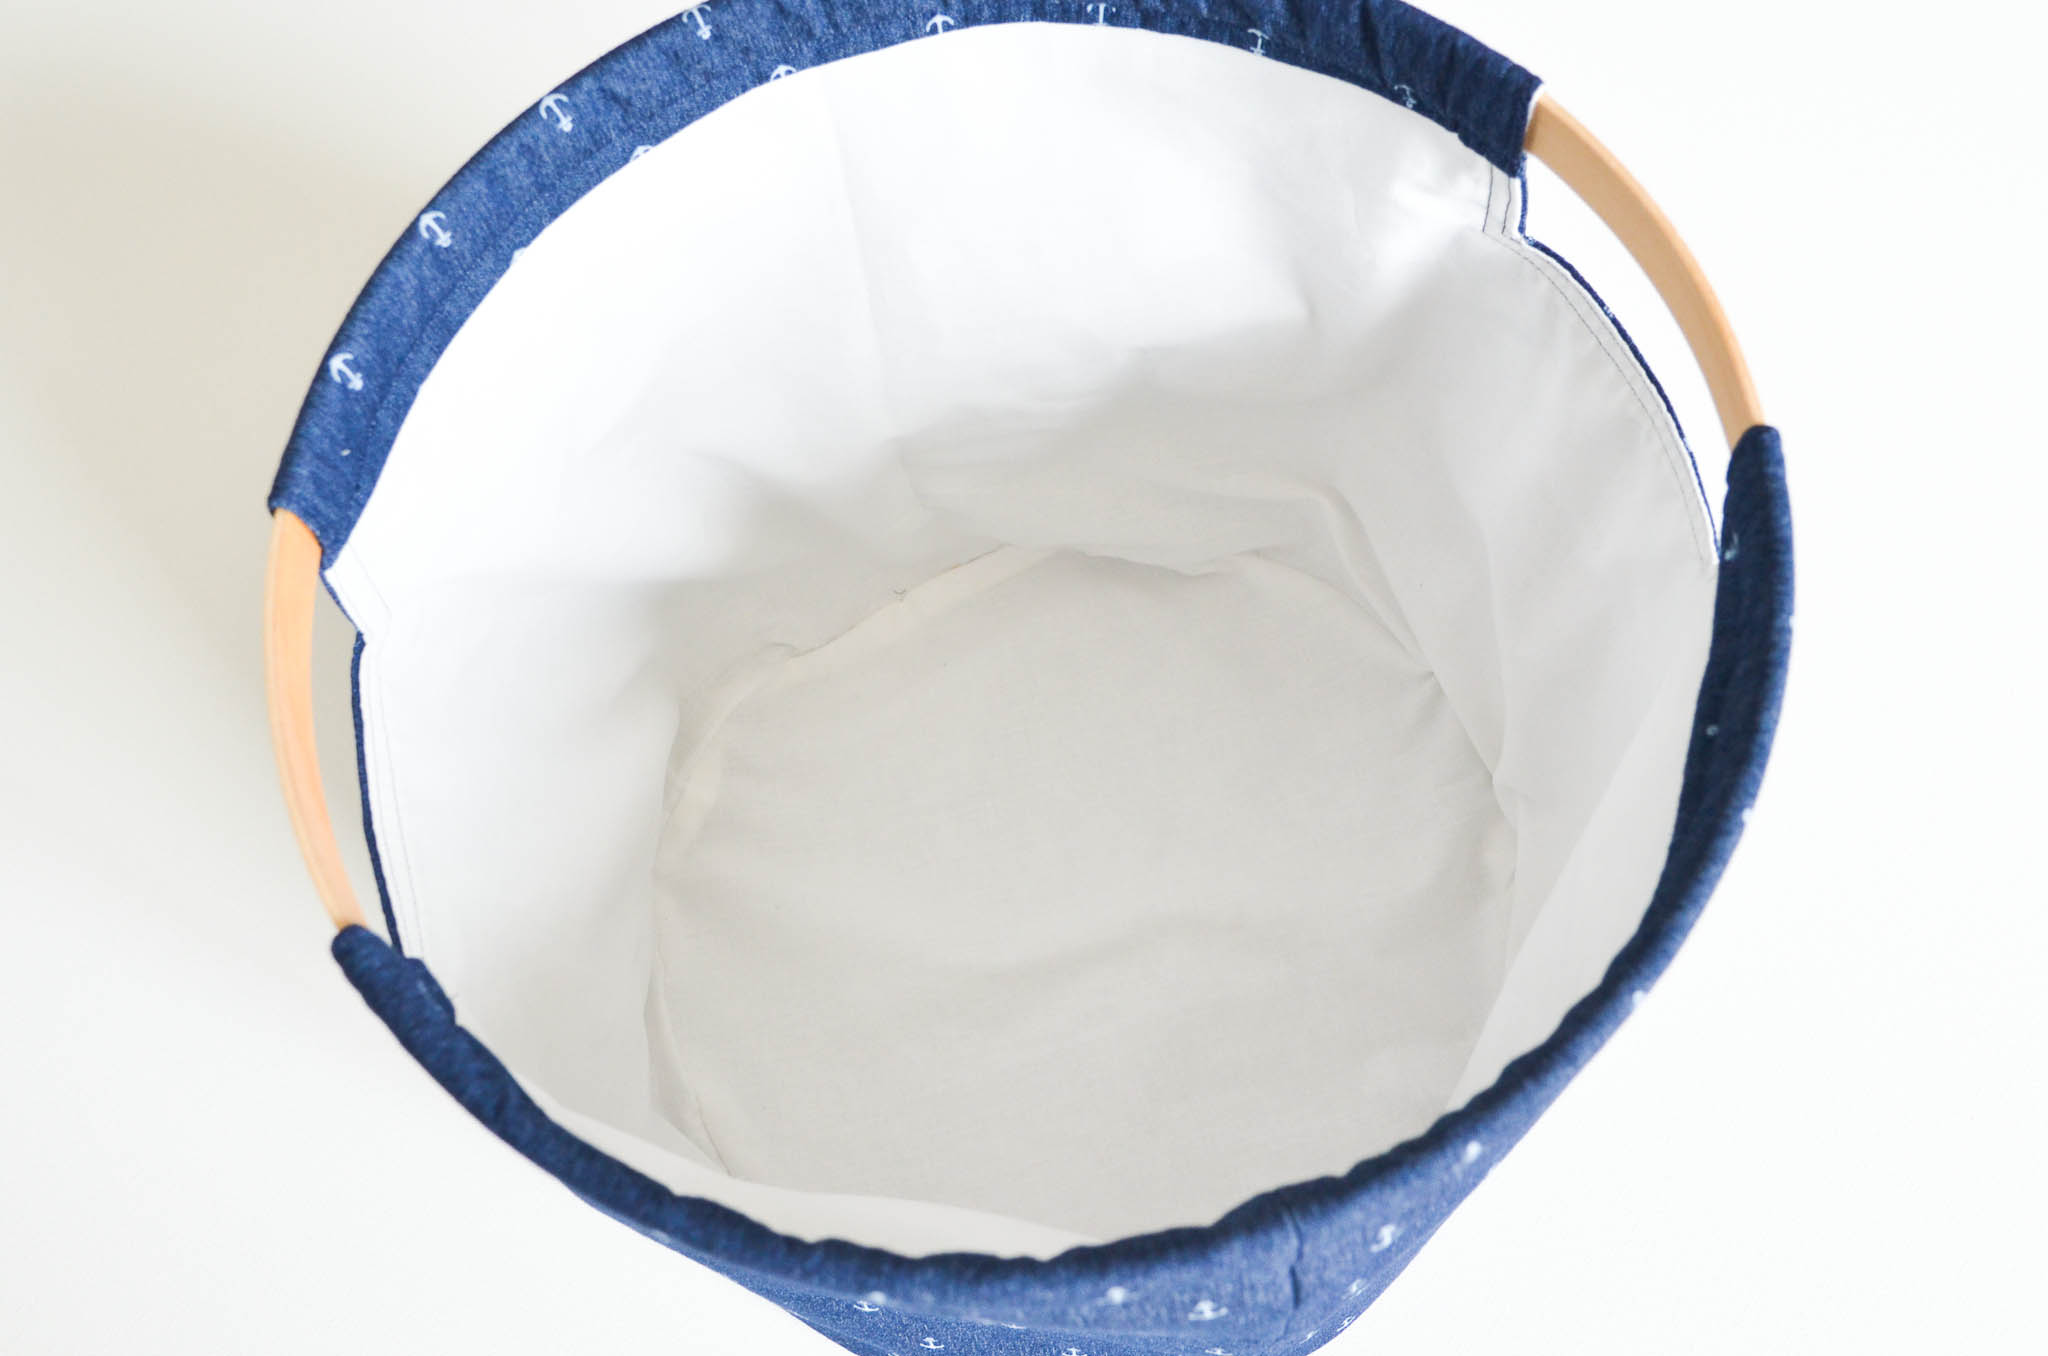
The finished bin dimensions are approximately 14″w x 15″h. That’s plenty big for holding a bunch of kid room clutter but still small enough to tuck away when getting things tidy.
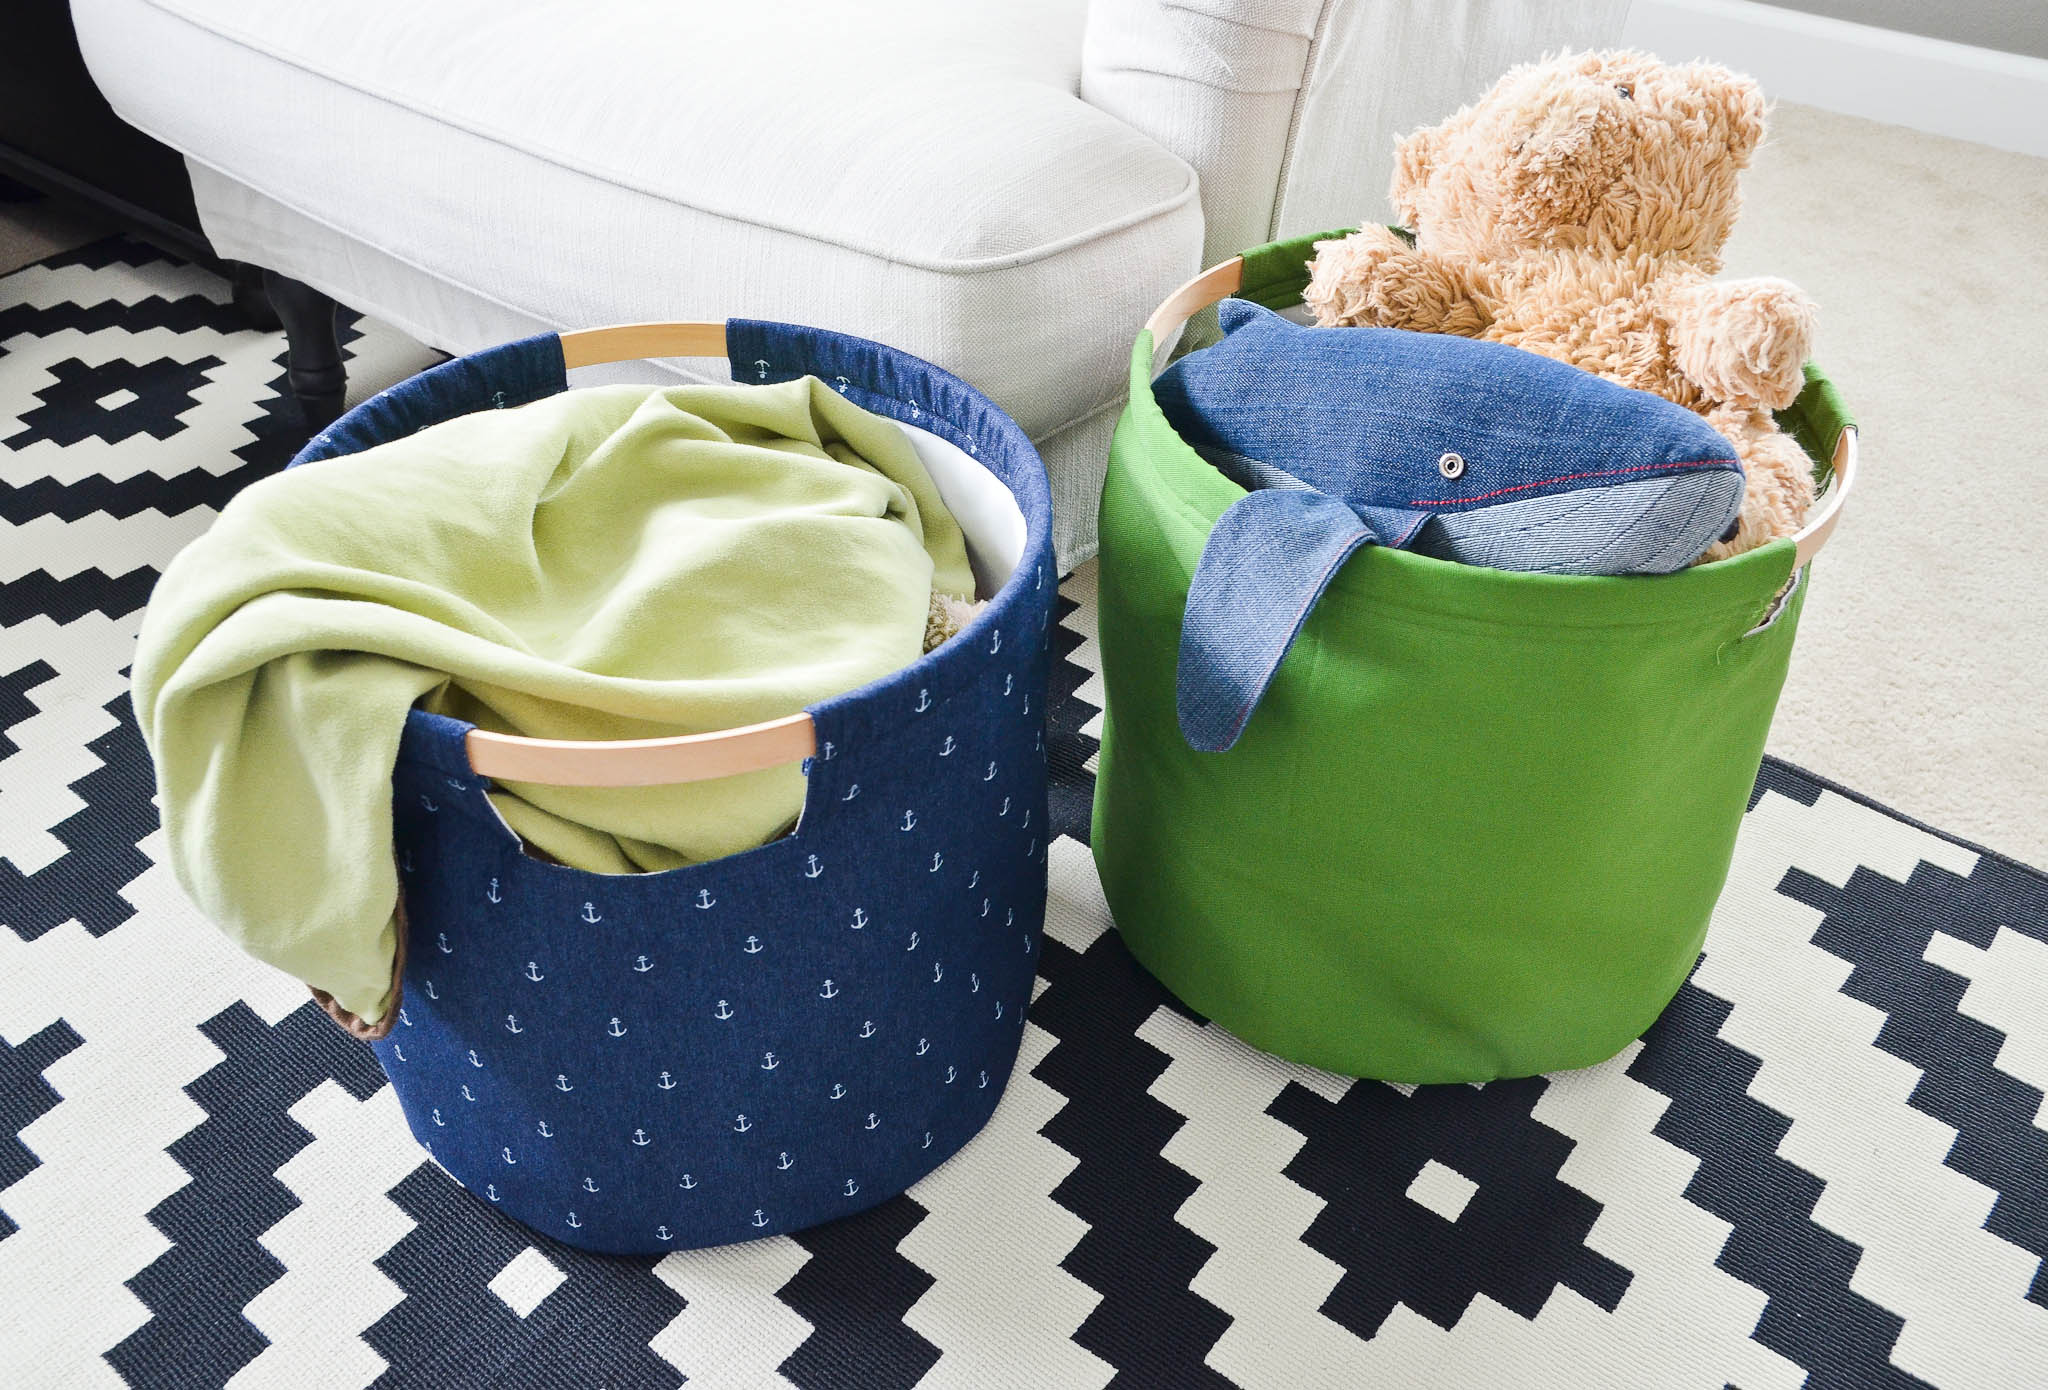
No need to limit these to the kids’ spaces either! If sewn in sophisticated hues or textures, this wood handle design will look super chic holding pool towels in the summer or cozy couch blankets in the winter. Enjoy!





Comments
Karen
How much stabilizer do I need to buy? Looking at measurements I’m thinking 1 1/4 yds? Is that right? Thanks for the answer and this pattern. I’m making this for my daughter’s new baby. She needs it for all his stuff!
Grey House Harbor
Hi Karen – if your stabilizer is 20″ width, you’ll need 40″ length per bin. Hope your daughter loves them!
Grey House Harbor
Karen: I completely did that math wrong! You’ll also need 1.75 yds of stabilizer (NOT 40″ – that’s too little).
Karen
Thanks so much, for your answer and the pattern.looking forward to making this!