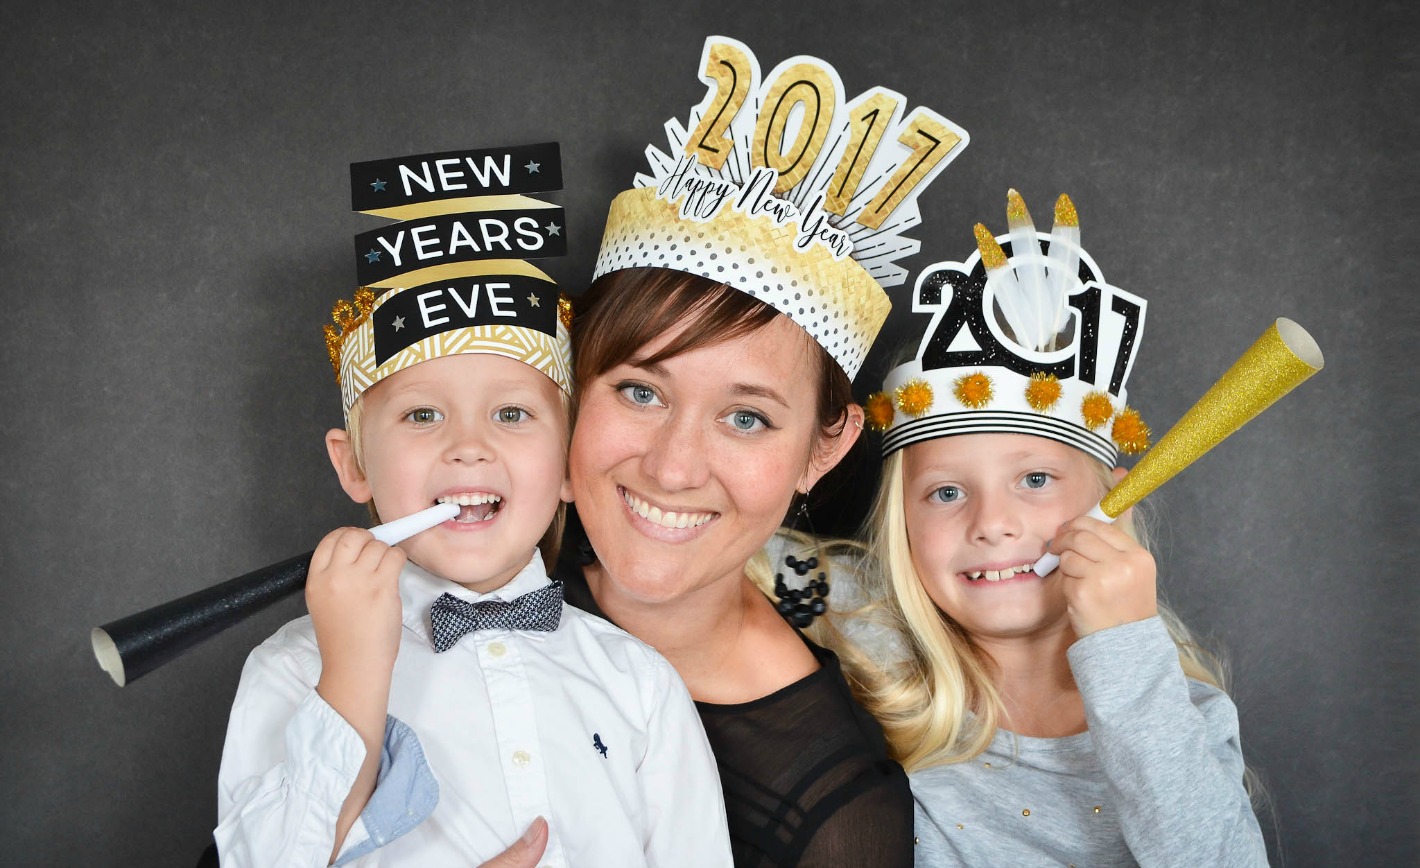
I think there is universal agreement that small ones in formal wear are pretty much the cutest things ever. Weddings, birthdays and holidays are all great excuses to slap a bow on a baby and just wait for the ensuing, “Awwwww‘s.” With Easter right around the corner, why not sew a bow yourself this year? Just be warned—once you start, it’s hard to stop making these adorable outfit accessories!

The key component of this DIY is a standard men’s necktie. Buy it new, raid dad’s closet or pick up a gently used one. Thrift store ties are a great way to get 100% silk at a fraction of the cost.
Materials: men’s necktie, seam ripper, iron, ruler, fabric scissors, coordinating thread, sewing machine, needle

Start by using a seam ripper or sharp pair of scissors to completely disassemble the tie. Discard extra facings, tags and threads, but keep the interlining (white in this photo). Iron the patterned tie fabric to remove any creases.

Out of the patterned fabric, you will cut two pieces: the BOW BODY (7.5″ x 5″) and the CENTER LOOP (6″ x 2″). Cut a FILLER piece out of the interlining that measures 3″ x 2″.

Start with the bow body rectangle. Fold it in half lengthwise (right sides together) and sew down the long side. All seam allowances in this tutorial are 1/4″.

Turn the bow body right side out and tuck the filler piece inside the tube until centered.


Fold the bow body tube in half the other way (right sides together), and sew the short ends together.

Flip the new seam to the inside and you should have a tube that looks like this.

Crease the middle of the bow body in an “M” shape to create the classic bow tie look.

Secure the front of the fold by hand stitching the crease together.

Then do the same in the back.

Next, fold the center loop fabric in half lengthwise and sew down the long side.

Wrap this around the bow body at the center. Pin where you need to sew it together in order to create a loop for the middle of the bow tie. Slide the bow body out.

With the wrong sides out, sew the loop where you marked it and cut off the excess.

Flip the center loop right side out.

Gently slide the loop over the bow body until it’s in the middle.

Secure the center loop to the bow body with a couple of hand stitches on the back corners.

Lastly, insert a 45mm metal alligator clip through the back of the loop to get your bow ready to wear.

When attaching the bow to a button-up shirt, slide the clip through the top buttonhole and not inside the shirt. This will prevent the metal clip from poking your child’s neck.

Bow tie swagger…

…or hair bow beautiful. An interchangeable accessory perfect for all those bow-worthy outfits!


Comments