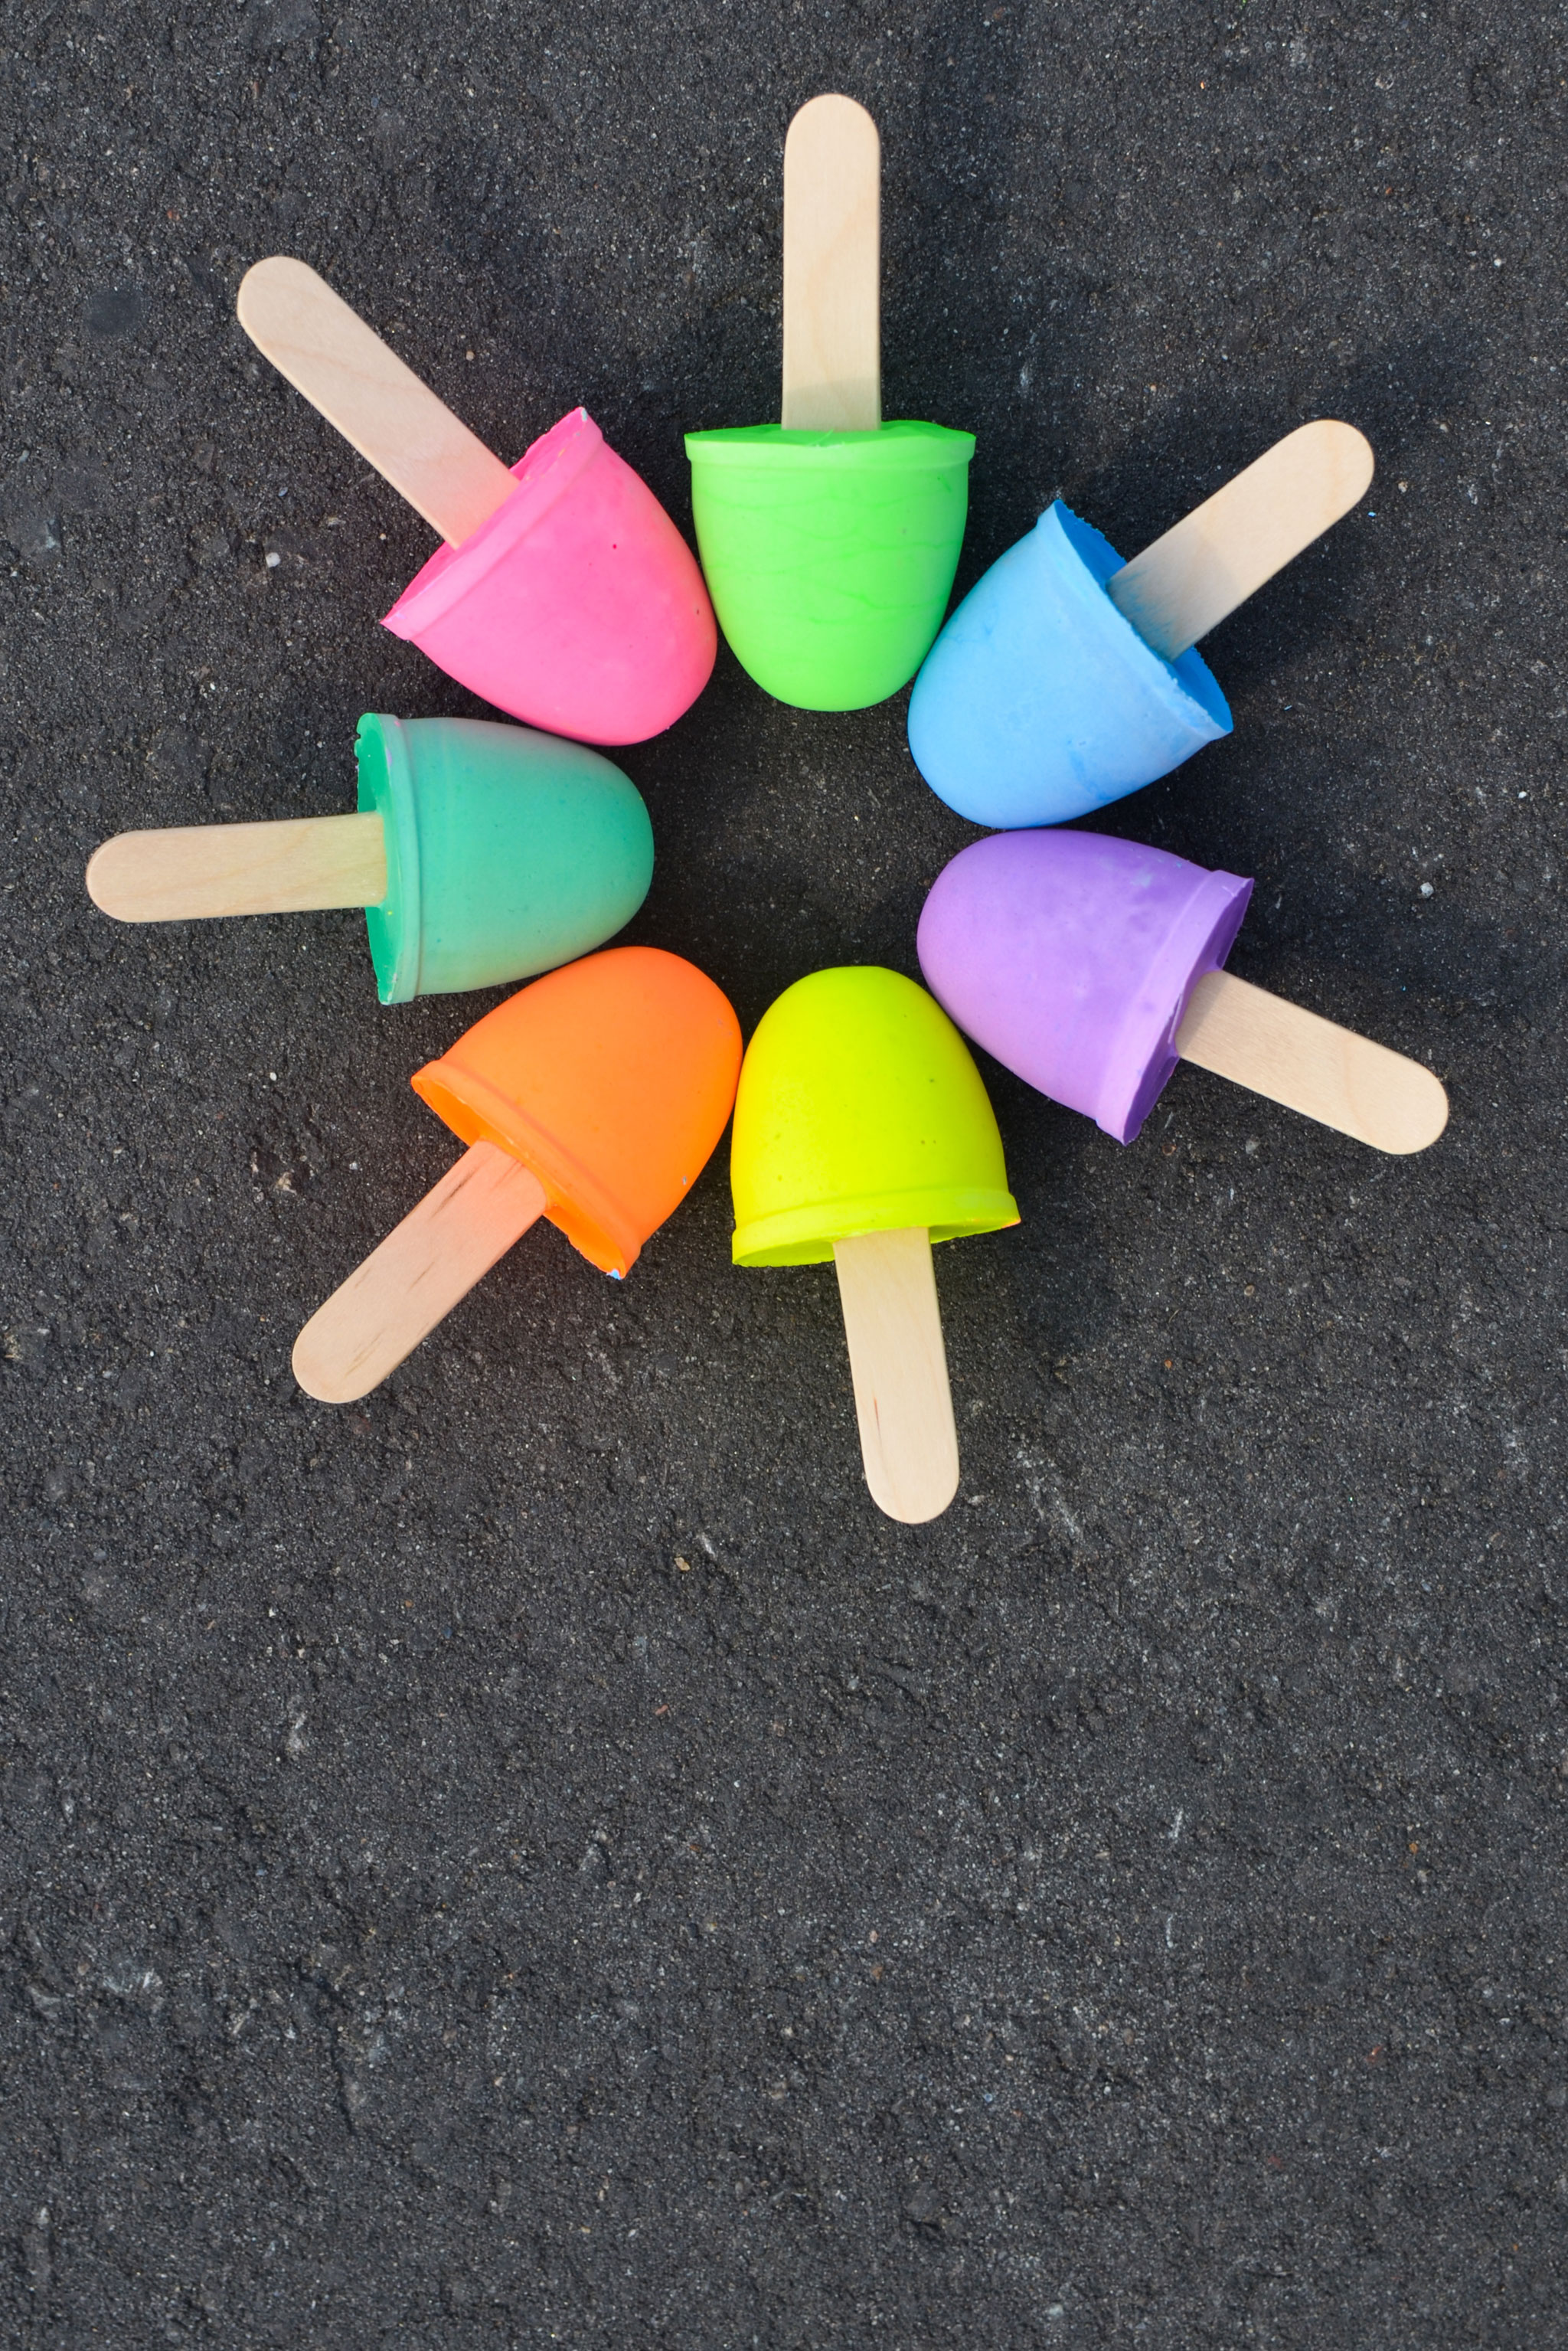
The season for sunshine and outdoor play is finally upon us! School is nearly done, which means every parent could use new ideas on how to fill all those unscheduled hours. Sidewalk chalk is a great way to encourage imagination and physical activity (hopscotch, tic-tac-toe, toy car racetracks, hangman, bean bag toss, checkers, creative chalk photo props, etc). This year, put a spin on this classic summer pastime and mix up a batch of your own colorful DIY sidewalk chalk “pops.”
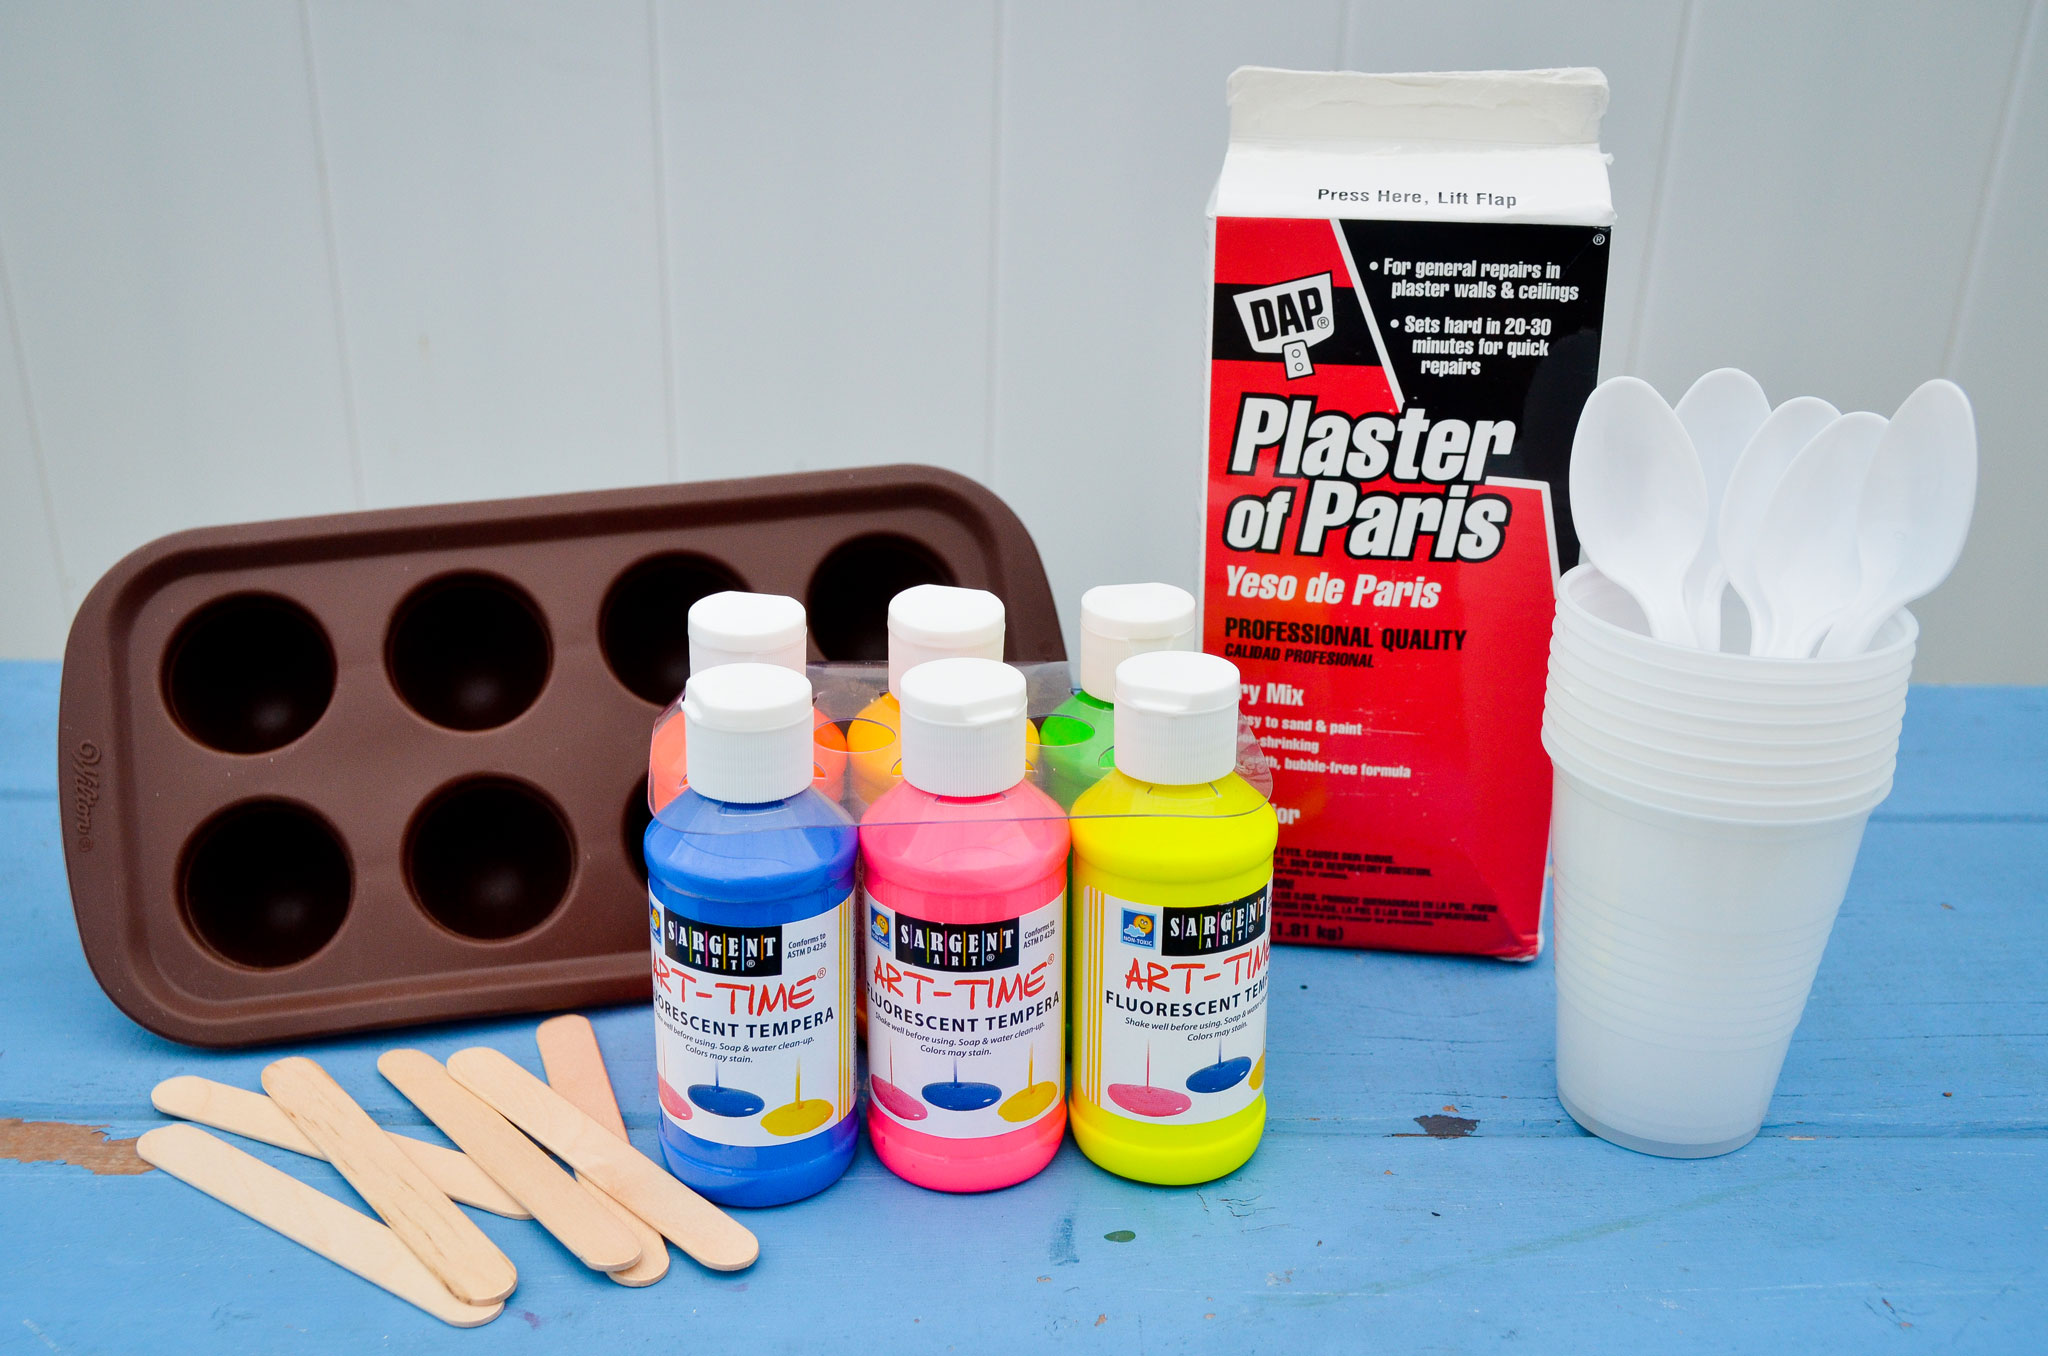
Materials: Plaster of Paris, tempera paint (neon works best), silicone pop mold, wood craft sticks, plastic cups and plastic spoons. You’ll also need cold water, scissors and measuring cups (not pictured).
A few important notes before we begin:
1. Do not put Plaster of Paris down your drain! It will harden in your pipes and cause damage. We are using disposable cups and spoons for this reason. You can rinse very small amounts off your measuring cups and such, but get the majority of the excess (wet or dry) in the trashcan.
2. This can be messy. I would recommend doing it outside and using larger plastic cups than I did!
3. Cold water means between 40-50º F. Yes, it matters. Chill enough water in your fridge for 30 minutes prior to starting.
3. Tempera paint is egg-based and non-toxic, but Plaster of Paris should not be ingested. Older children may help with the mixing, but little ones probably shouldn’t.
4. The following measurements were enough for my specific Wilton Brownie Pop Mold. You may have to adjust your volumes for different silicone molds.
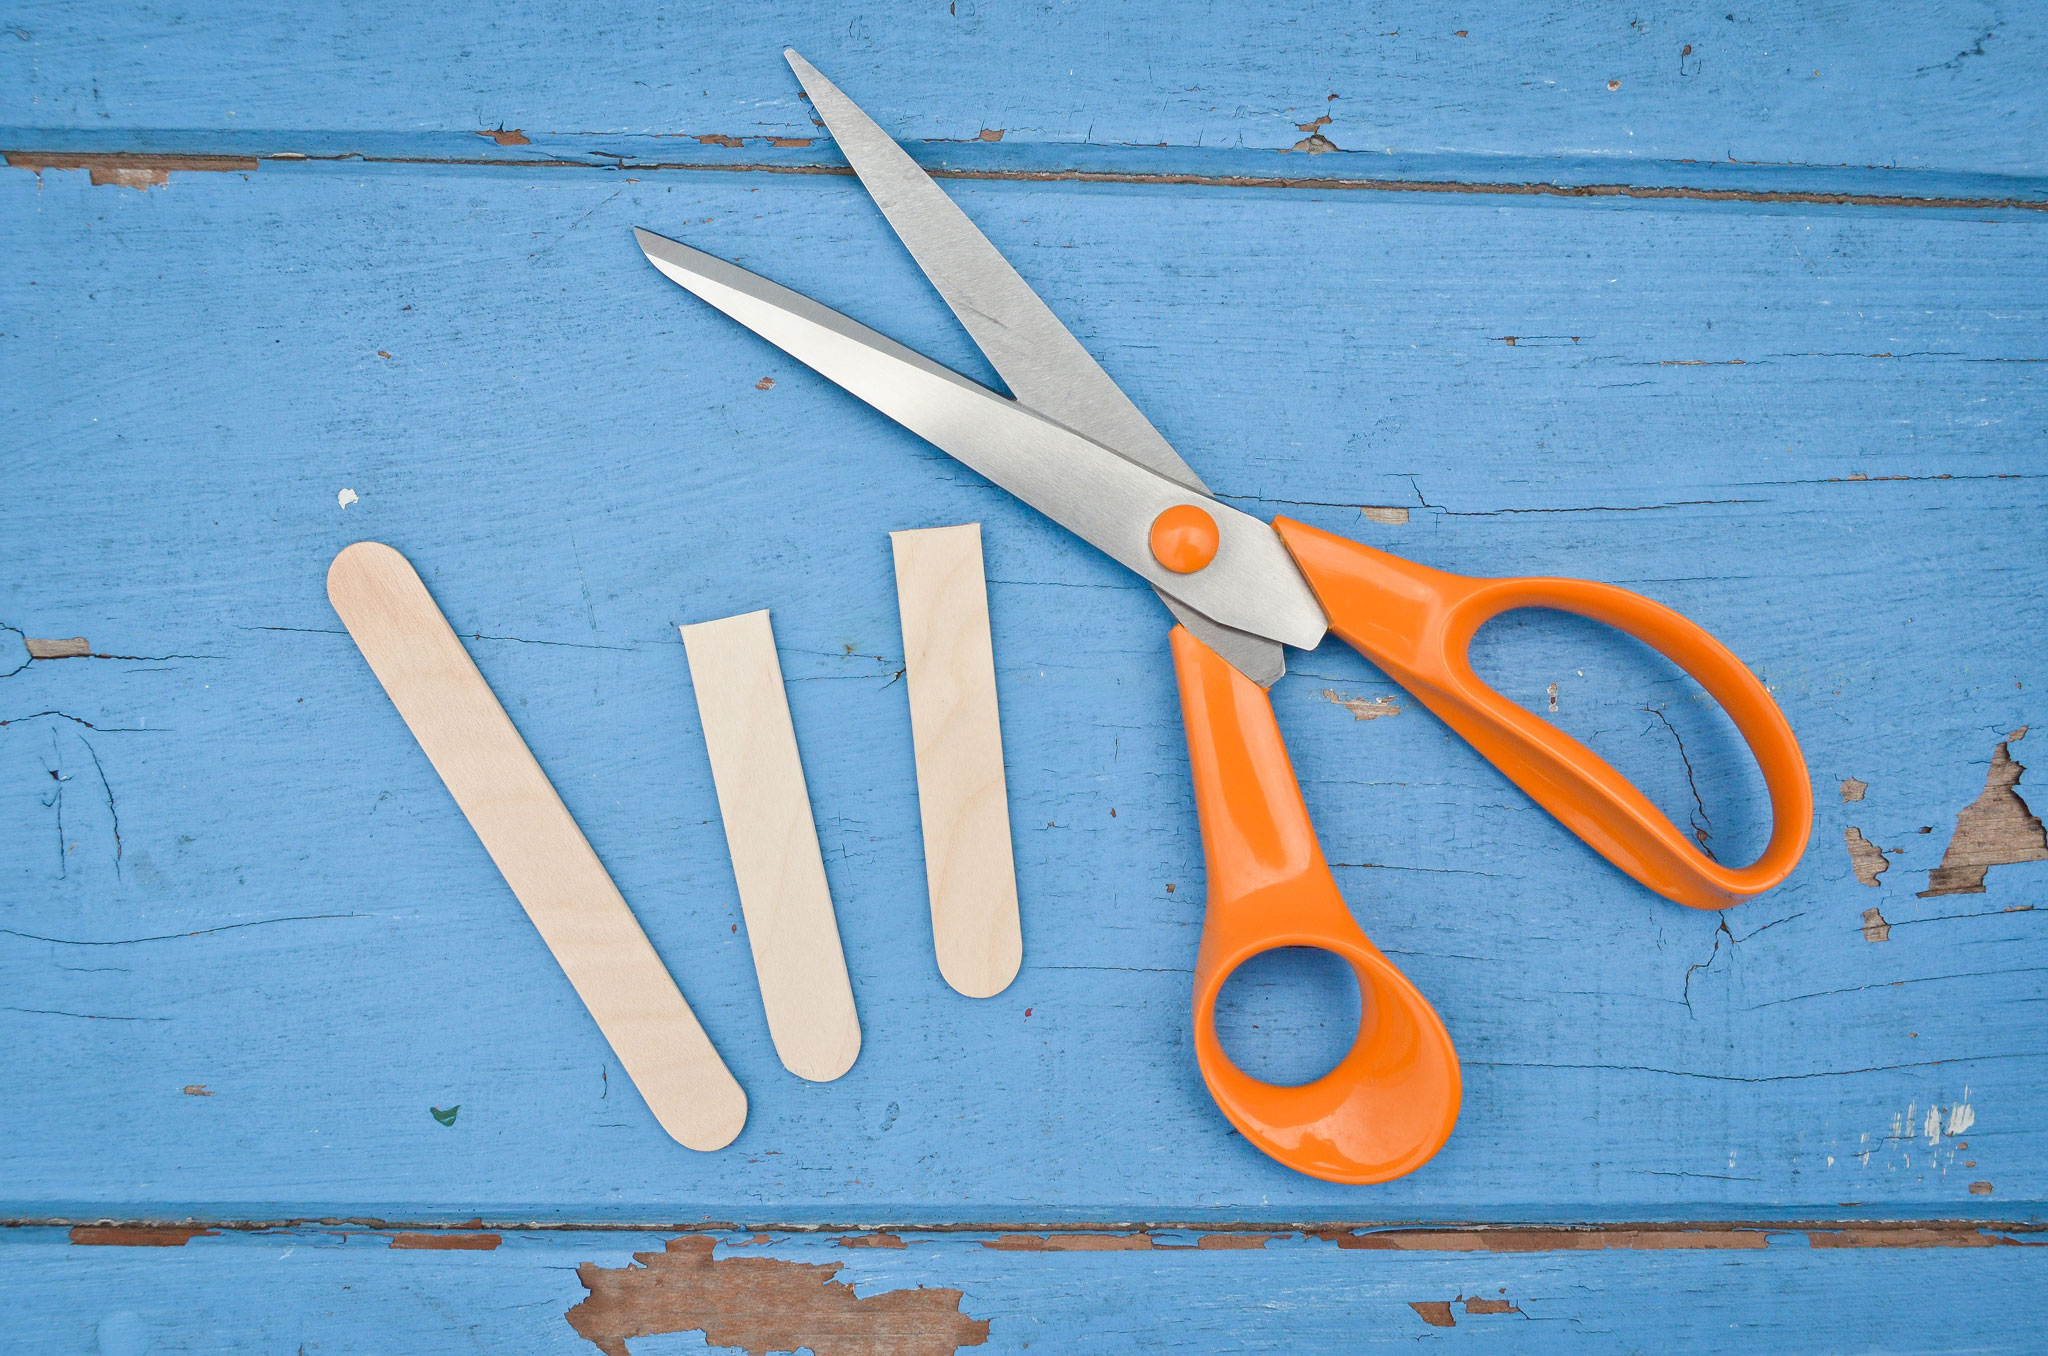
Begin by cutting down your craft sticks to about 3″ long.
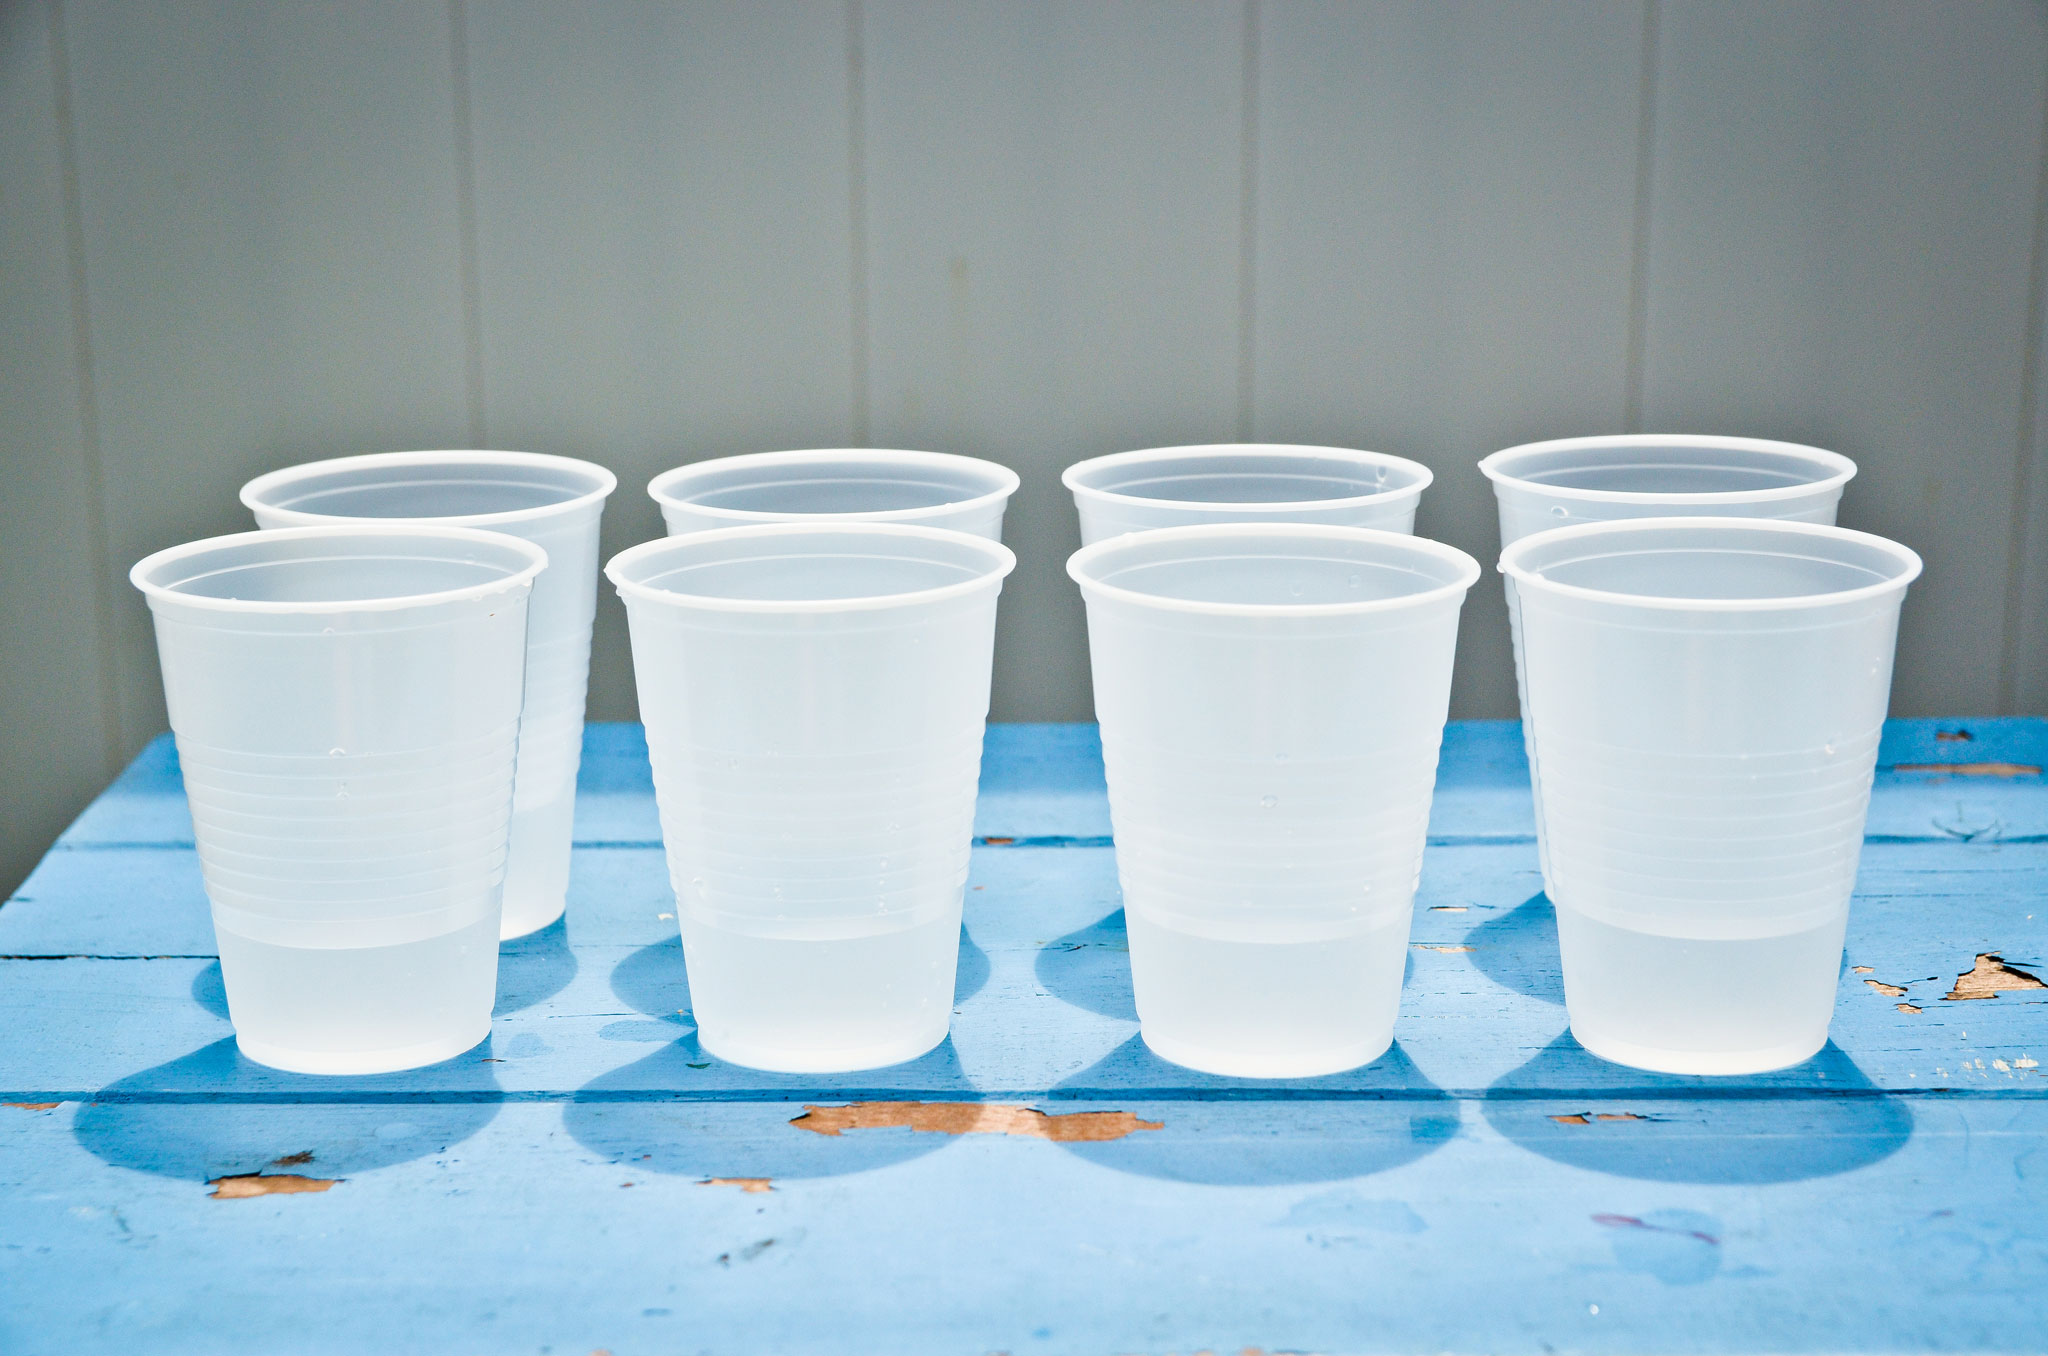
You will need one plastic cup for each color you wish to make. Since my mold has eight spaces, I decided to mix eight different colors.
Fill each plastic cup with 1/3 cup cold water.
Add 2 Tablespoons of tempera paint to each plastic cup. I measured the first one then just eyeballed the rest. Since my paint set only had six colors, I created the purple (pink+blue) and aqua (green+blue) myself.
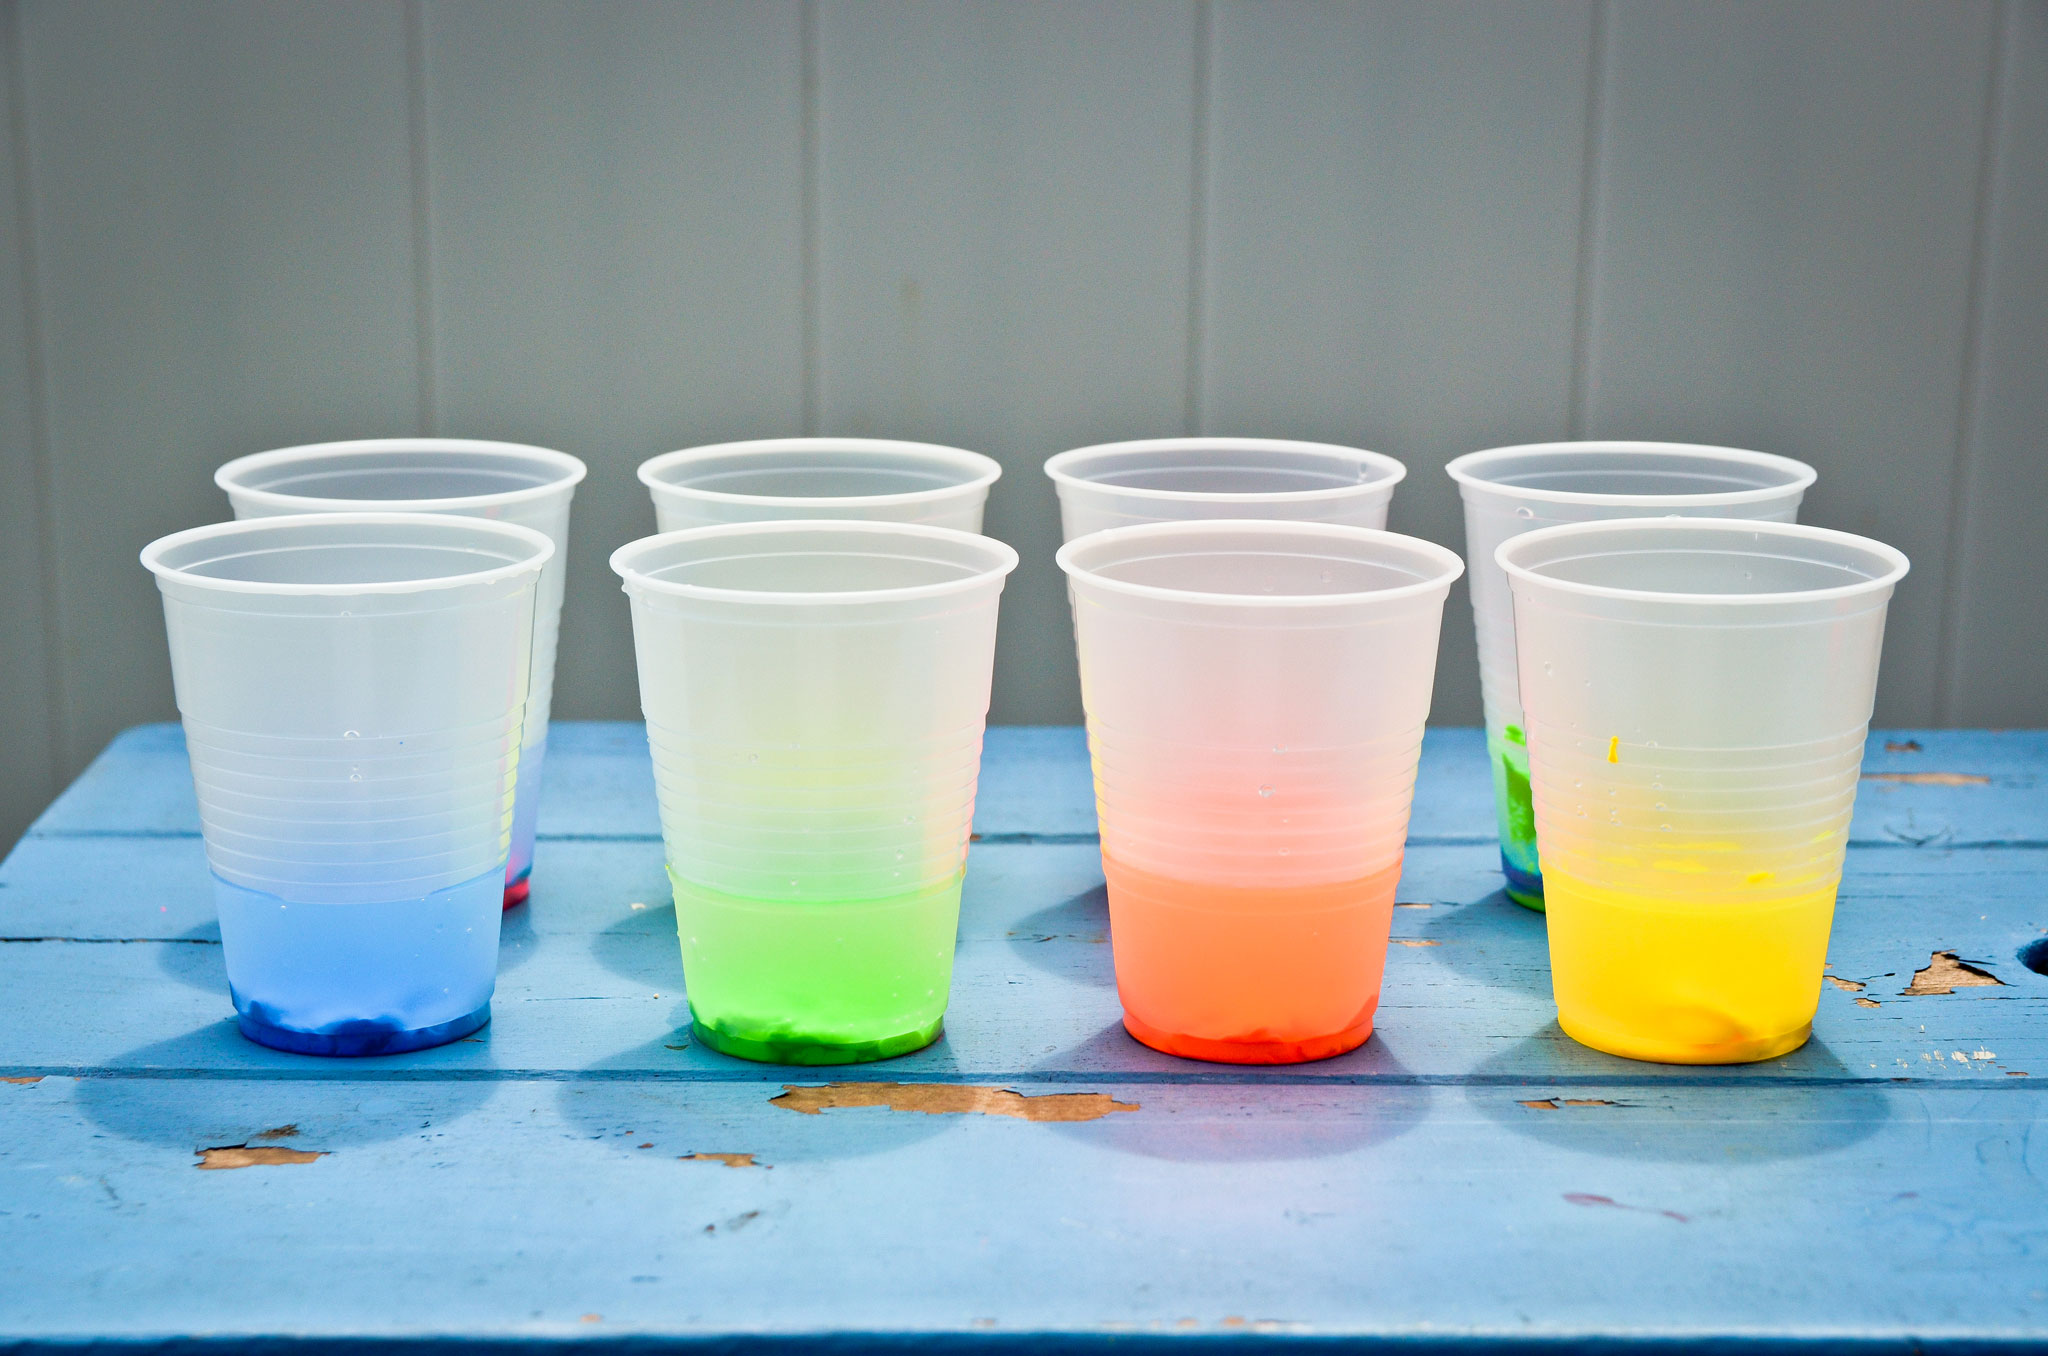
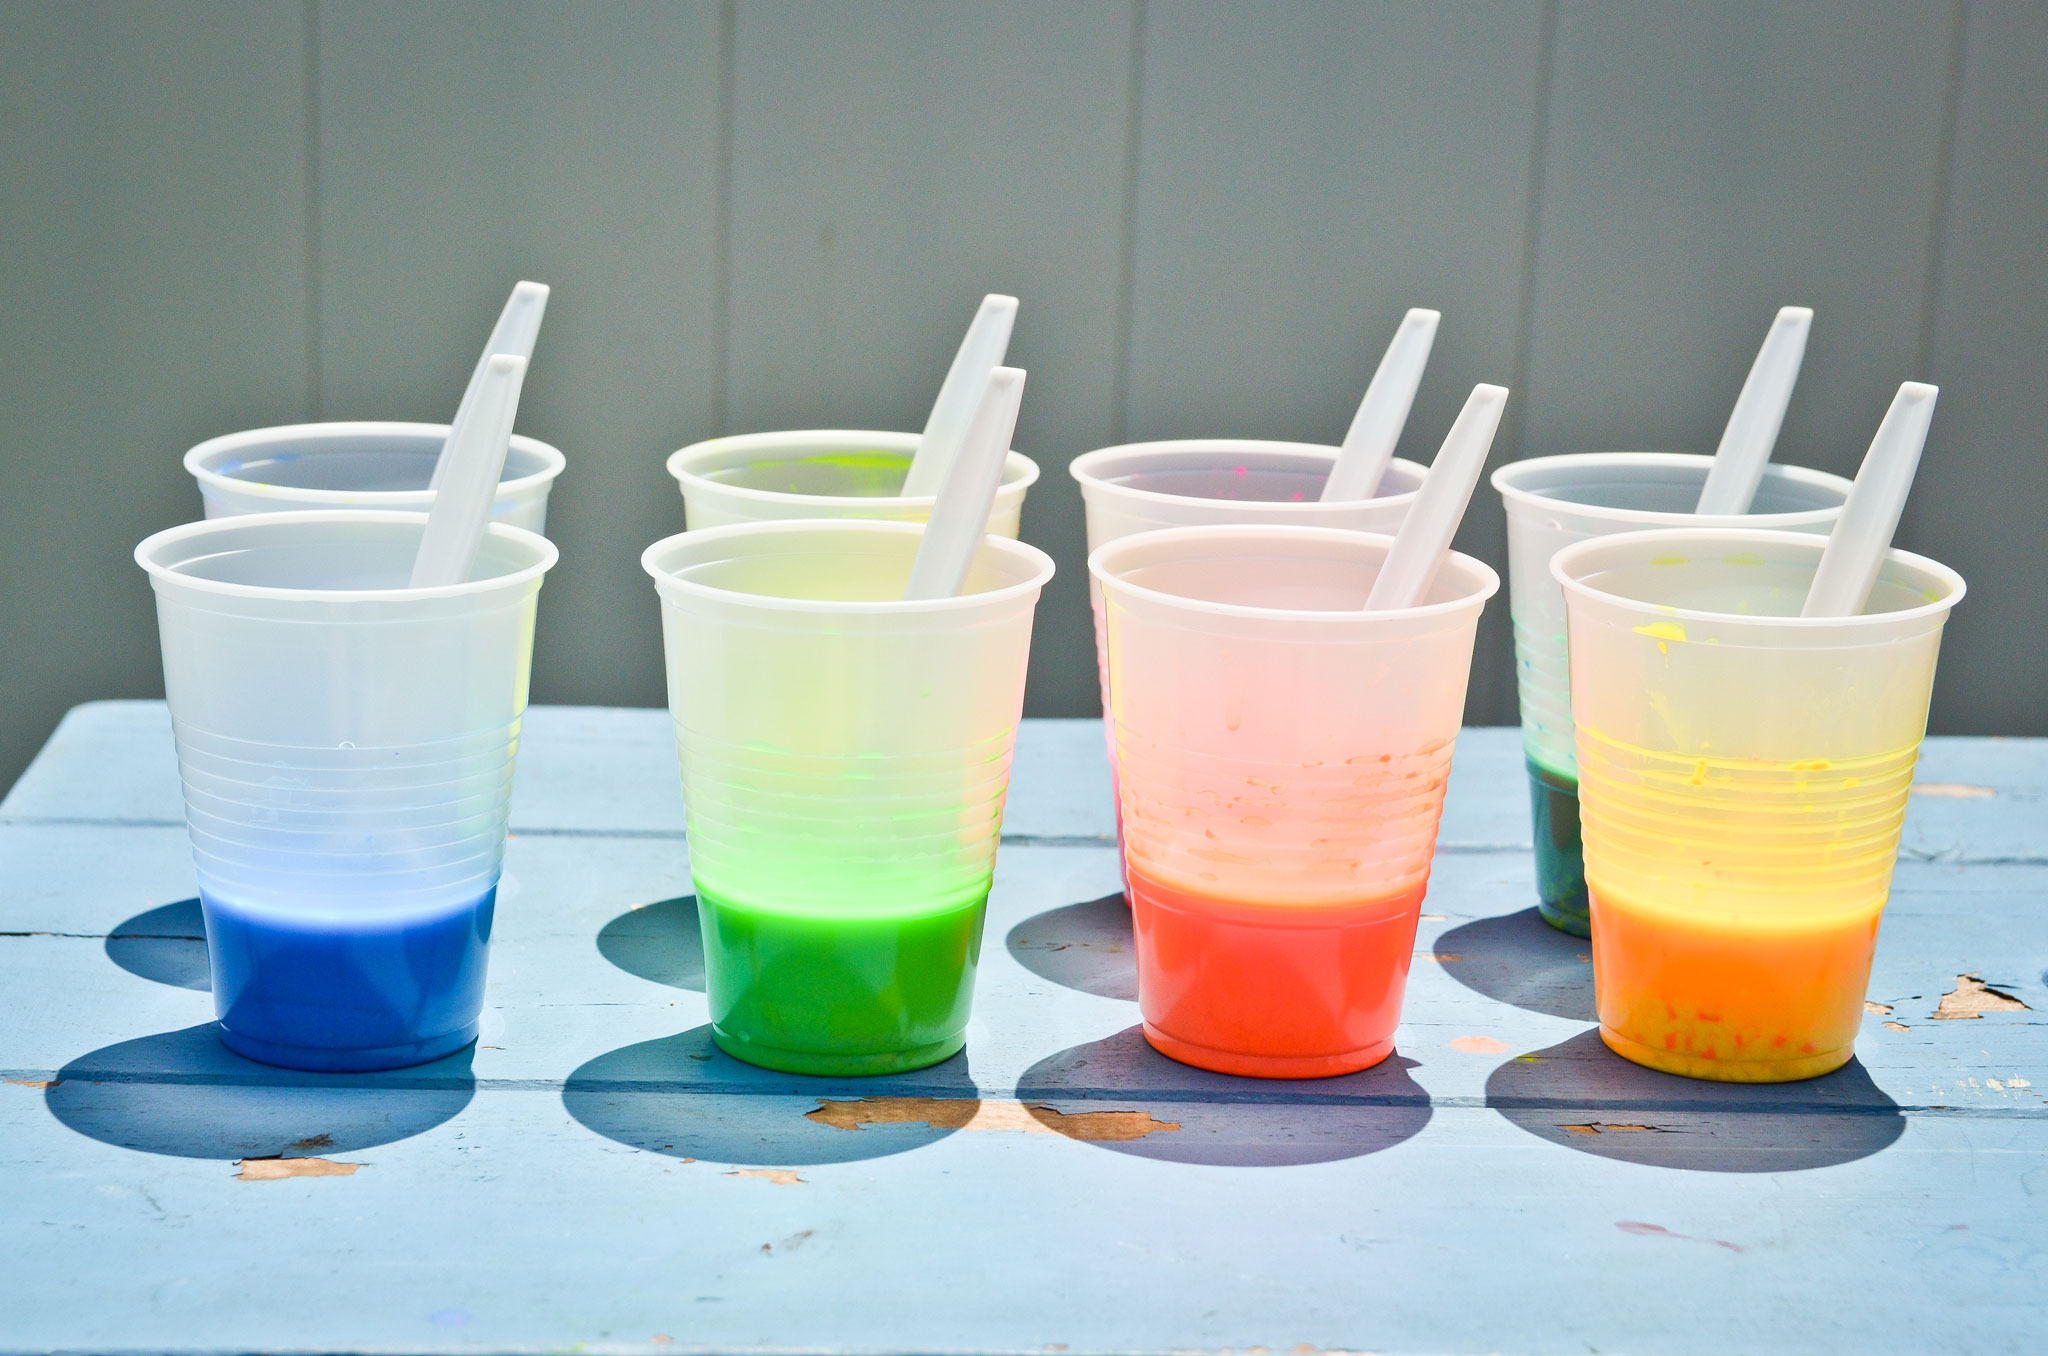
Use your plastic spoons to gently stir the water and paint together. Don’t worry if it remains a little chunky or separated—it will smooth out in the next step.
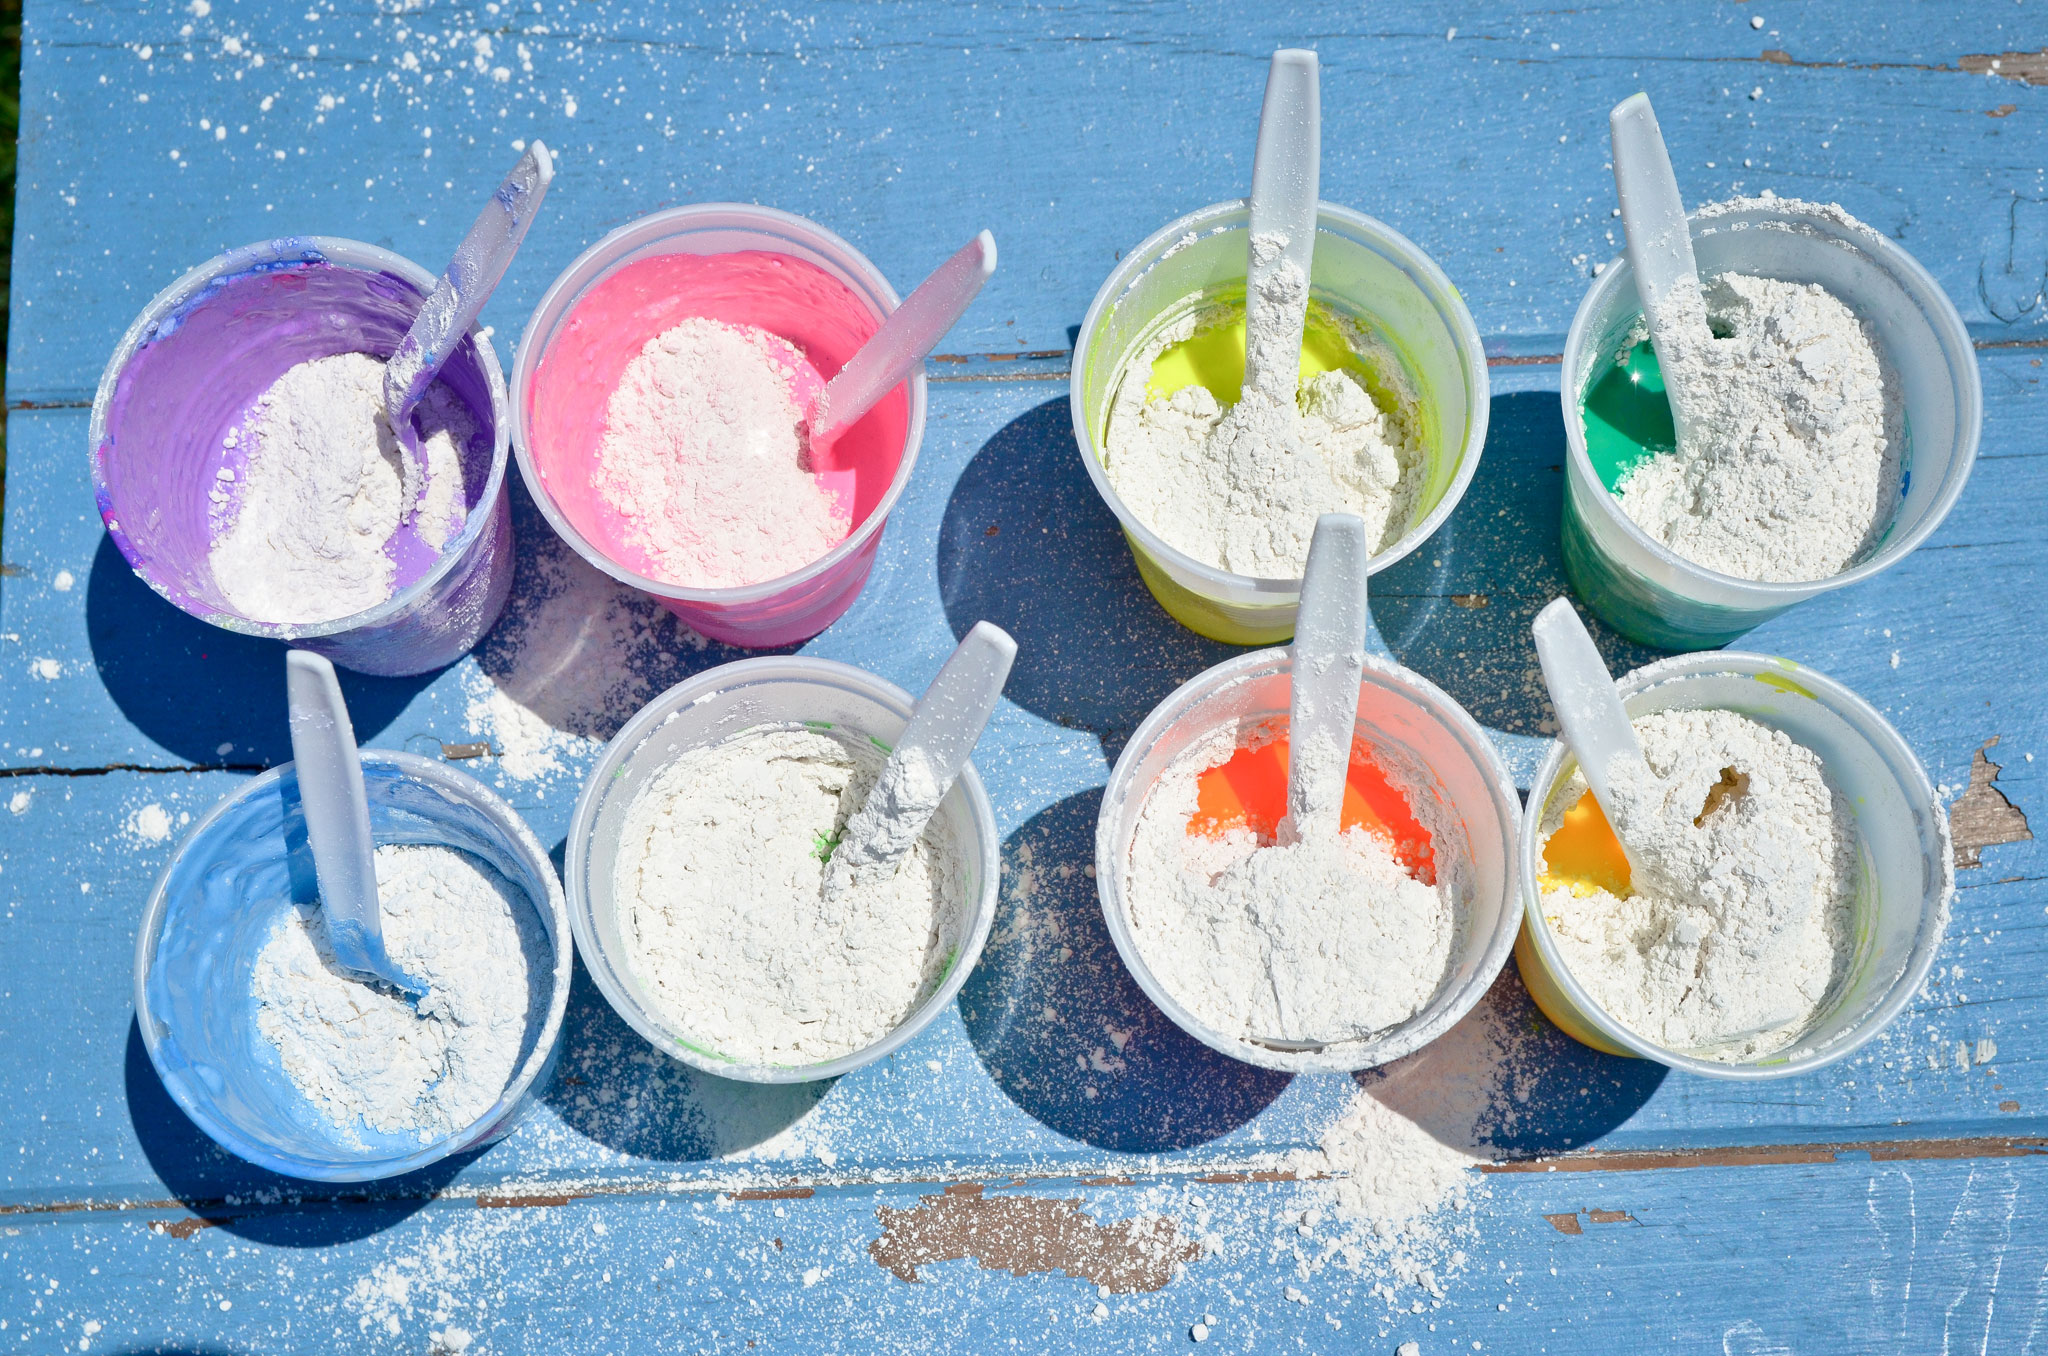
Add 2/3 cup Plaster of Paris to each plastic cup. This is where it got messy and I learned my cups were a little too small.
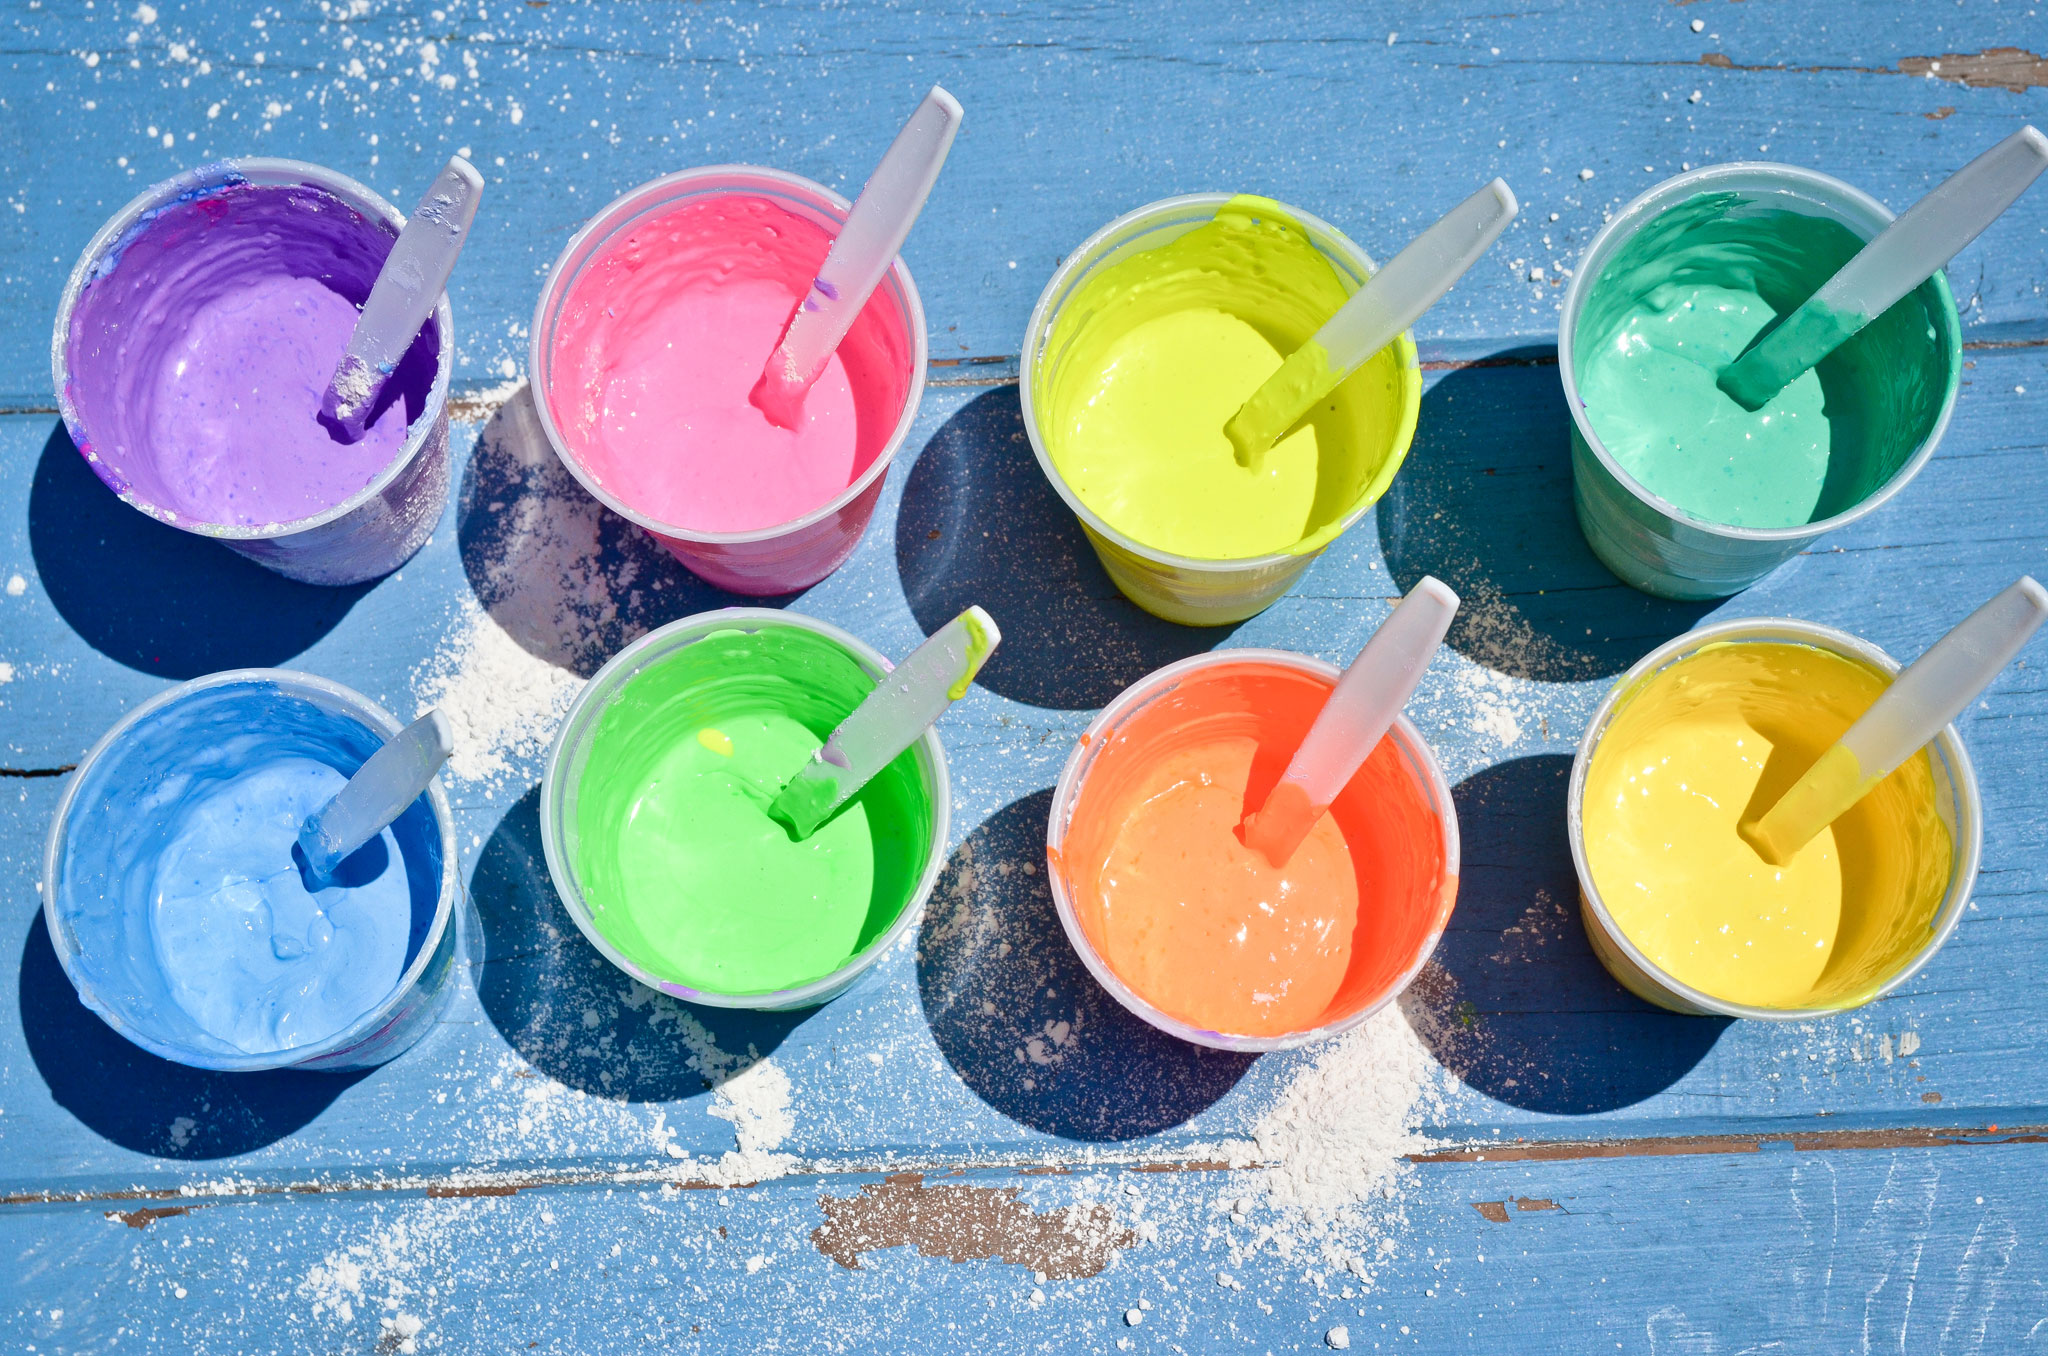
Stir until thoroughly combined. Ideally, your mixture will have the consistency of thin yogurt.
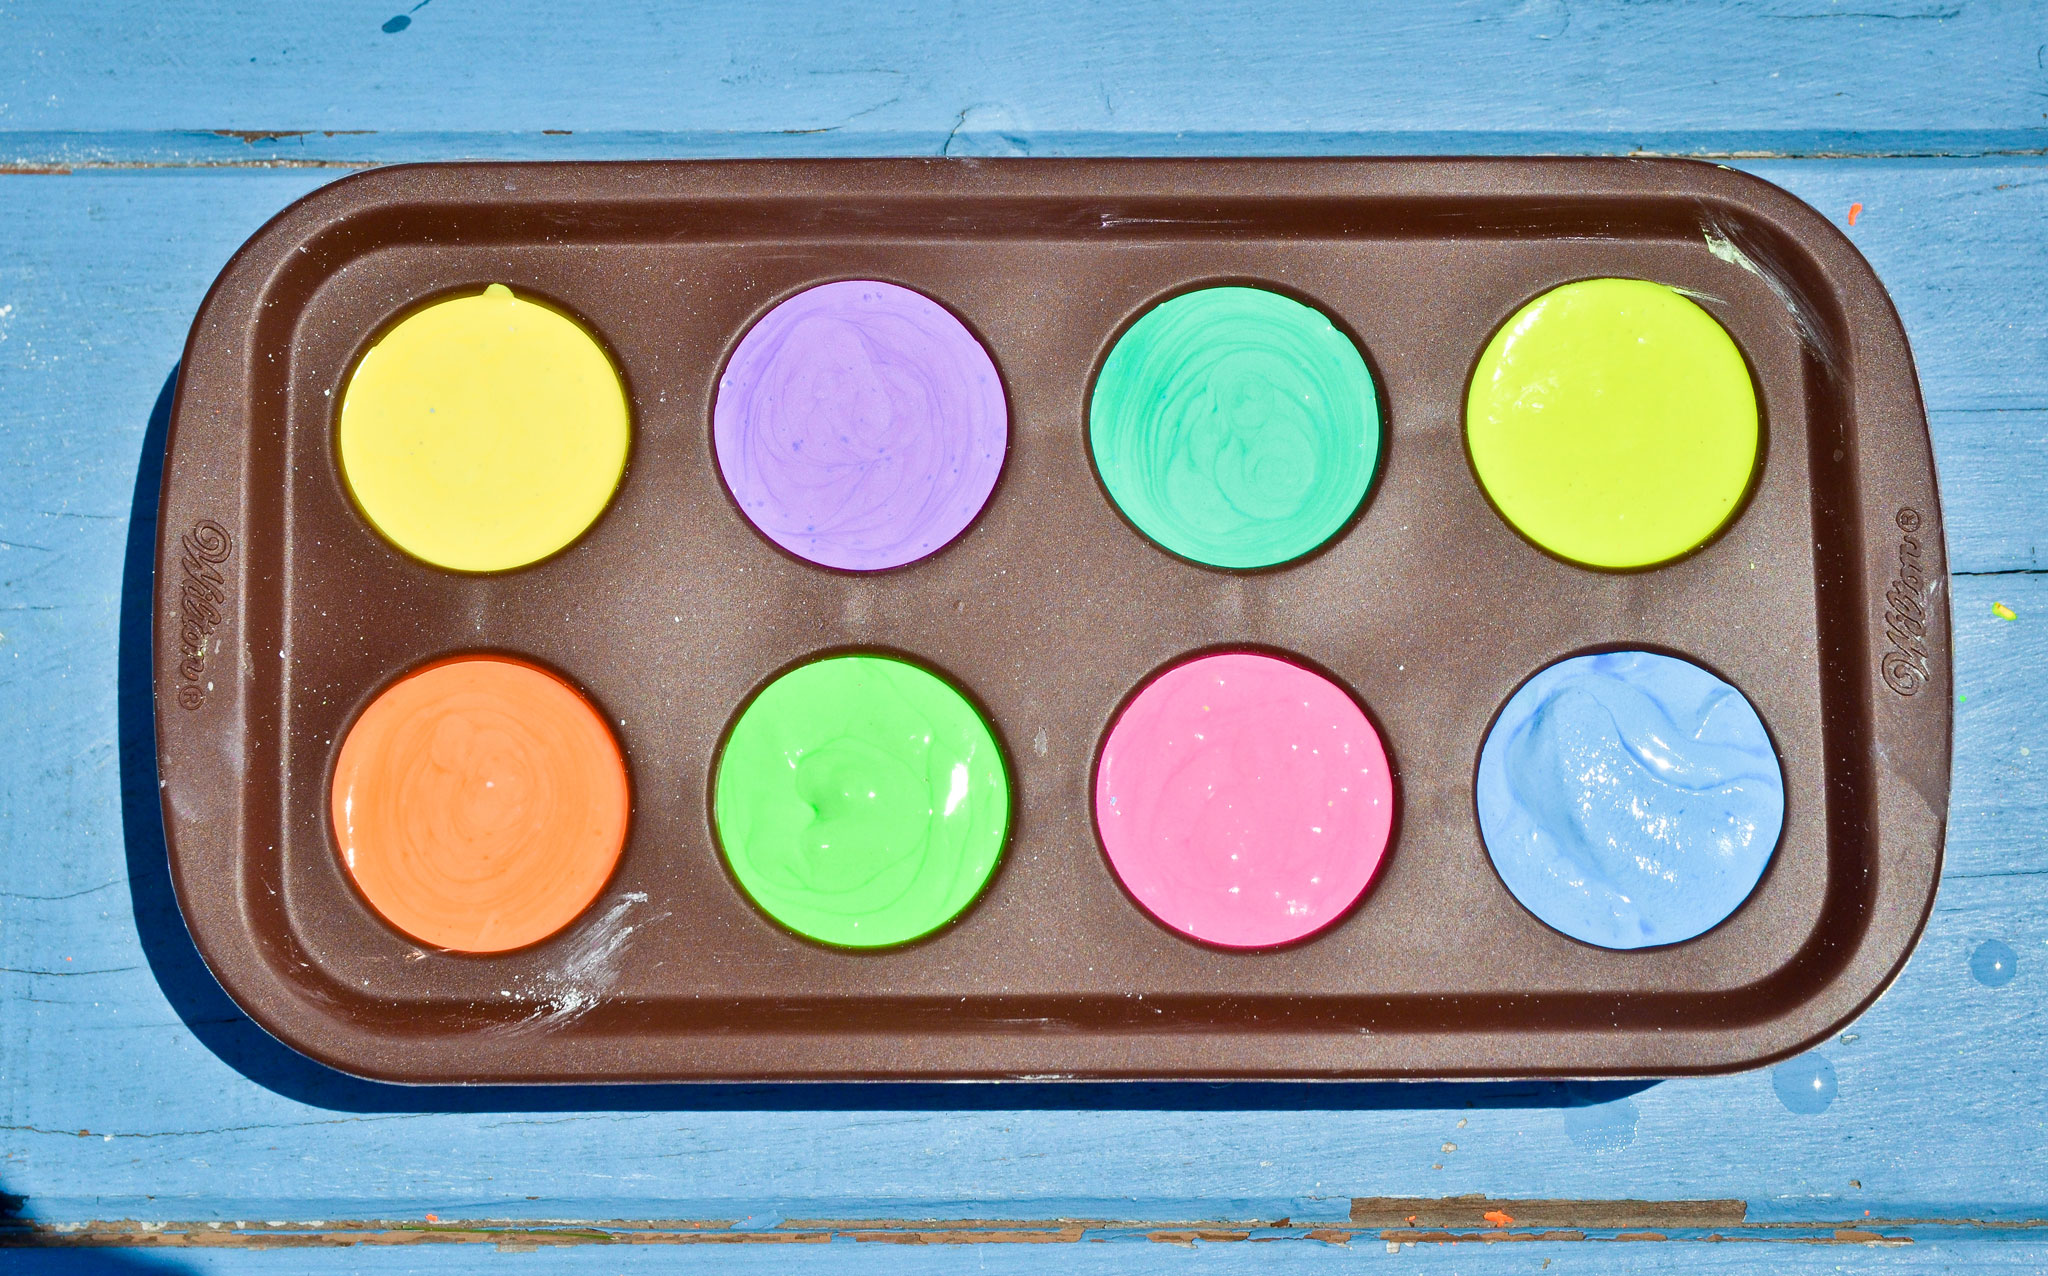
Carefully pour your colors into the silicone mold. Gently tap the mold on your work surface to release any air bubbles.
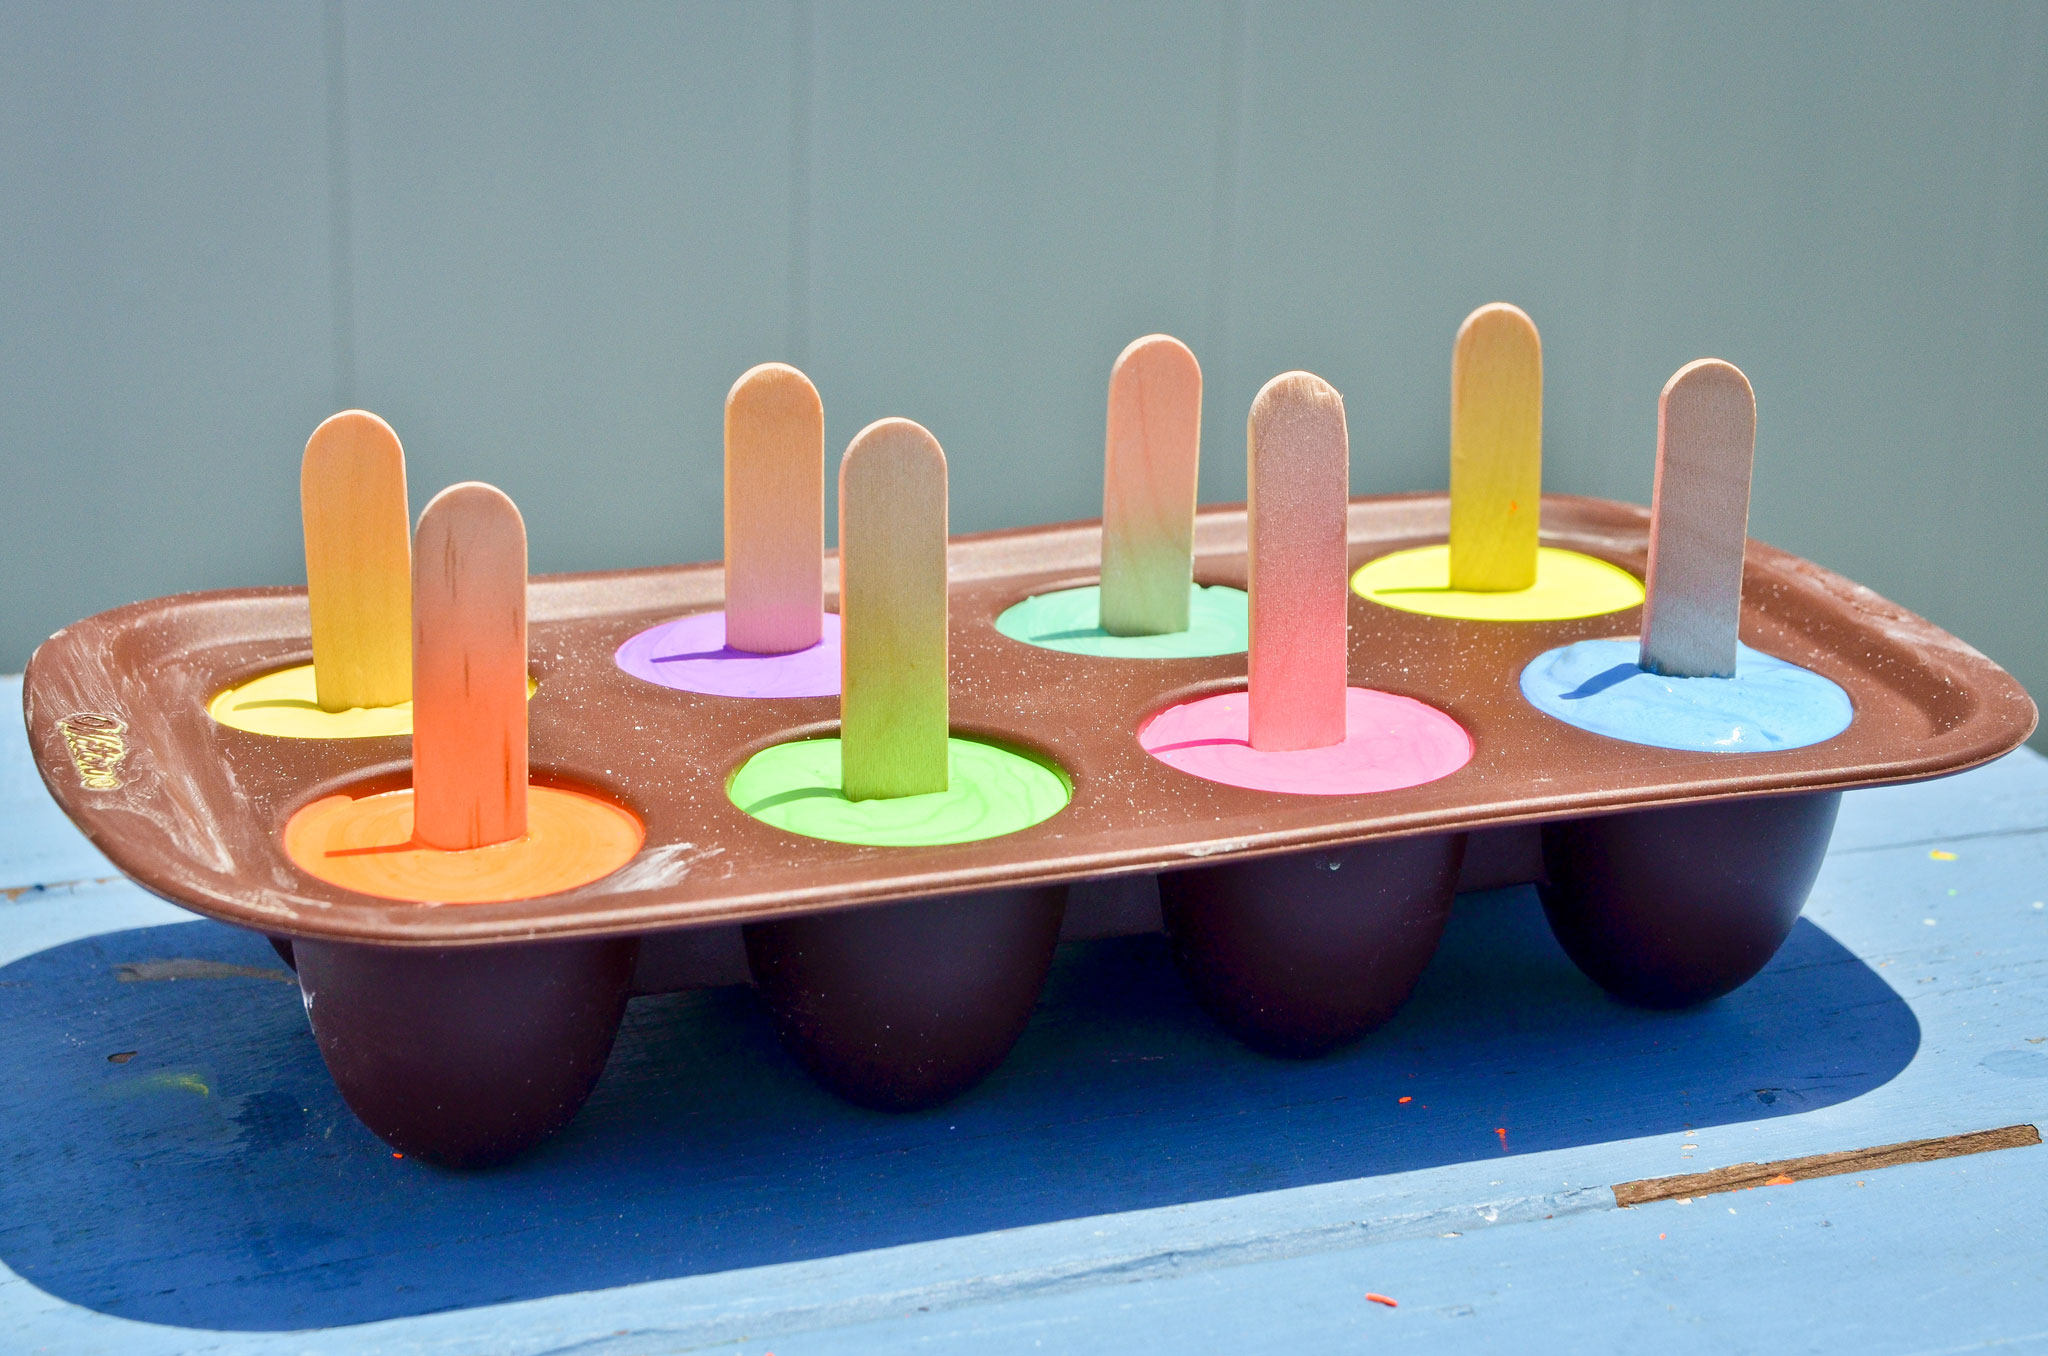
After two minutes, the plaster will begin to firm up. Insert your craft sticks (cut side down) into the middle of the chalk “pops.” They should be easy to place without having to push hard or hold them up.
Setting these out in the hot sun is a great way to cure them quickly. After an hour, you will be able to carefully remove them from the mold. Leave them in the sun to continue drying.
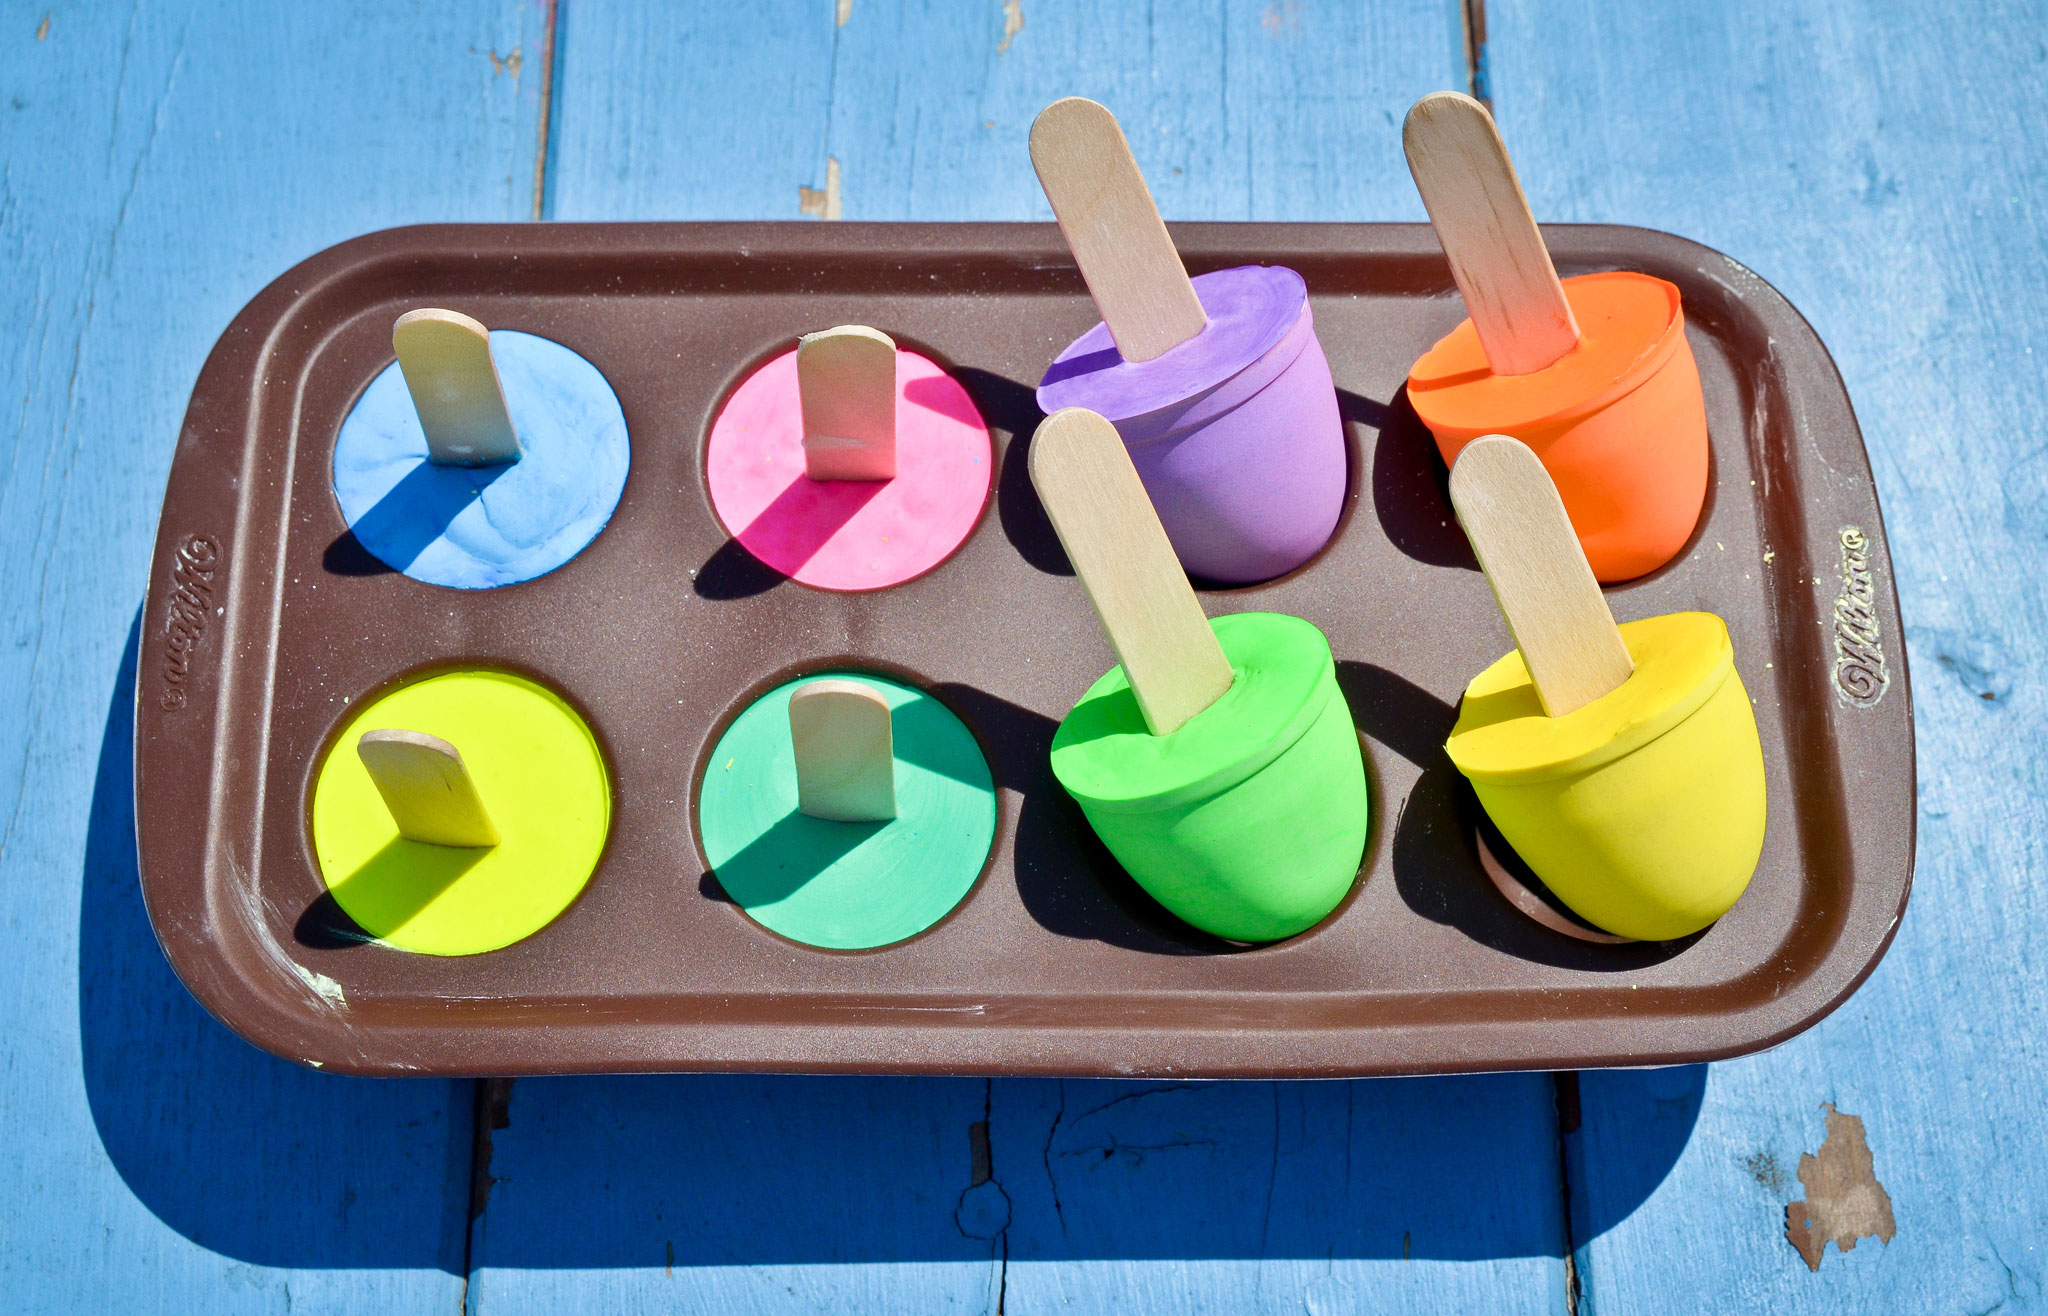
Most sources recommend waiting 24 hours for the plaster to fully cure. This will ensure a nice solid chalking experience. But I’m not most sources. Are you kidding me? My kids saw these chalk “pops” baking in the sun all afternoon, and it was all I could do to keep their hands off of them. I finally relented after 4 hours of dry time. At that point the chalk was still a little “damp” but firm, and it didn’t crumble one bit.
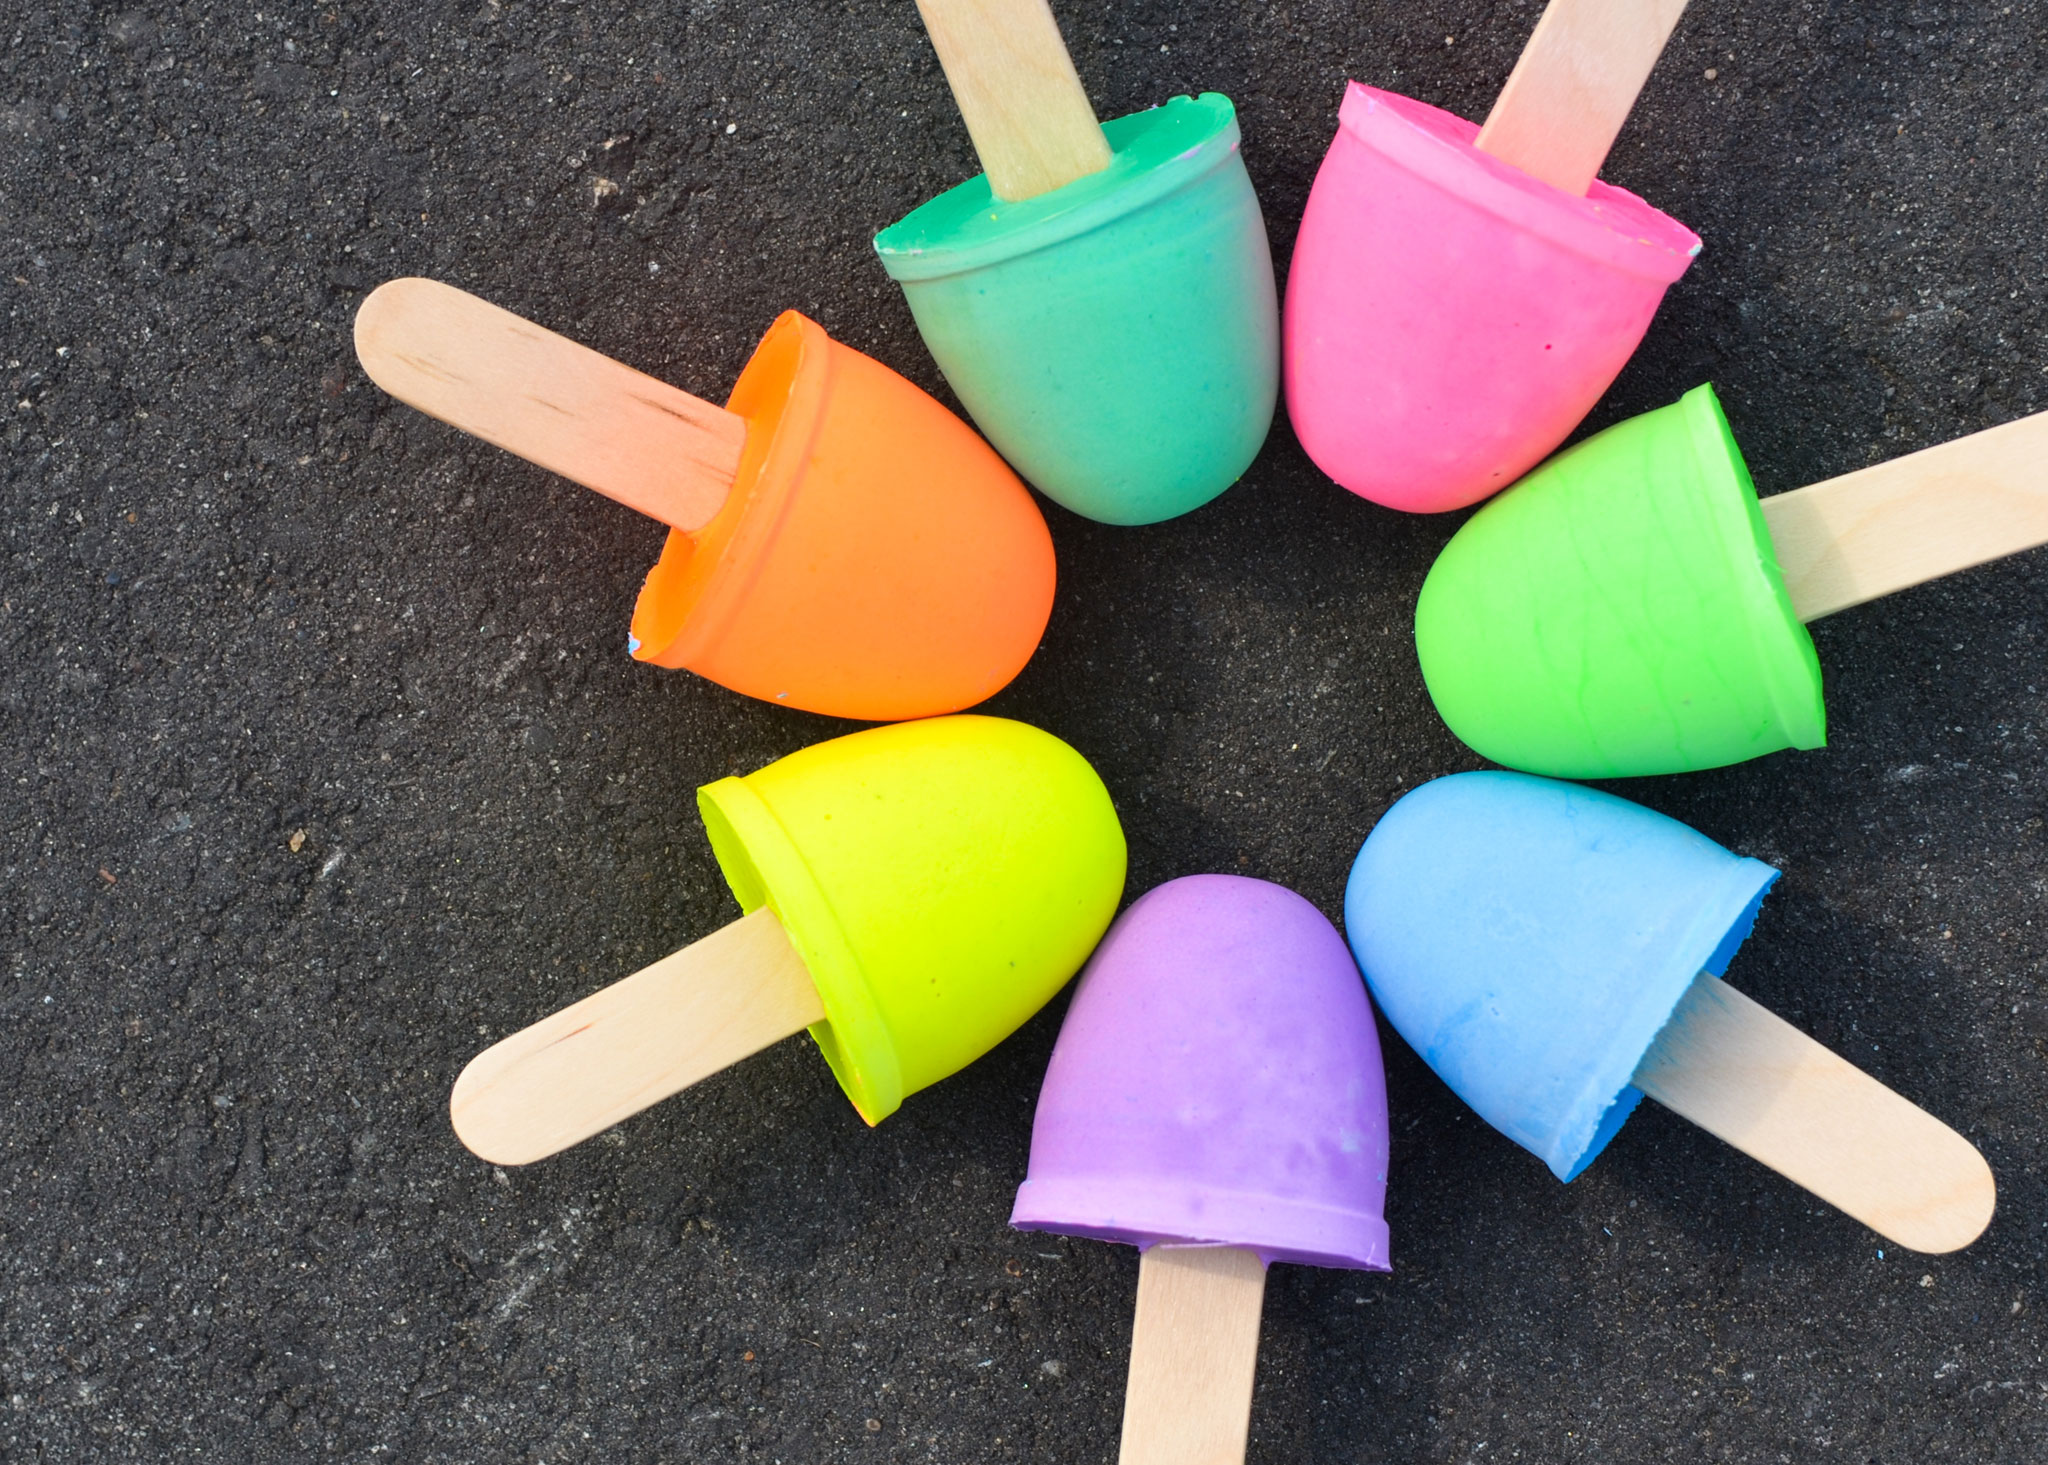
The wood sticks made it easy for little hands to hold the “pops” without scraping their knuckles on the sidewalk and the colors are more vibrant than any store bought chalk we’ve ever owned.

These DIY sidewalk chalk “pops” are a fun activity guaranteed to fill up at least a few hours of that endless summer daylight. They would be excellent party favors or gifts for summer birthday kids, too. And while they look good enough to eat, please no licking! Try our sidewalk paint tutorial too!


*this post contains affiliate links*






Comments
Melisa Fluhr
You are too darn good Hayley! Can’t wait to make these when school is out!! – M
Grey House Harbor
Thanks Melisa! They’re a lot of fun… we’ve already burned through our first batch and have made 2 more sets!
Brooke
Does the chalk clean off easily?
Grey House Harbor
Brooke, Yes! All of the ingredients are water soluble and wash off very easily. No worries about staining chalk here!
Mal
If you can’t pour Plaster of Paris down your drain, how do you wash the molds when you are done?
Grey House Harbor
Hi Mal. The molds will actually be fairly clean once the chalk pops dry and you pull them out. Wipe off any major excess with paper towels. Trace amounts of the Plaster of Paris can go down the drain, you just don’t want to go dumping cupfuls!
Lora
Was looking for a great craft project to do with my grandson Jace. I found this on Pinterest and can hardly wait to get started. Plus I can’t wait to start getting emails of more projects from.
Michelle Sexton
I actually tried doing these a couple of years ago. They didn’t work out well. The tempra paint faded in the plaster after a day. Did these do the same for you?
Grey House Harbor
Hi Michelle, My leftover chalk from last year is still going strong this summer, never had any fading. Maybe using the “neon” colors works better than regular colors? Or perhaps your paint-to-plaster ratio was a little off? Hope you can mix up a new batch that works!
Katie Sanders
Where did you get your molds??? I love the shape and size!
Grey House Harbor
Hi Katie – I found the mold at Walmart, but there’s 2 links in the tutorial to where you can buy it on Amazon!
Taylor
Can you leave them in plastic cups to mold?!
Grey House Harbor
Taylor, Um… I haven’t tried that. I would think the molding vessel would need to be malleable so that you can easily pop them out. But I suppose it wouldn’t hurt to try? Let me know if you do and what the result is!
Magaly
Neat! TEMPERA paint never ceases to amaze.
Mary Ann Hurley
Leave them in the cup for the complete drying time then tear away the cup. No mold needed.
Rina
Did you use liquid tempera paint? I saw another article & they said that it had to be the powder. I haven’t been able to find the powder anywhere local. I have encountered the liquid kind several places. That would make it much easier.
Grey House Harbor
Hi Rina – Yes! Just regular ole liquid tempura paint. I actually used the neon versions… to make the colors more vibrant.
Stephanie
I just made these with my daughter and niece this past weekend and they turned out great. I was sad I couldn’t find the mold like you had but I found some ice cube trays that work perfectly!!! ?
Miranda Ward
how much of the plaster container did you used up to make one tray of chalk pop?
Marta
I’ll try this, but please, please, please, it’s tempEra, tempUra is a Japanese food 😂
Grey House Harbor
Oops! Thanks for catching that… fixing it now. :)
Jane
looks like a great idea but can you use another type of paint as we have children that are allergic to eggs
Grey House Harbor
Hi Jane. Thanks for your inquiry… I’ve honestly never tried making them with any other type of paint. Tempera is great because of the fact that it’s non-toxic and easily washes away. Children’s acrylic paint is water soluble when it’s wet, but I’m not sure if it would stain a sidewalk in chalk form. If your child has a topical egg allergy, be careful of paints labeled “finger paint” too, as they are typically tempura (egg) based. Let me know if you try acrylic and how it turns out!
Audra
I followed the directions exactly as they were written but when adding the plaster of Paris I couldn’t get a yoghurt like consistency. Do I need to add more water or am I doing something wrong?
Nora
Awesome. That’s very creative of you!
Finansevreni
Finansevreni dogru haberin adresi
isabella
this is amazing blog that i have never read before ,bundle of thanks for conveying such a creative blog , i am also a professional content writer and plz also visit my website , the link is here ;
spectra S2
this is amazing blog that i have never read before ,bundle of thanks for conveying such a creative blog , i am also a professional content writer and plz also visit my website ,
Pampers Cruisers
This is amazing blog that I have never read before Its very helpful for me. Thanks for sharing it.
Norstrat
It’s a really beautiful and amazing blog post! Thanks for sharing
baby wipes
it is really a beautiful site thanks for sharing it you can also visit my blog
PDF Kitap indir
Binlerce PDF Kitap indir içeriğini, EPUB Kitap ve PDF Kitap formatlarıyla tamamen ücretsiz bir şekilde sitemizden indirebilirsiniz! Dilediğiniz kitabı ücretsiz bir şekilde okuyabilirsiniz. Kitap severlerin buluşma noktası. Daima ücretsiz!