Mason jars and paper straws with little flags are still very trendy at baby showers. They quickly add a sense of whimsy to a party, and they’re a detail that is hard to miss at place settings or on a buffet. Although they’ve been around for a while, sometimes it’s inspiring to see exactly how something is made, so today I’m sharing my tutorial on how to make embellished mason jars with pretty paper straw flags. All it takes is a few minutes and a few inexpensive supplies!
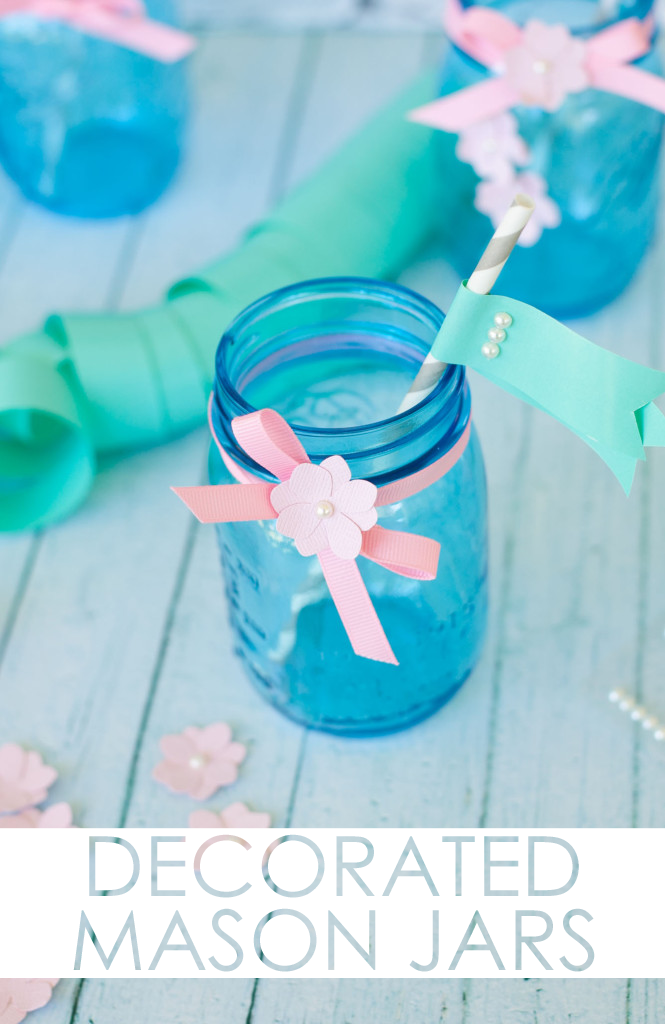
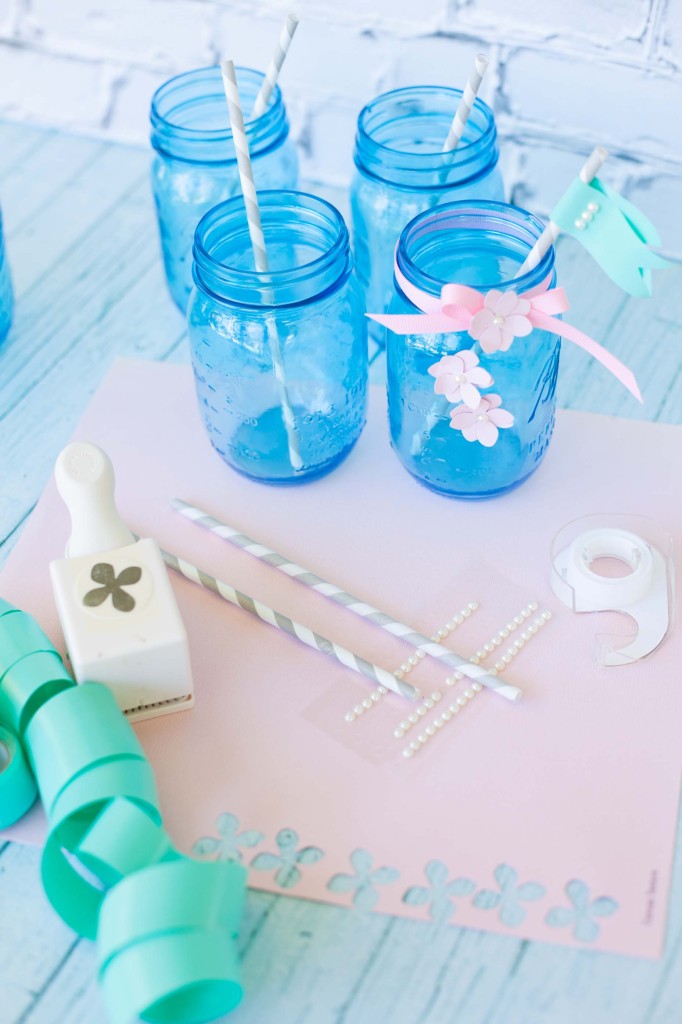
Materials: mason jars, paper straws, 1″ wide ribbon or strips of paper, stick-on pearls, double-sided tape, glue stick, solid-colored card stock, hydrangea or other flower-shaped scrapbook punch, 5/8″ wide ribbon
Cut a strip of 1″ ribbon to 5″ long, or cut a piece of colored paper to 1″ x 5″.
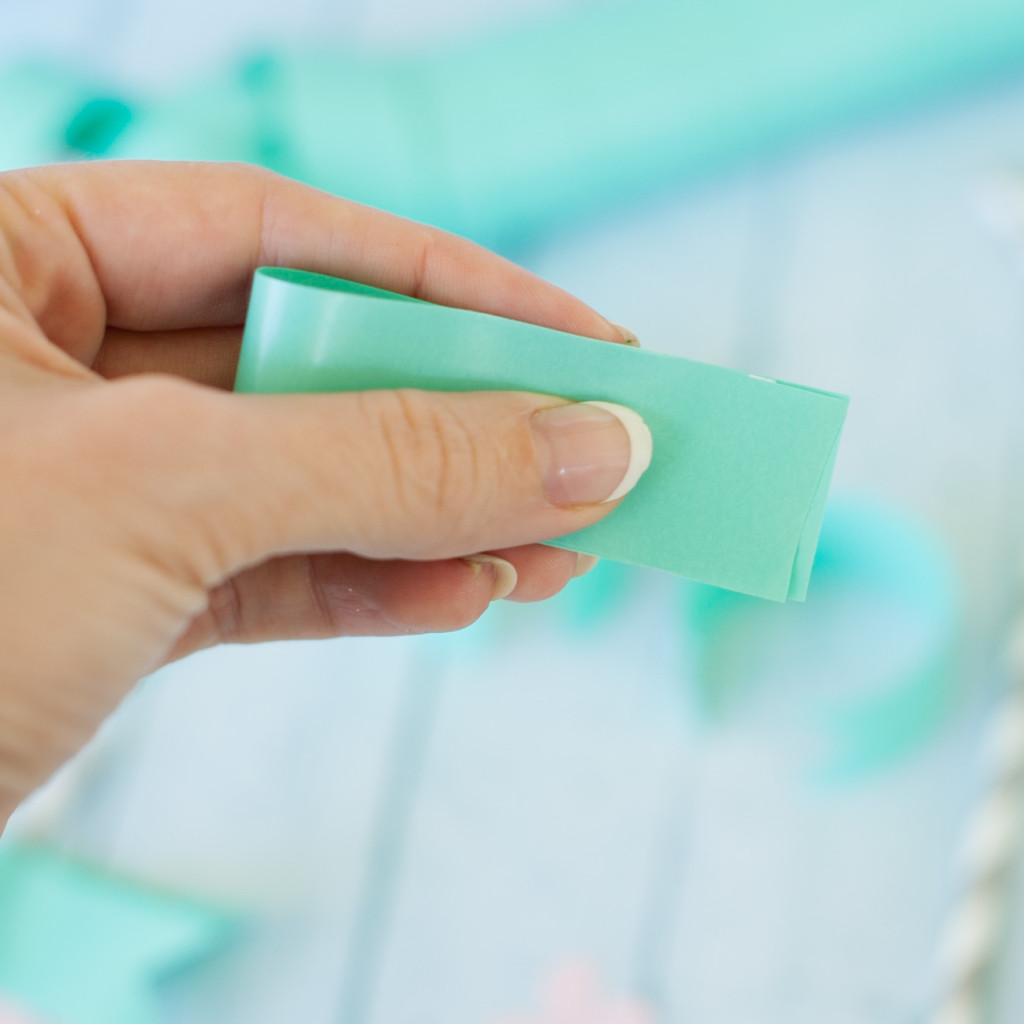
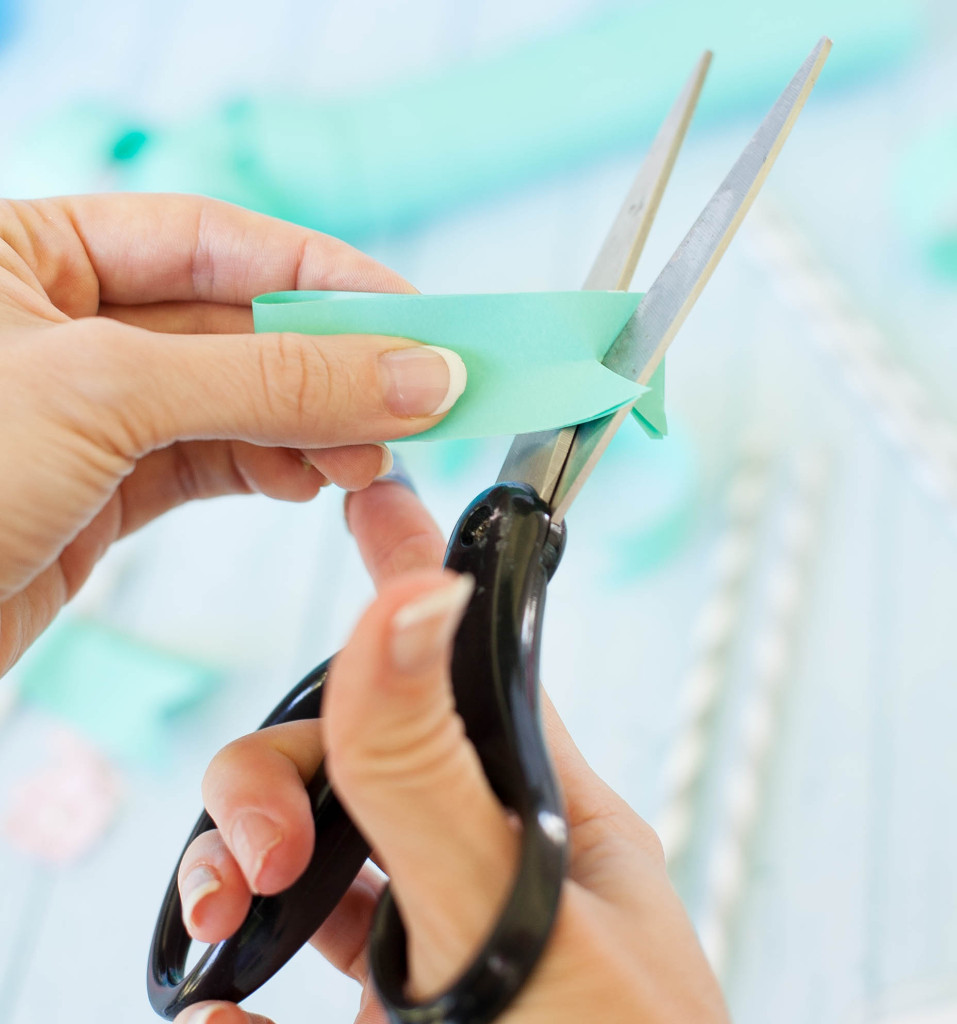
Fold the paper in half, and cut a v-shaped notch in the end.
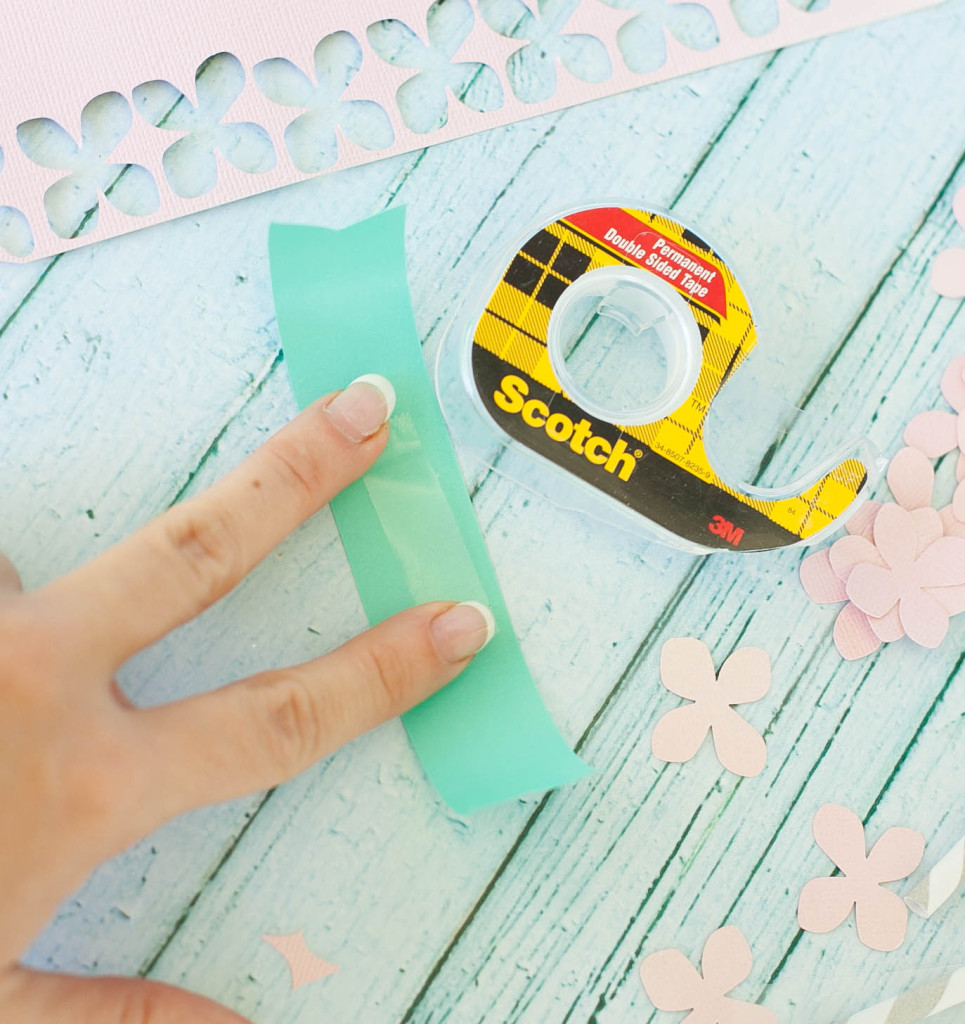
Open up the ribbon, and put a long piece of double-stick tape across the center.
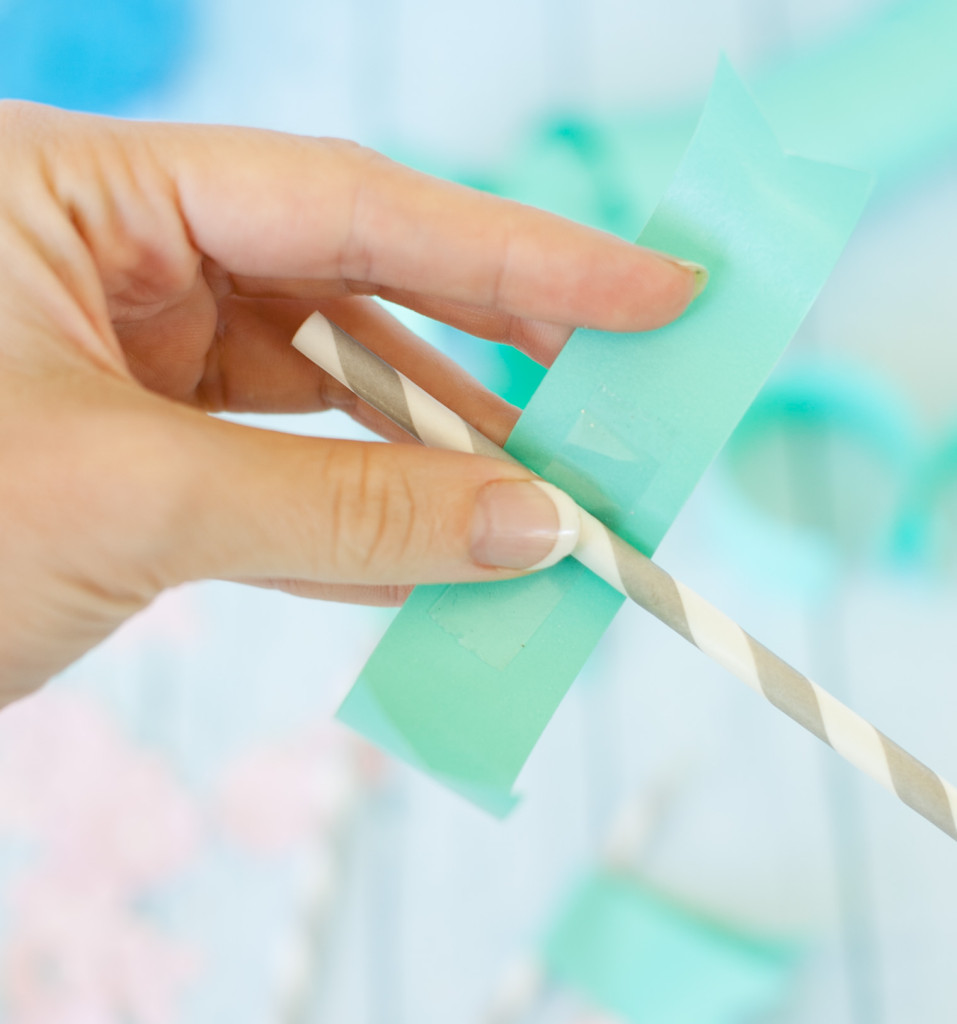
Fold the ribbon around the paper straw near the top with the tape facing in, and gently press closed.
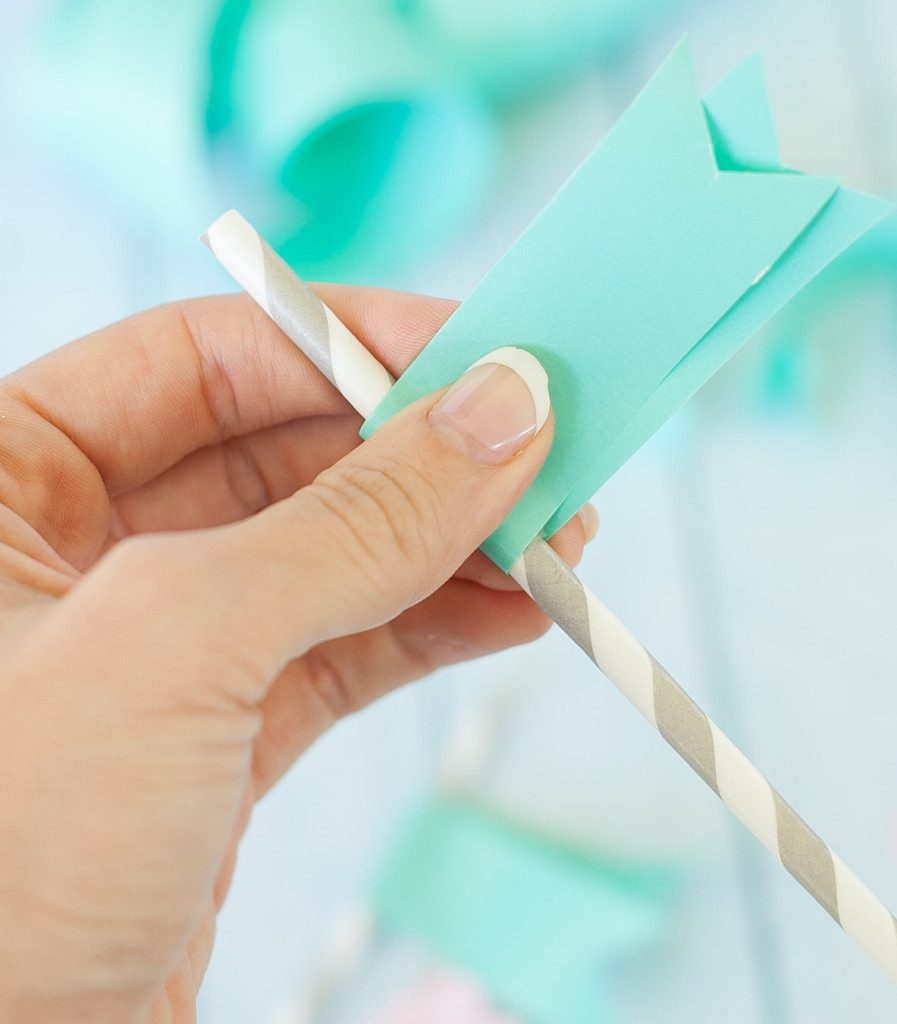
I like my flags to be slightly off center and not perfectly straight, but how you position them is up to you! Add a few press-on pearls to the flag for extra embellishment.
Now let’s start creating the darling little flowers that will decorate the mason jars. You can use silks, but a few punched paper flowers are far easier and much less expensive to make. They’re also so much easier to remove from your mason jars after the party!
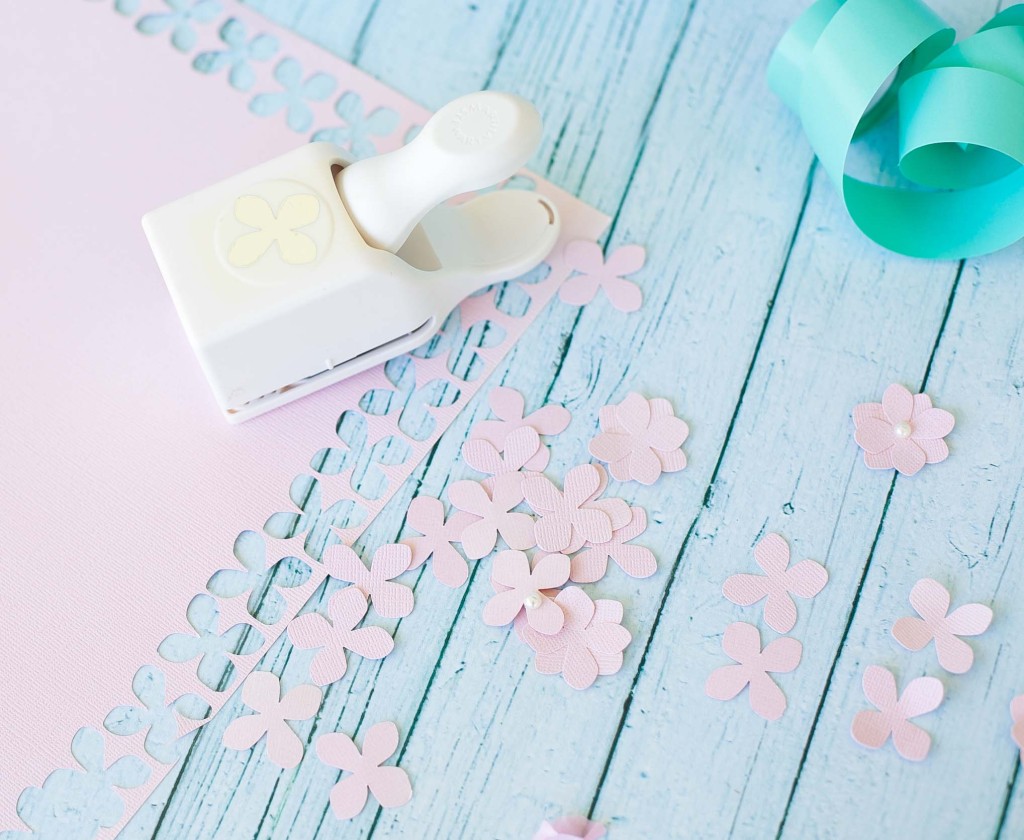
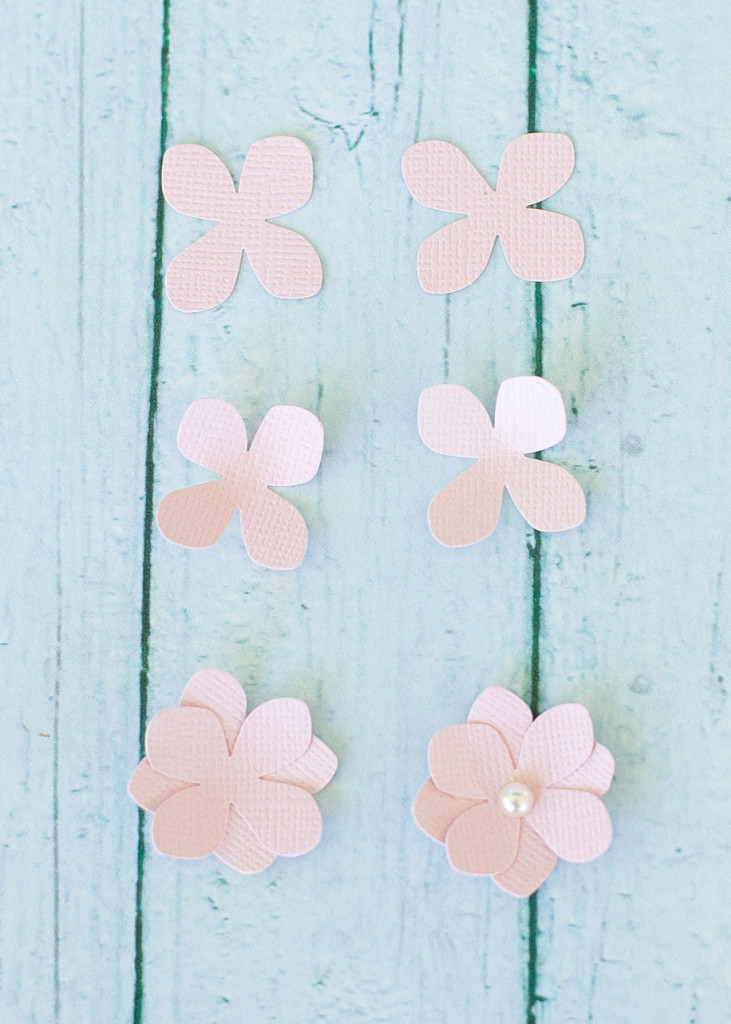
For each flower you plan to put on your jar, punch two flower shapes from your solid-colored card stock. Curl the edges of the petals up slightly to give them a 3D effect. Glue two of the shapes together at right angles to each other to create one complete flower. Top each flower with a press-on pearl in the center.
Wrap a piece of 5/8″ wide ribbon around the neck of your mason jar and tie a bow. Add one of the paper flowers to the bow—you could even add a few more down the side of the jar if you want. Drop in your paper straw, and you’re ready to serve some darling looking drinks!
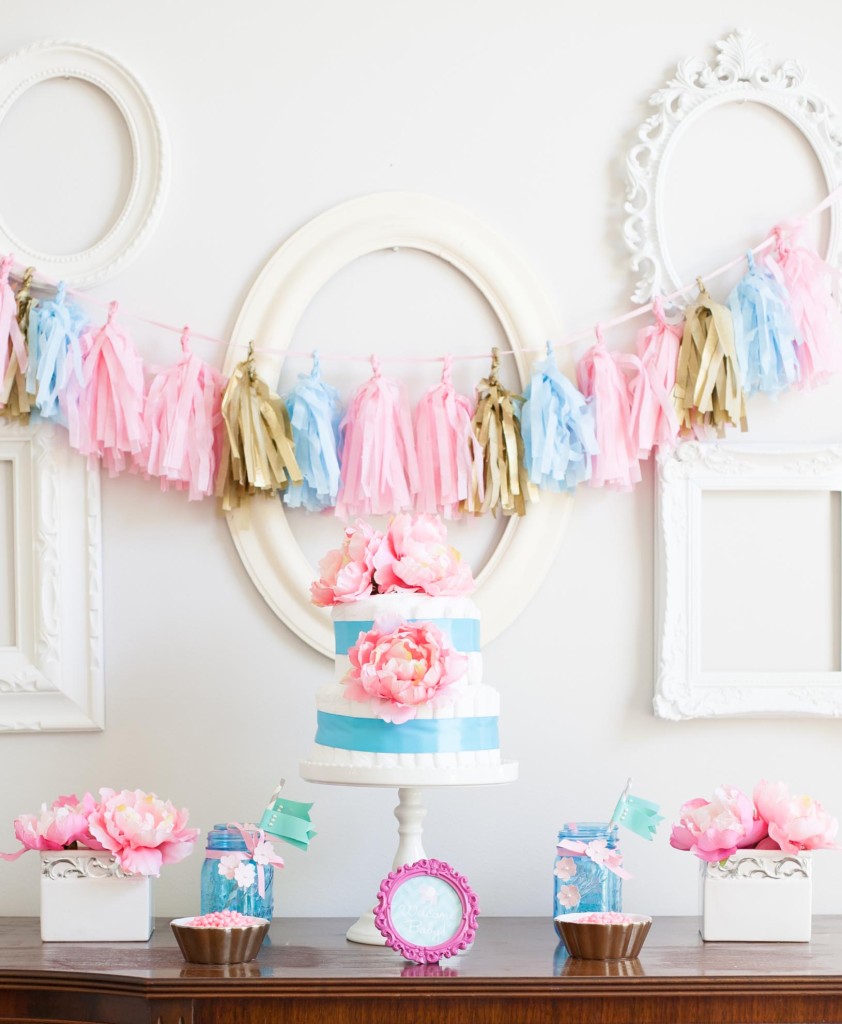
P.S. Check out the tutorial for that lovely tissue tassel garland!


