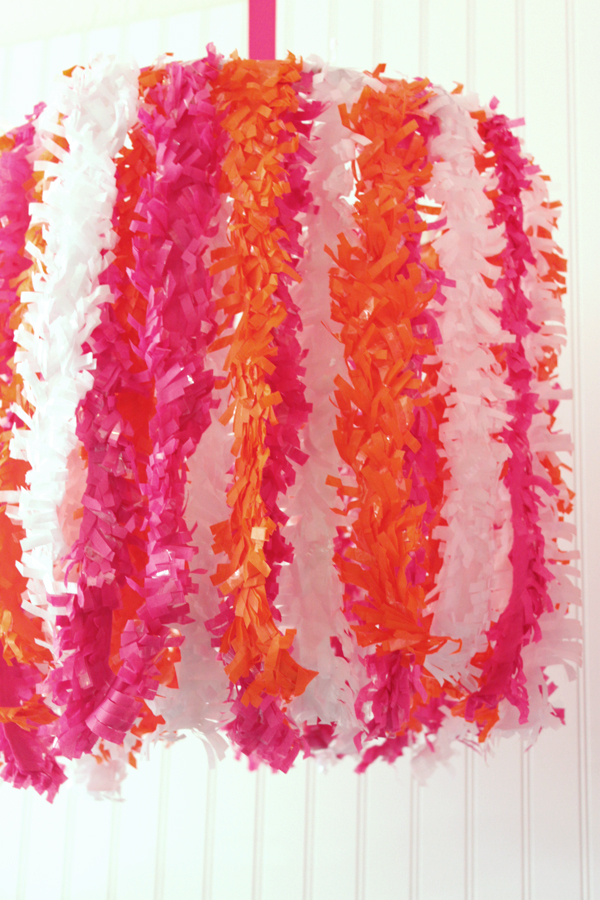
Every nursery needs some dazzling decor hanging above the little one’s crib. The bonus? You can make this easy DIY tissue fringe chandelier in a snap! With a few supplies, an extra hour and a little love, you will have all of your mommy friends swooning over your fabulous creation.
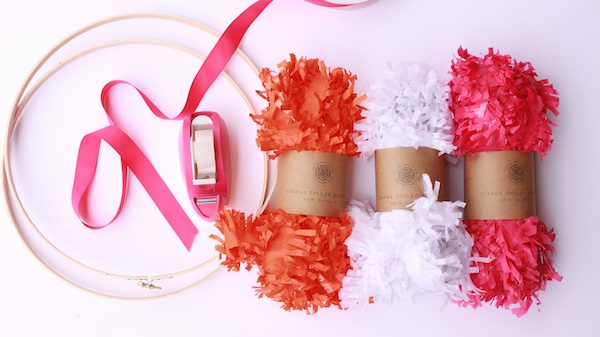
For each tier of your chandelier/mobile you will need the following materials:
Tissue Fringe Garland (we used 3 colors)
Embroidery hoop in your choice of size (get multiple if you want tiers)
Ribbon or twine
Tape or hot glue
Scissors
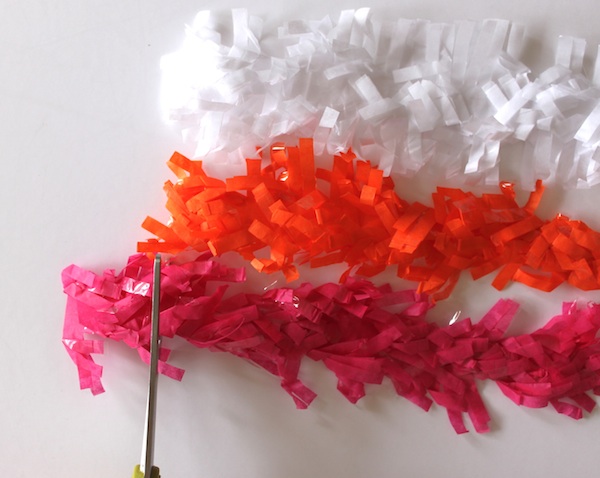
First, cut your tissue fringe in pieces of your desired length. Add an extra 1/2 inch to fold over the top of the hoop.
Attach the pieces of cut tissue fringe to your embroidery hoop using either tape or hot glue. Work your way around the hoop overlapping the pieces slightly or a little more depending on your desired fullness.
Attach two pieces of ribbon across the top with hot glue. Next, tie a long piece of ribbon where the other two ribbons intersect in order to hang your finished masterpiece!
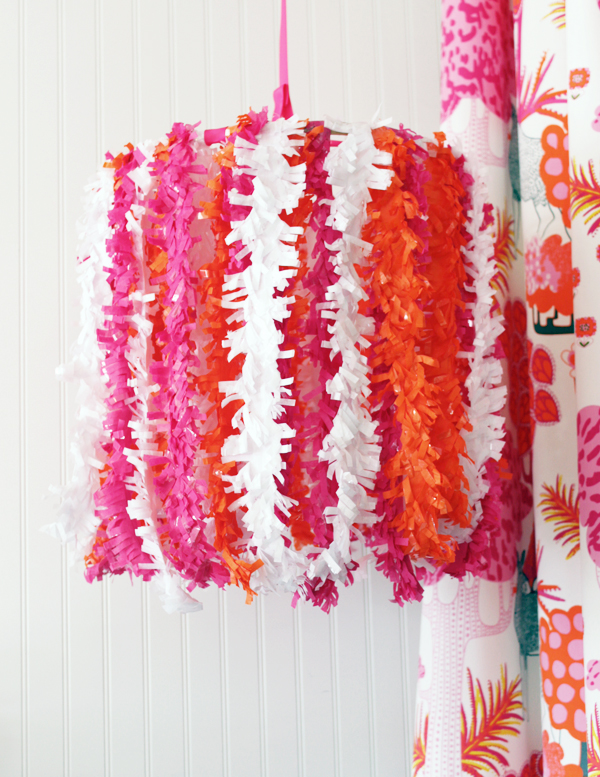
Now you have your very own DIY tissue fringe chandelier. It’s such a fun way to add a pop of color and some visual texture above the crib or up above a reading chair. Customize it any way you choose—it can even serve dual purpose as baby shower decor!








Comments
Kelly
This is such a great alternative to tissue pompoms! Thanks for this DIY.
Ross Neytiri
I love your DIYs. Mainly because they’re not entirely DIYs. :D
daryn
i love the fabric in the background, anyone know the collection??
May Mosley
Nice. But I checked the link for the tissue fringe and they only come in red, orange and yellow. Anybody here knows where I can get them in other colors?
Estella
That in’ishtgs perfect for what I need. Thanks!