You may remember the DIY beds for this room when I first shared some pictures of my boys’ unfinished shared room. I managed to get pretty far into the process while pregnant with #3, and then all the design came to a halt. Now I finally decided things needed to happen, and with the help from my friends at Cutting Edge Stencils, I found the exact wall detail I needed—the Houndstooth Allover Wall Stencil.

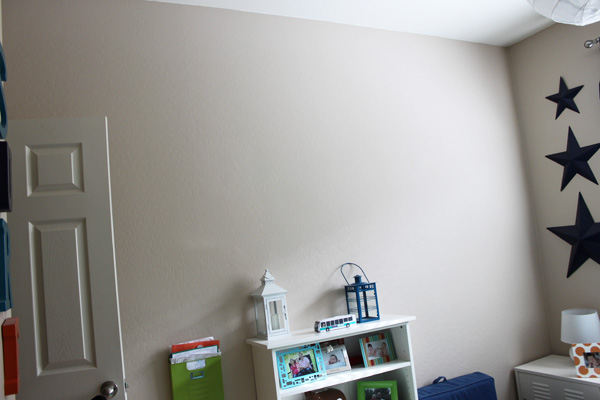
Here is what the wall looked like before I got started. I painted it white before starting the stencil.
The instructions that came with the stencil were super easy to follow. I picked an area of the wall to start and used Frog Tape to hold the stencil in place. I highly recommend getting the clip-on stencil level—this makes the process so much easier!
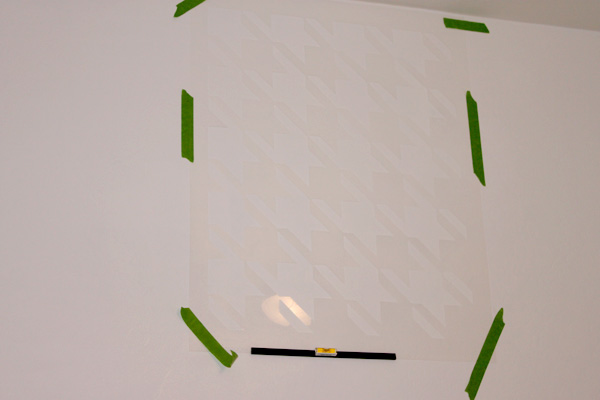
Here is what the progress looks like. Fun right?
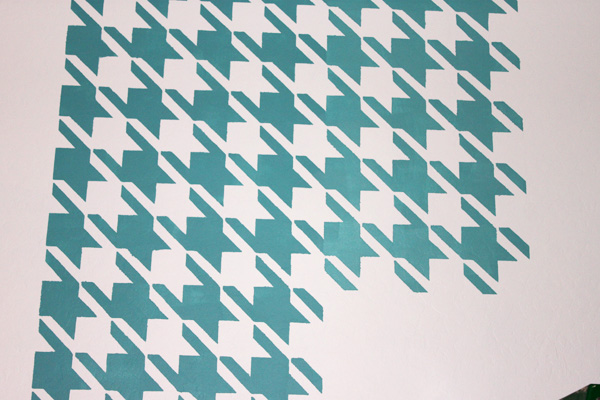
When you are doing the stencil, you may notice some areas that have slight imperfections due to the paint bleeding under the stencil, but I promise, once the wall is complete, you won’t even notice those areas. I waited until the wall was finished before I did any touch-ups.
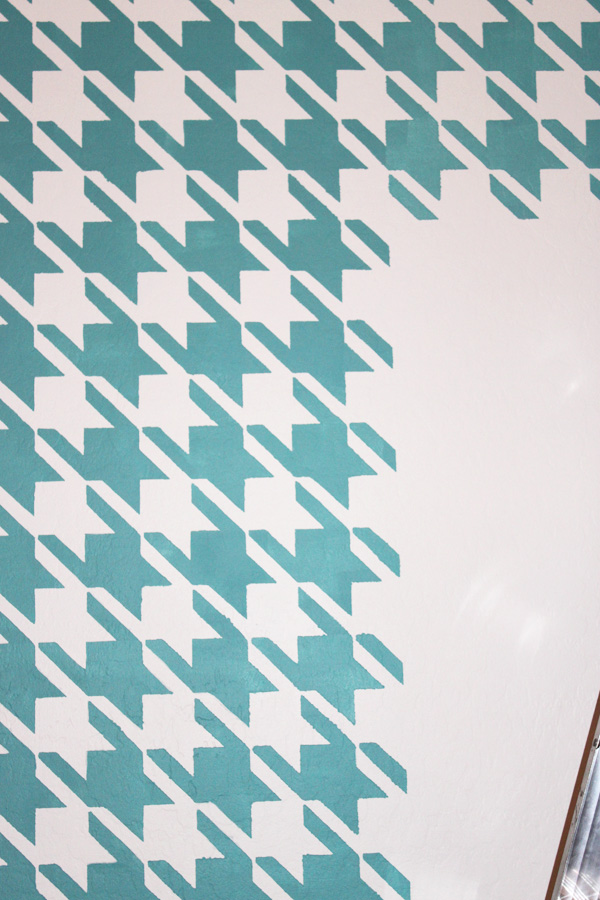
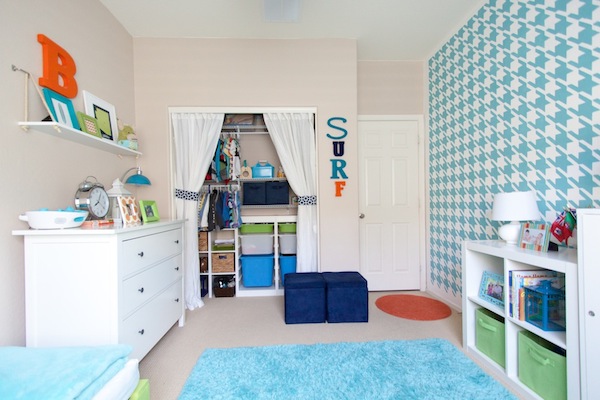
And here is the finished wall.
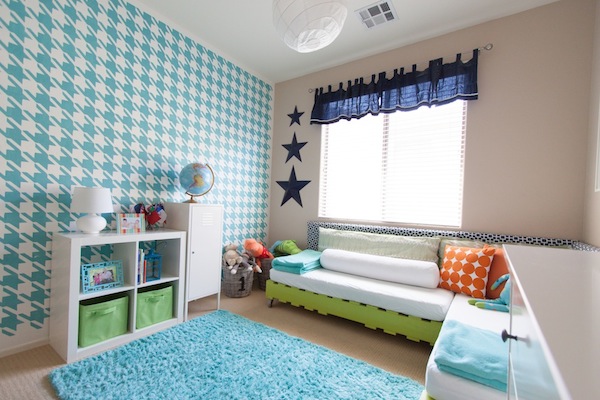
This was just the fabulousness I needed to complete the space. Oh, I’m sure I will make a few tweaks with pillows and accessories, but the painted houndstooth wall detail is an amazing addition, and the boys love it!





Comments
Andressa
Wow! The result if absolutely stunning! I love the color your used for your houndstooth pattern, too. I say it looks nicer and more pleasant to the eyes than black and white.
Germaine
How many repetitions did you do for this one? I bet if I was the one who did this, it won’t be as straight and precise as this, no matter how I measure or something.
Germaine
How many repetitions did you do for this one? I bet if I was the one who did this, it won’t be as straight and precise as this, no matter how I measure or something.
Ross Neytiri
What did you use to paint? Did you use brush or sponge? I know spray is kinda out of the question, right?
Andrea Lowe
I clicked on the stencil level link you shared and oh-em-geeeeee, they have really beautiful patterns! I was a plain wall kind of girl, but seeing their stencil patterns made me want to convert! I want an accent wall with the lily scroll, or Zagora, or Trellis, or Paisley, or Shipibo, or Vision….. Waaa I can’t even decide!
Andrea Lowe
Thanks Rebecca for making my life more difficult! LOL!
Eunice Corners
Nice! The effect is so clean! How long did it take you to complete this wall?
Rebecca
The entire wall took about a day but I did paint a base color first so that added a little time to the project (;
Rebecca
I know Andrea…the decisions!! I am planning on doing a stencil on a wall in my dining room soon. Good luck picking one!! (;
Rebecca
I used latex paint with an eggshell finish. I actually used a small foam roller which is what is recommended. Their stencil come with instructions and they also have a ton of info on their site.
Rebecca
I don’t remember how many repetitions, but the clip on level helps a ton!! It was fairly easy to do and I have never done any wall stencils before. (;