Here at Project Nursery, we strive to bring you amazing and useful DIY projects. We have partnered with Springs Creative, a company with a 90-year heritage that is rich in tradition and quality. This is our first project in a three-part series featuring simple, stylish DIY projects to complete your next children’s design project.
While painting isn’t for everyone, that doesn’t mean a statement art piece isn’t within your reach! Set aside your artistic fears because if you know how to staple, you can easily create this fabulous fabric-covered canvas wall art. Take it up a notch by adding a monogram to your custom art piece to personalize it for that special little someone in your life.
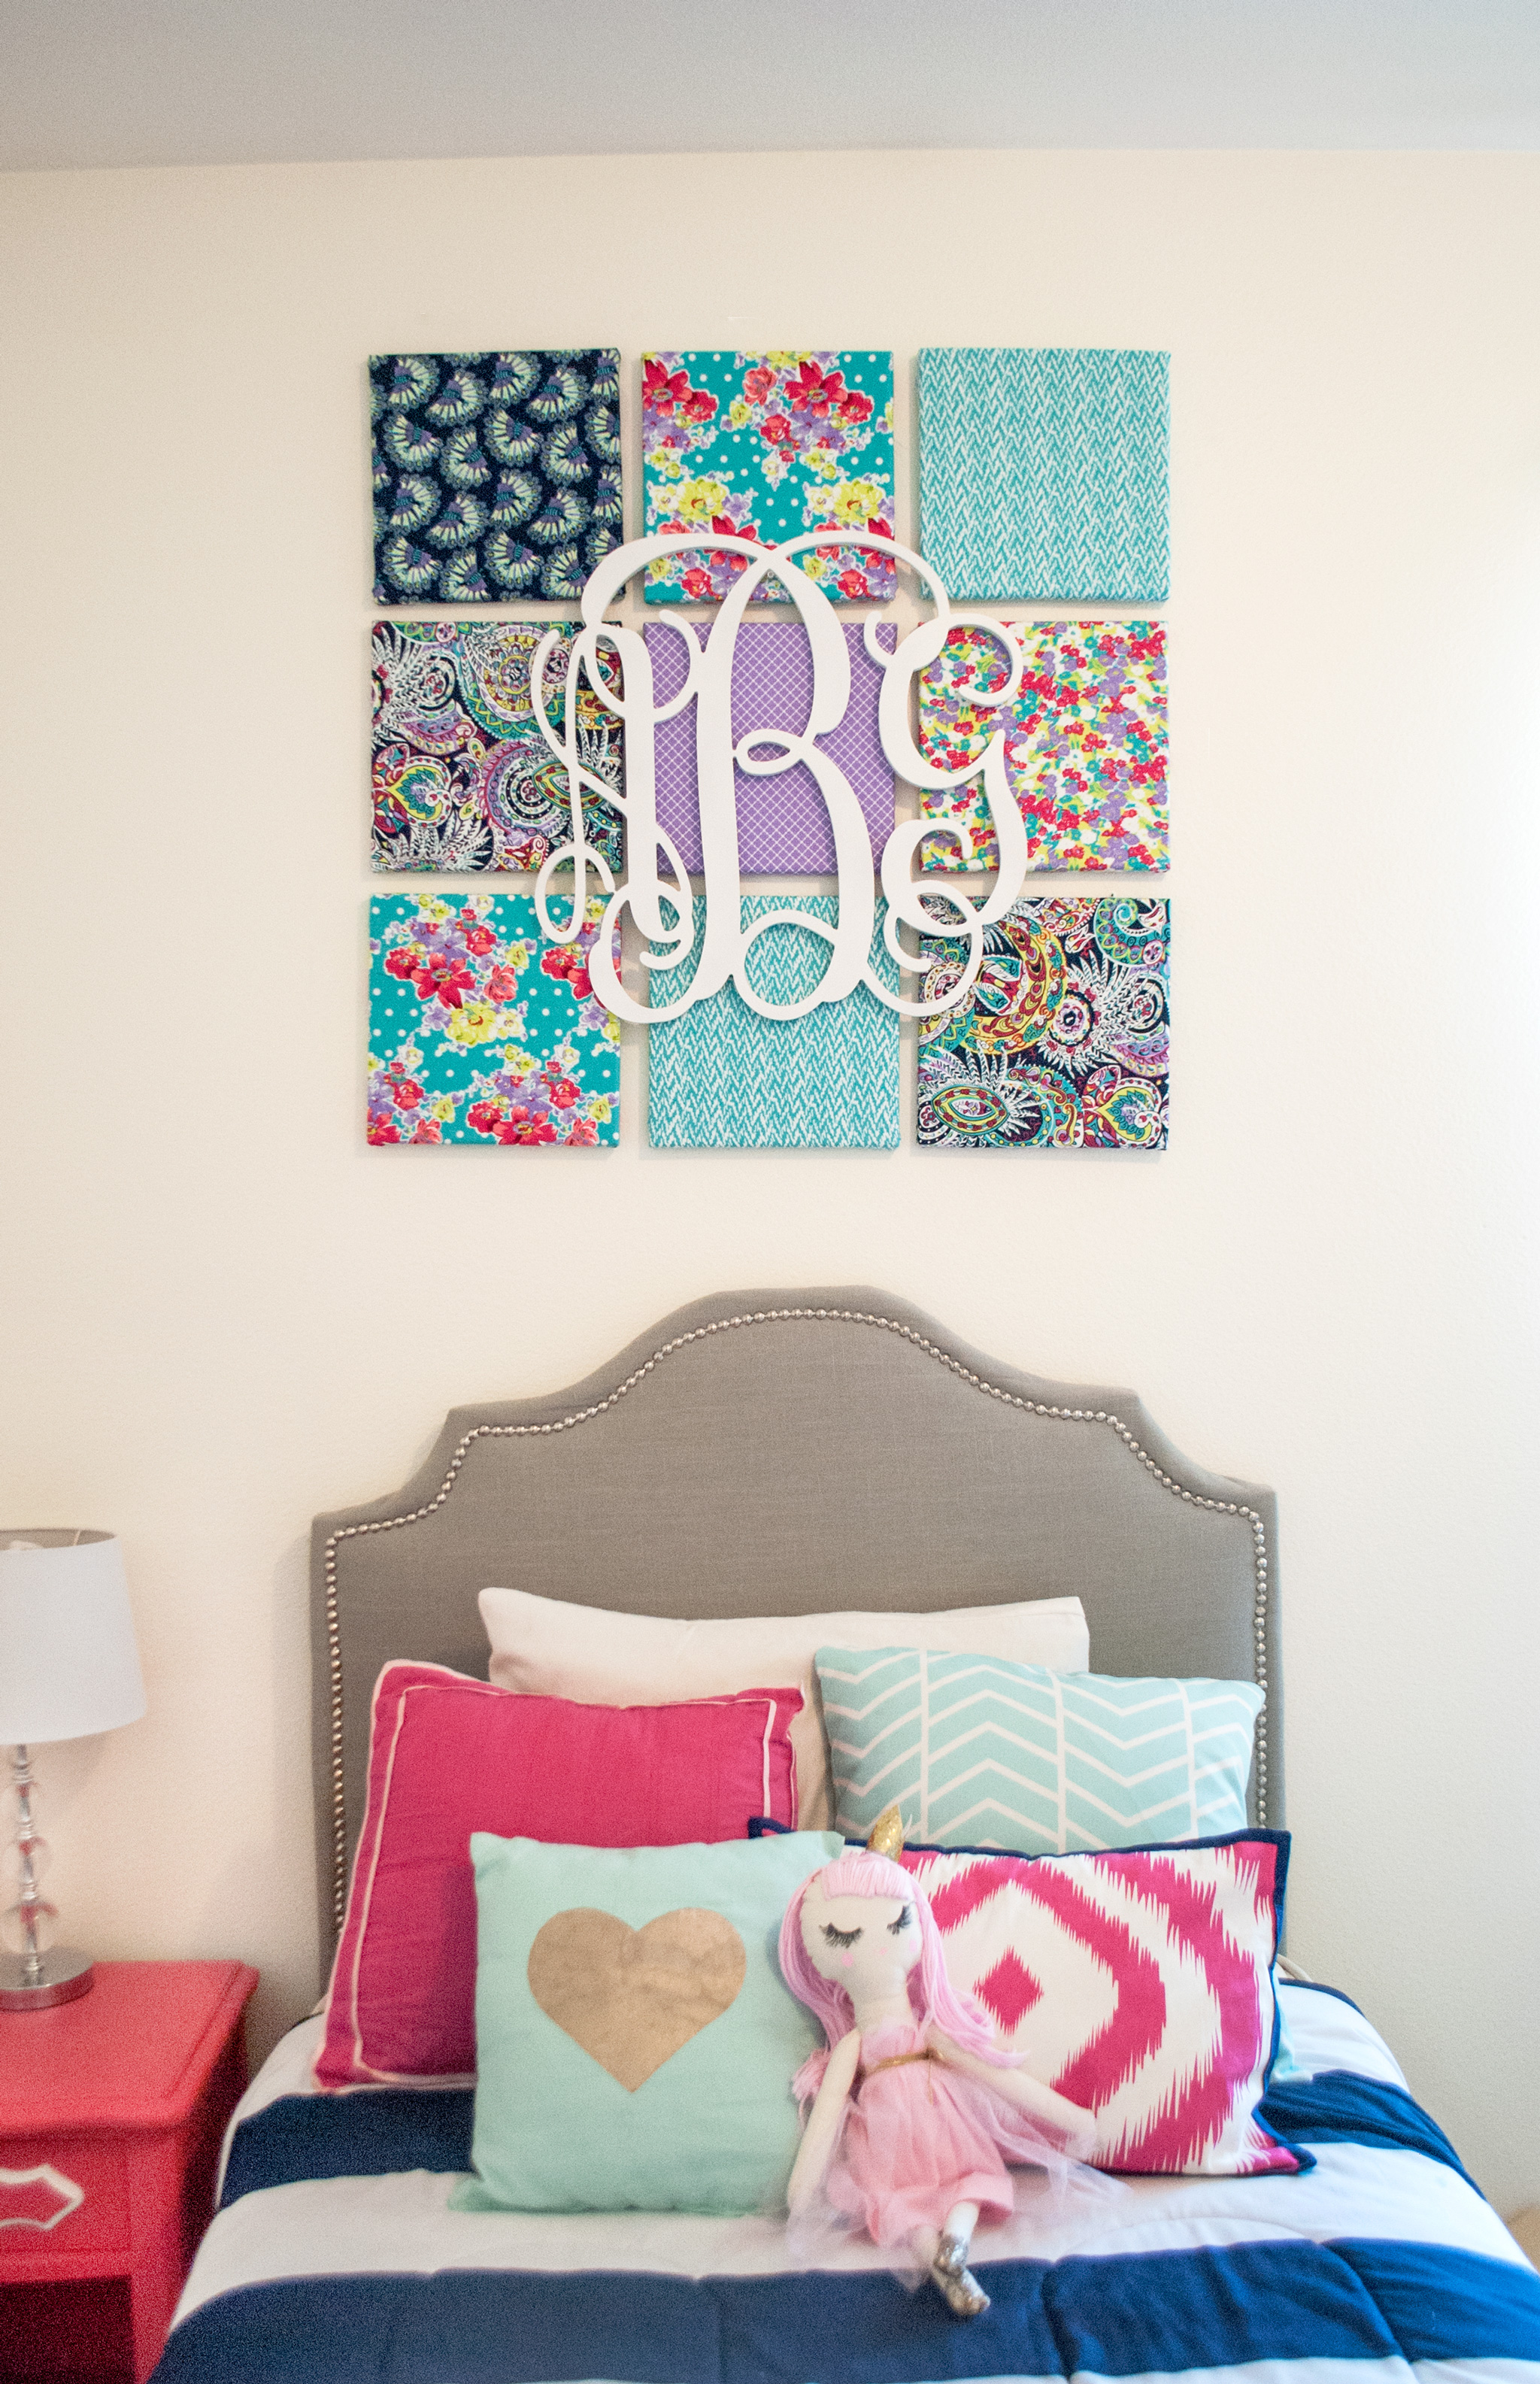
Here are the step-by-step instructions to create beautiful, custom DIY fabric wall art with a monogram.
Materials: Amelia Collection from Springs Creative’s Springmaid fabric line, (9) 10″ x 10″ canvases, 20″ wooden monogram, Velcro sticky back tabs, spray paint + primer-in-one, fabric scissors, staple gun and staples
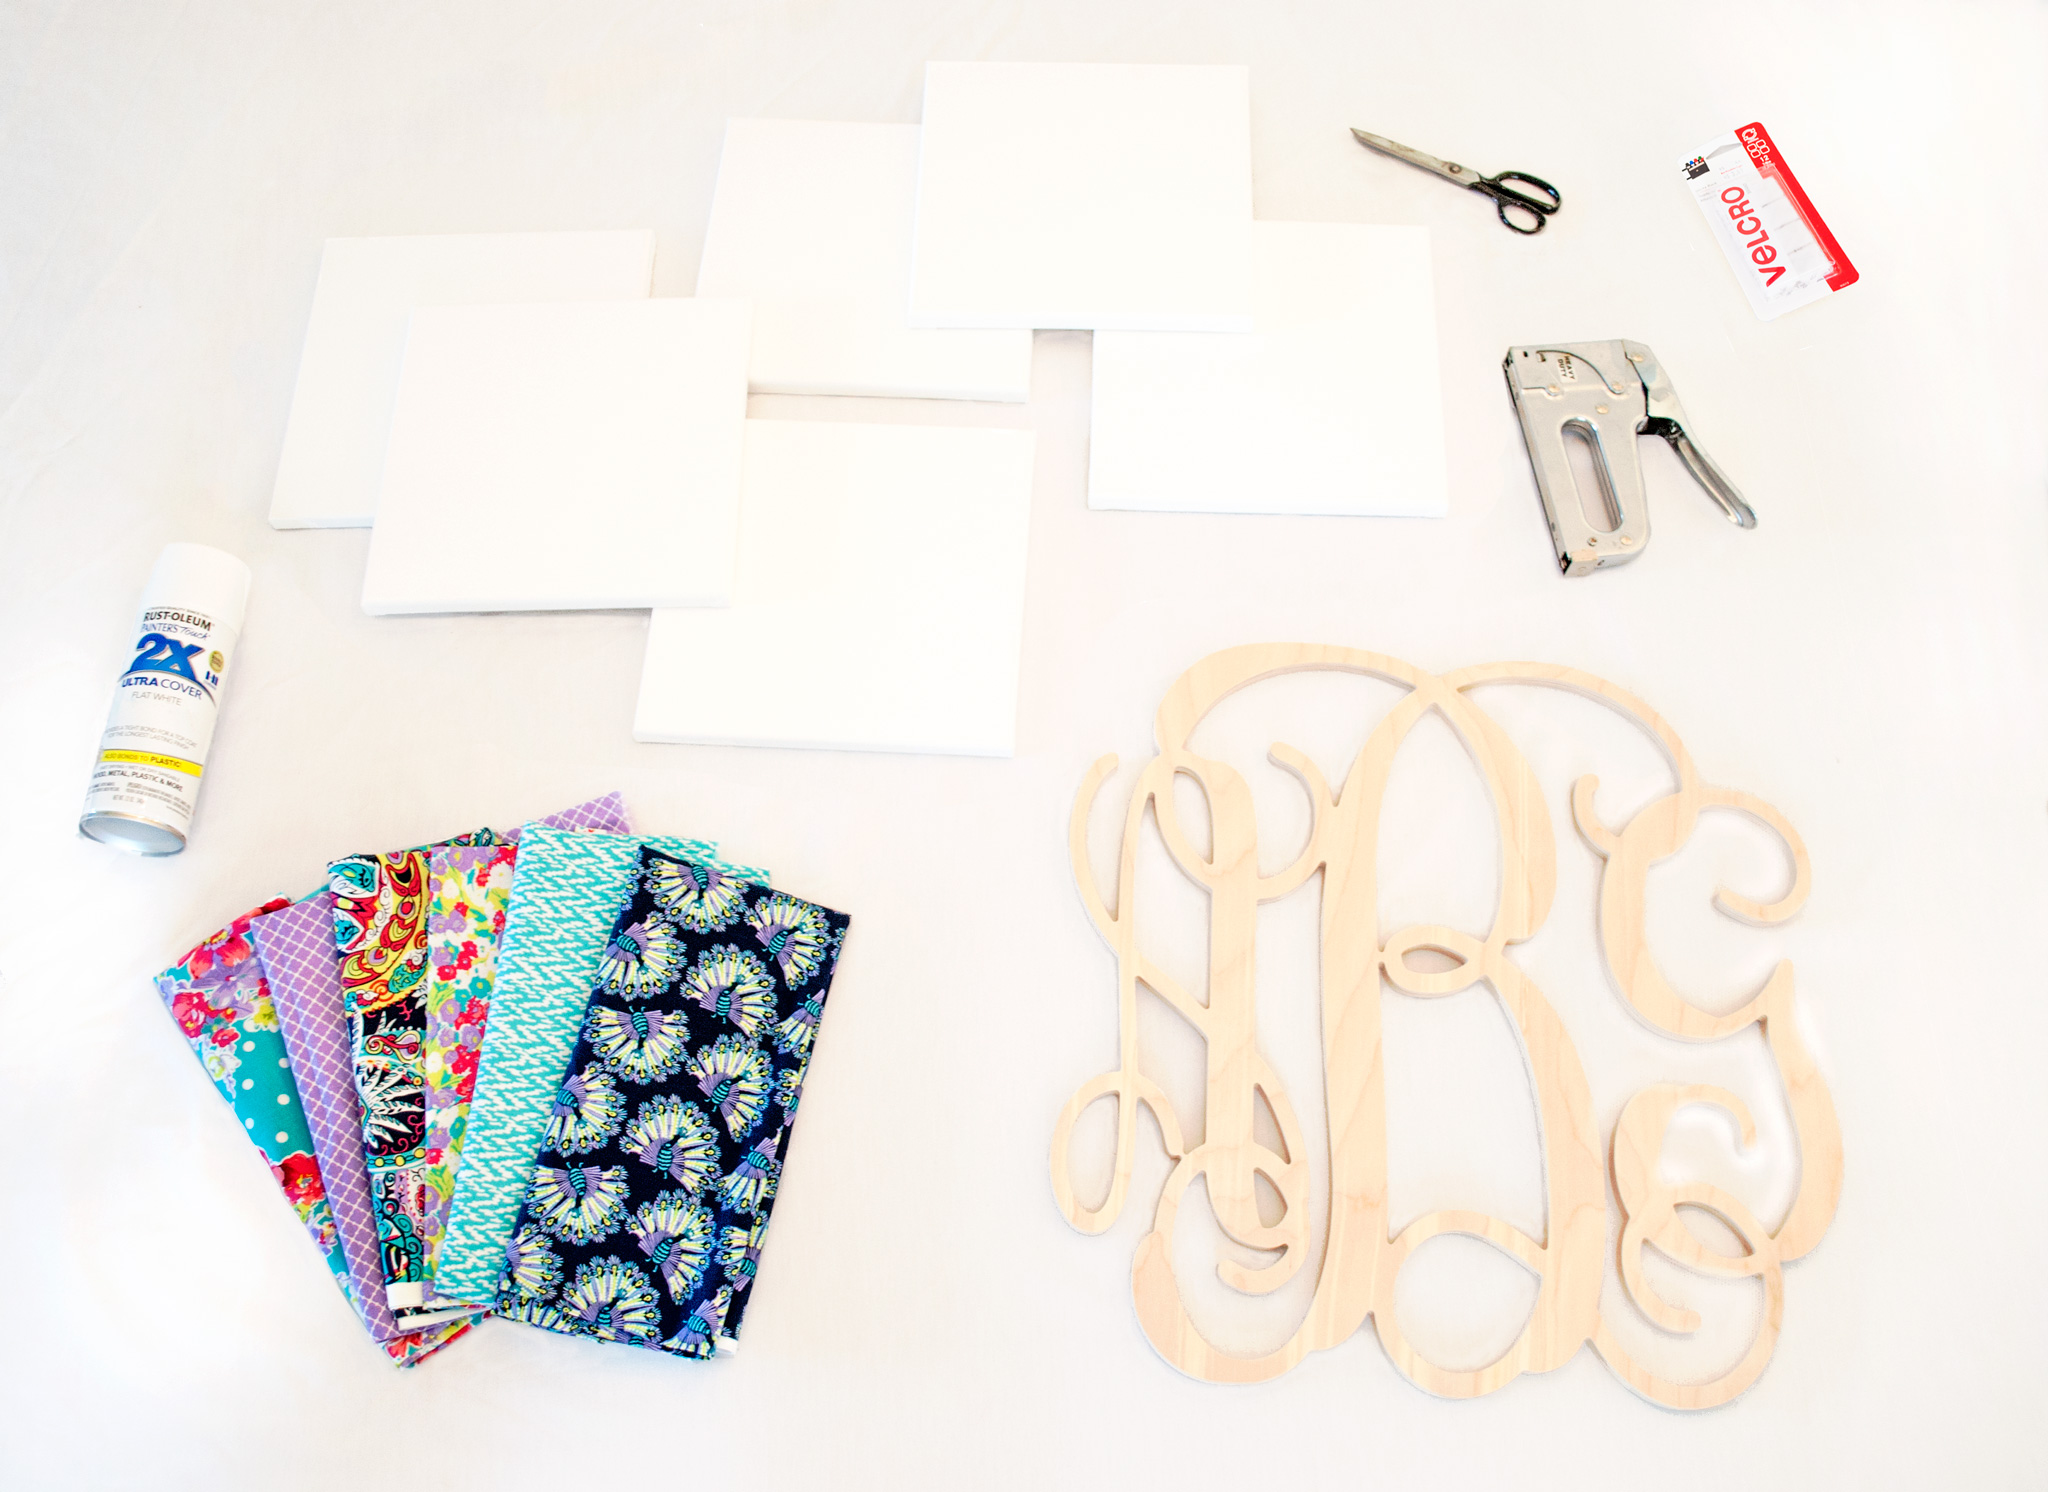
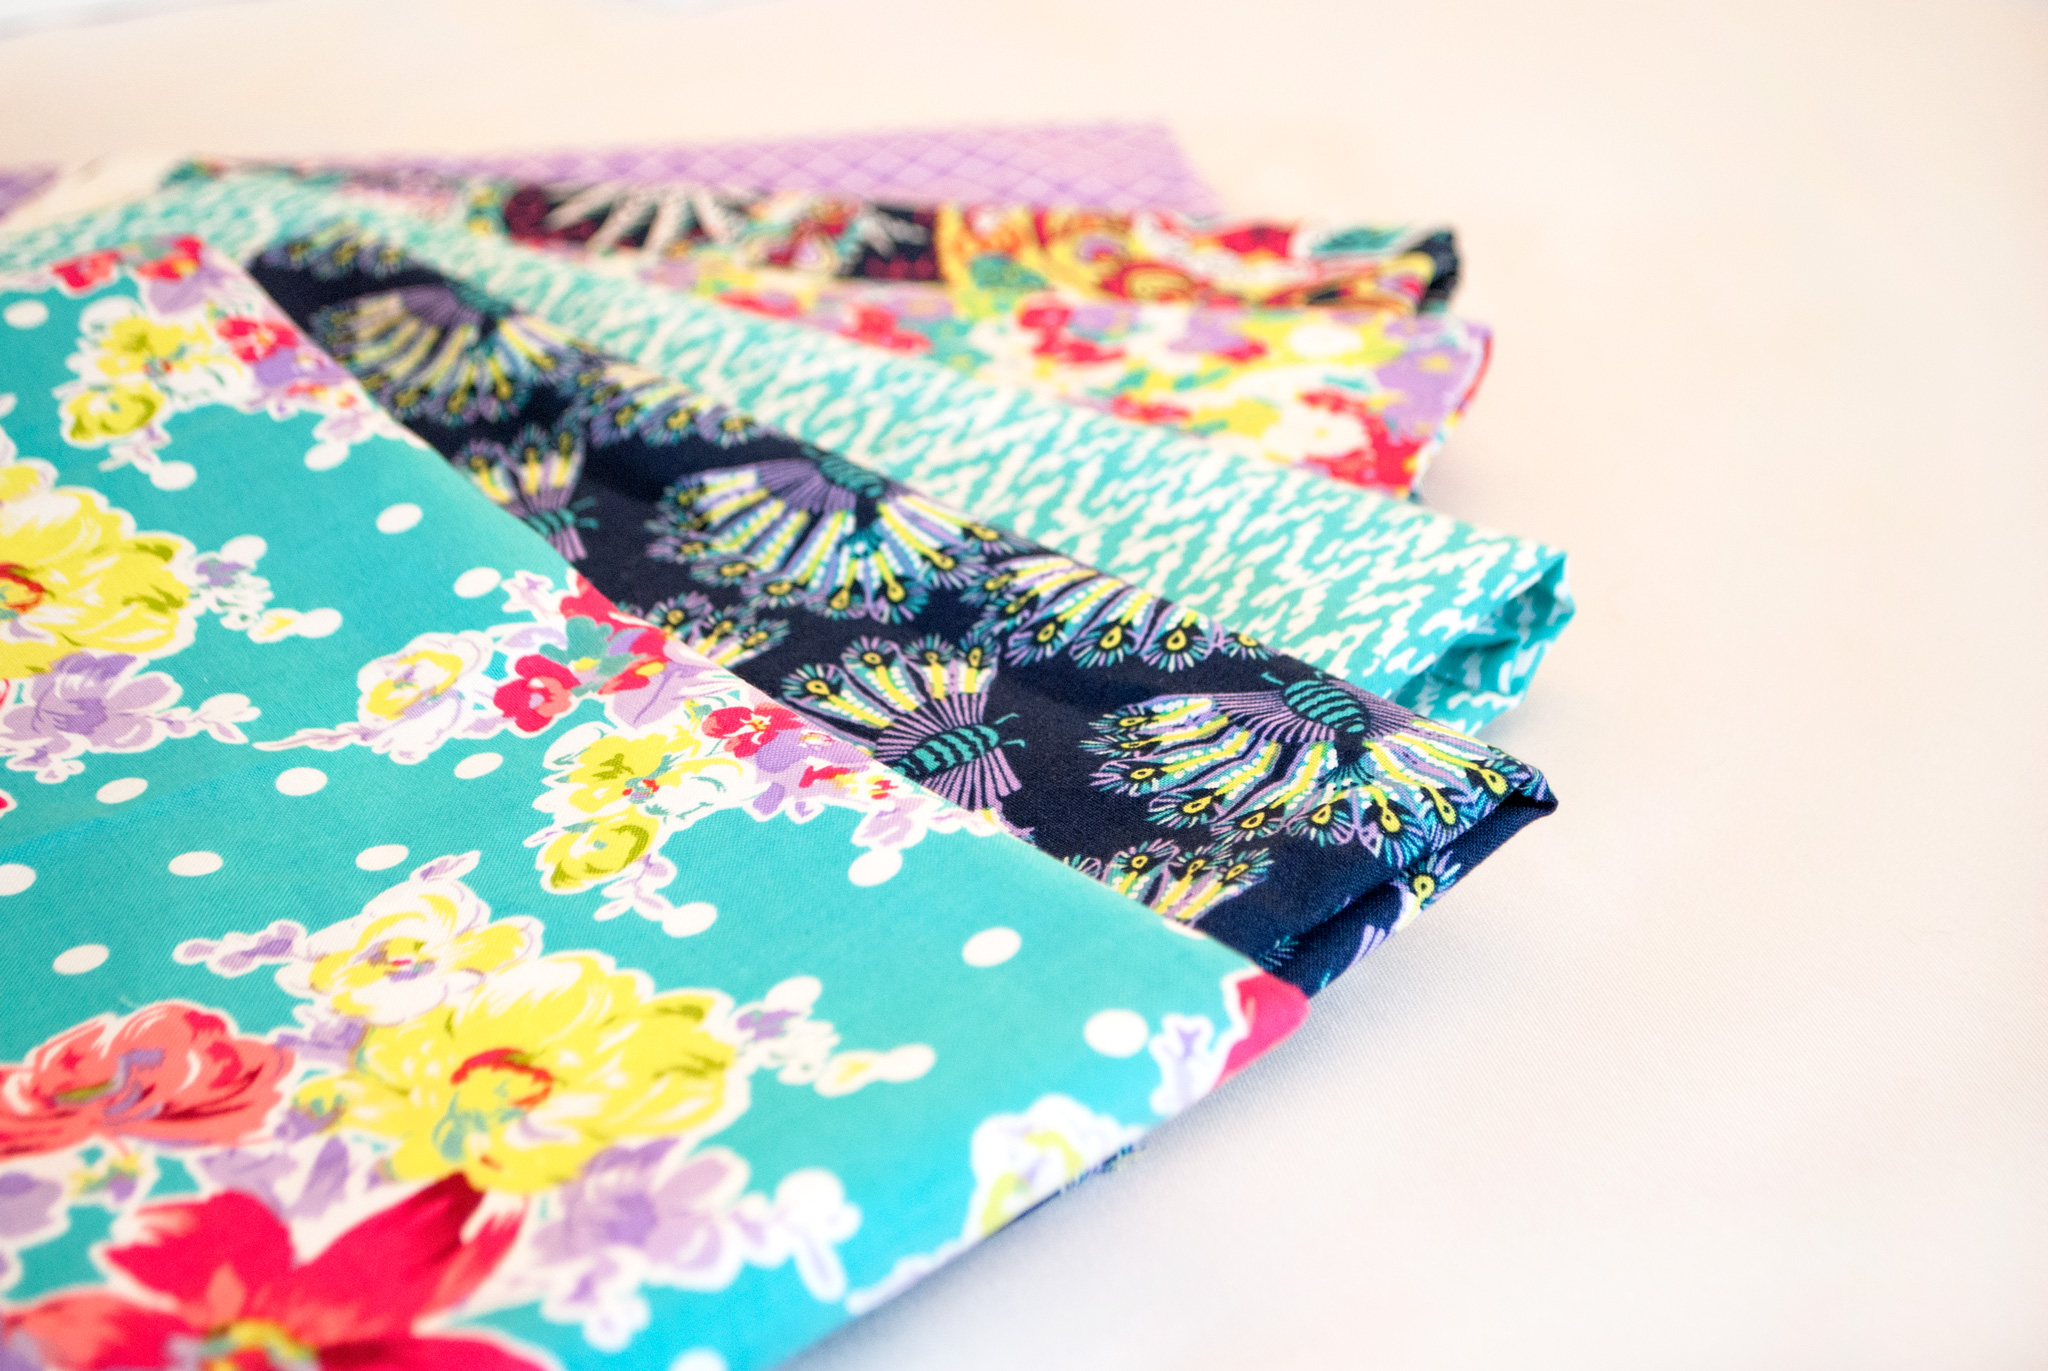
Choose your fabric. I selected the Amelia collection from the new Springmaid fabric line by Springs Creative for a navy, magenta, lavender and aqua color palette.
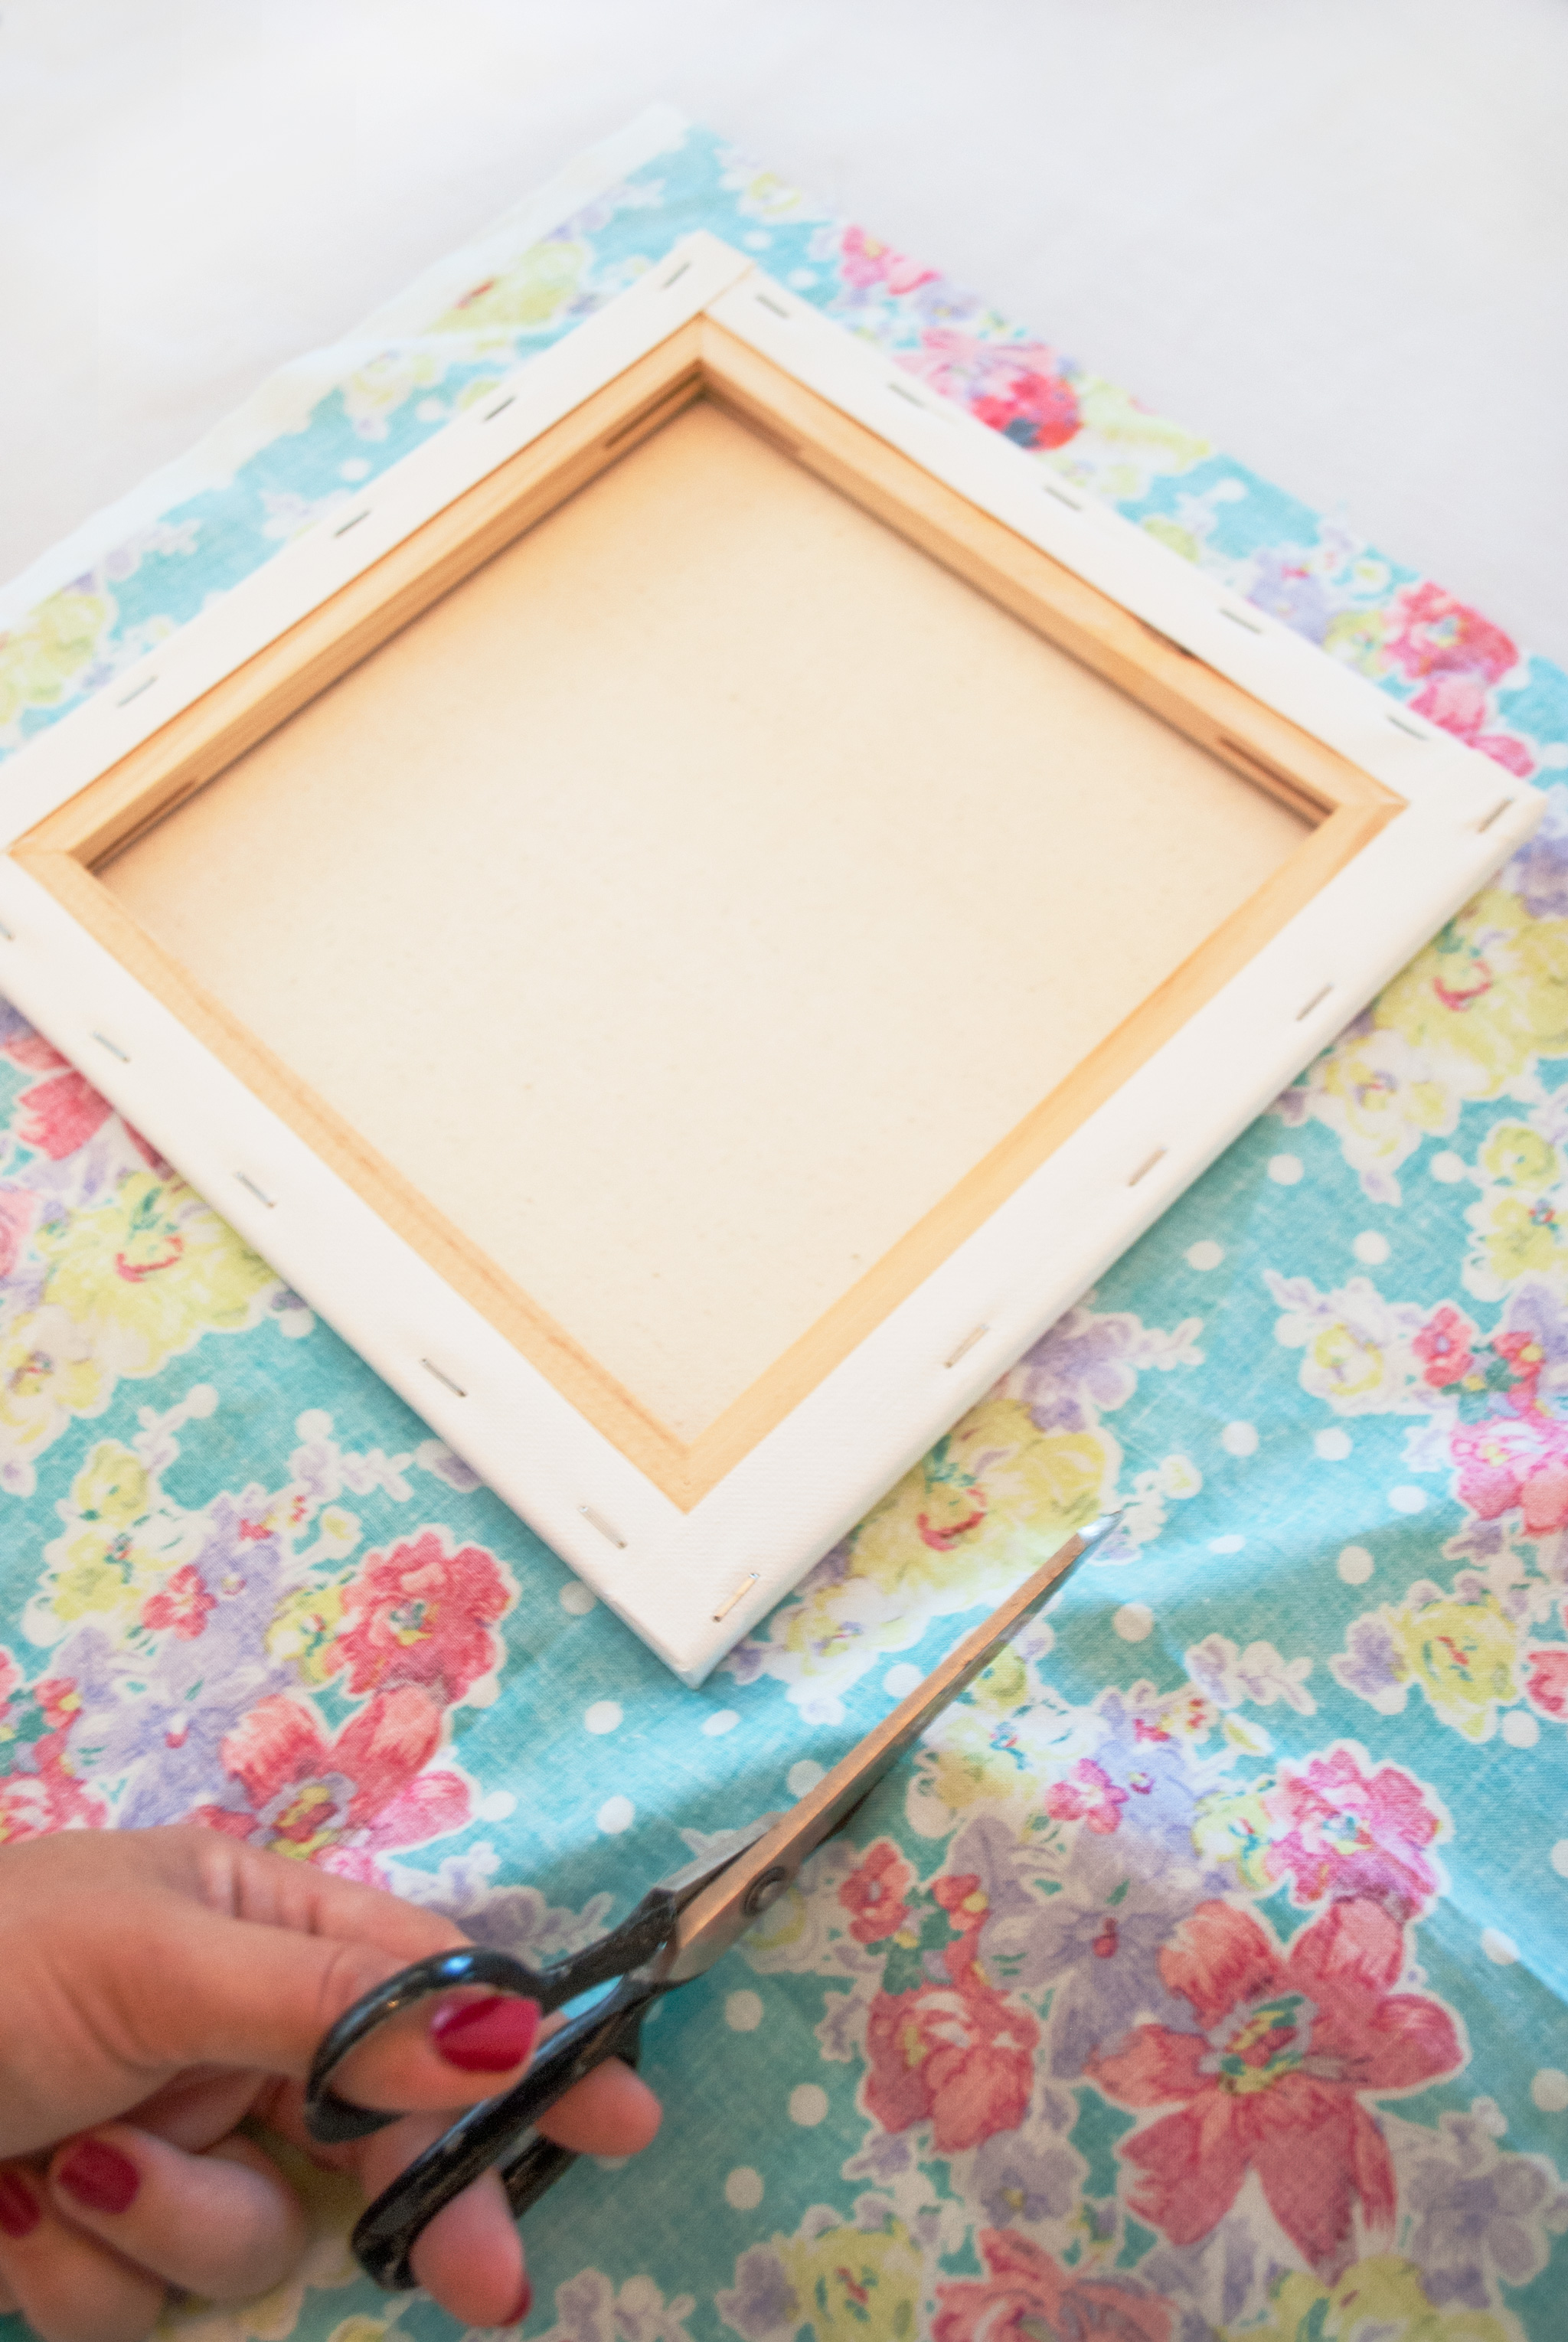
Cut fabric. Place one canvas on top of one of the fabrics (both right side down) and cut around the frame leaving about 1 1/2 to 2 inches of material on each side.
Staple fabric. Fold fabric over one side of the canvas and staple. I used three to five staples per side. Repeat on all sides, making sure the fabric is taut. You will have extra fabric at the corners.
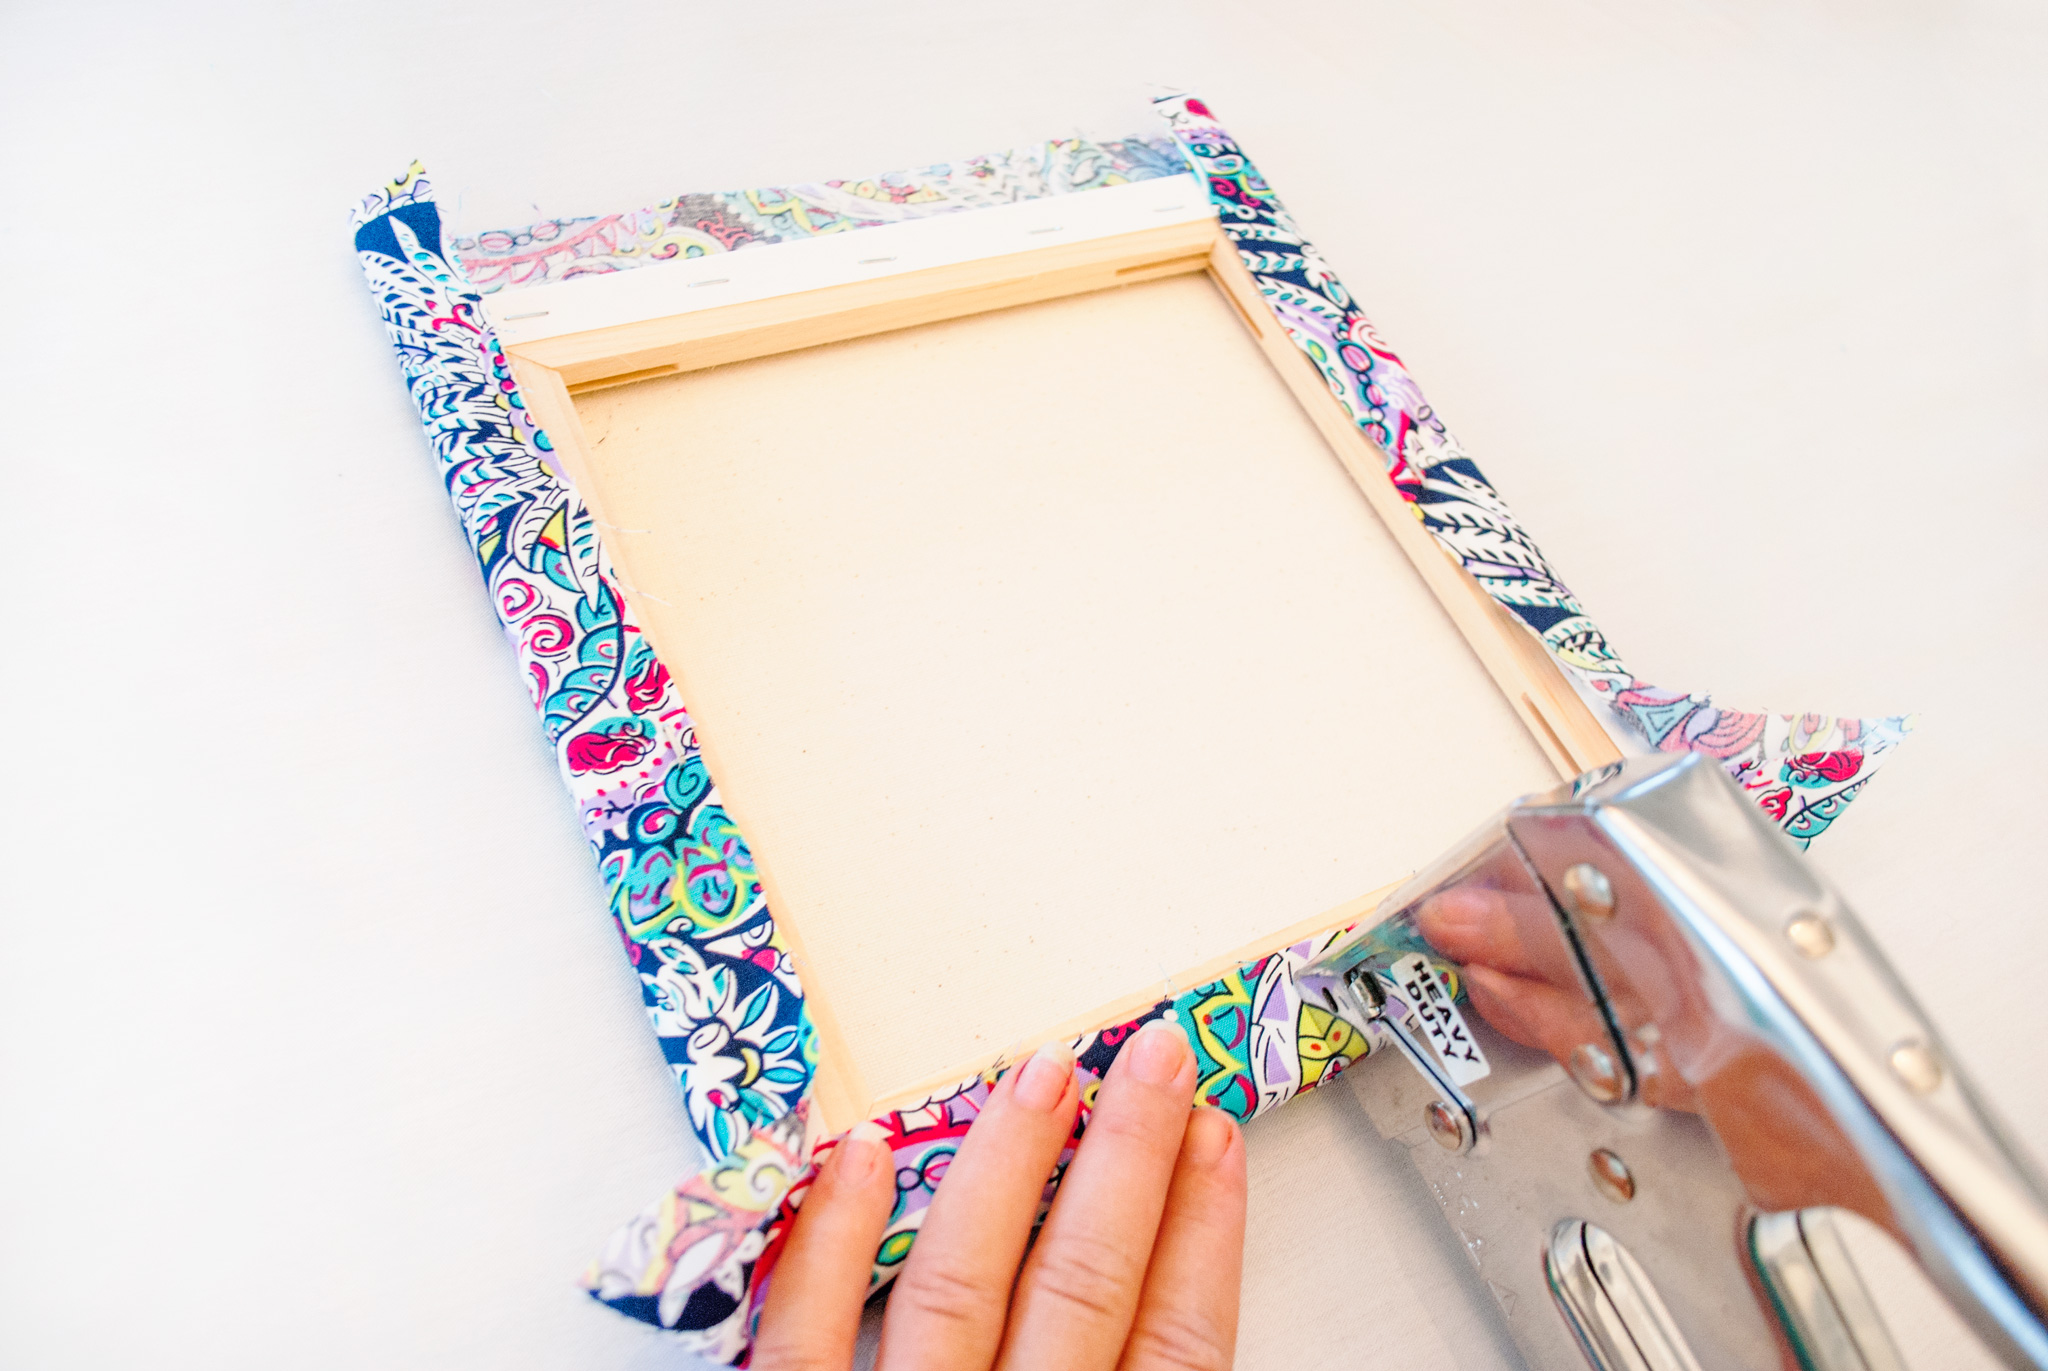
Fold corners. Pull the fabric on one corner up and gather to the center. Then put a staple on both sides of the corner (still on the back) so it is gathered tight. Repeat for each corner of the canvas.
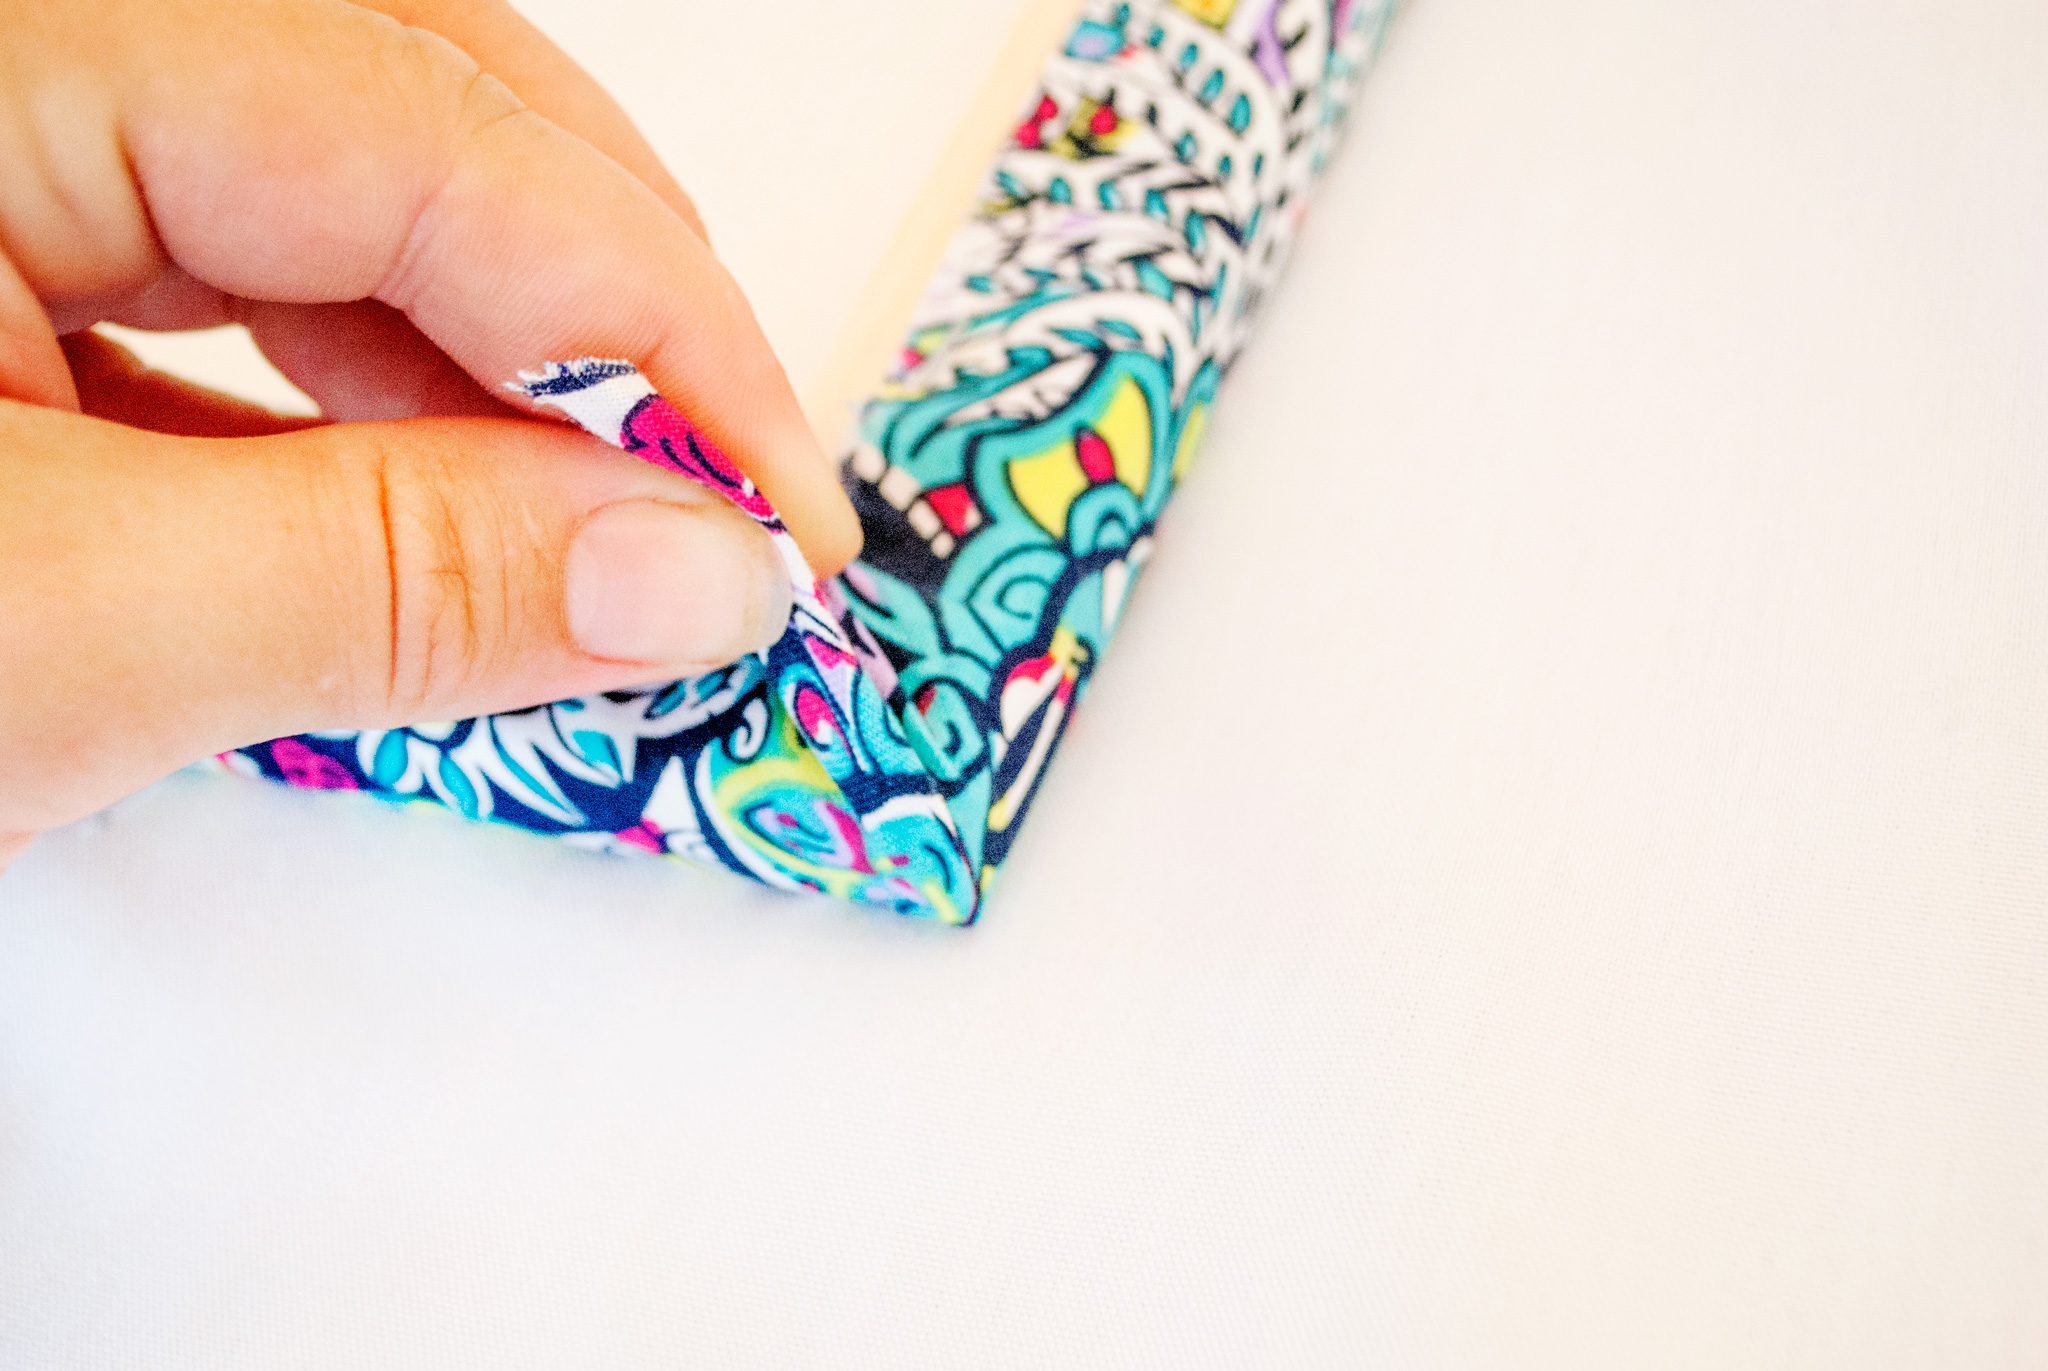
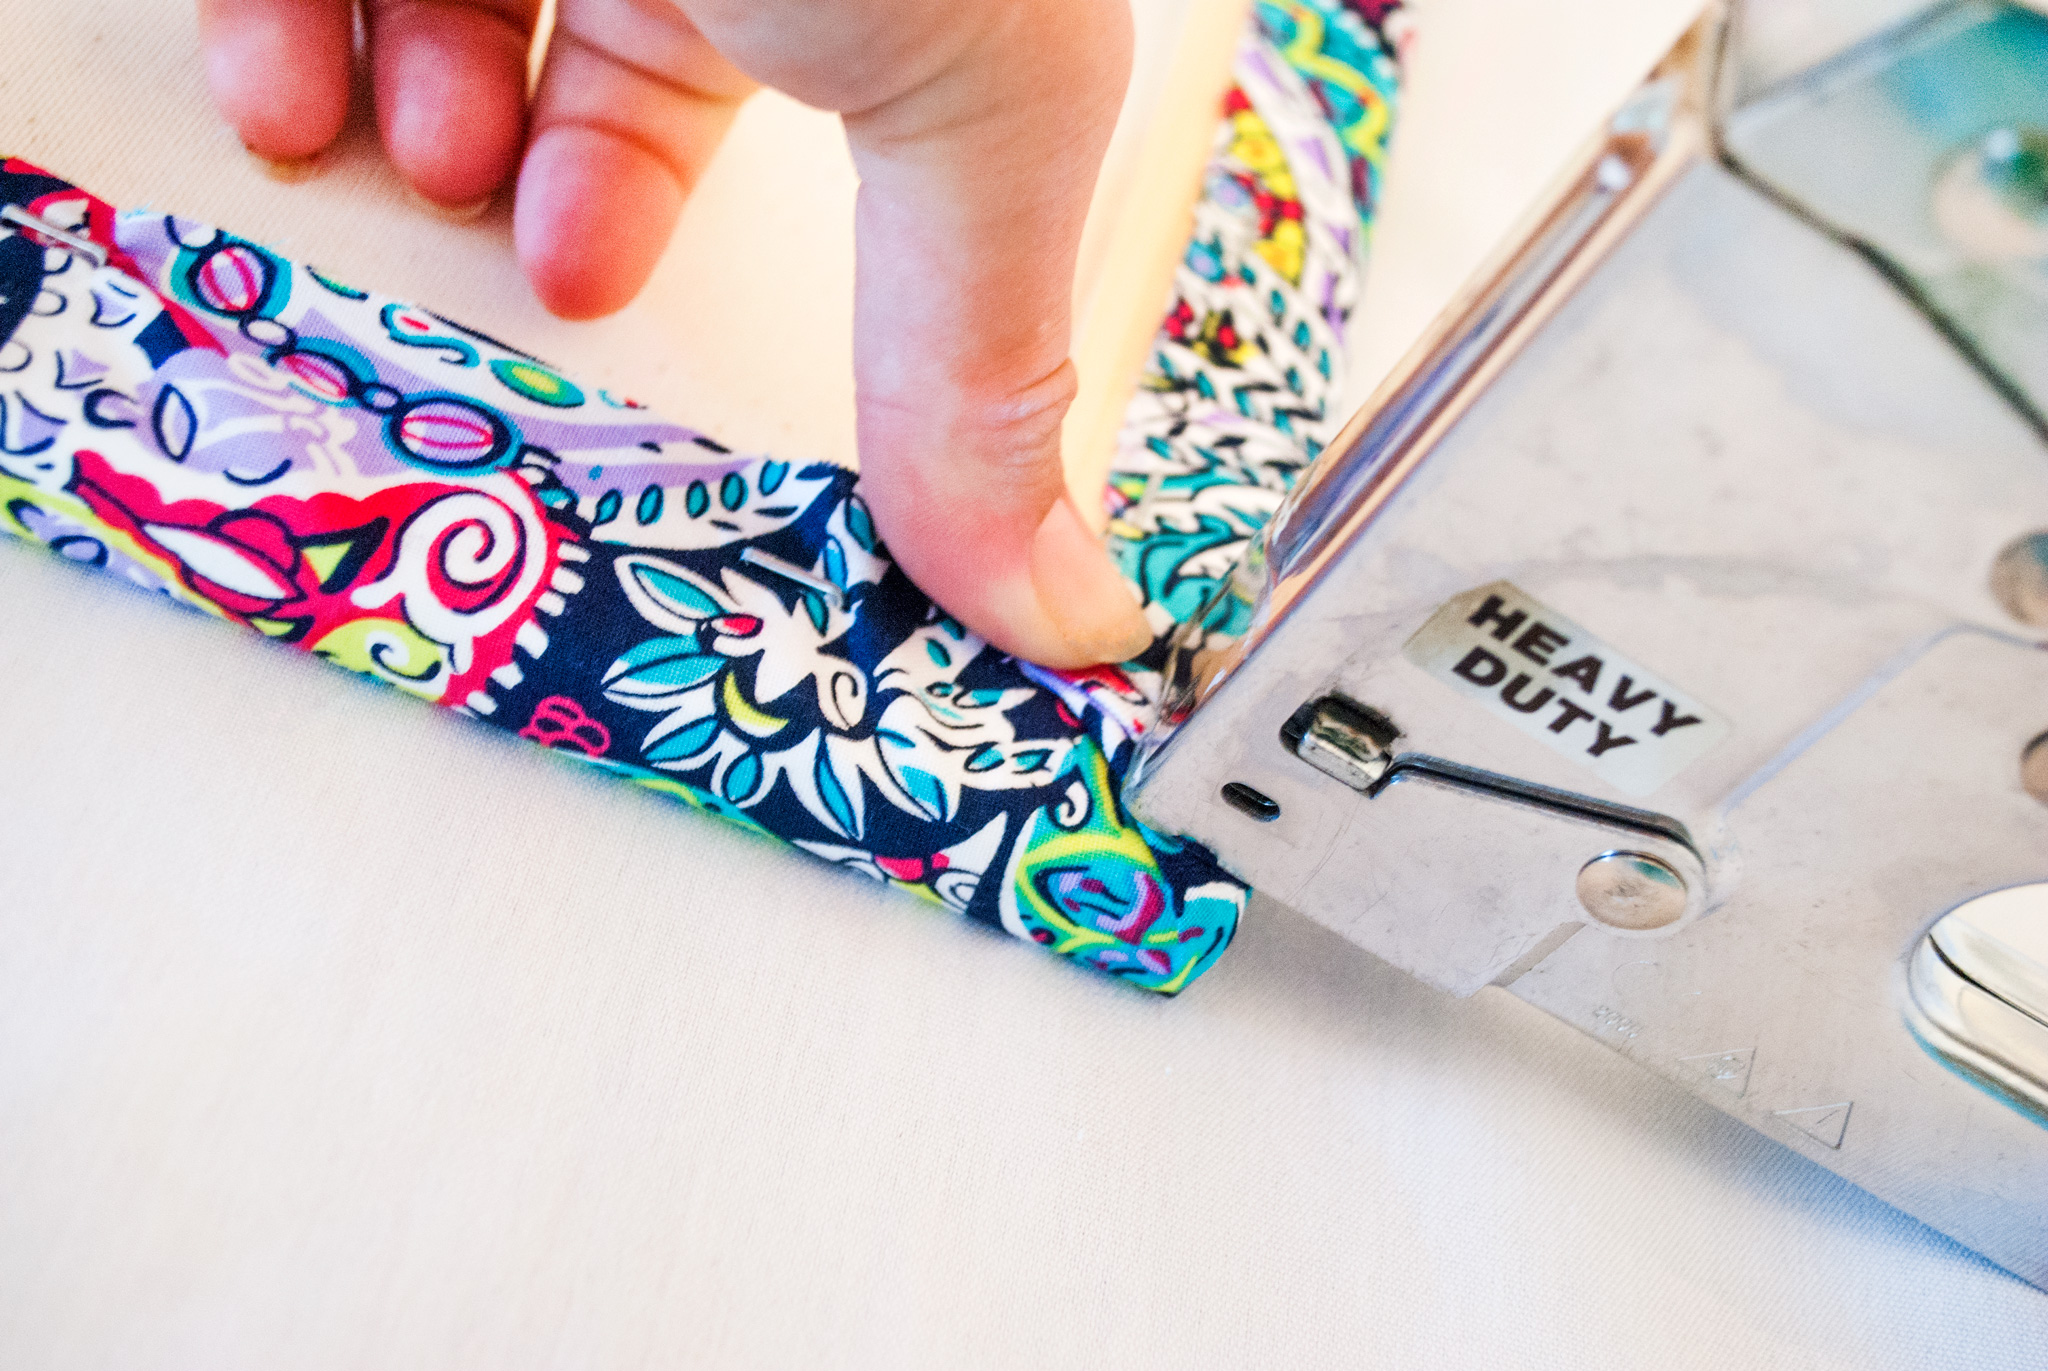
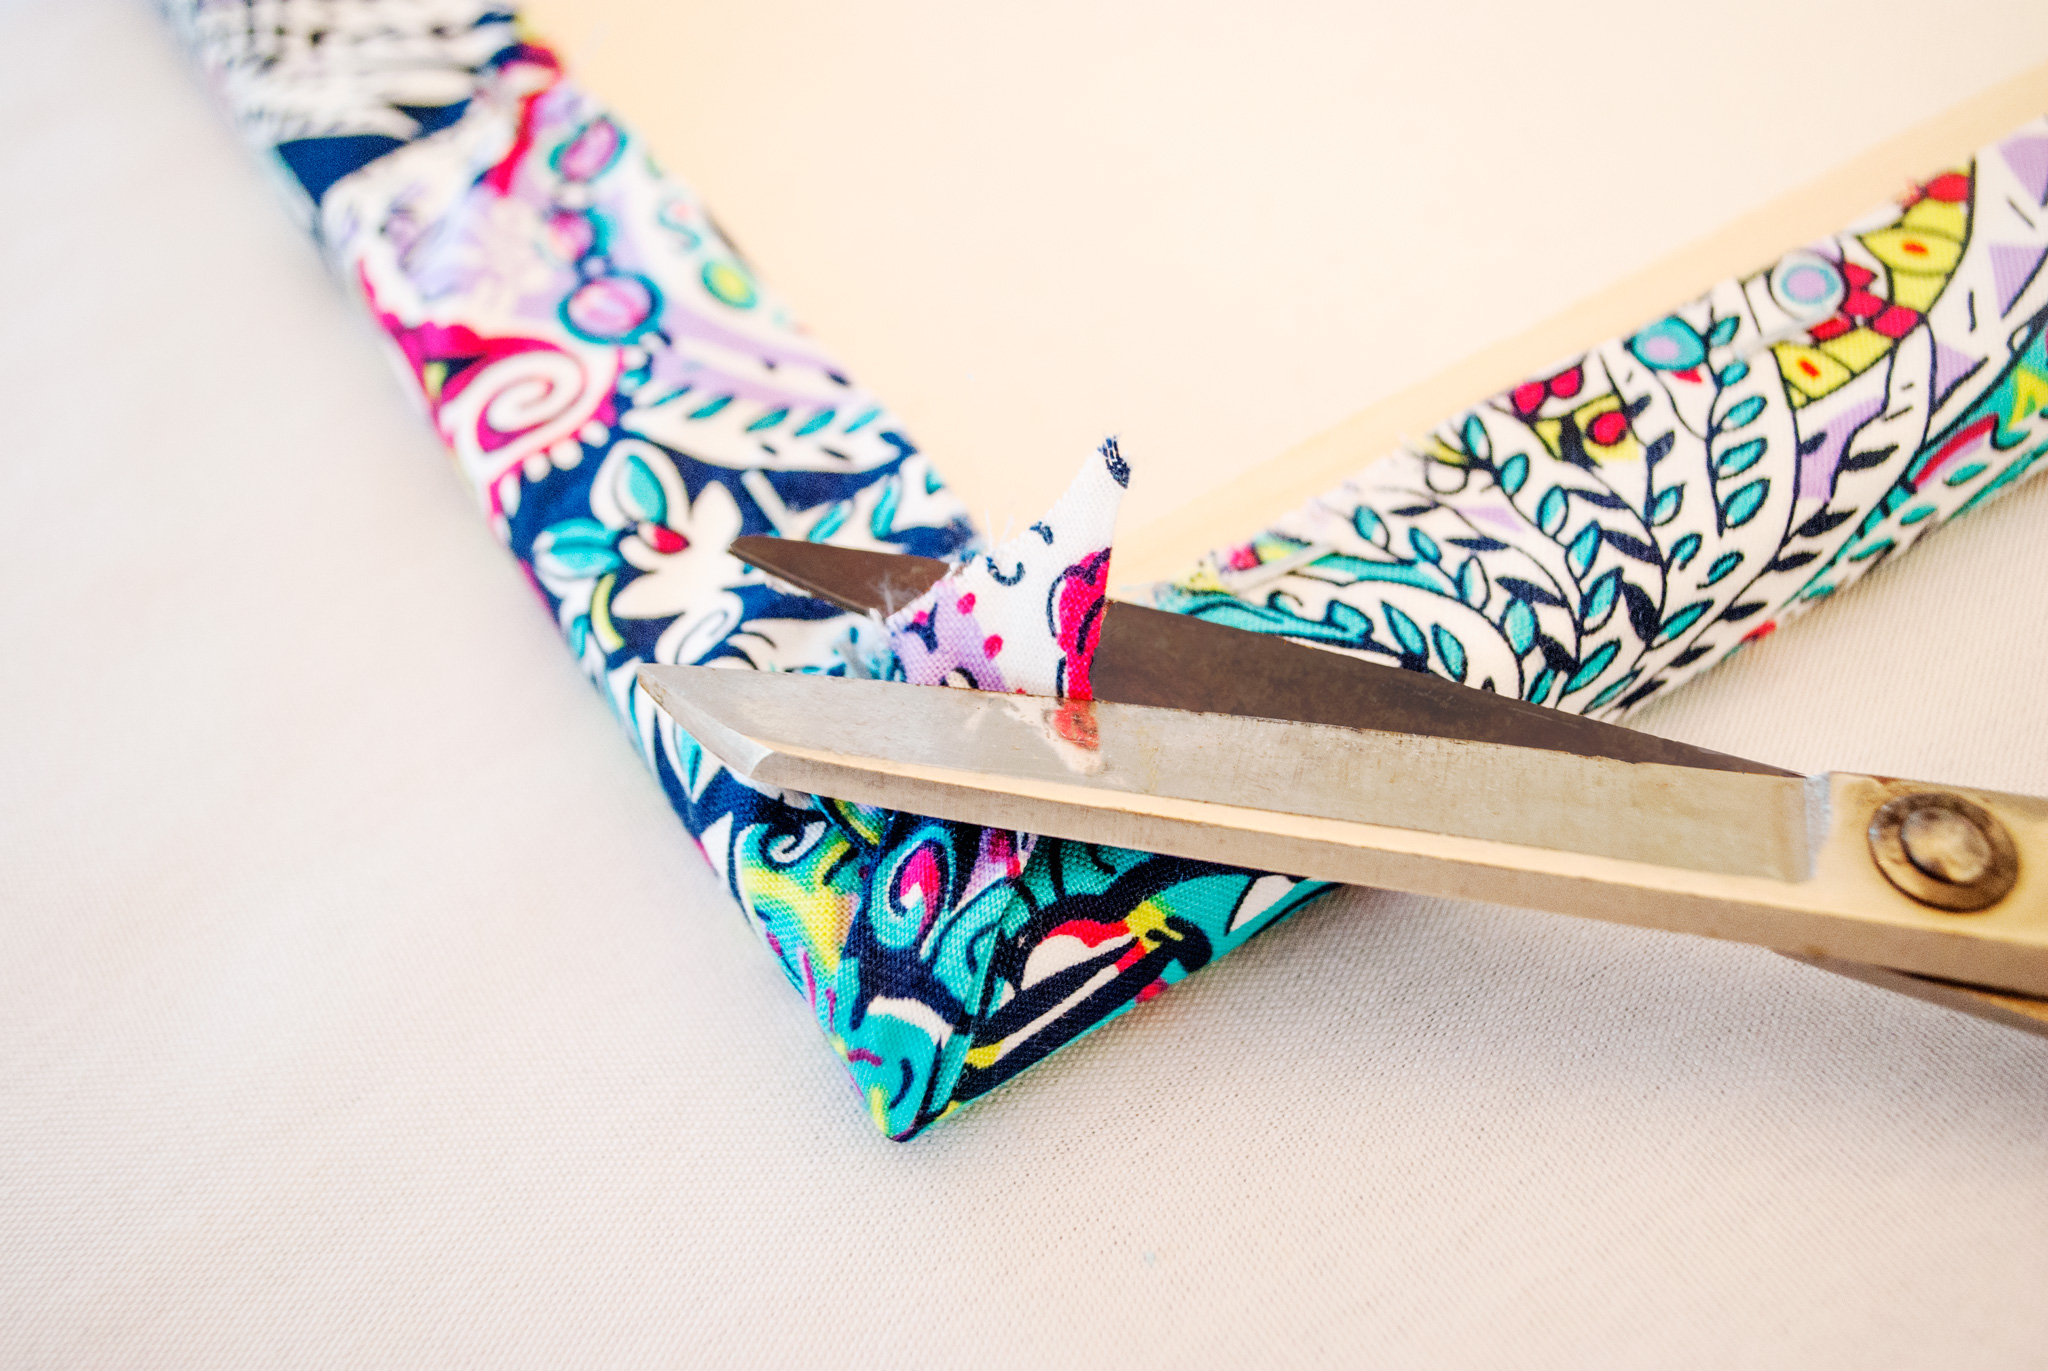
Trim. Trim off the excess fabric on the corners. Repeat the previous steps on the rest of your canvases.
Arrange canvases. Once you’ve covered each canvas in fabric, space them out and arrange them exactly how you want to hang them on your wall. I recommend spacing out the canvases evenly with 1 to 2 inches in between.

Paint monogram. Spray paint your wooden monogram. Allow paint to dry.

Position monogram. Once your monogram is completely dry, center it on the middle canvas. Make note of where the wood sits on the fabric—that is where you will want to place your Velcro tabs to attach the monogram to the canvases. (Tip: Removable sticky note tabs work great for this.)
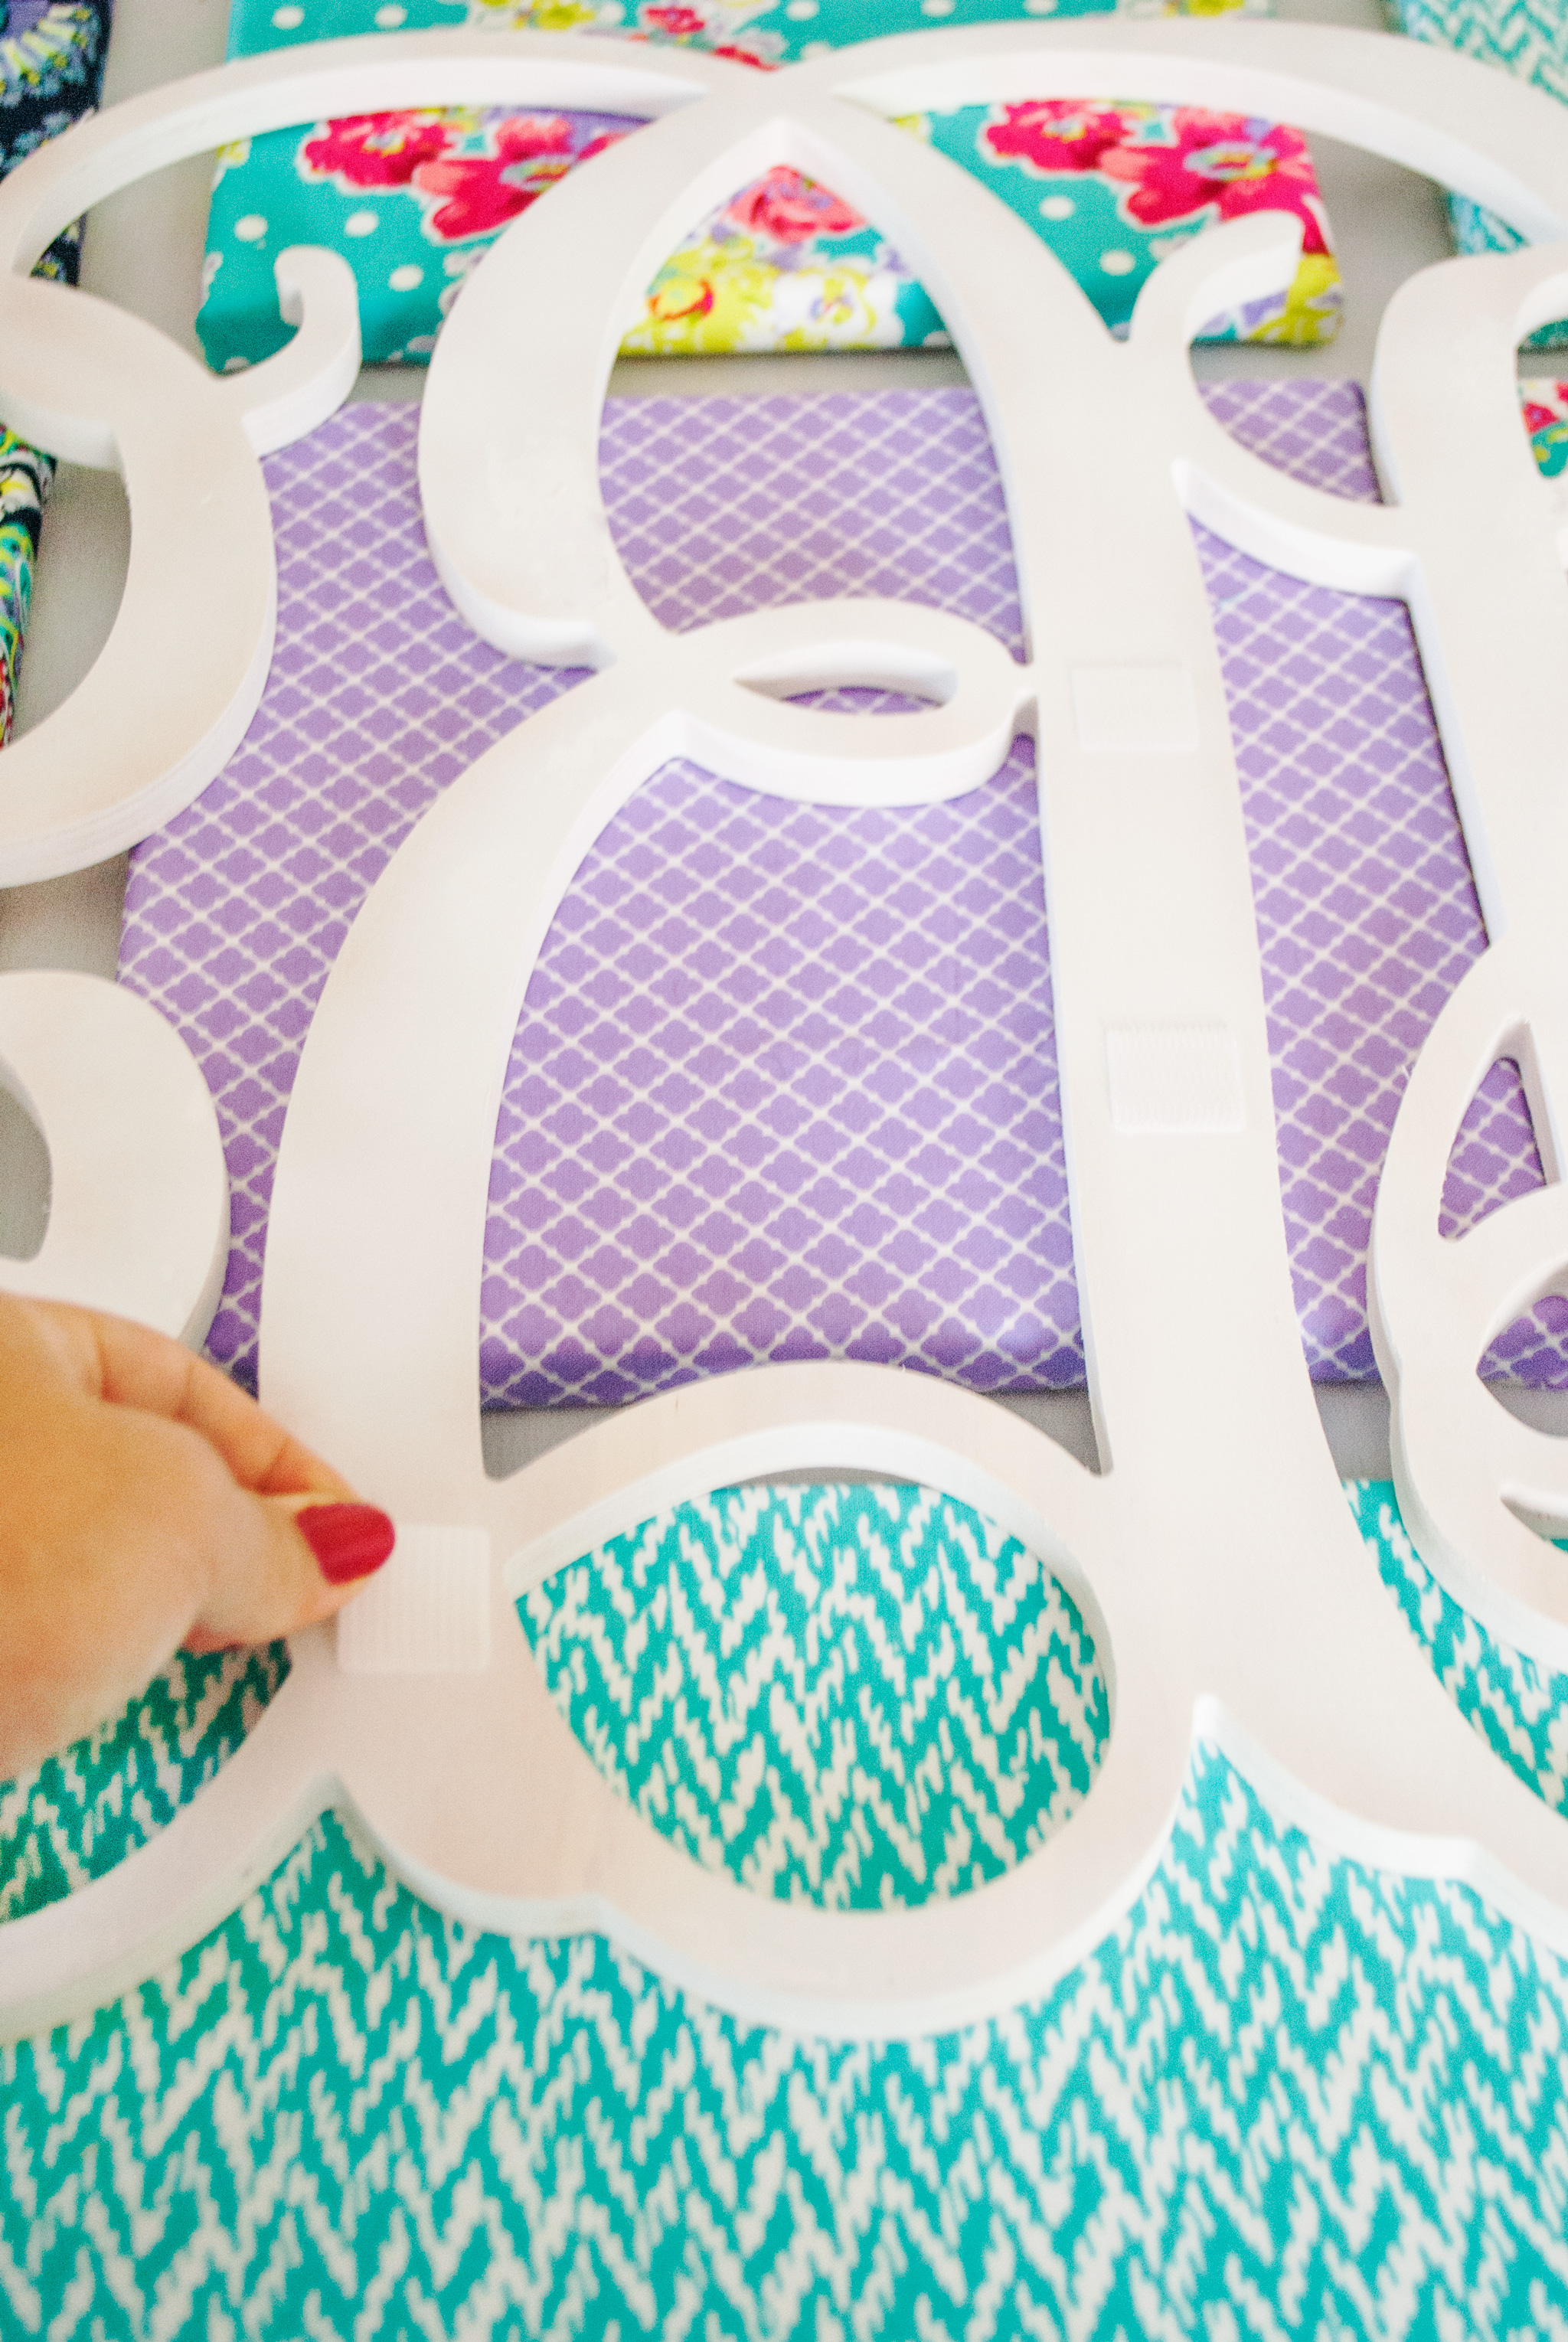
Attach Velcro. Stick one side of the Velcro tab onto the monogram where it will attach to the fabric. Ensure the weight of the monogram is evenly distributed amongst the canvases by placing plenty of Velcro in different spots where the monogram and canvases meet. Place the opposite side of the Velcro tabs onto the canvases where they will meet up with the monogram’s Velcro tabs.
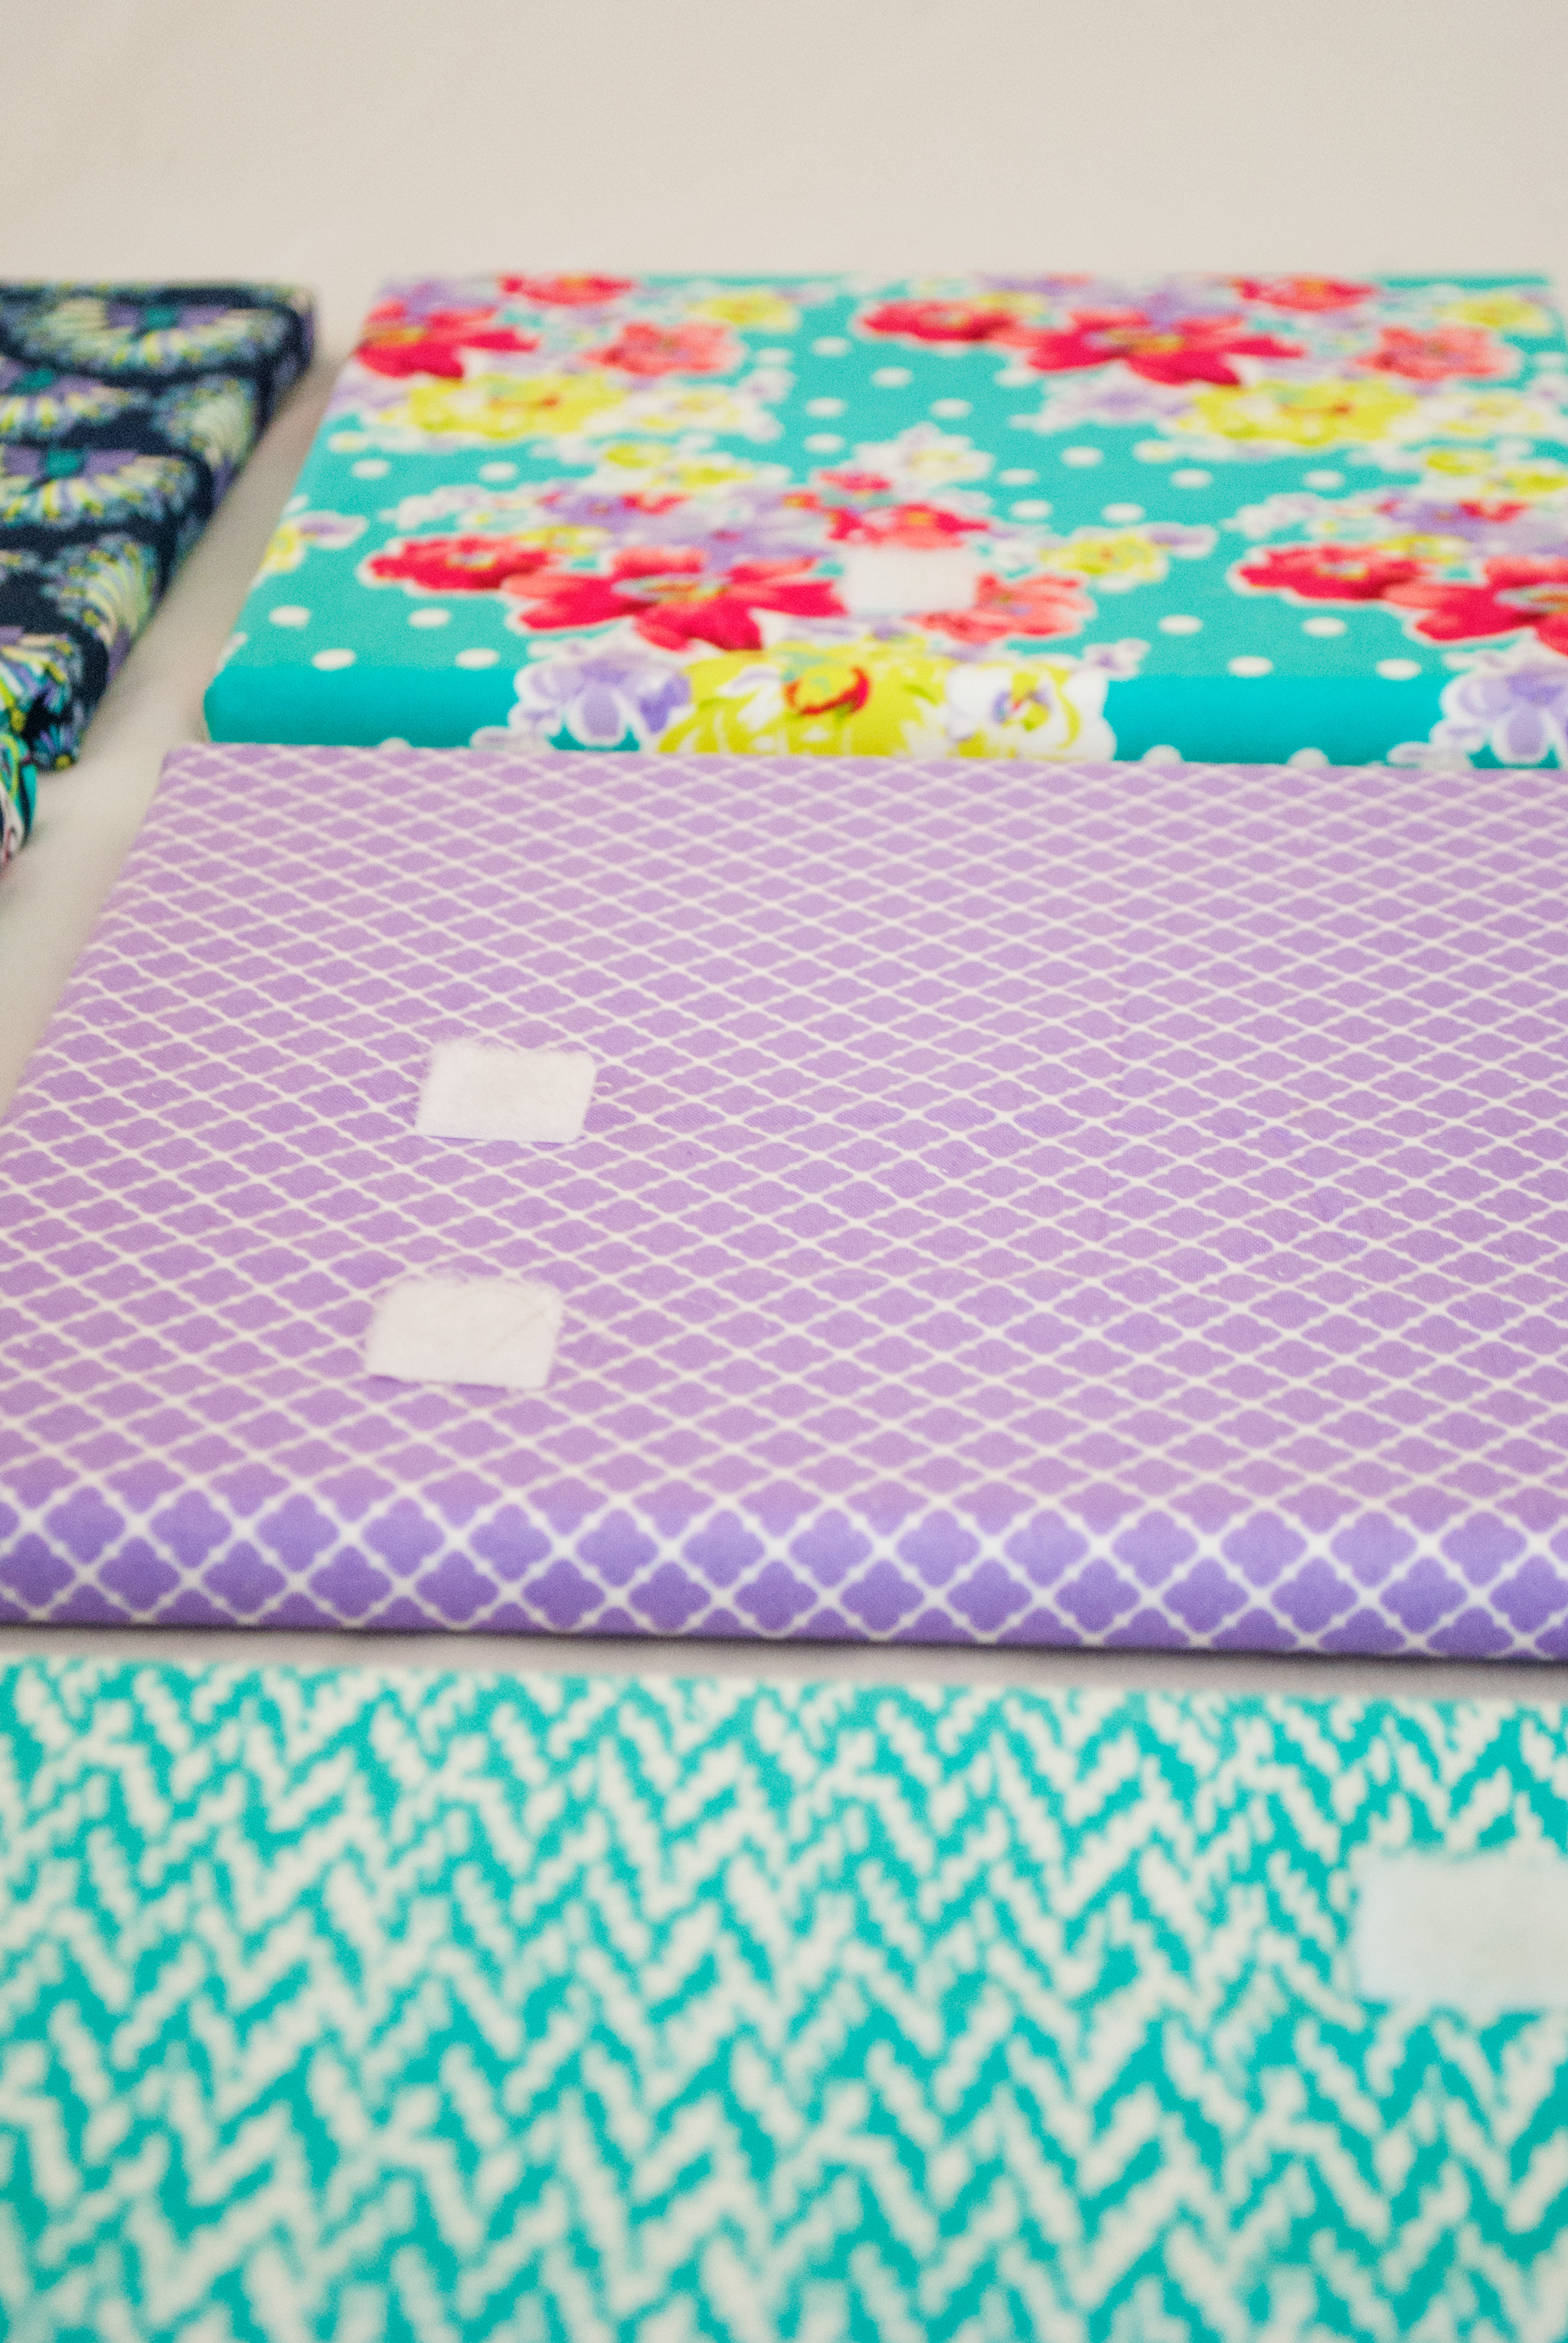
Hang your art. Hang the canvases on your wall, spaced evenly and arranged exactly as you had laid them out on the floor. Once they are all hung, you can easily attach your monogram to the Velcro tabs.
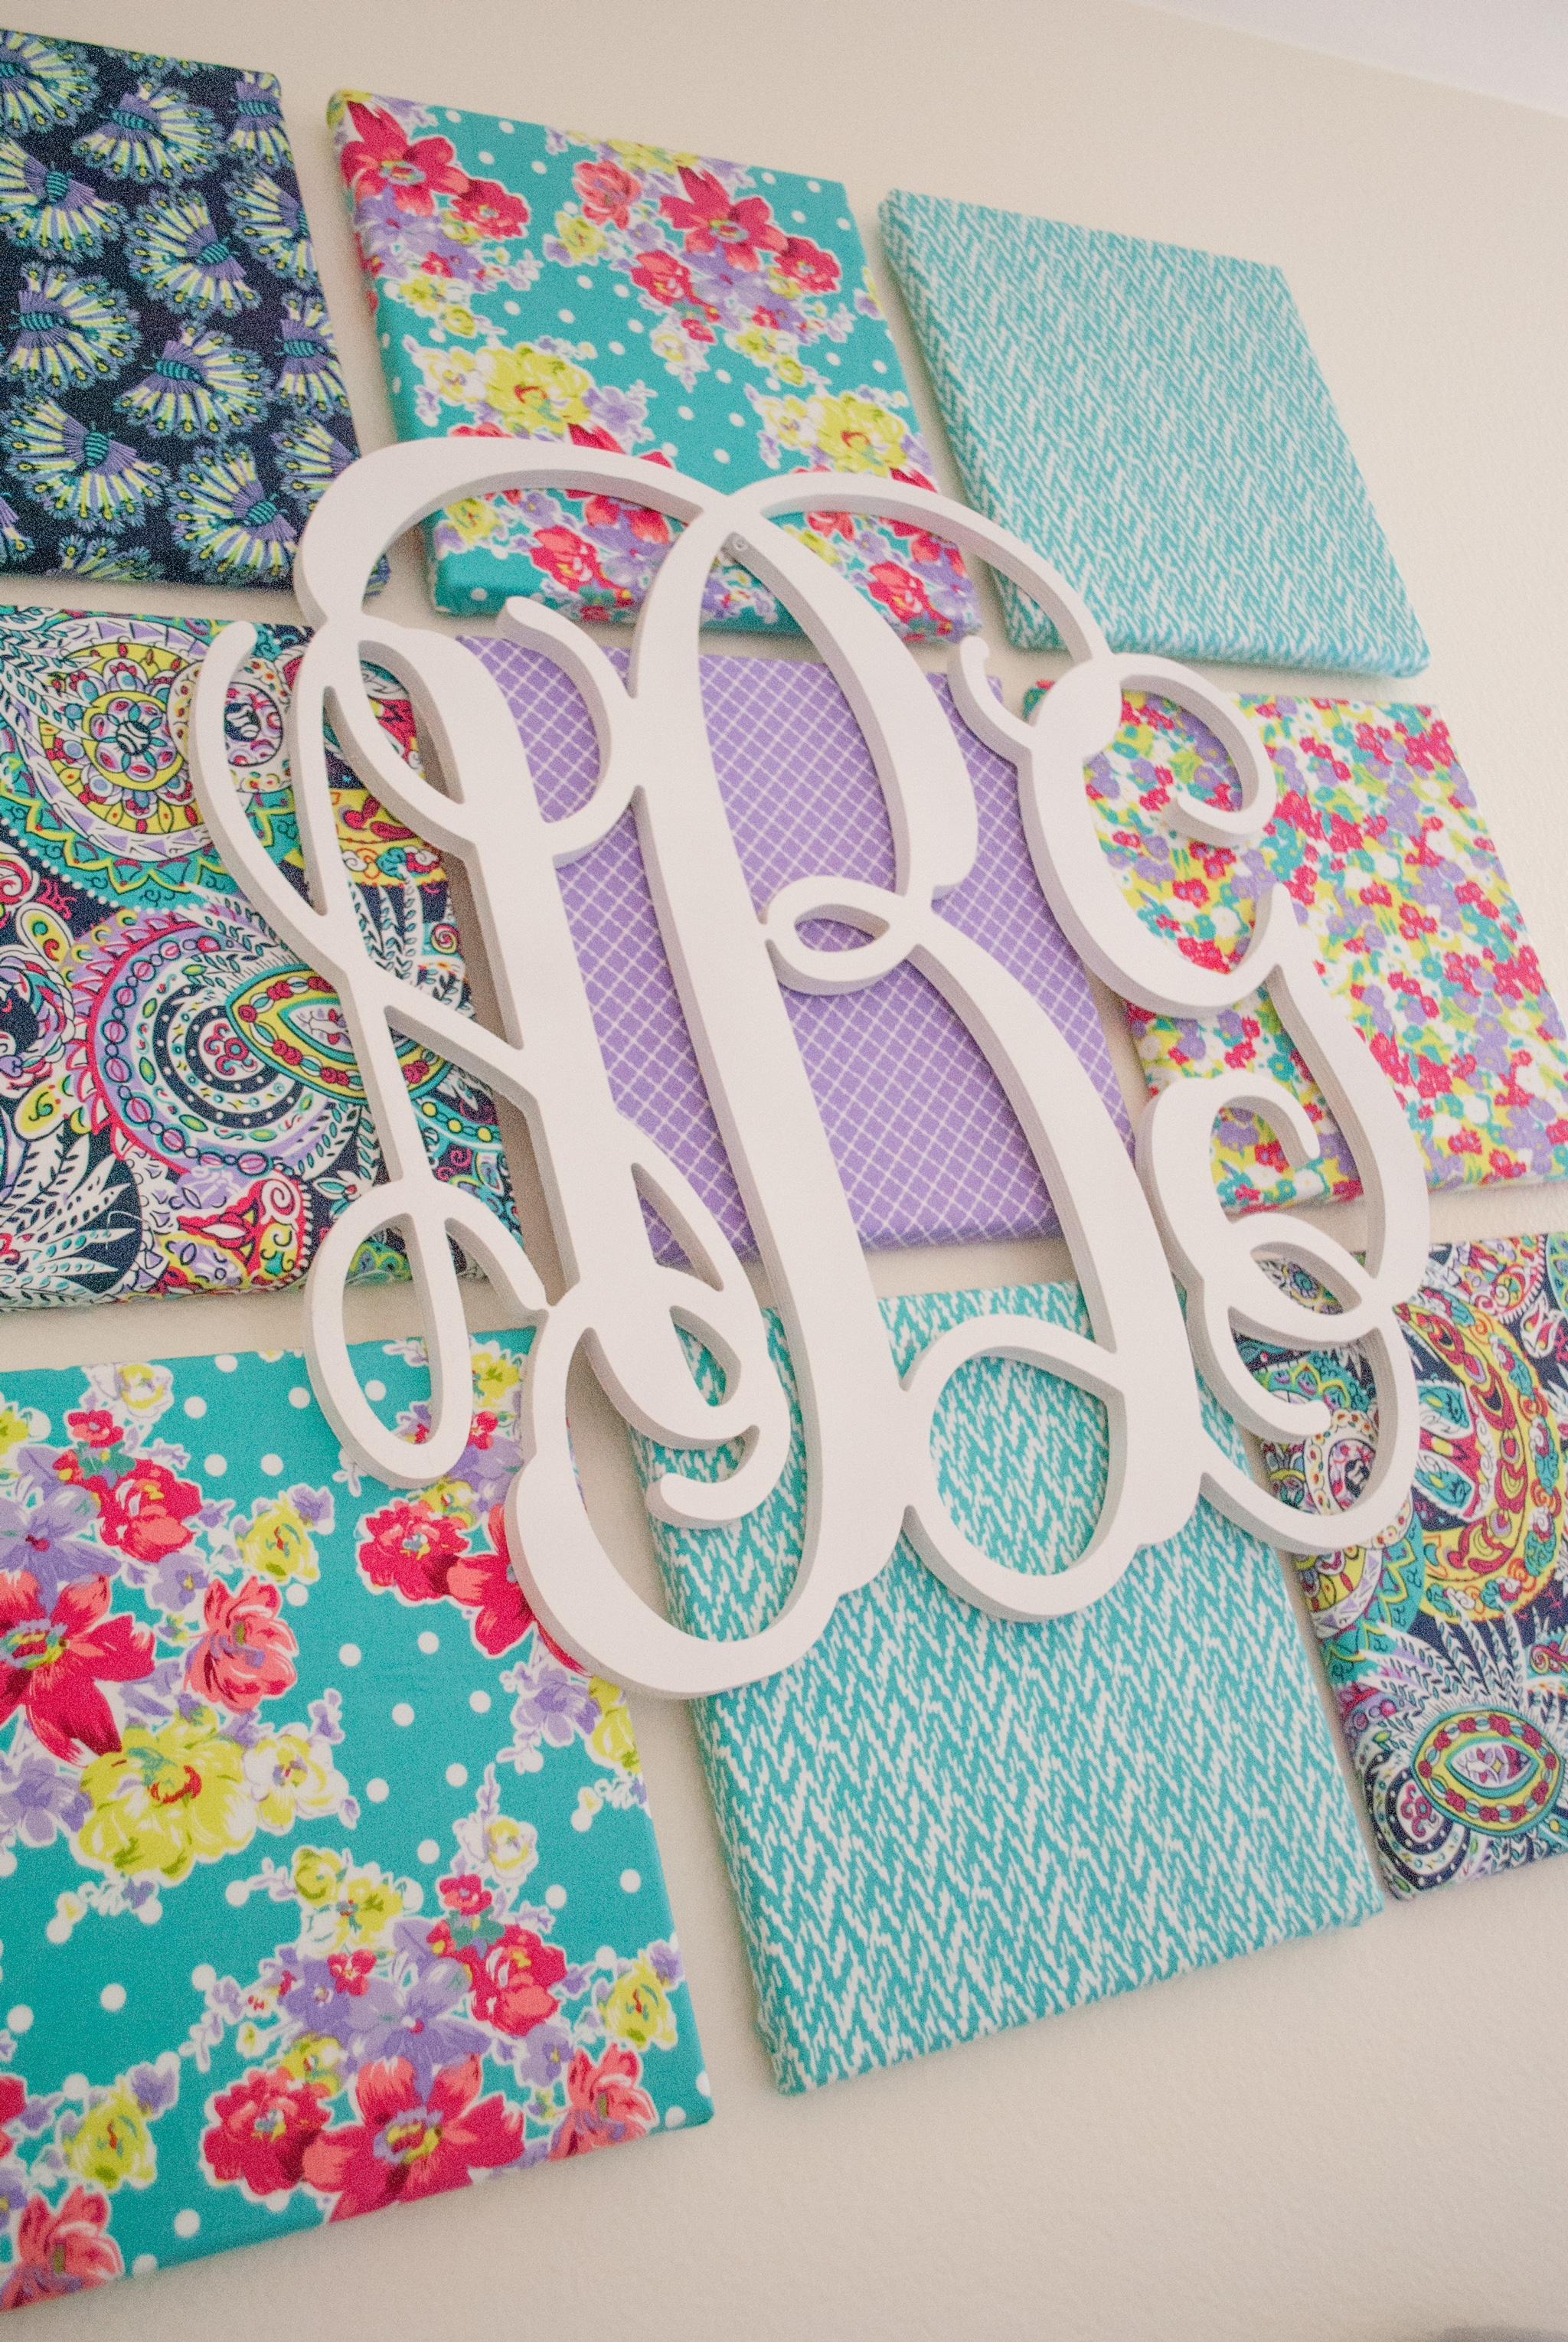
That’s it! This project is so quick and easy, and the best thing about it is that you can recover the canvases or spray paint the monogram a different color if you want to change up the design. Simply detach the monogram and remove the staples from the canvases, and you can create a new version with different fabric.
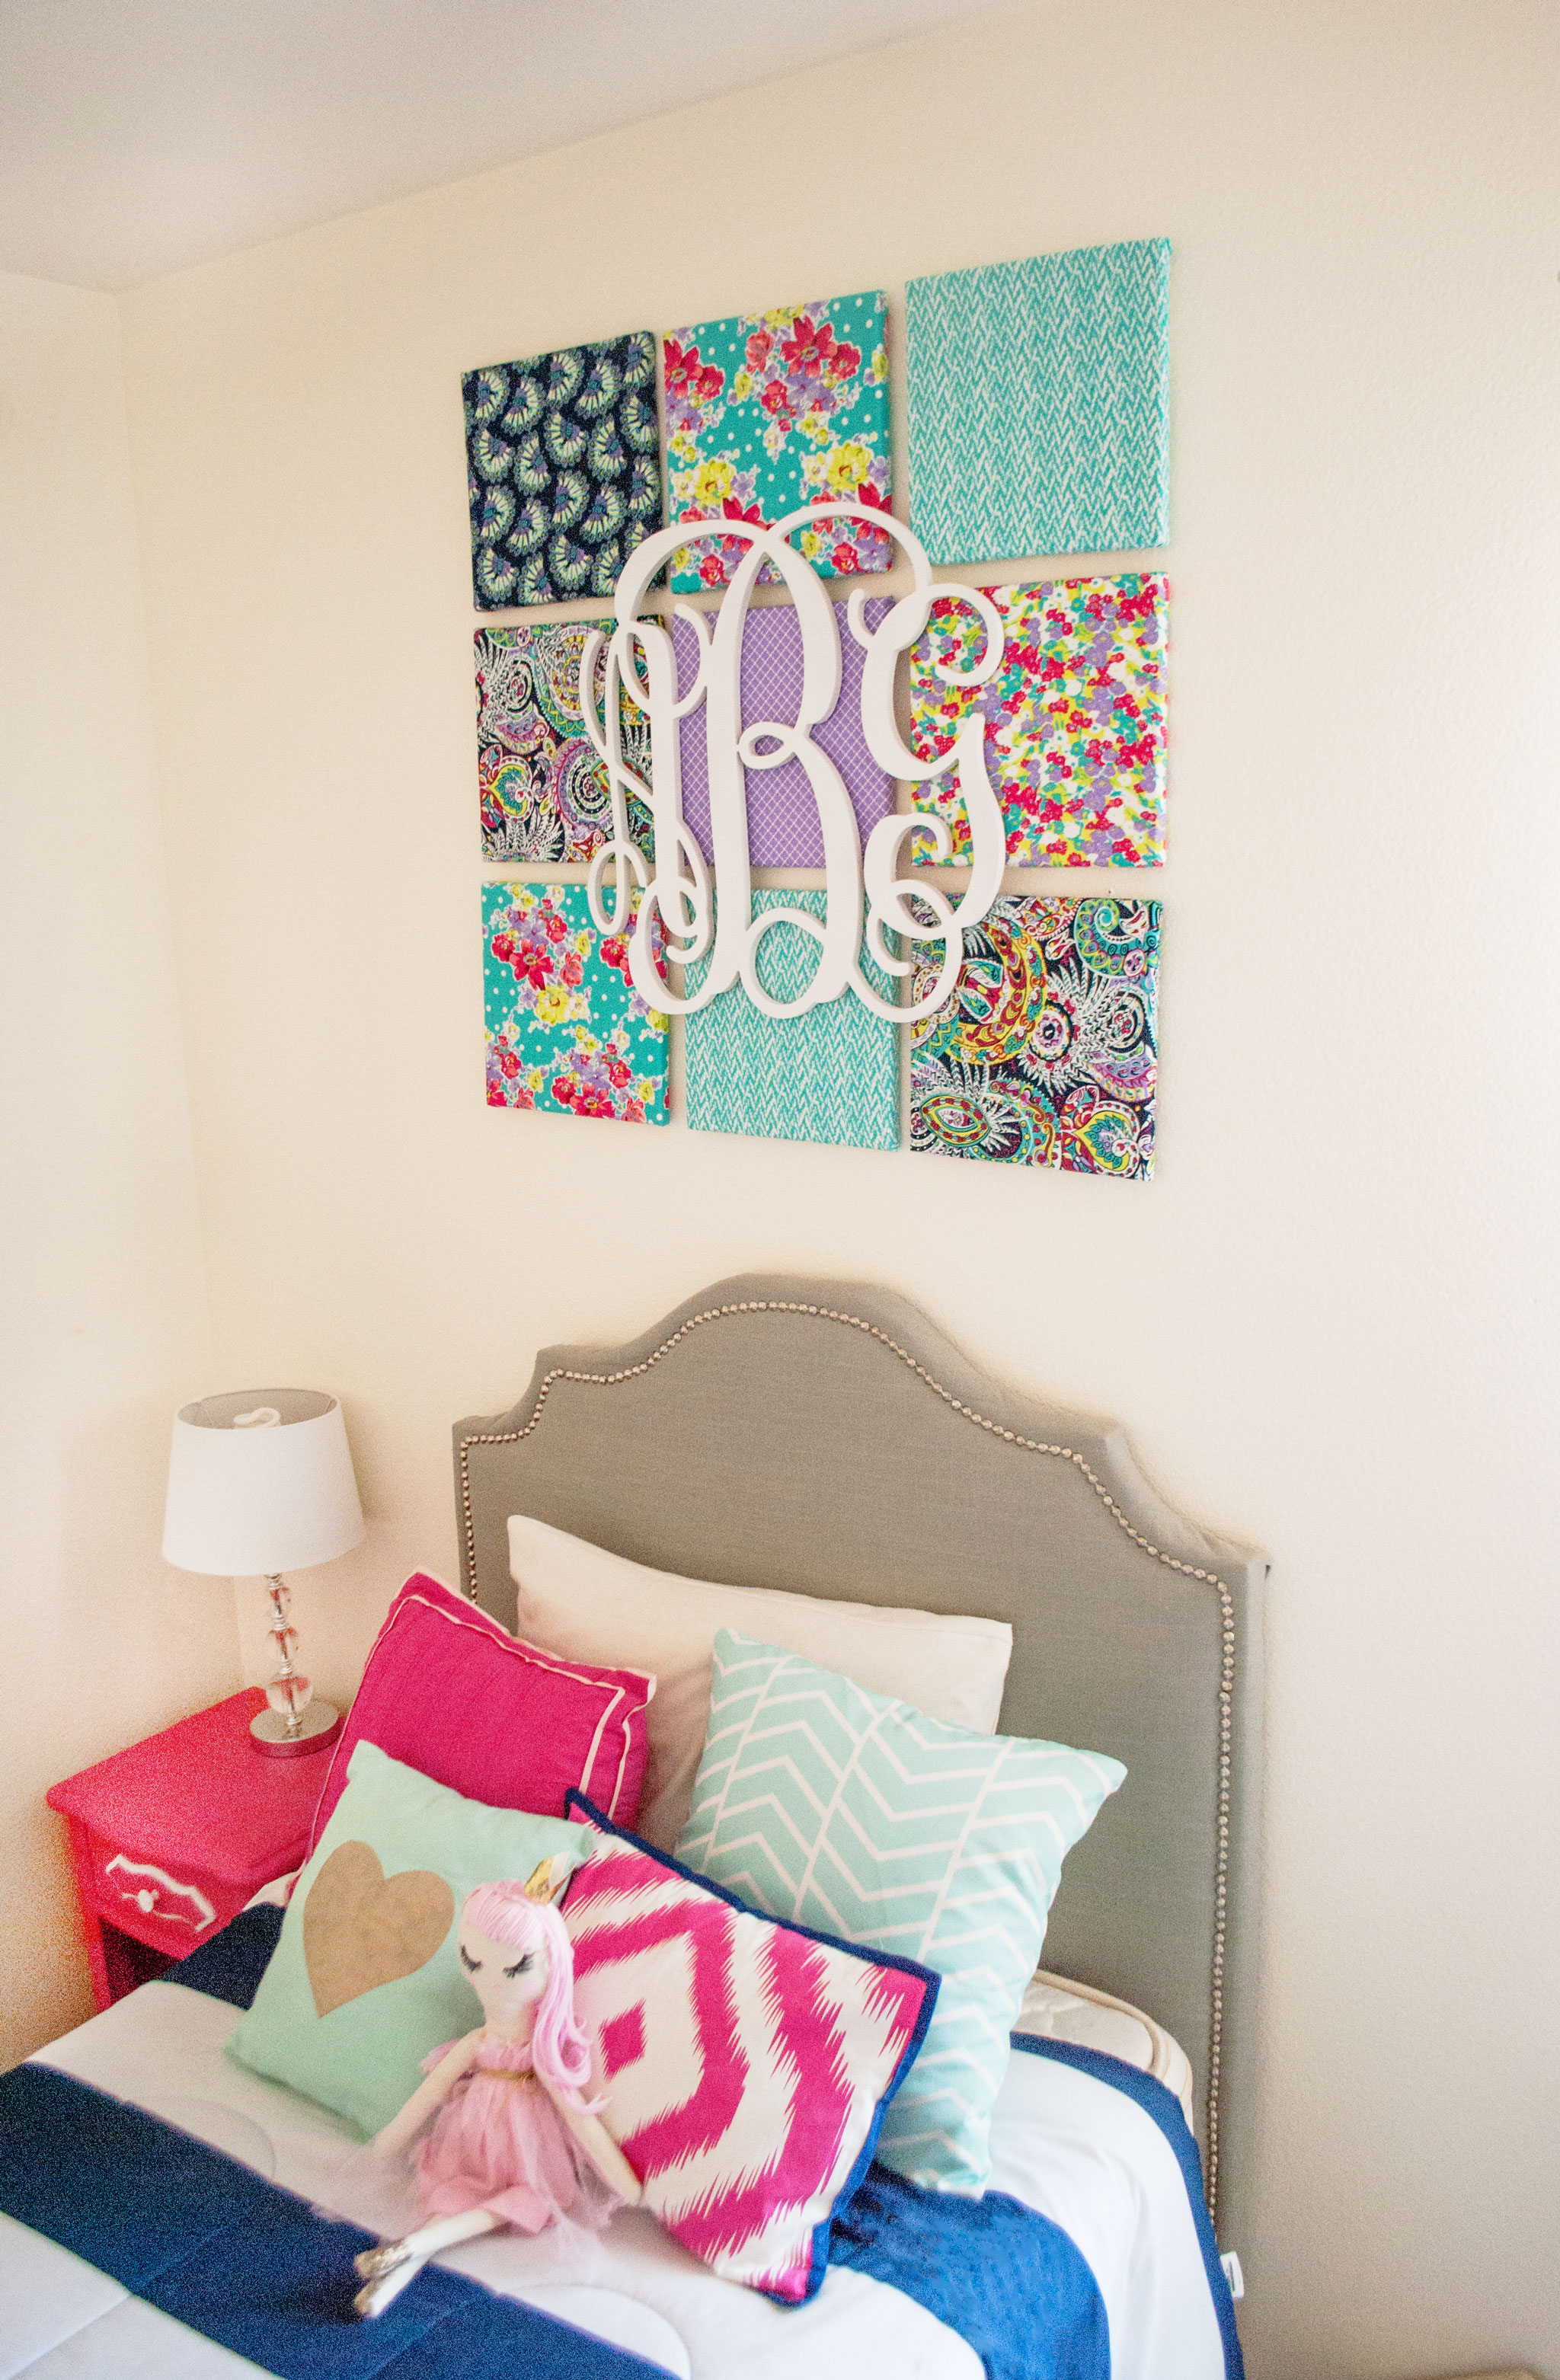
We think it looks especially sweet in a nursery setting too!

More About Springmaid & The Amelia Collection
With a 90-year heritage that is rich in tradition and quality, Springmaid holds a strong place in Springs Creative’s history as one of the flagship licensing brands —a brand on which the company was founded and a brand that consumers today continue to recognize and trust. Nine decades ago, they planted the seeds of a brand that was simple, unpretentious and trustworthy. With strong roots, it retains those traits today and into the future. The entire new Springmaid collection has been created from pieces from Baxter Mill Archive, housed at our headquarters in South Carolina. Each collection represents several eras, ranging from the classic look of 1940s to the pop art of the 1960s.
Both winsome and practical, the Amelia collection combines 1950s era prints with the trends of today. From an intricate paisley to a unique peacock print to a simple chevron, this classic fabric is beautiful as a collection and individually.
This is a sponsored post. Thanks for your support
in our effort to bring you exciting content.


Comments
Roberta
So fun and easy to personalize! I am sharing this on Pinterest.
Hayley Kelly
What do you use to hang each canvas on wall? Do you think this would work using 8×8 or 6×6 canvas??
Springs Creative
Hayley,
You can use an 8×8 or a 6×6 canvas, depending on the size you want! We used command hooks to hang the canvases!
michela
great, thanks – where did you find the monogram?
Michela, from Belgium
matika
hey:)
beutiful idea! can i do it with a wooden frame instead of canvas frame? would it work the same? thanks!
Crystal
I love the matching quilt, and lamp shade, how did you make the lamp match?
Melodsa
What size monogram did you use for this
Shauna
How much fabric did you purchase? I’m not sure how much to buy.
Lauri A Bennard
This is also a good way to use old CD/DVD cases
Gift Idea Geek
Oh my goodness, this is incredible! I’ve spent hours in fabric stores finding cool patterns but zero motivation to make a blanket or throw pillow. This opens up a world of new possibilities! This would also be a cool gift idea!
Thanks for sharing!
-Andrew