This imaginative play playroom designed by Jhonny Curran using the sweetest pretend play wall decals from our shop ticks all the boxes for us. Pretend play is such a magical way for kids to spend their time, and it uses those little imaginations to their fullest!
Mom of two little ones, Jhonny maximized a difficult layout to create a wonderful Montessori style playroom space for her kids. You can follow Johnny on her website and instagram for fashion, interior design, DIY and life as a mom! Thank you, Johnny, for sharing this darling imaginative play playroom with us. We’ll let you take it from here!

Where did you pull inspiration for your playroom design?
With two toddlers that are 14 months apart, I wanted to create a safe and inviting space that would accommodate both a girl and a boy while stimulating their creativity and imagination. I love interior design, and with our split level home design the playroom area is in clear site from the rest of our home.
So I wanted to keep a neutral calming color palette, while also incorporating some pops of color, which we ended up doing with Project Nursery wall decals and our artwork wall to add personality and to spark their imaginations!

Olive and Rhodes share a bedroom, so when I was designing their bedroom, I knew I wanted to be able to differentiate the two sides of their space, which is when I got the idea to use Project Nursery’s wall decals to separate the space and it worked perfectly!
I was sitting downstairs one day trying to decide how to design the playroom, and that is when the idea came to me to try to separate the space using decals again.
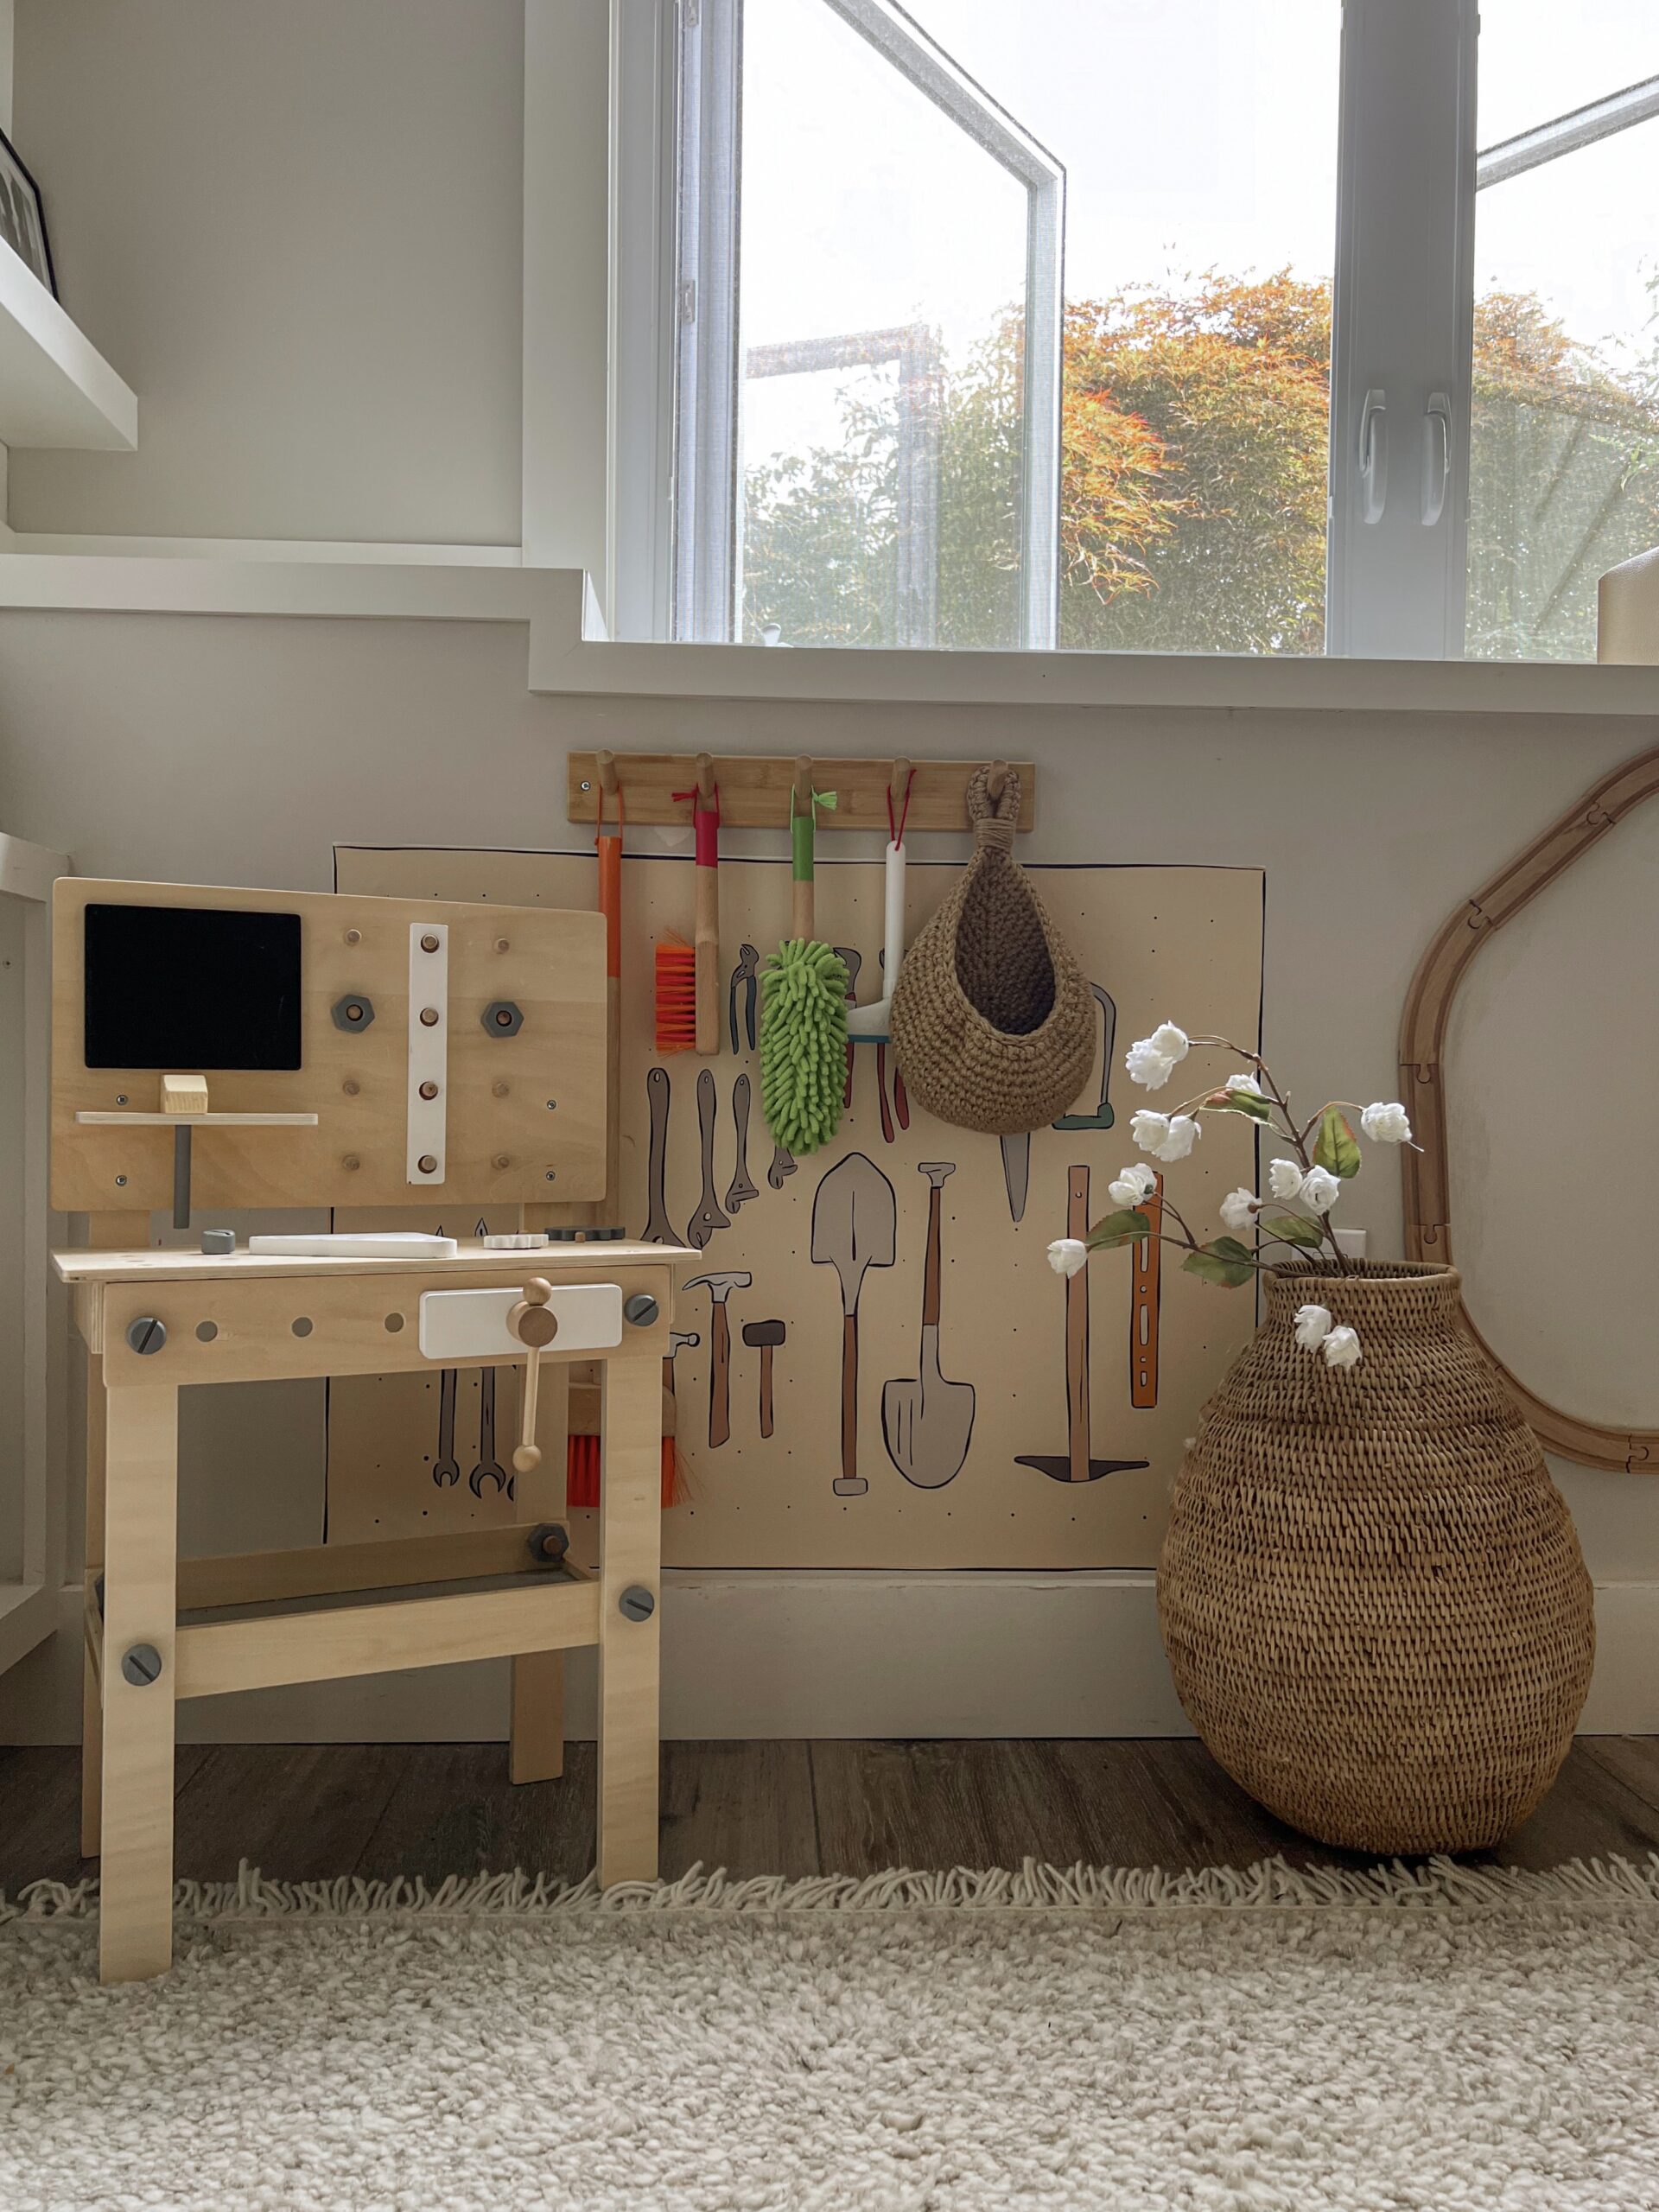
I jumped onto Project Nursery’s website, and they had so many cute decal designs! I saw the different imagination wall decals and became so nostalgic—my mind immediately went back to my own childhood.
As a kid, I LOVED to play house and always used my imagination to play. I thought it could be cool for our once boring walls to be brought to life through play and imagination with different wall decals as backdrops to define the space.

Not only were the backdrops the perfect way to make the playroom a fun space for my kids to use their imagination, but they’re also a great way to incorporate both my daughter and son’s favorite things! This video shows how I ended up laying out each area with our chosen decals!
In Video: Indoor Play Slide/Climber | Balance Beam
Did you have any unexpected obstacles when creating this room? How did you overcome them or spin them to your advantage?
Before we had kids, we had designed our downstairs level to be a used as a lounge area where we installed a fireplace, tv, and built-ins, so that side was a little more difficult to work around. We also had existing furniture that I wanted to keep, one of them being a large armoire I found on Facebook Marketplace that I use to store all of the kids’ toys.

At first, it was difficult to figure out how to best use the space without taking up a chunk of the middle so the kids could play. I realized I needed to work around the perimeter and keep the middle open for play, which is where all the little imaginative sections came in!
What is your favorite part or detail in your playroom? What do your kids love most?
I would say our Ikea play kitchen makeover. I love DIY projects, and this was such an easy and fun one to do! It didn’t cost a lot, and we made super minimal changes, but the small changes made such a big difference!

I also added a little pendant light above to make that corner feel like a real kitchen. My daughter absolutely loves playing with the kitchen! It even got featured in Apartment Therapy Magazine!
The Bakery Stand was also a fun one because my daughter and I did this together. I had chosen the Bakery decal, so I knew we needed a bakery stand to complete that section of the playroom in order for the kids to use their imaginations fully in the space. I took an old chest that we had in our garage and painted it white and then bought letters off of Etsy to create the “café” sign. My daughter helped paint the chest, which made the project extra special.

My son’s favorite feature is probably the train set that we glued to the wall! He is obsessed with anything truck, car or train related and this is such a fun area for him to drive his trains! He also likes to use his tool station to “fix” his vehicles.
What is one thing that you would tell other parents to consider when starting to design and organize their own playroom?
Make sure you have storage! I don’t know where we’d be without our big armoire. Even though this piece of furniture was difficult to work around when designing, it needed to stay as it’s a crucial part of our playroom! I hide ALL of the toys in there.

Even if you don’t have a big storage closet, my biggest tip is to get wicker baskets. HomeGoods and thrift stores always have matching ones for such fabulous prices. The wicker baskets help keep a cohesive aesthetic, while hiding and organizing all of the toys!
Photography by Jhonny Curran
Love this imaginative play playroom? Check out more of our room tours!
*this post contains affiliate links*


