You’ve seen natural floral crown wreaths all over lately. It’s festival season after all! And while I didn’t make it to Coachella this year (or ever for that matter!), I can still channel my inner goddess with an ethereal floral wreath crown and pretend I’m still young, hip and cool, right?
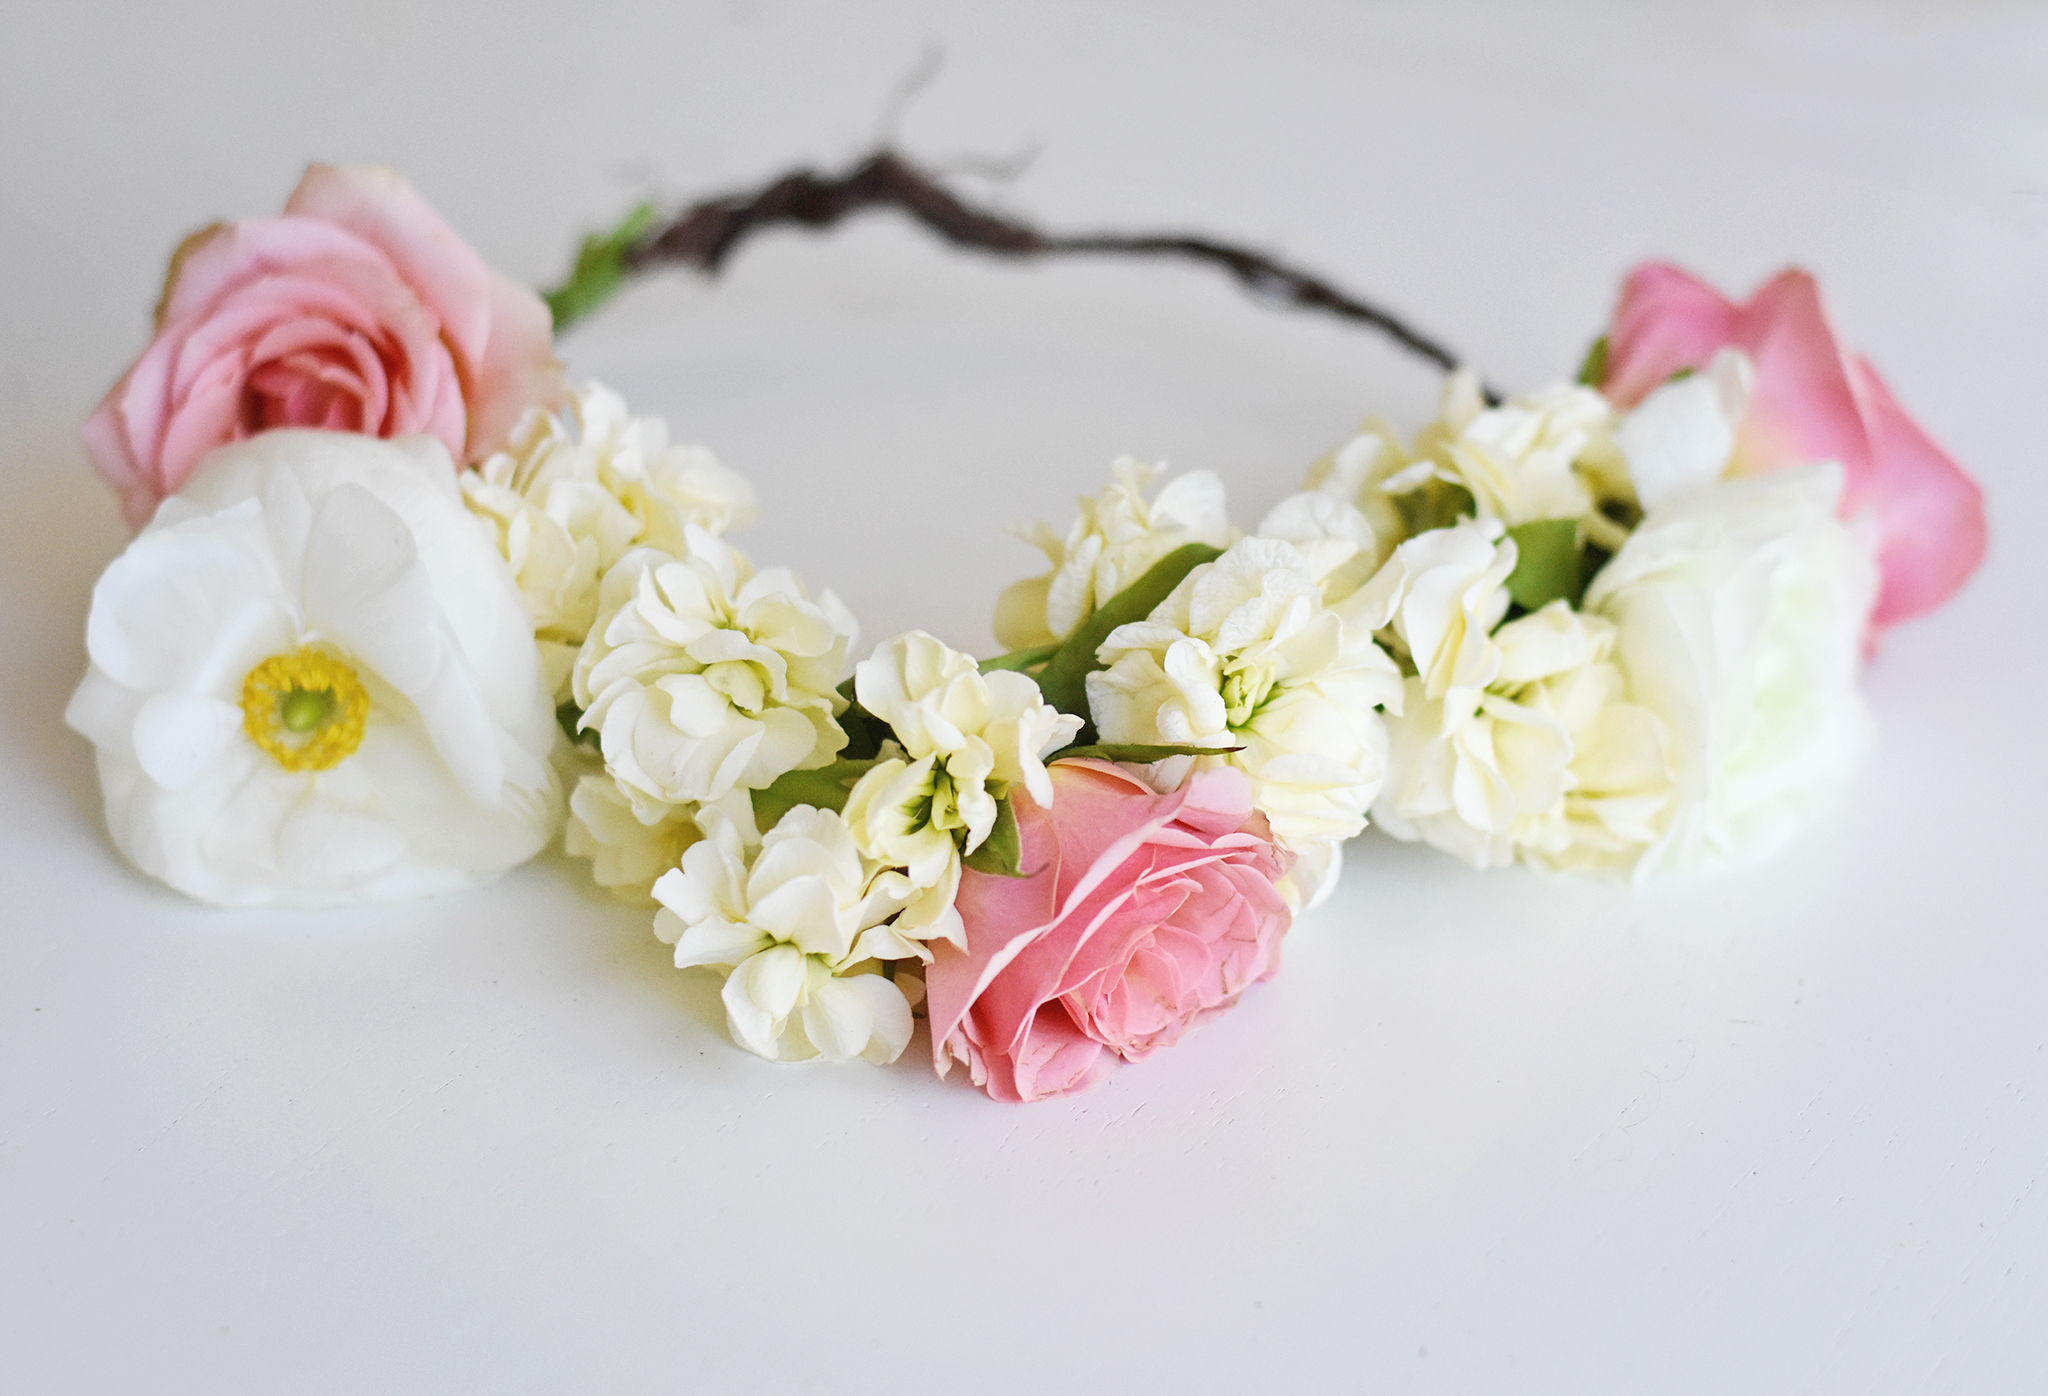
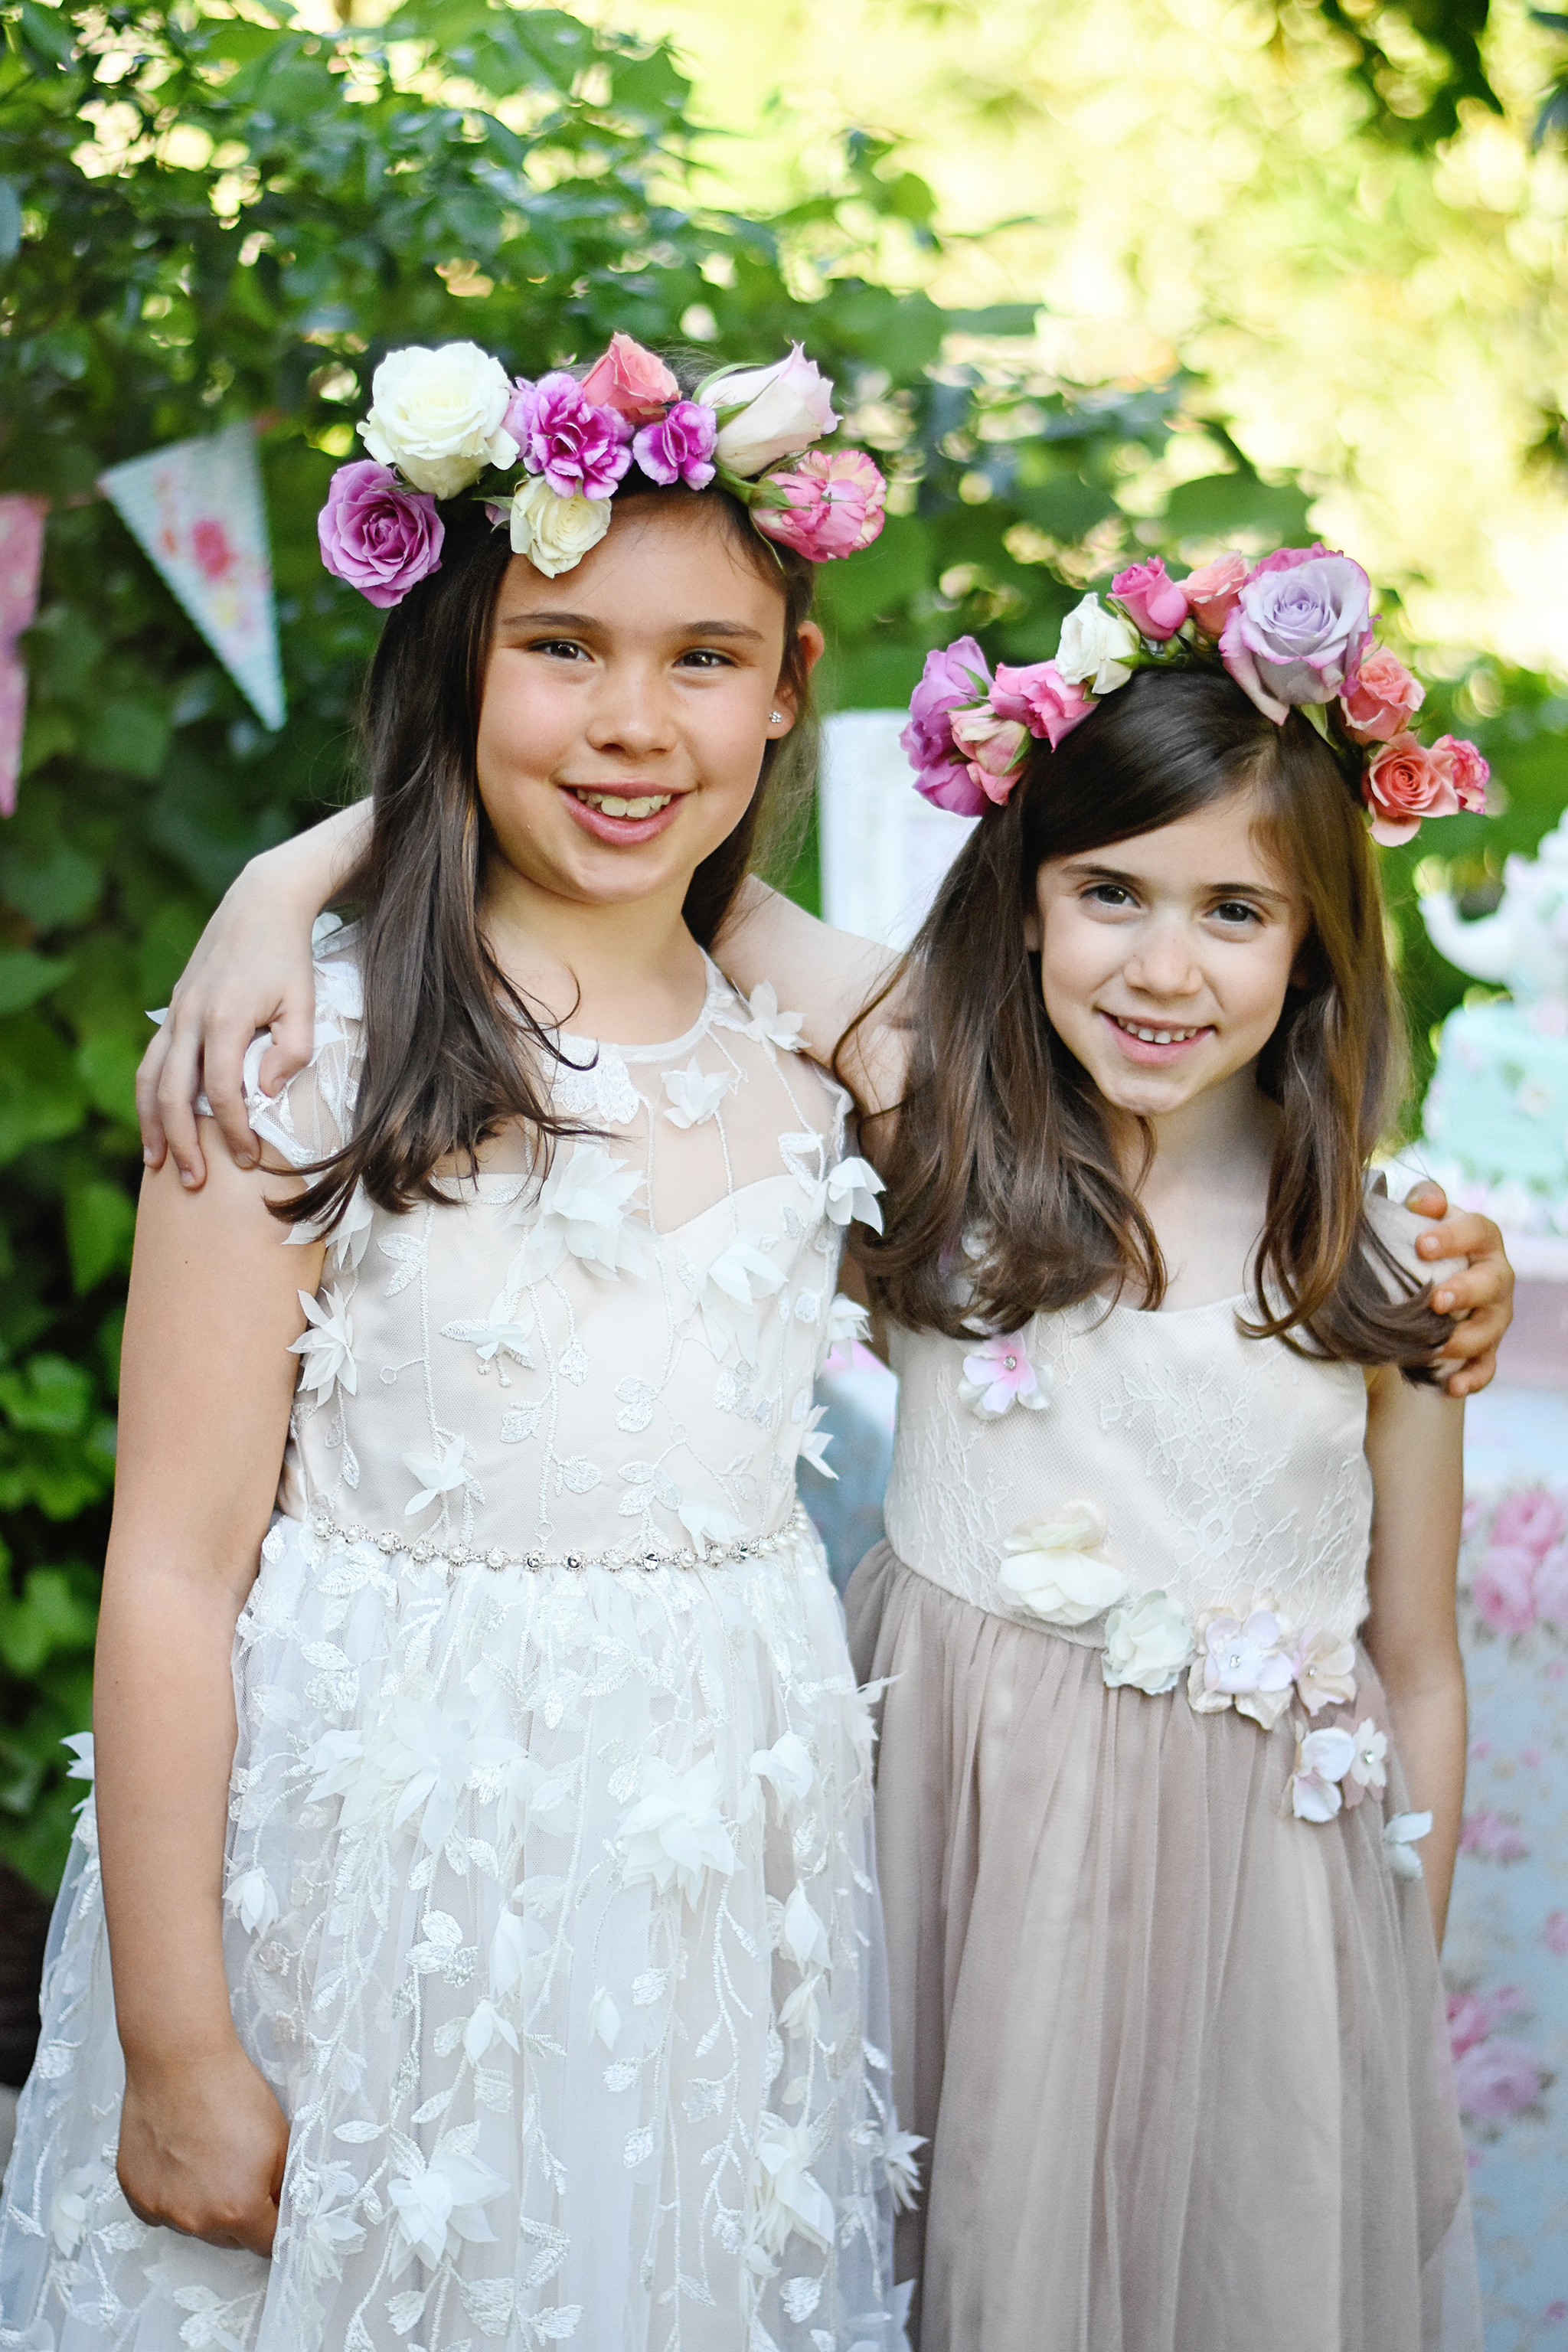
But instead of making a floral wreath crown for myself, I love the idea of creating a tiny version of one of these for a newborn photo shoot. Or, how cute would this be for a baby shower, a little girl’s birthday party, tea party, or smash cake photo sesh? The possibilities are endless! Follow my easy how-to below for tips on making a gorgeous and girly floral crown of your own with real flowers!

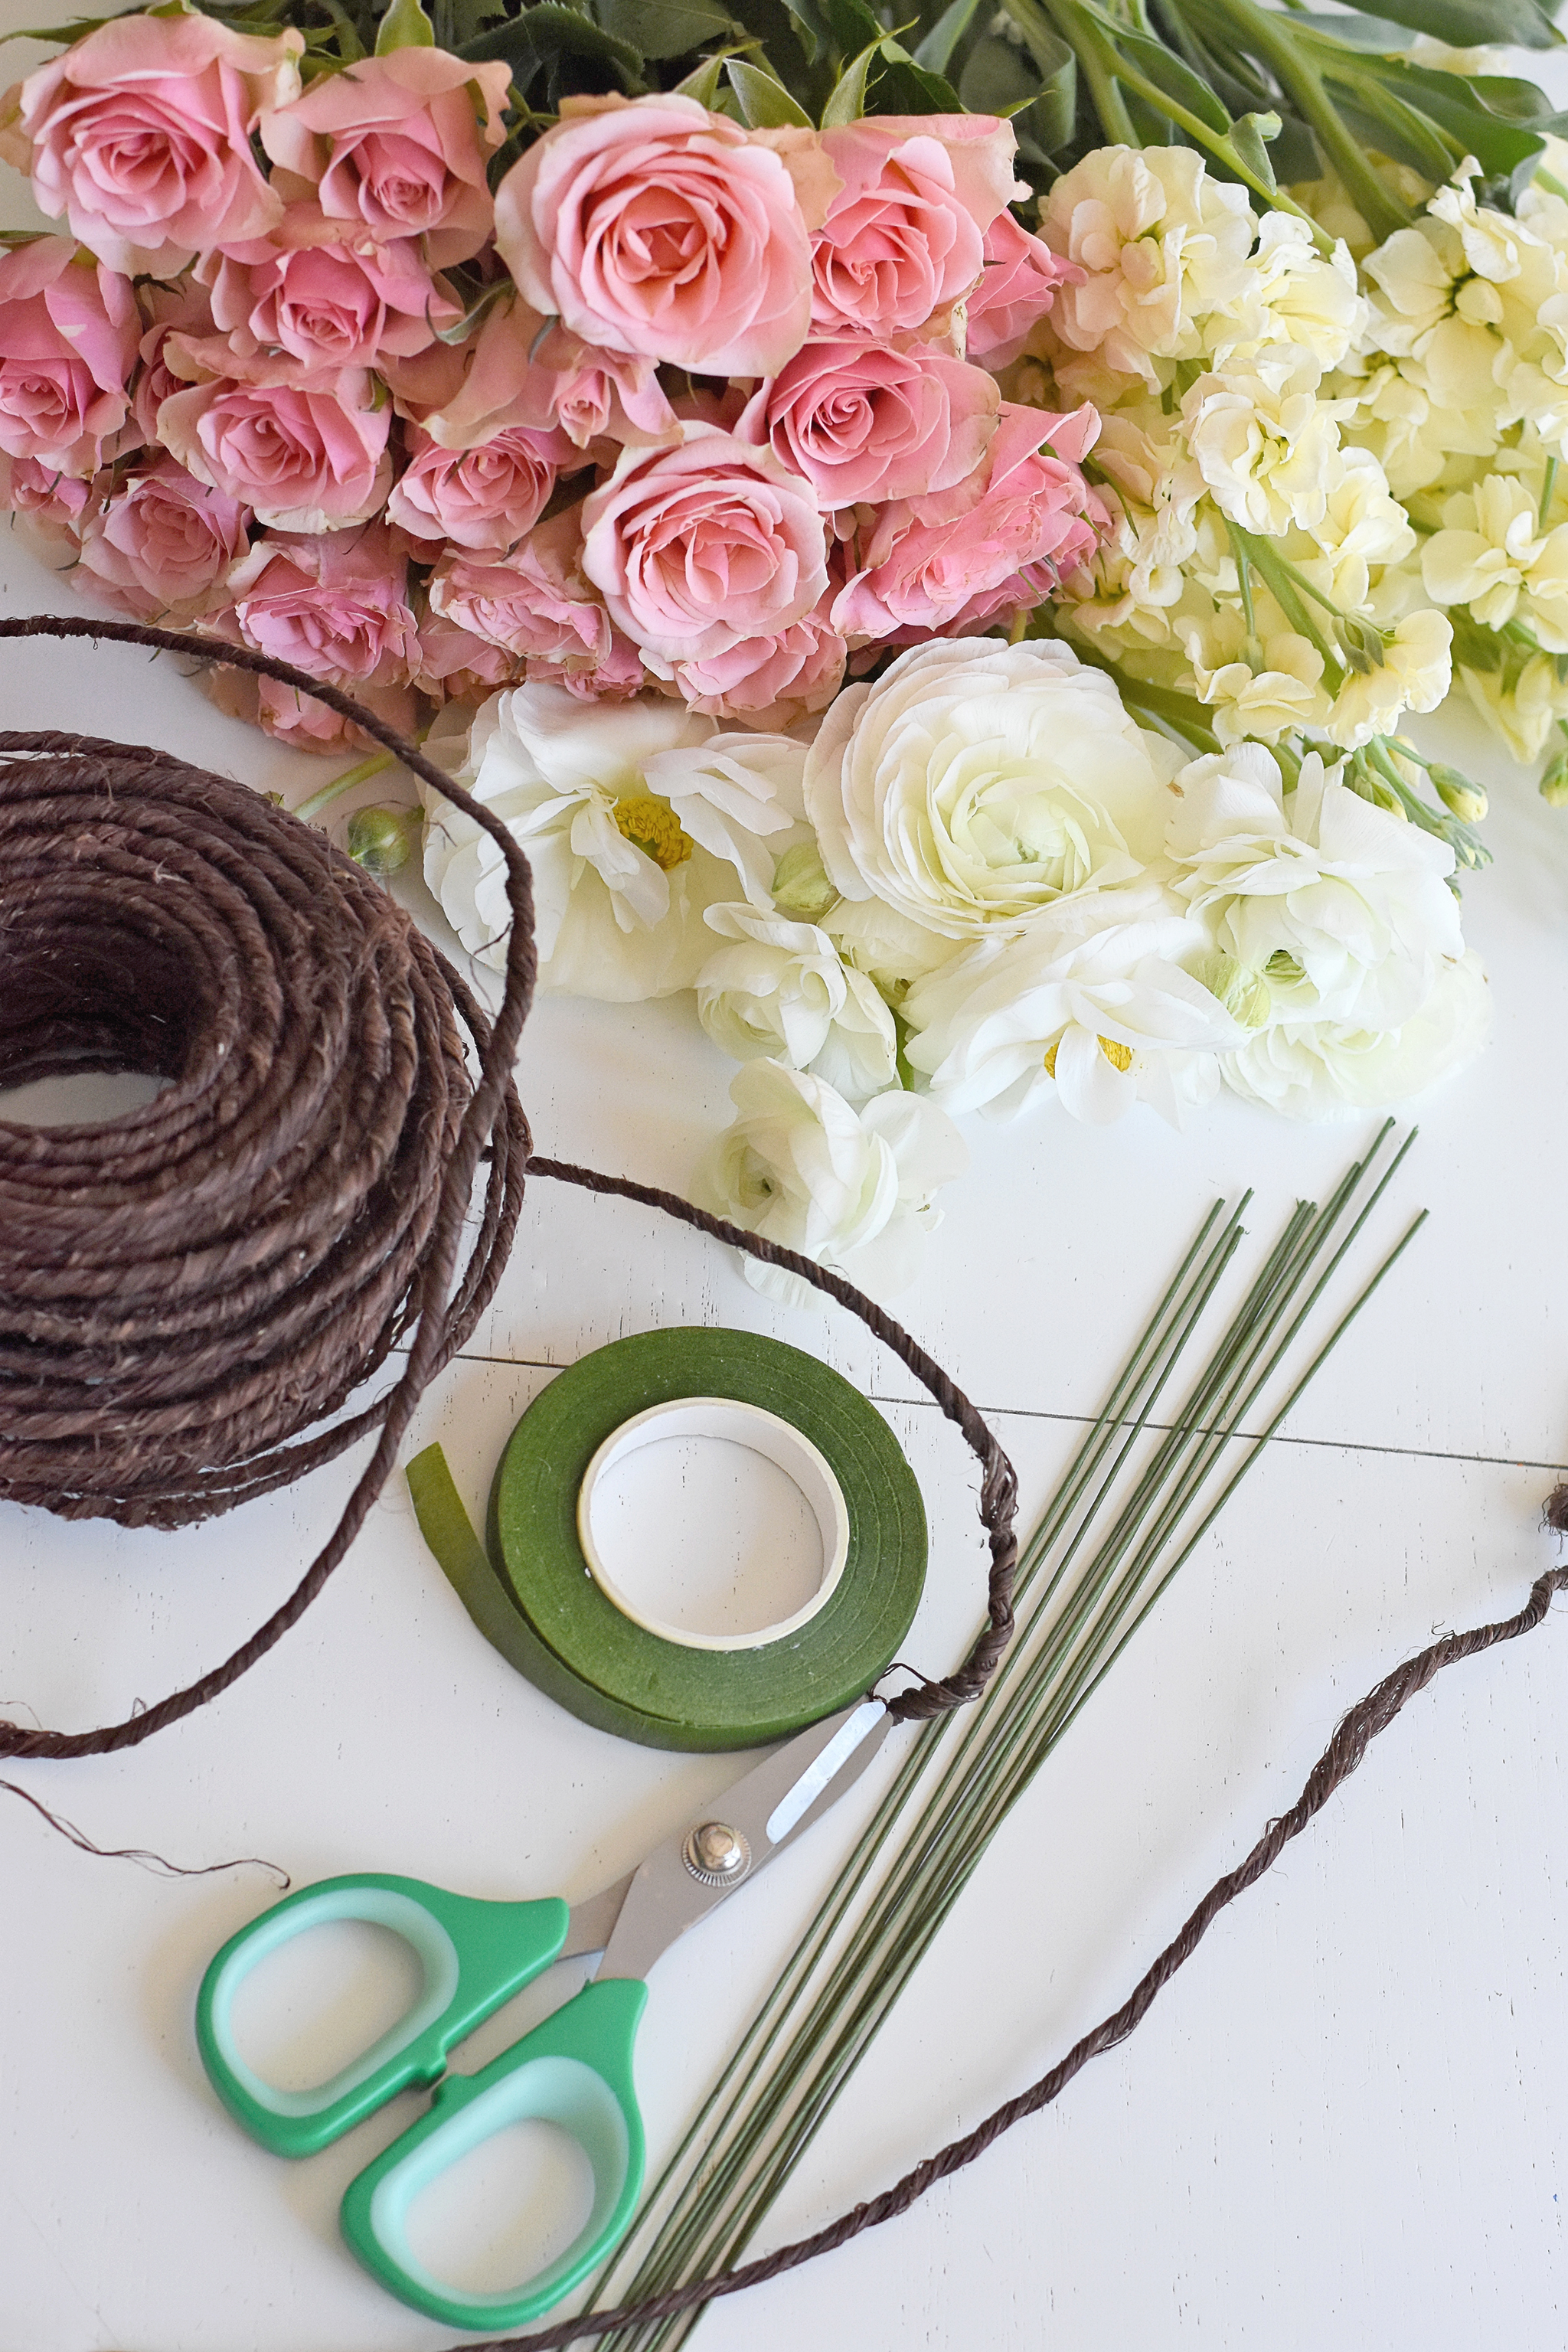
Materials: Rustic Natural Brown Wrapped Wire, Floral Tape, Wire Cutters, Green Floral Wire (if needed for flimsy stems), Assorted fresh cut flowers
Here are a few tips about which flowers to buy:
1. Use flowers that have stronger, thicker stems—they are easier to work with because they hold up better when you wrap them with the floral tape. While ranunculus are beautiful, I found that they were not super easy to work with OR you have to use wire in the stem to help support them.
2. I really love how the little spray roses look on these floral crowns, and their tiny size also makes them perfect for little heads.
3. Mini carnations are also great. They have strong stems, come in all kinds of colors, are small in size for little babies or girls, and are very inexpensive!
4. I found regular sized roses to be a bit too big for these floral wreaths. They weighed it down and just looked all around too big, so I’d steer clear of those.
5. While I didn’t do this myself, you could also incorporate baby’s breath into your floral crown.
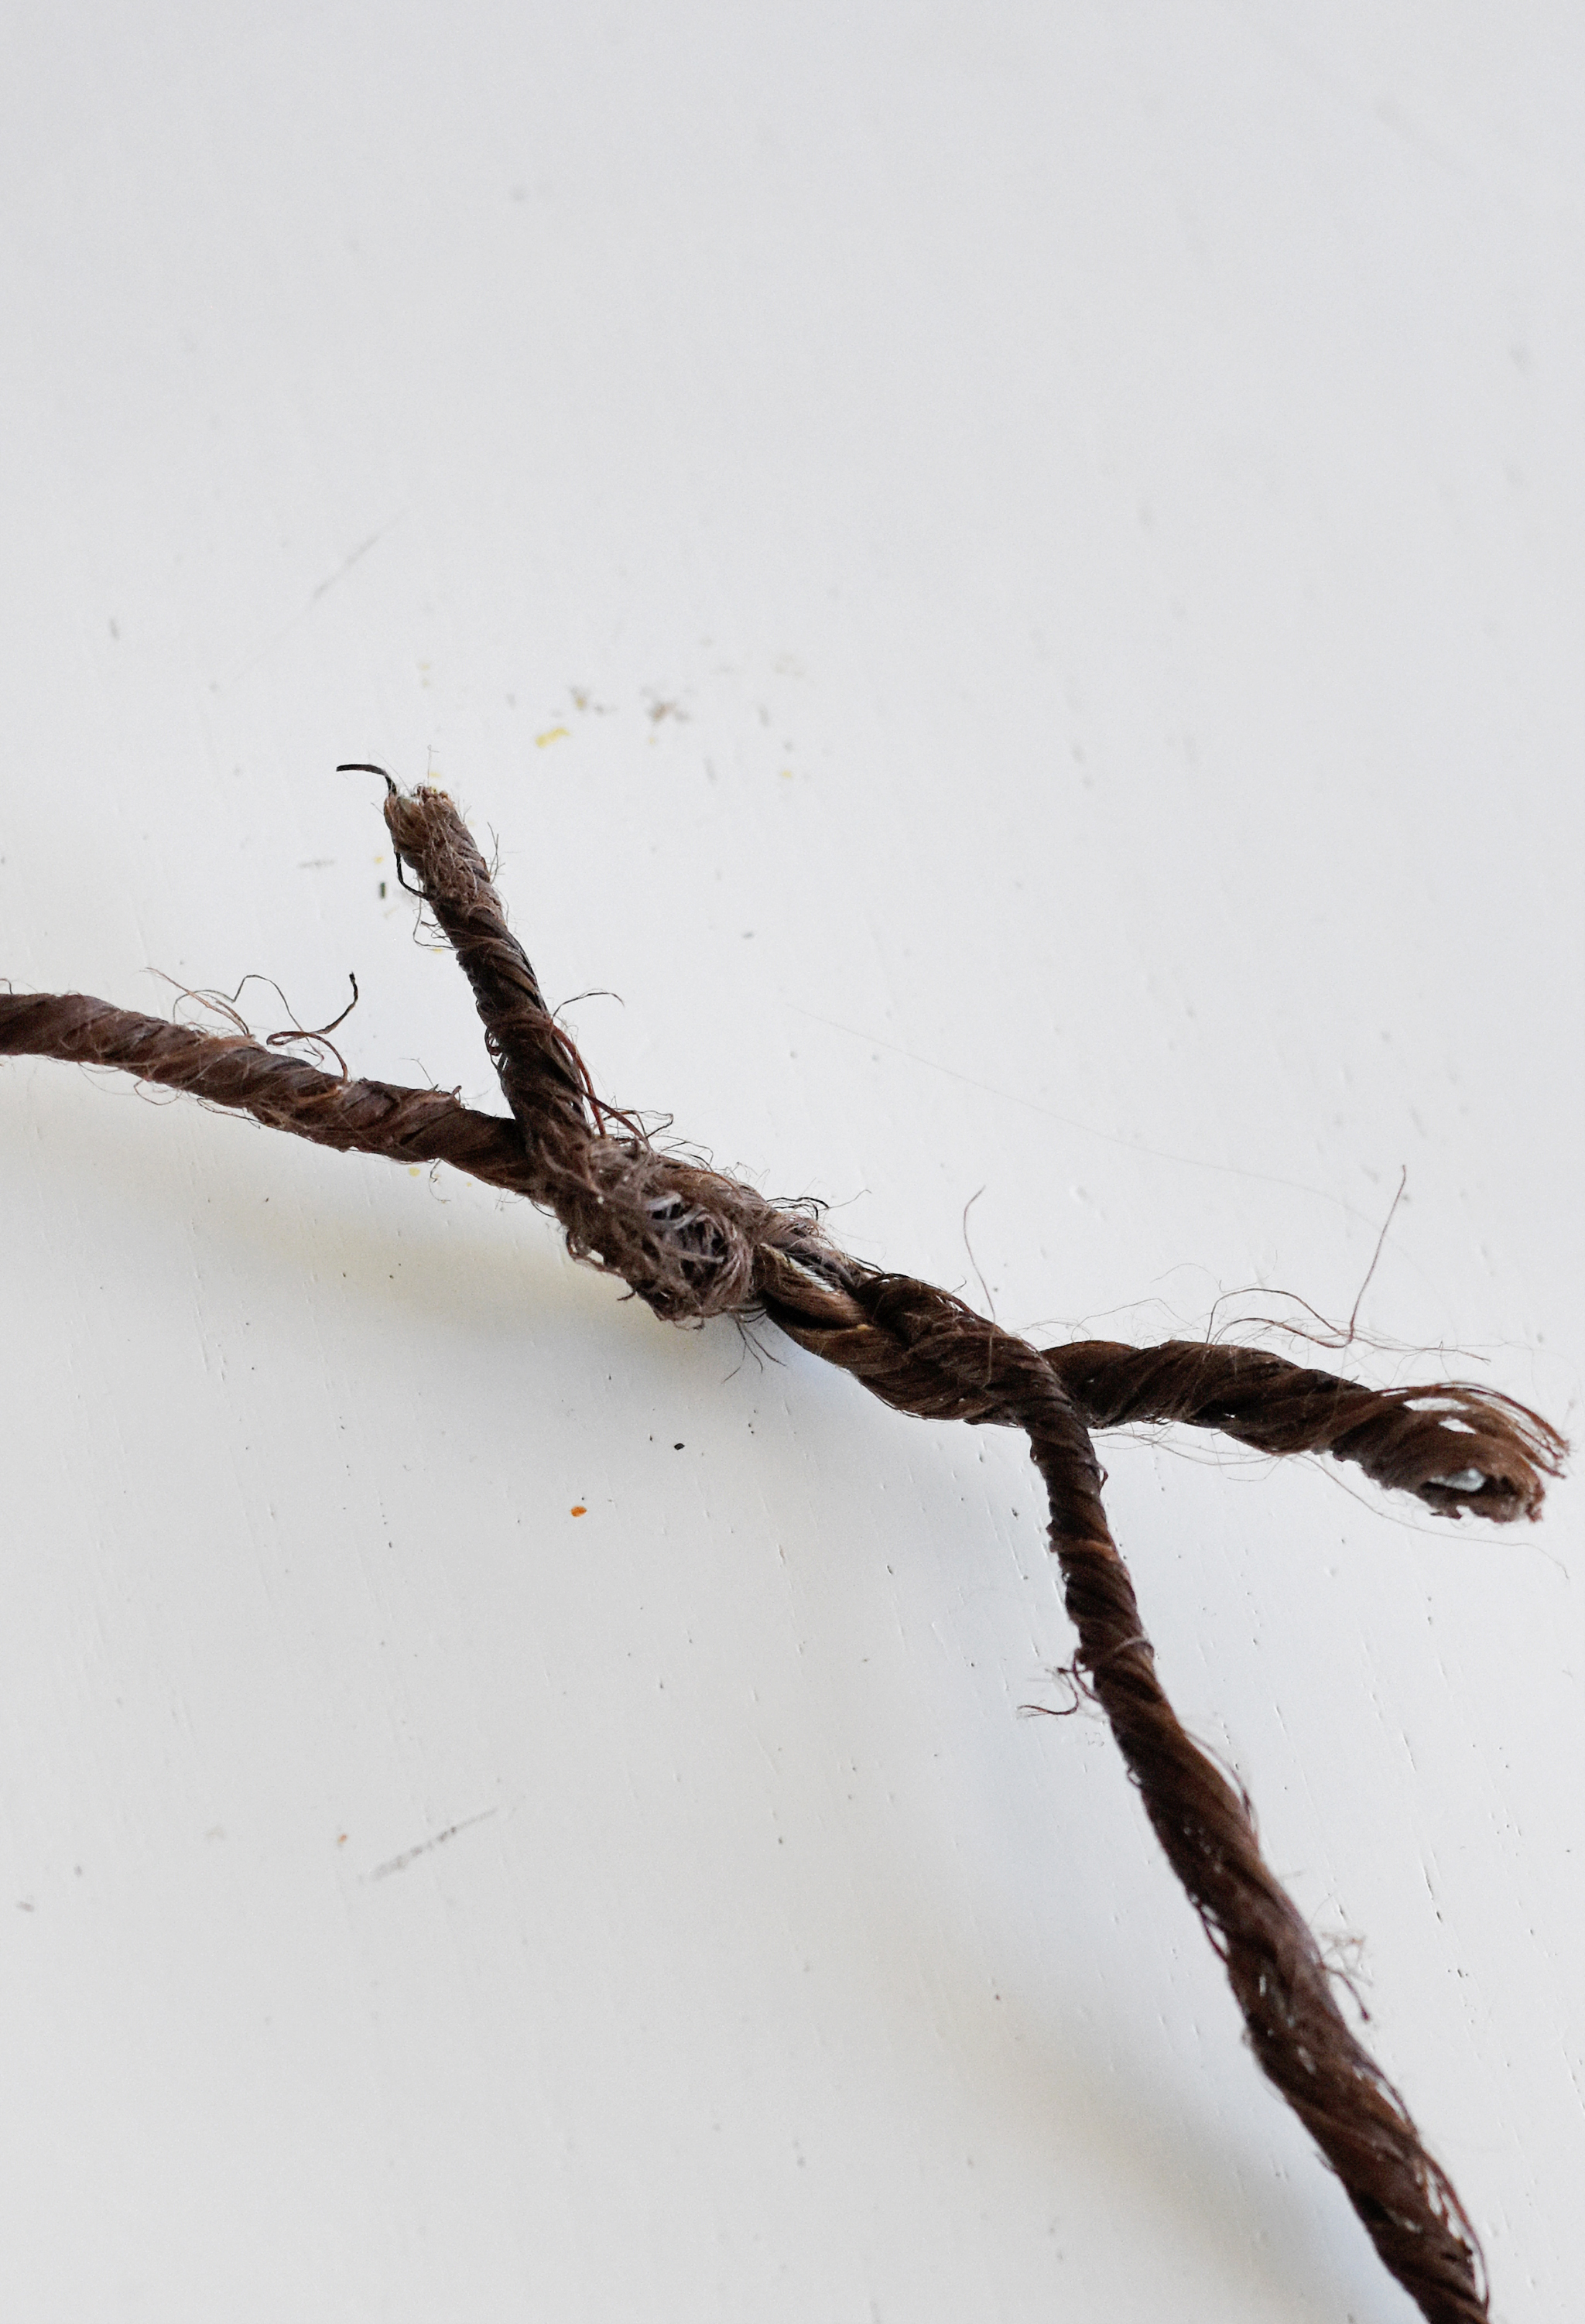
Start by measuring the head of the person you are making the floral crown for. I used the the rustic brown wrapped wire to measure and made sure it was long enough to have some extra at the ends to twist it together. Cut it with your floral wire cutters.
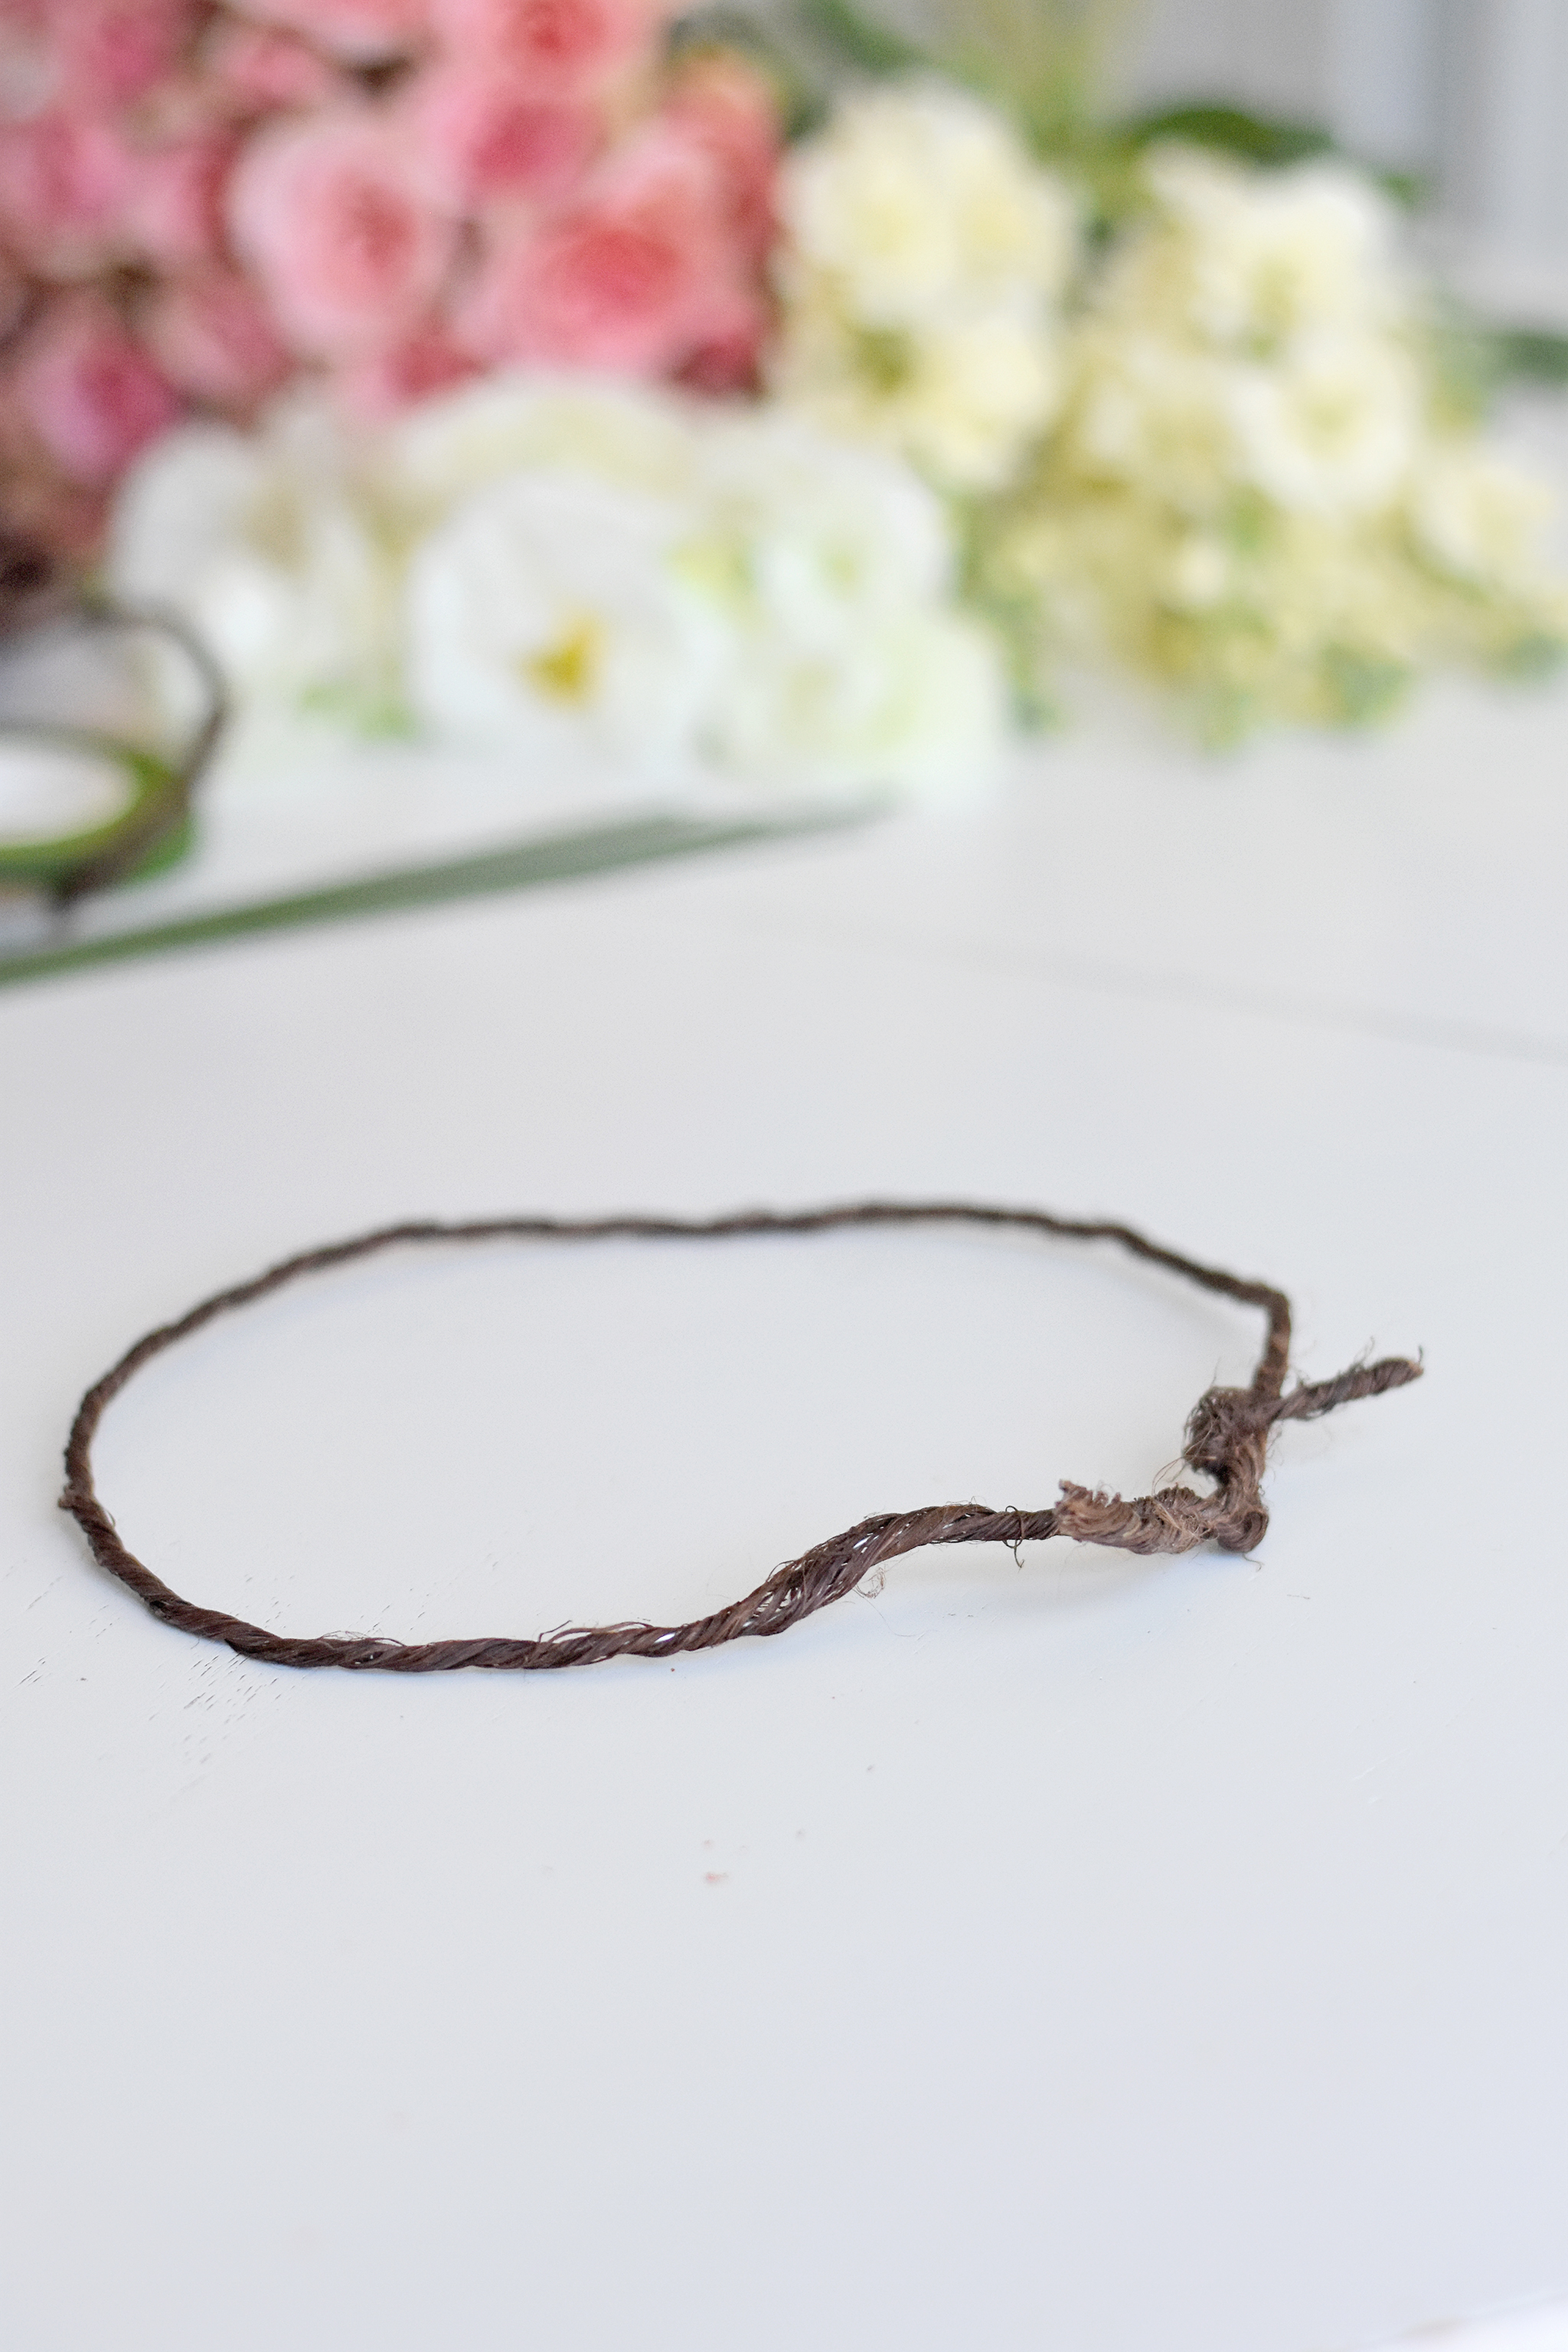
After doing your measuring, untwist the crown back out until it is a single long piece again. At first I tried to make this floral crown while it was in a circle shape, but that proved to be too difficult when wrapping the floral tape.
Next, start cutting your flowers. I left about 1 1/2″ of stem on the flower when cutting. This is the perfect length because it gives you enough stem to wrap the floral tape around. If you leave the stems longer than this, it will give your crown a funny shape and won’t end up as a nice circle.
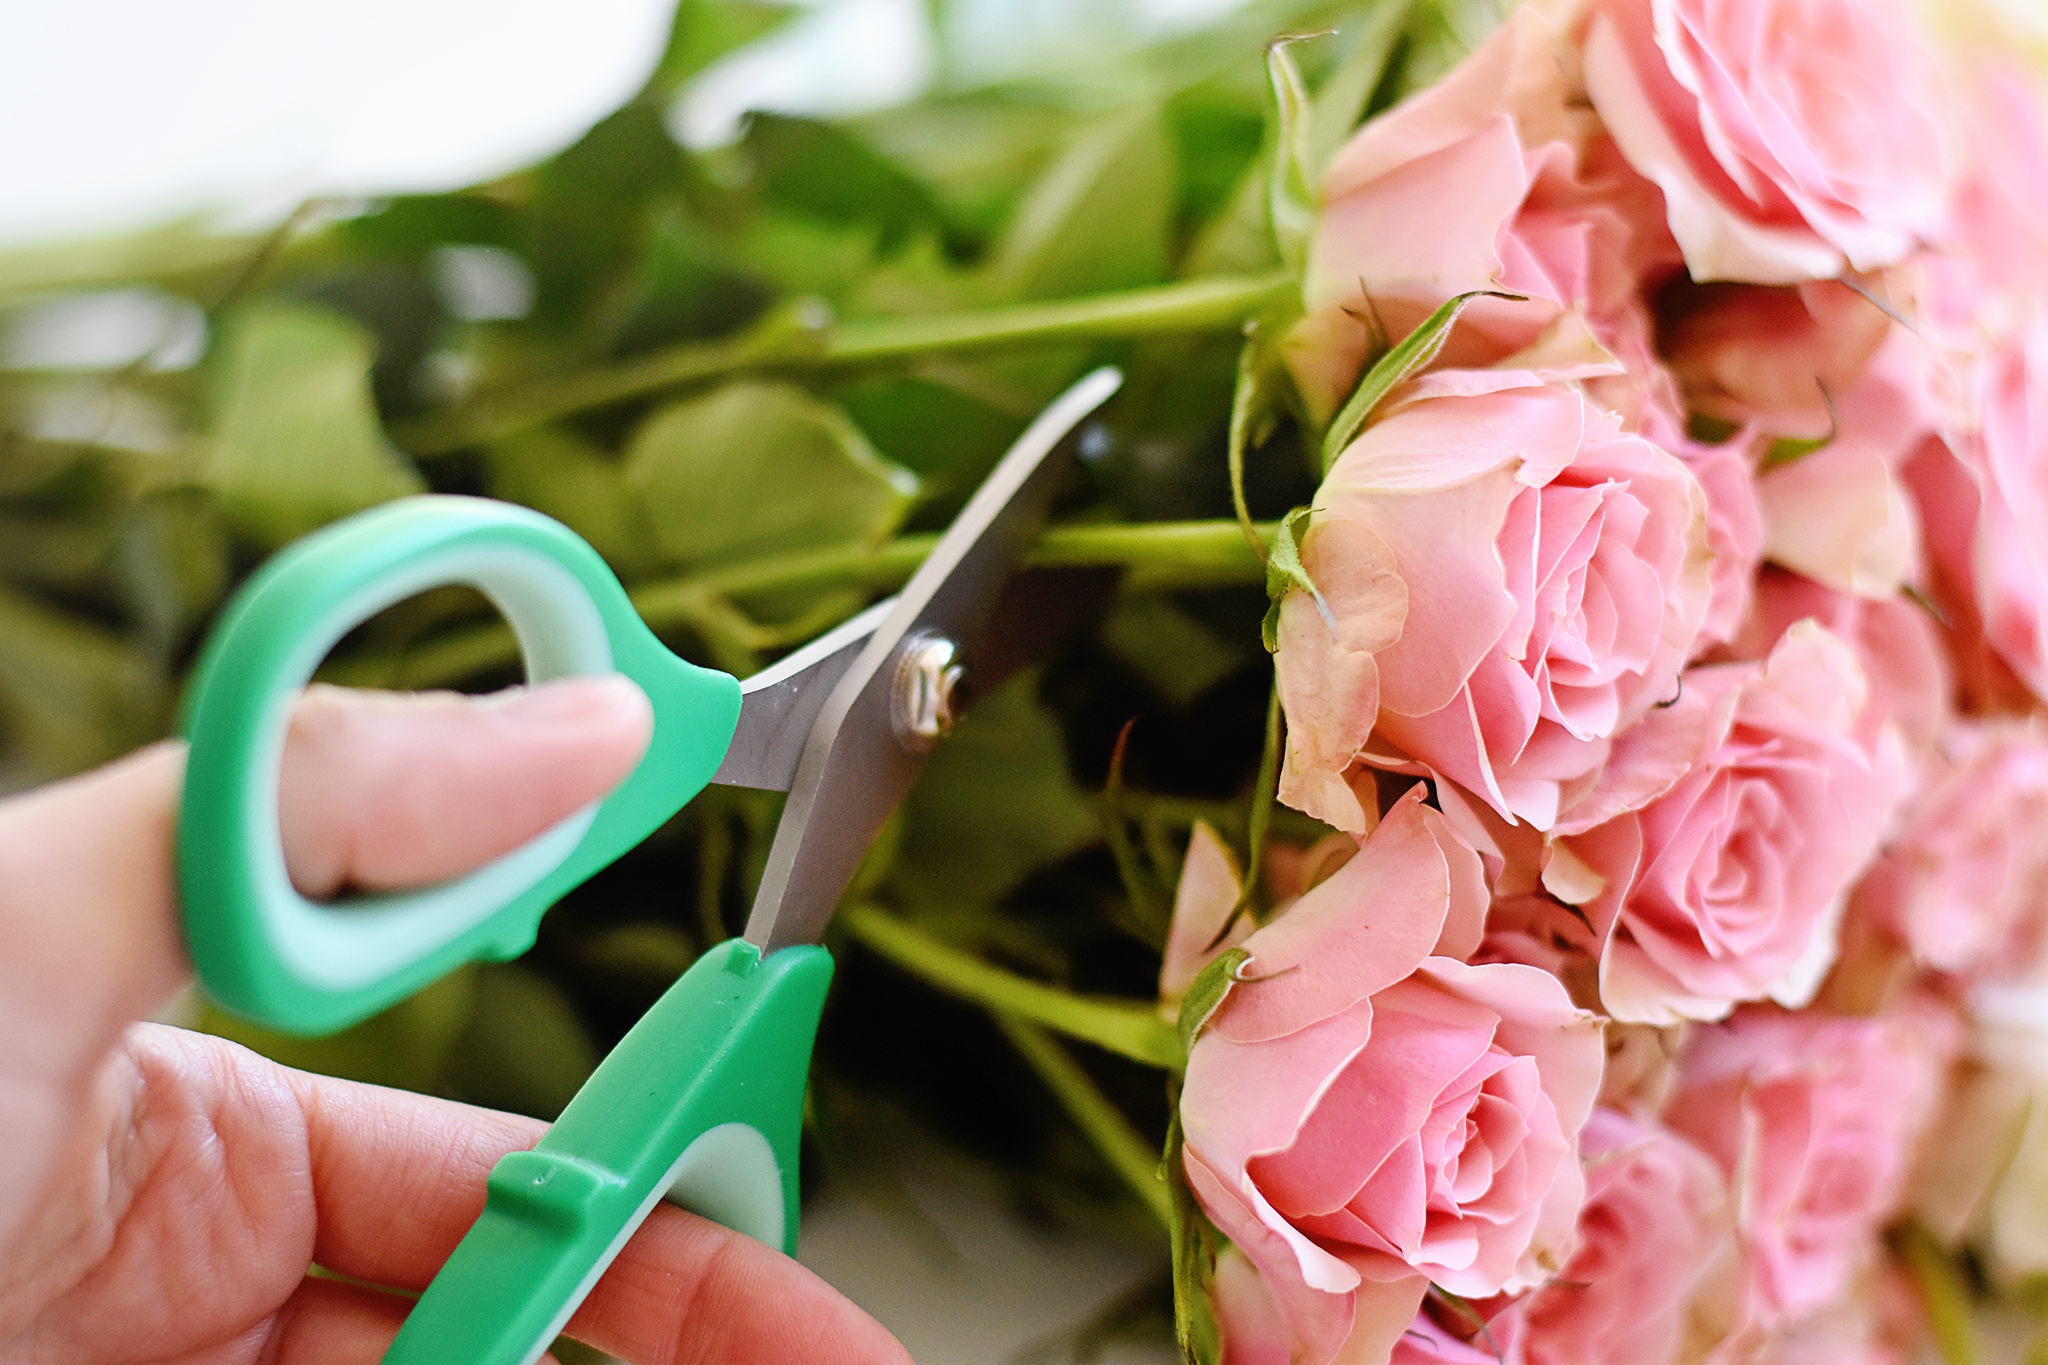
The amount of flowers you will need for your floral crown depends upon the size and if you want to wrap the flowers all the way around or just have them in the front. I chose to just do the front portion of the wreath because that’s all you can really see anyways. The choice is yours!
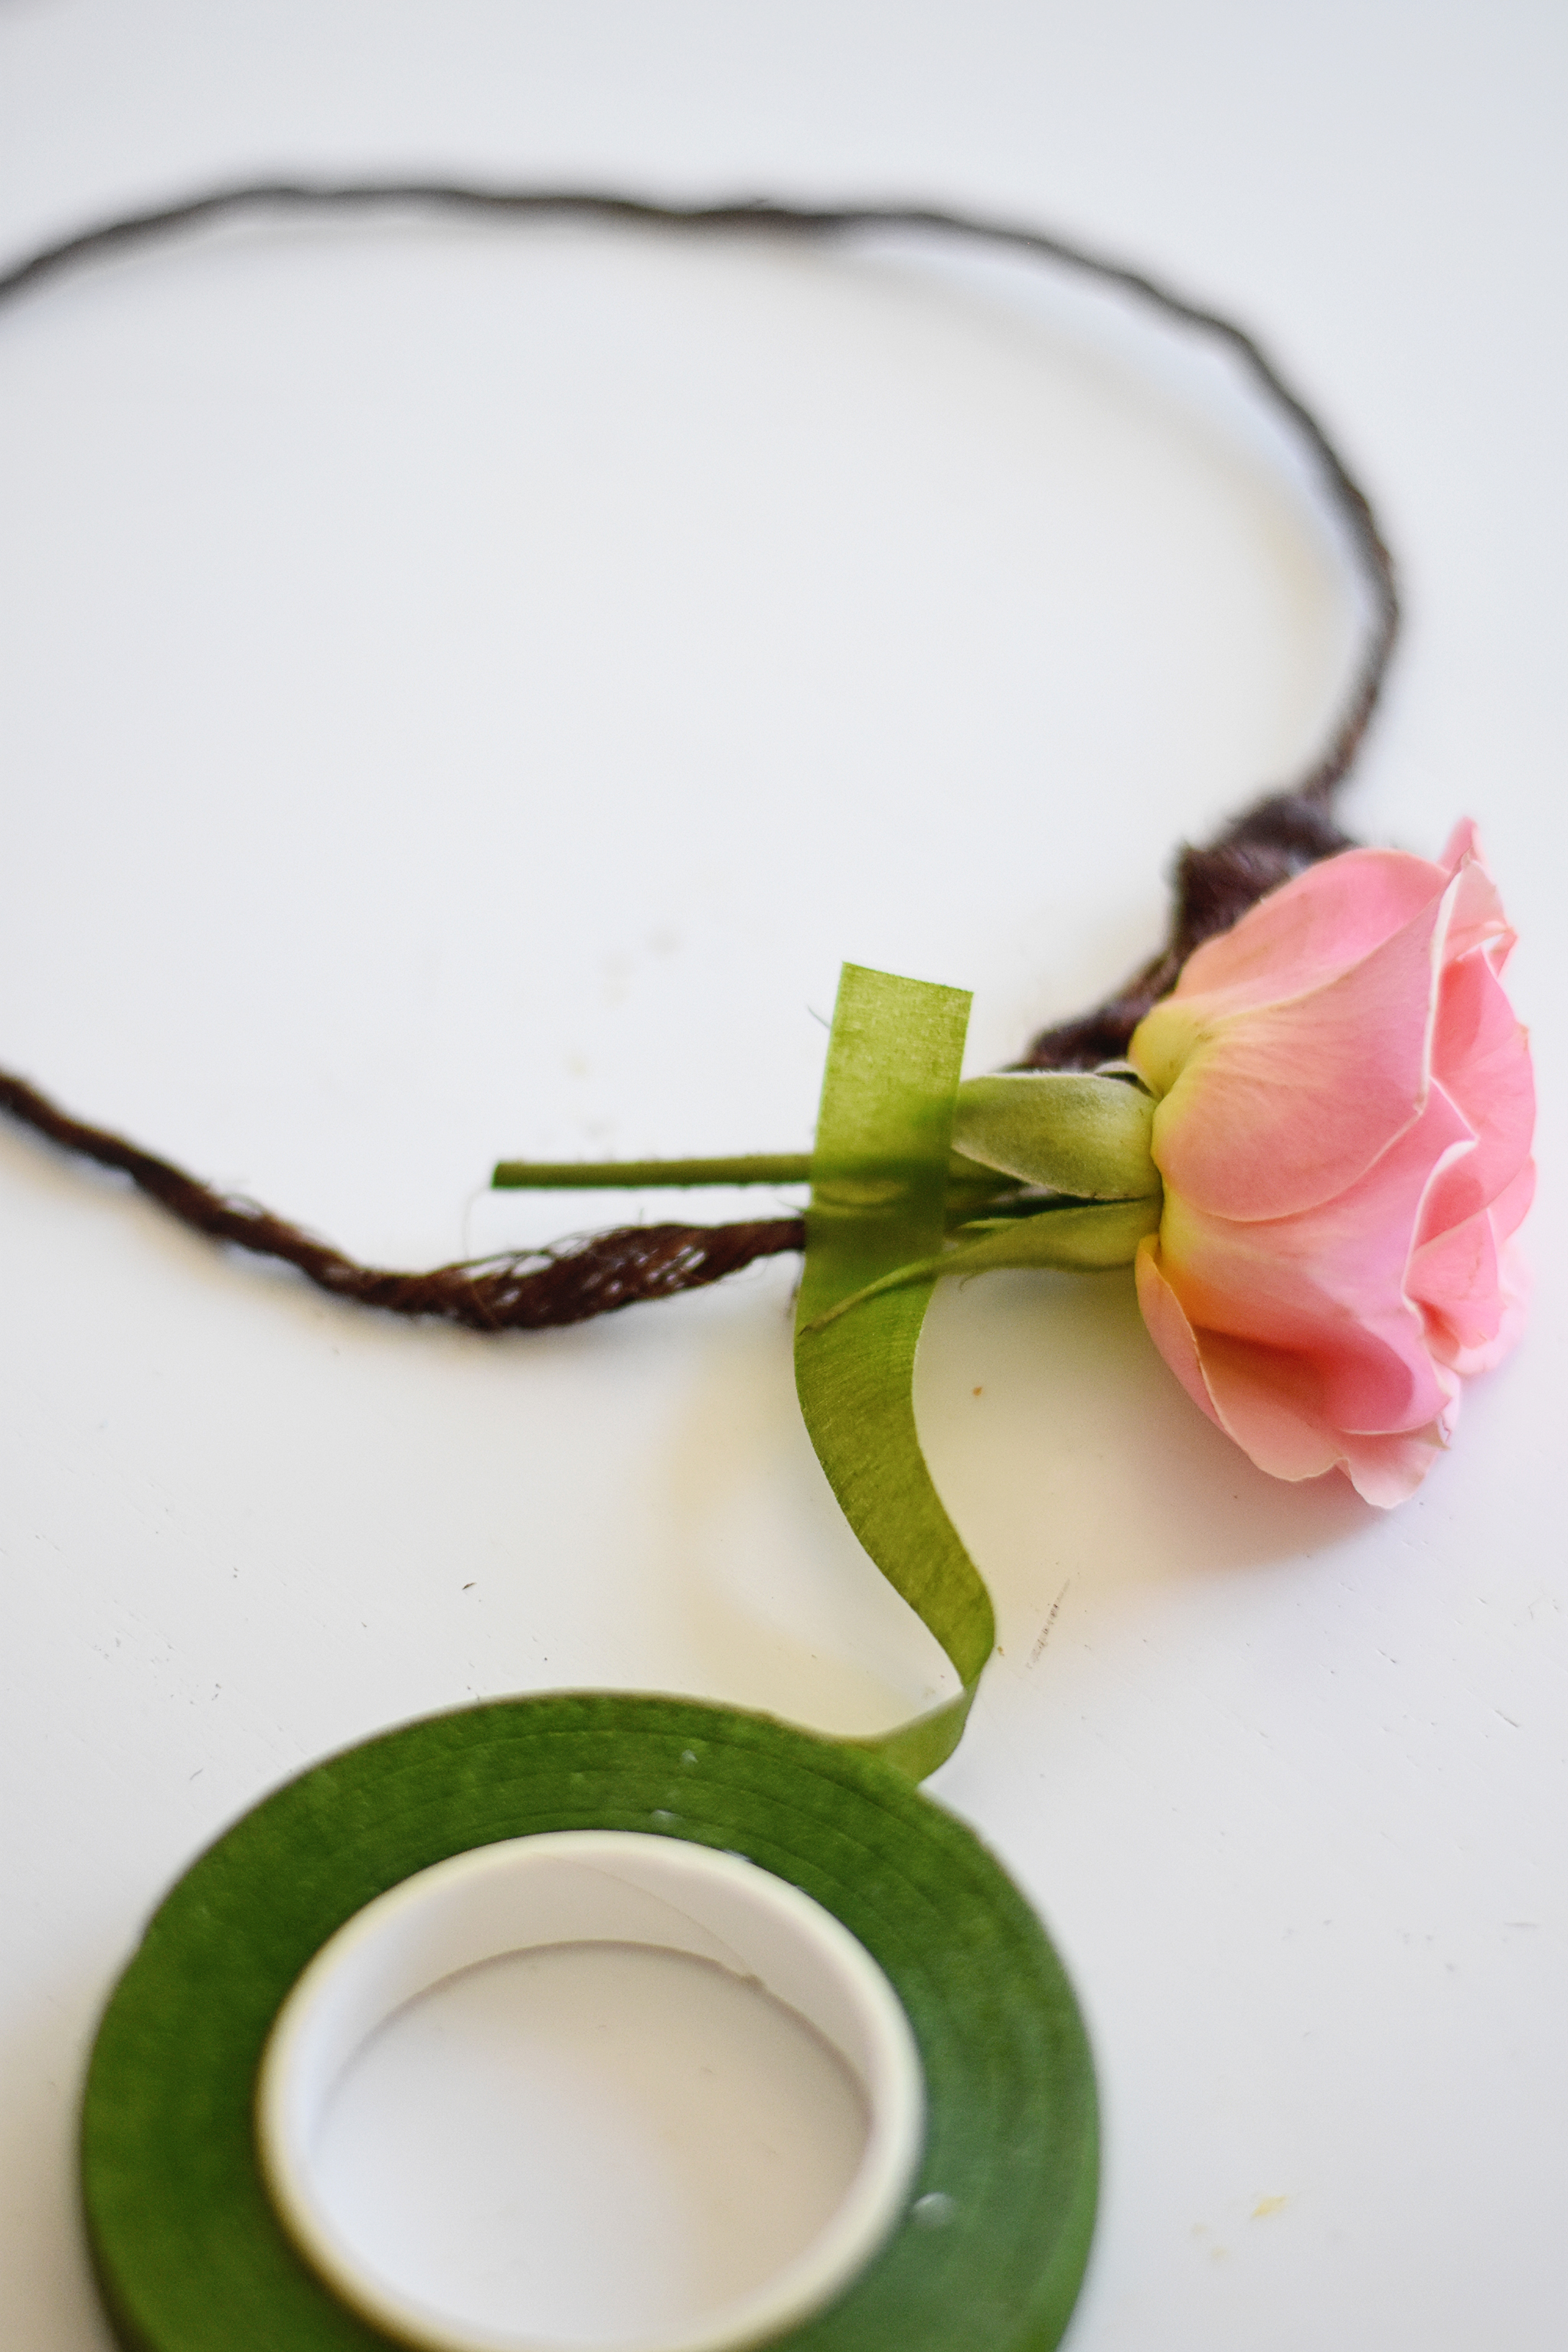
Start by placing your cut flower with 1 1/2″ stem near your wrapped wire piece. Take the floral tape and begin wrapping it around both the flower stem and the wire piece to attach them together. Pull the floral tape to make the wrap tight, but not so hard as to break it. If you do happen to break the floral tape. you can just start with a new piece and keep on wrapping.
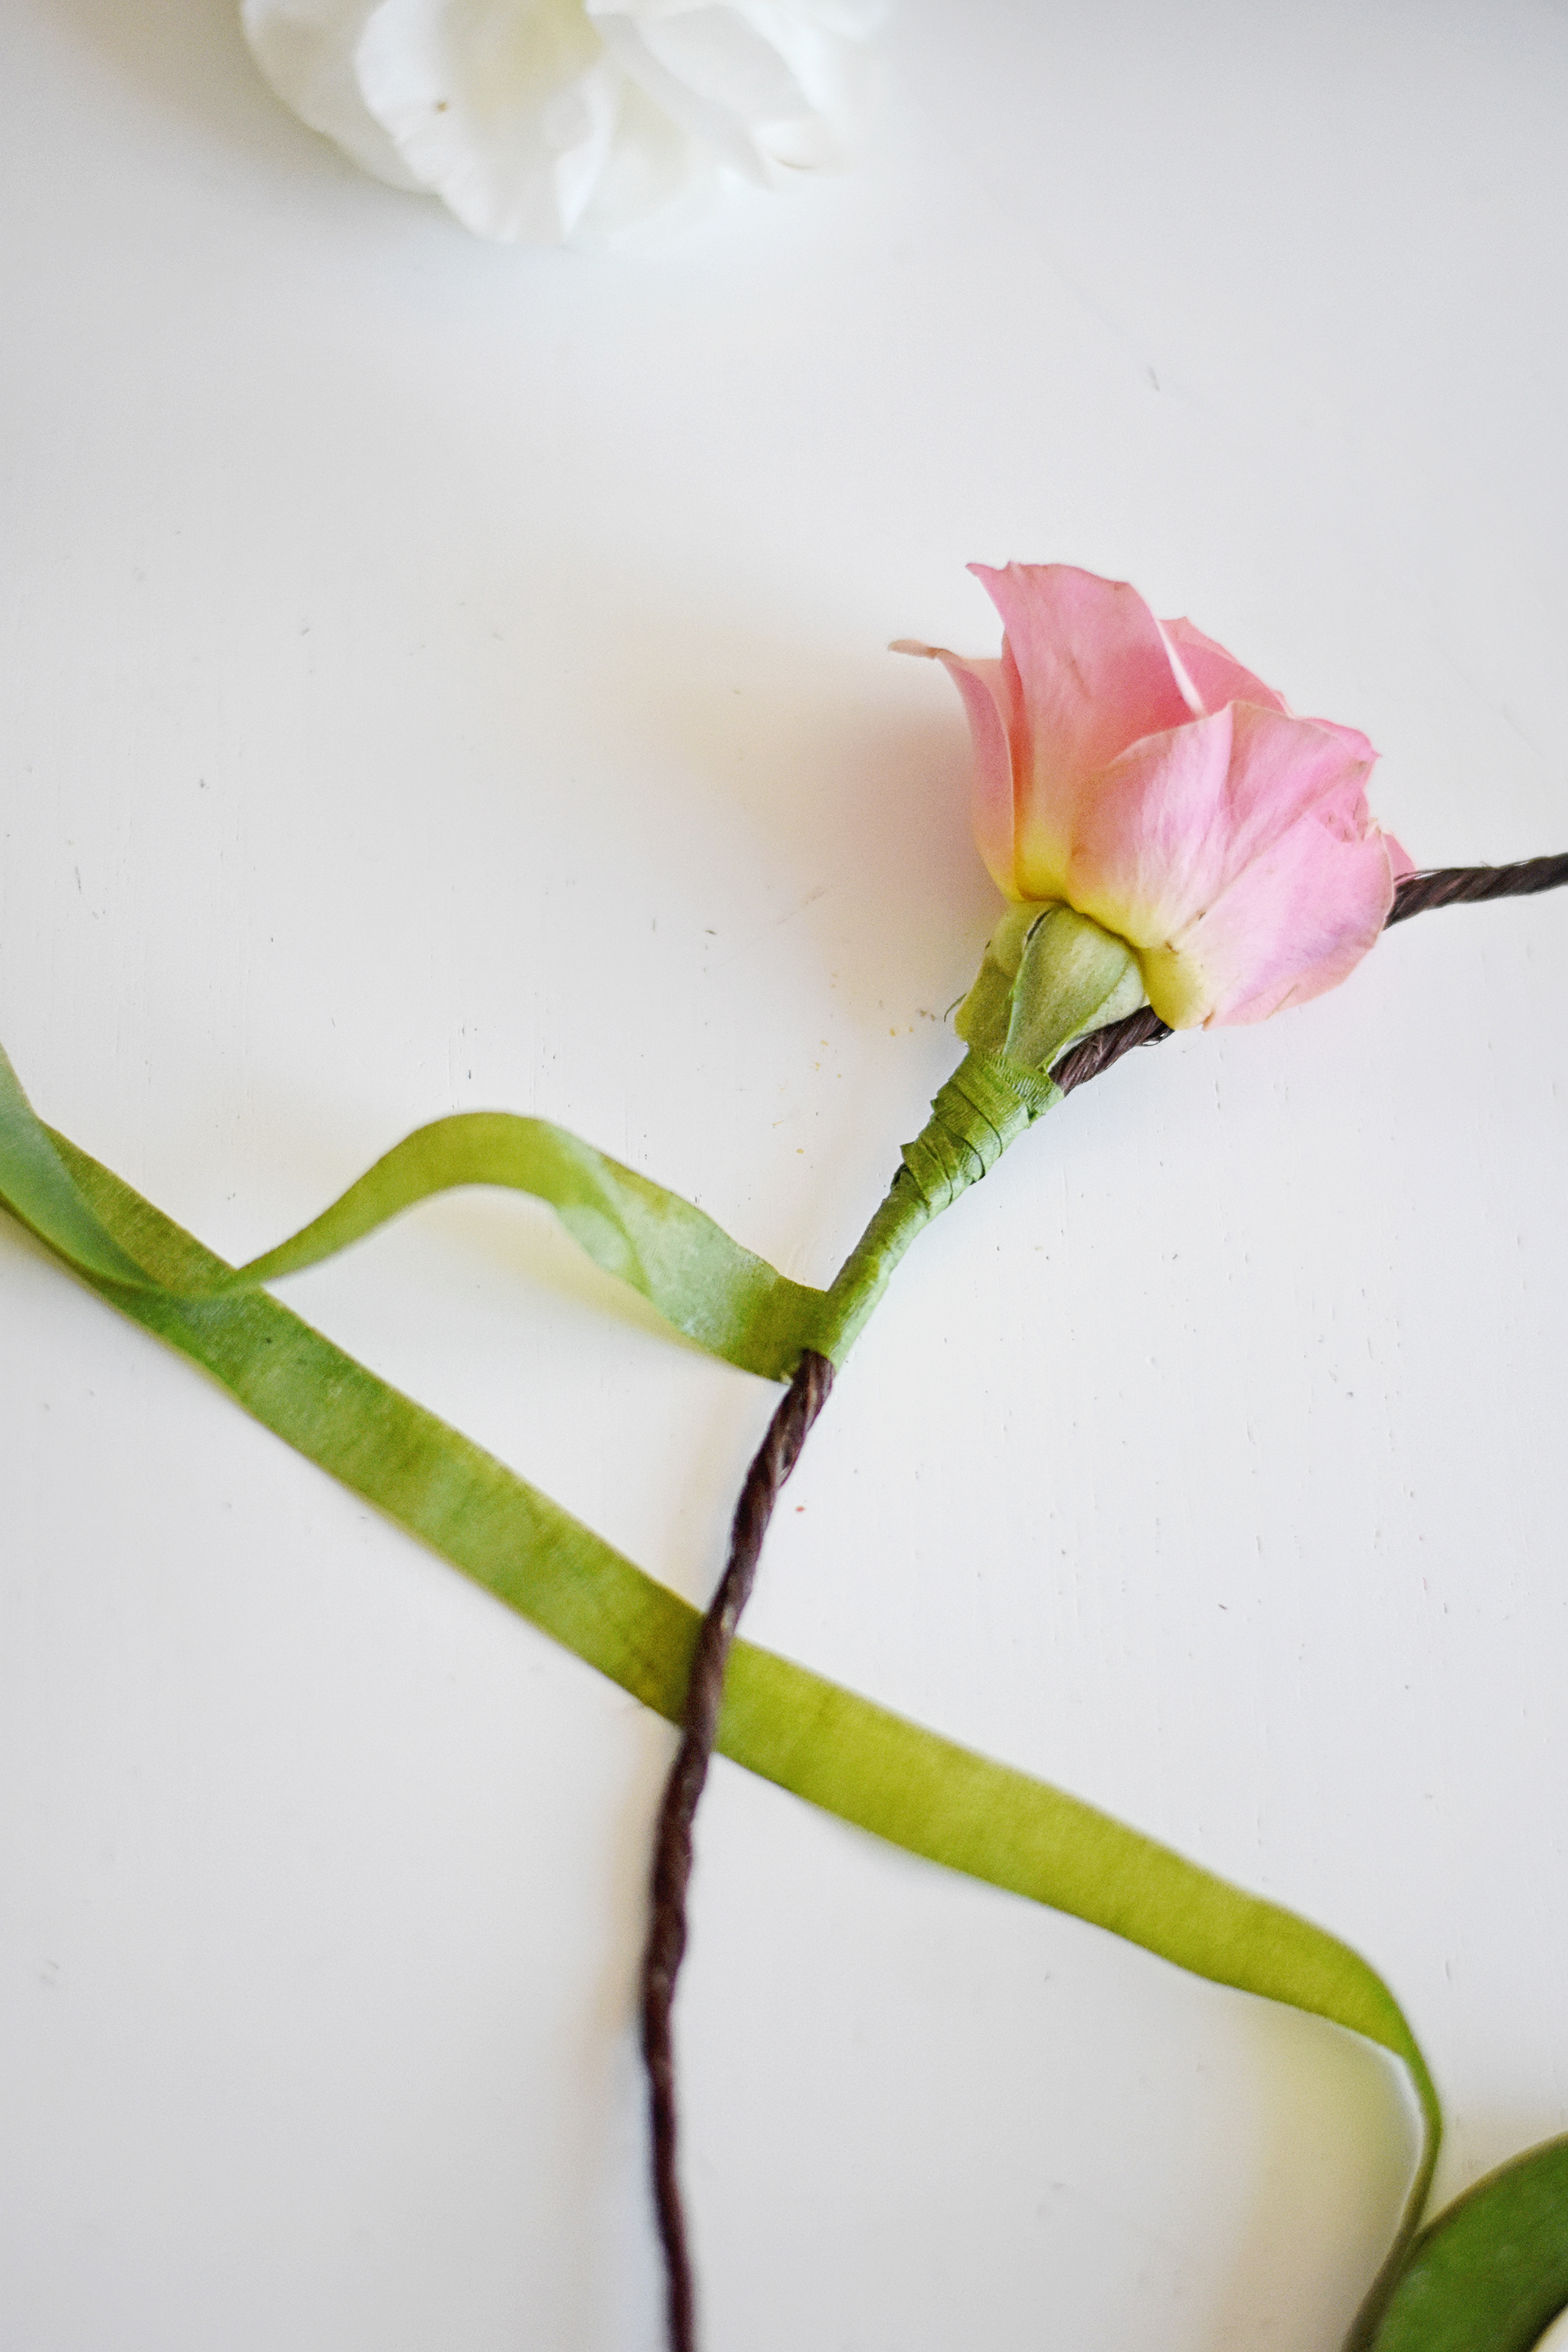
Wrap the floral tape around enough times so that it covers the stem completely. Once the stem is covered, you can lay your next flower beside the first one so that they are overlapping on the stems. Repeat the wrapping procedure with the floral tape. Then lay the next flower on the previous stem. Repeat until you have covered as much of your floral crown wreath as you like!
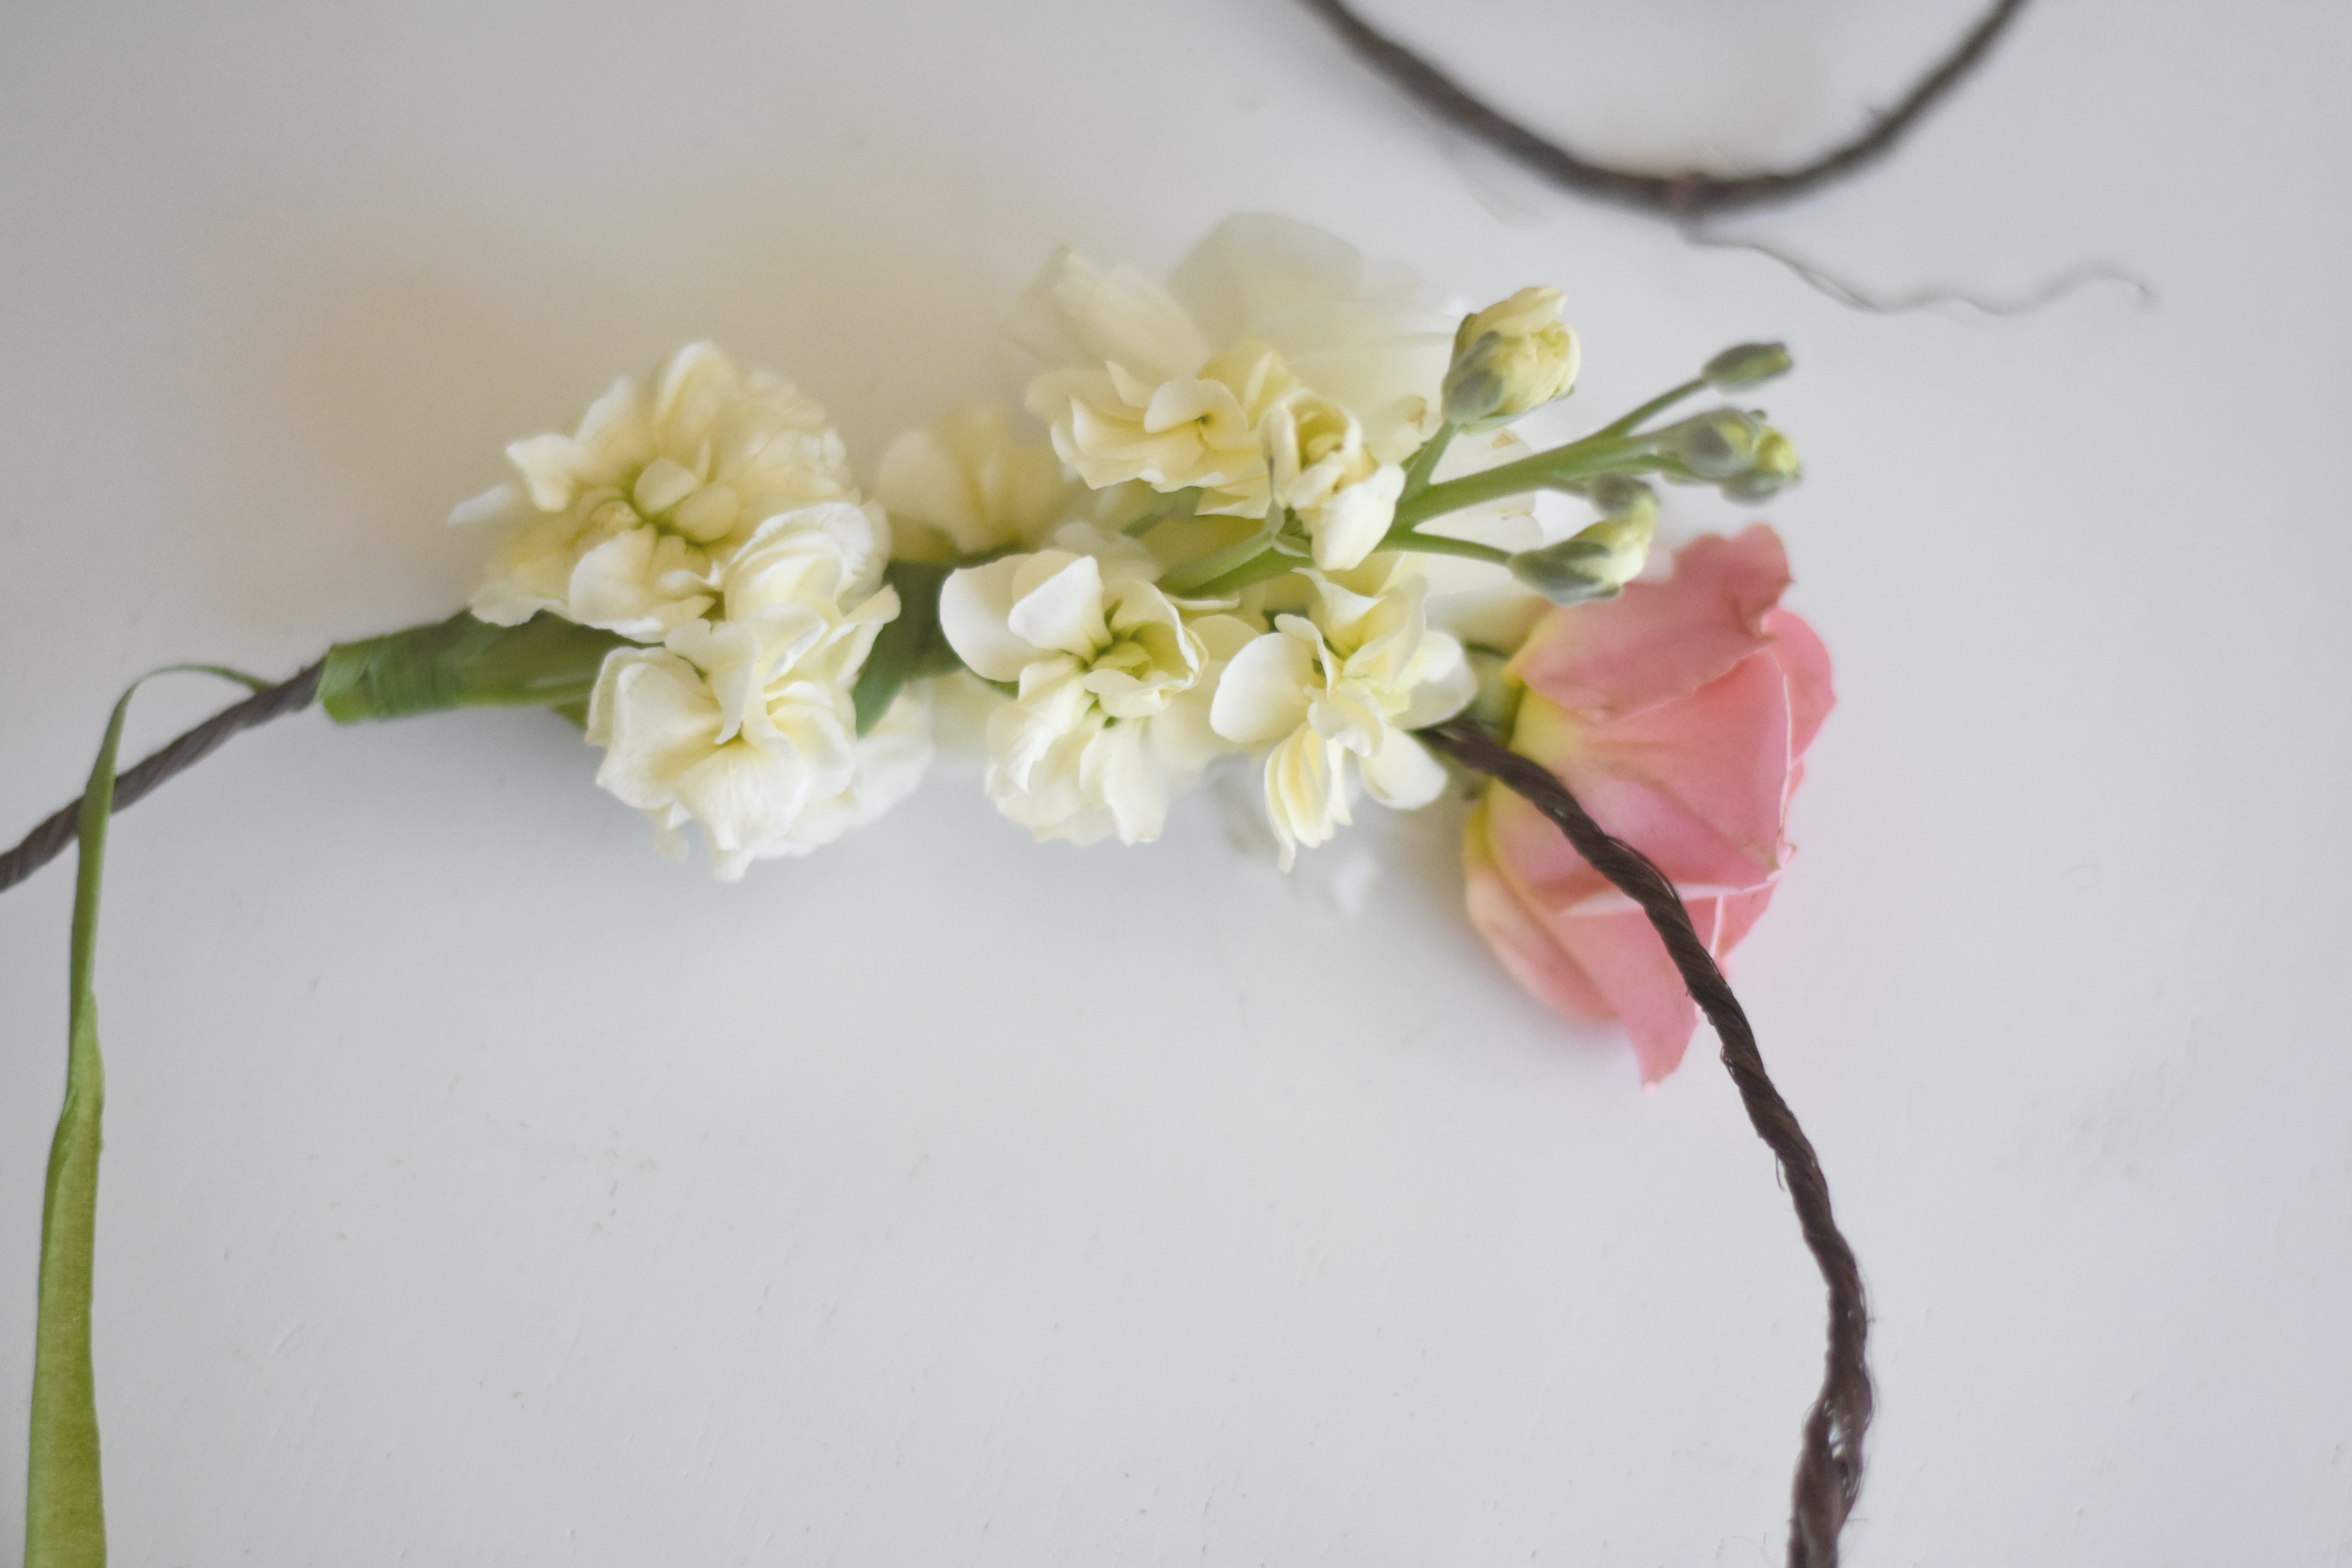
Once you have completed the flower portion of your wreath, bring the two ends of the covered wire back together and twist them together a few times to secure the wreath in a circle.
Since we are using fresh cut flowers, you can spritz your floral crown with water and keep it refrigerated until you plan to use it! Always make it right before you need it though, because they won’t last overnight! Their life is about 4-5 hours, so plan accordingly!

There you have it—DIY floral wreath crowns aren’t that difficult to make if you follow these steps. They can really add some rustic charm to your next baby shower, newborn photo shoot or first birthday party!
*this post contains affiliate links*




Comments