My biggest (and only) regret about both my pregnancies was not doing a fun and creative pregnancy announcement. But anyone who knows me knows two things about me, one is that I’m not patient enough to wait to tell my family, and two I’m not the best at keeping secrets. I think it’s safe to say that both of these qualities—patience and secret-keeping—are key to pulling off a great pregnancy announcement. While I can’t go back in time and do my own reveal, I can inspire other parents. Today we’re sharing a fun and easy way to announce your pregnancy just in time for spring and Easter.
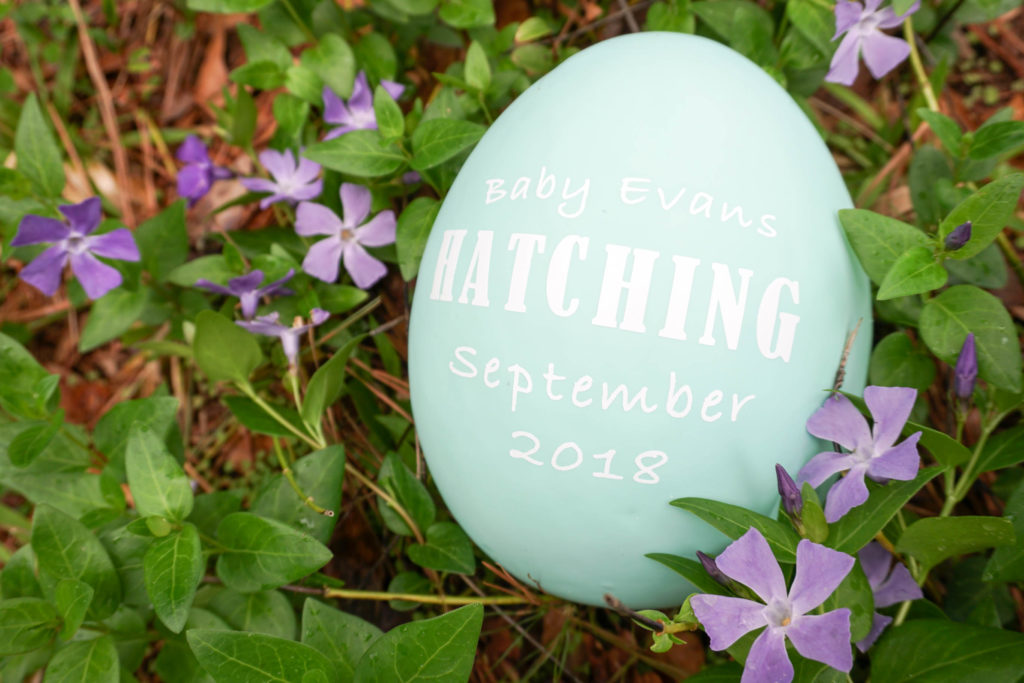
Materials: Large Plastic Egg, Cricut Explore Air2 or Cricut Maker, Standard Cricut Cutting mat, vinyl (you pick the colors!) and Cricut Transfer Tape
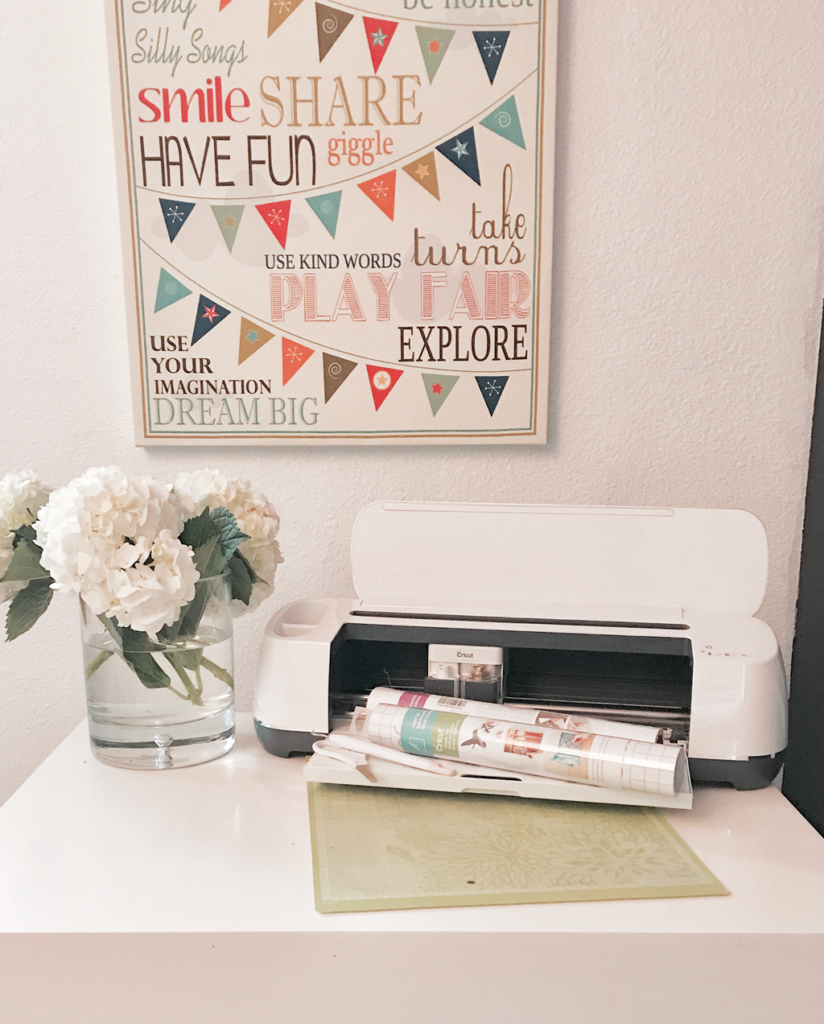
Follow the link to our “Pregnancy Announcement” design in Cricut’s Design Space. You’ll want to size the design to fit your egg. The design is currently set to fit the dimensions of 7 3/4″ x 9 3/4″ x 9 3/4″.

Once you have your design formatted, click “Go.” Load your vinyl face up onto a regular or light grip mat and set to the vinyl setting.

Once you have your design cut, carefully remove all the excess vinyl using your Cricut weeding tool to reveal your design.
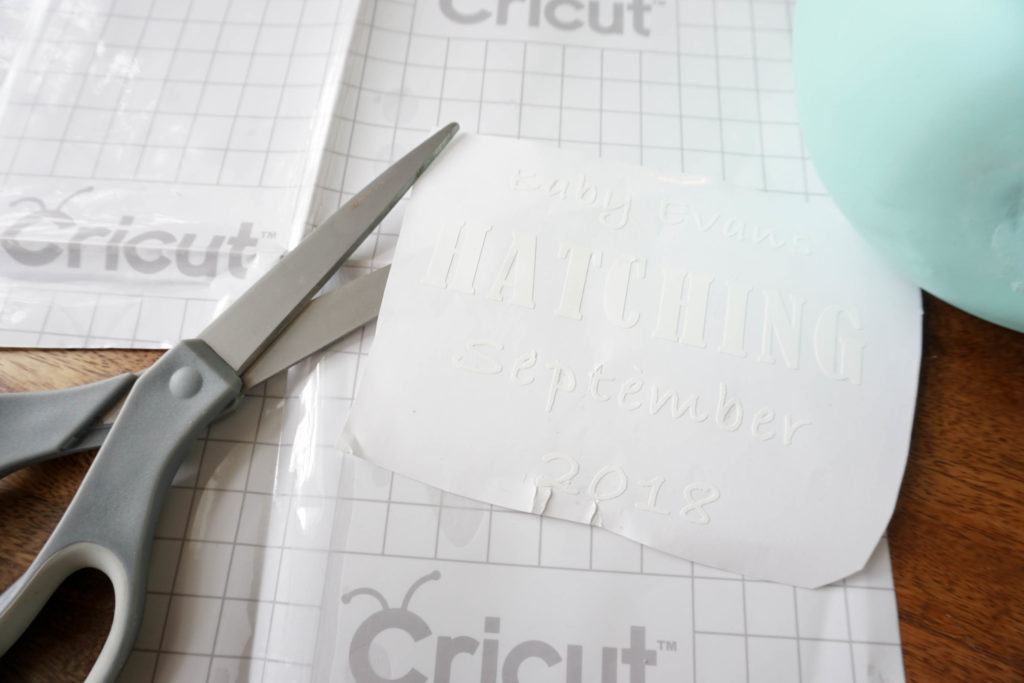
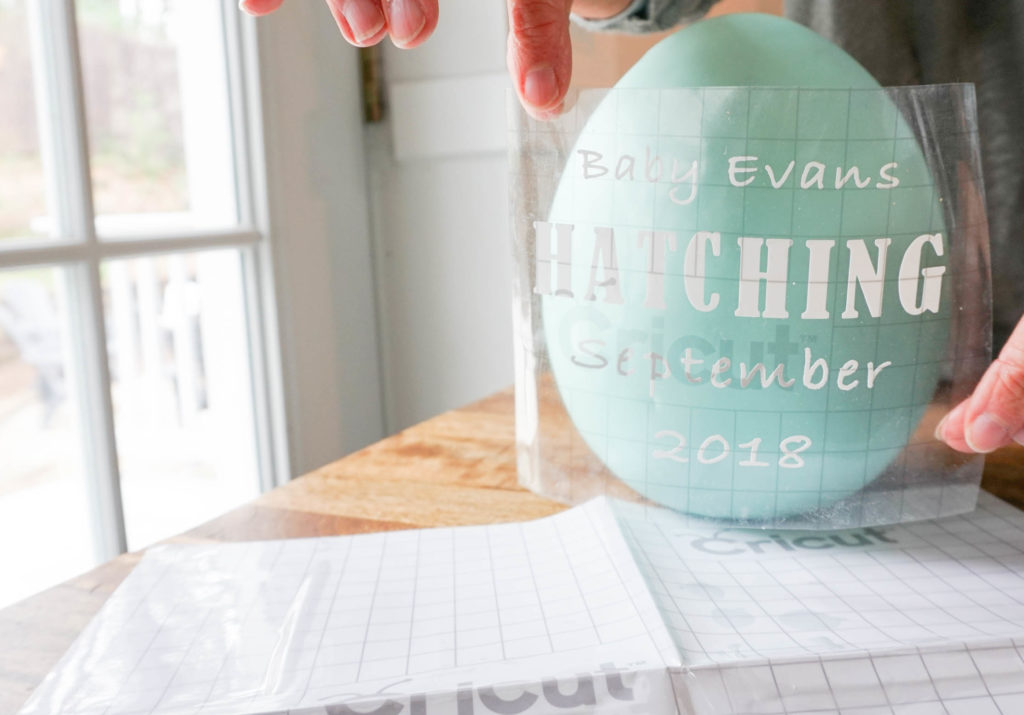
Apply the transfer tape to the top of the design. Tip: Use the scraper tool to help press the material to the transfer tape first, and then peel off the back tape from the design. Once you have the design secured on the tape, place the design on the egg where you want it. Then, remove the transfer tape.
Pro Tip: start from the top and slowly remove the tape.
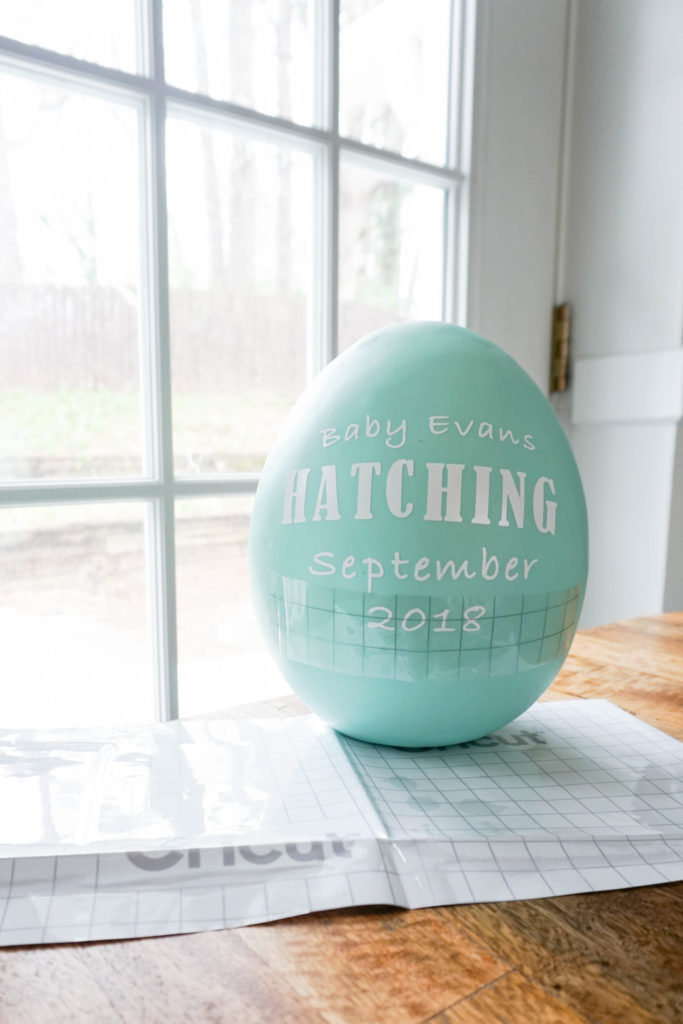
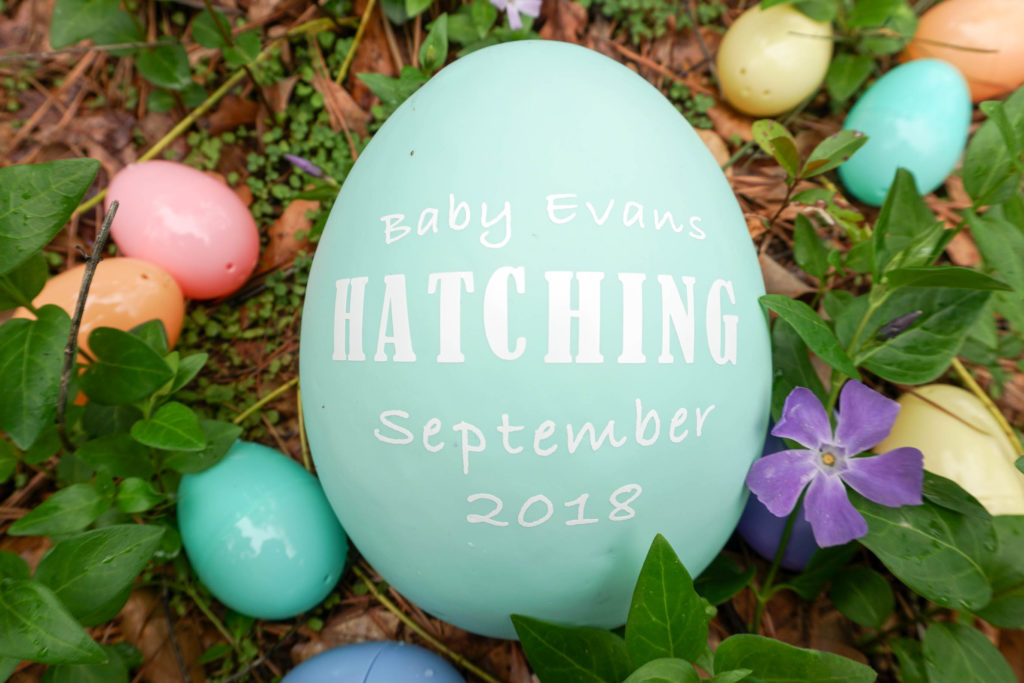
A fun idea for announcing your pregnancy is to hide the egg announcing the pregnancy and send your family on an egg hunt with a big surprise at the end.
Also we want to know, how did you announce your pregnancy to your family? Tell us in the comments!
This is a sponsored conversation written by me on behalf of Cricut. The opinions and text are all mine.


Comments