This year for my Halloween decor, I’ve got my eyes ALL over black and white. Usually, I go for full-on traditional color, but I love the simplicity of black and white. I was scouring the web for Halloween decor ideas lately when I spied an idea from Country Living about making silhouette pumpkins! I knew I HAD to try my hand at it to see if it could be done because it didn’t look that easy! I’ll walk you through how I made my version of these Cameo Locket Pumpkins!
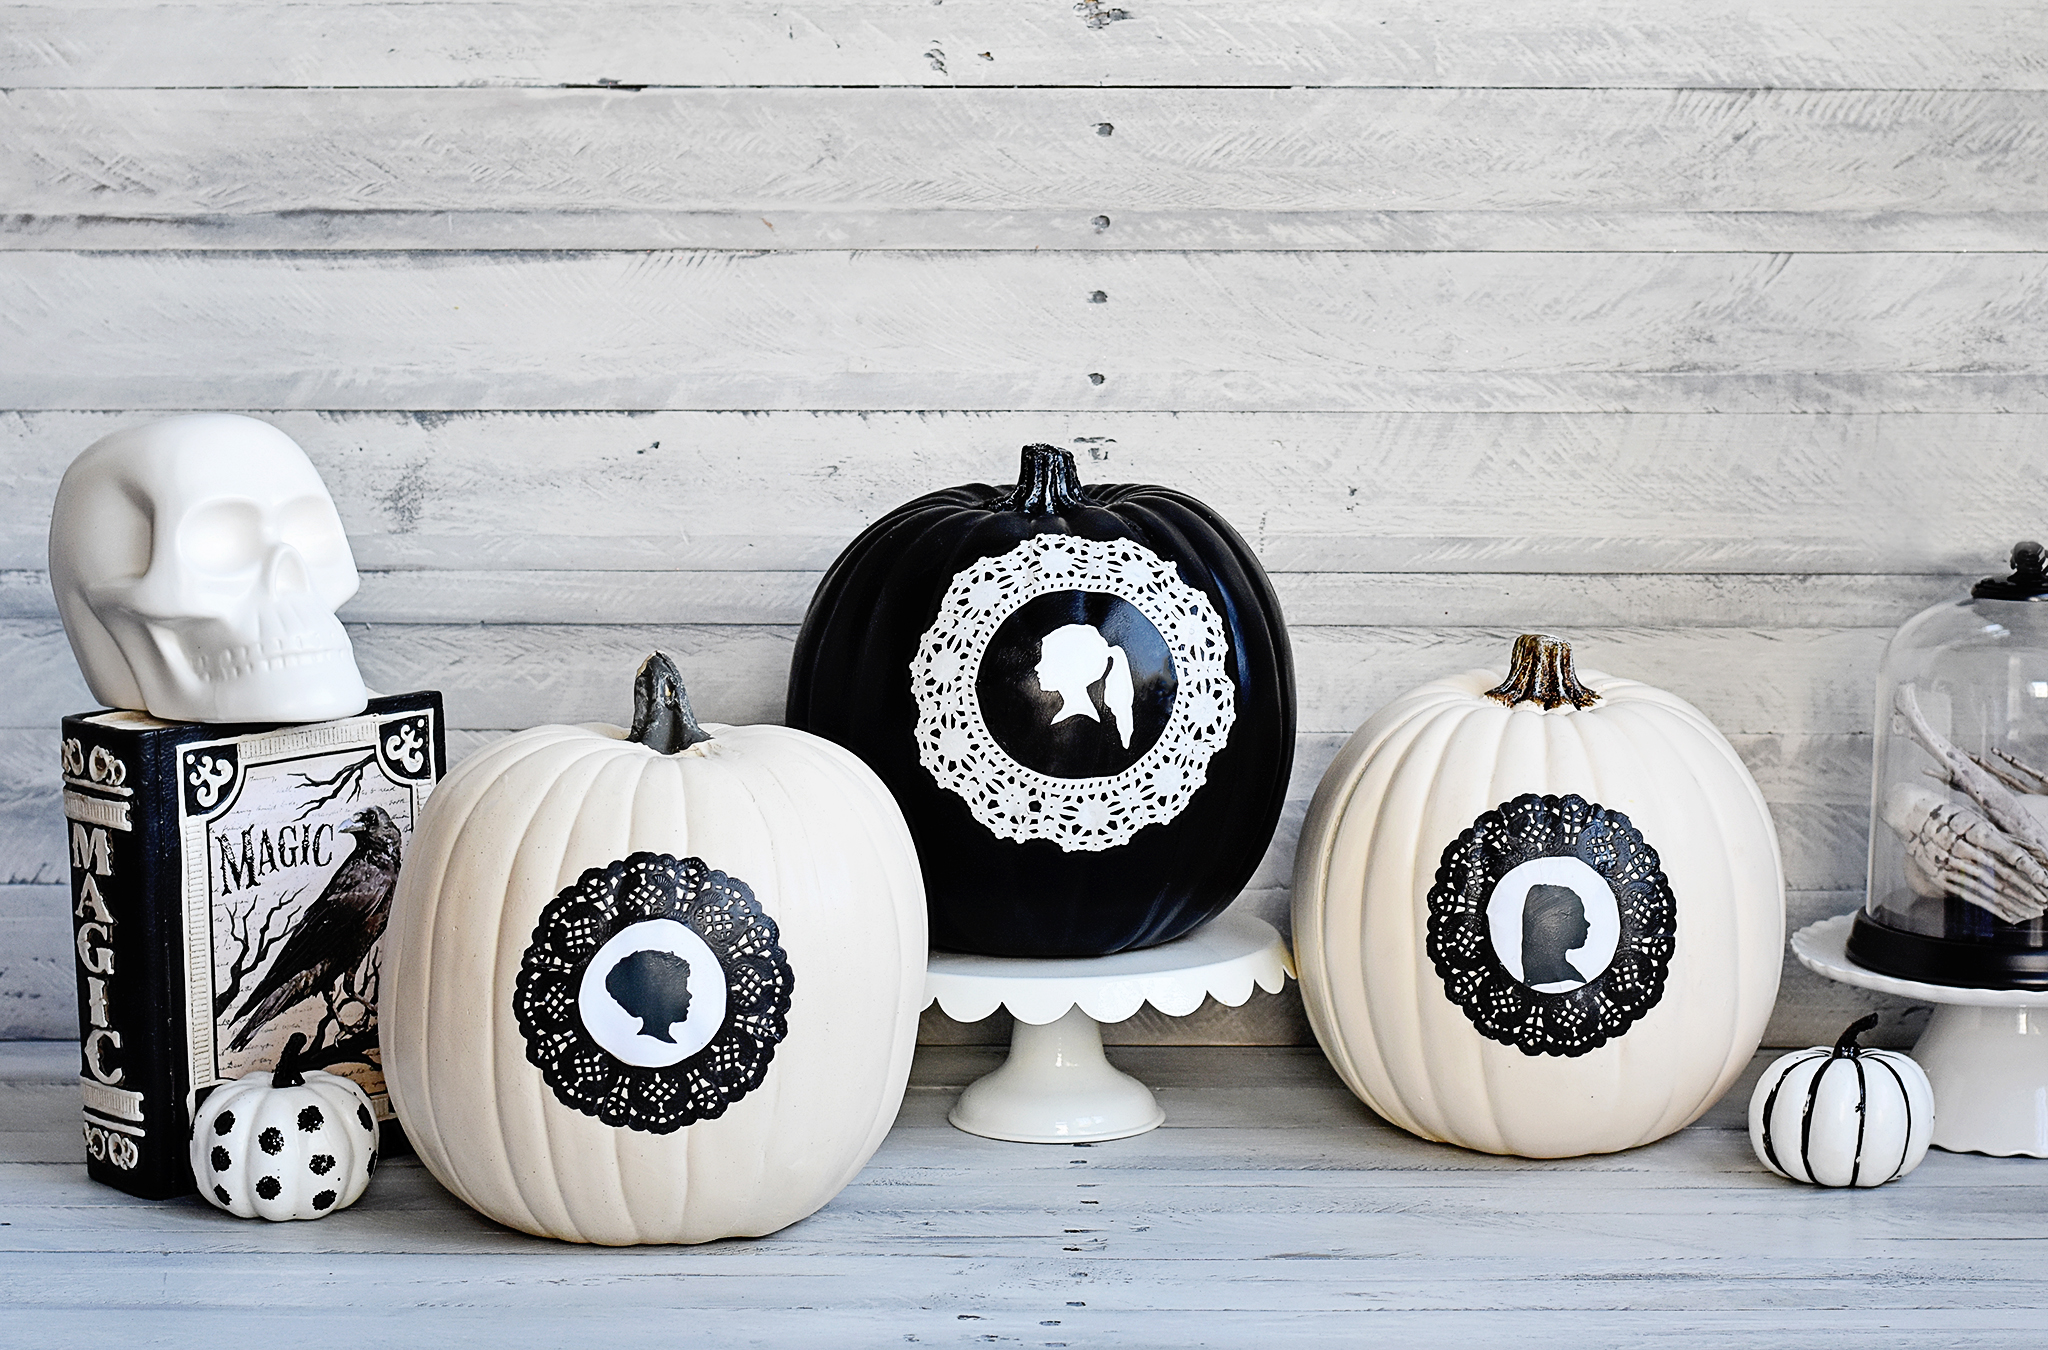

Materials: Craft pumpkins (in white or black, approximately 12″ in height), Paper Doilies (in white or black, the opposite color of your pumpkin, and mine were about 4 1/2″ and 6″ in diameter), Mod Podge (I like the matte finish one), Foam Brushes, Black and white card stock, Glue stick, Small side-silhouette photos of your kids, pets, significant other (***the trick is to print the photos out small enough so that the heads fit inside the center portion of your doily. This may take some trial and error—or at least it did for me!)
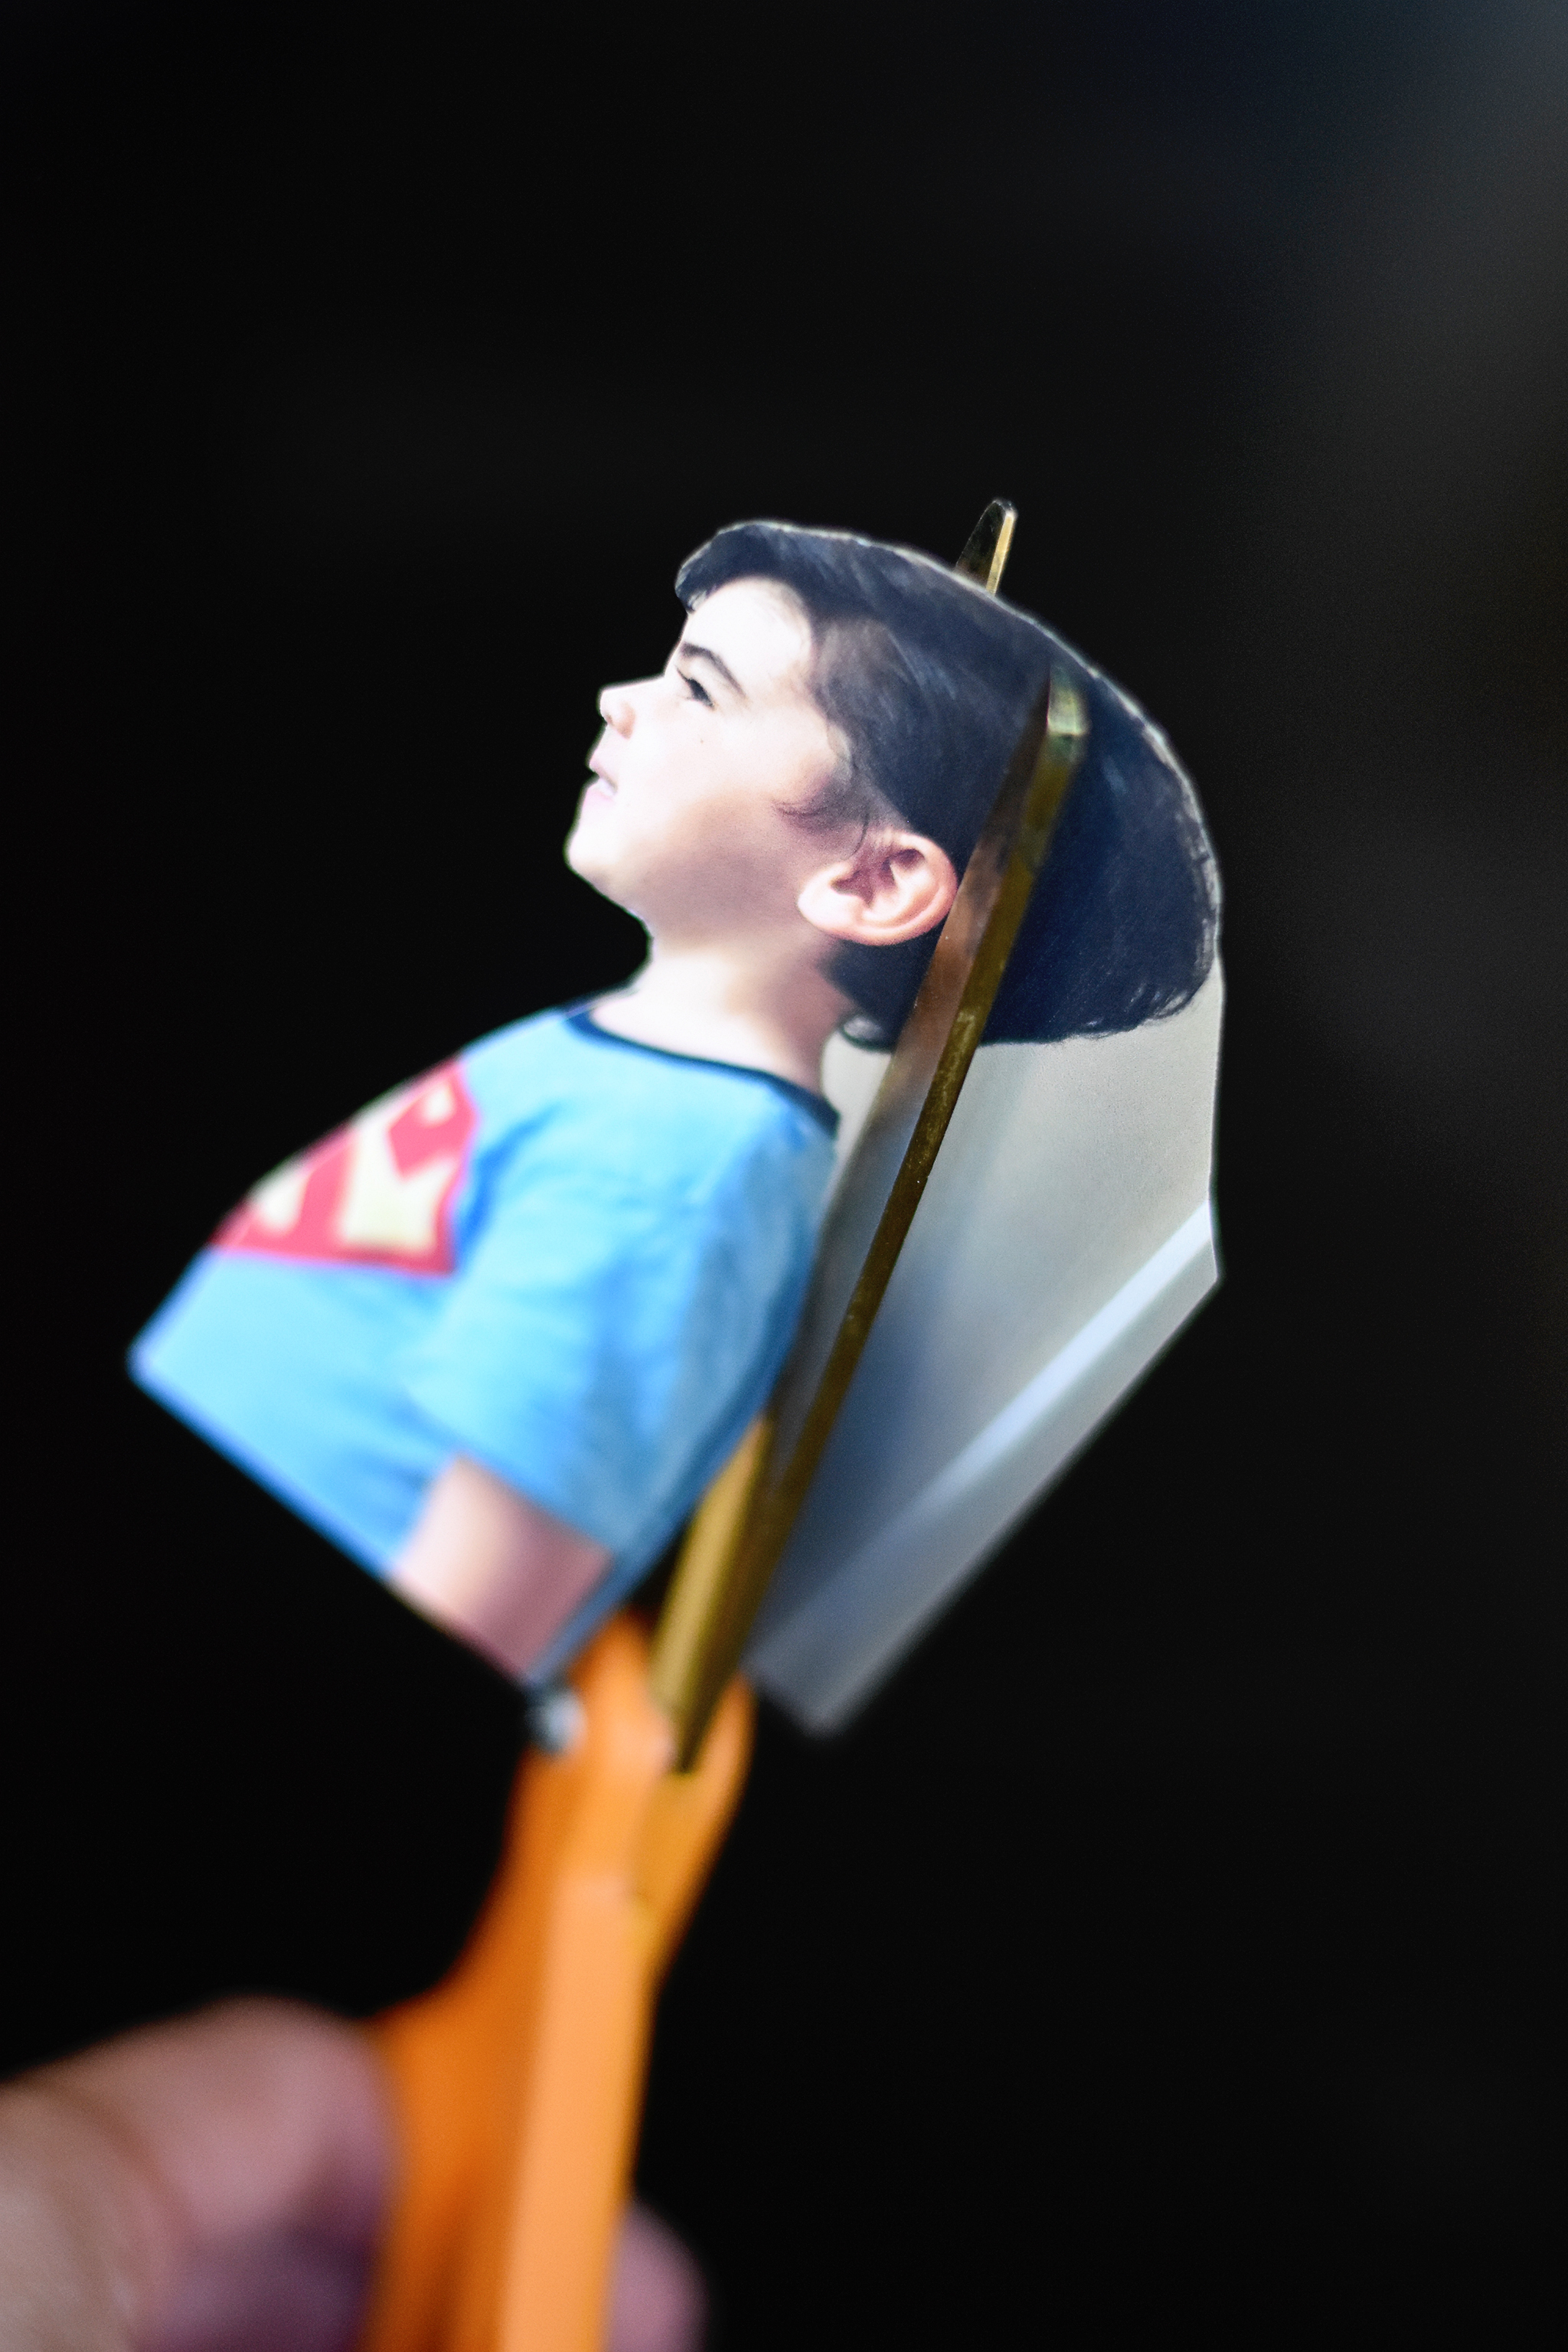
Once you gather all of your supplies, start by cutting out the profile of your child. Take your time, and make sure your scissors are sharp! You don’t have to be super precise and cut out each individual strand of hair, but the more detailed you are, the better your cameo will look!
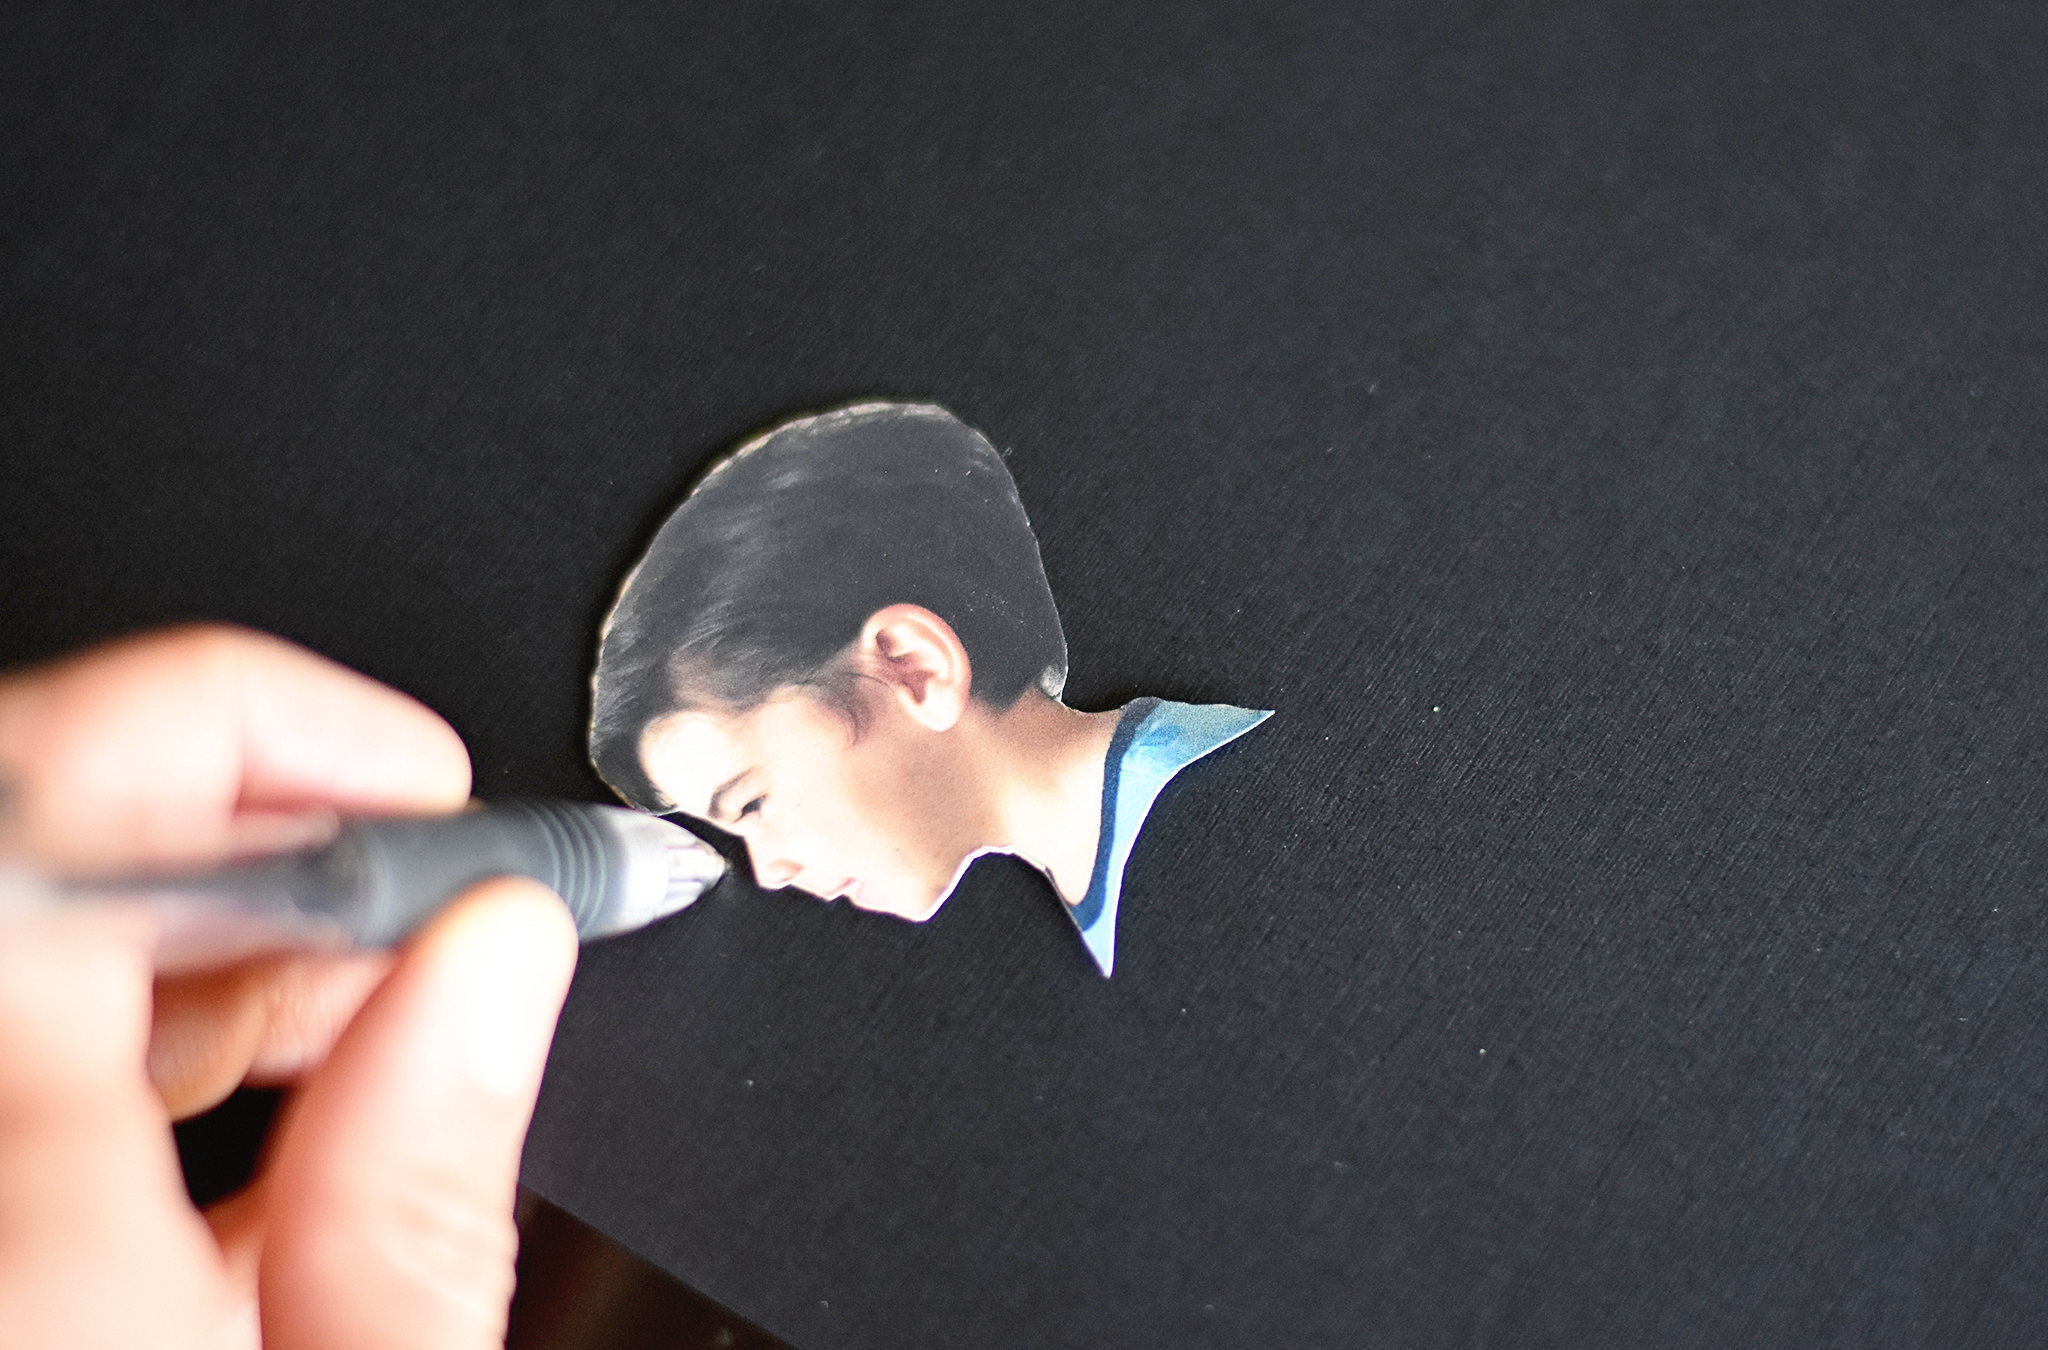
Next, trace around your cut-out on onto black or white card stock—the opposite color of the doily you will be using.
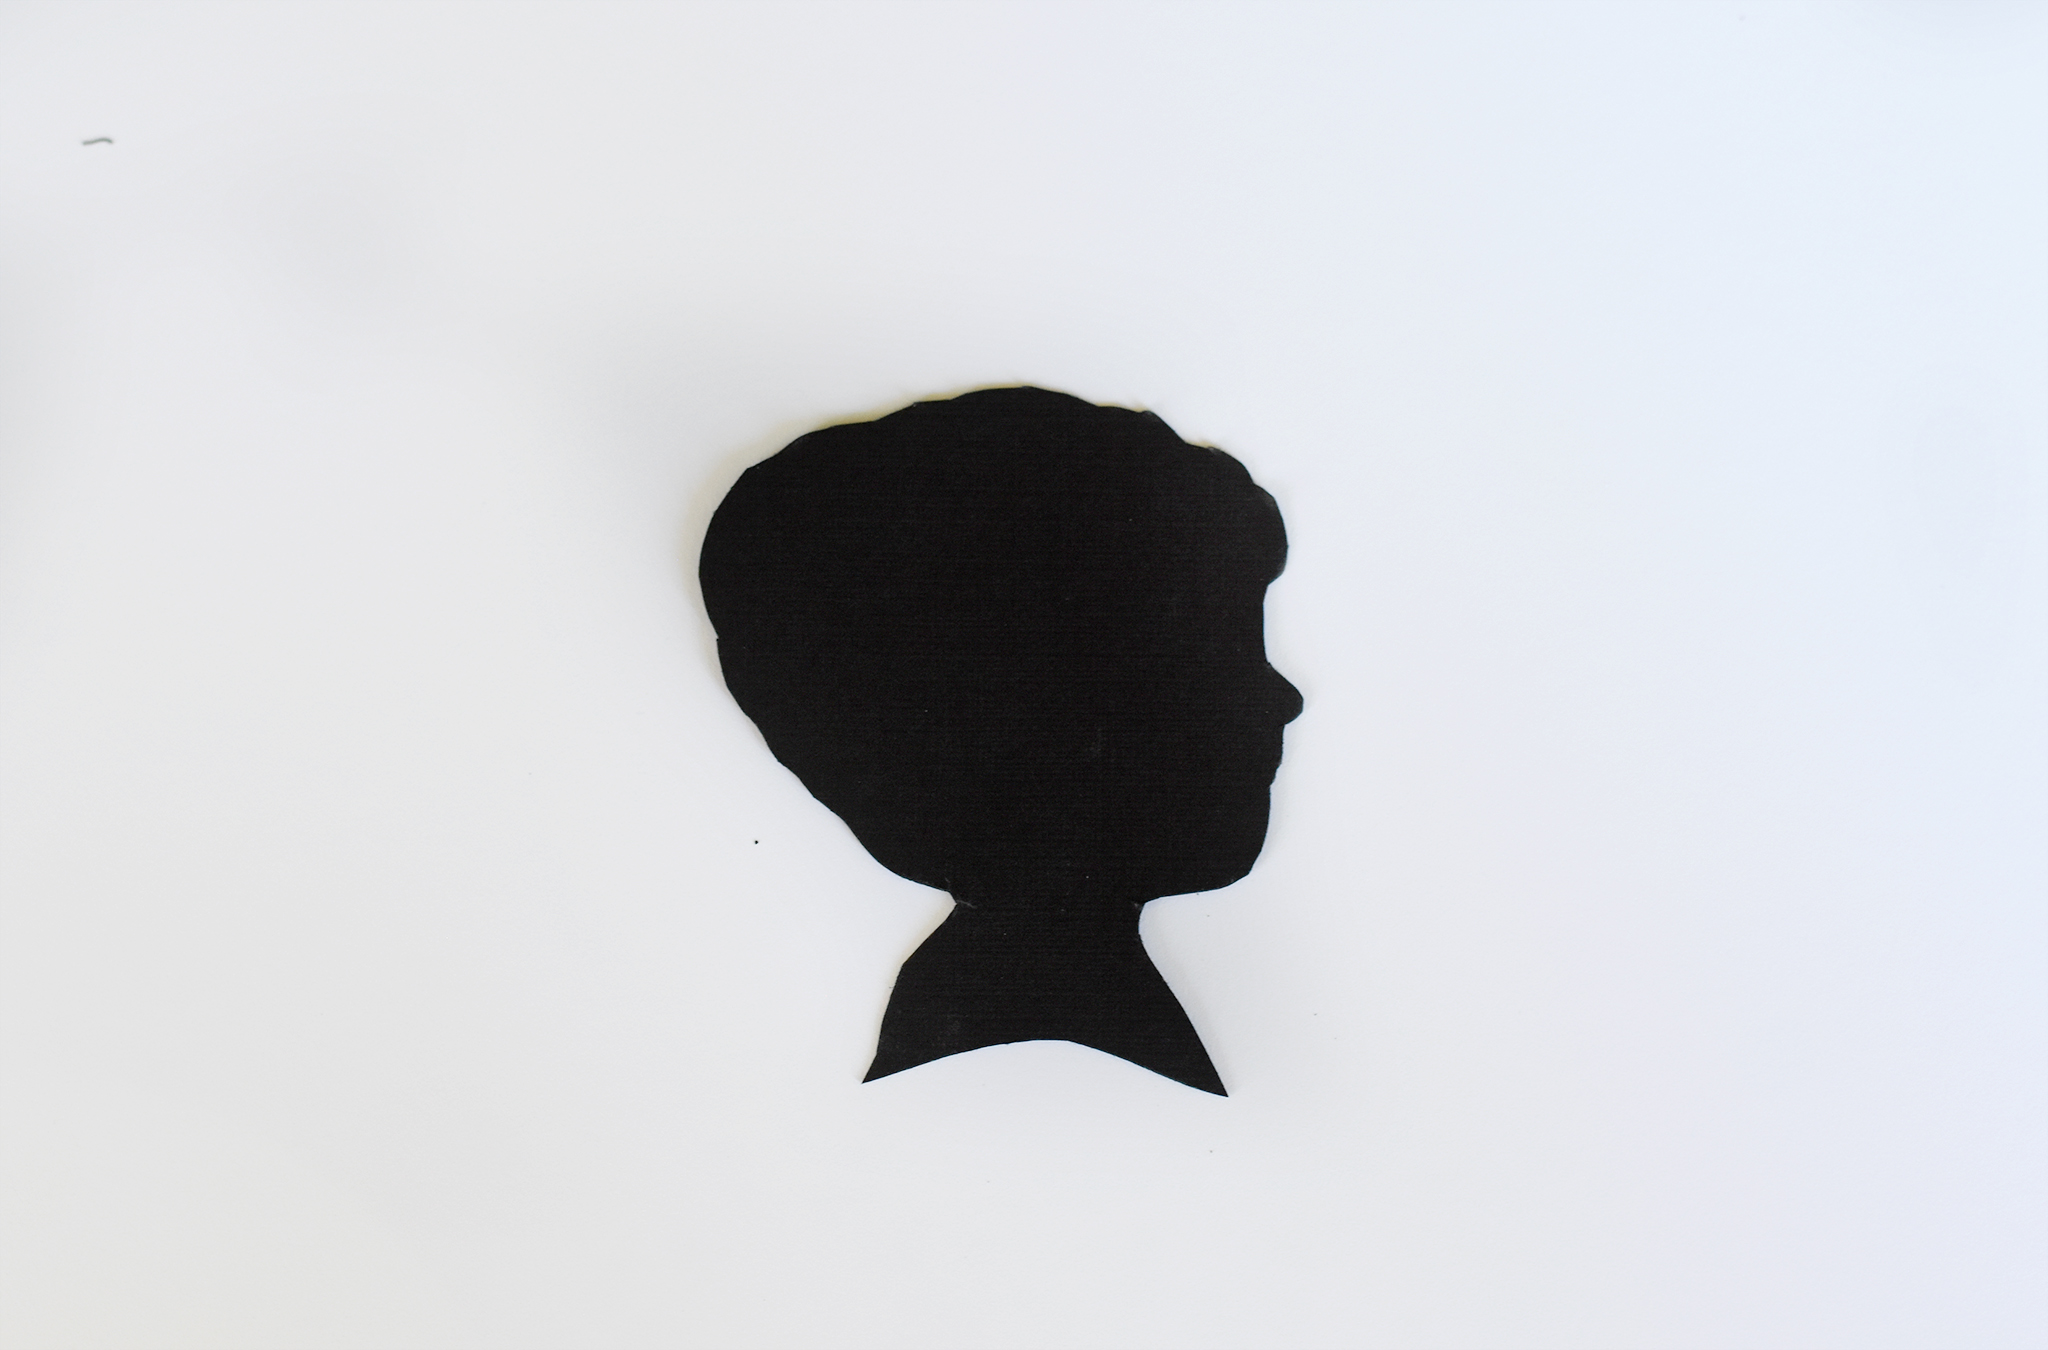
Then, cut out the silhouette profile again. Now, you will have either a nice black or white silhouette. Simply use a glue stick to adhere it to the opposite color of card stock background.
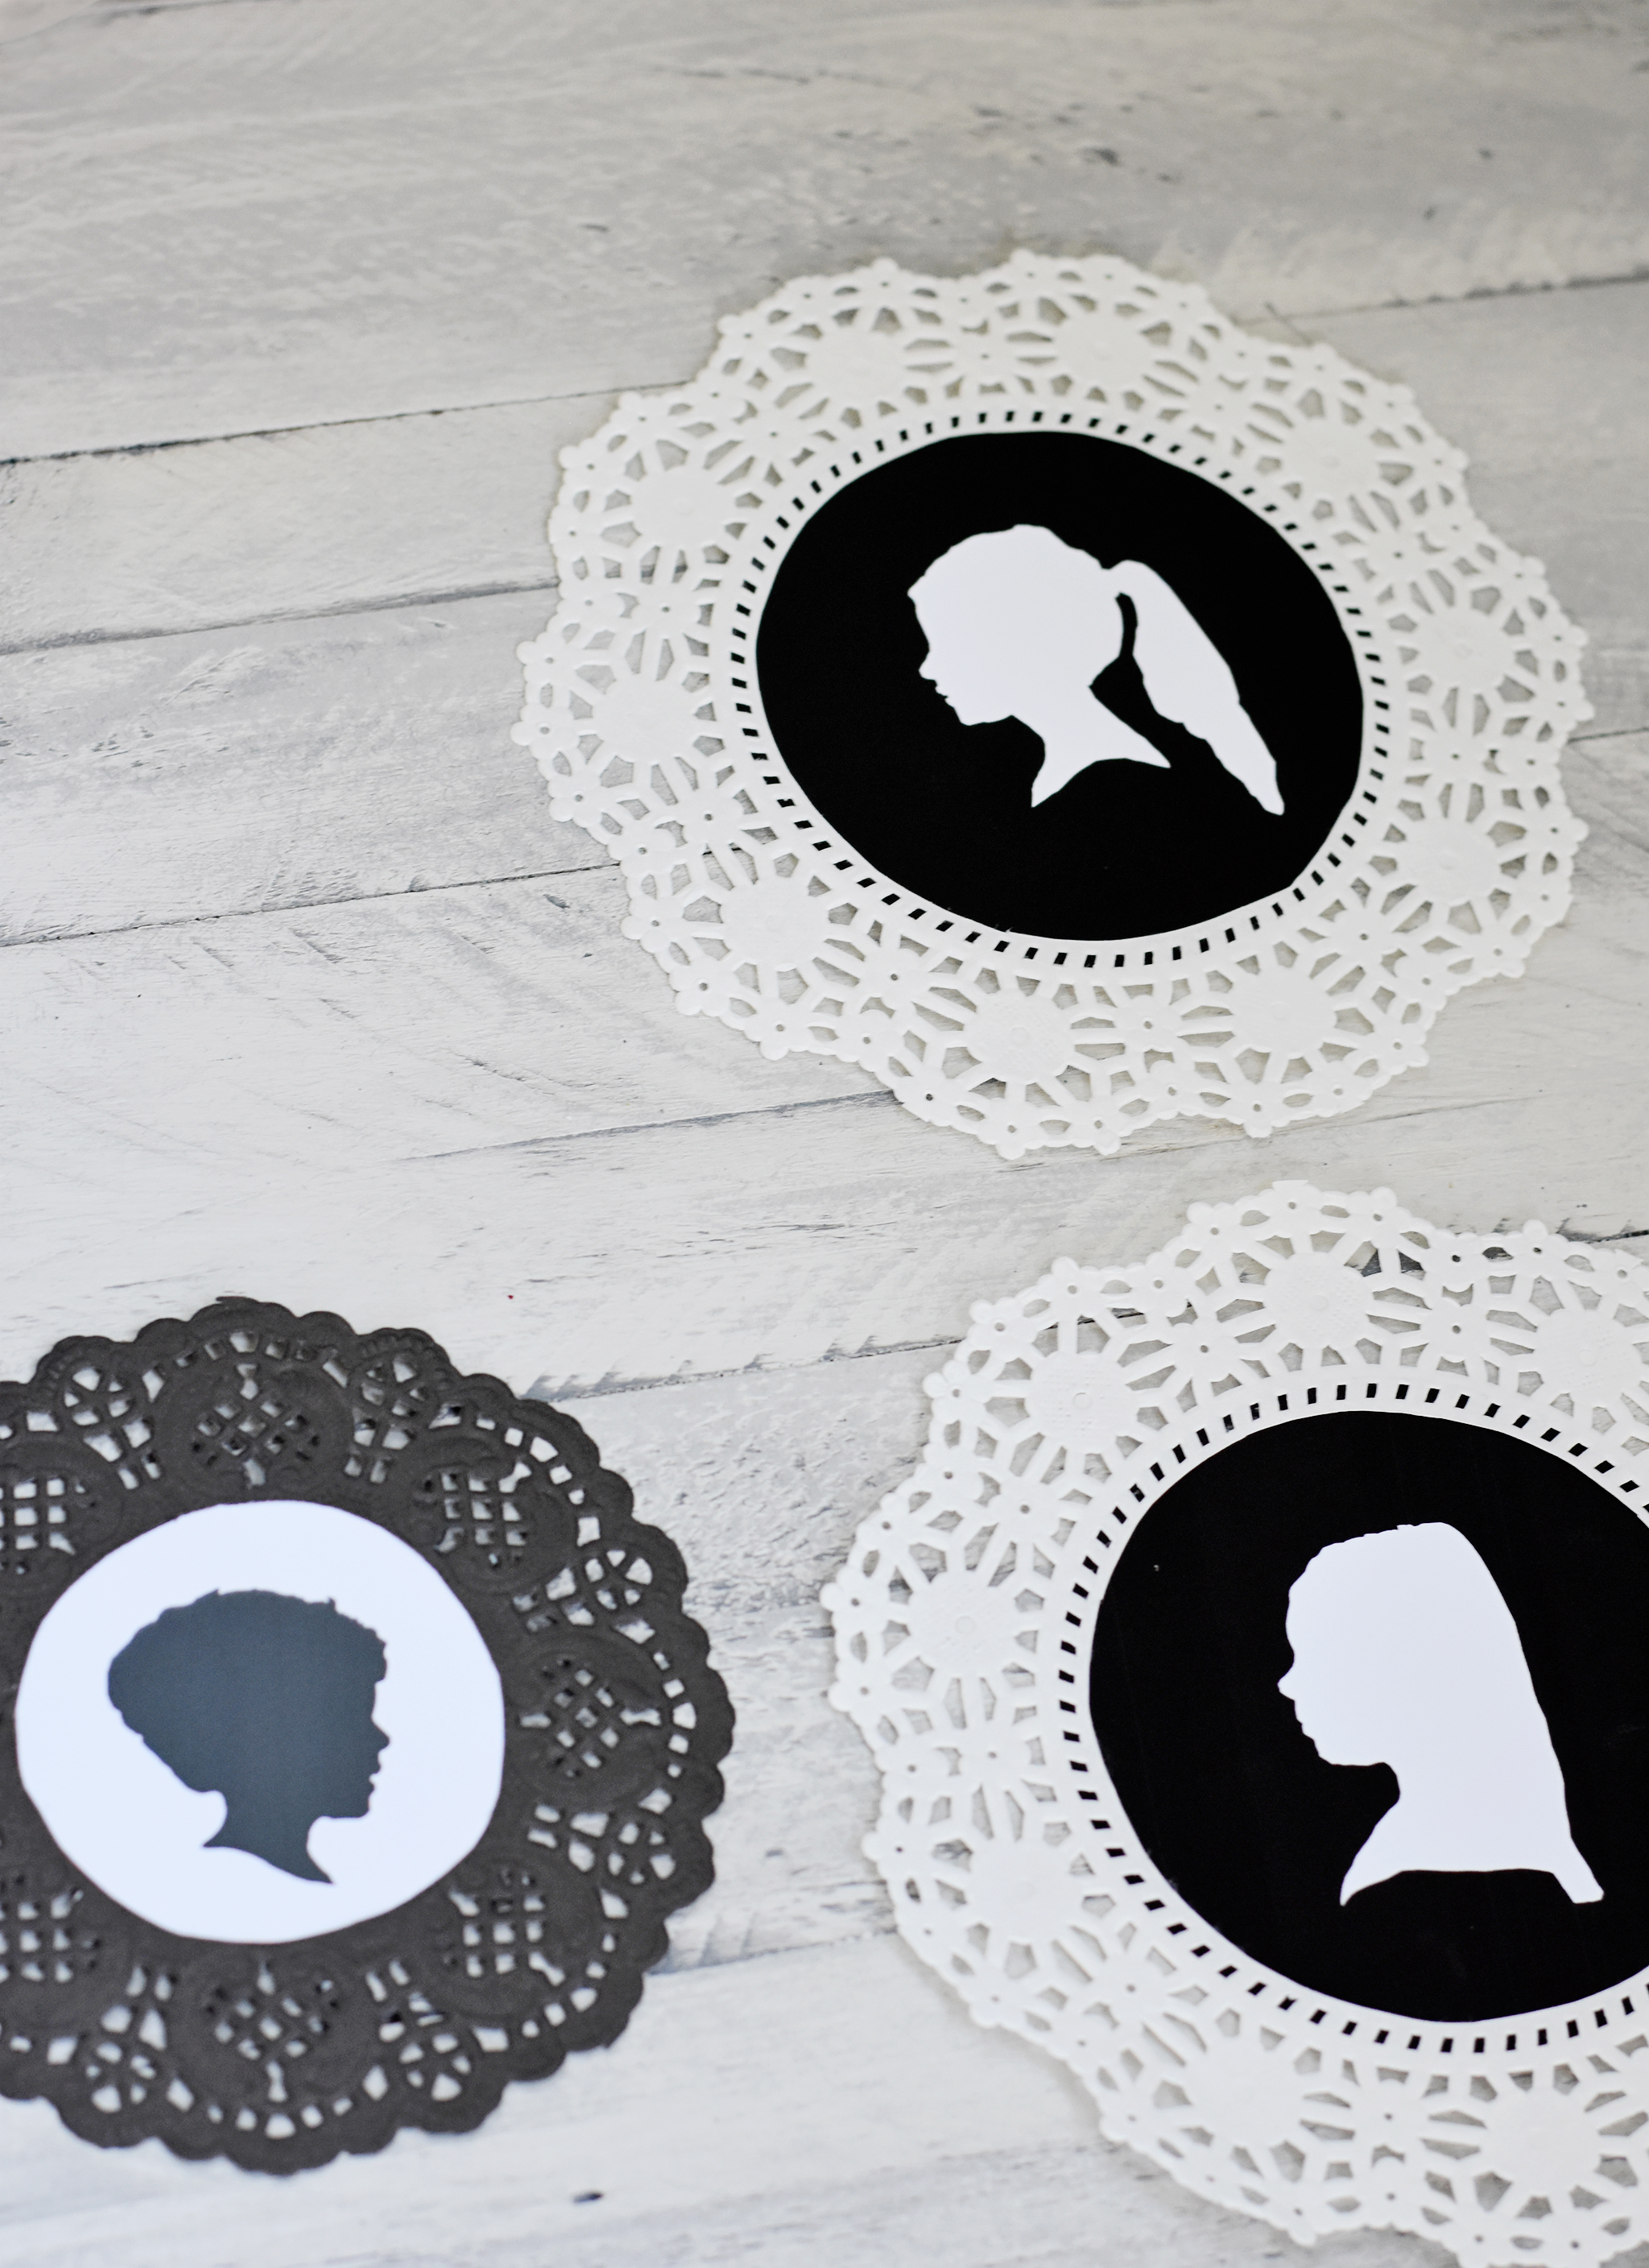
Next, cut out the center of your doily out so that you have a open circle in the middle. Cut a circle the same size (or a little larger) around the cameo picture mounted to card stock. Yours should look similar to the picture below. Next, glue the cameo circle to the back side of the doily with a glue stick and let dry for a few minutes.
Now you are ready to start decoupaging your cameos onto your pumpkins! I won’t lie, this was a little harder than I had imagined! I’ve used Mod Podge before, but I think trying to put it on a round pumpkin did prove to be a bit of a challenge! I’d recommend really applying it generously to the pumpkin first, and then generously applying it again to the front of the cameo to really seal it on.

This process took about ten minutes of brushing and flattening the cameo with my foam paint brush. Keep working at it until your cameo soaks up all the Mod Podge and then it will easily curve around the pumpkin.

Finally, let the pumpkins dry for about ten minutes or until the Mod Podge is clear!

And there you have it folks—my step-by-step instructions for (relatively-easy) cameo locket pumpkins! My kids were thrilled to see their little silhouettes on the pumpkins, and now I can’t wait to decorate my Halloween mantle with them!
*this post contains affiliate links*



Comments
Mary
What a fun, creative project! Love the idea of focusing on black and white for your Halloween decor. With some ambient lighting by candle or fairy lights, eerie music, and more decor like these pumpkins, there’s the start of a great Halloween-themed party! Thanks for sharing this project!