This post has been sponsored by American Greetings and Disney Princess© Disney.
All thoughts and opinions are my own.
Grab your crowns, we’re party prepping for a princess fete! From place settings to door decor, we’re sharing how to get the perfect princess party look by mixing store-bought items with easy DIY hacks. This combination creates a cute and custom party for the princess in your life. Let’s get this party started!
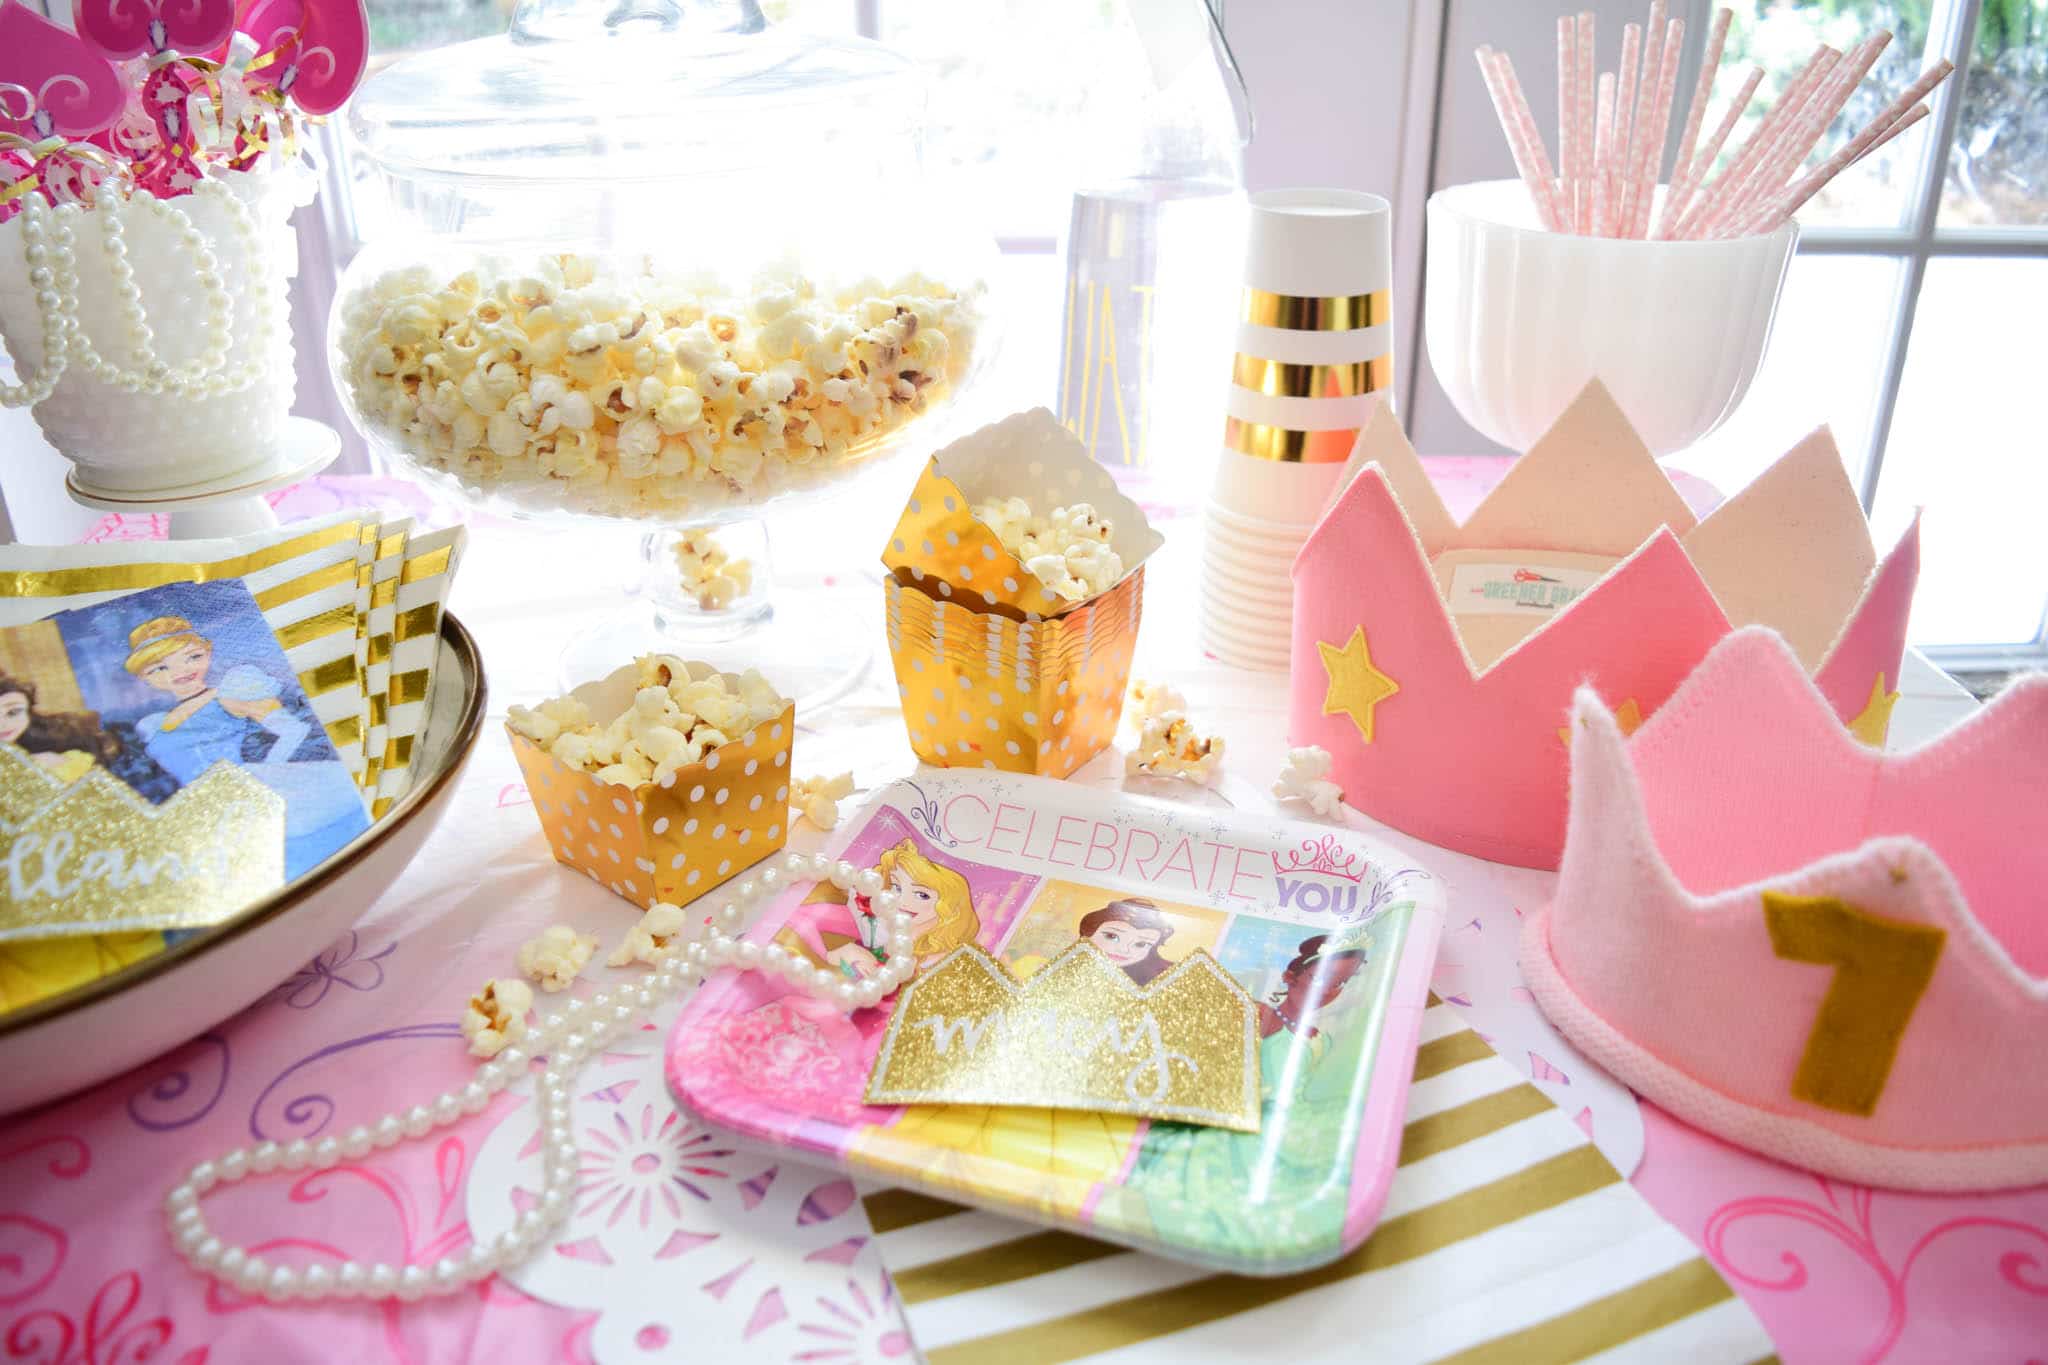
Look, I’ll take any and every excuse to slip off to Target. I could spend a complete hour in the party section alone! I love their wide variety of color and themed collections and find that they mix and match very well. To achieve that perfect princess party look, I started with items from the princess theme. Their princess section is stocked with character products as well as more crafty items that quickly and easily go together to create an adorable look that any tiny princess would love! No time to pop in to your Target store? Check out target.com for party supplies that are grouped into the same cute collections.
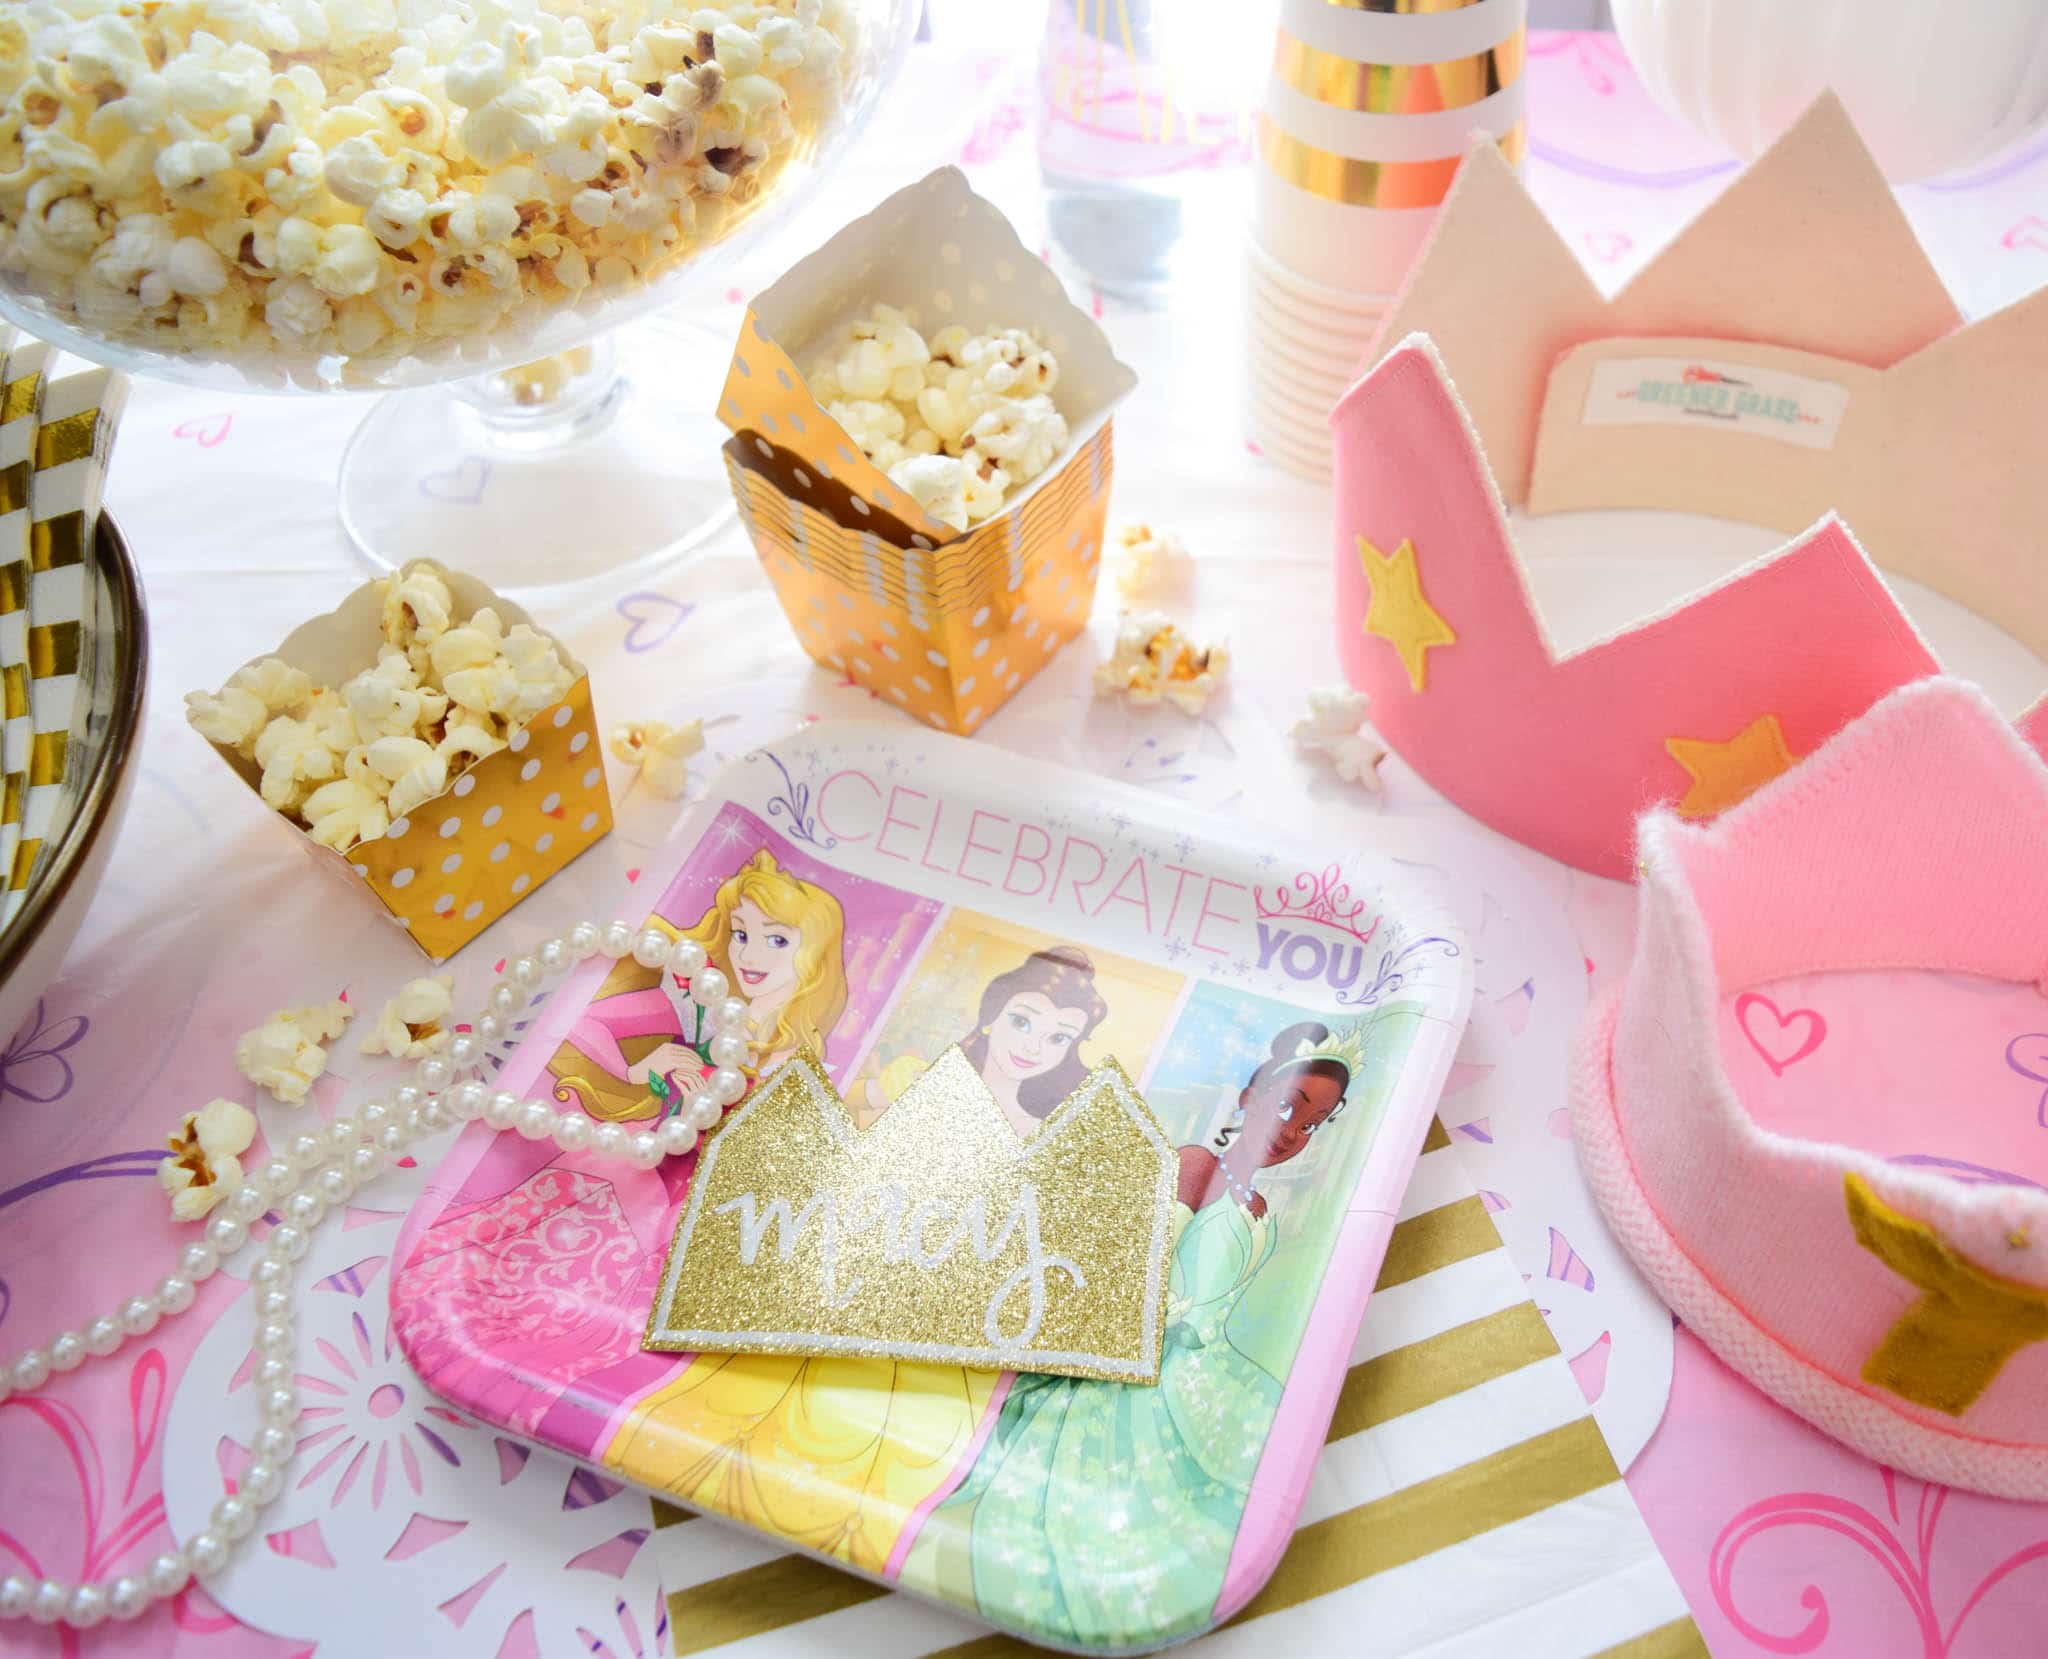
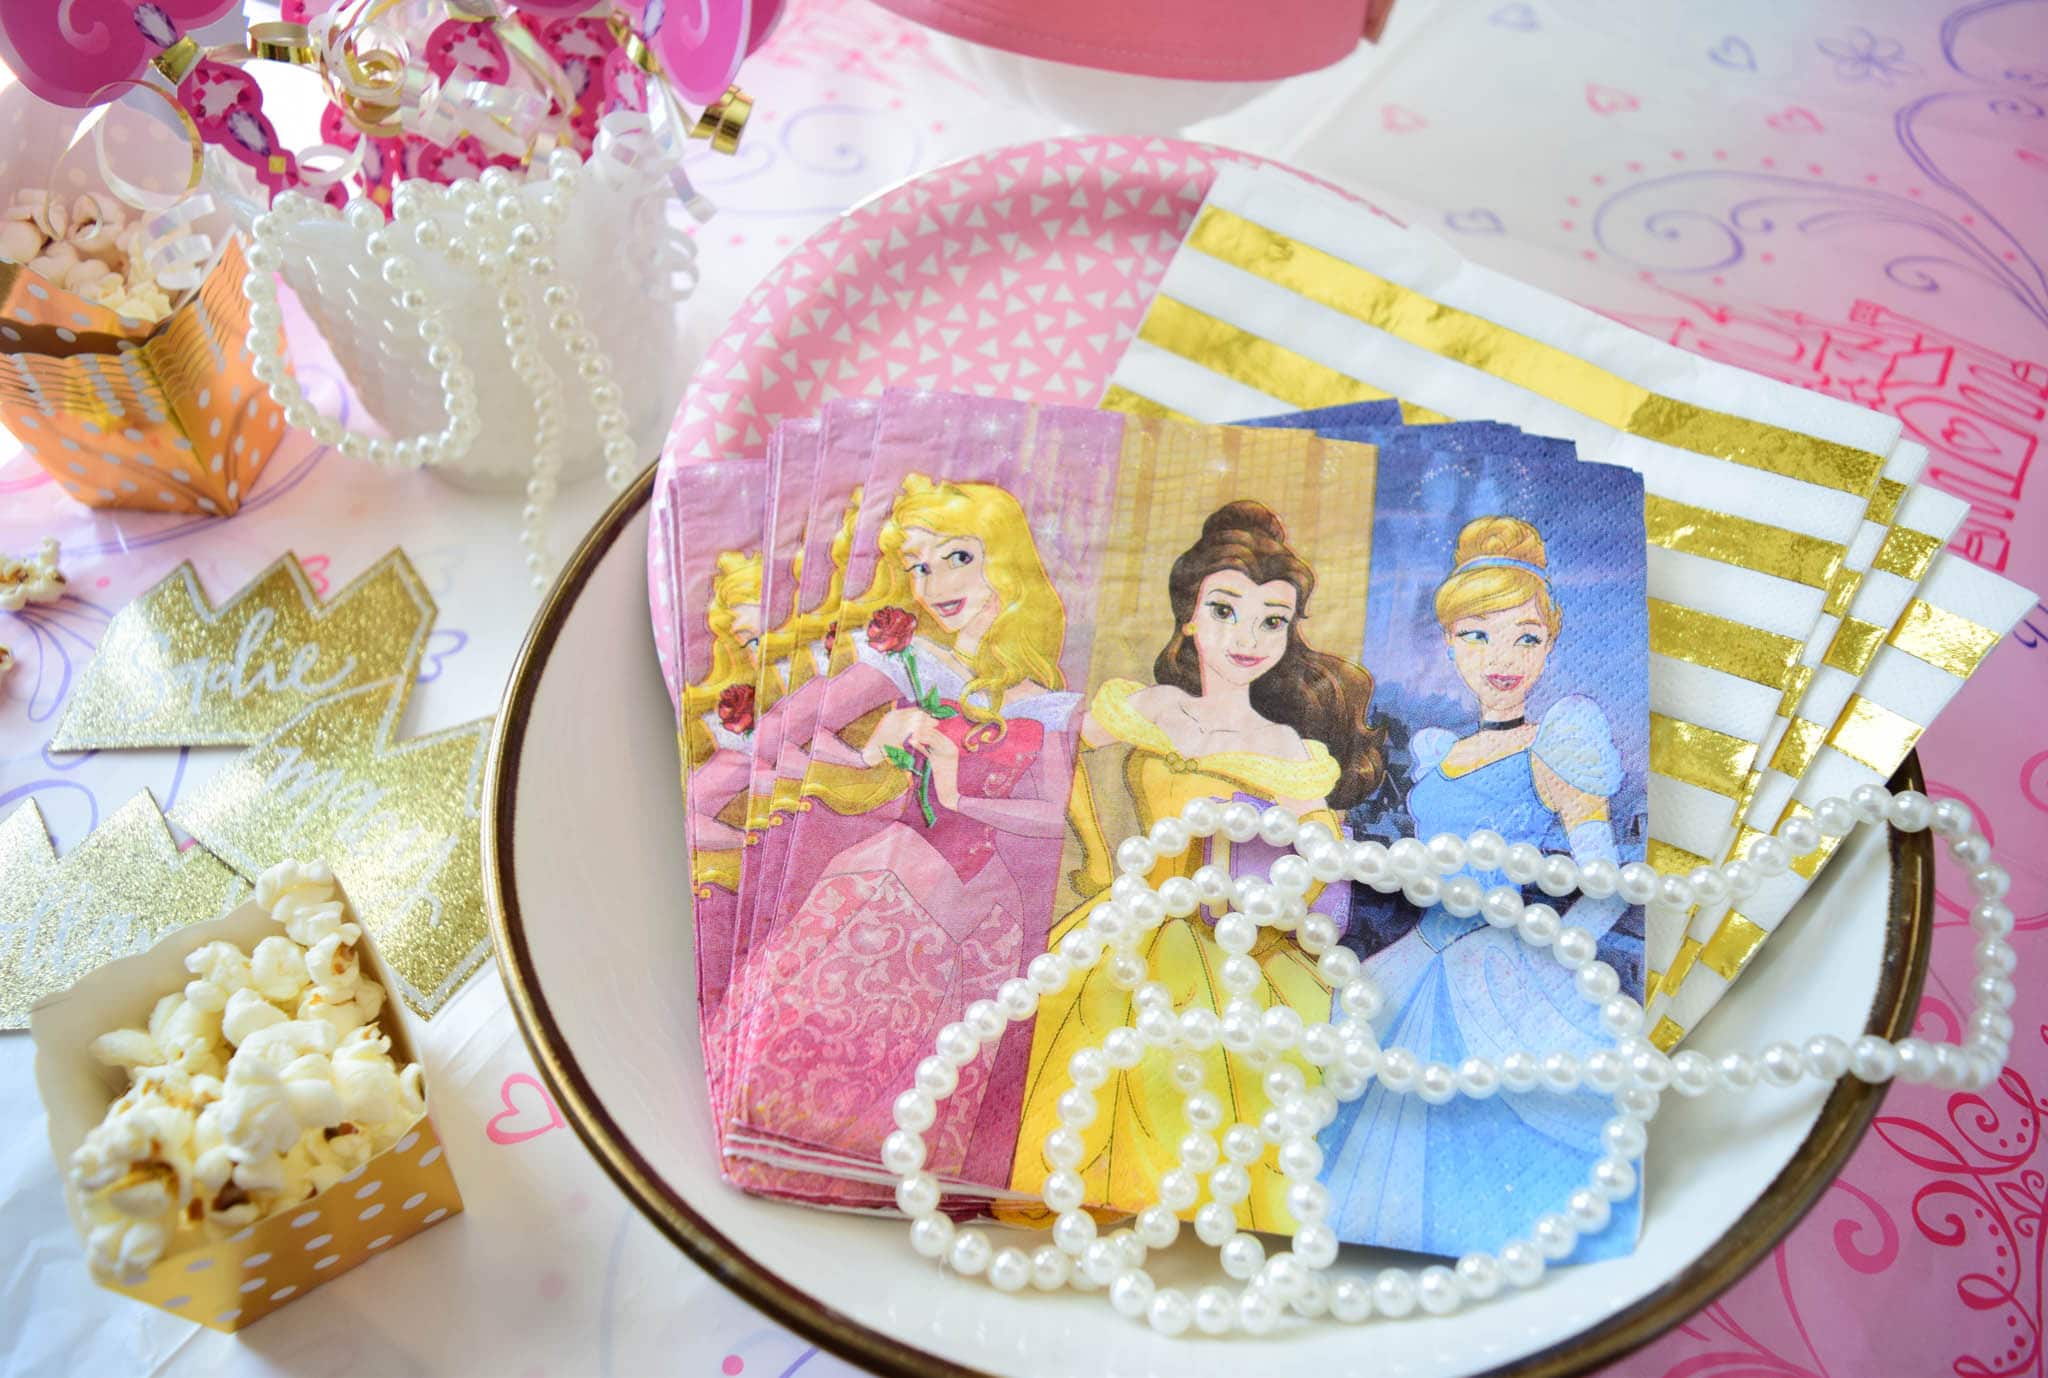
While tossing princess character items into my big red basket, I also grabbed some solid and printed pieces that would coordinate well and break up the princess obsession. There’s nothing better than knocking out your party shopping list in one stop.
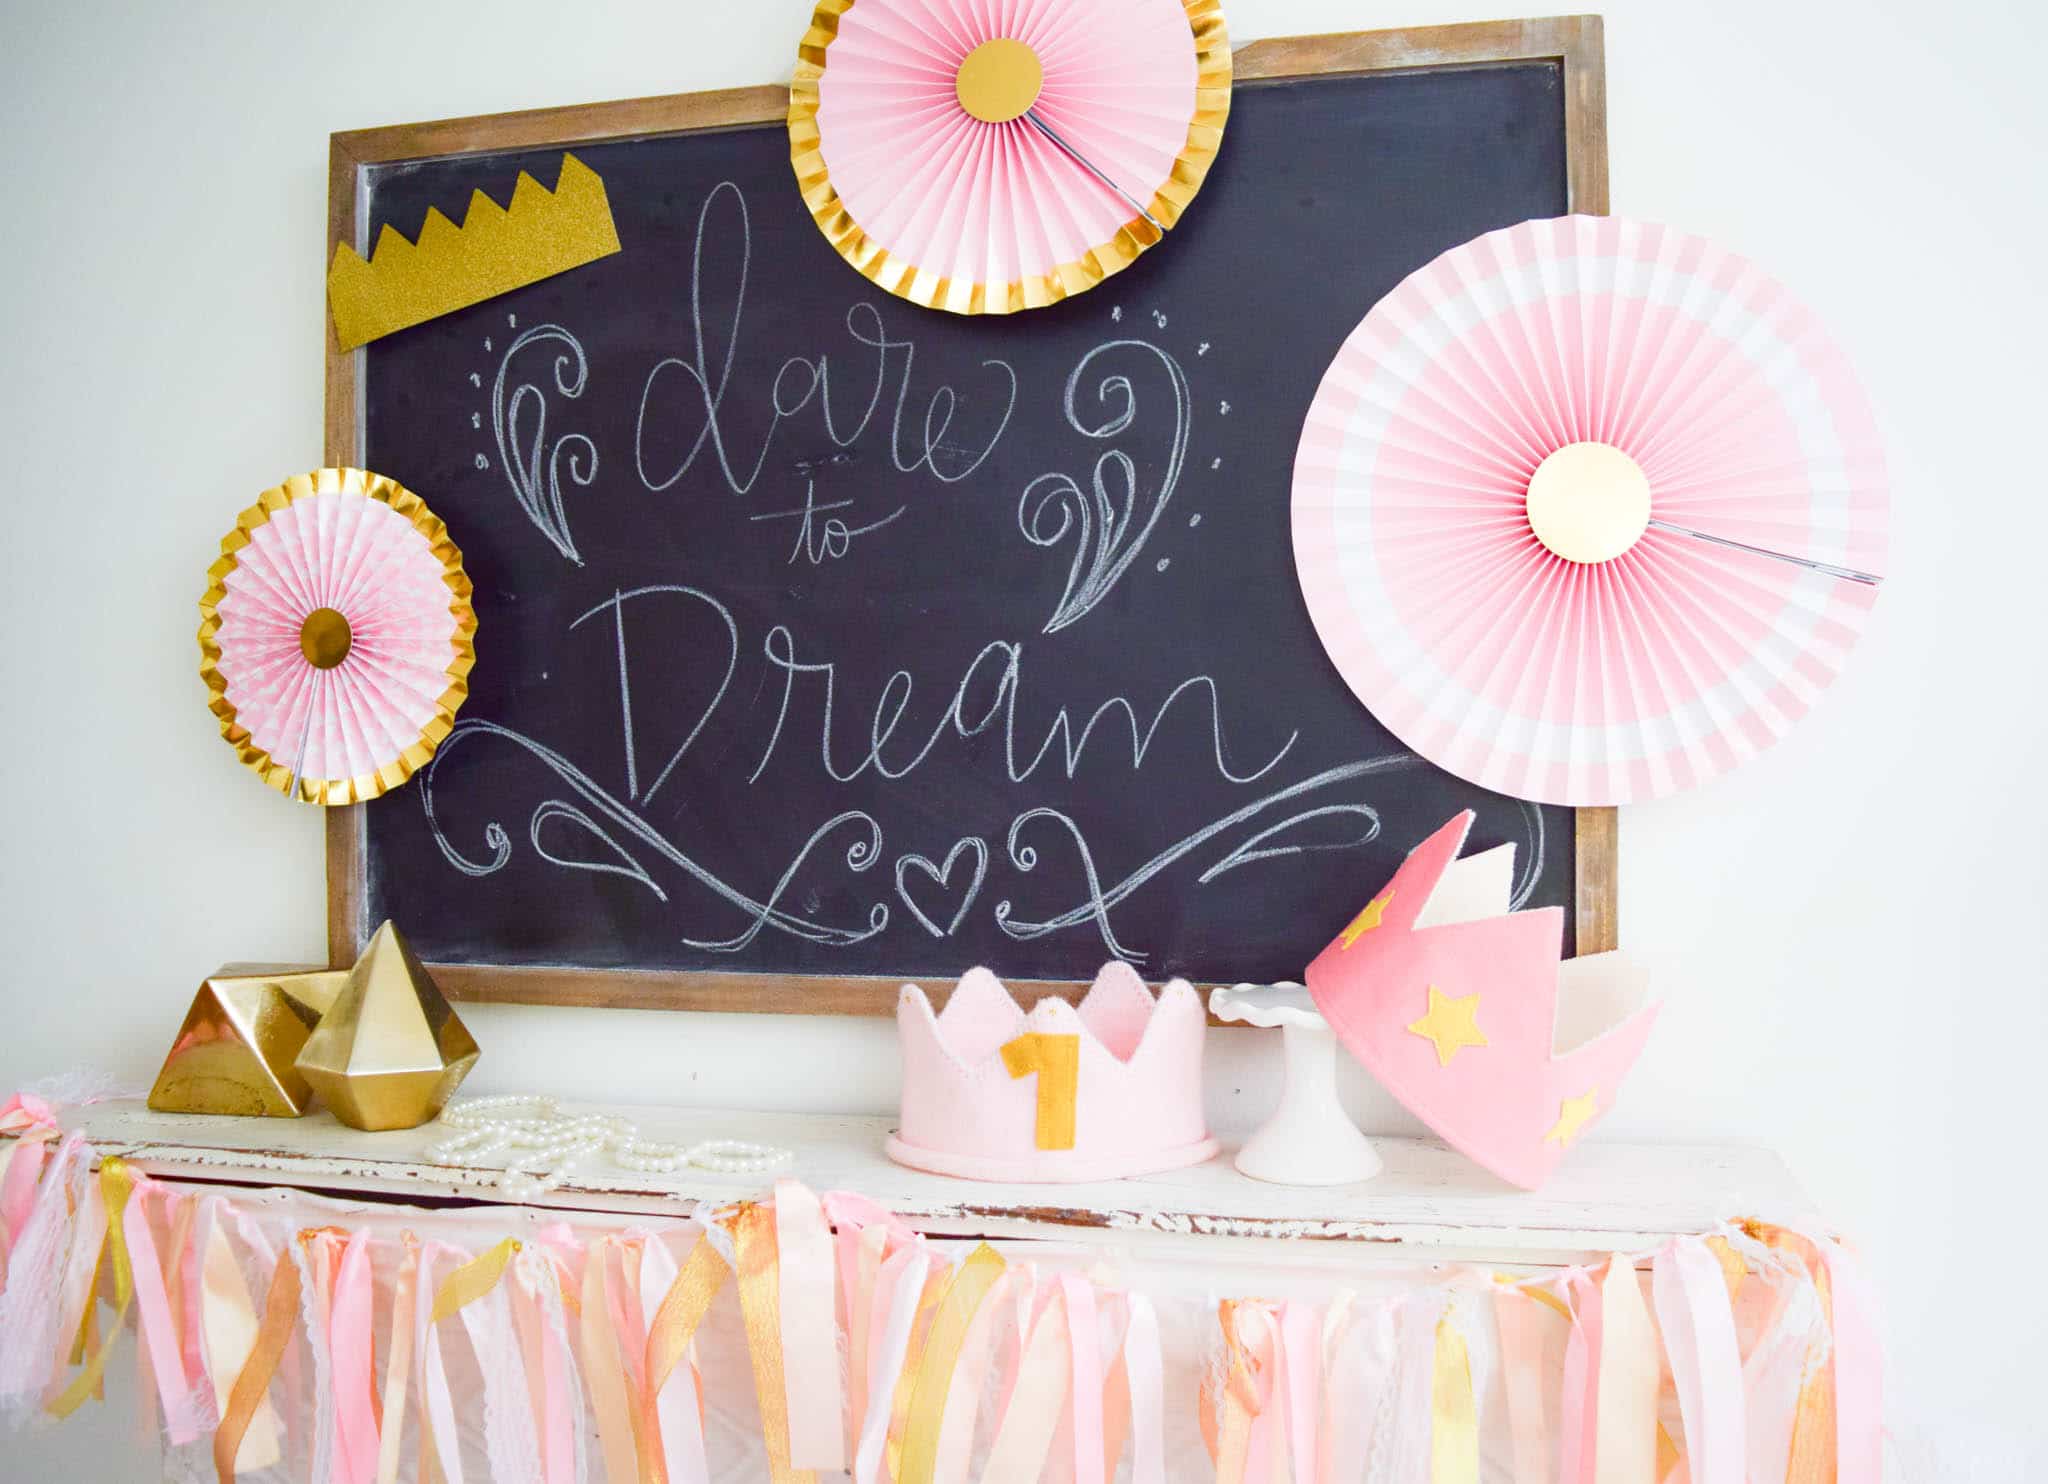
The ribbon and lace garland paired with the pink pinwheels make an adorable backdrop for a dessert table or entry way. DIY Tip: I cut off the character portion of the tablecloth to create a table runner that is a bit more subtle for this area.
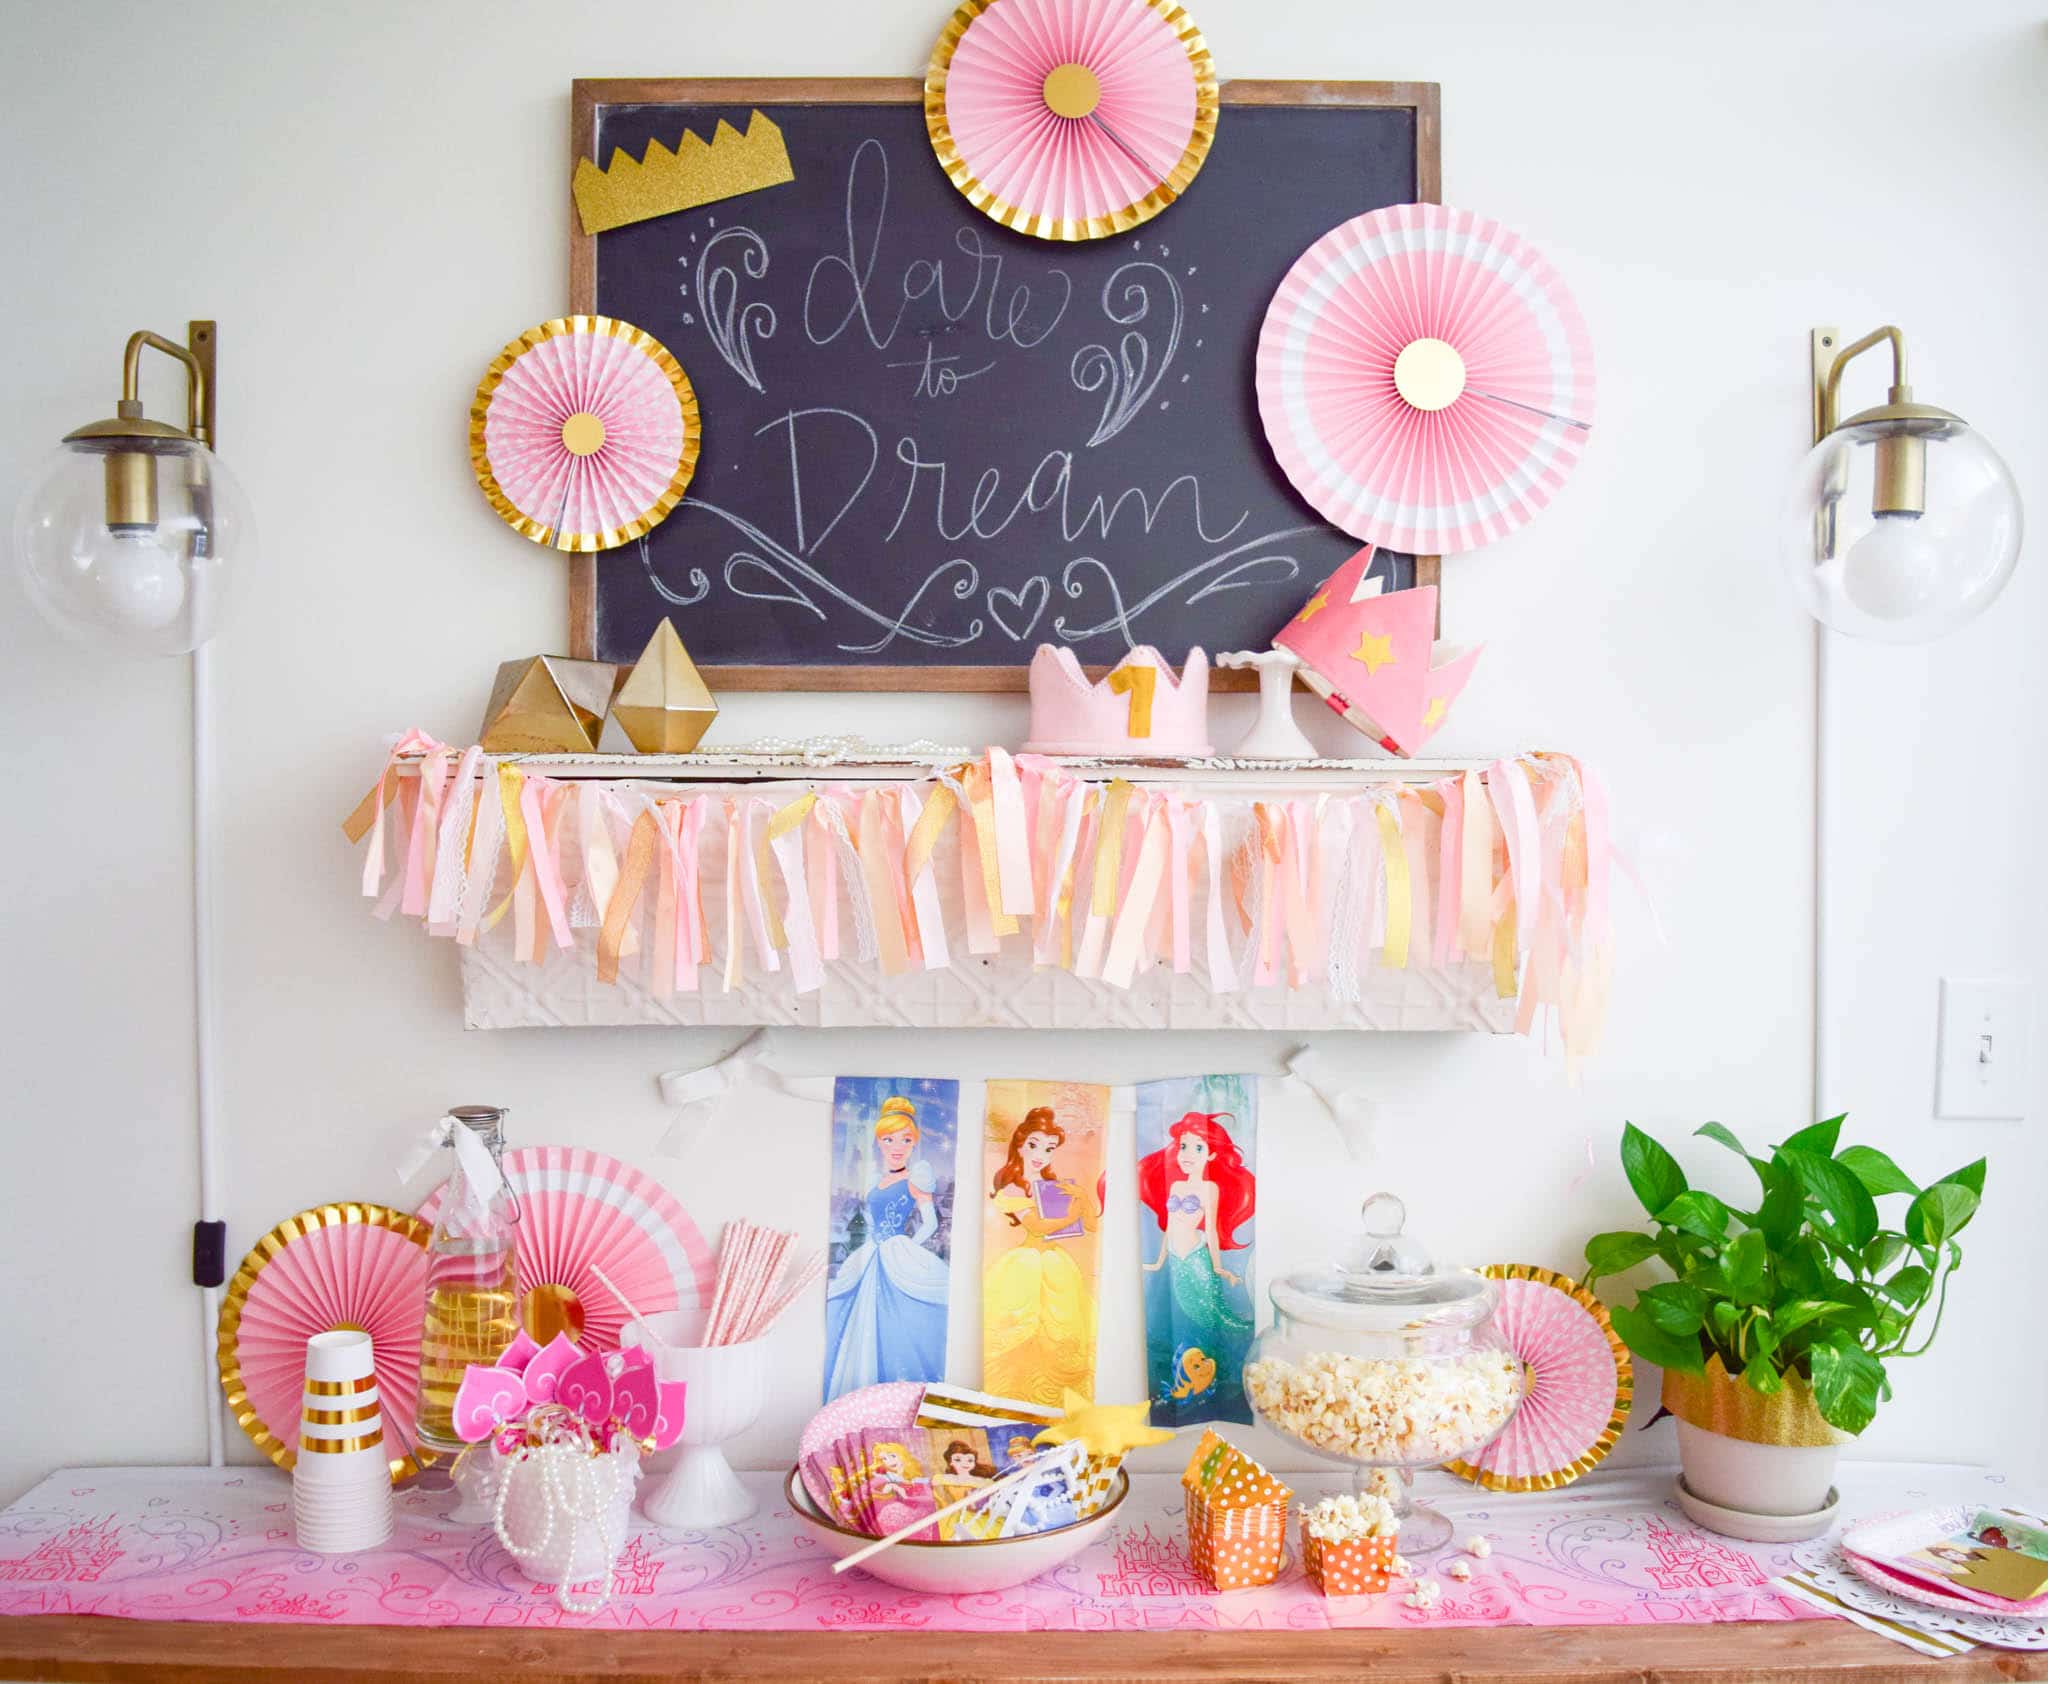
Borrowing a quote and some doodle designs from the princess collection tablecloth, I transformed our chalkboard sign into a crafty and cute themed focal point for the wall.
Making a sweet place setting for littles is all about elements of interest. I knew that the princess plate needed to be the star, but I wanted to surround it with layers of soft textures and modern graphic elements. The doily charger gives much-needed separation between the printed tablecloth and printed plate. I added the gold striped napkin because there can never be enough gold at a party!
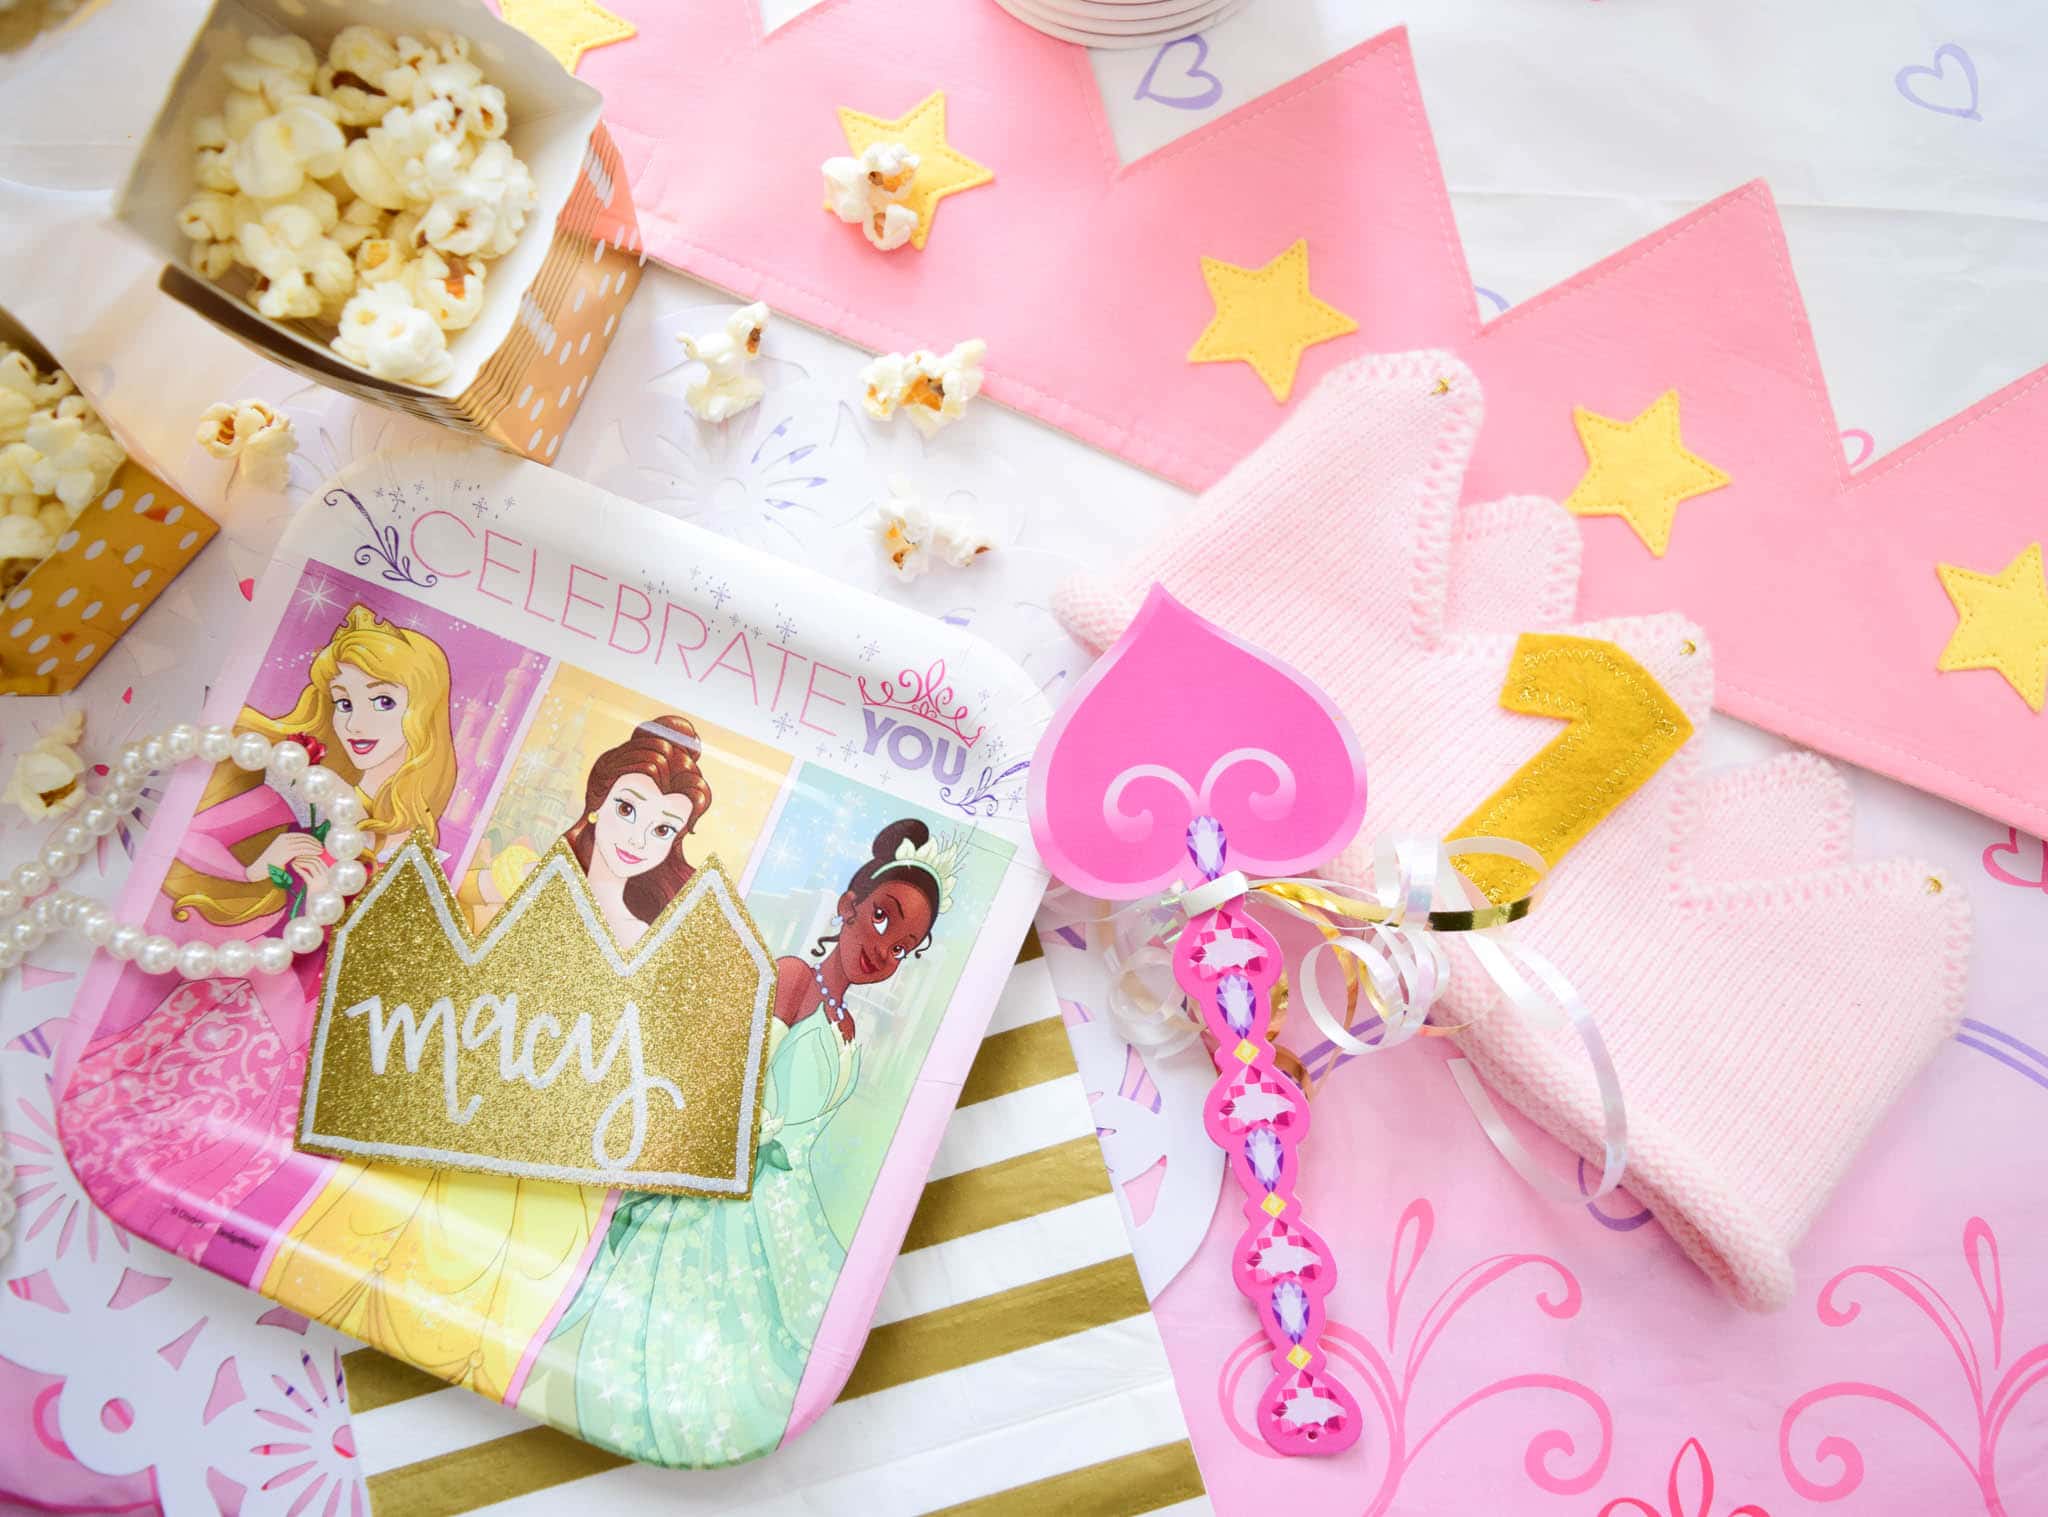
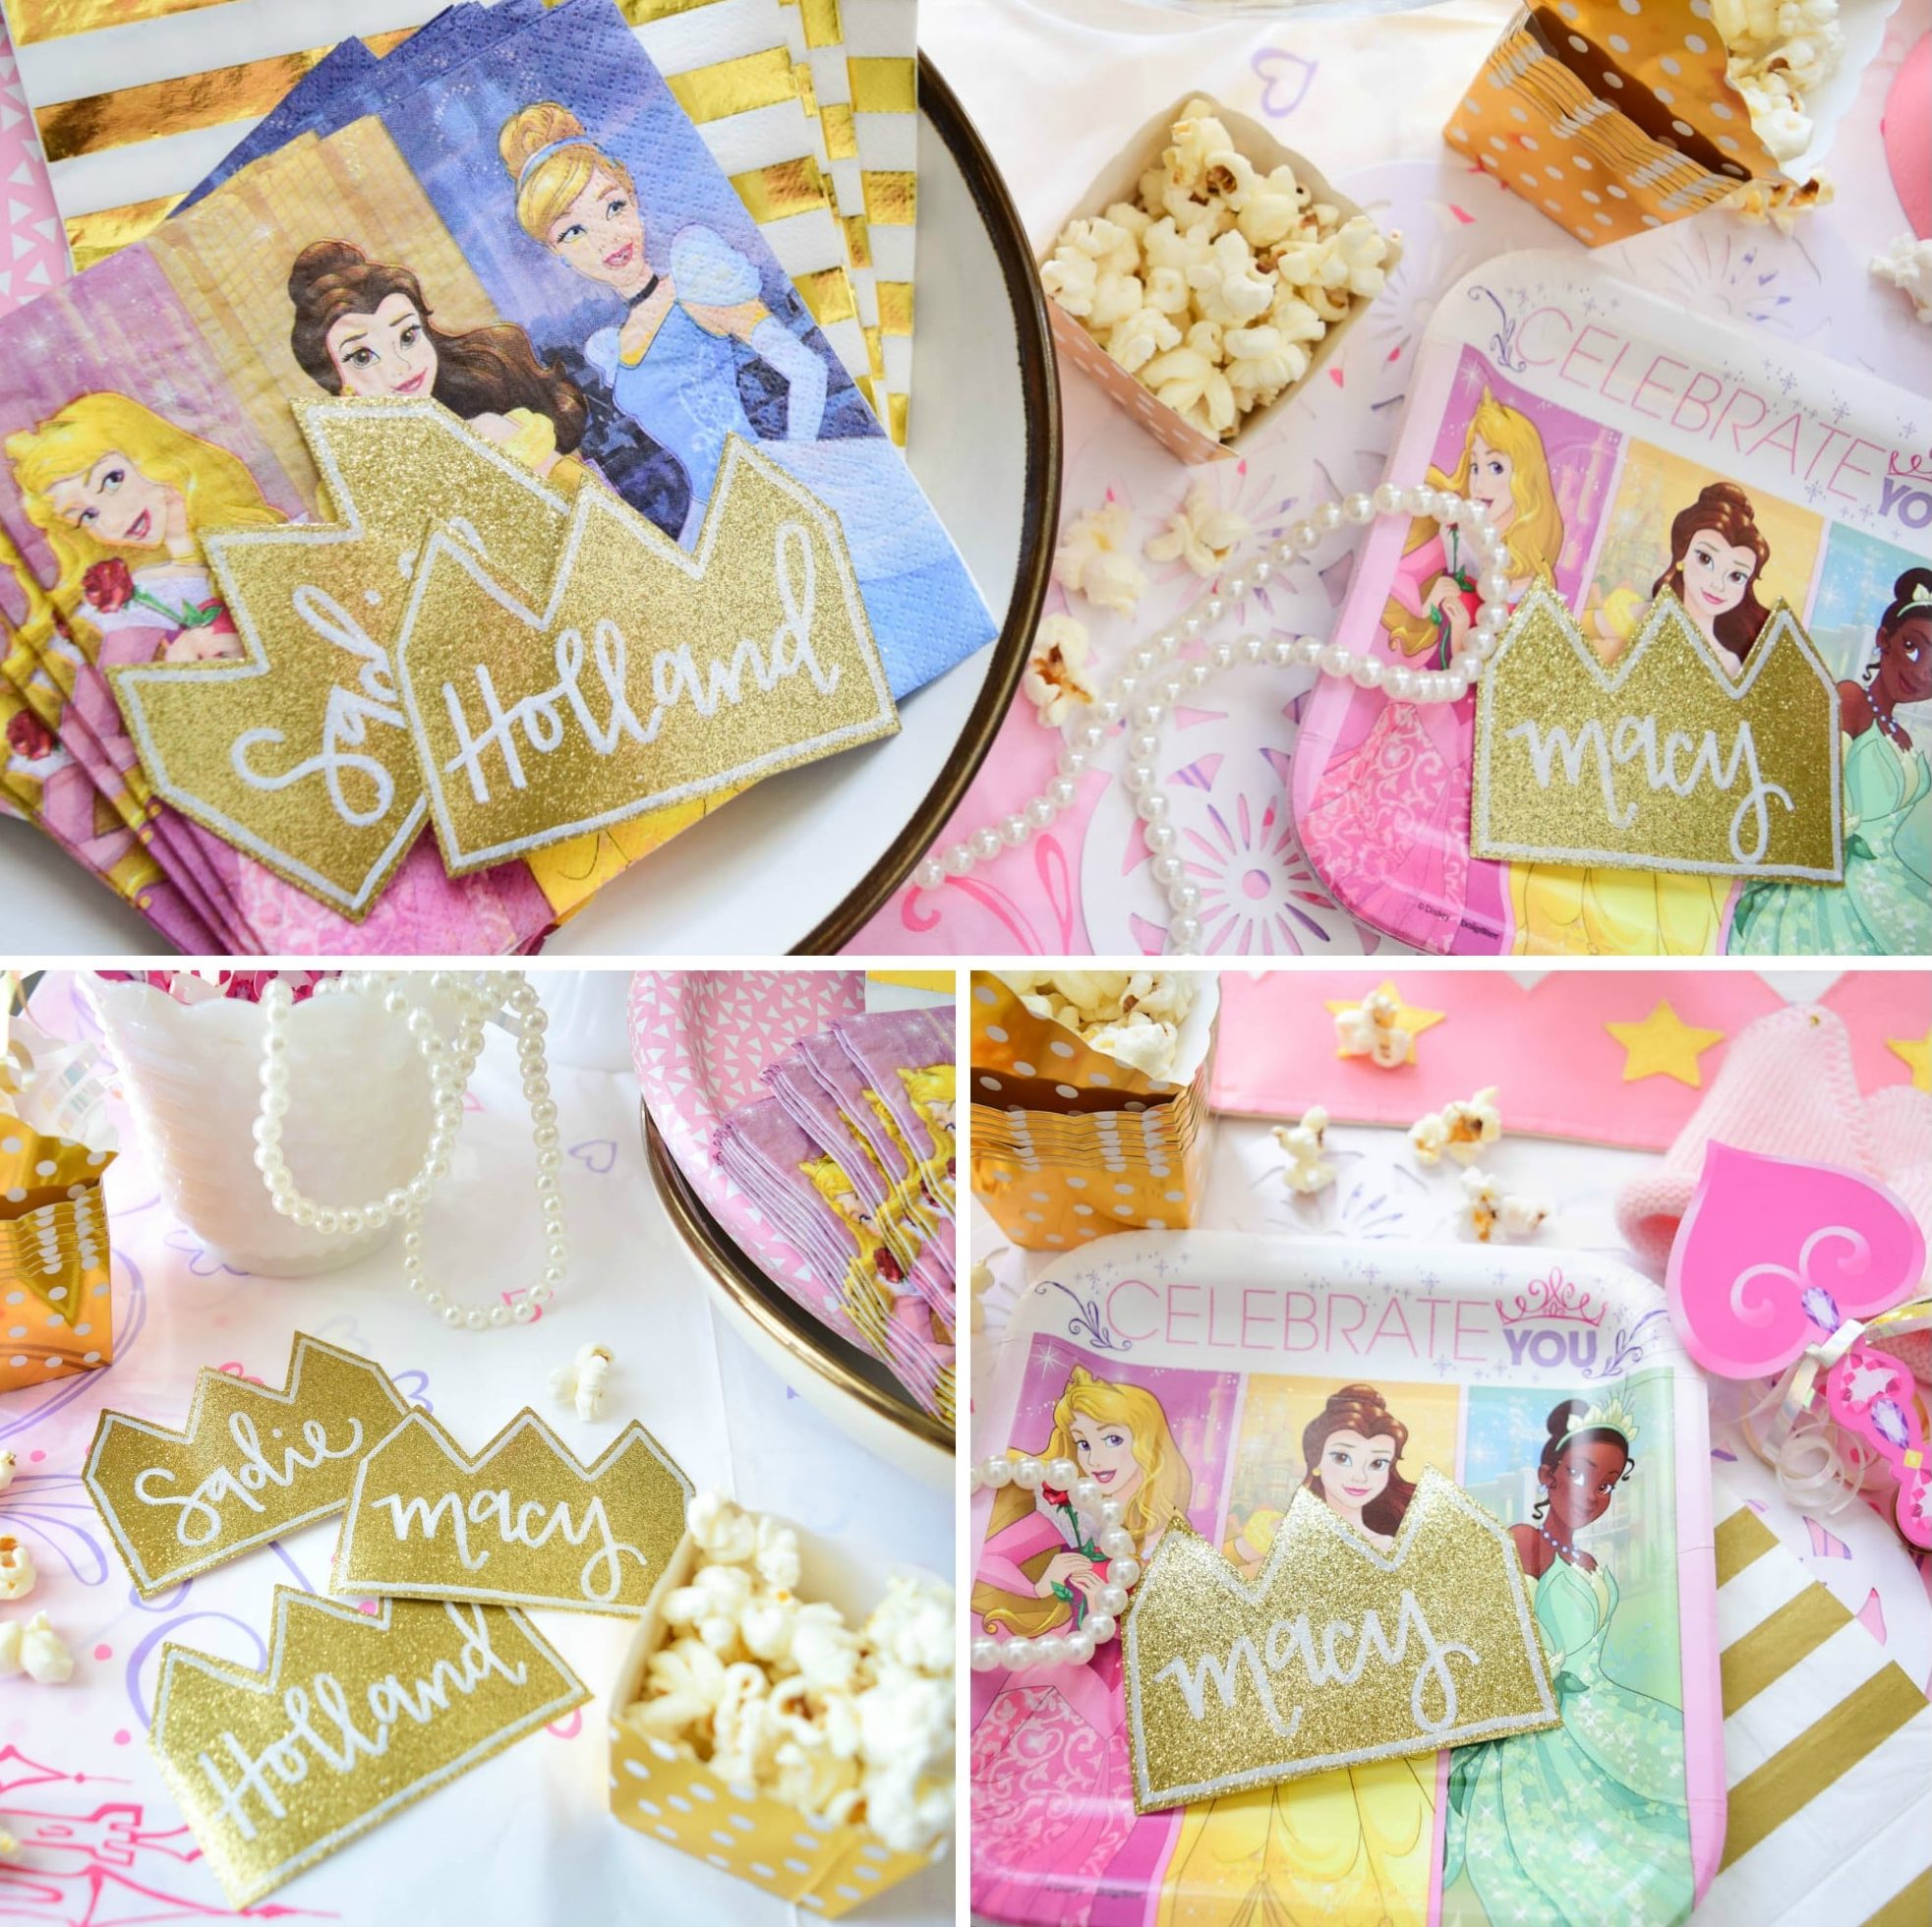
What kid doesn’t love to see their own name? These gold glitter crown name cards are a super simple DIY that only required two supplies. Love that! DIY Tip: Using store-bought (another Target win!) paper crowns, I trimmed them down to just three peaks so that they’d fit perfectly on each plate. With a paint pen I added a simple border and the girls’ names in script, and we’re done! Another quick and easy way to make your party stand out while not spending much time or money.
The Target princess party collection includes a package of decor items. I’m sure they are intended to simply be hung on walls and scattered about tables, but I wanted to up the ante a bit for a more custom look. After all, with so much of this party being store-bought and ready-to-go, I had time to add a few creative DIY touches to the mix!
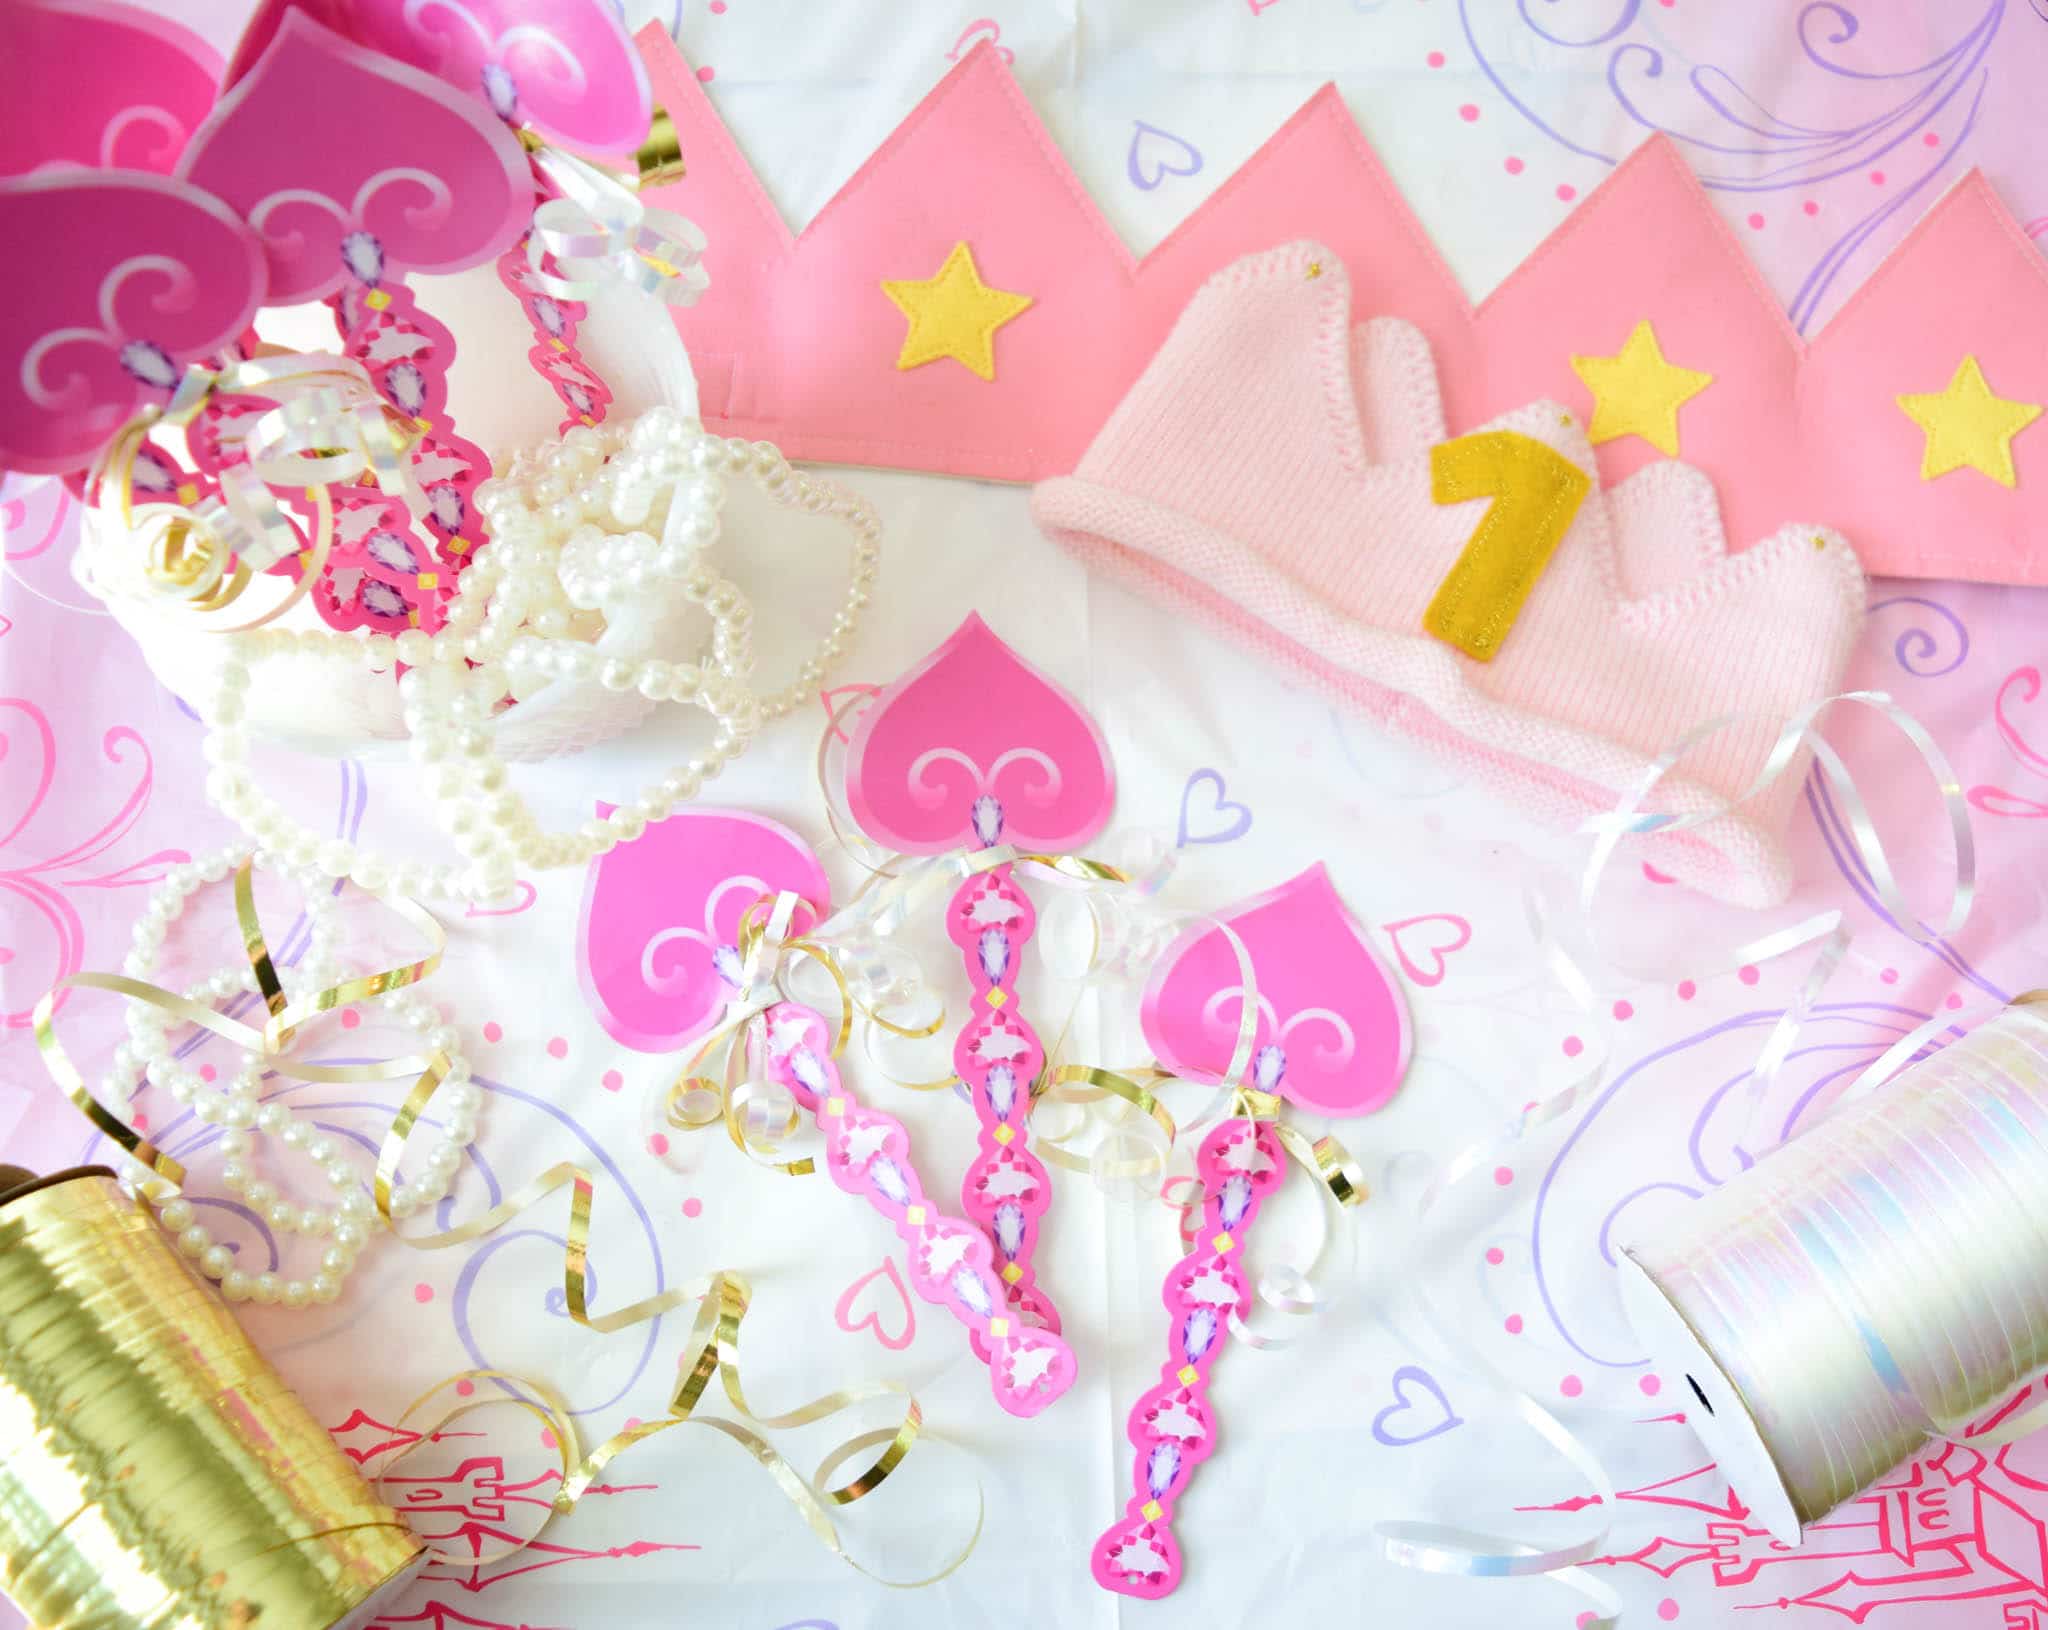
DIY Tip: I took the one-dimensional princess wands and turned them into sparkly, whimsical princess playthings! Just a couple aisles down from the party section of Target, you can find all different types of ribbons and bows with the wrapping paper. I selected one spool of iridescent light pink and one spool of gold. Each paper wand was adorned with 3-4 total strands of ribbon tied with a simple single knot. A quick curl to the ends with your scissors and you have crafty DIY princess wands!
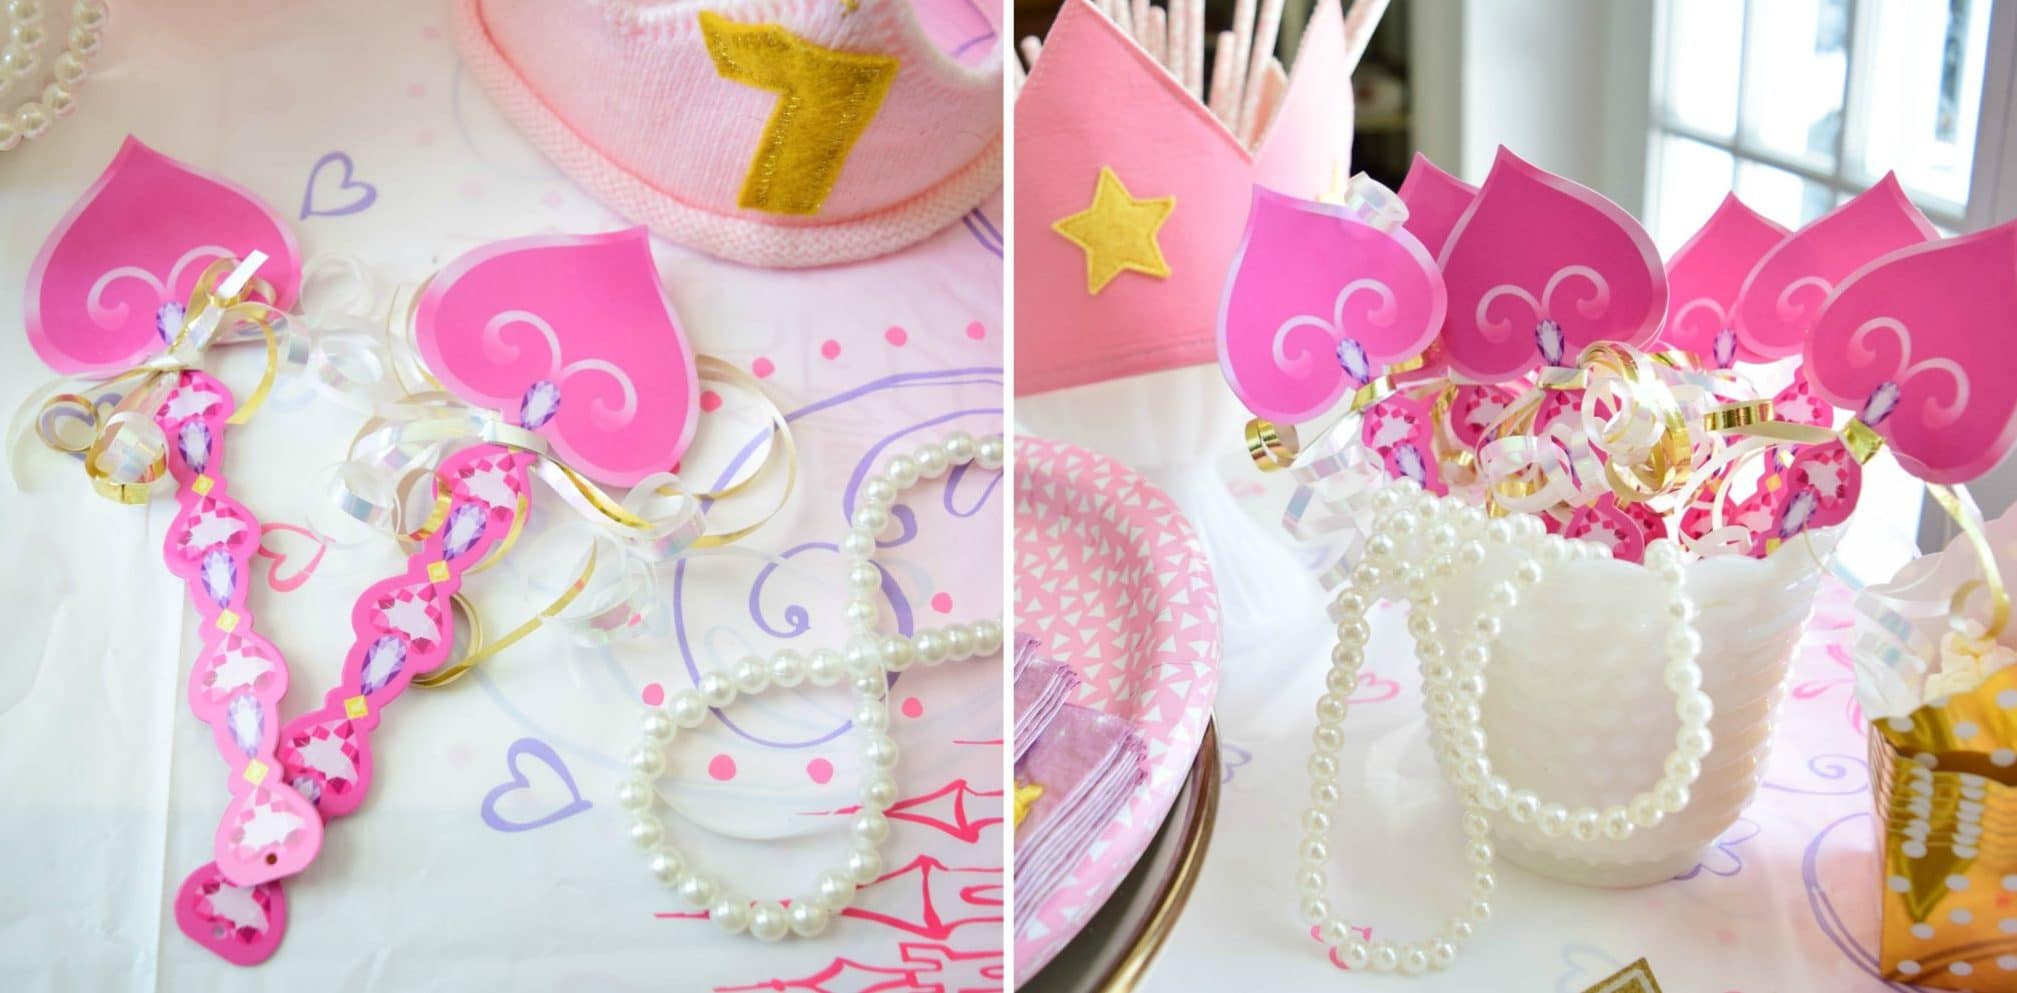
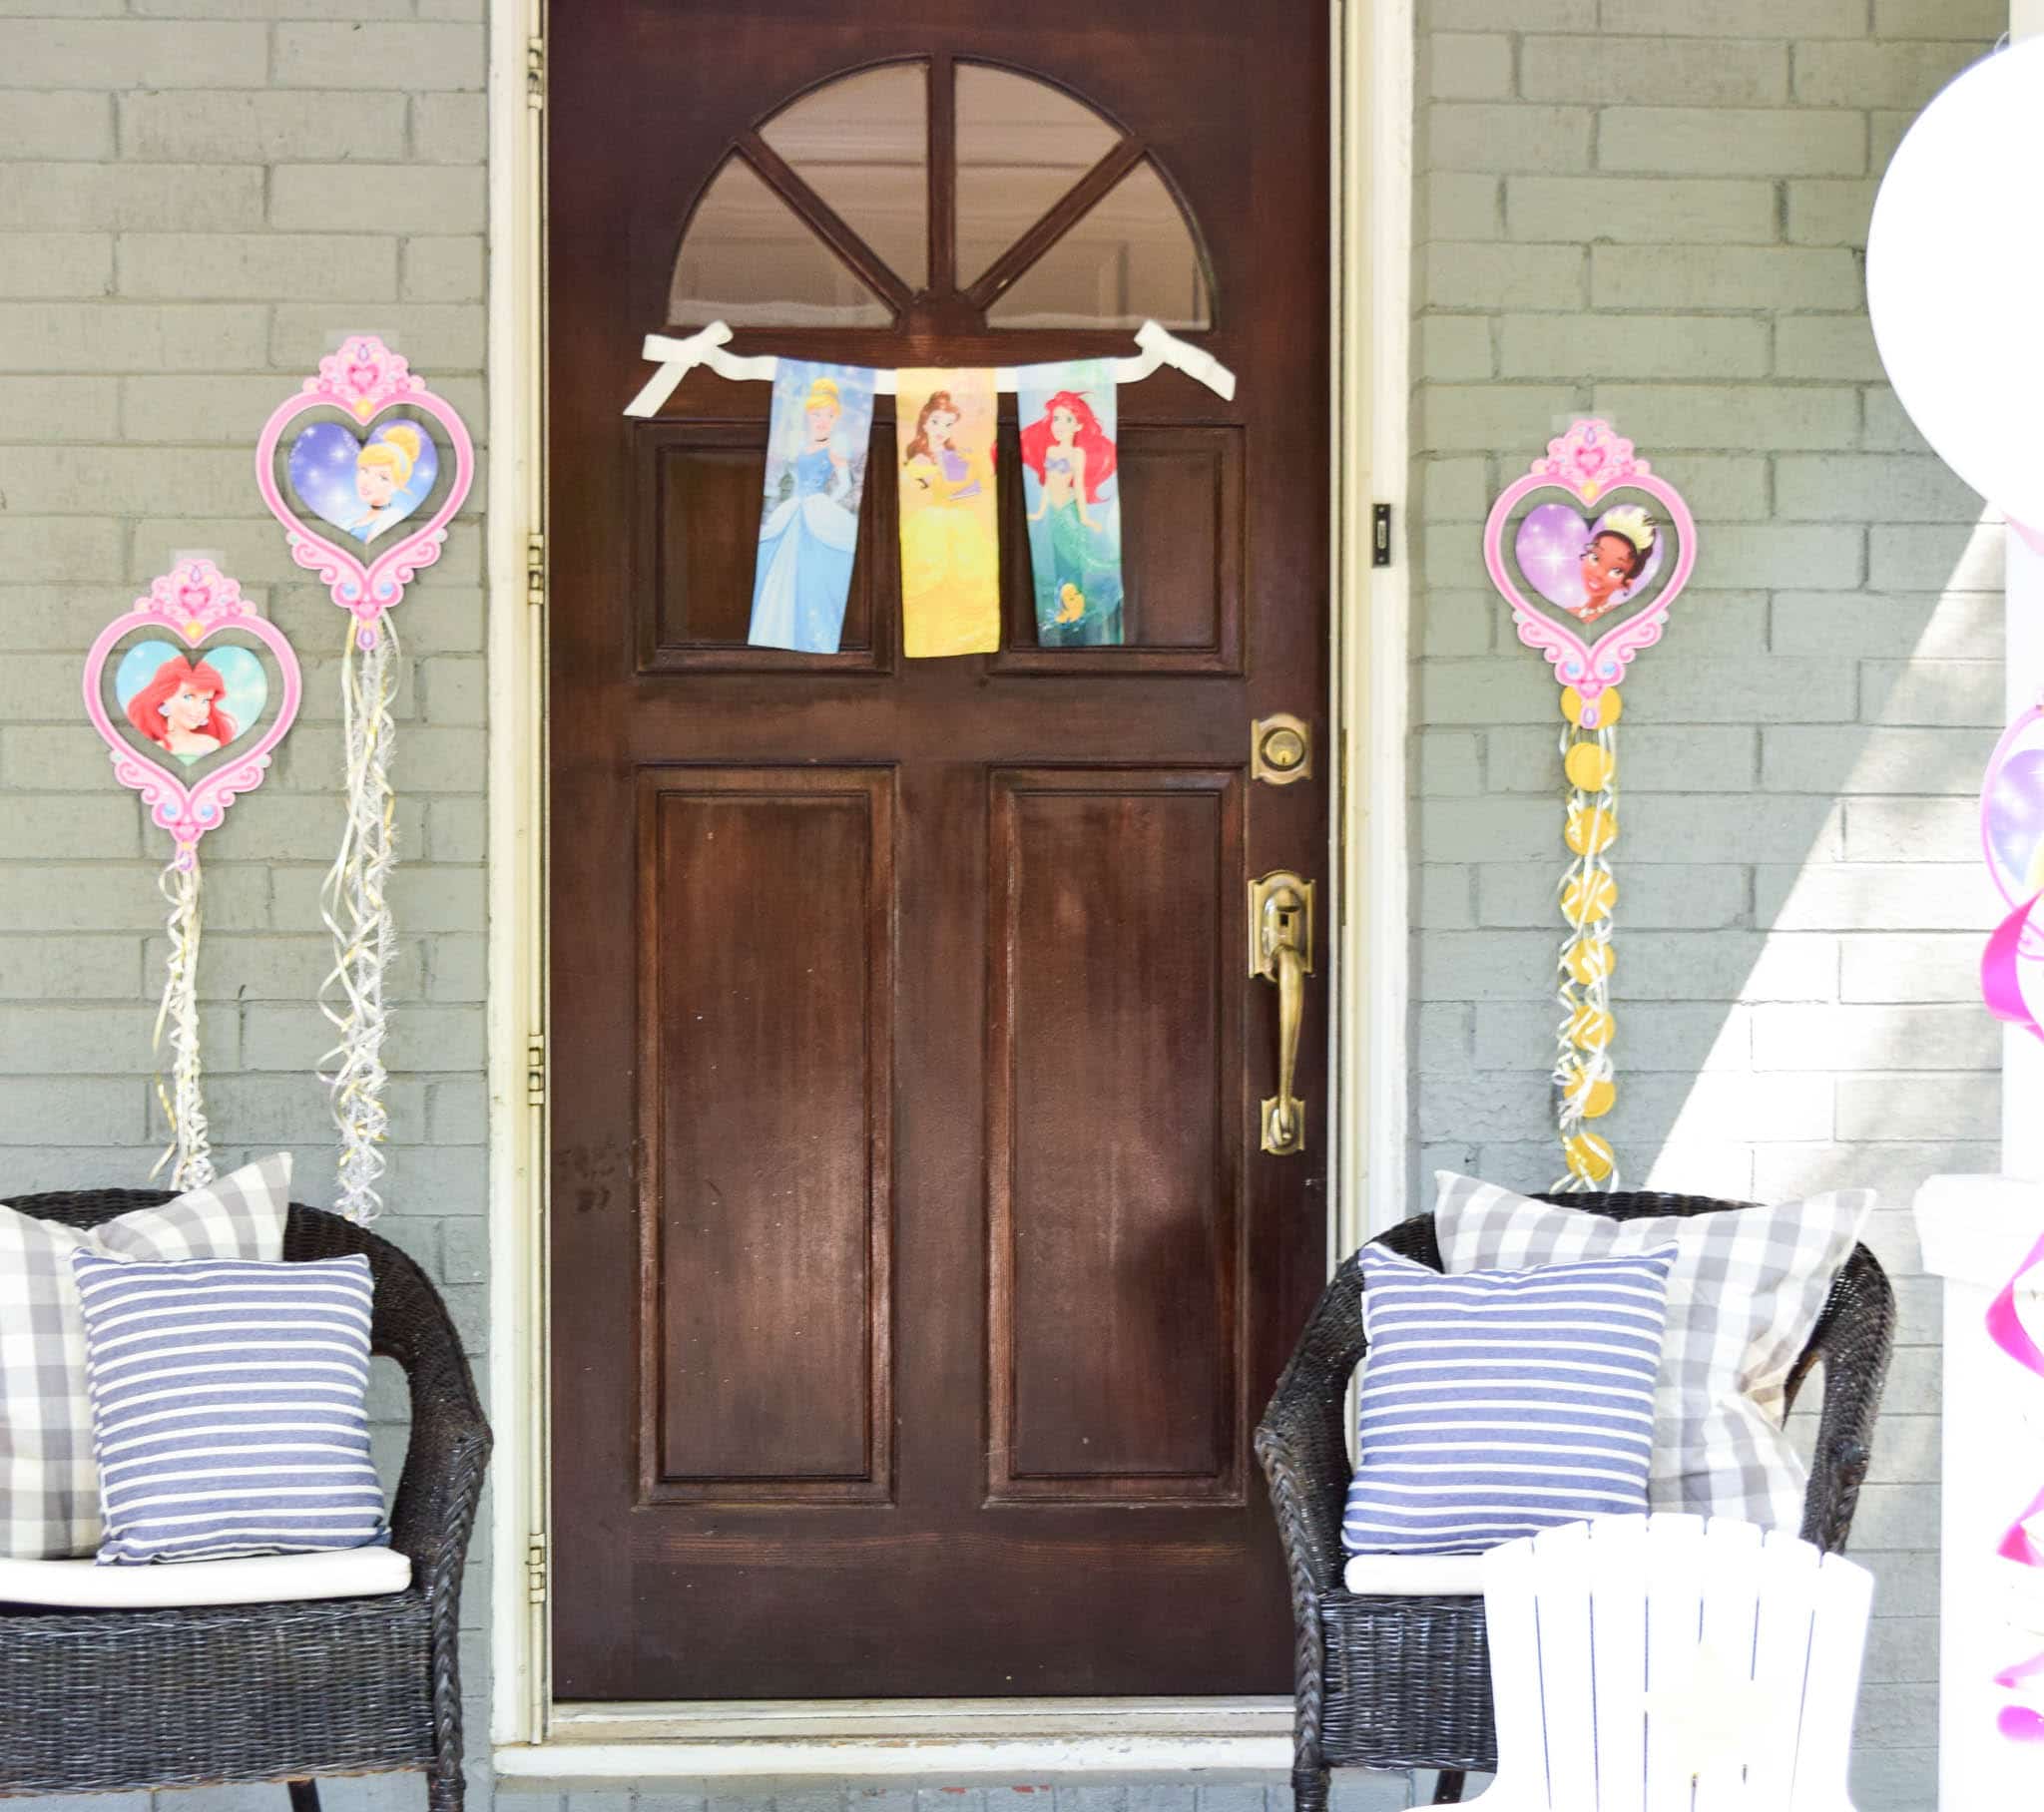
We want the fun to start from the moment you arrive at our party location! Using the same store-bought princess wall decor kit, we got crafty again with some DIY party tricks that are super on trend and make a big difference. Parties are all about garlands and banners these days. We love the pre-made ribbon and lace option from Target, but I wanted to create another banner that would announce our princess theme right from the front door!
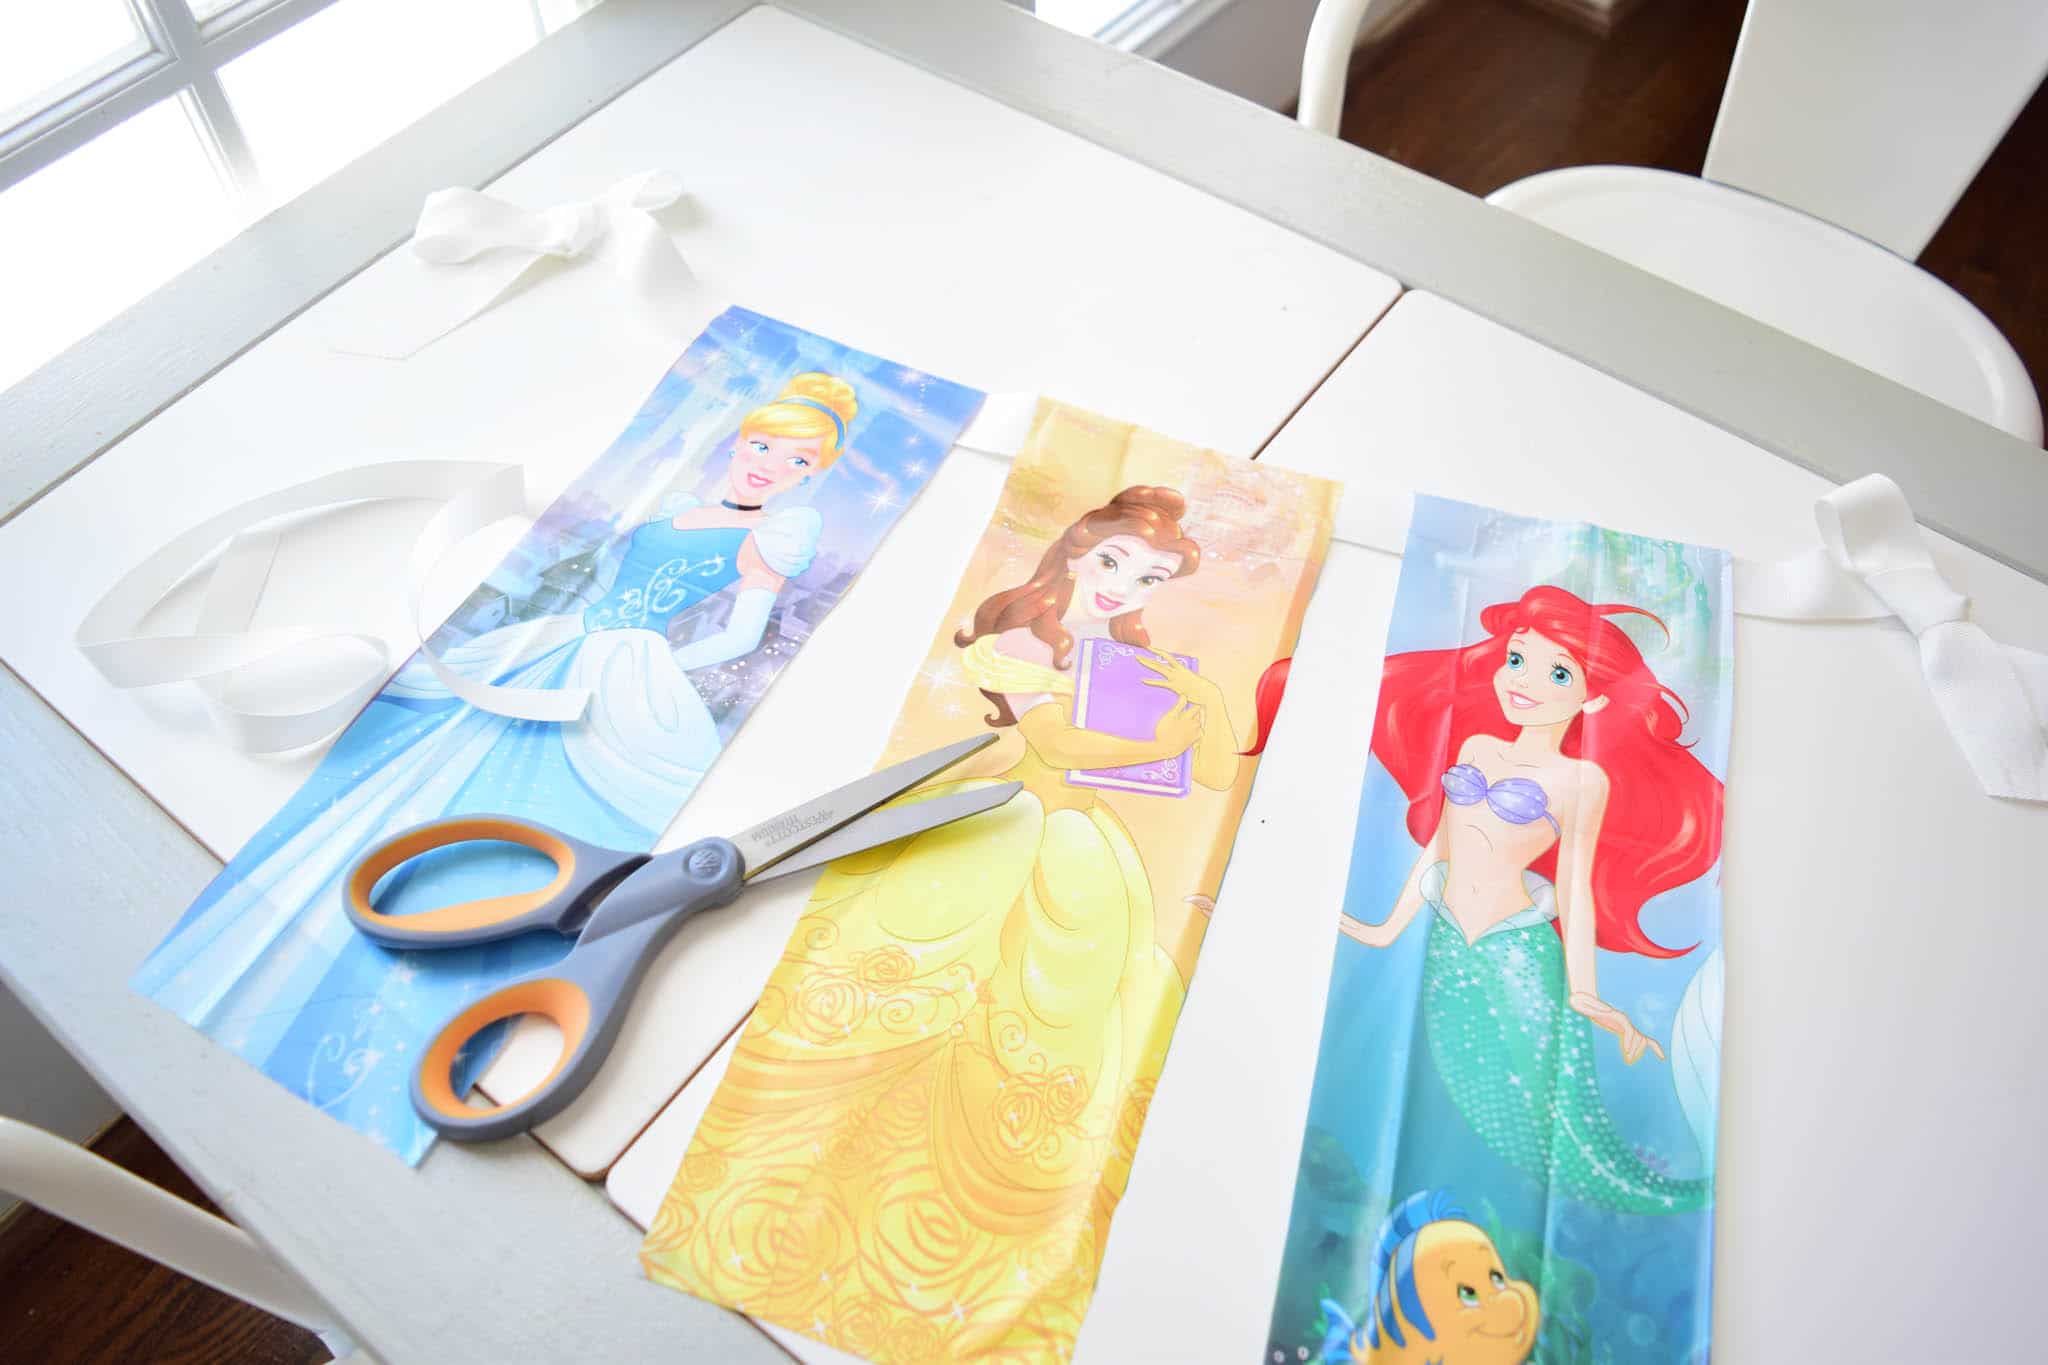
DIY Tip: Remember how we snipped off the character images from the plastic princess tablecloth? Well don’t throw those away! They make great wall decor! Simply cut each princess out and tape or glue them to a ribbon. Tie a sweet bow on each end and you have an easy DIY character banner that can be hung anywhere for another moment of princess party magic.
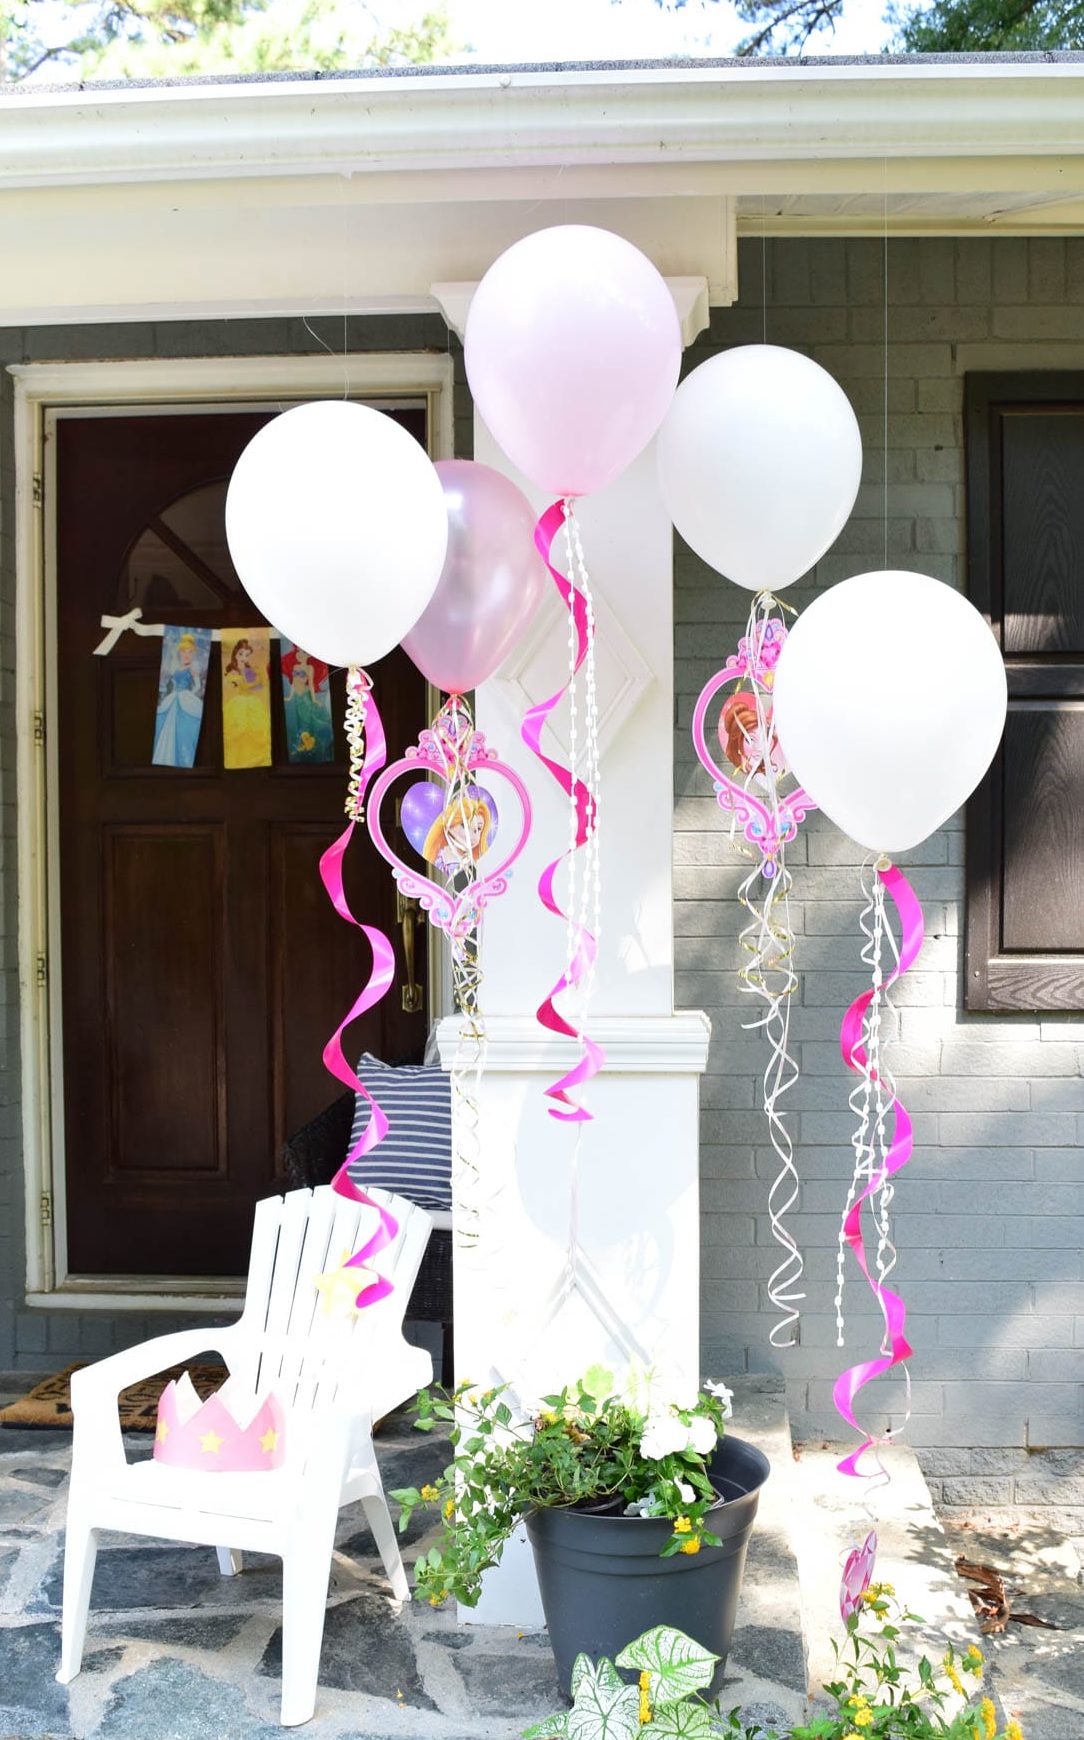
Another party trend that we are loving? Whimsical balloon tails! It’s not just about the helium-filled pop of color anymore, we’re looking at the balloon’s tail these days. Anything can be tied to the end of a balloon to give it some visual interest, but once again, we borrowed from the pre-made party decor pack from Target.
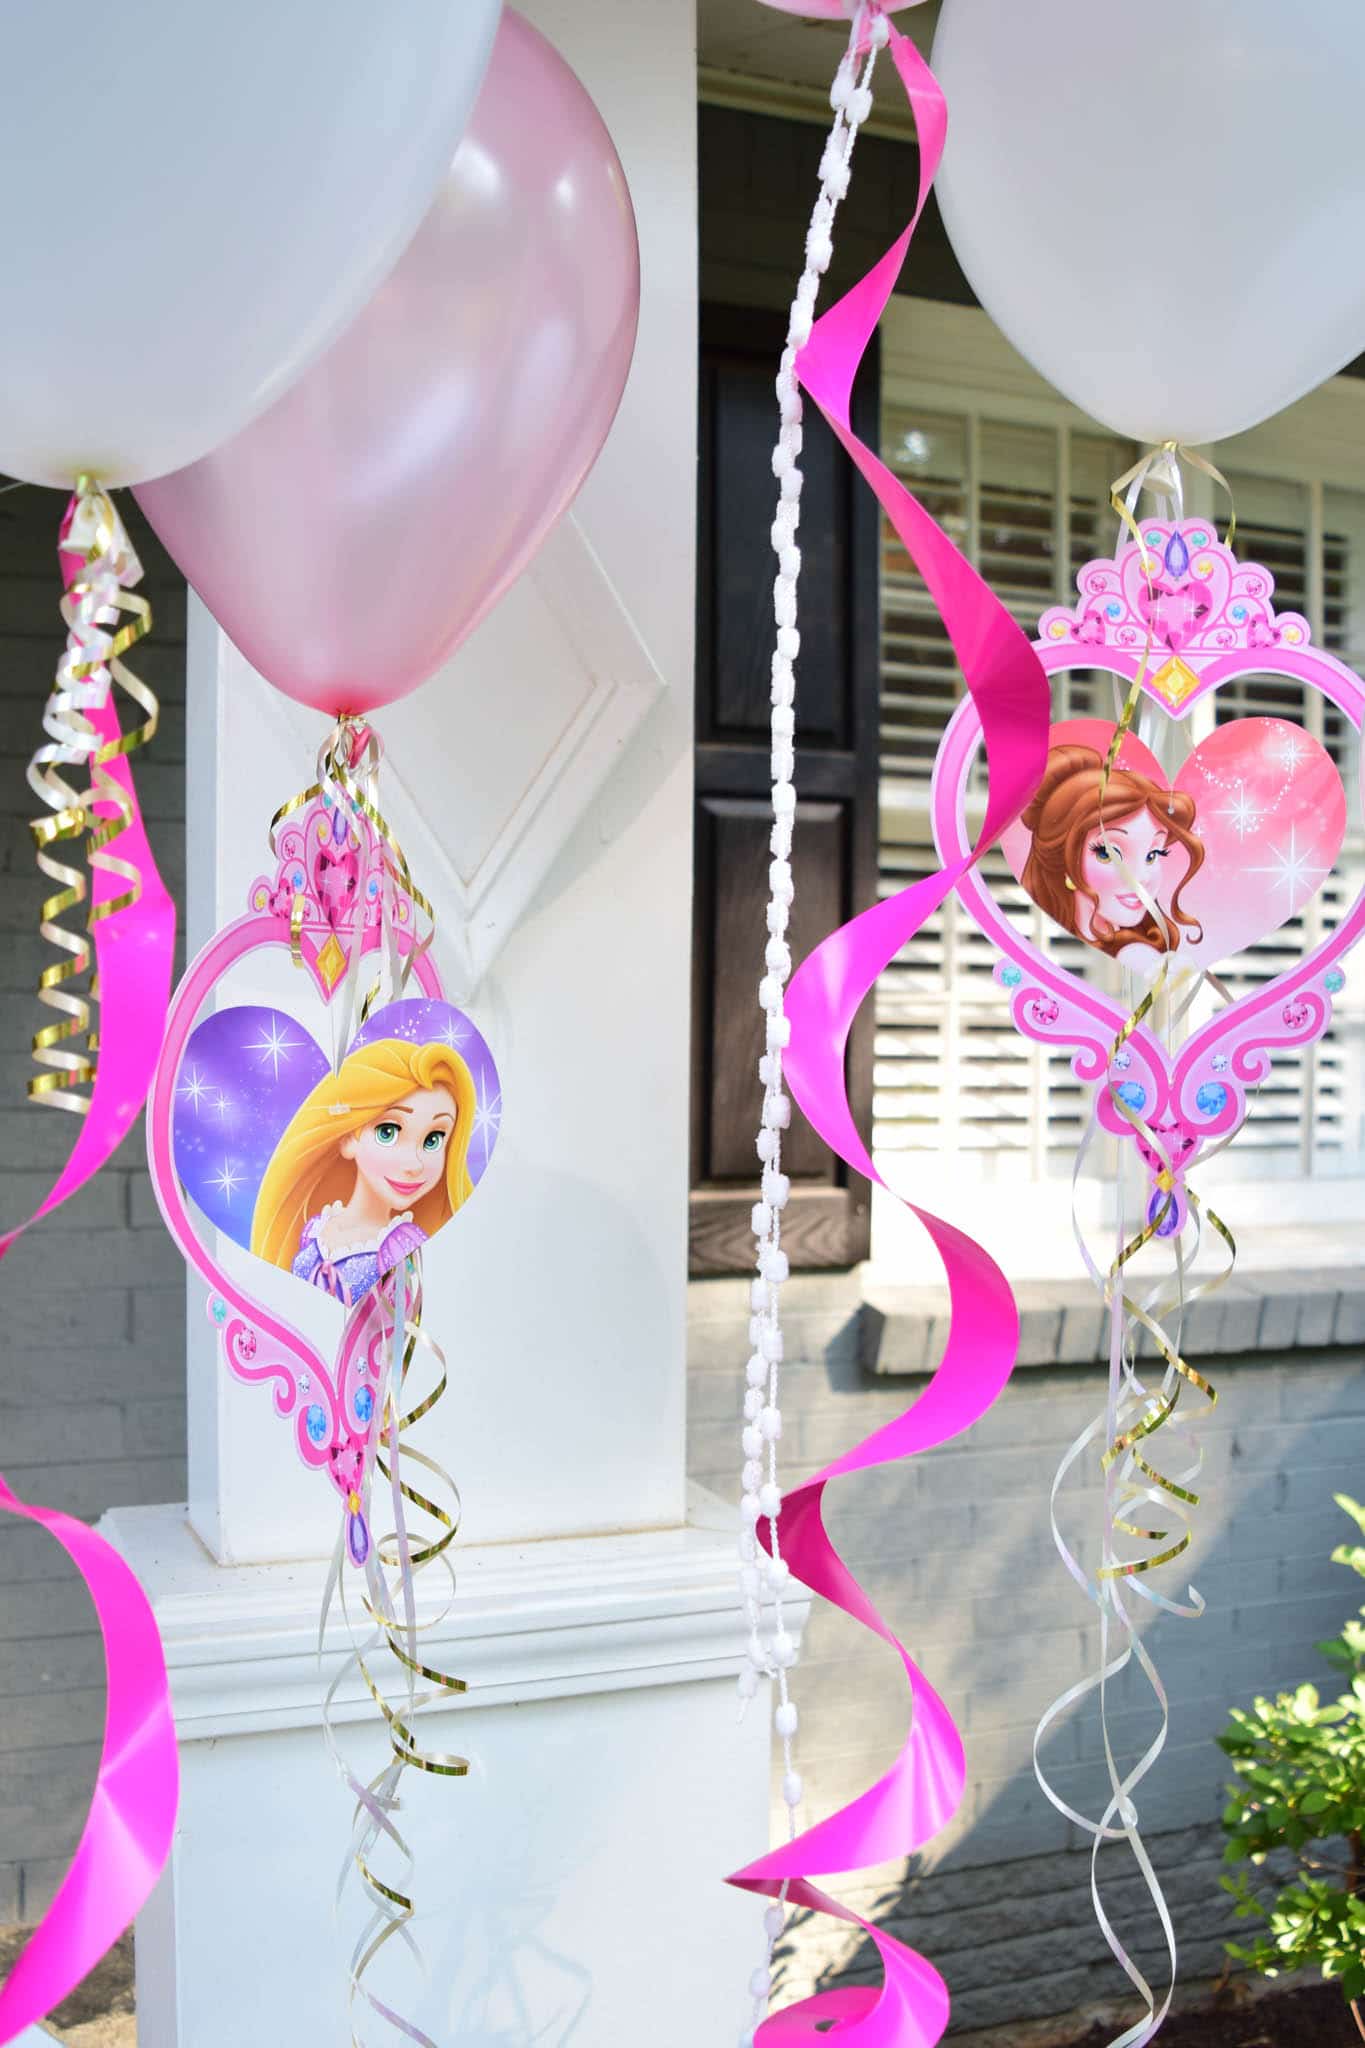
These swirly pink tails and princess ceiling hangings look way more chic when adhered to the bottom of a balloon. They add in another dose of princess while remaining crafty cute. DIY Tip: This DIY princess balloon tail was as easy as tying strings, pom pom garland, and ribbons to the bottom of the balloons and princess wall hangings. A quick knot is all you need! P.S. The wall hangings already come with clear fishing line that can be used for connecting the paper party decor items to the balloons. Thanks, pre-made party kits!
The remaining store-bought princess decor items got the “DIY upgrade” with their own tails of glittery garland, shiny strings and super curly ribbons. This entire entrance made from a combo of ready-to-go princess items and craft supplies from Target welcomes guests into the party in true princess fashion!
Next time your little one requests a character themed party when you’re really pushing for something more Pinterest-friendly, try out these mix-and-match DIY tricks and create a party that pleases both!
This post has been sponsored by American Greetings and Disney Princess© Disney.
All thoughts and opinions are my own.
SaveSave
SaveSave
SaveSave
SaveSaveSaveSave
SaveSave


Comments
Soniaa Paul
Beautiful Party Decoration!!!!
Razatrade
Nice and Creative ! Beautiful