Know what I like? Furniture that is crazy versatile. I refused to buy a changing table for my first born simply because it only served one purpose. Instead I opted for a changing pad atop a dresser that she could use for years. Floor poufs aren’t exactly new to the decor scene, but they are incredibly useful if made just the right size. Whether you need additional seating or a place to rest your feet while gliding your baby to sleep. I think this particular pouf is the pick of the litter. The fact that you’re gonna sew it yourself with the most fabulous fabric for your space makes it, well…just about perfect.
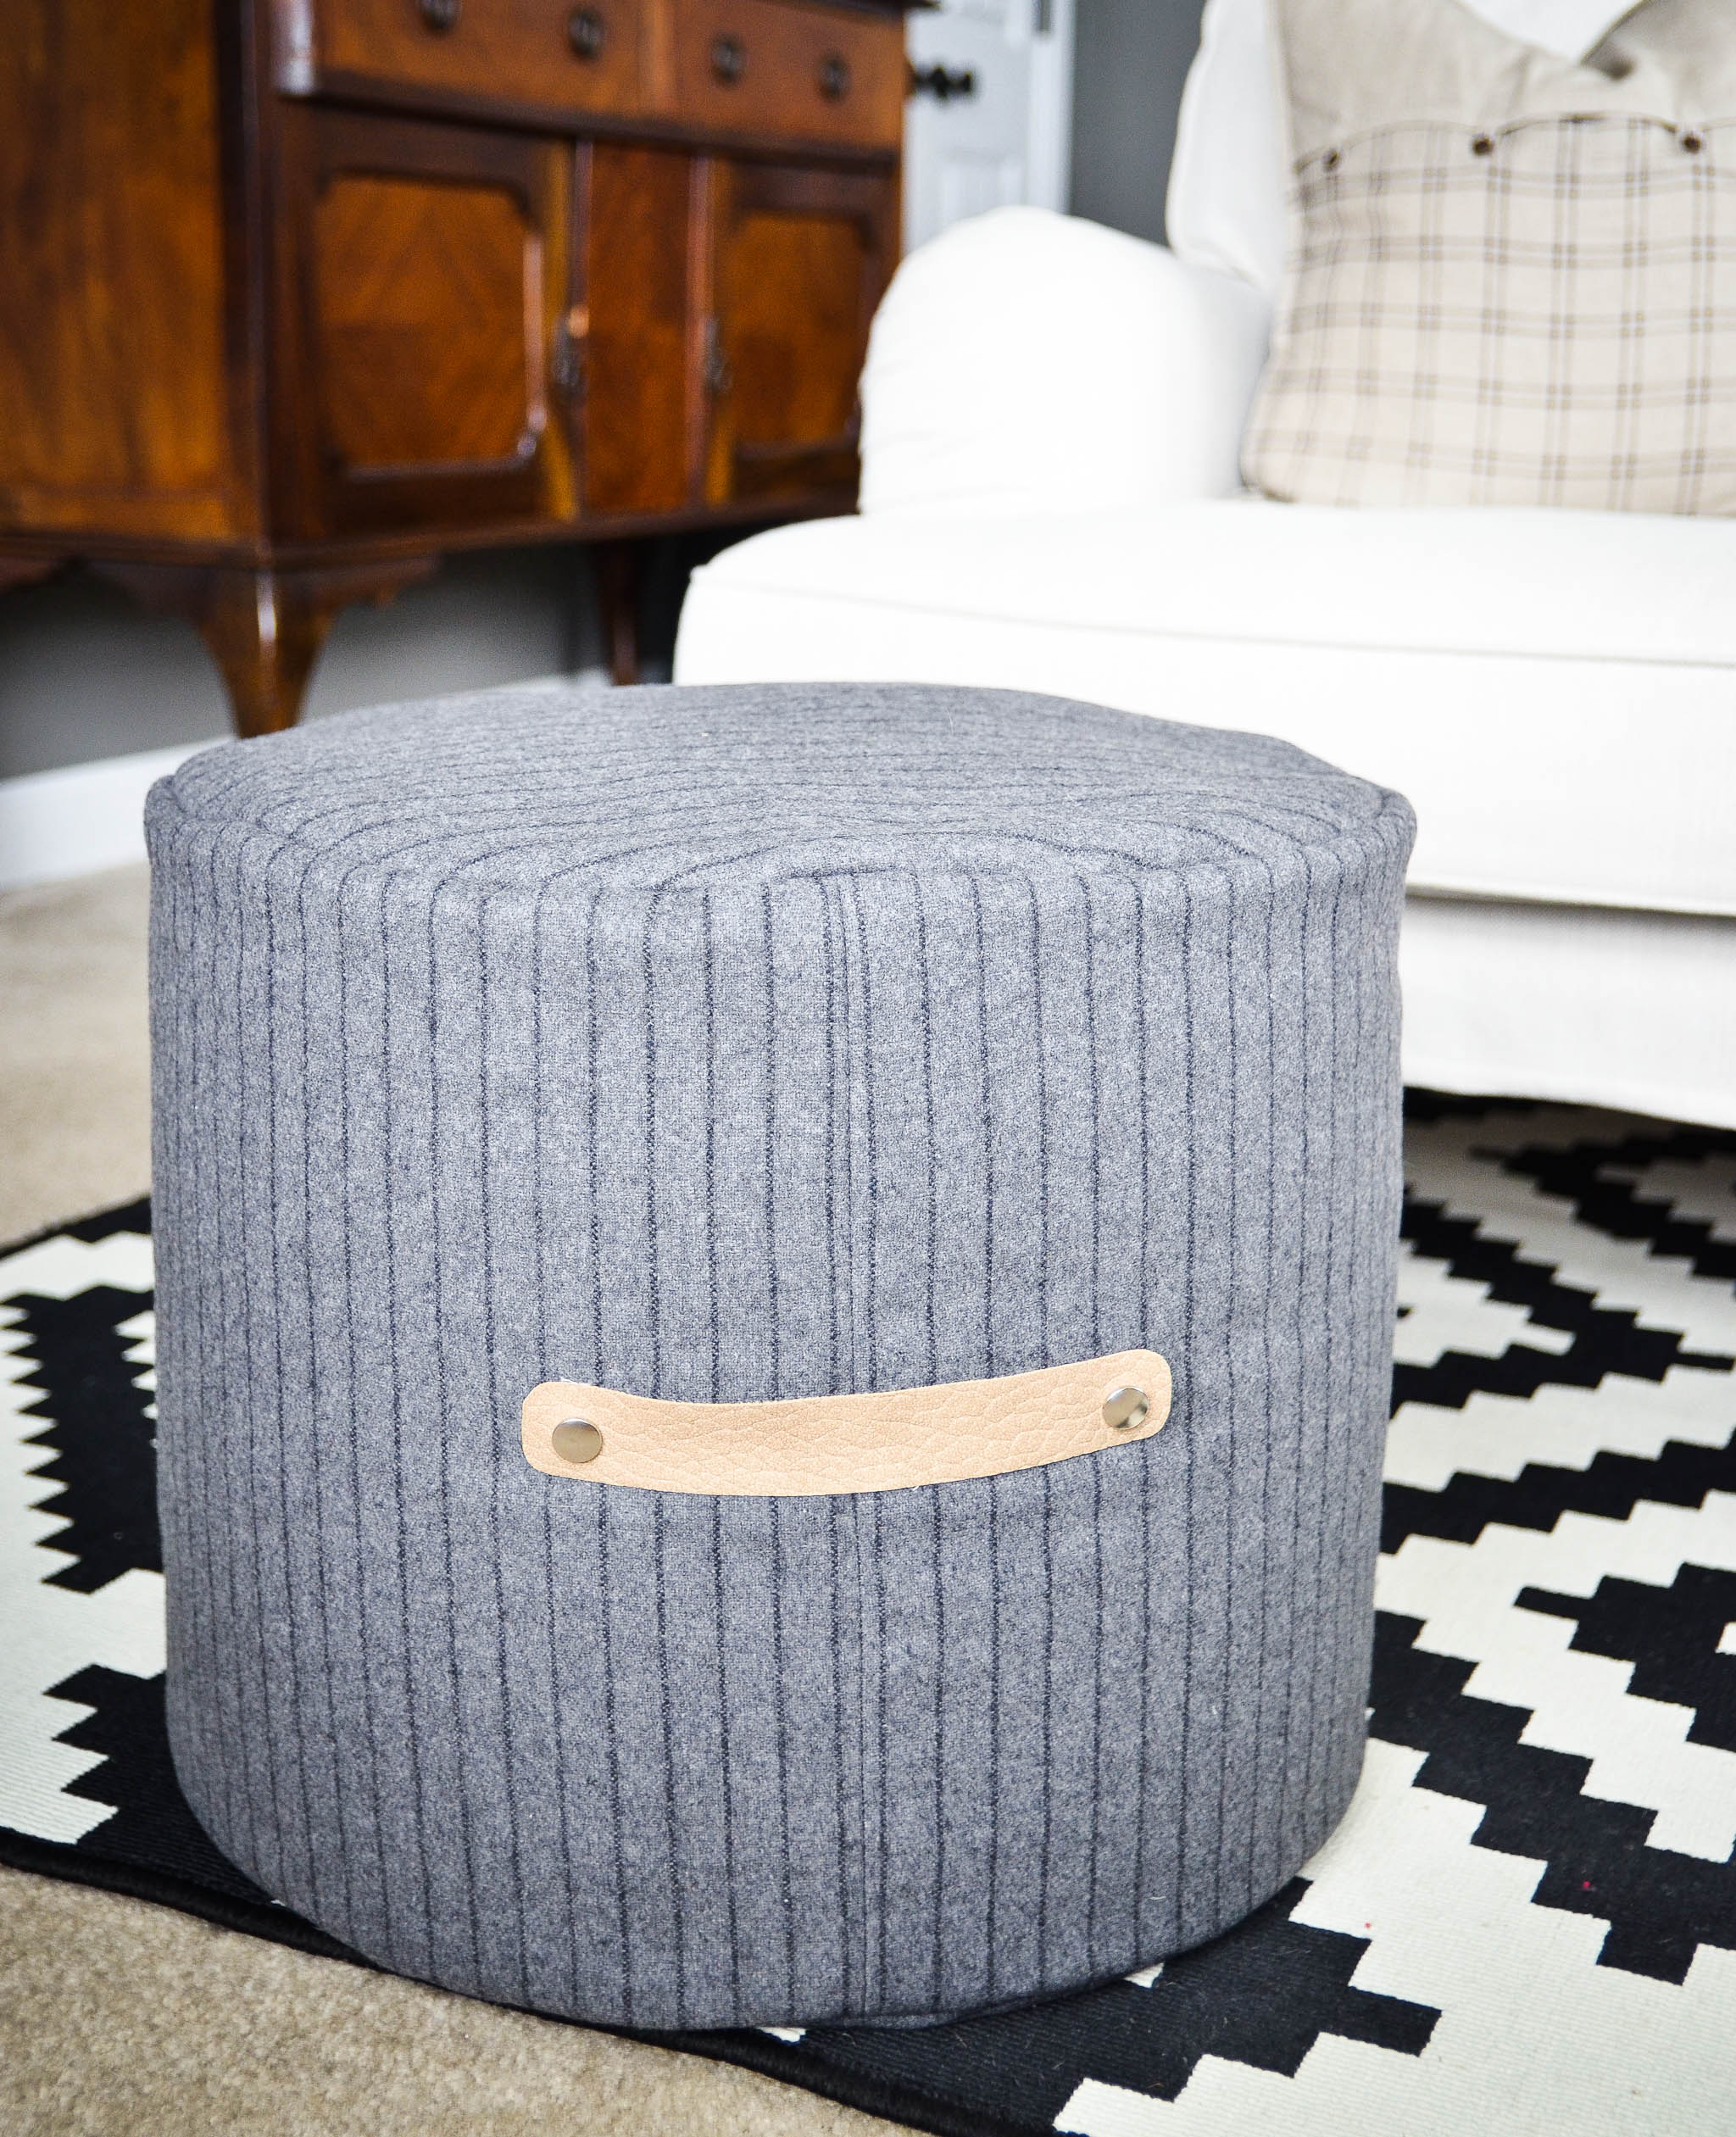
I selected my fabric from Fabric.com, which, let me just tell you, has a ton of options. We chose gray because it’s the go-to nursery neutral these days, but you can find anything there to suit your nursery perfectly. And you can’t beat shopping for fabric from the comfort of your own home!
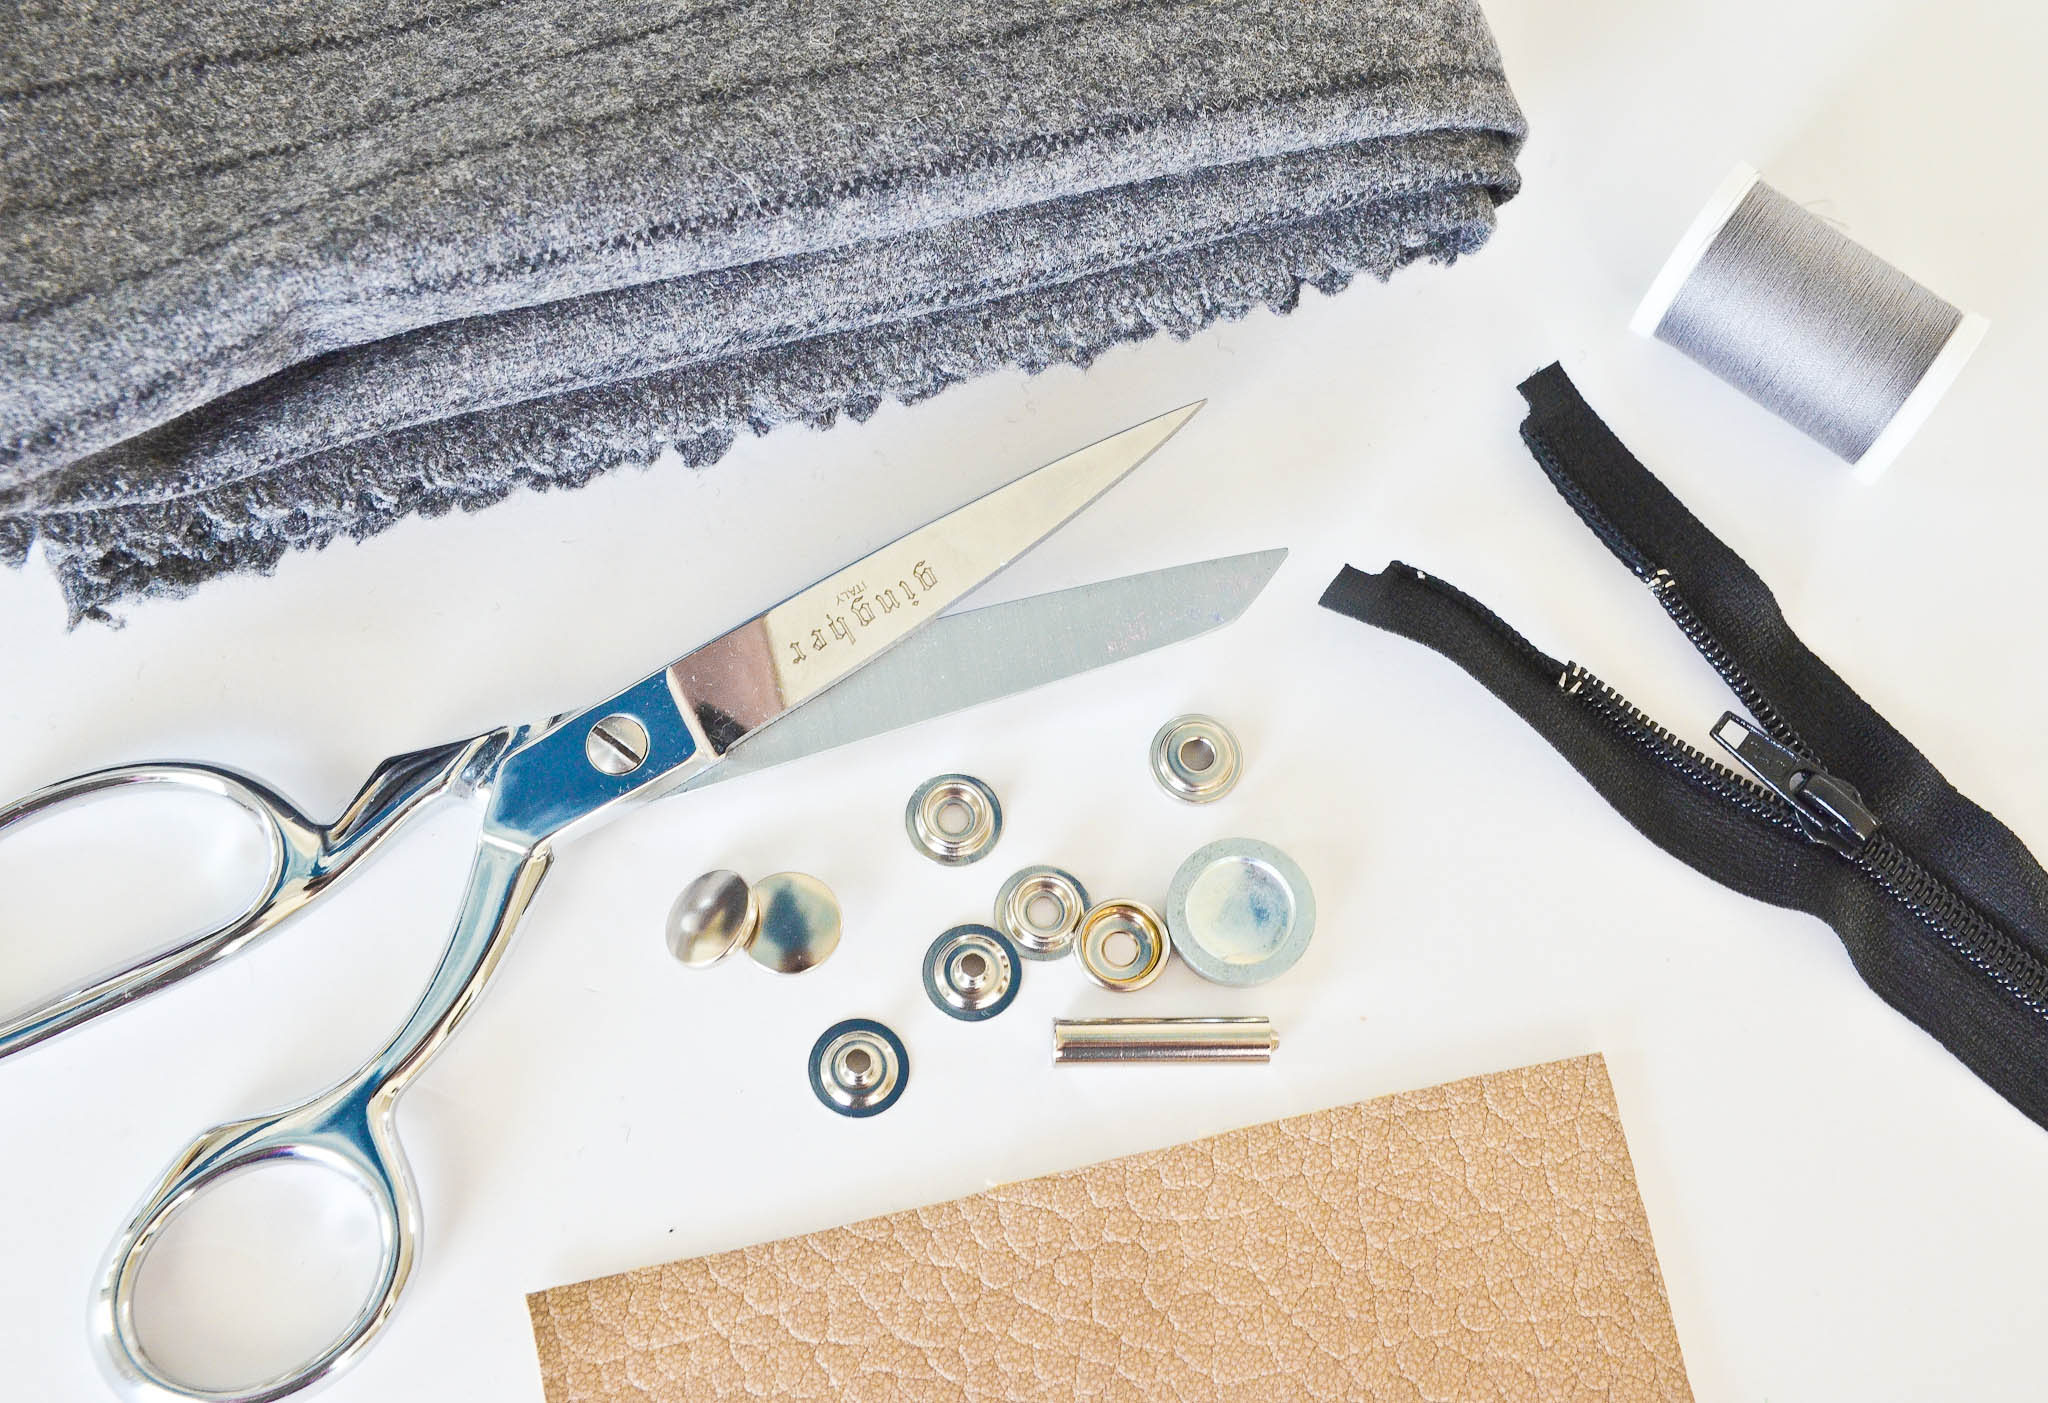 Materials: 1.25 yds main fabric—minimum 56″ width (I strongly recommend upholstery weight or something heavier than thin cotton) (I used Telio Wool Blend Melton Fancy Pinstripe Grey/Black), a 22″ zipper, fabric scissors, coordinating thread, measuring tape (ruler), sewing pins, iron, zipper foot, sewing machine, filler material
Optional handle materials: 1.5″x8″ piece of leather (or leather-like fabric) (I used Richloom Tough Faux Leather Lattimer Tobacco), heavy duty snap fastener kit (5/8″ snap diameter), snaps, X-ACTO knife, Sharpie, hammer
*All seam allowances are 1/2″ unless otherwise stated.
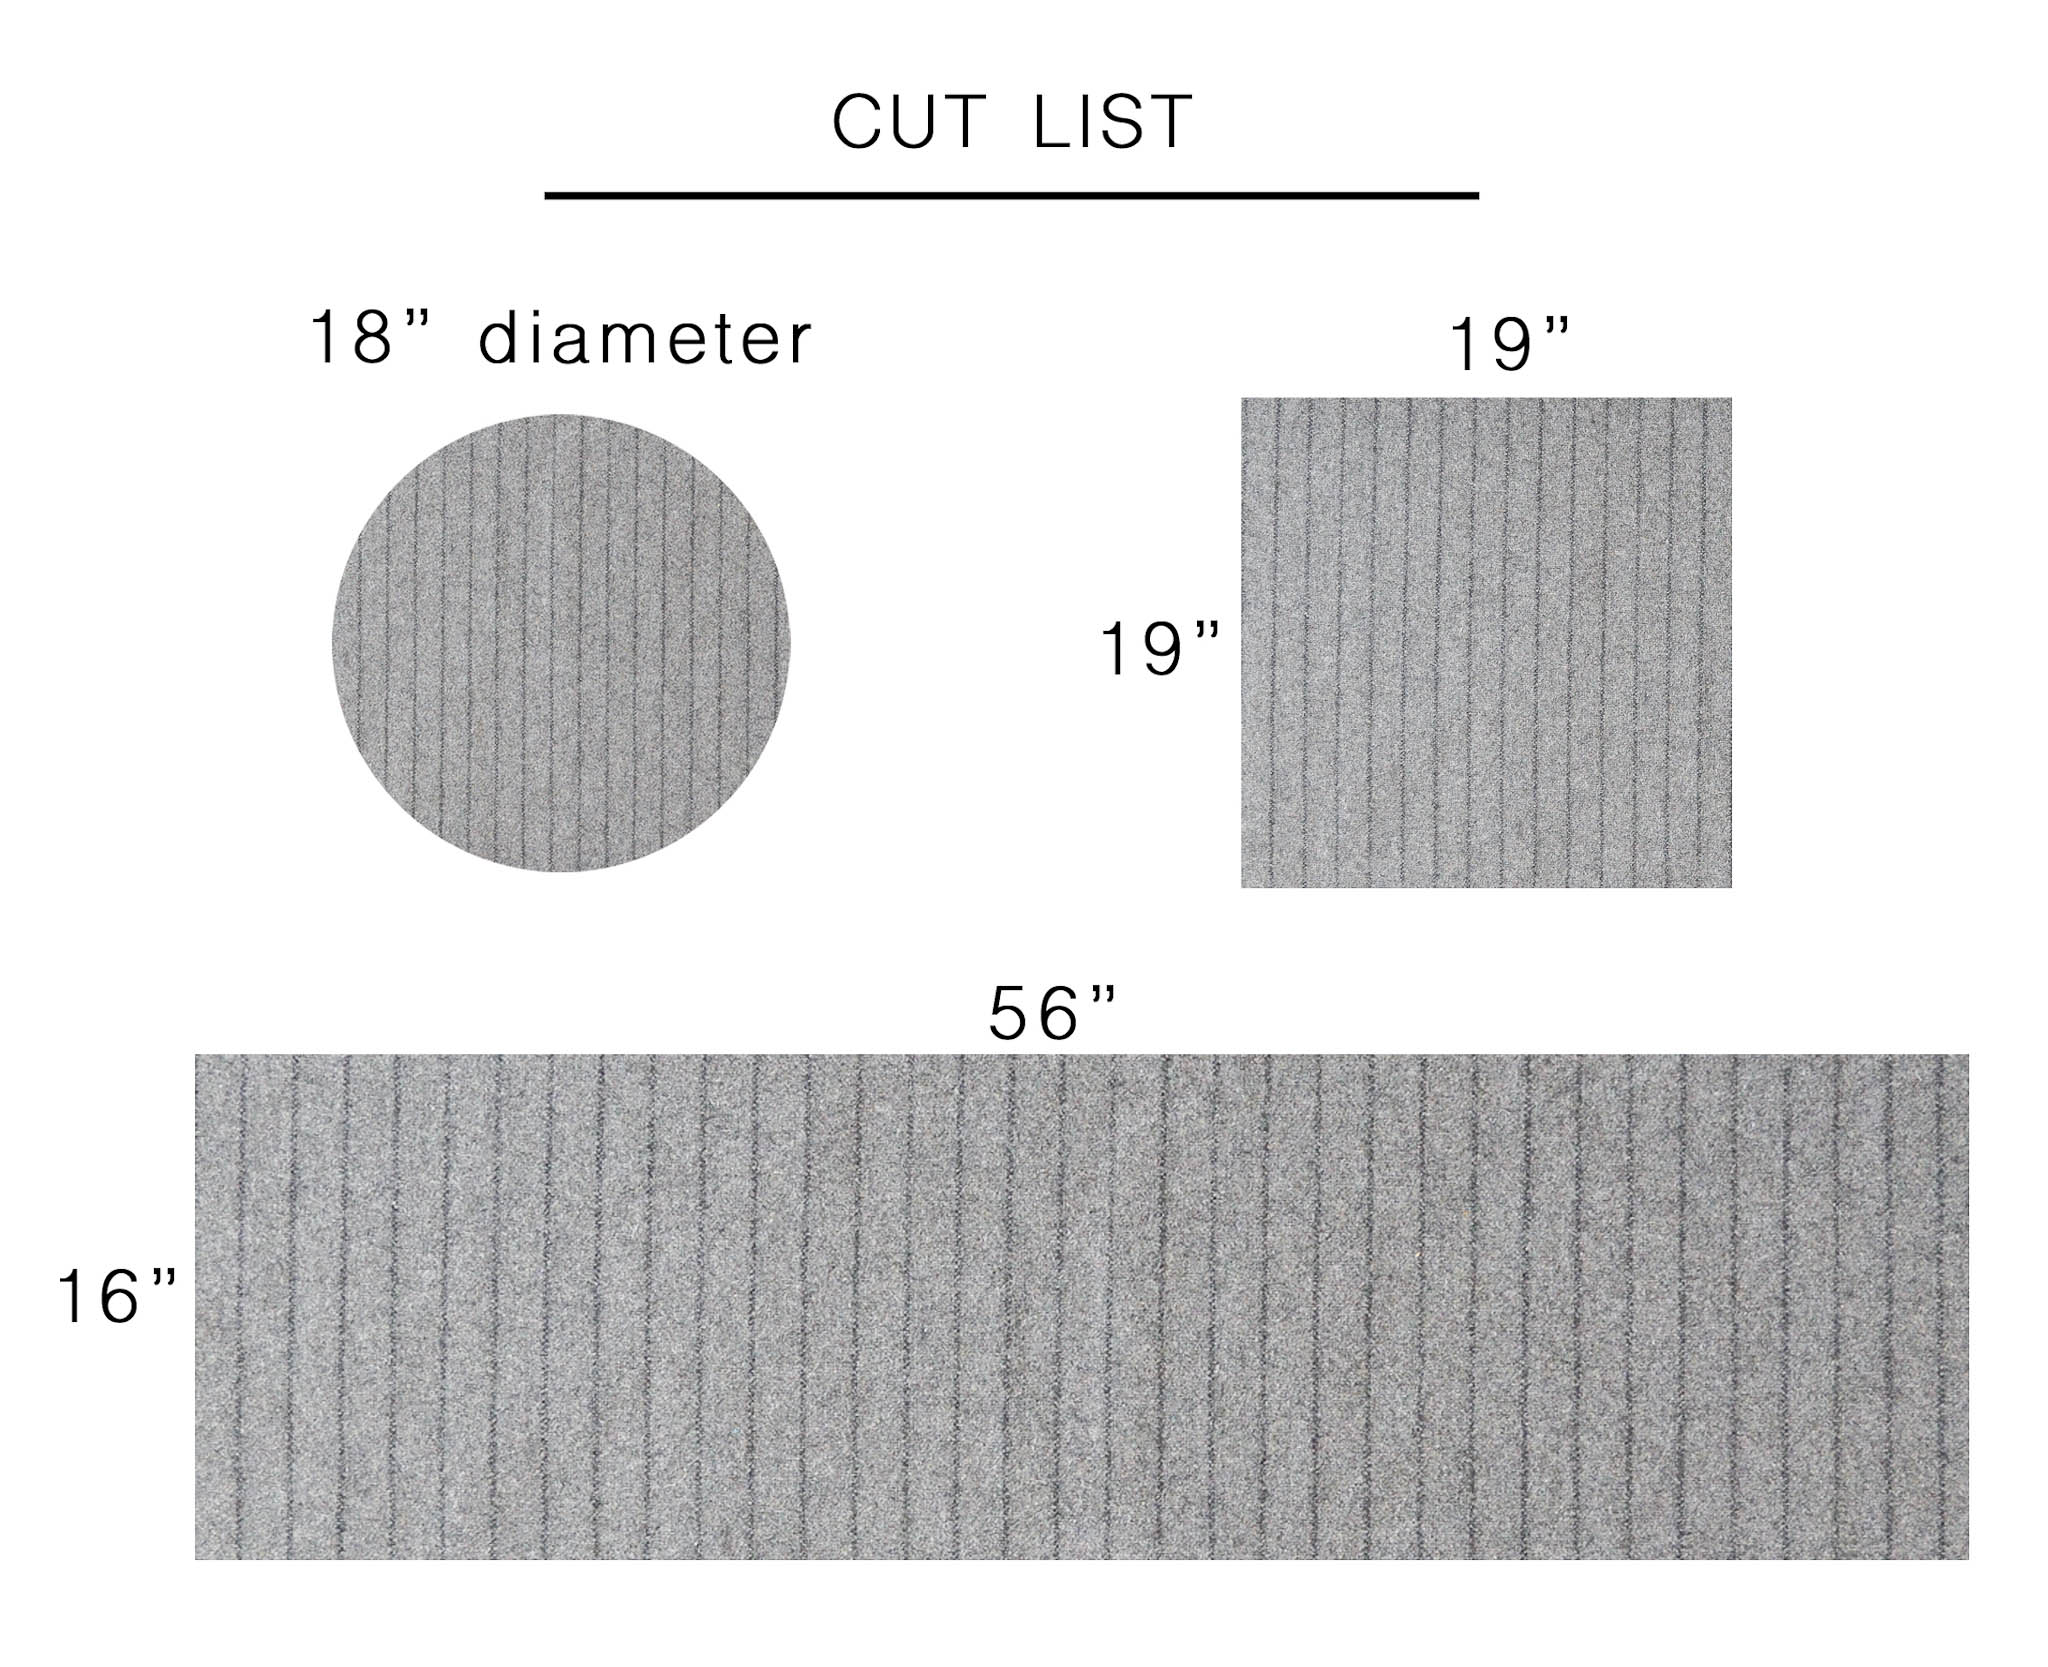
1. Begin by cutting the following shapes from your main fabric. Set aside the circle and rectangle.
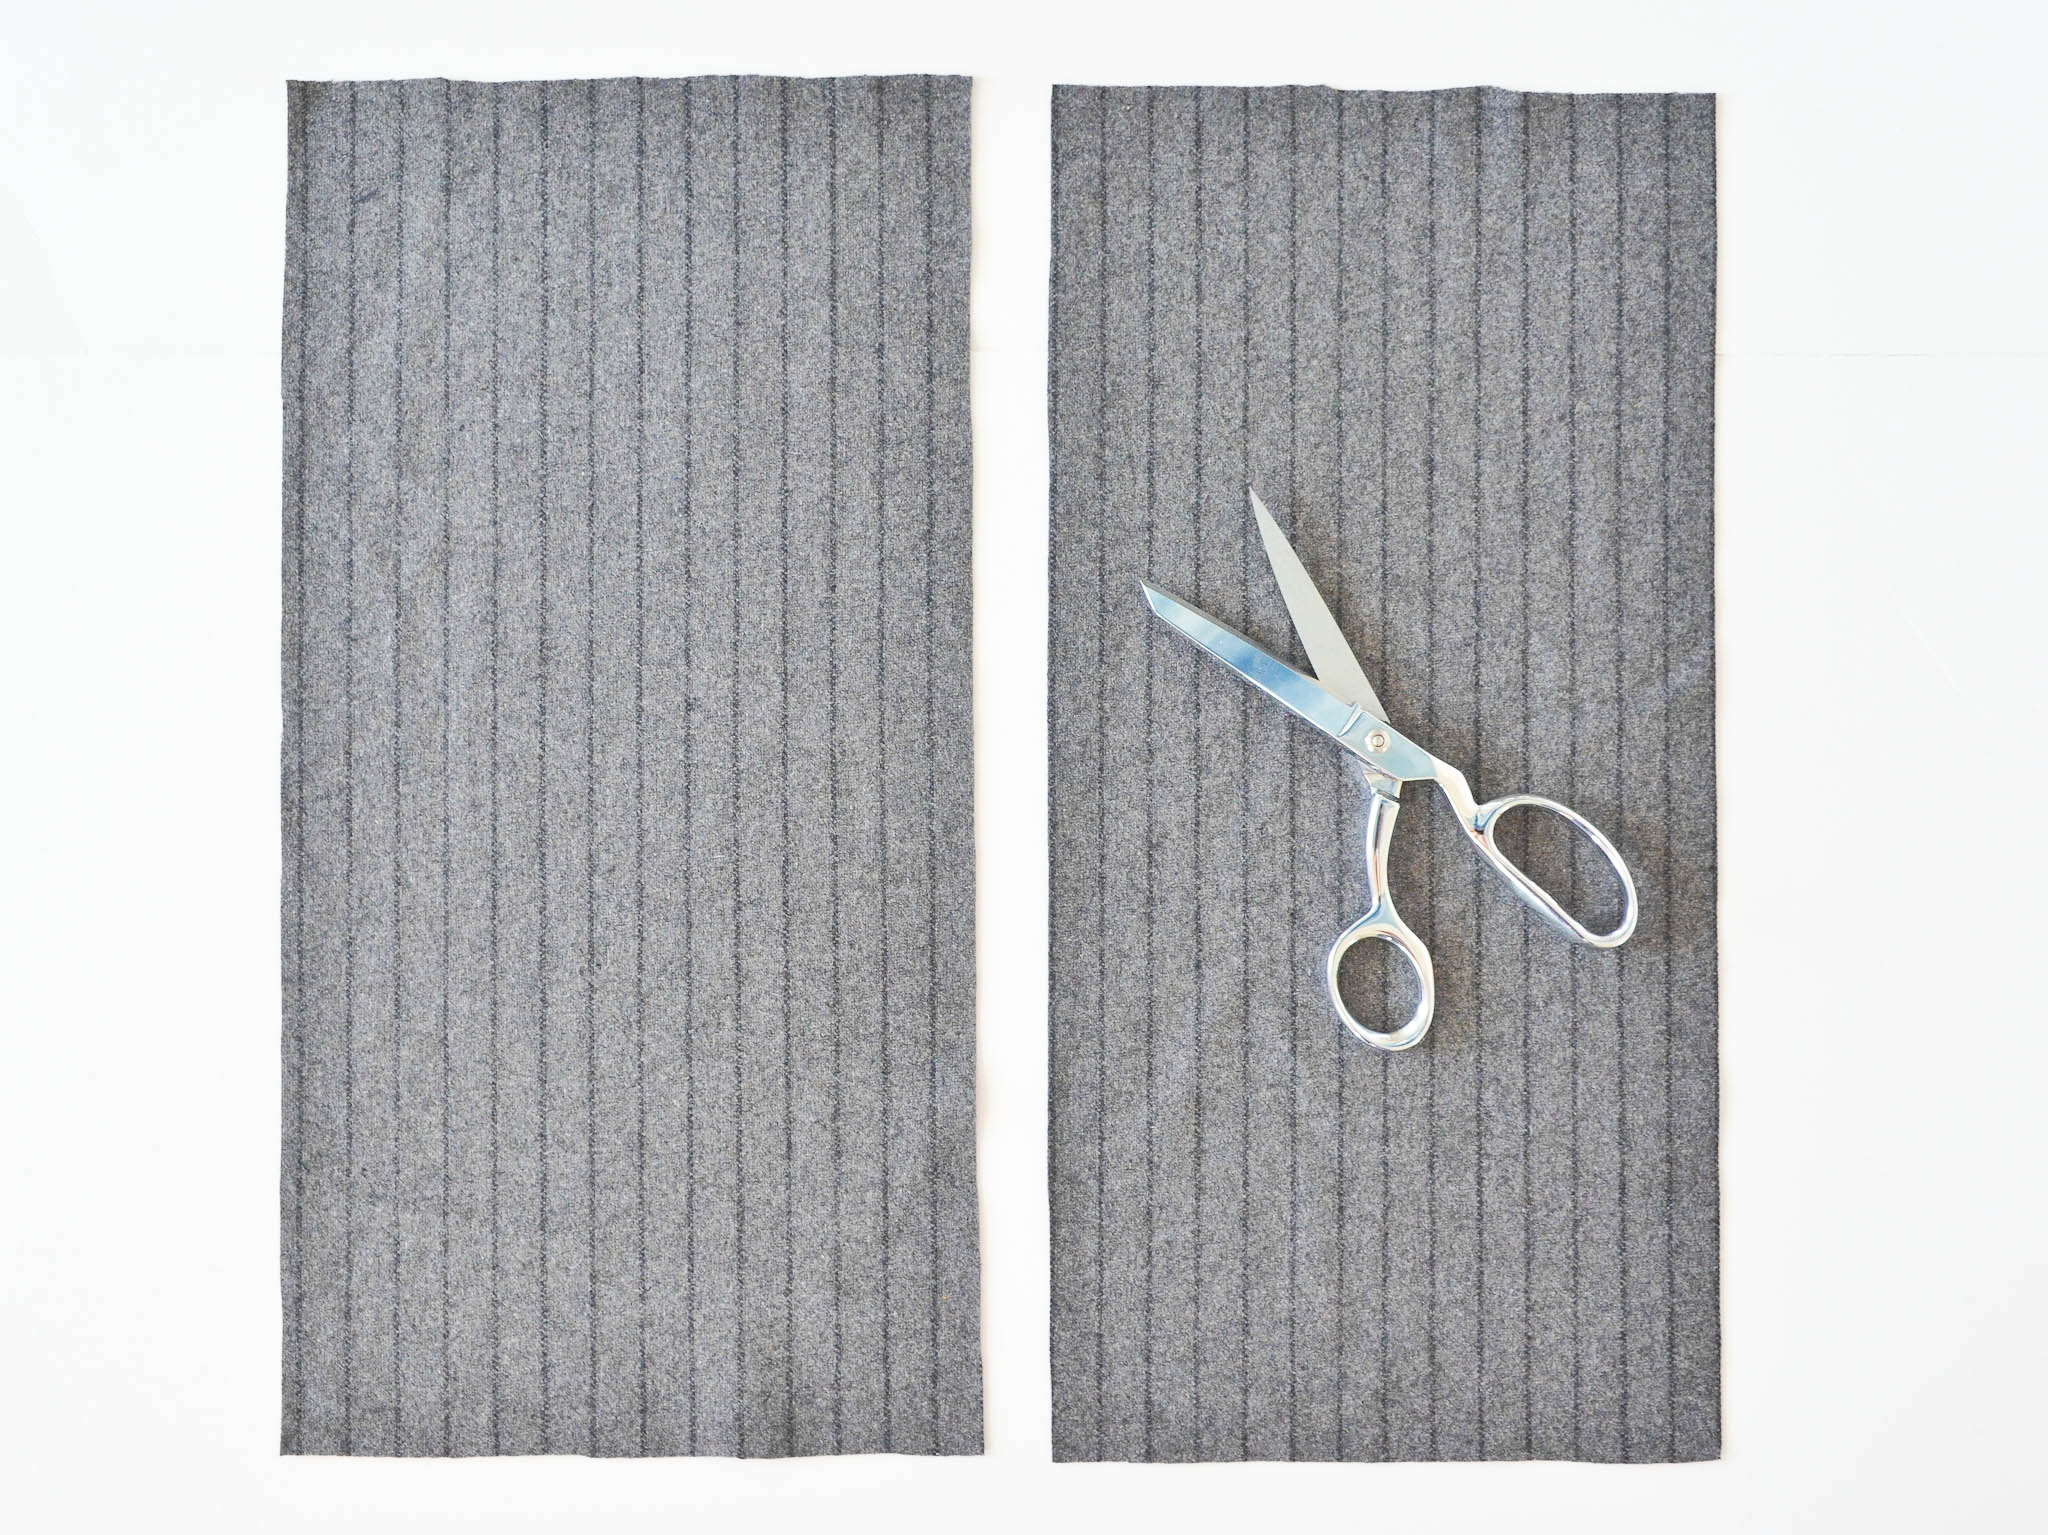
2. Cut your 19″ square into two equal halves.
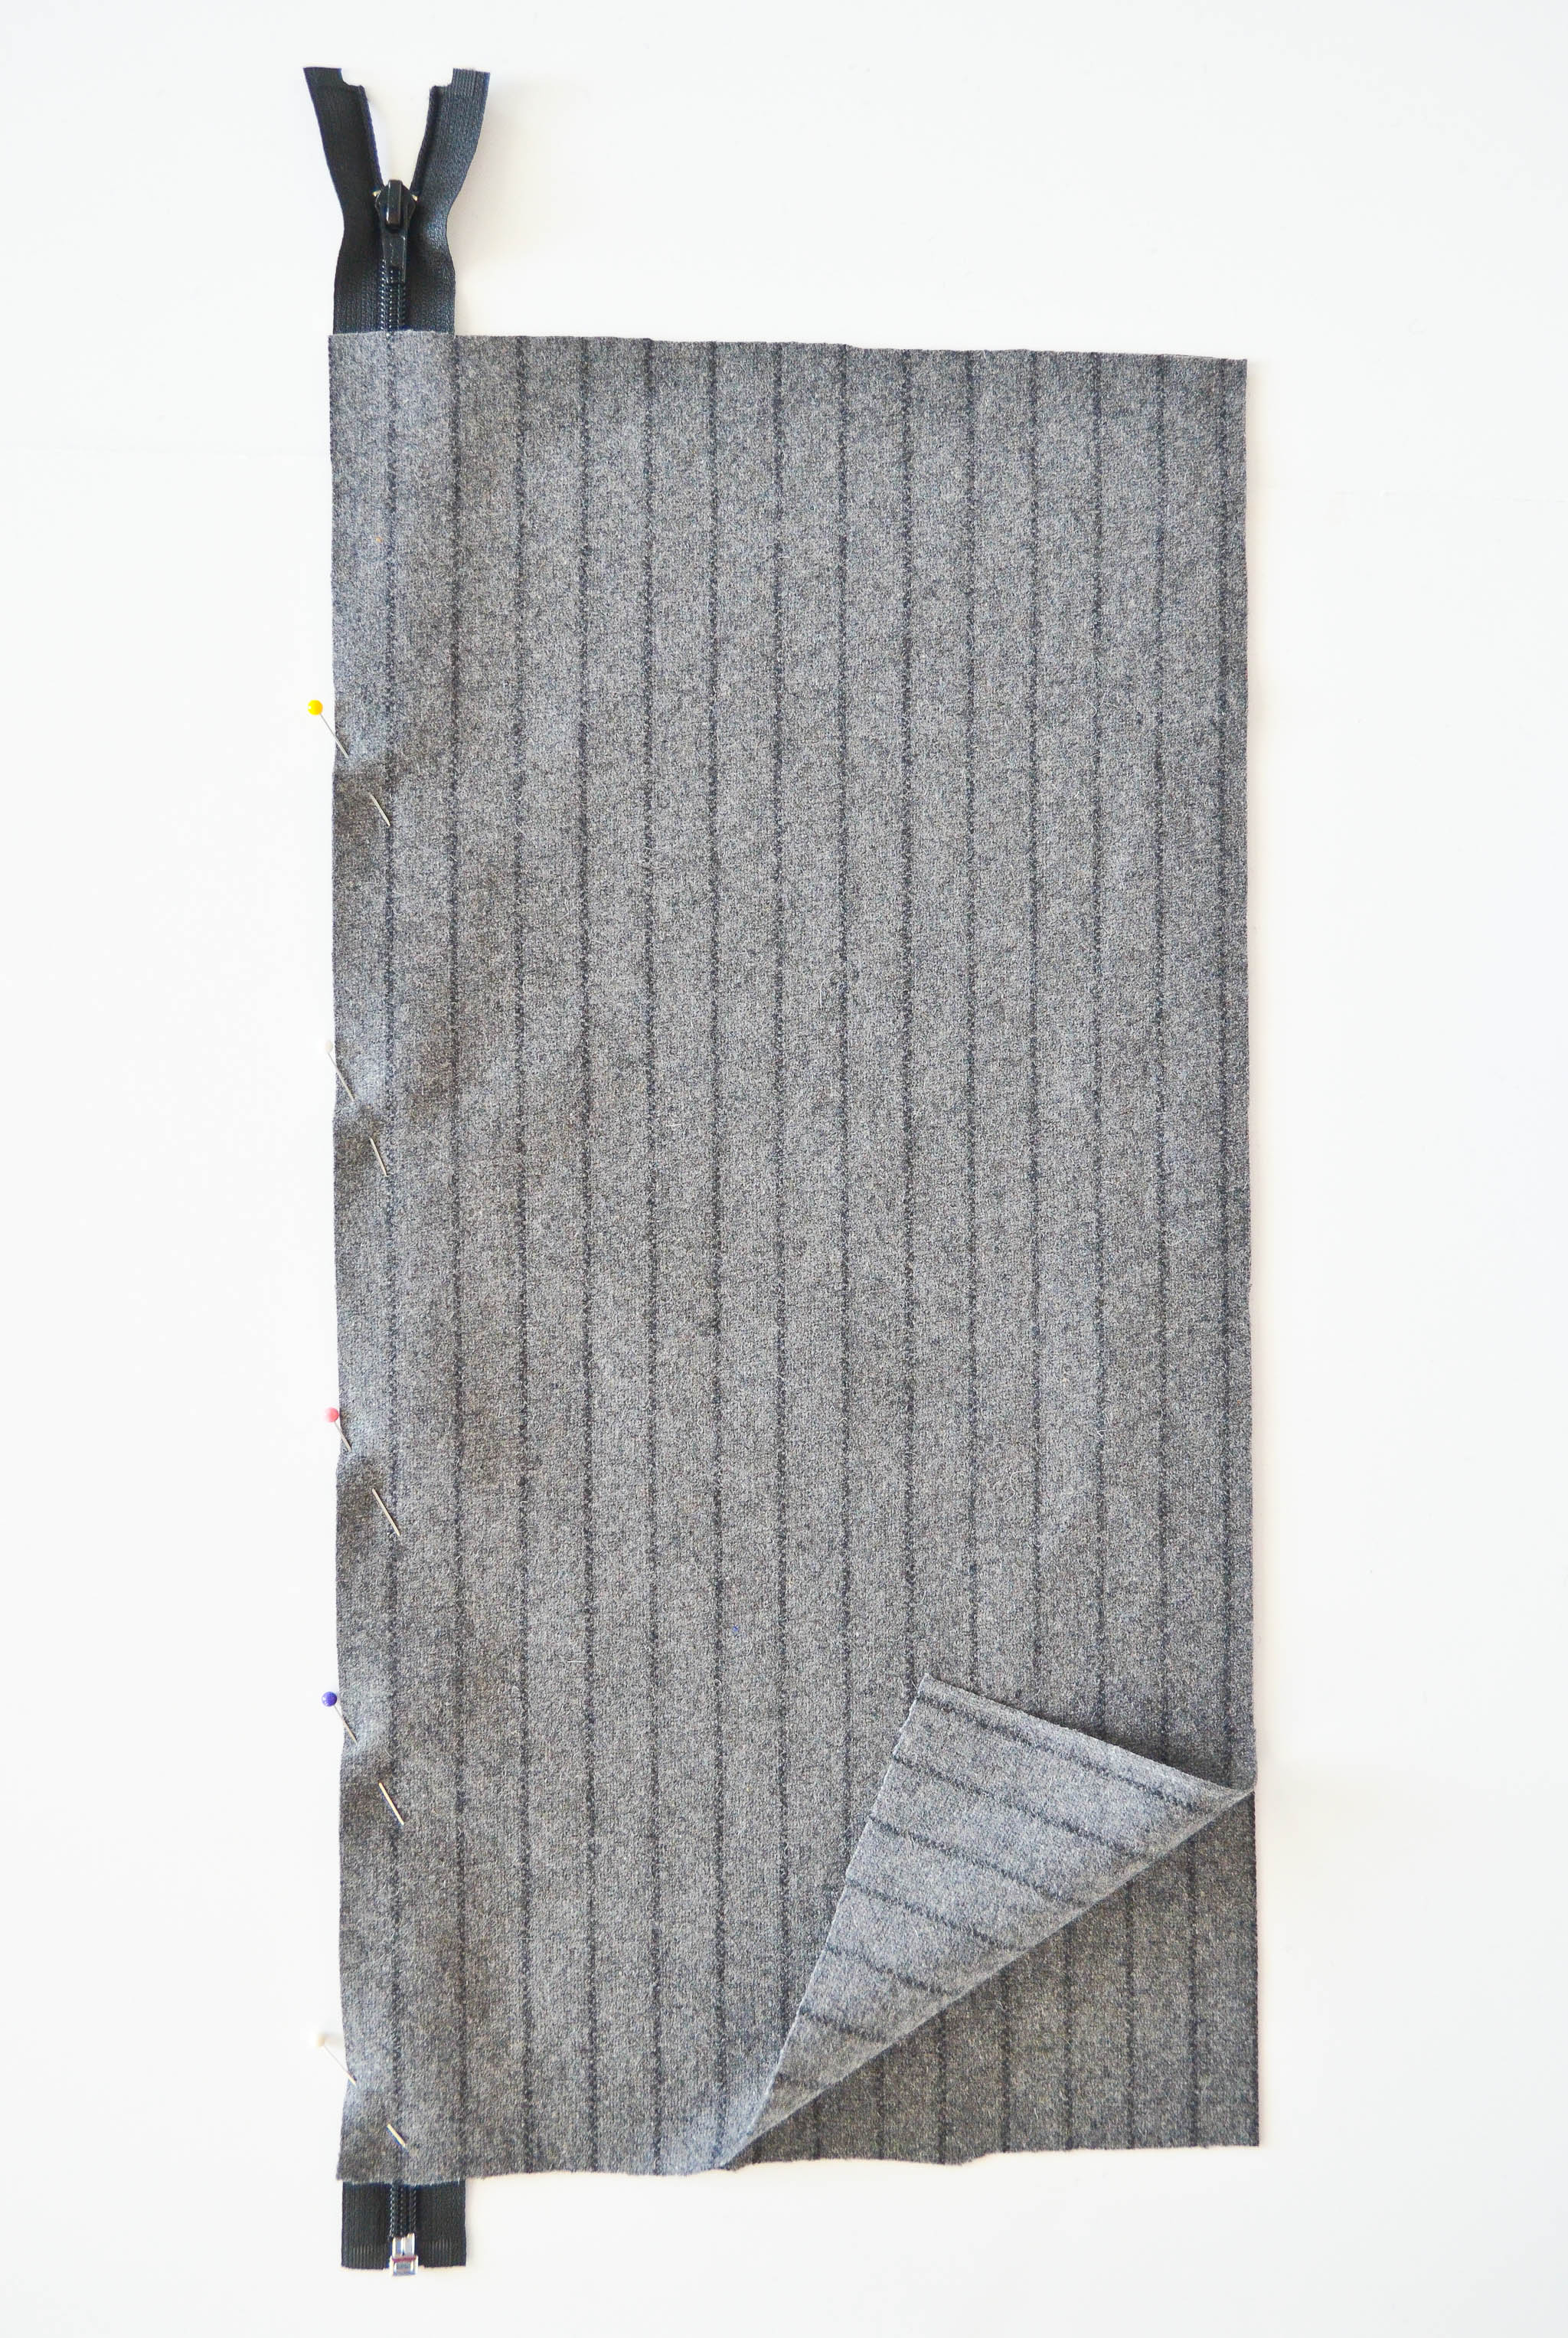
3. You’re going to sew the 22″ zipper into the middle of these two pieces. If you’re already a whiz at zipper installs, skip to step 7. But if not, let’s break it down. Your fabric should be right side up. Open the zipper and lay it face down onto the fabric, aligning the left edges as shown below.
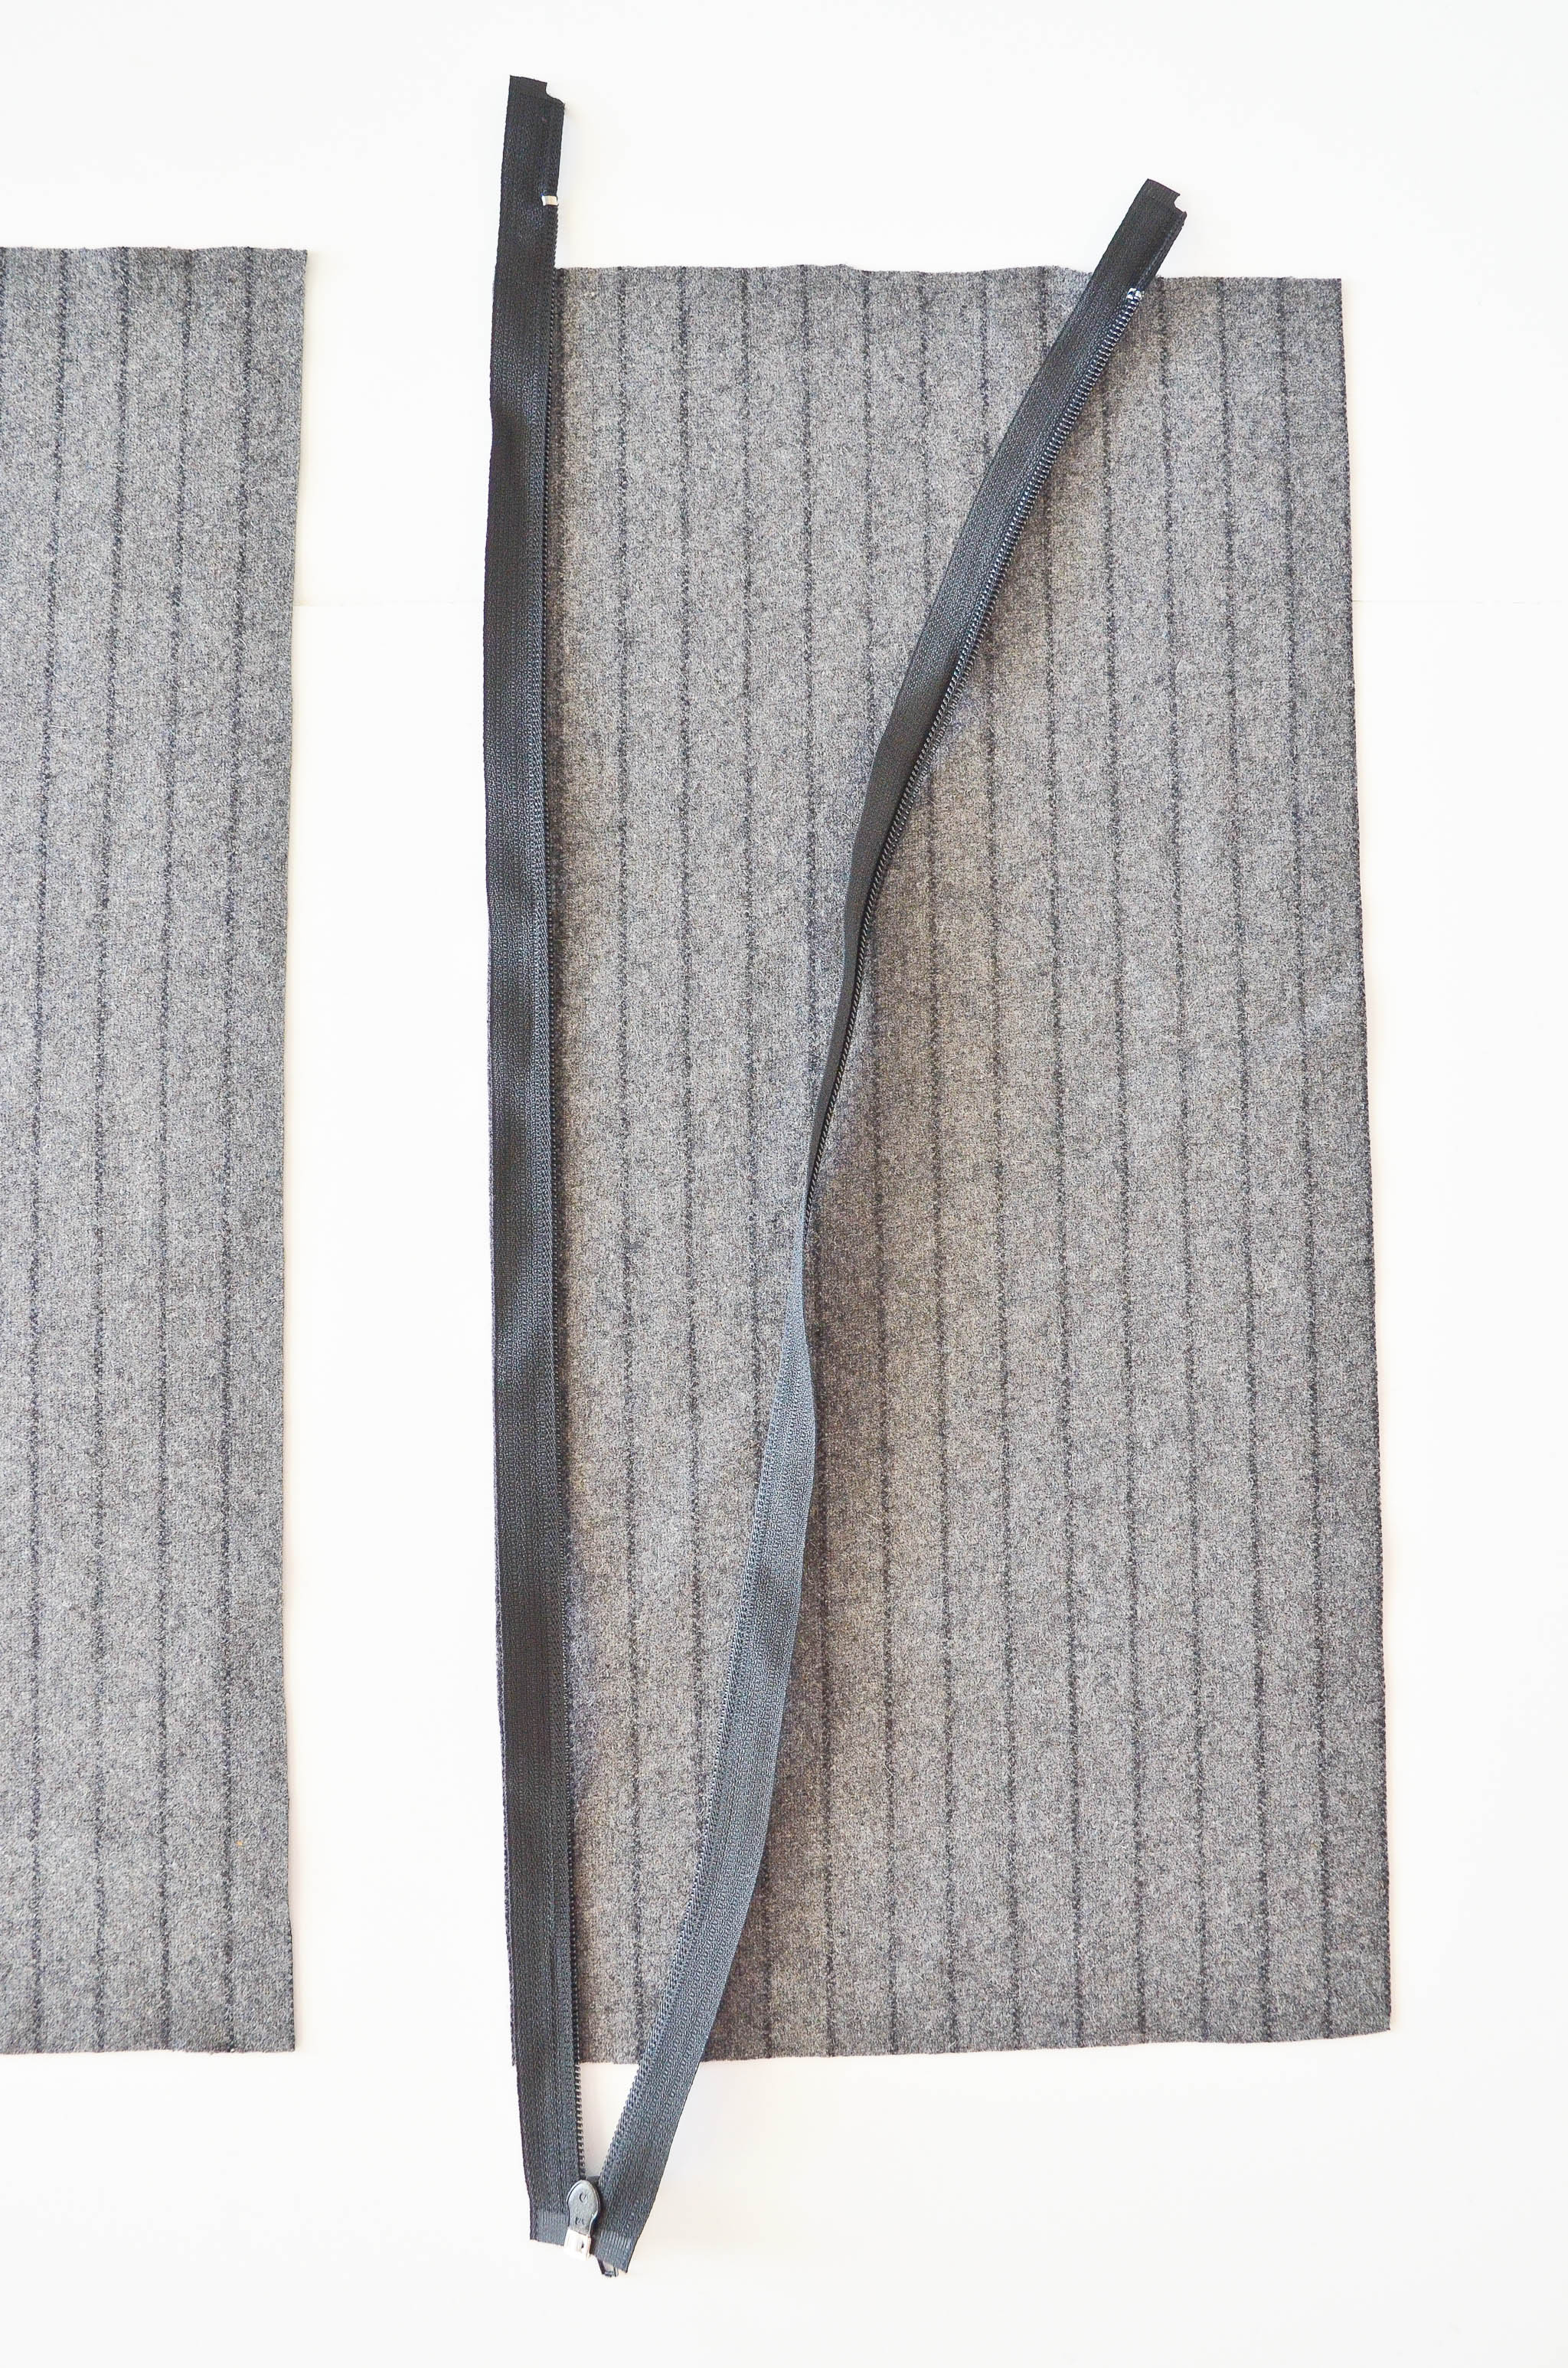
With your machine’s zipper foot, sew the length of the zipper along the left edge. DO NOT try to be close to the zipper teeth at this point.
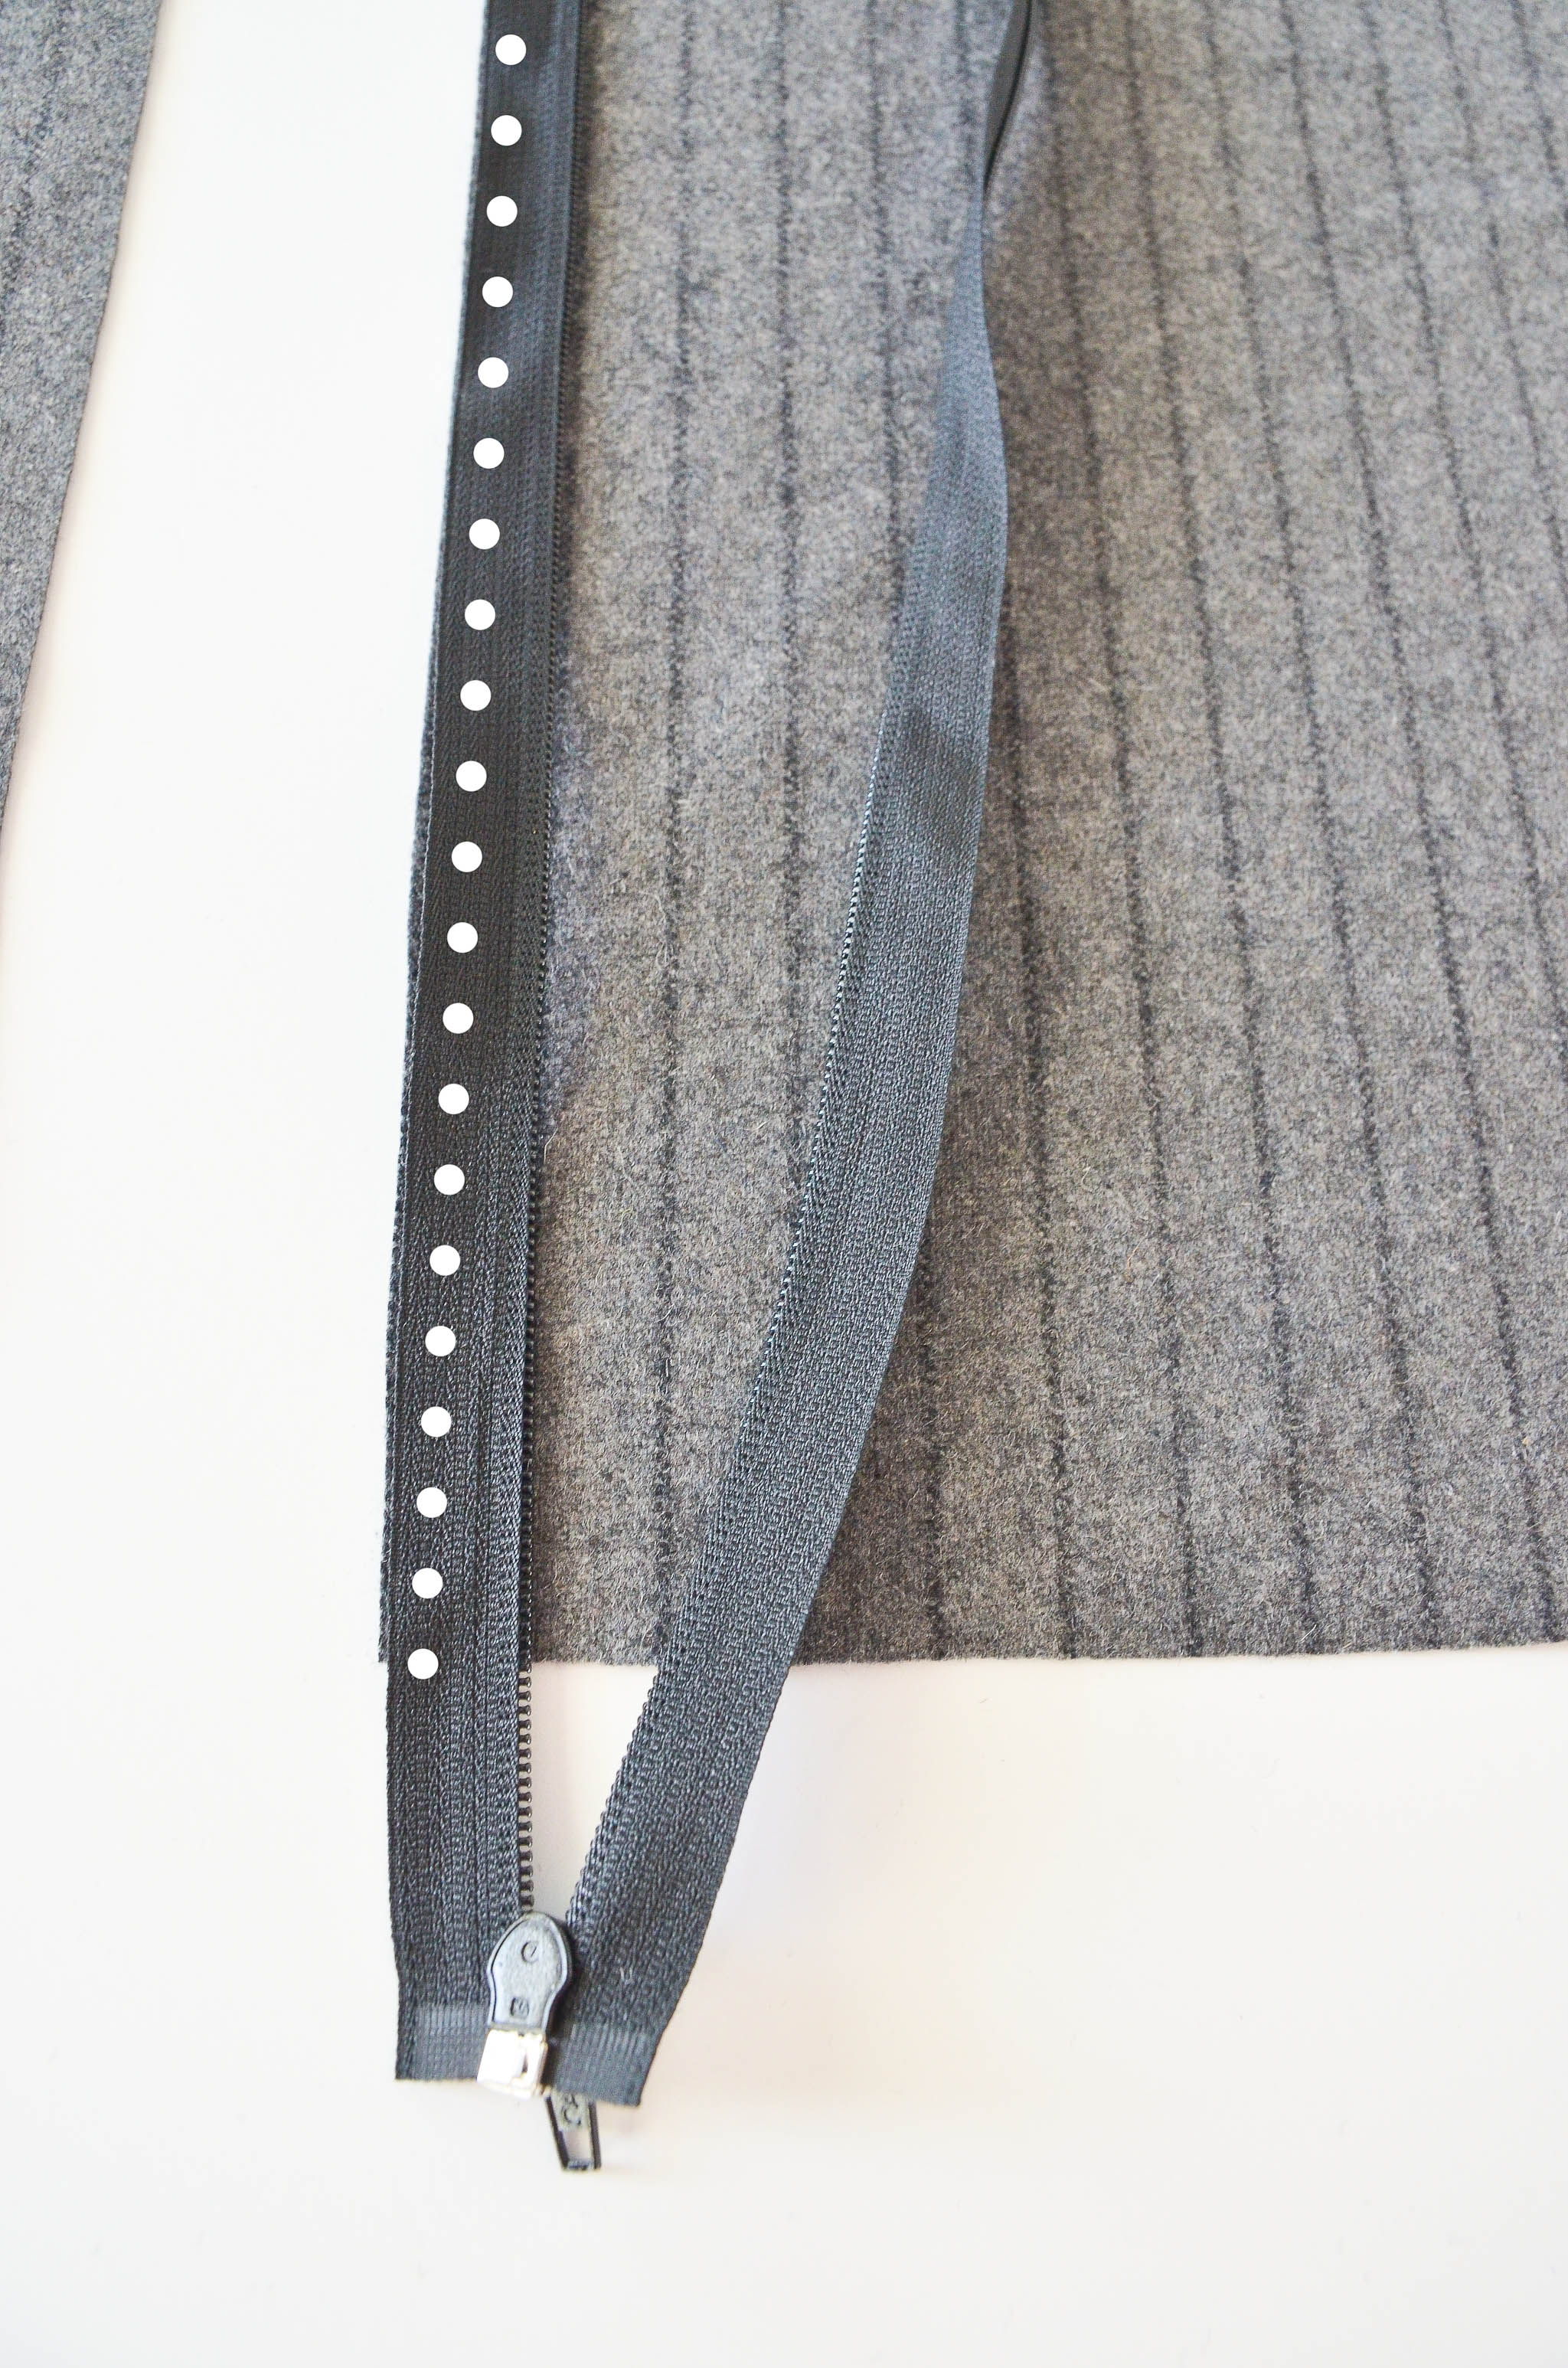
4. Flip the zipper face up, and fold the fabric back upon itself. Now sew along the left edge as close to the zipper teeth as possible.
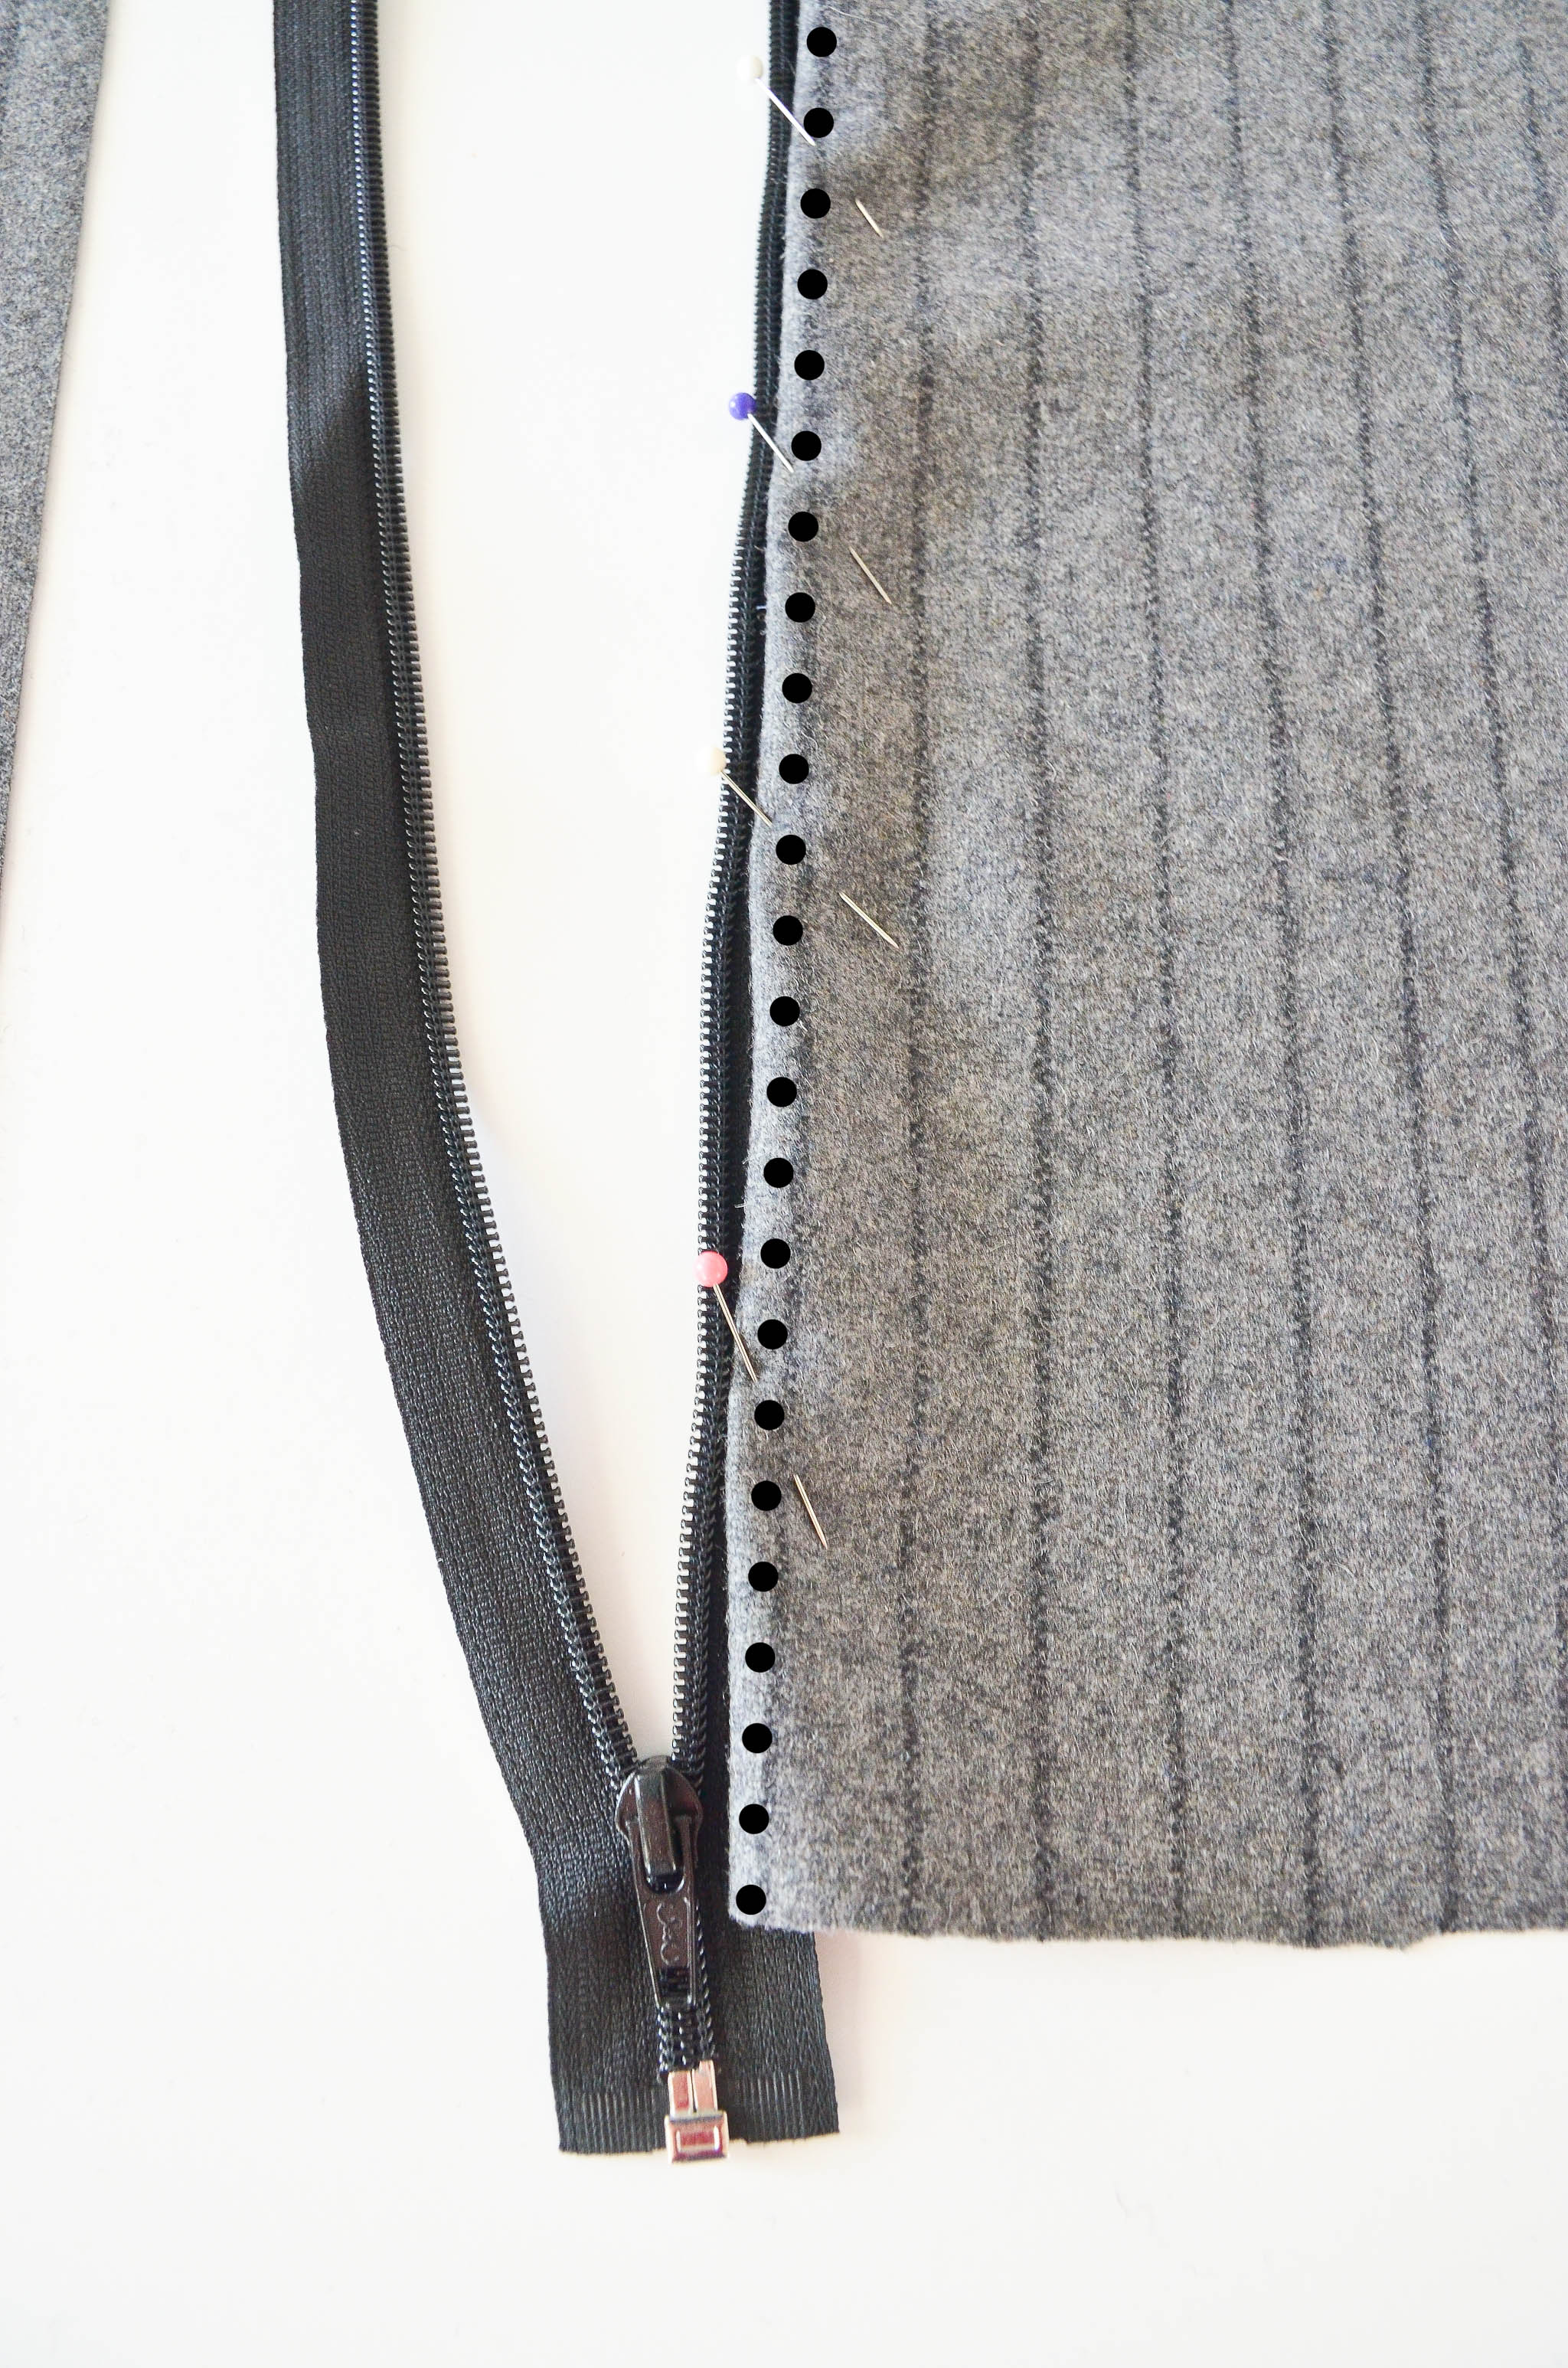
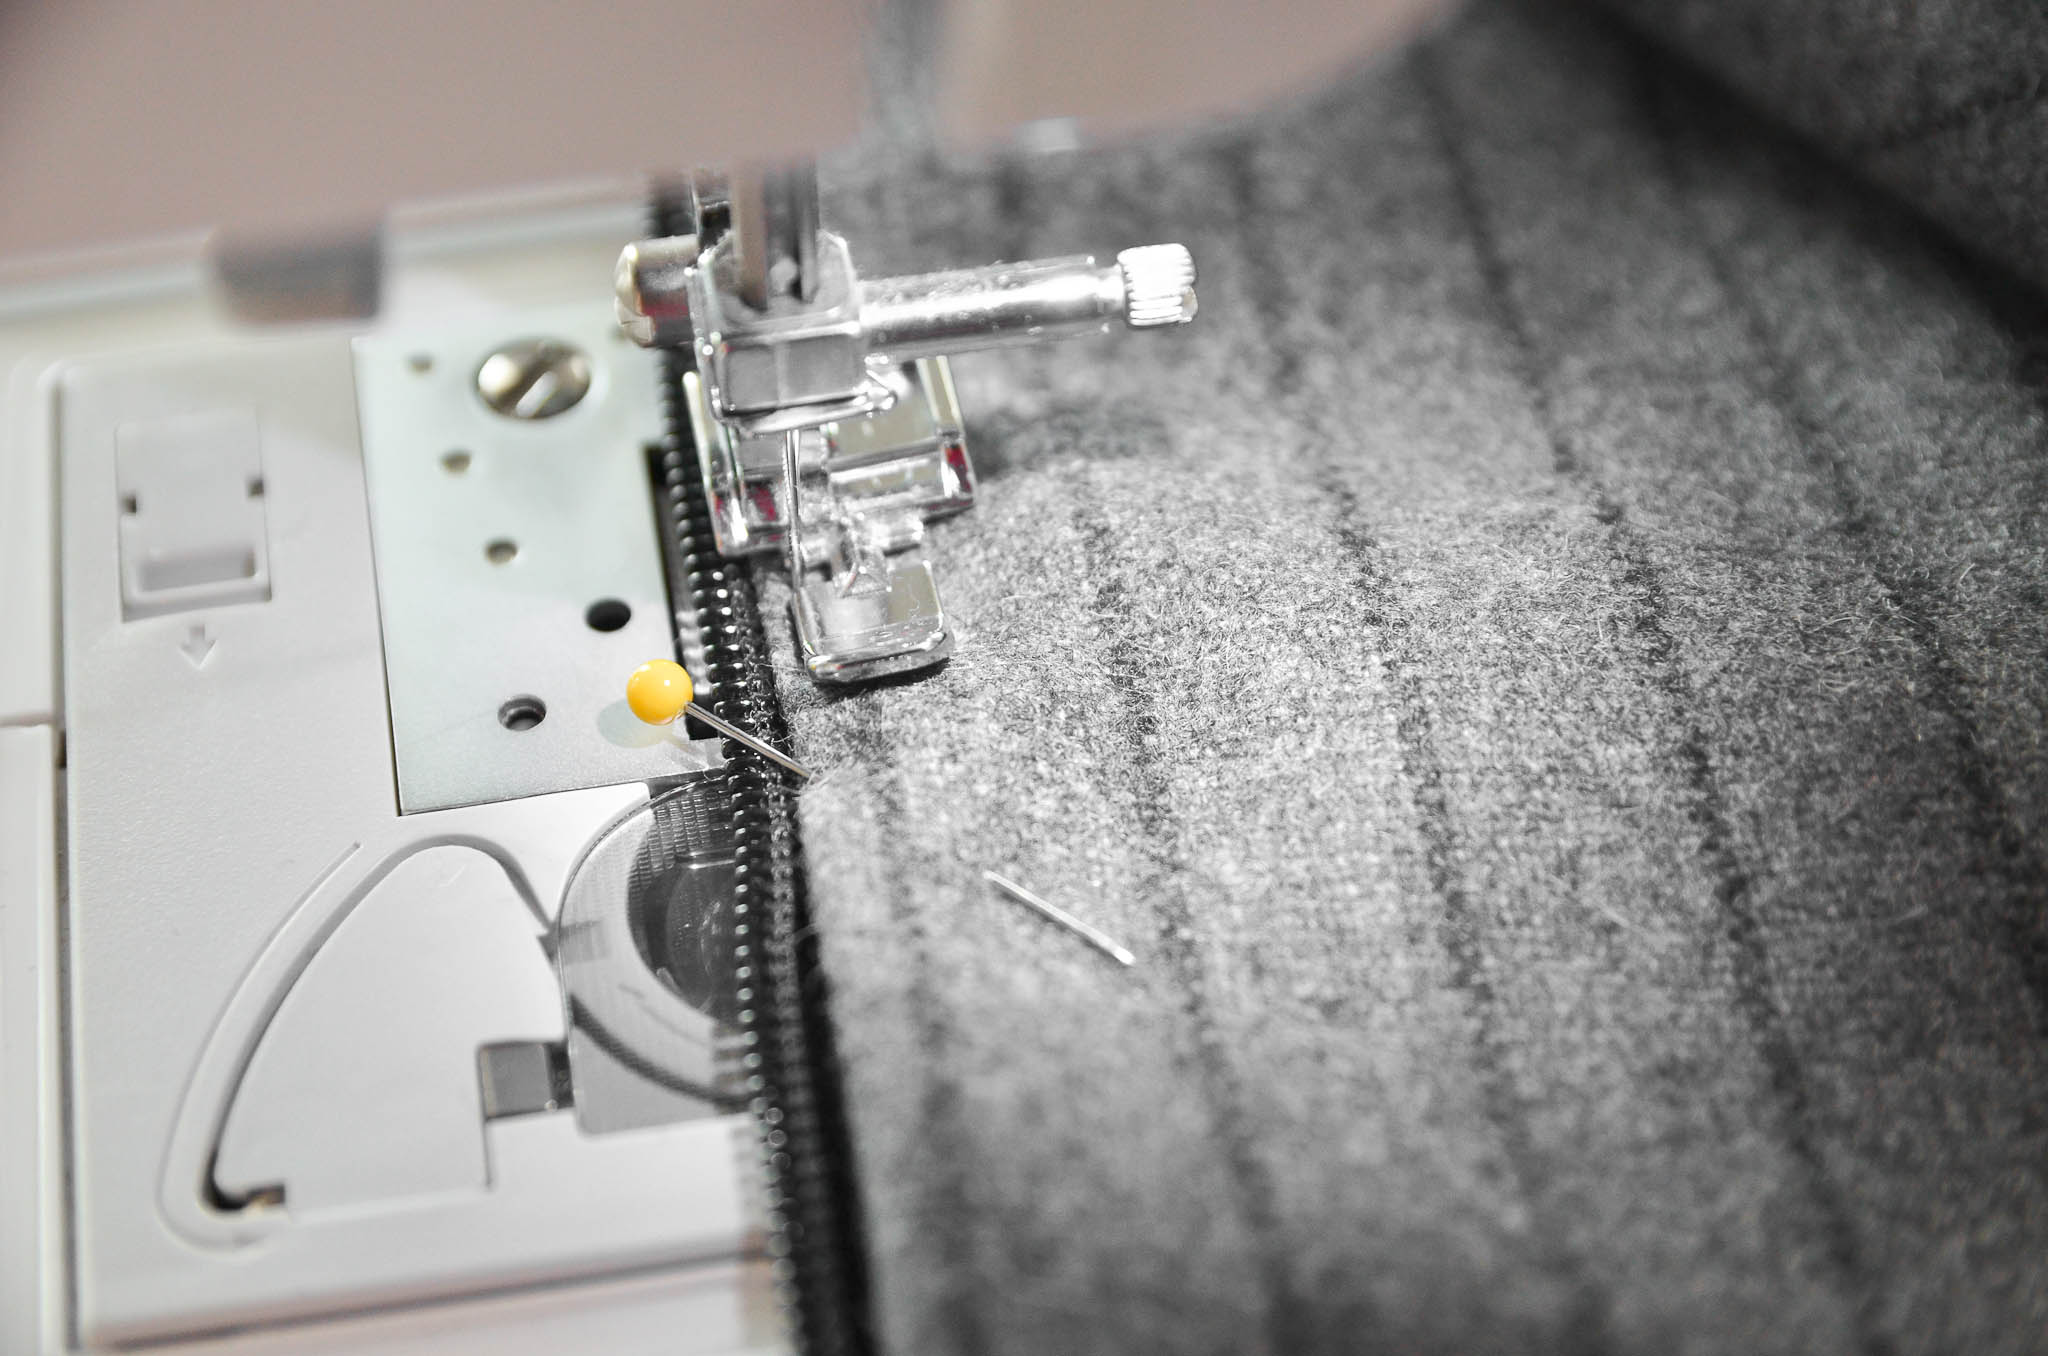
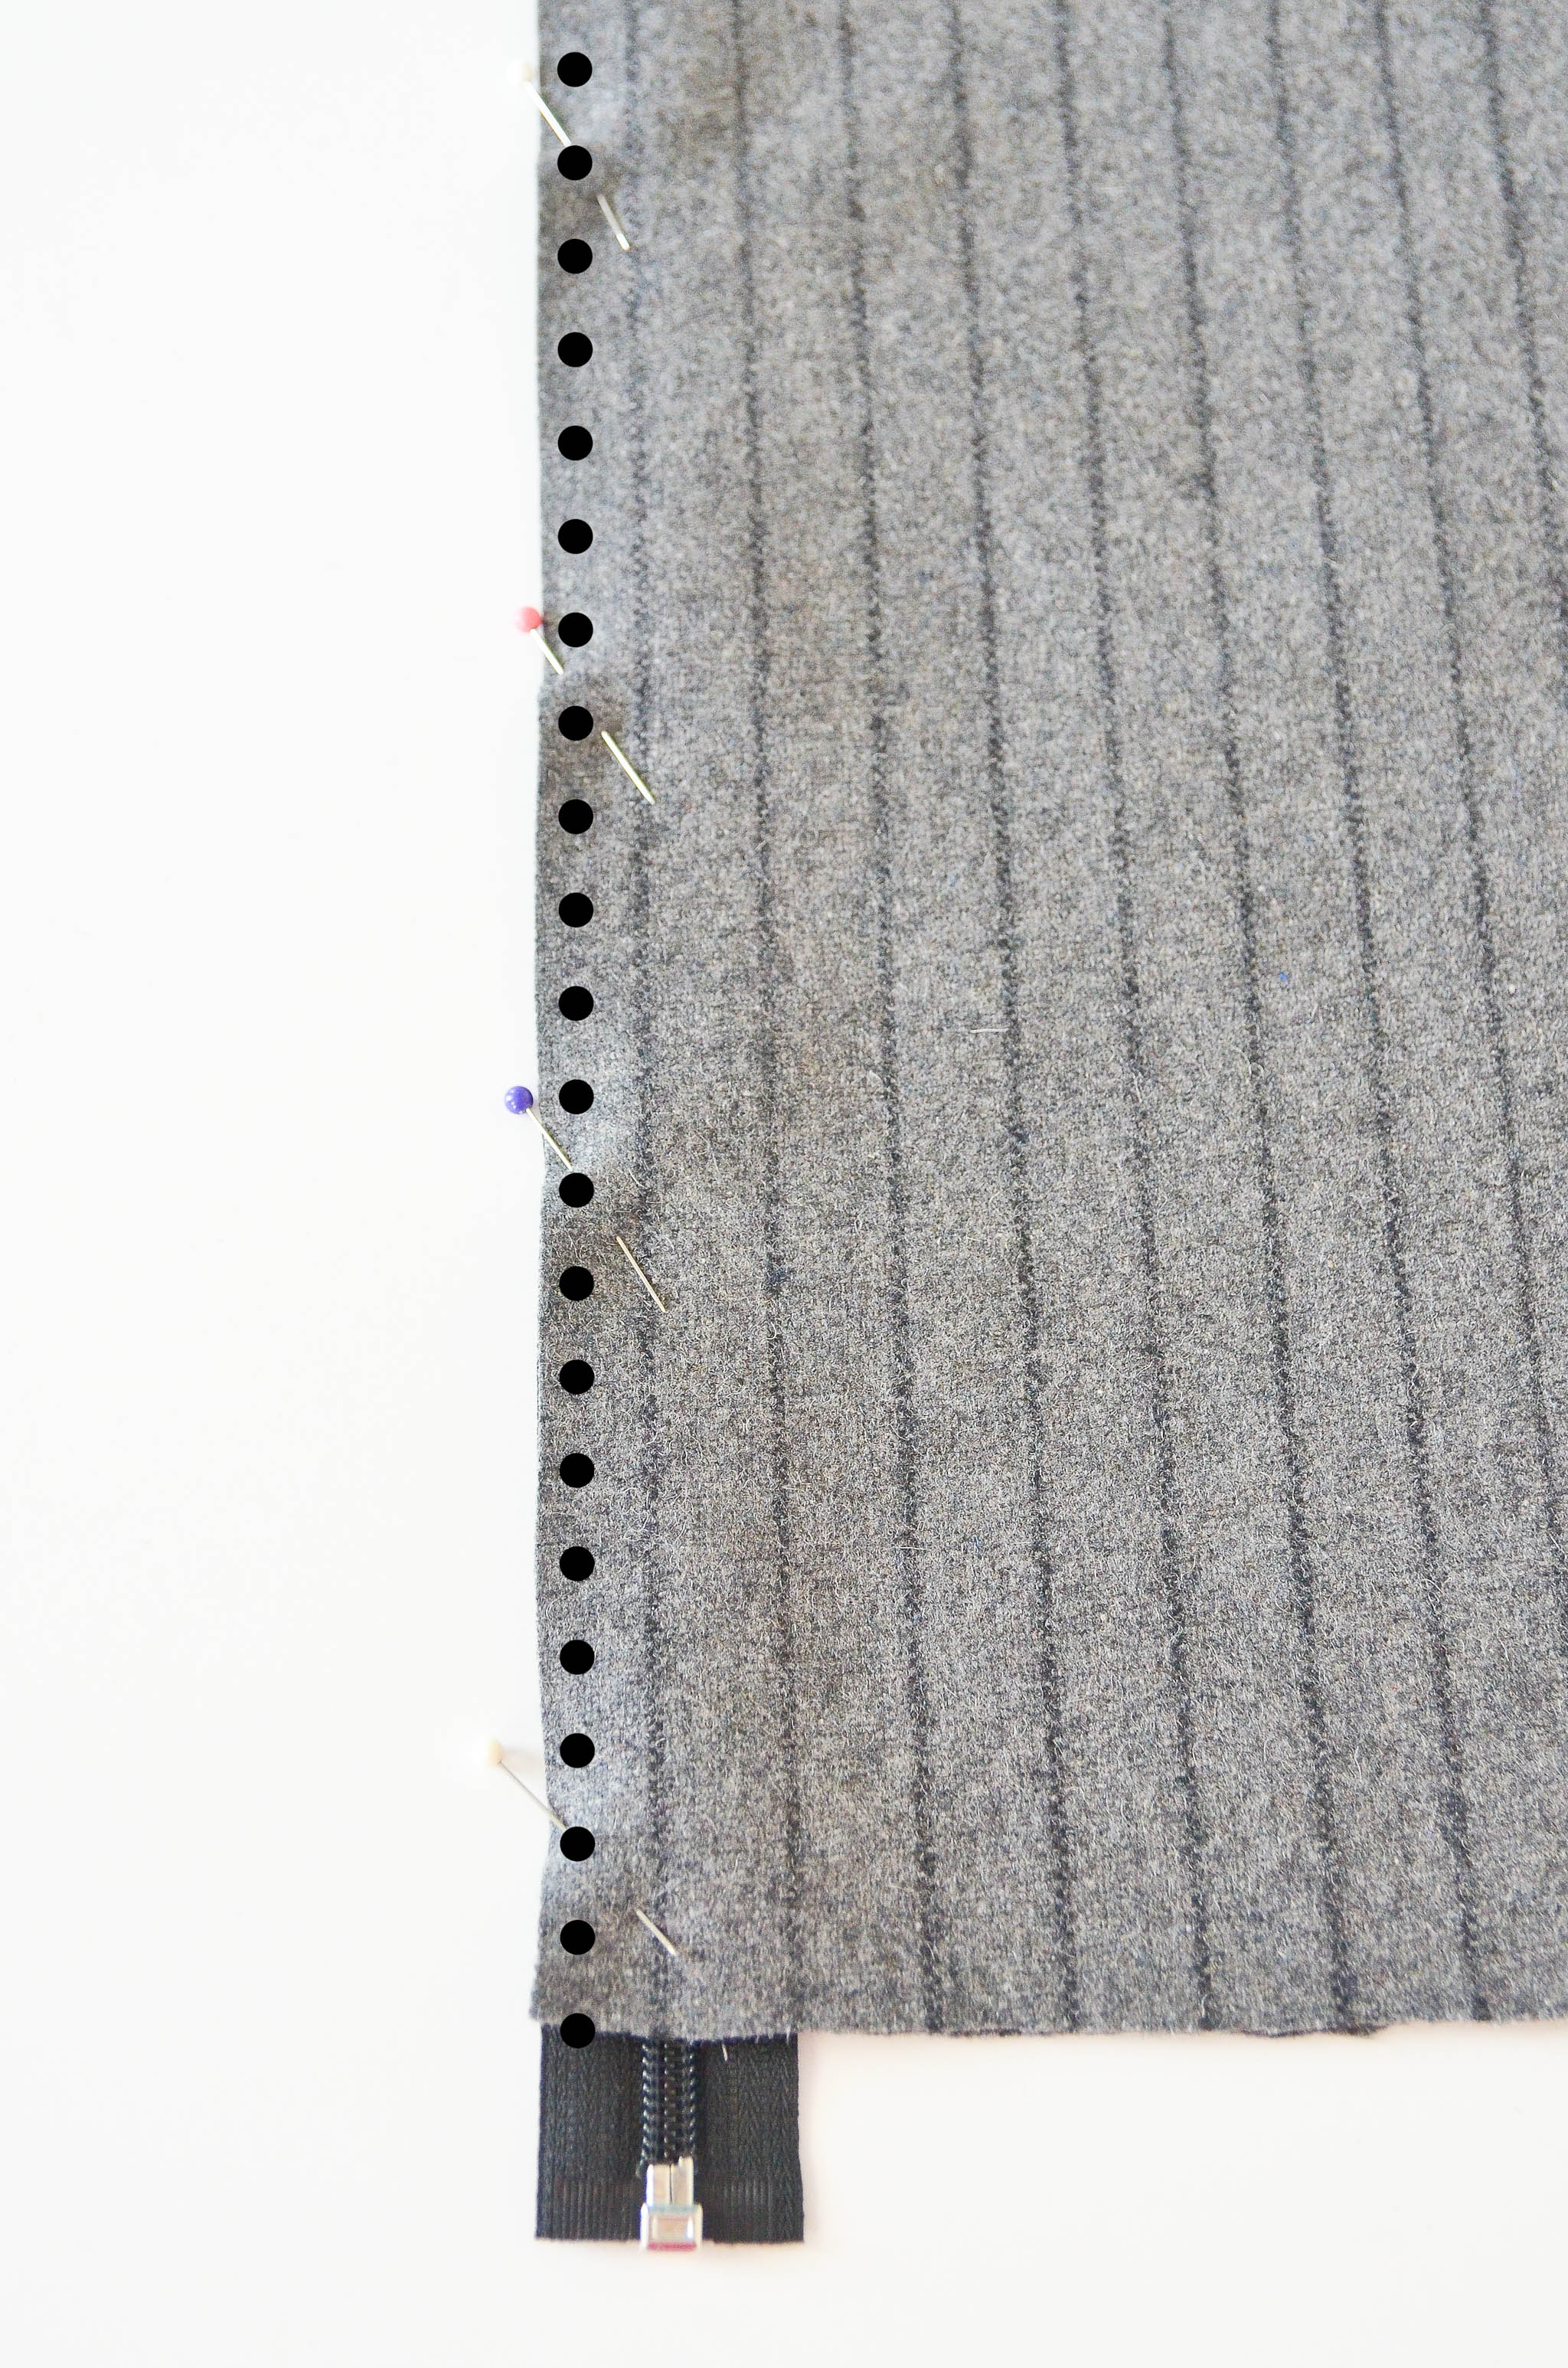
5. Close the zipper, and lay it face up. Place the remaining fabric right side down, aligning its left edge with the zipper edge and the right edge with the other fabric.
Sew down the left edge (again, NOT close to the zipper teeth).
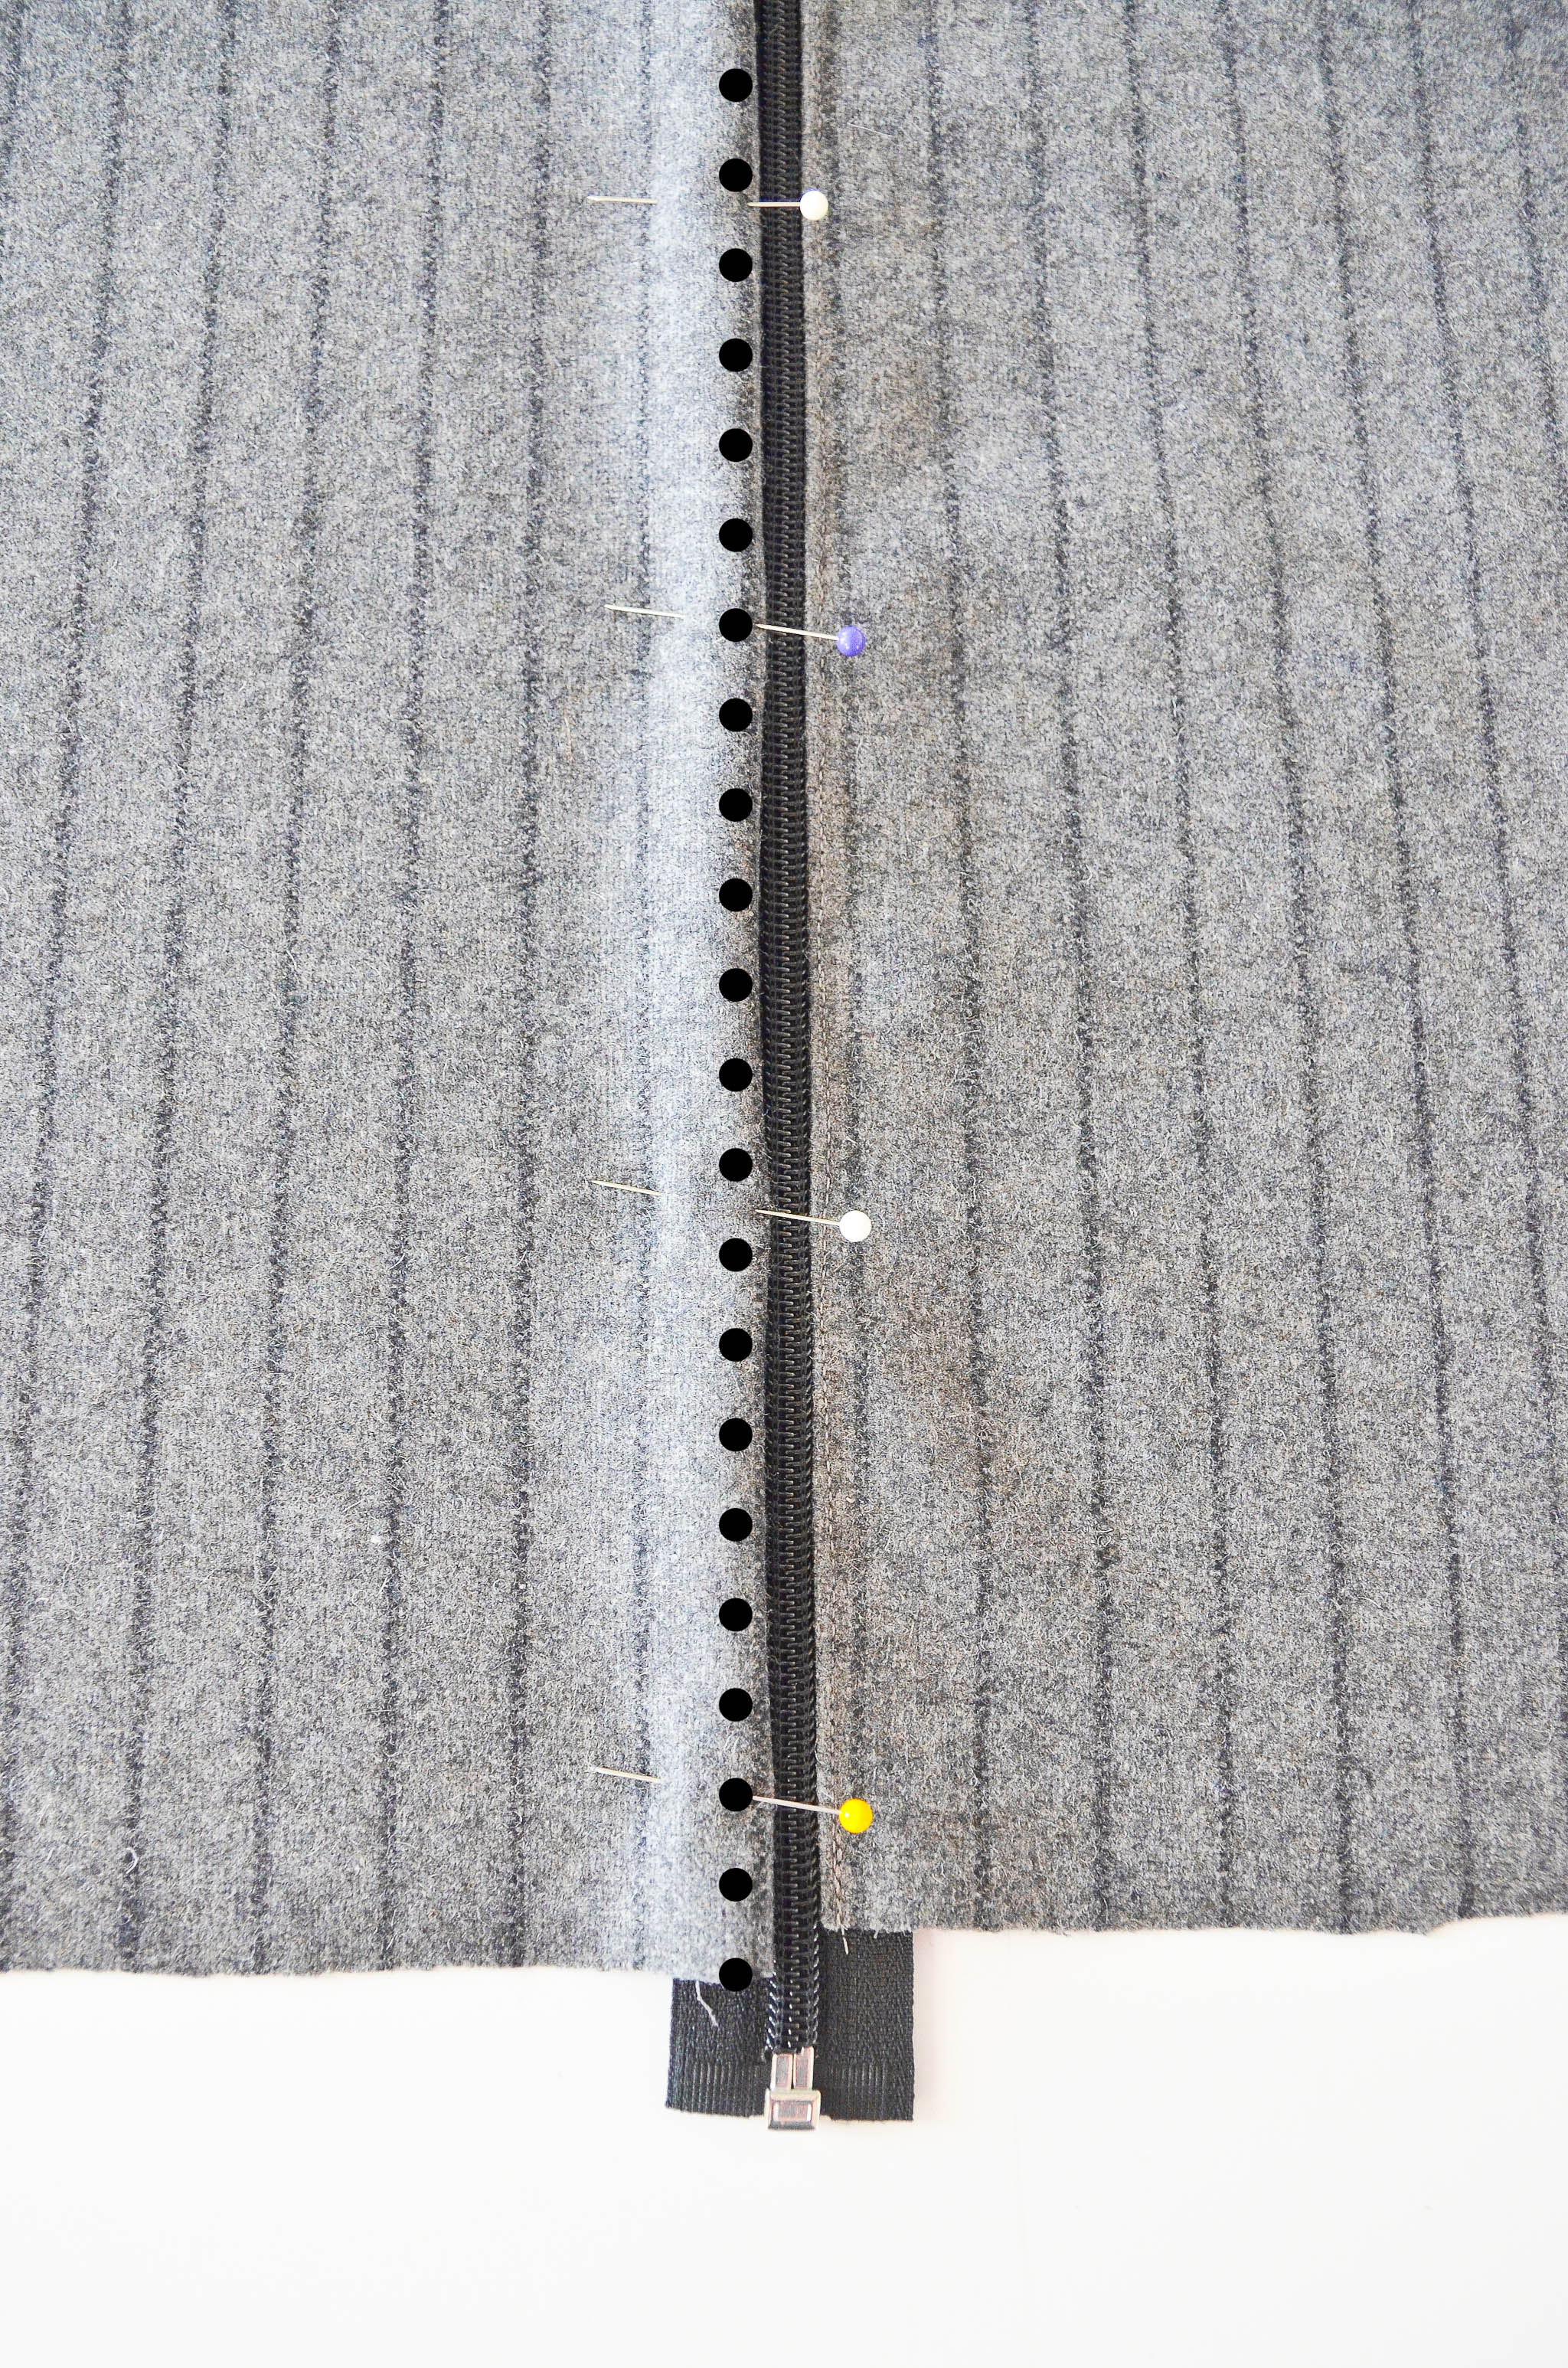
6. Now fold the fabric back on itself and sew down the right edge—this time close to the zipper teeth.
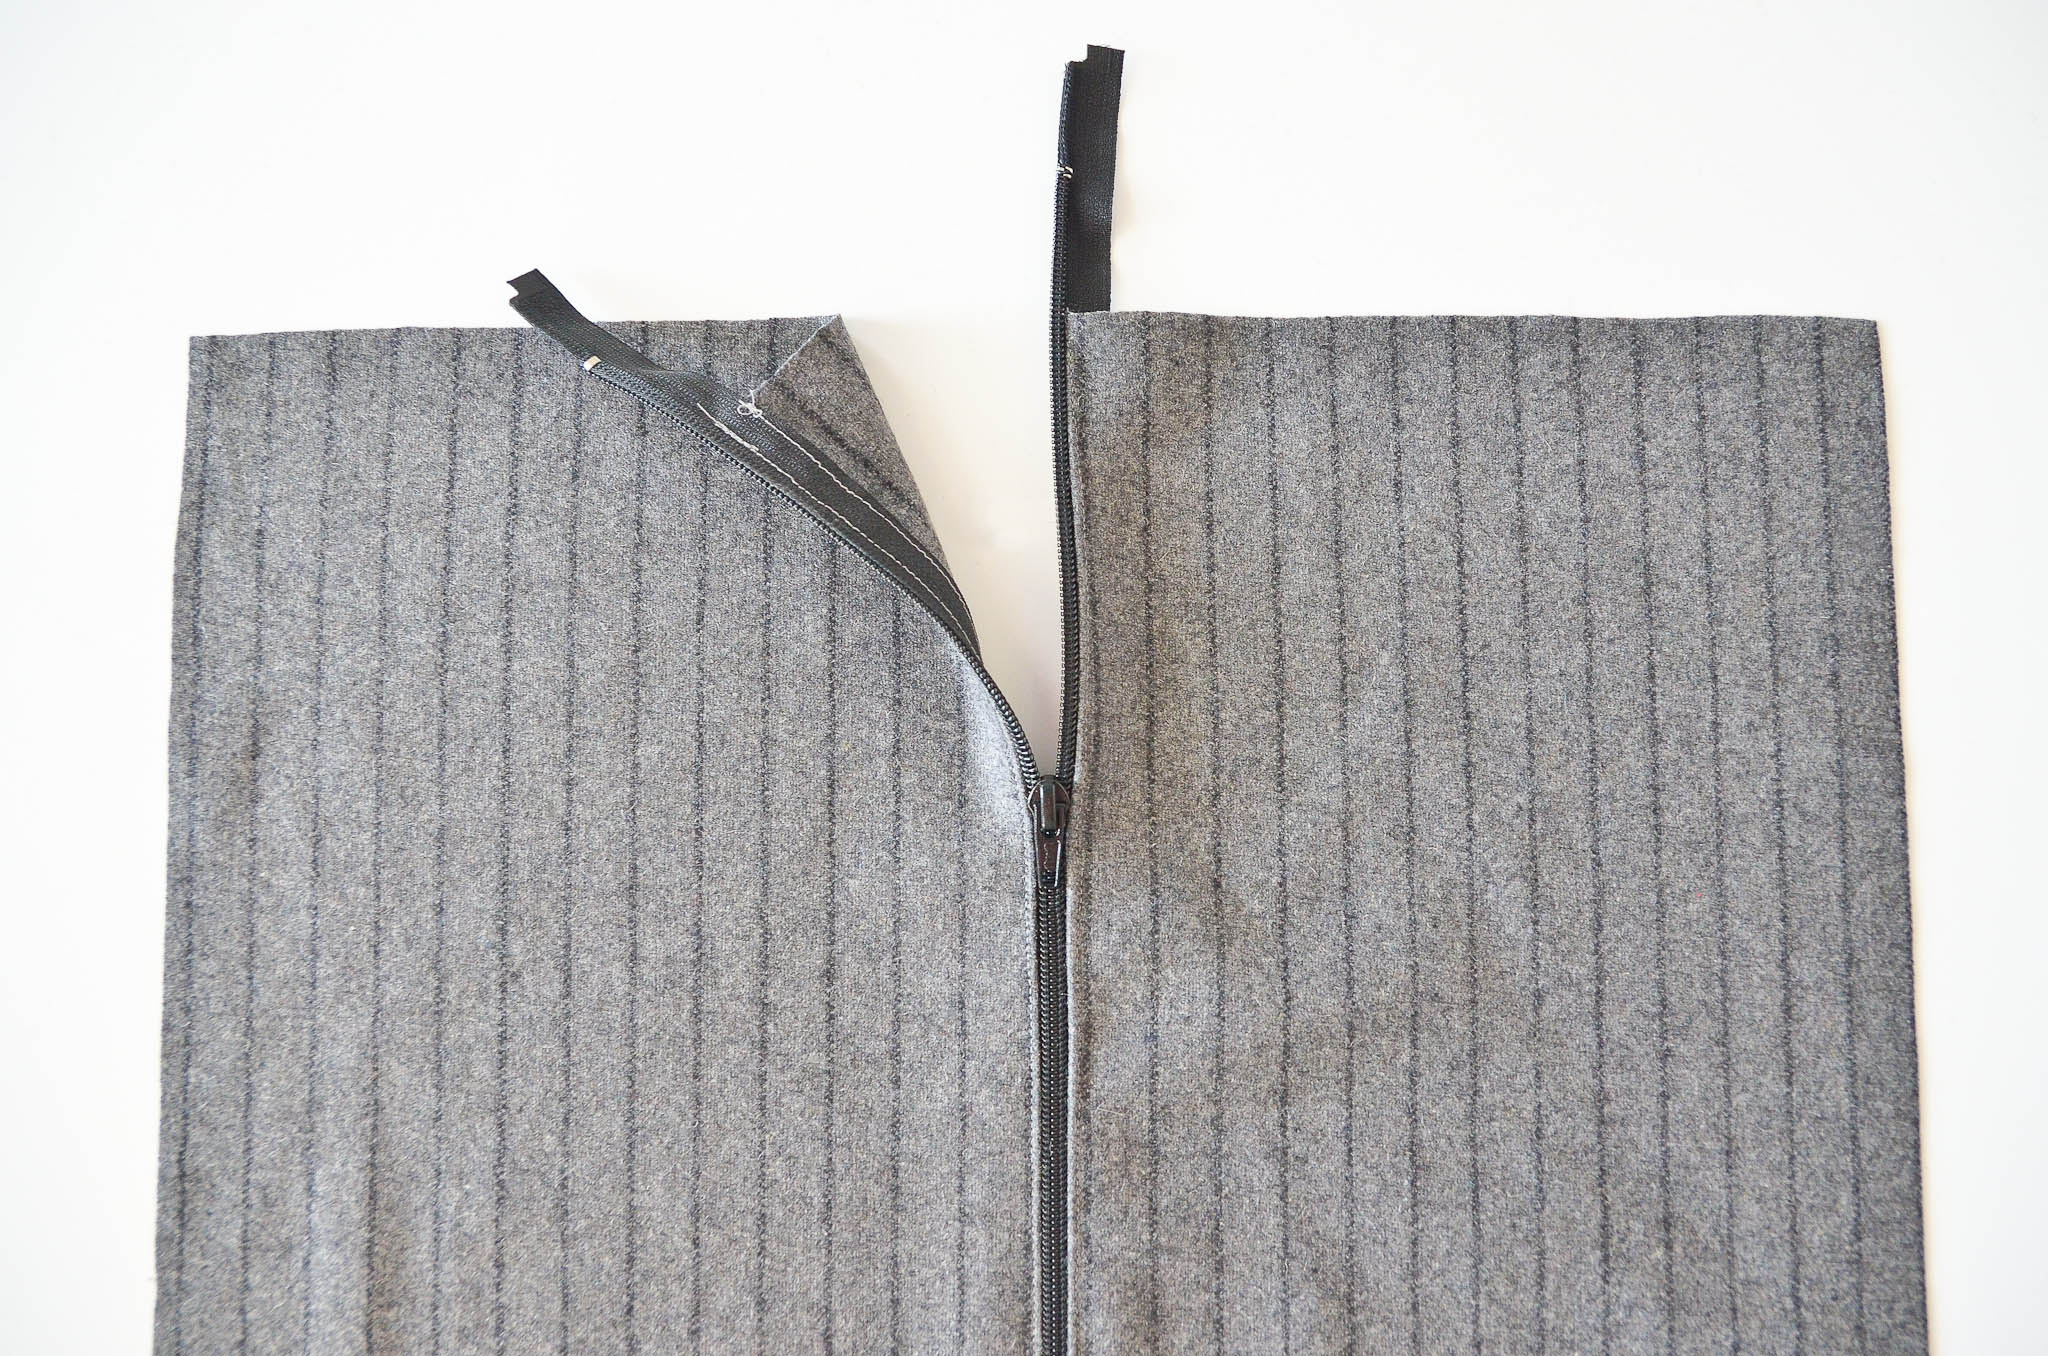
If you did it correctly, you’ll have a zipper connecting the two halves of your square!
7. Next we need to make this square into a circle. To keep from accidentally cutting off the zipper pull, open the zipper about 2″ past the fabric edge and pin the fabric together.
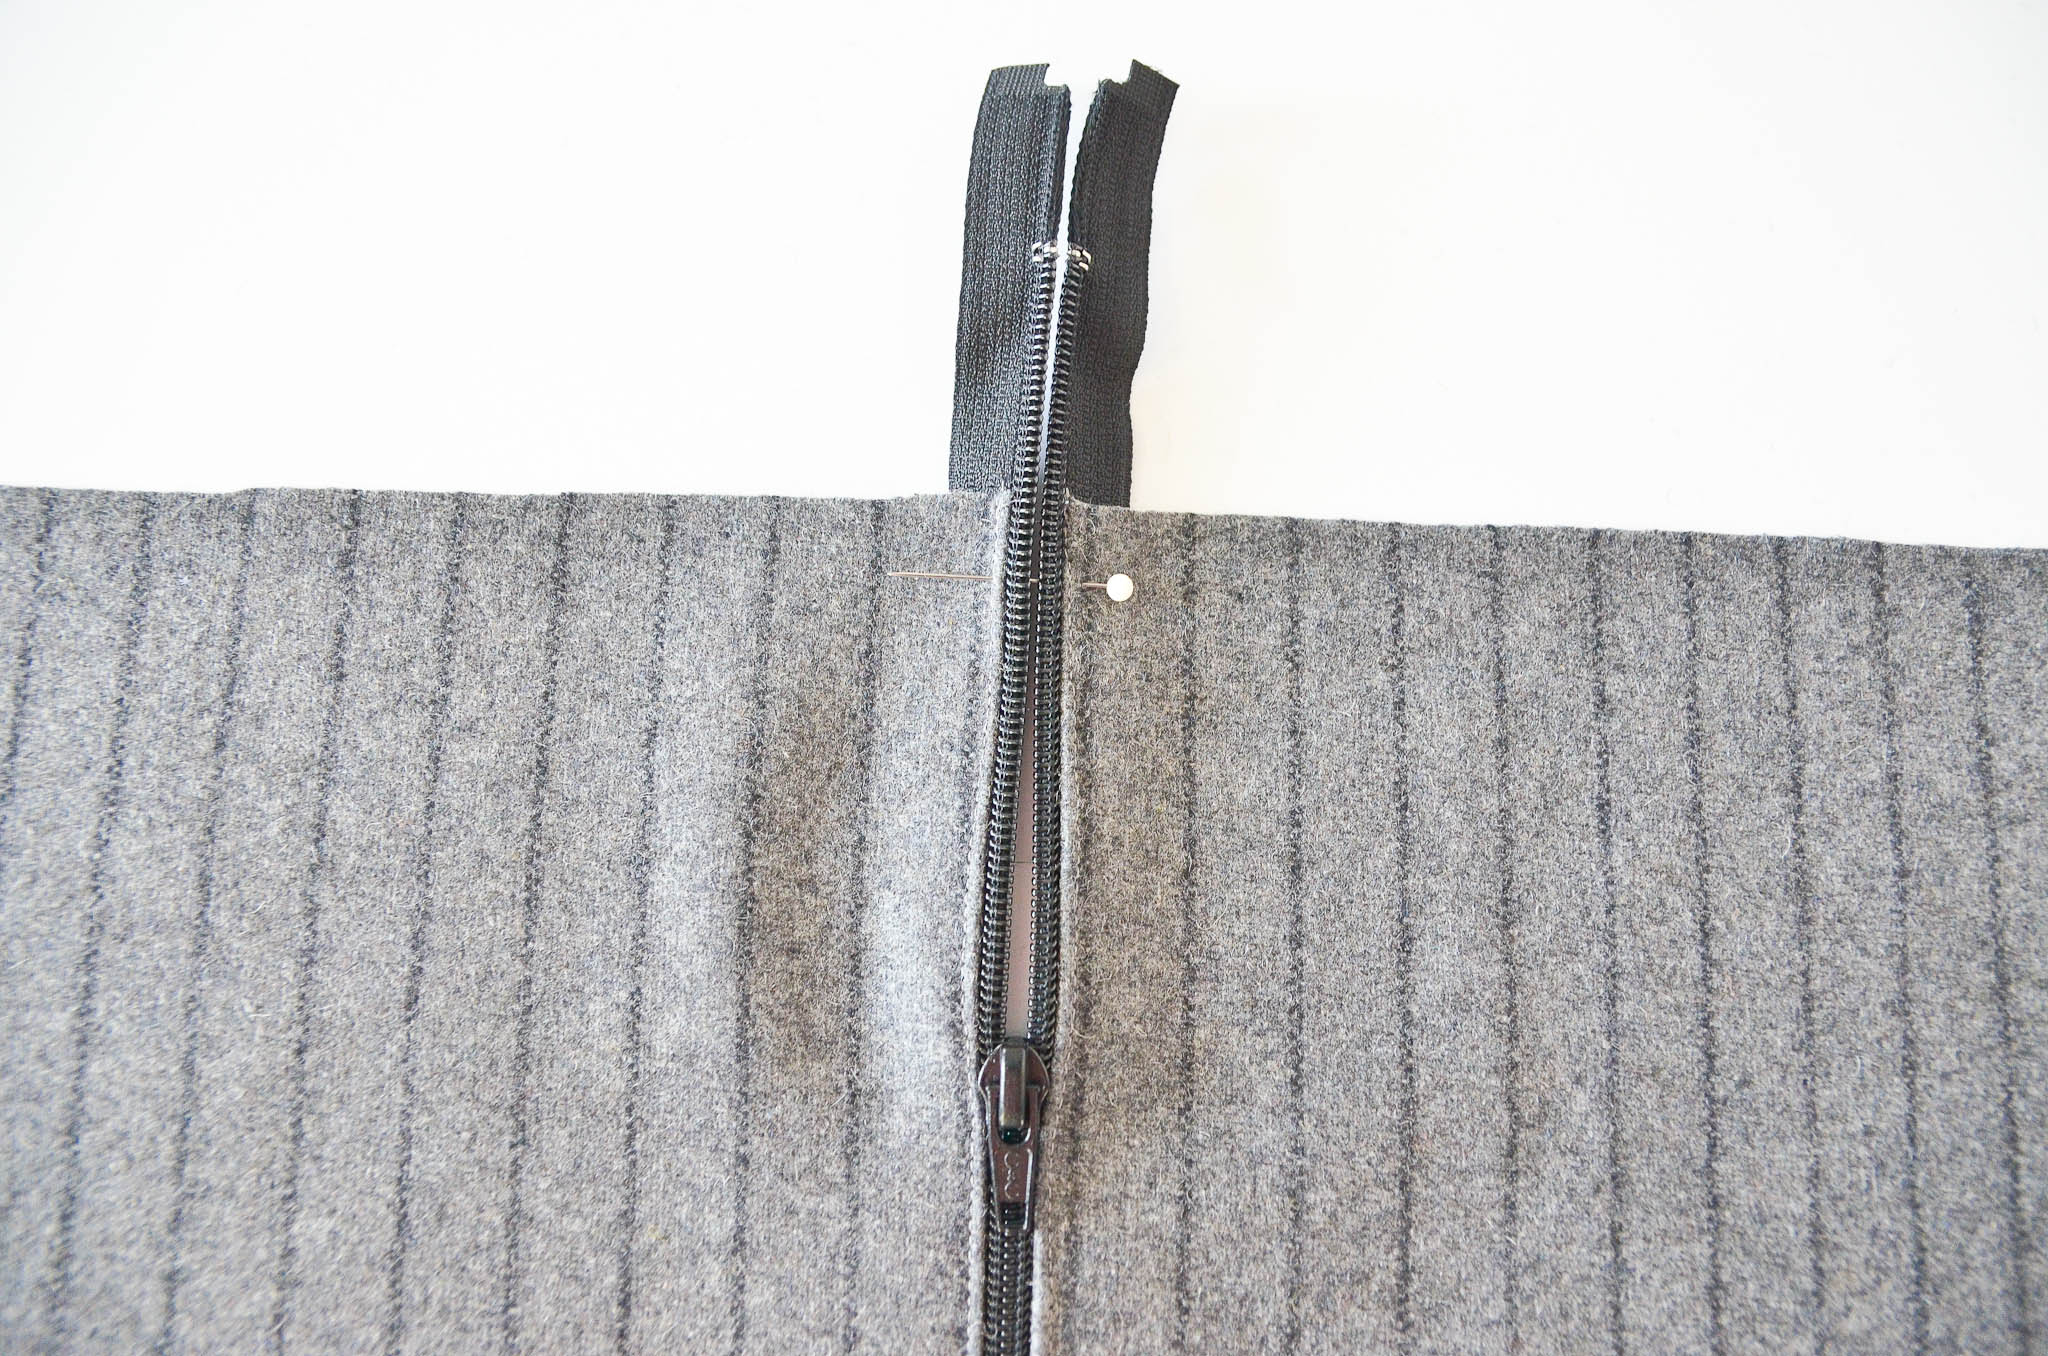
Lay the 18″ diameter circle you cut earlier on top as a template, and cut out your “zippered” circle. Yes, you can cut through the zipper—all will be well. Be sure the zipper pull is inside the circle!
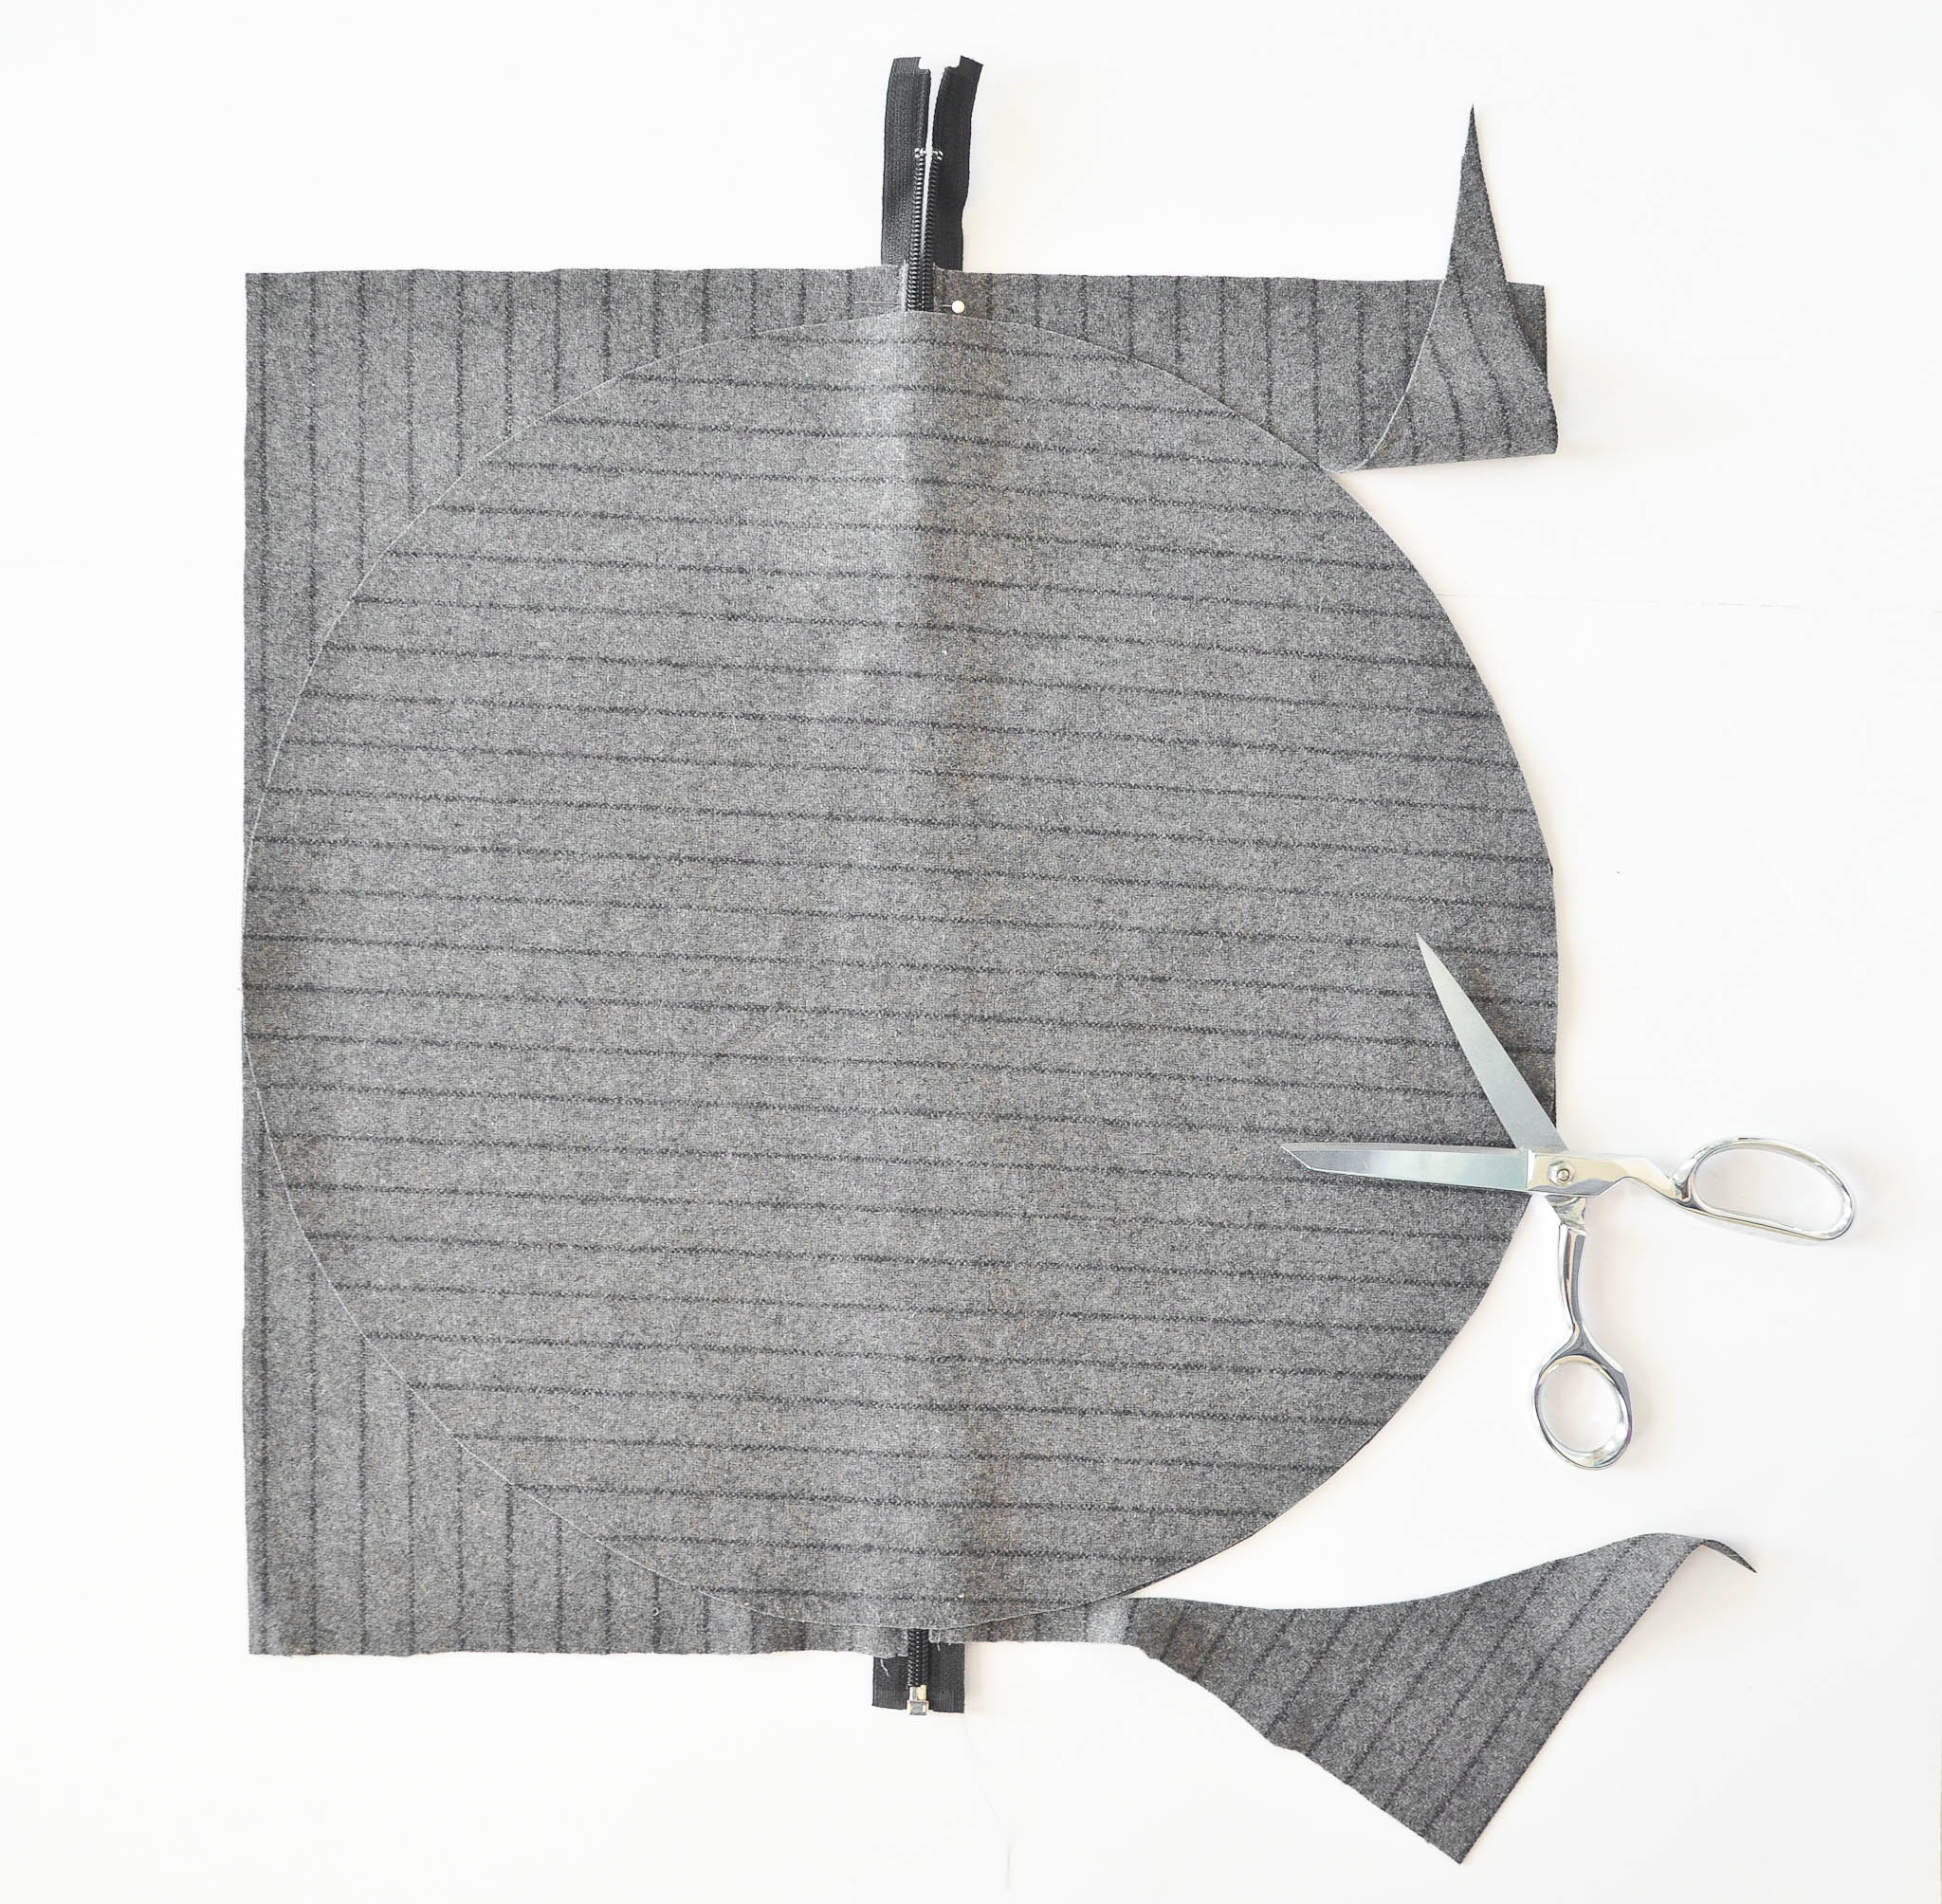
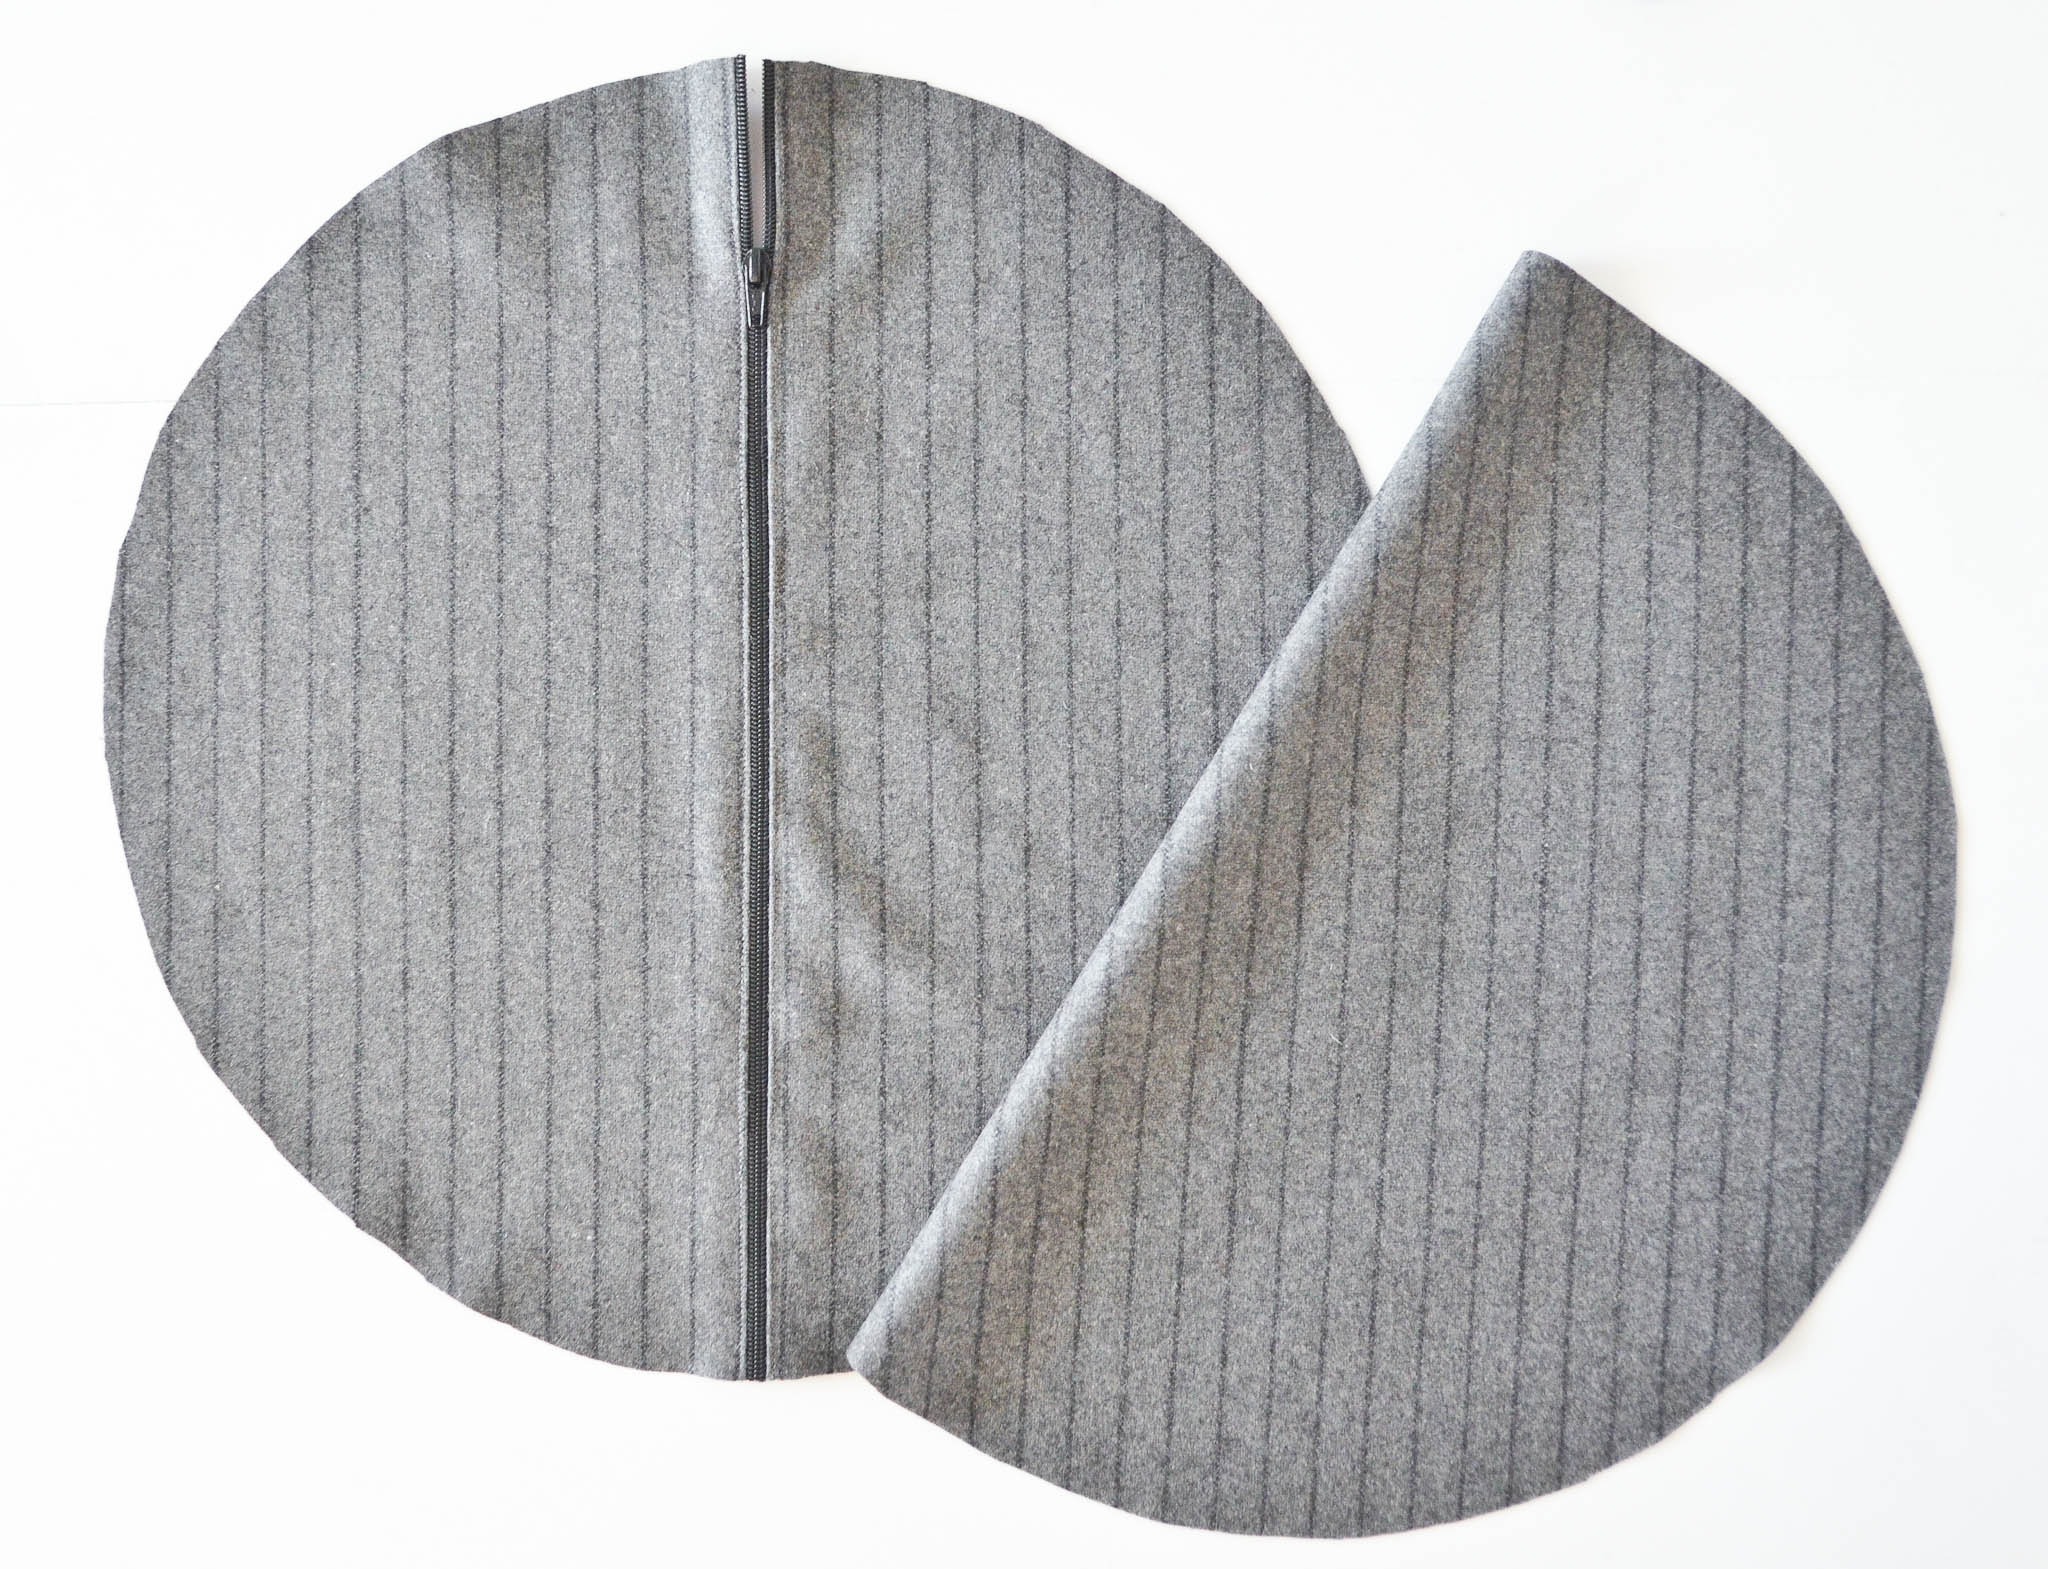
The full fabric circle will be the pouf top and the zippered circle will be the pouf bottom.
8. Fold the 16″ x 56″ rectangle in half along the short side (right sides together) and sew down the open side. This will create the tube for the body of the pouf.
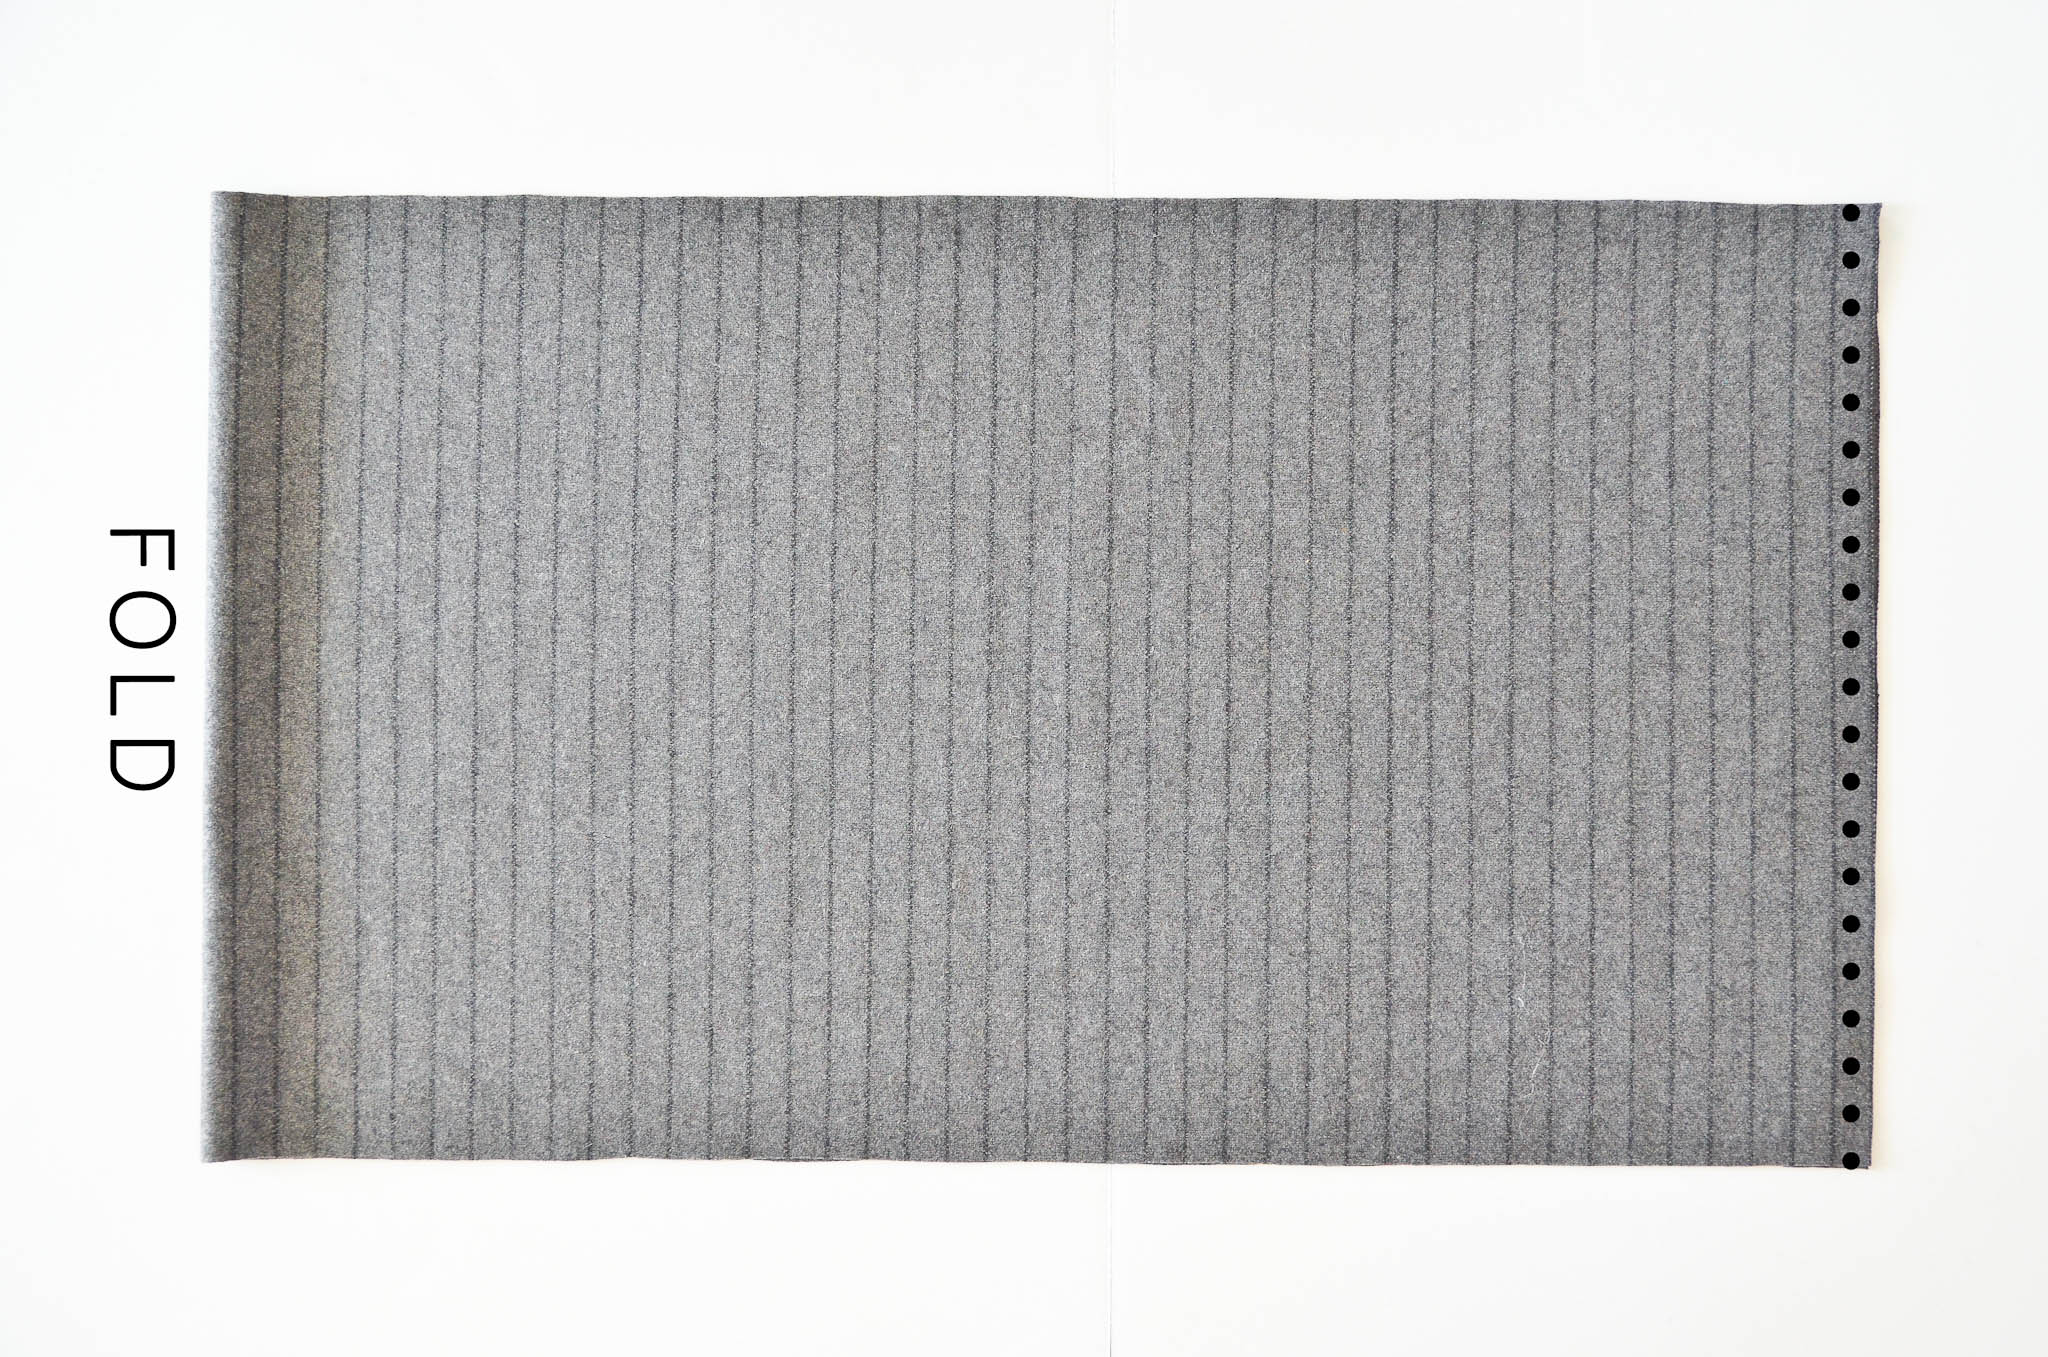
Use an iron to press this seam flat.
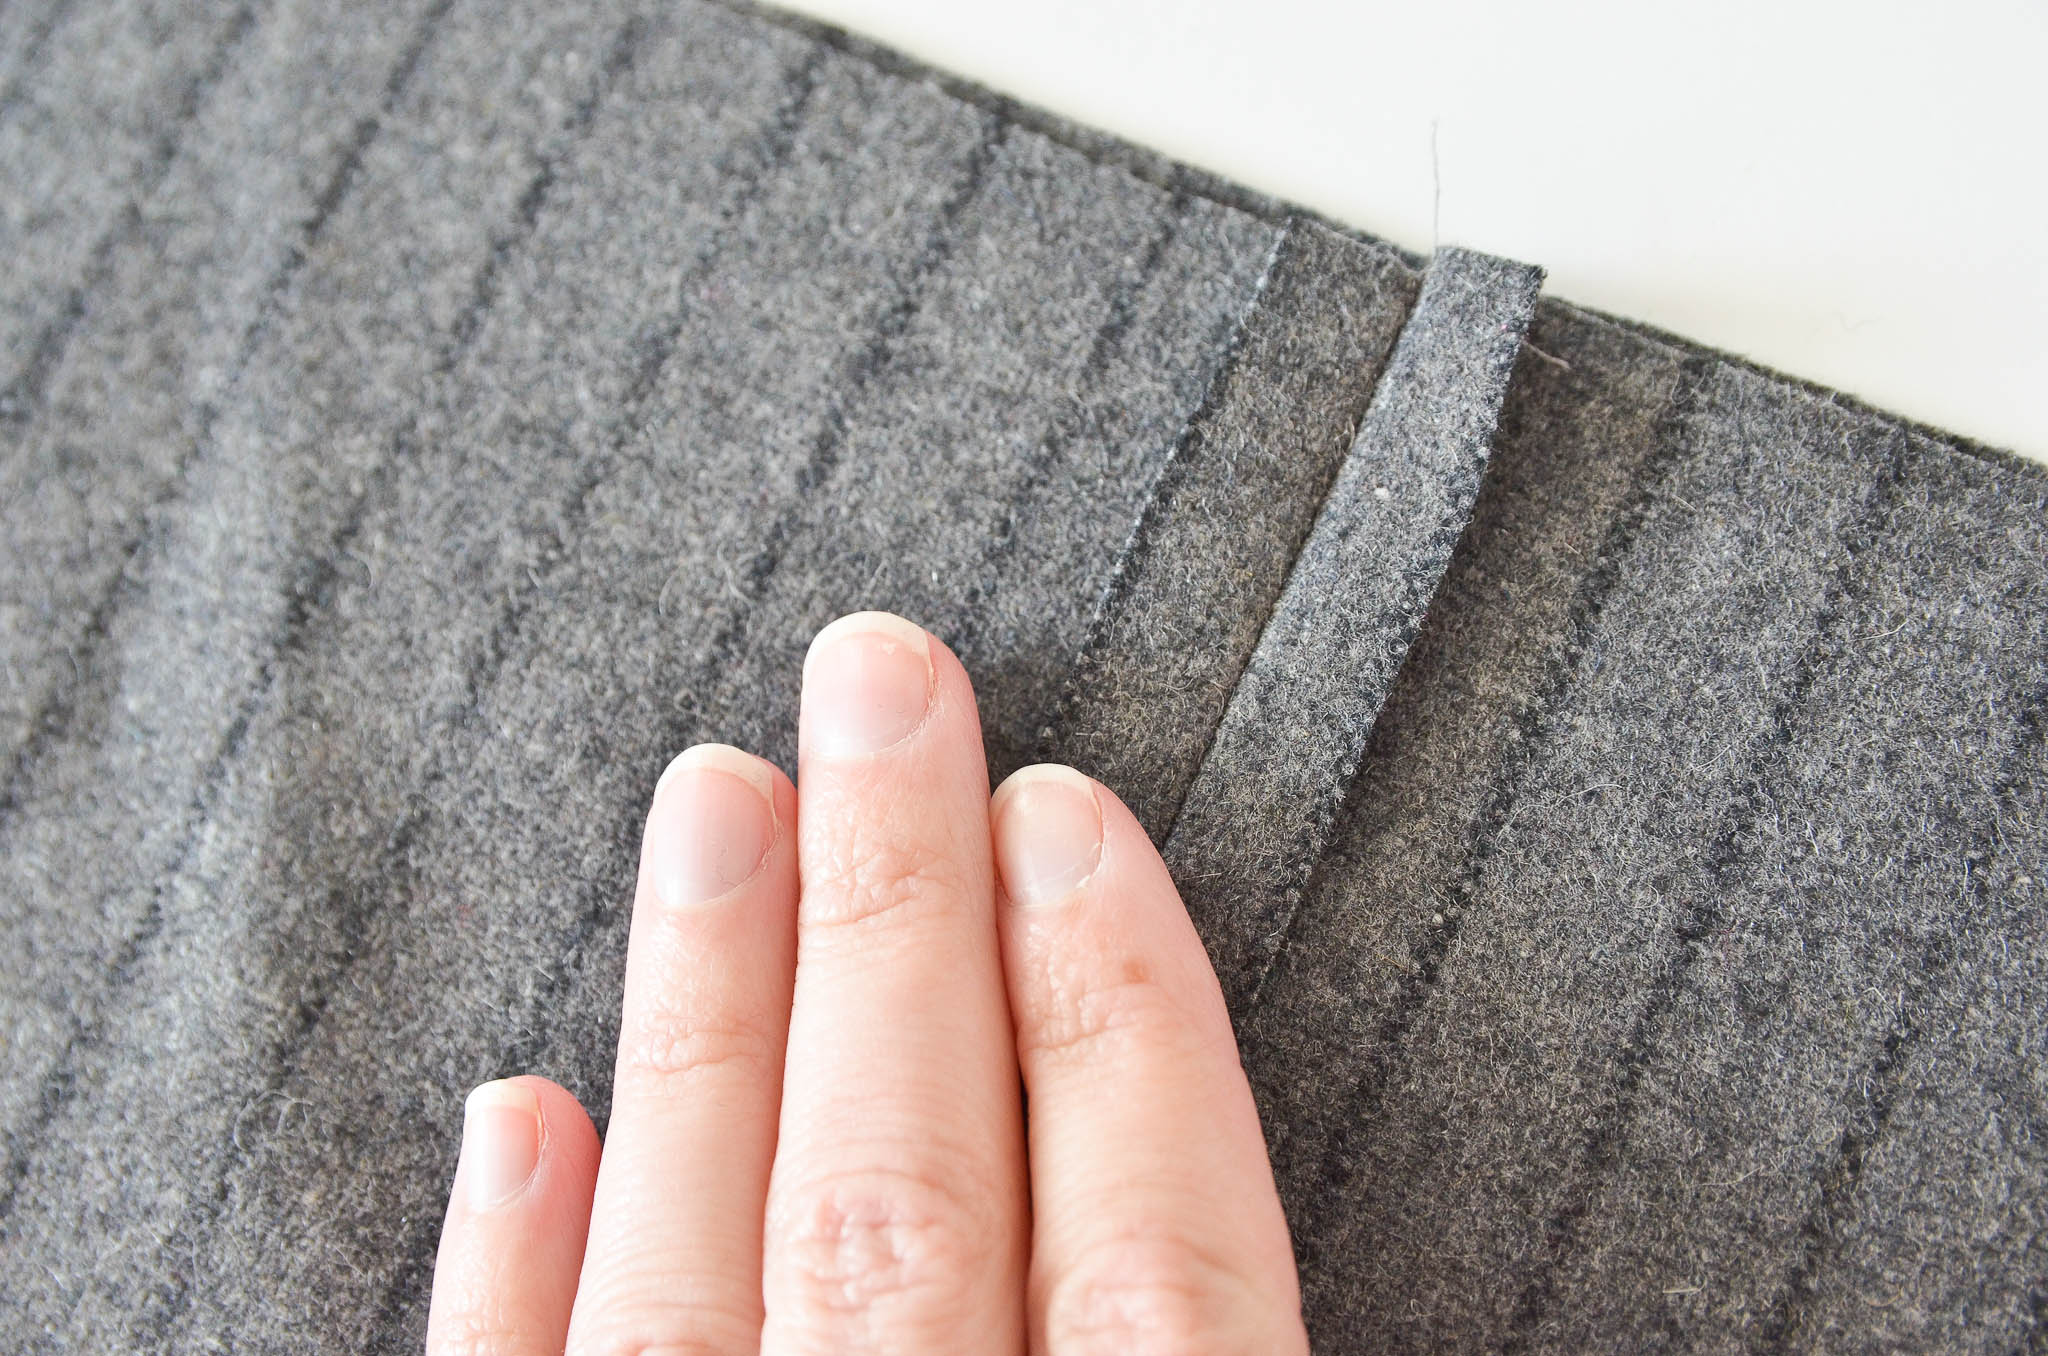
9. With wrong sides out, pin one end of the tube you just created around the edge of the pouf top circle. If you have a directionally sensitive pattern, pay careful attention to which end of the tube should be the top!
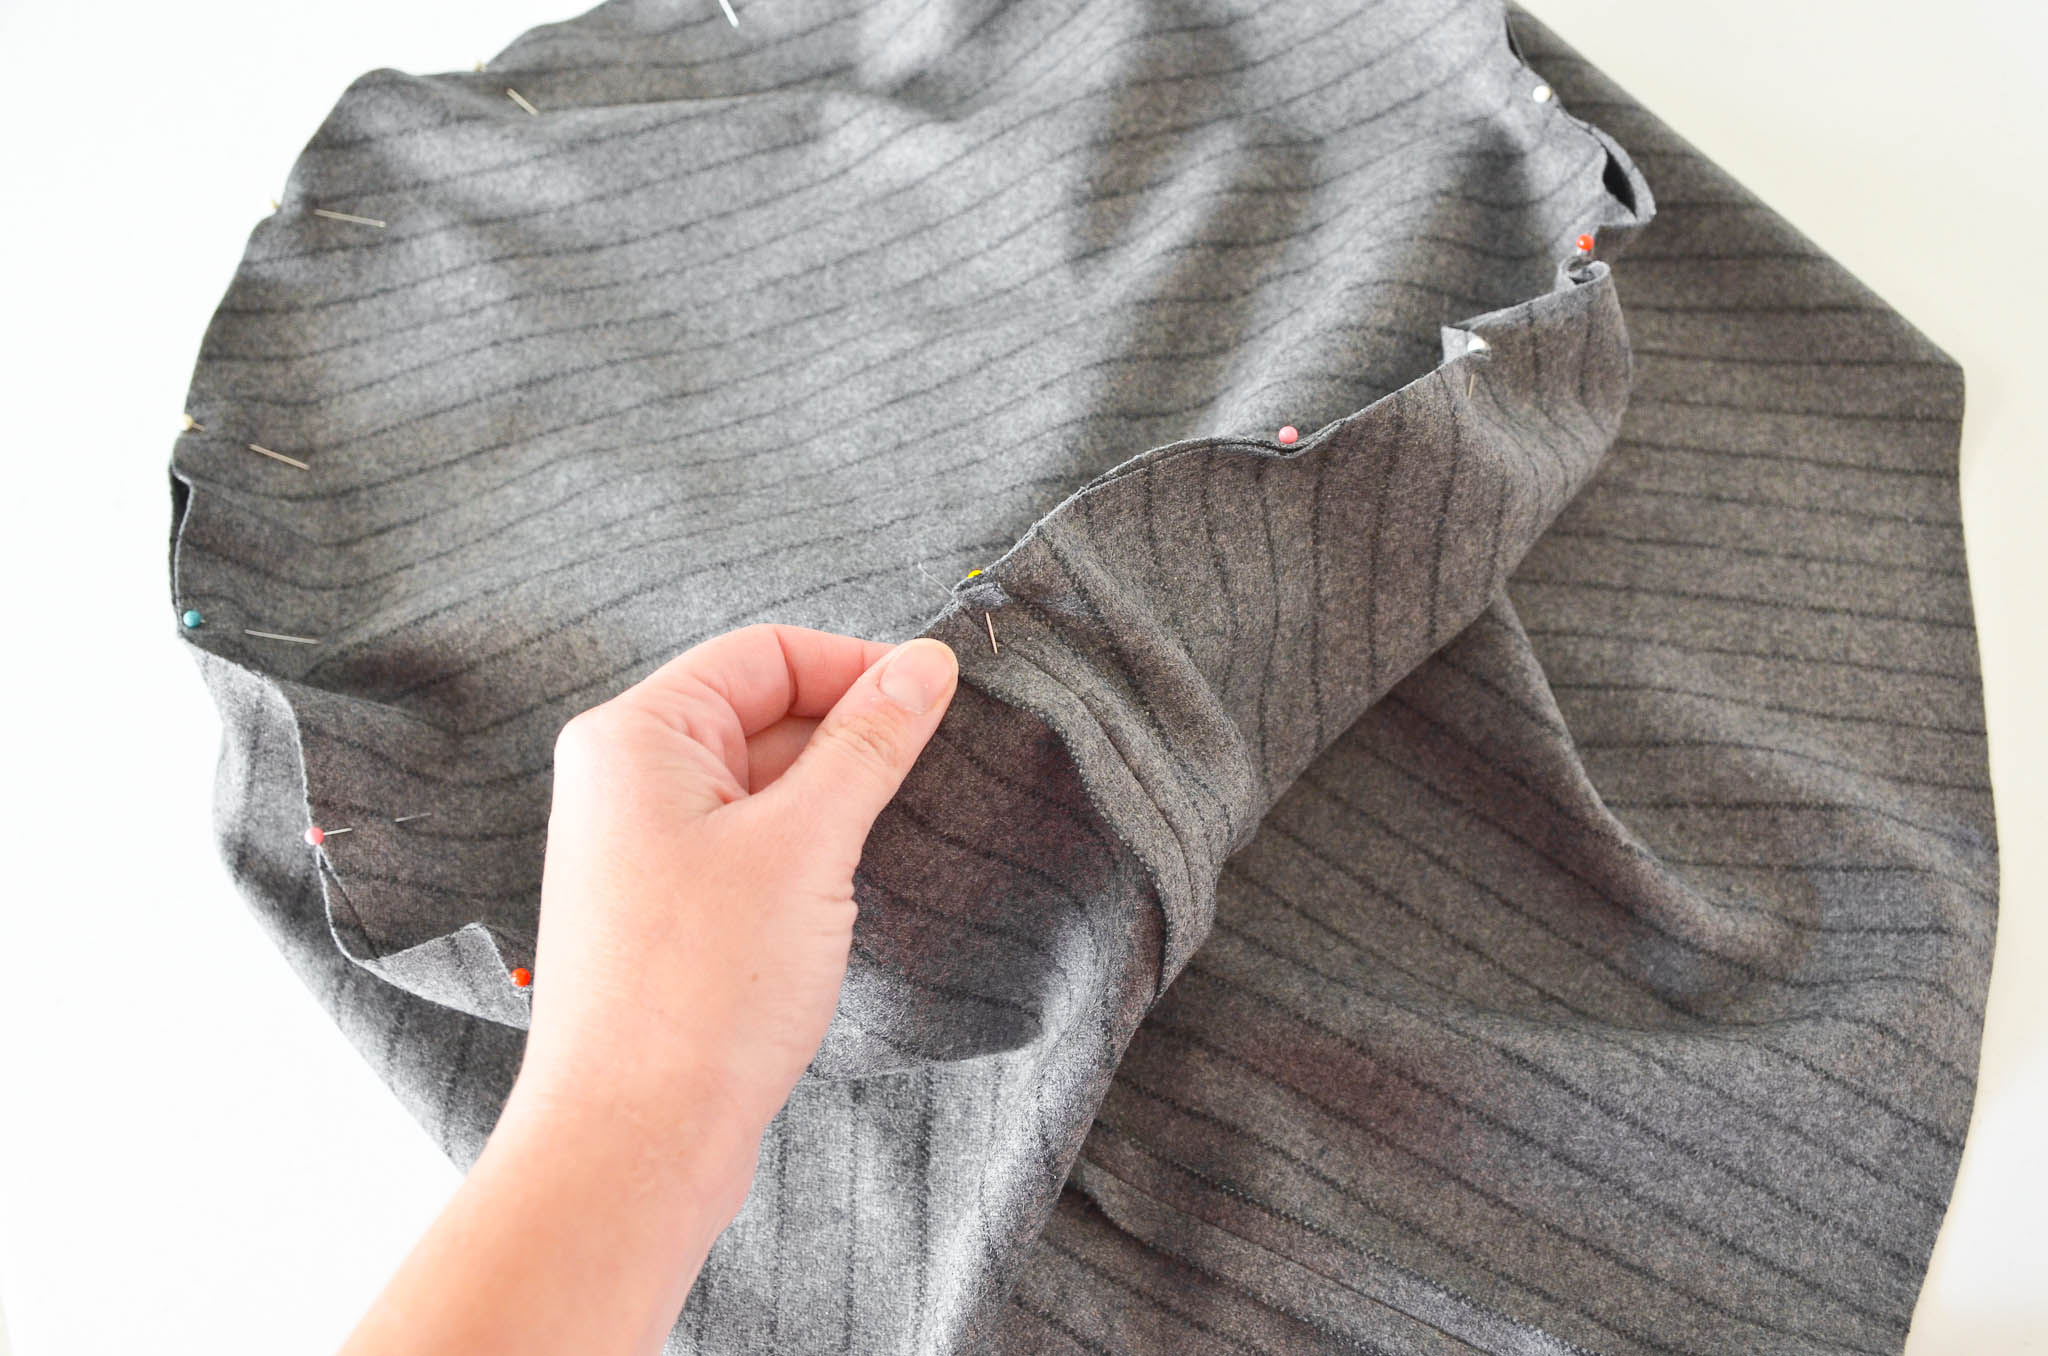
Sew around the top circle.

10. Before repeating this step with your pouf bottom circle, make sure the zipper is open a few inches! It will be very difficult to turn your pouf right-side-out if your zipper is fully closed. Now pin the circle wrong side out to the other end of your tube and sew around the bottom circle.
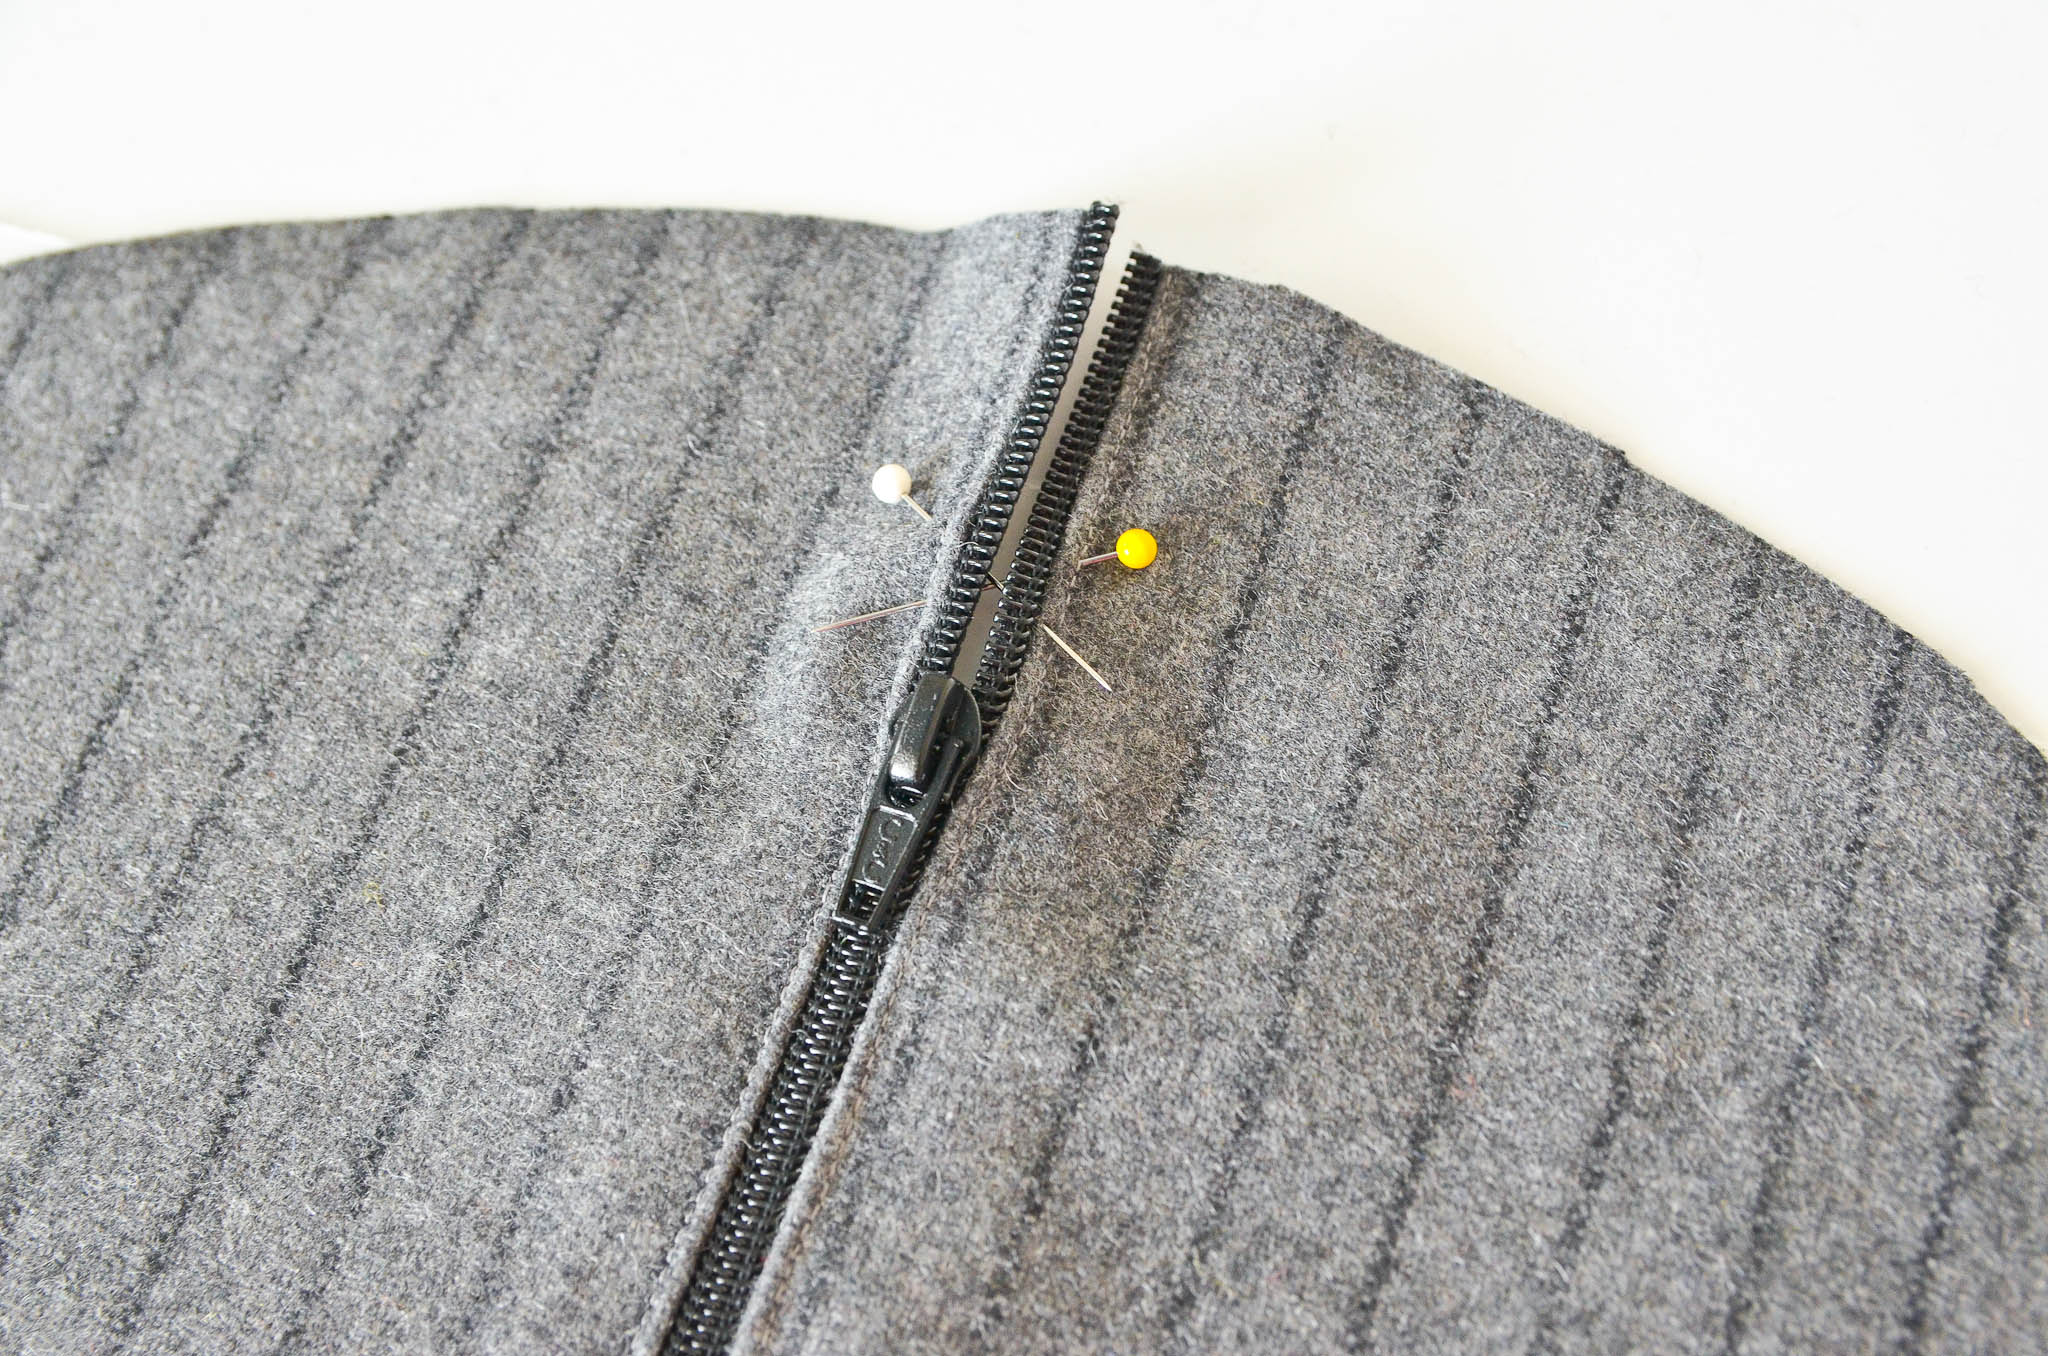
11. Turn your floor pouf right-side-out.
12. To add a handle, cut a strip of leather (or leather-like fabric) to 1.25″ x 8″. Round the corners if you wish. Use an X-ACTO knife to cut small holes 1/2″ from each side.
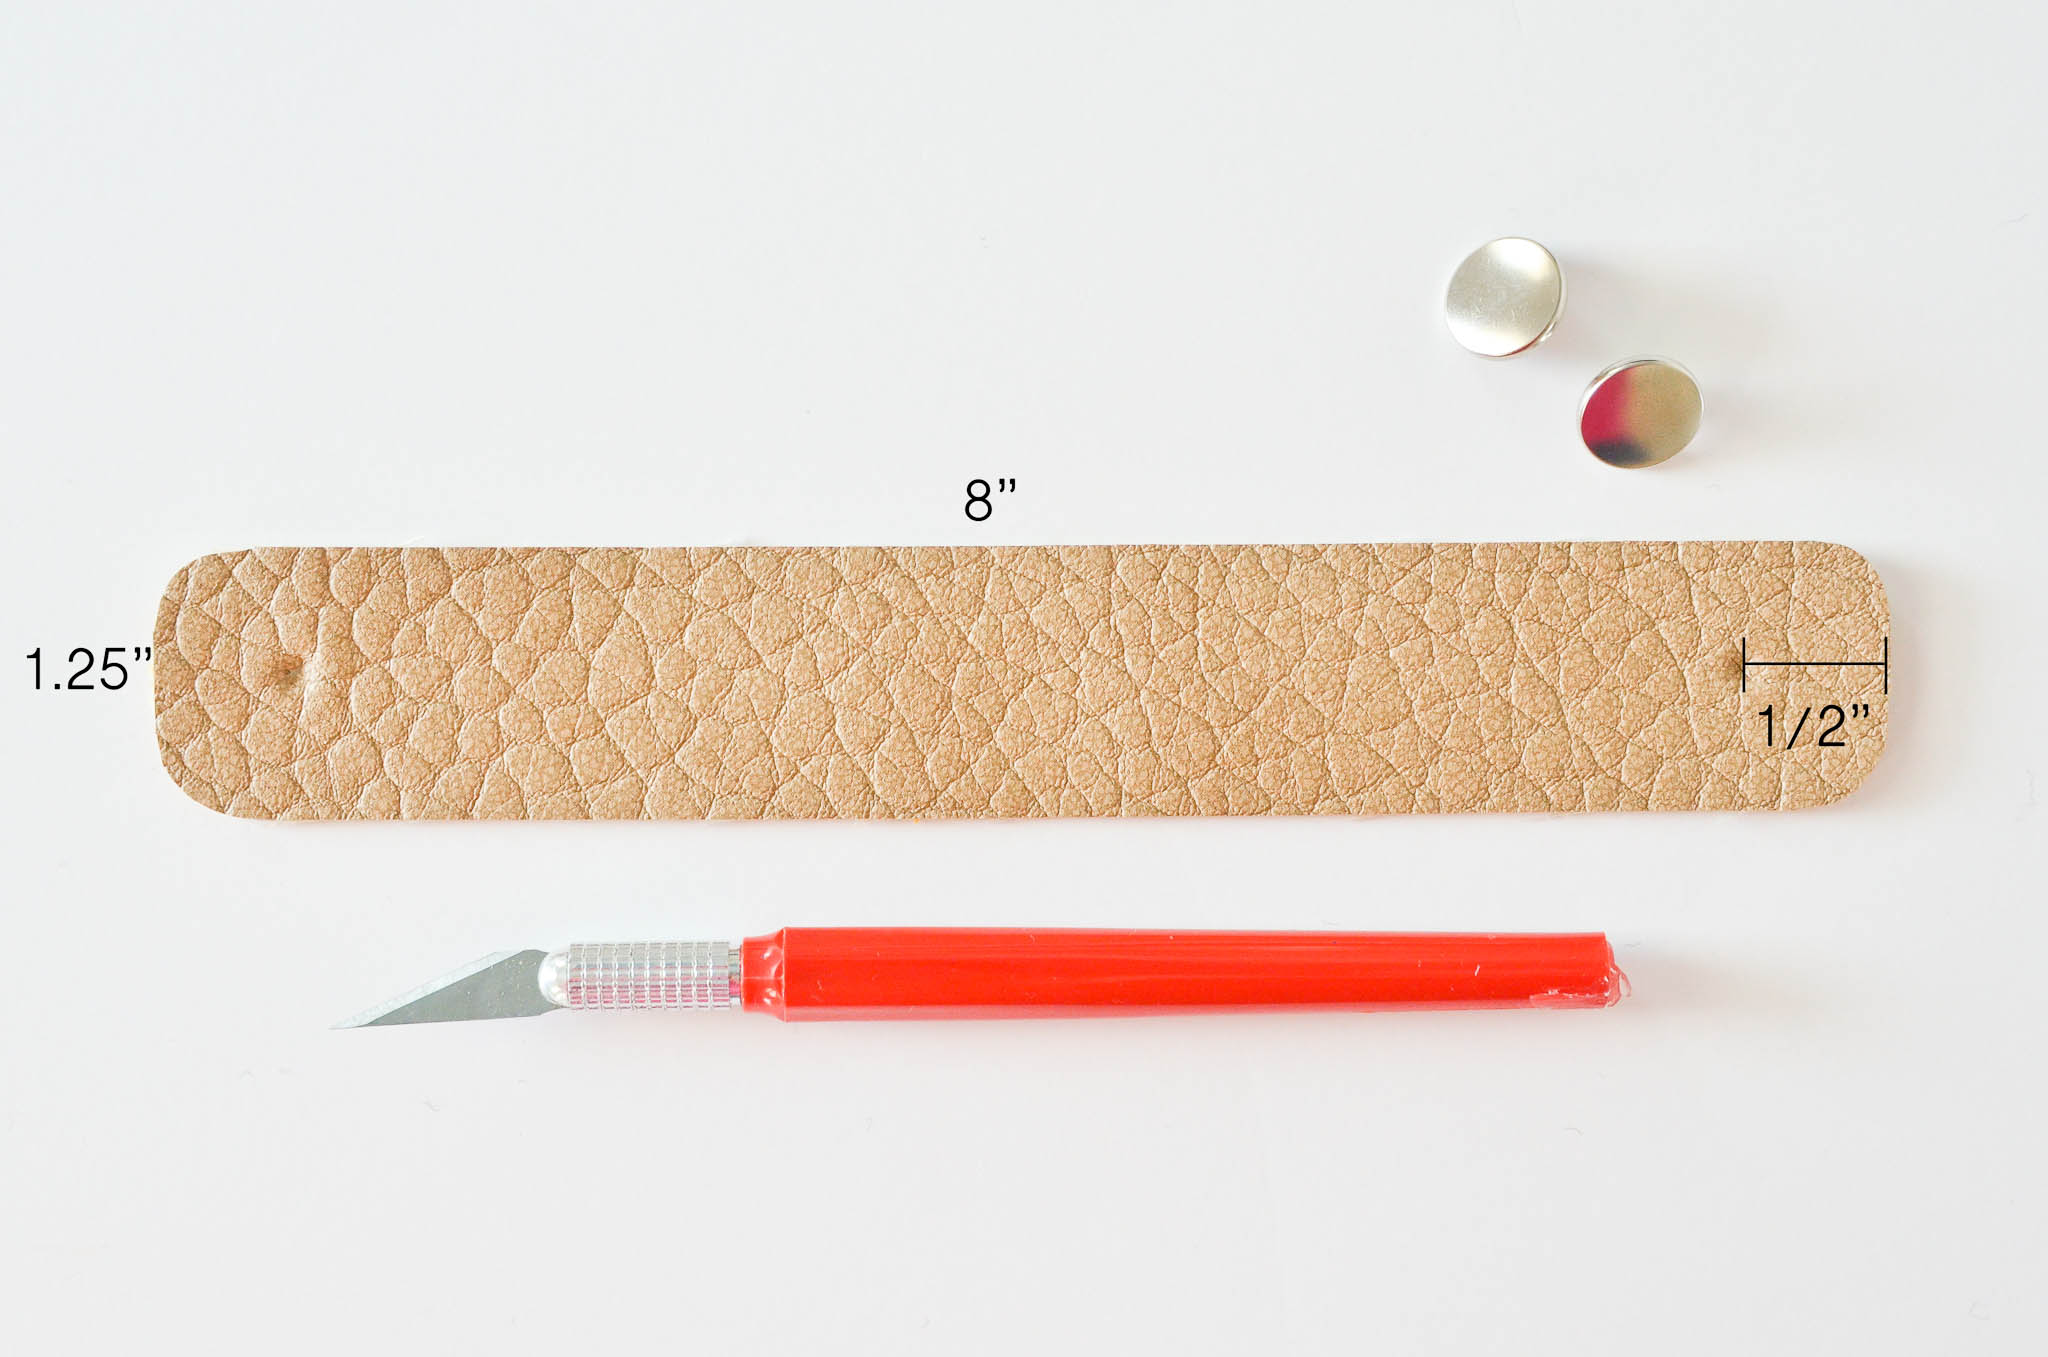
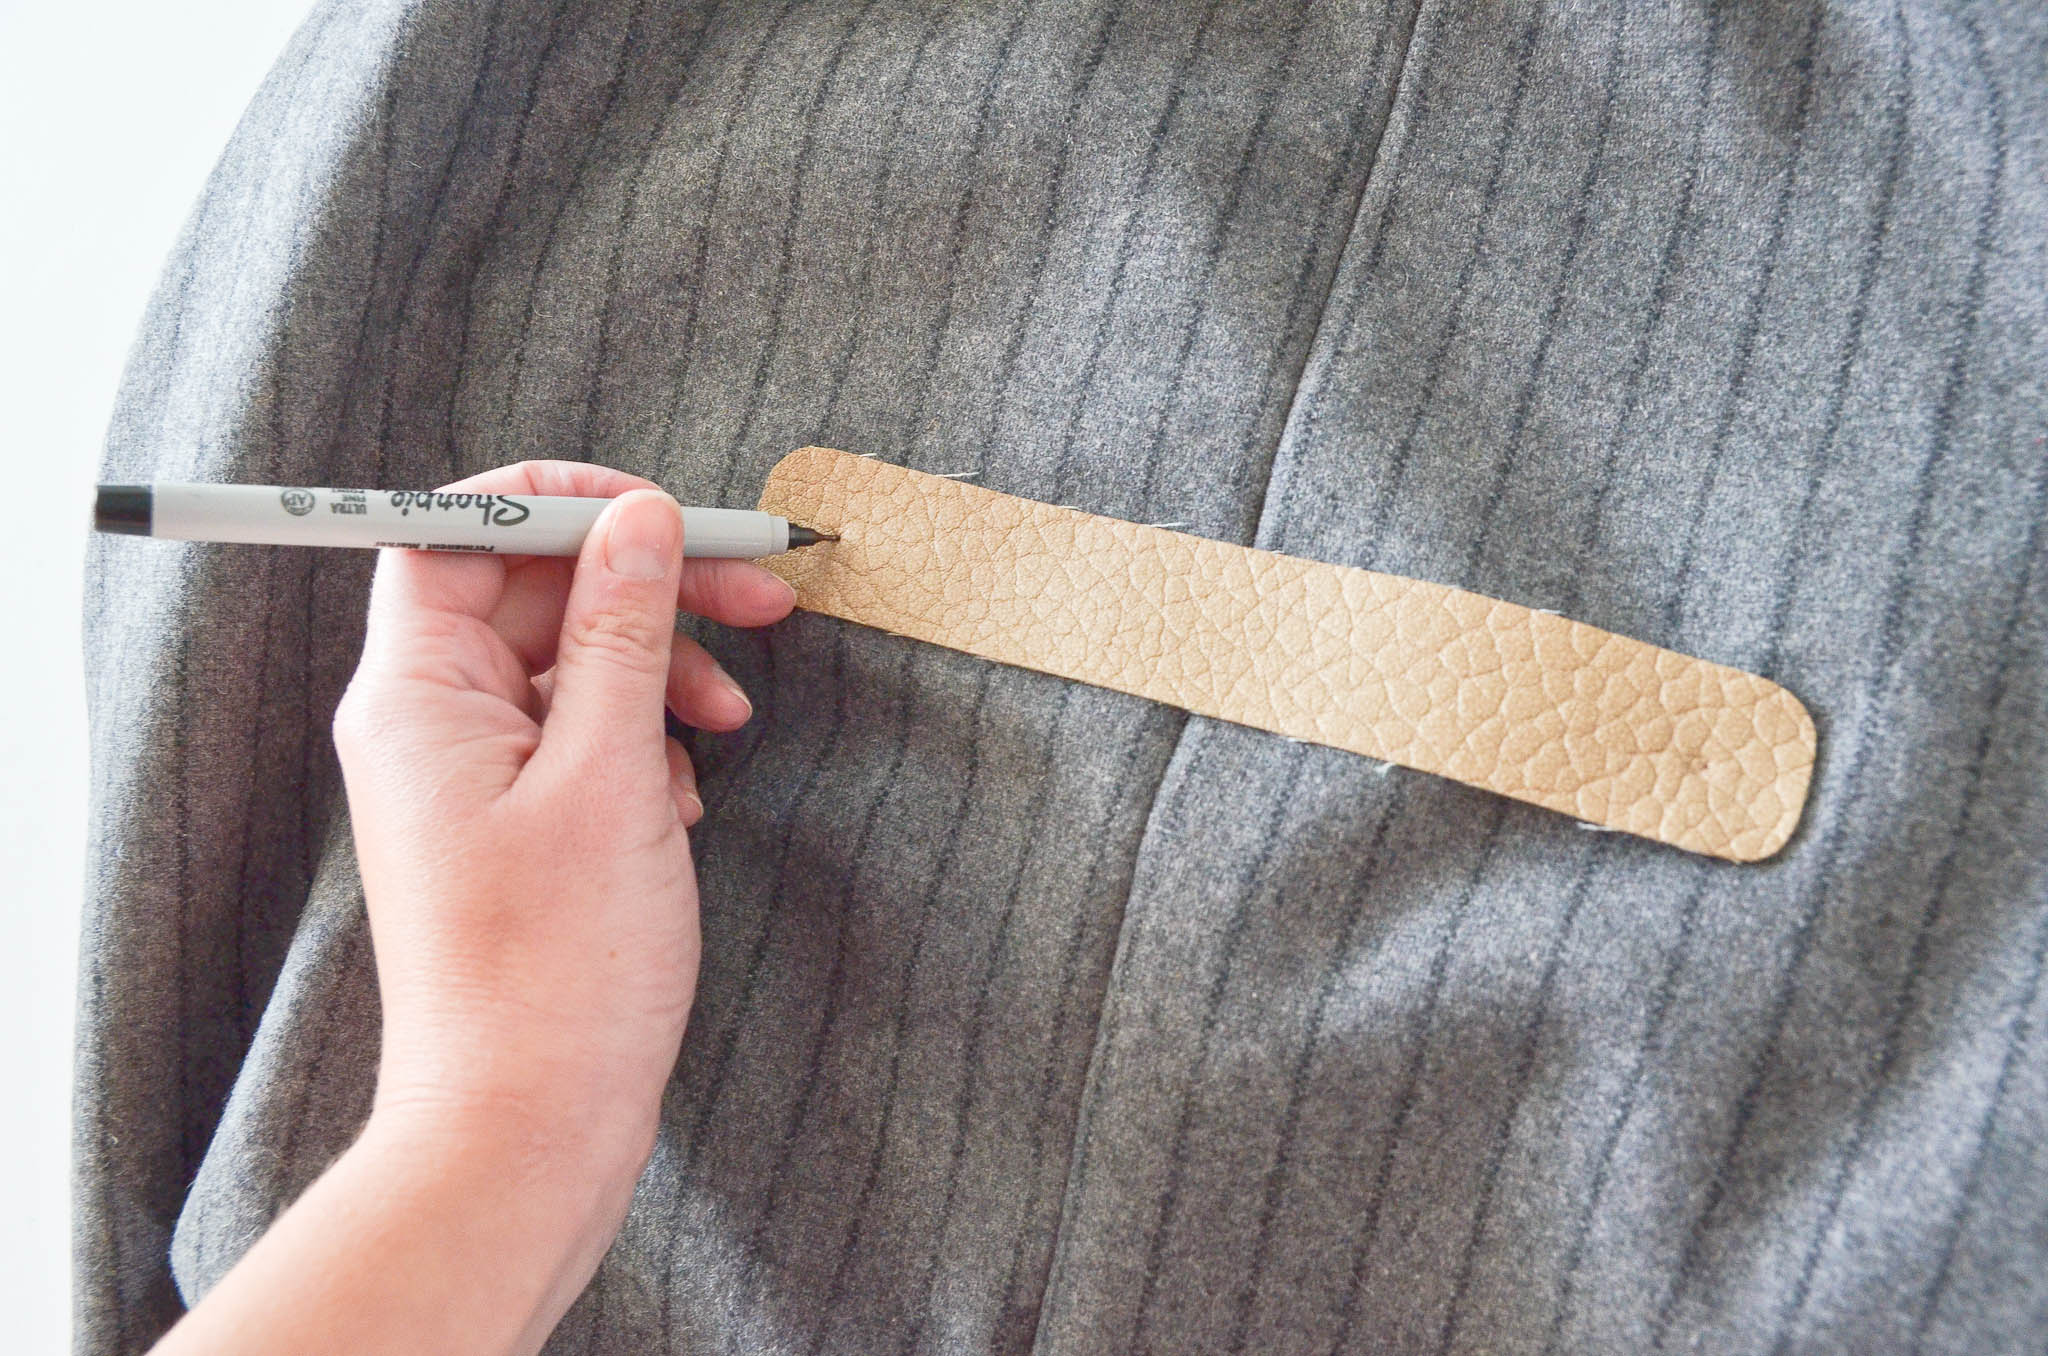
13. Center the handle over the seam of your pouf and mark through the holes you made on the leather with a Sharpie. This will tell you where to place your snaps on the pouf.
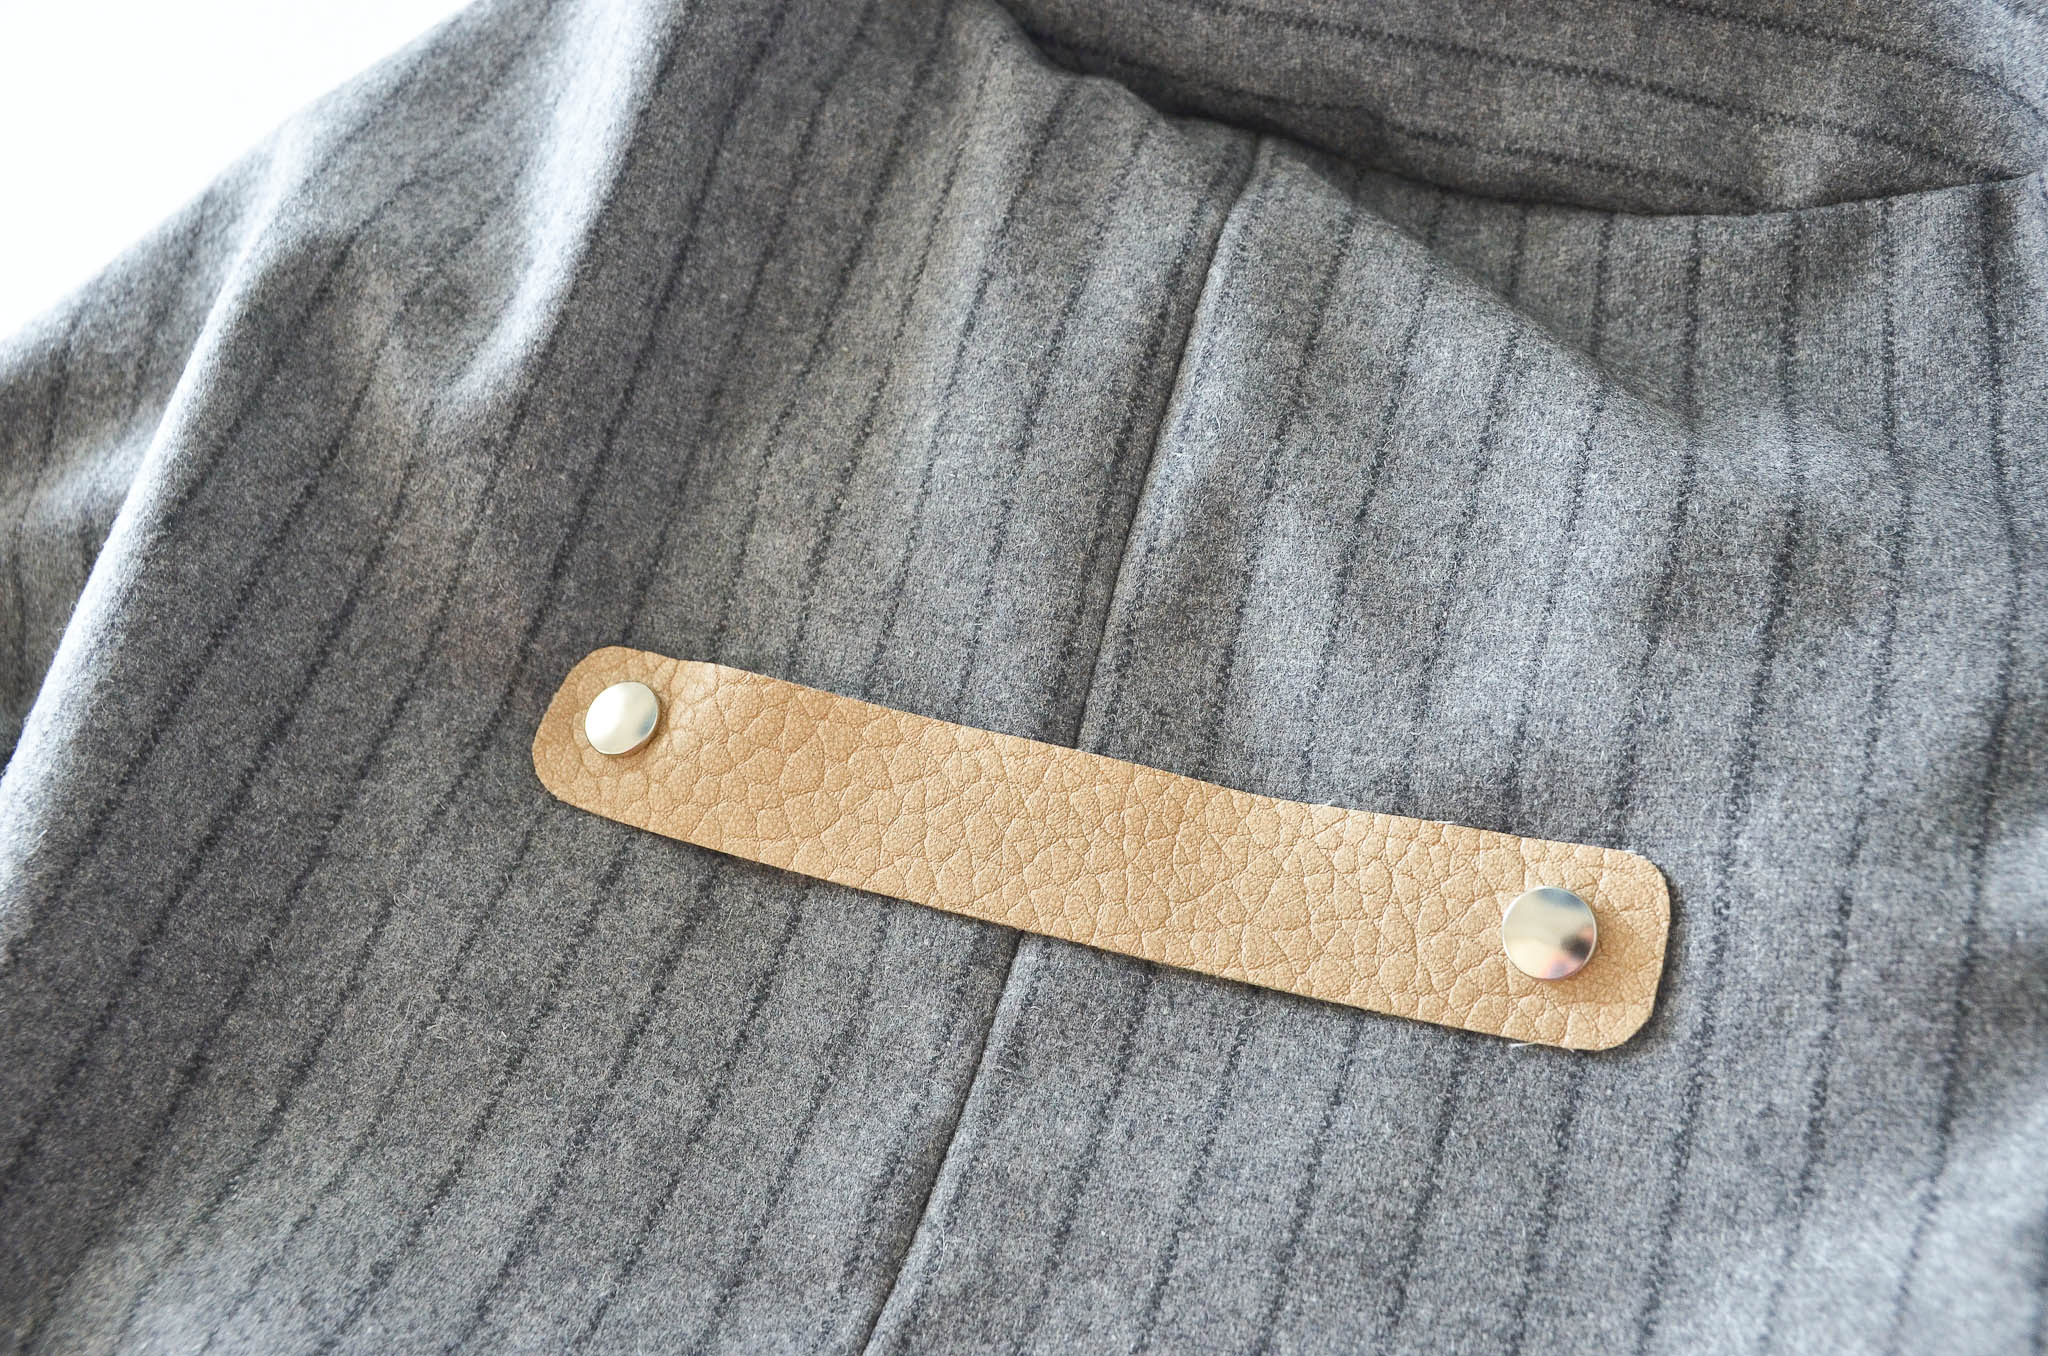
14. Use the snap kit to affix the capped ends on the leather strap and the stud ends on the fabric. It is imperative to do this while your pouf is empty!

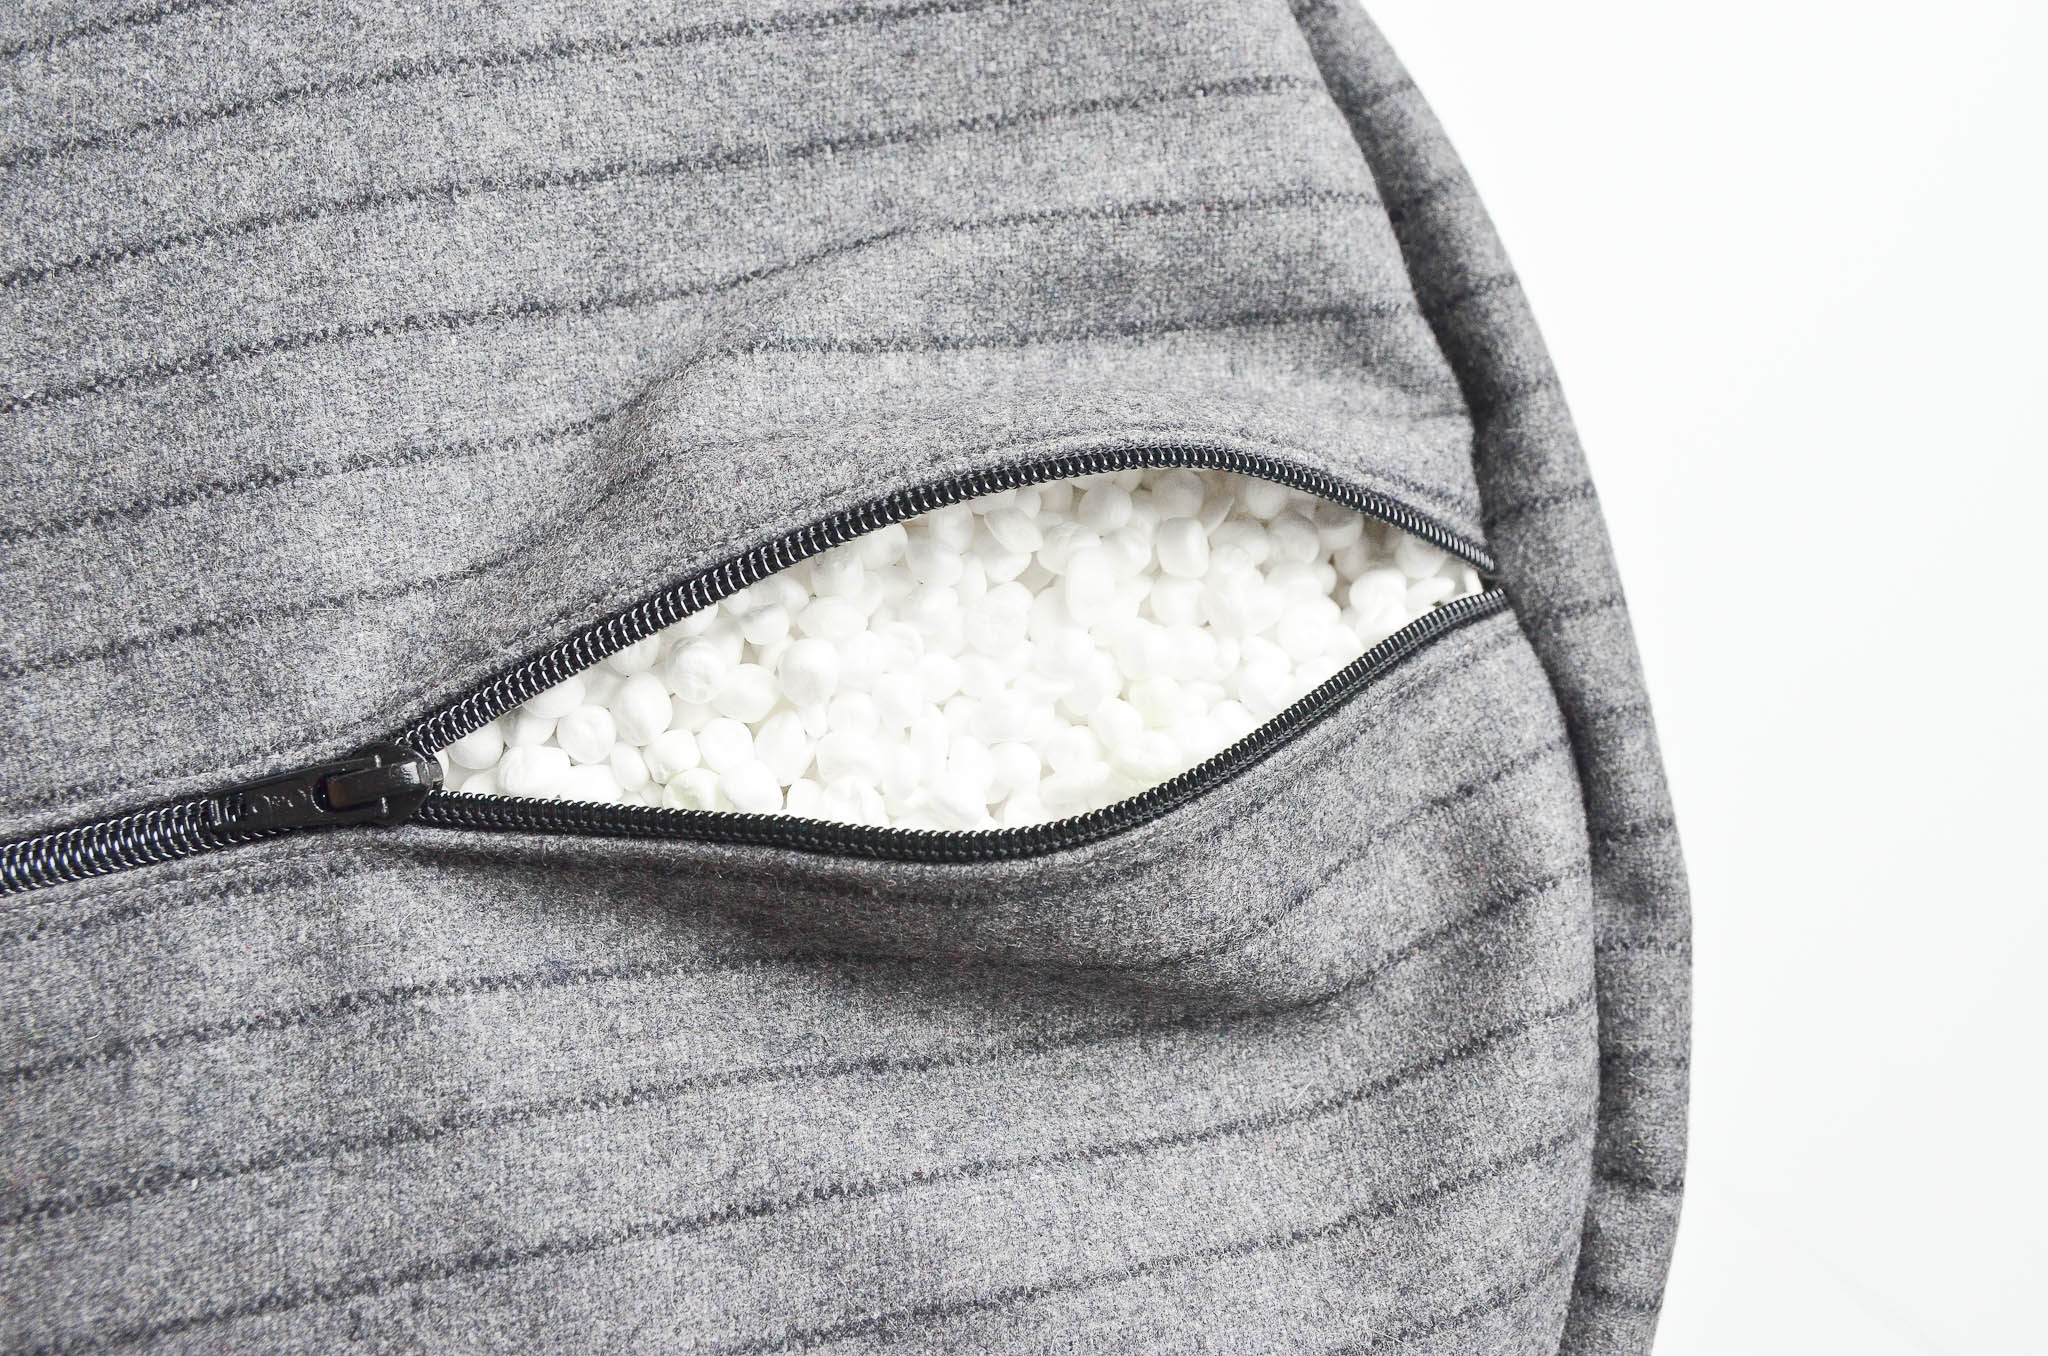
15. Fill the pouf with the stuffing of your choice. I prefer the soft-but-sturdy and lightweight feeling of polystyrene beans (bean bag filler – you’ll need approximately 2.5 cubic feet). Other options may include polyester stuffing or shredded foam.
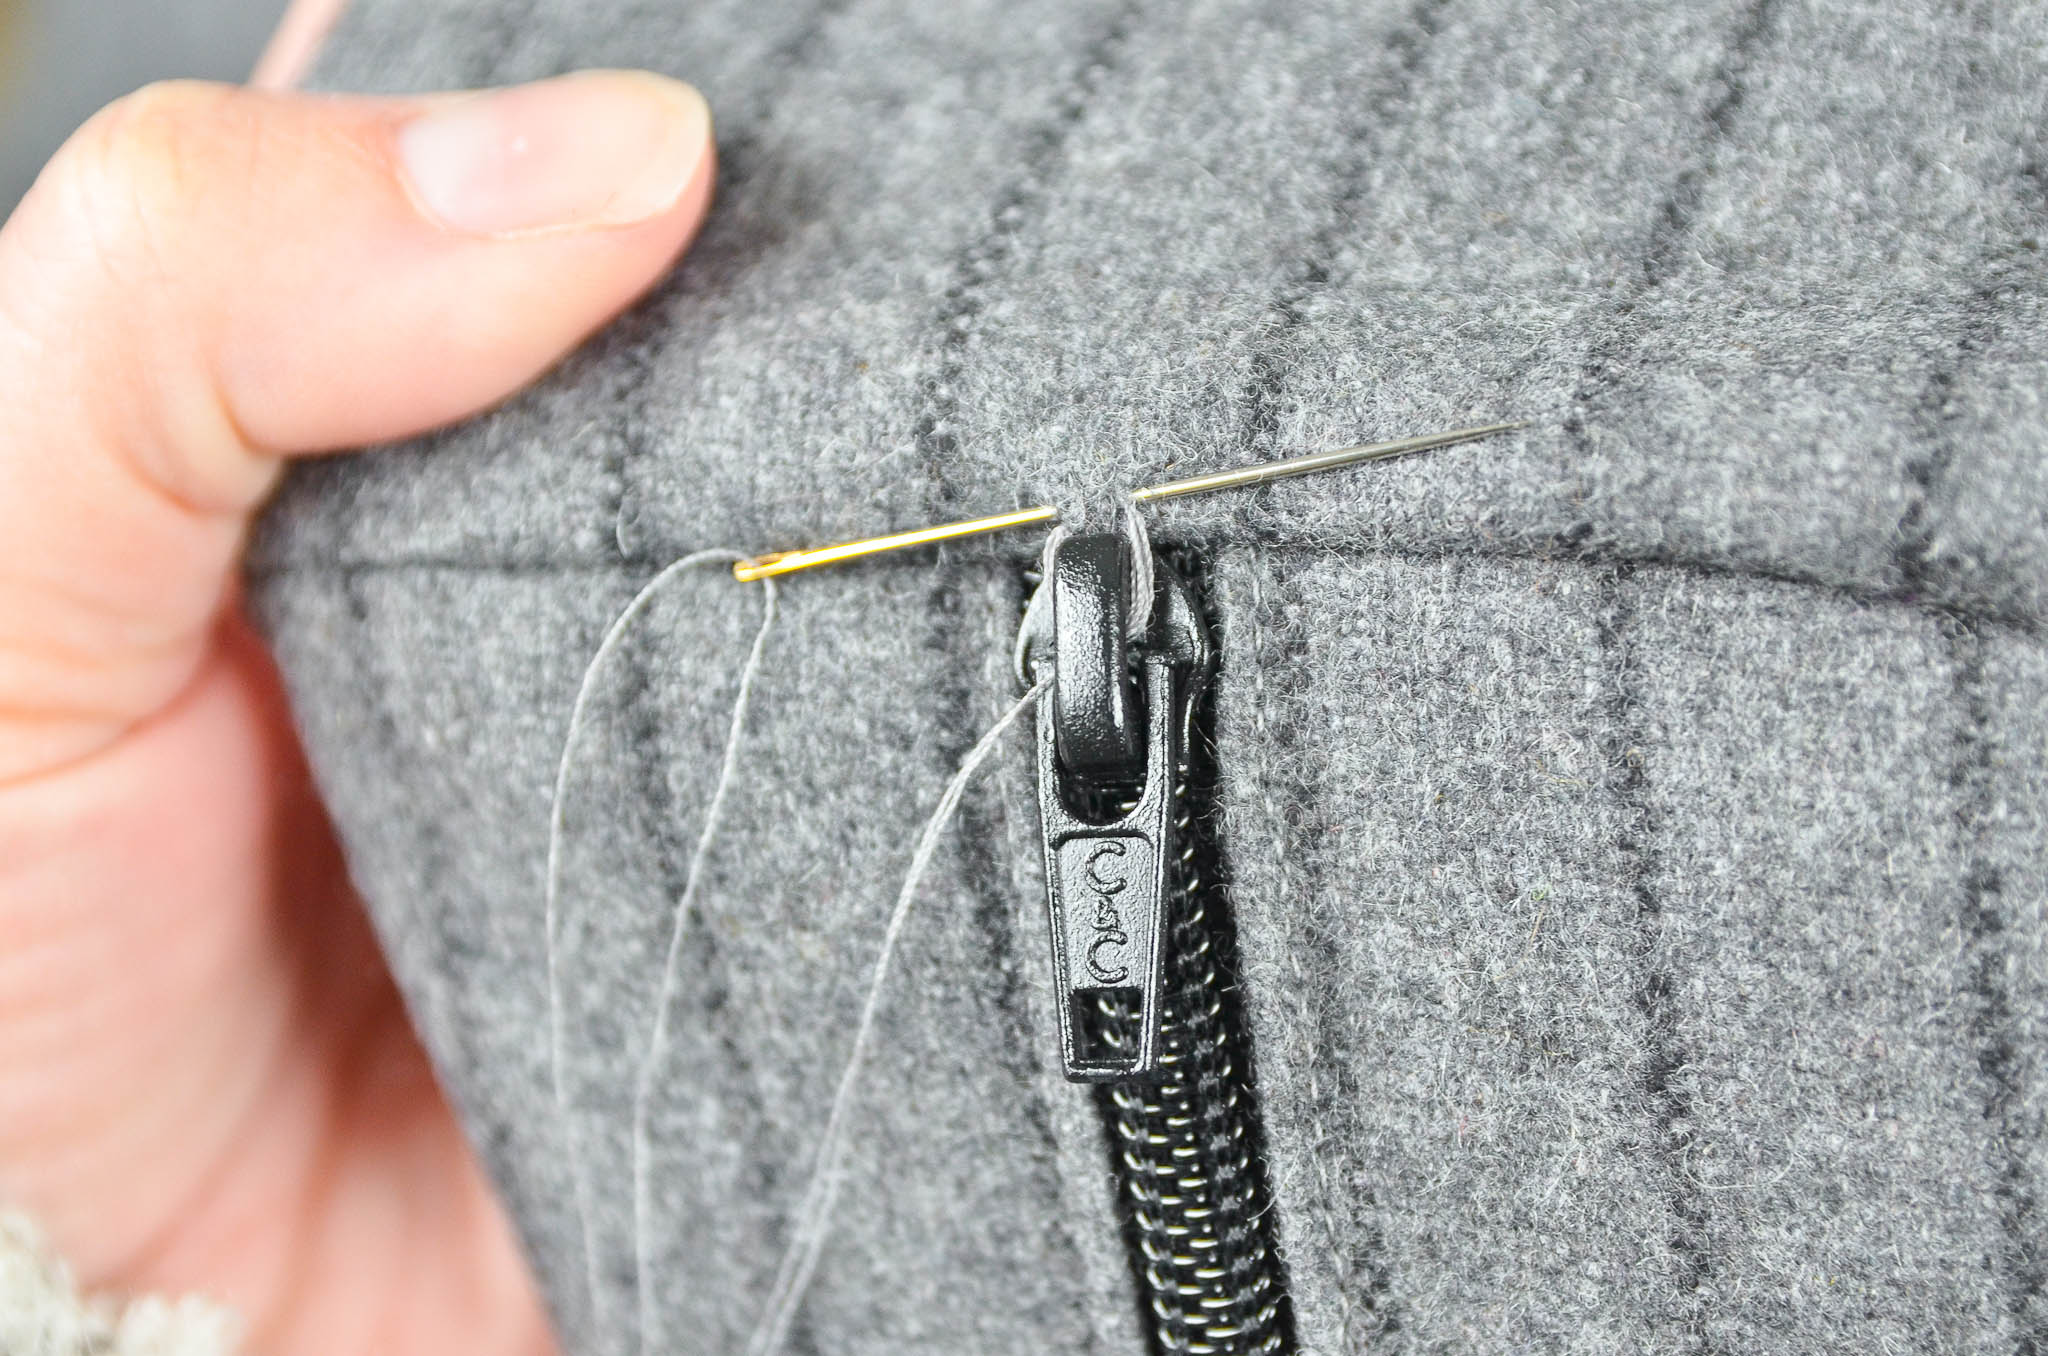
16. Whatever your stuffing of choice, I would strongly recommend hand stitching the zipper shut—simply loop through the zipper pull and back through the fabric several times before knotting. The stitching is quick to snip if you ever want to re-fill your pouf, but this easy step denies small kids dangerous access to the choking hazard of fillers.
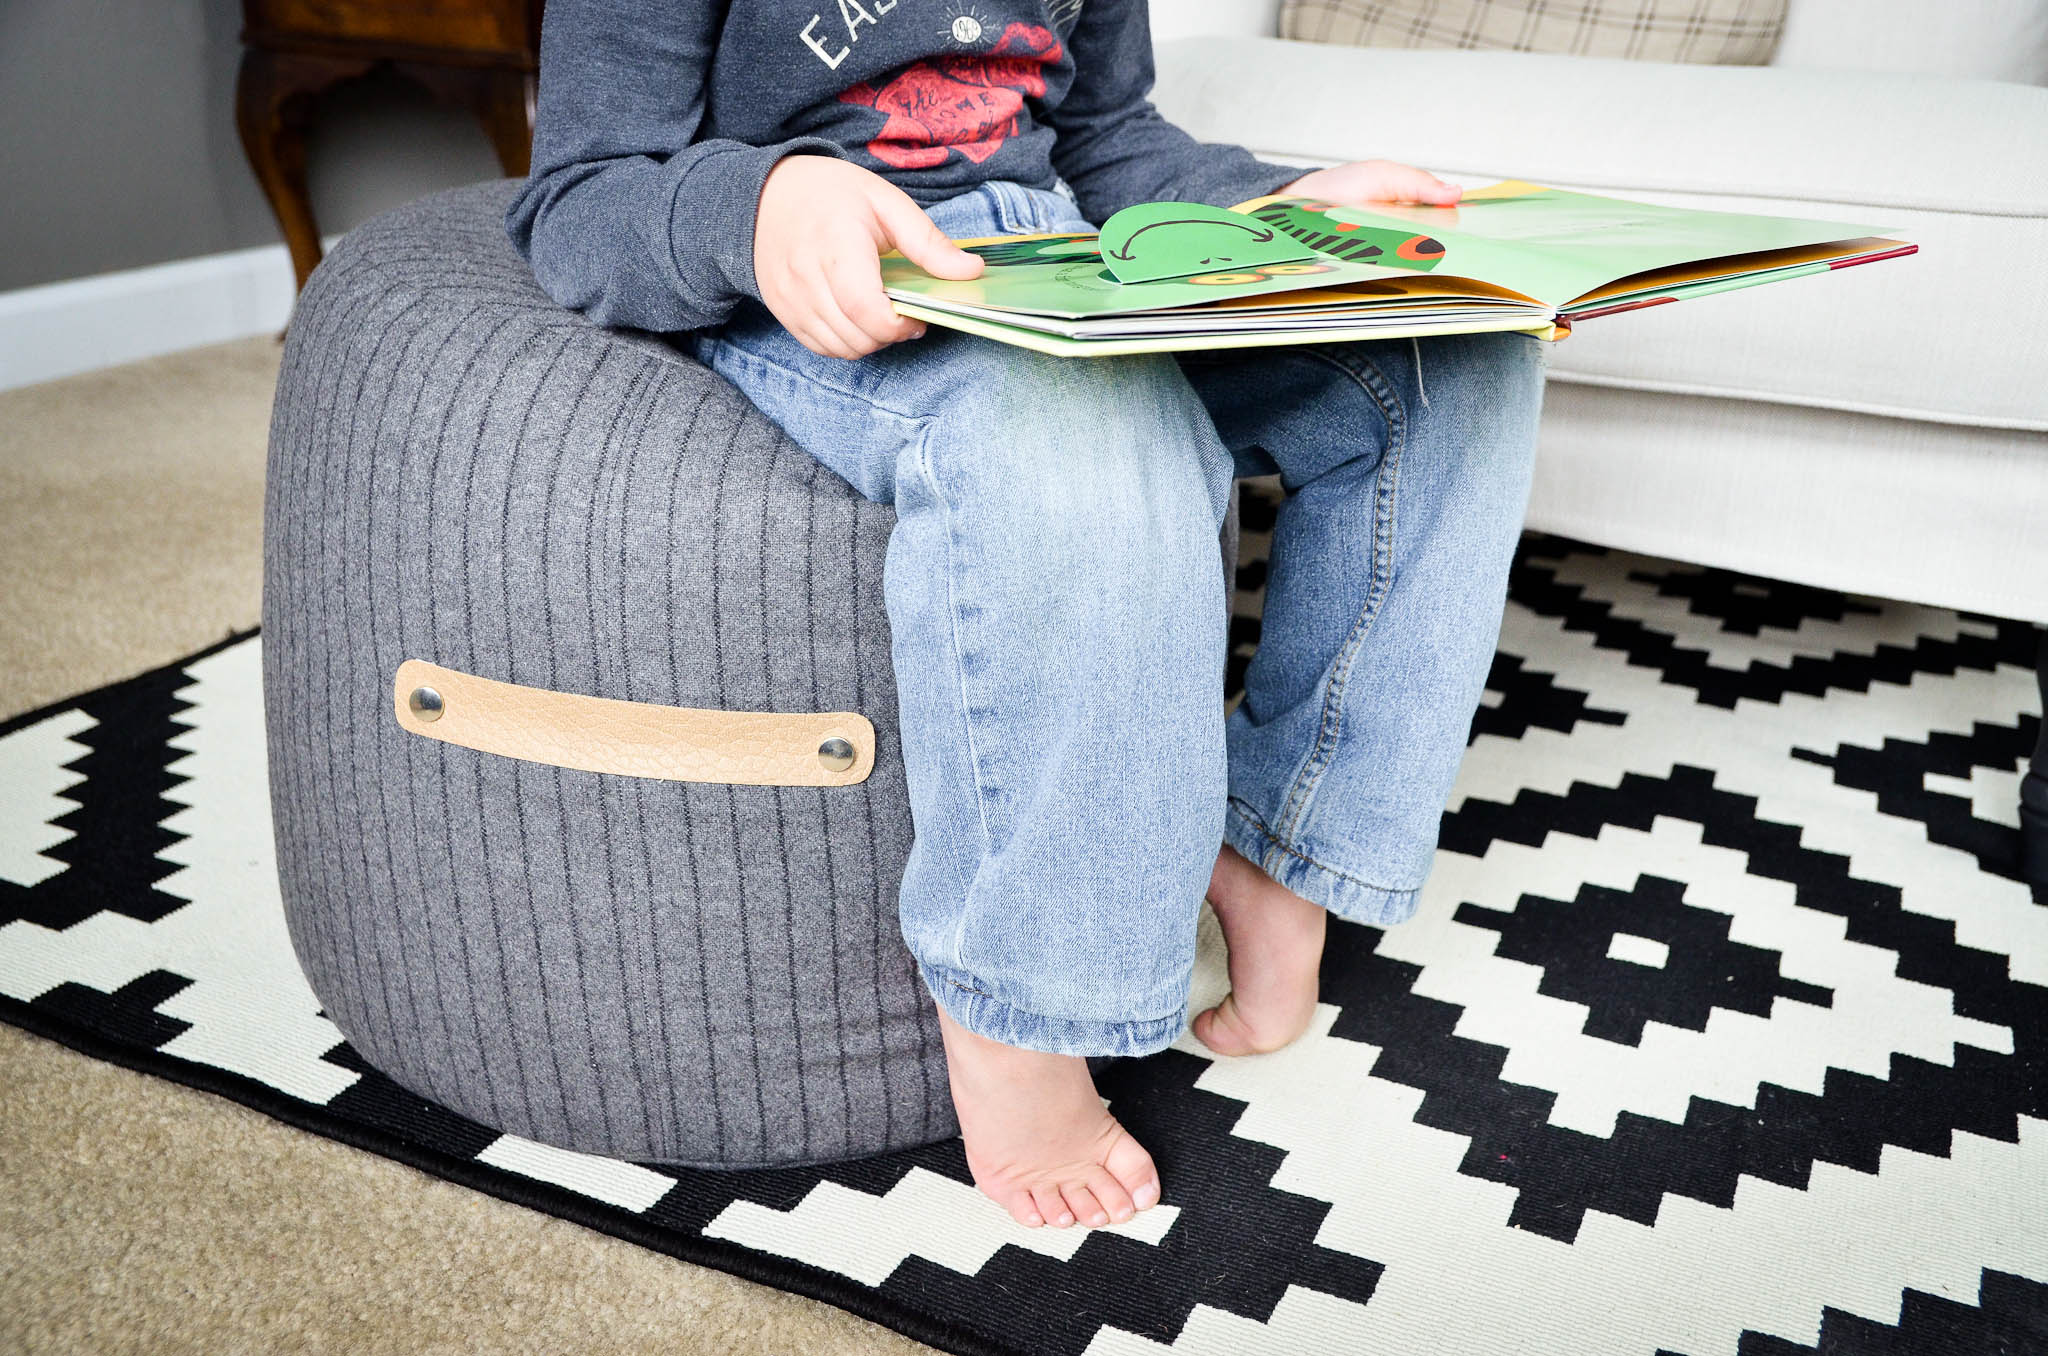
Finished dimensions of your perfect floor pouf are about 17″W x 15″H. It’s the ideal size to fill a myriad of important roles such as foot rest, side table and extra seating.
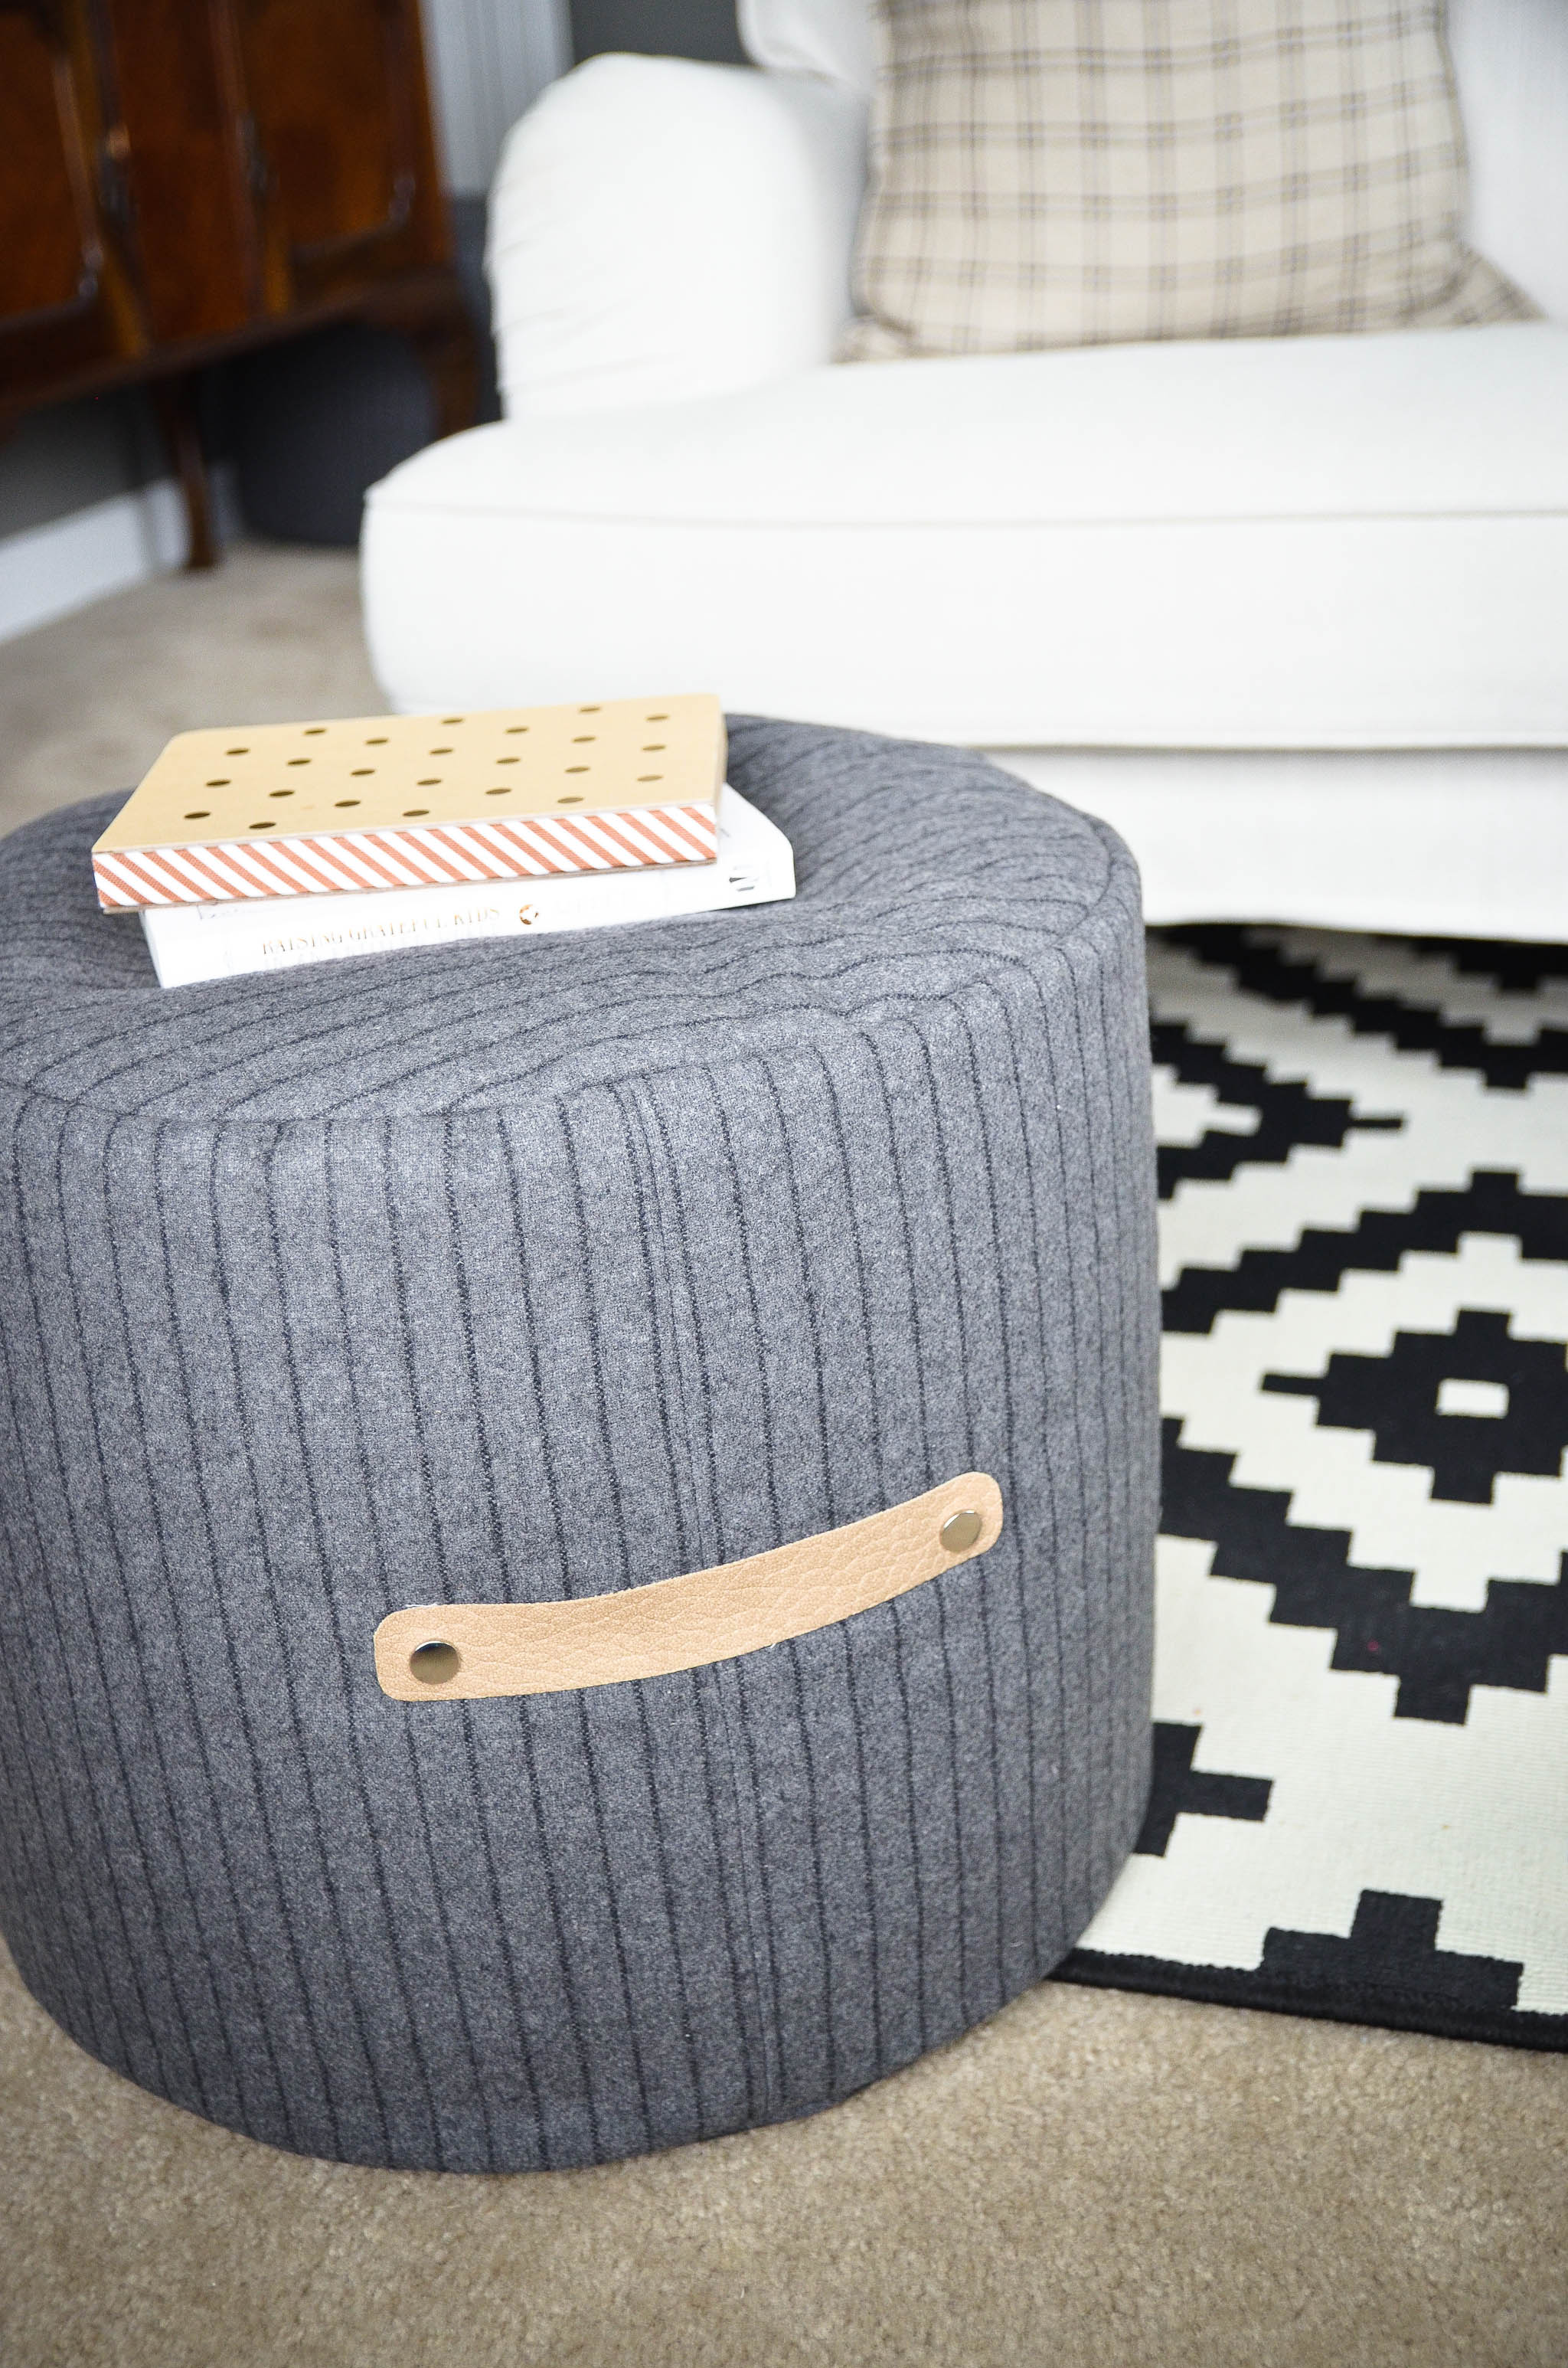
My next mission is to find cute waterproof material and make poolside poufs for summer! How will you use your perfect floor pouf?
This is a sponsored post. Thanks for your support
in our effort to bring you exciting content.
SaveSave




Comments
Julia
Brilliant tutorial on the pouf. I have been looking for one for ages and this is perfect. You make it look so professional and simple. I am going to make one for my evening relax. Thank you so much.
Tracey
I am wanting to make your pouf and my local Joanns store only had 54” upholstery fabric. How do I figure out what size the circle and square should be now that my fabric is two inches less? Could you help with this? Thank you in advance!