If your summer was anything like mine, I’m sure you’re thinking, “How did it go by so fast?” I seriously think I blinked, and suddenly it’s the middle of August! For me, this is the first school year that all three of my kiddos will be in school for the full day, with my youngest heading off to preschool in just a couple of weeks. I don’t know whether to pop the champagne, sit down and cry—or maybe do both at the same time!

Maybe your little tot is headed to preschool or daycare for the first time, or maybe you have older kids that are old pros at the “back to school” thing. Any way you slice it, getting the new class together for a back to school party is a super fun way to meet the parents of your youngsters’ new best friends, meet and greet their teachers and give the kids a fun environment in which to interact with their new classmates.
Thinking of throwing a meet the class or a back to school party for your littles? Here are some of my A+ ideas to make sure your party makes the grade!
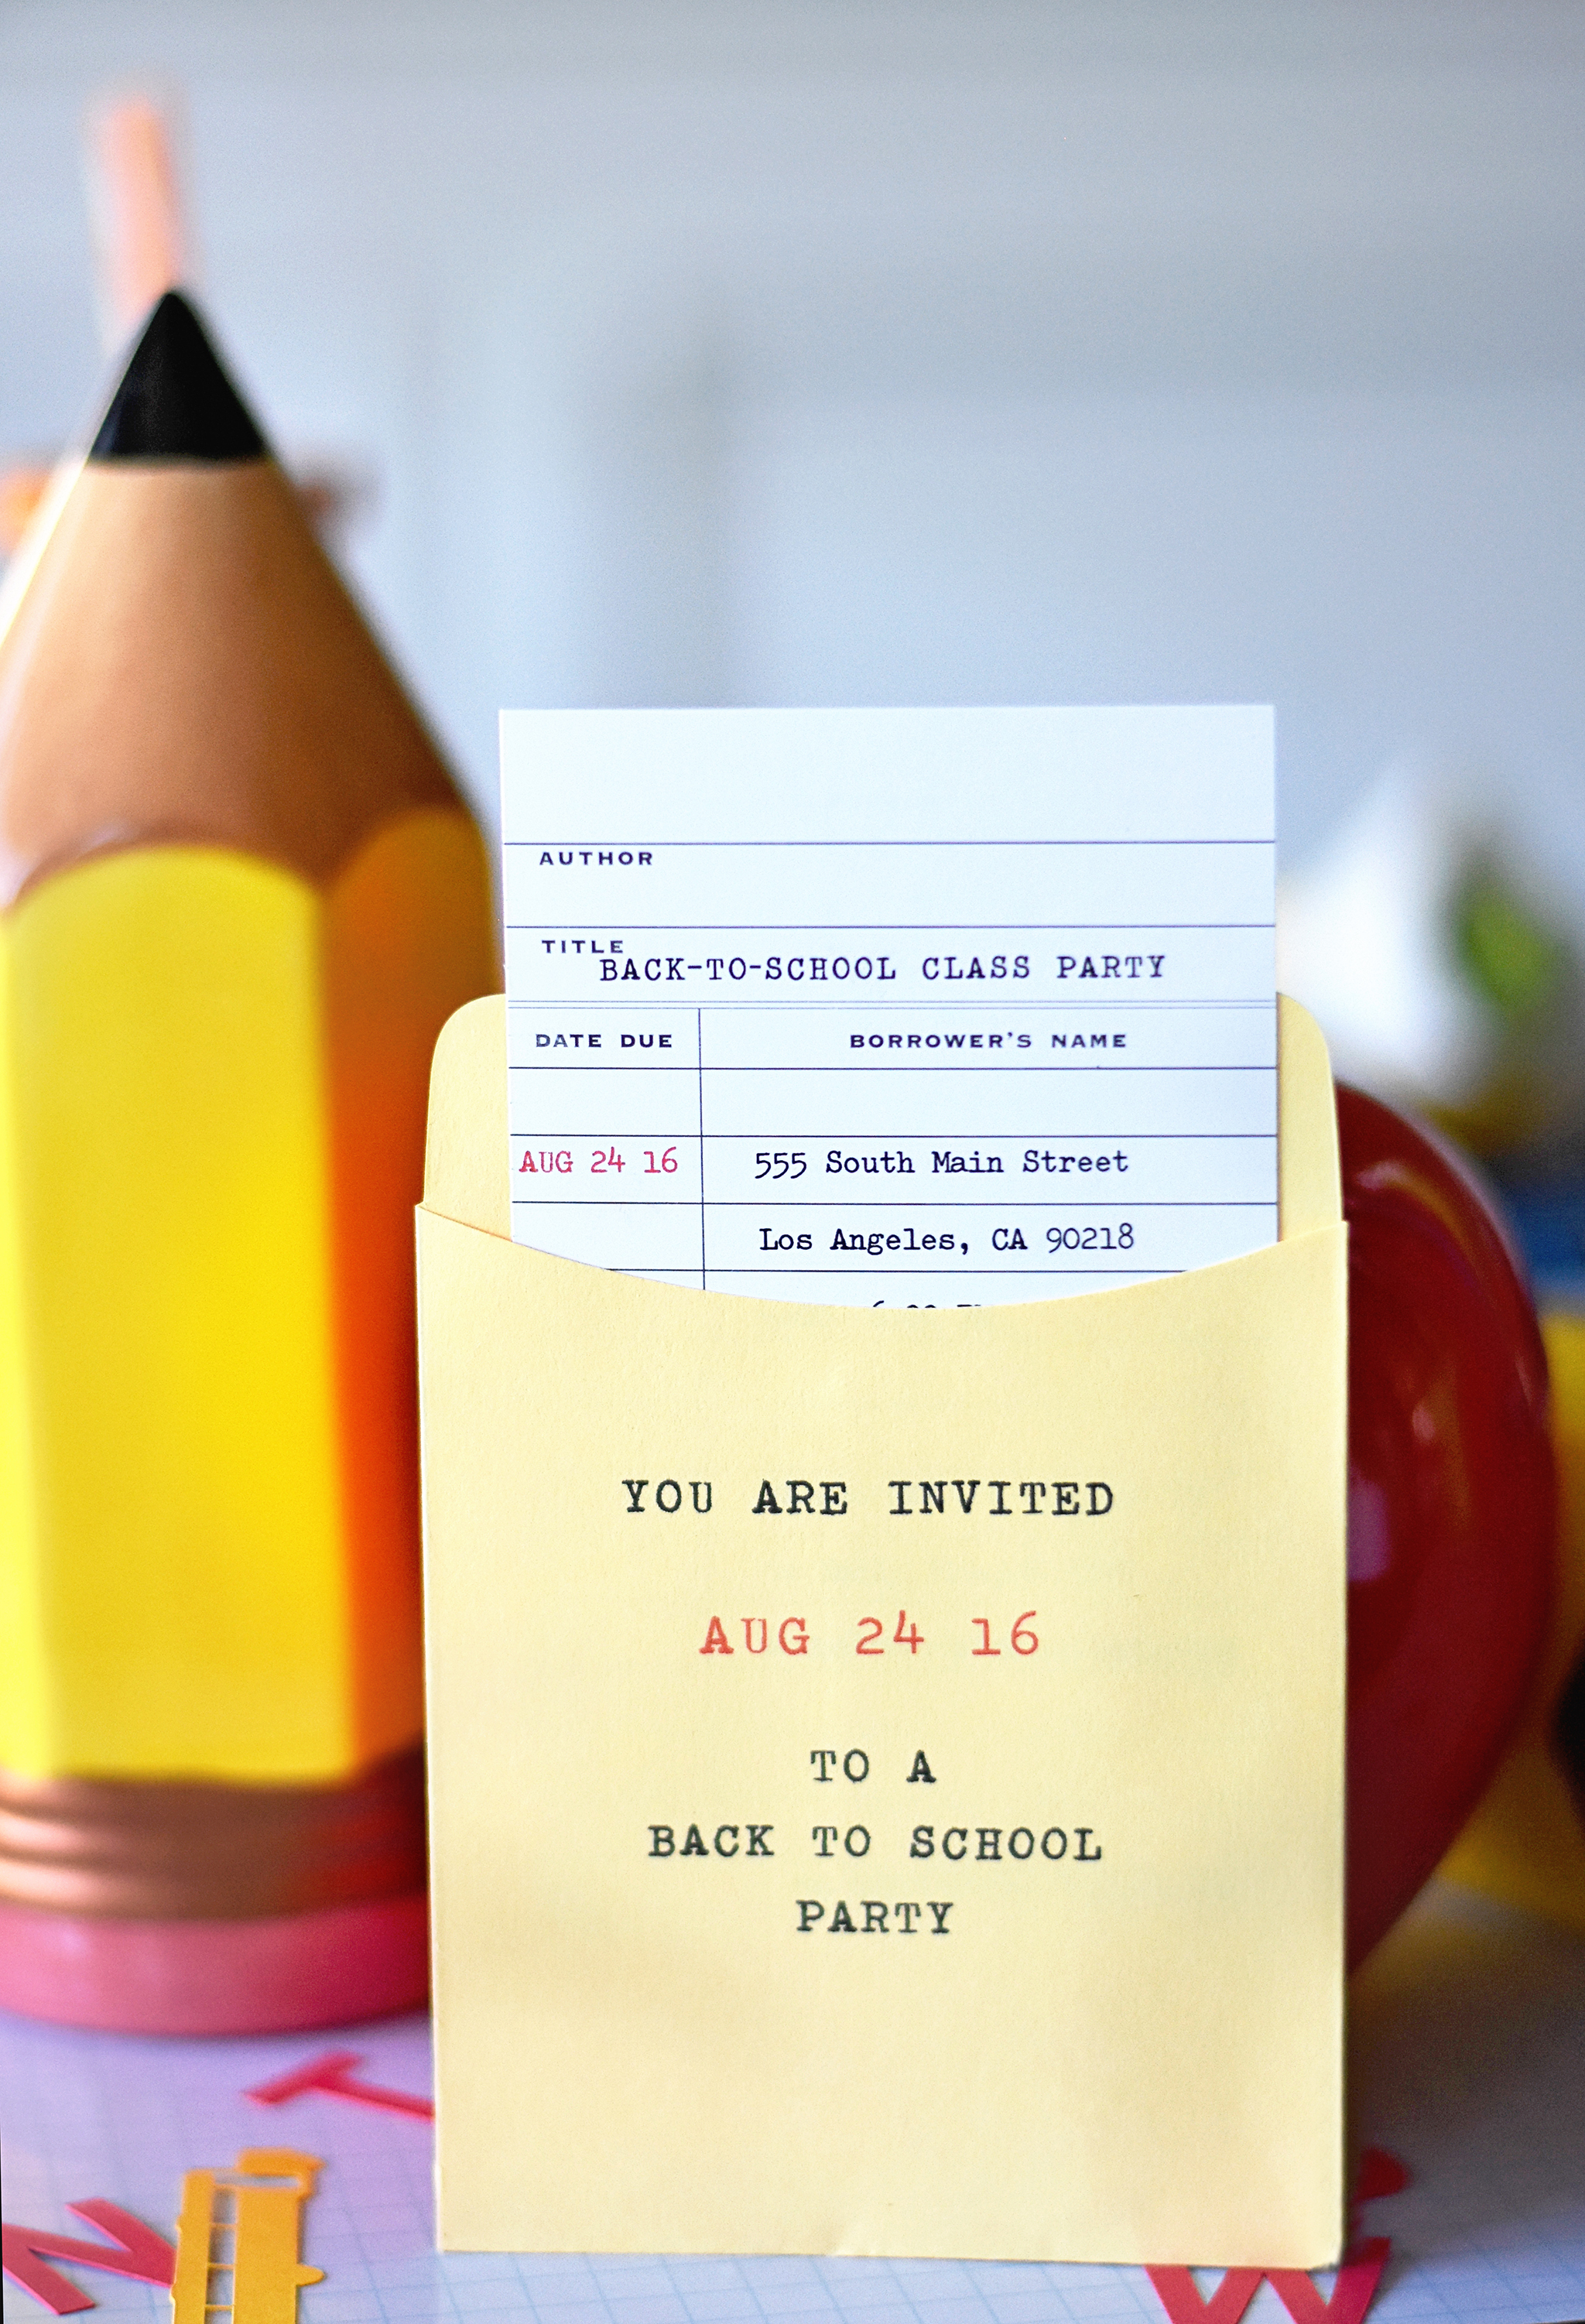
Invite your child’s new classmates with school-themed custom invites! I found these adorable library cards and pockets, and I decided to use them as invitations to my party. I simply taped them to a sheet of regular printer paper with blue painters tape and then sent them through my desktop inkjet printer. Aren’t they so retro?
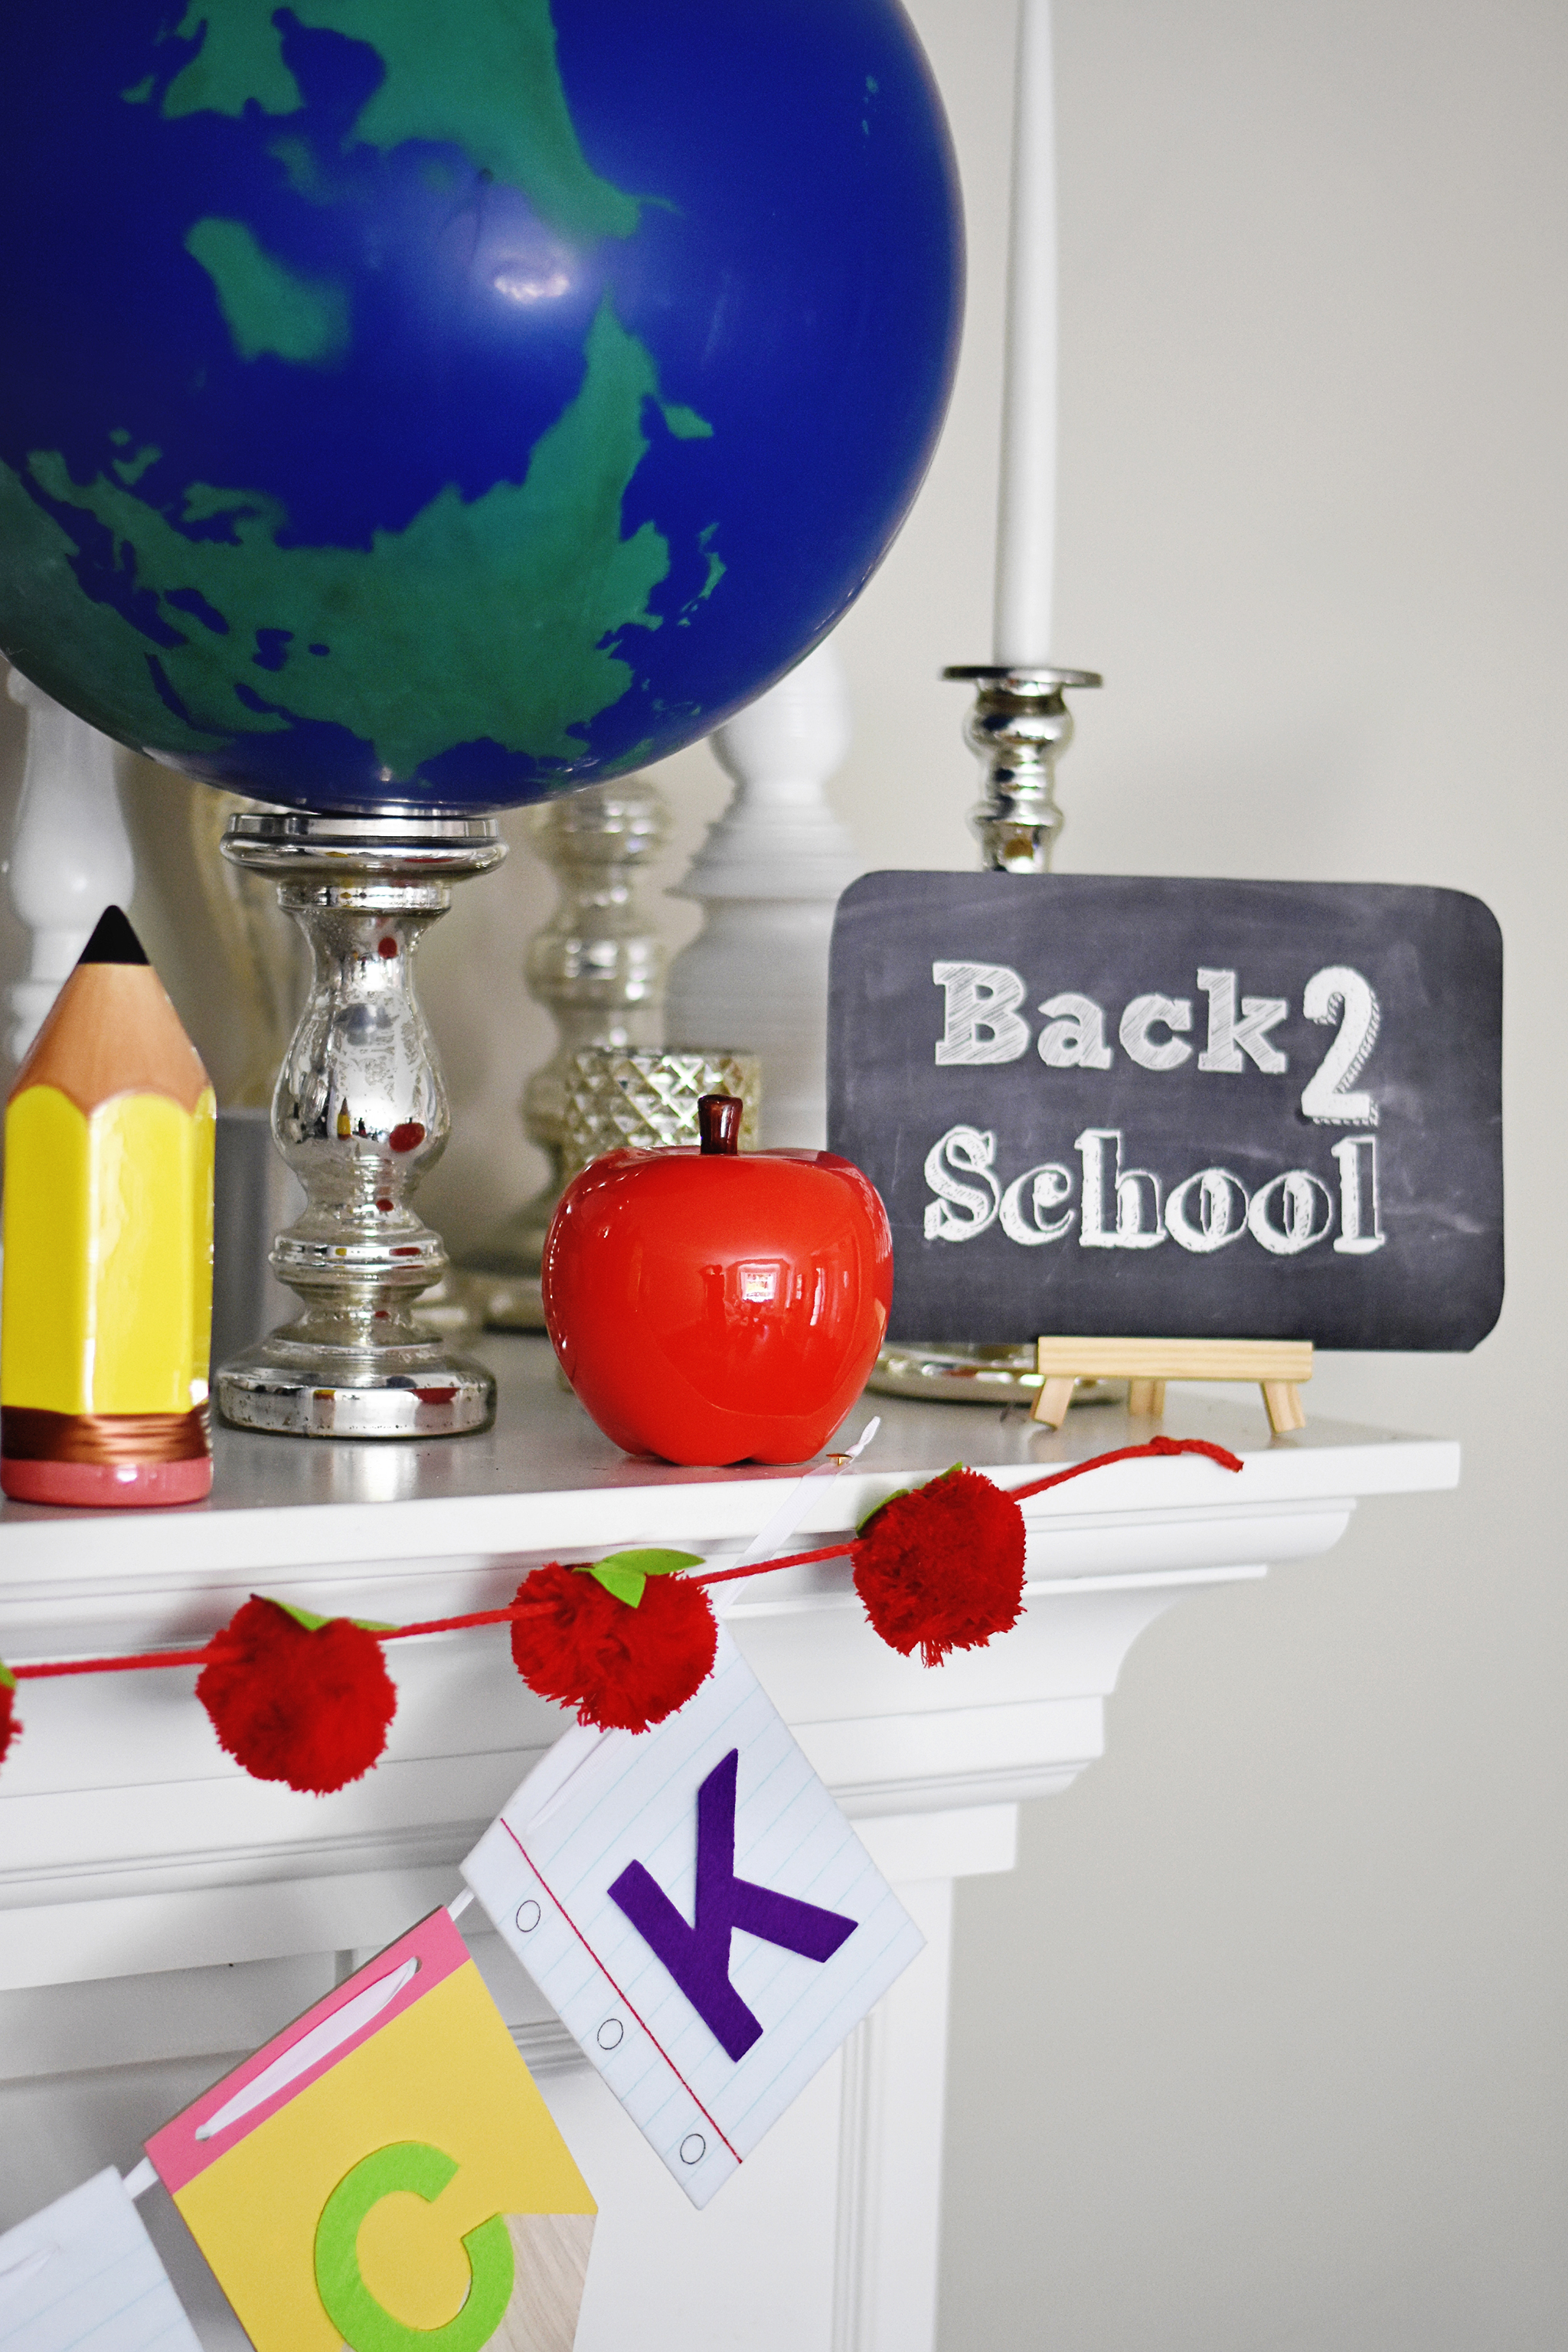
I also decorated my mantel in its back-to-school finest. Are these giant globes not the cutest balloons, maybe EVER? They create the perfect backdrop for a back to school party or even those inevitable first day of school photos you know you’re going to take!
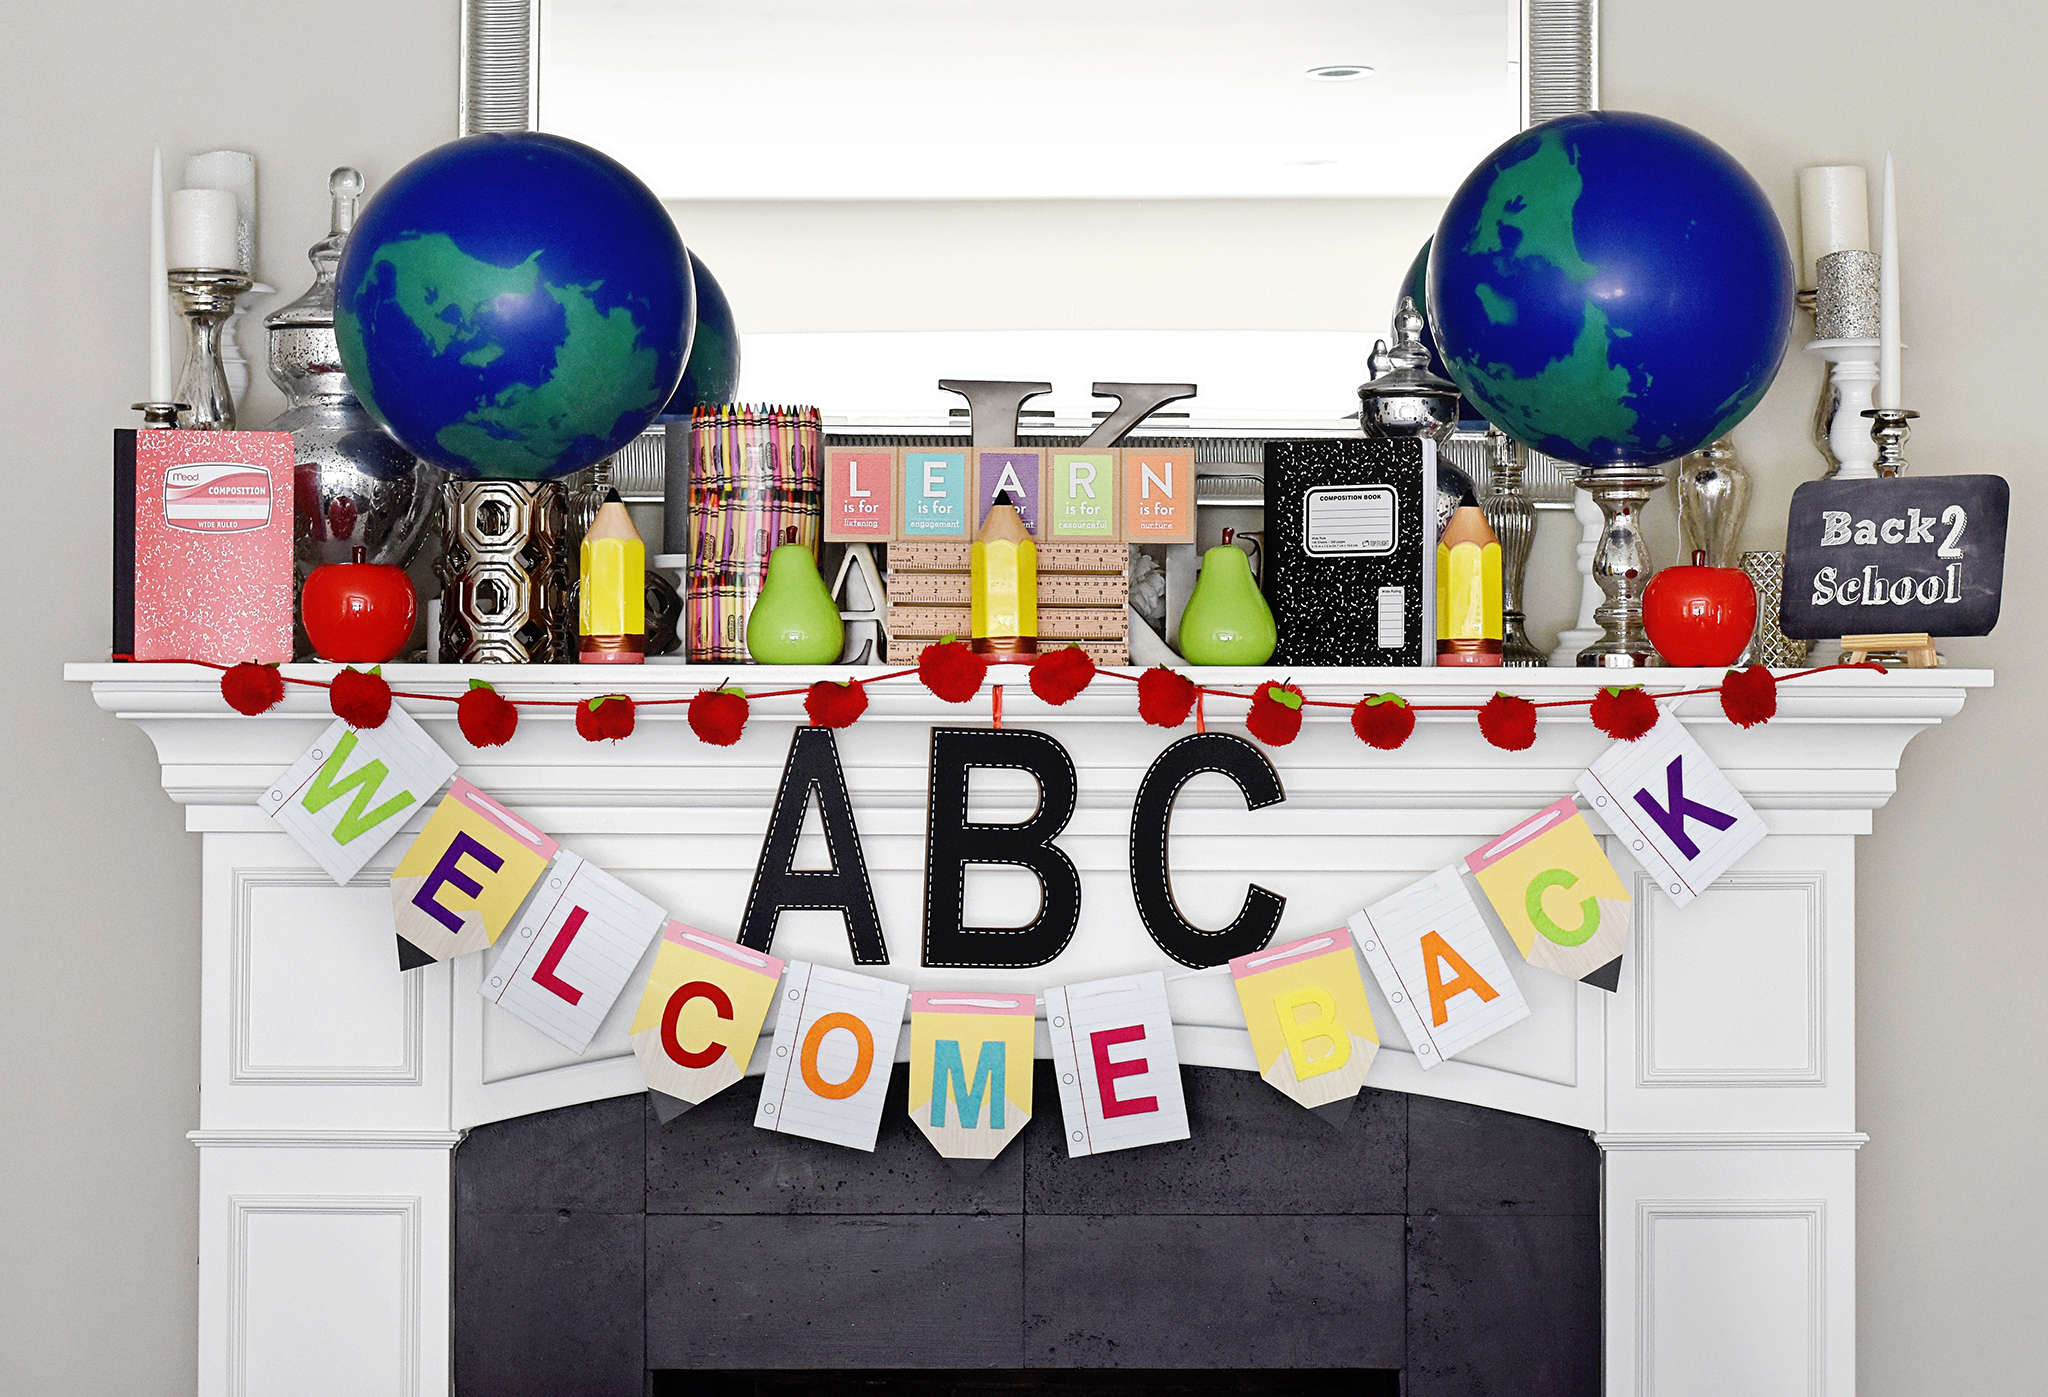
And I’m not gonna lie, I had a literal field day in The One Spot at Target when I went shopping for back-to-school decor items. I just couldn’t be stopped—they had so many amazing things! I may need to check myself into “Dollar Bin Rehab” at this point! Because those products aren’t sold on the Target website, I can’t provide links, but here’s the list of items I sourced from The One Spot for the mantle: red ceramic apples, green ceramic pears, yellow ceramic pencils, red yarn apple garland, black A B C letters, ruler storage box, “LEARN” wooden block,
pencil, paper and grid paper banner with felt letters (all from The One Spot—I just mixed several banners together).
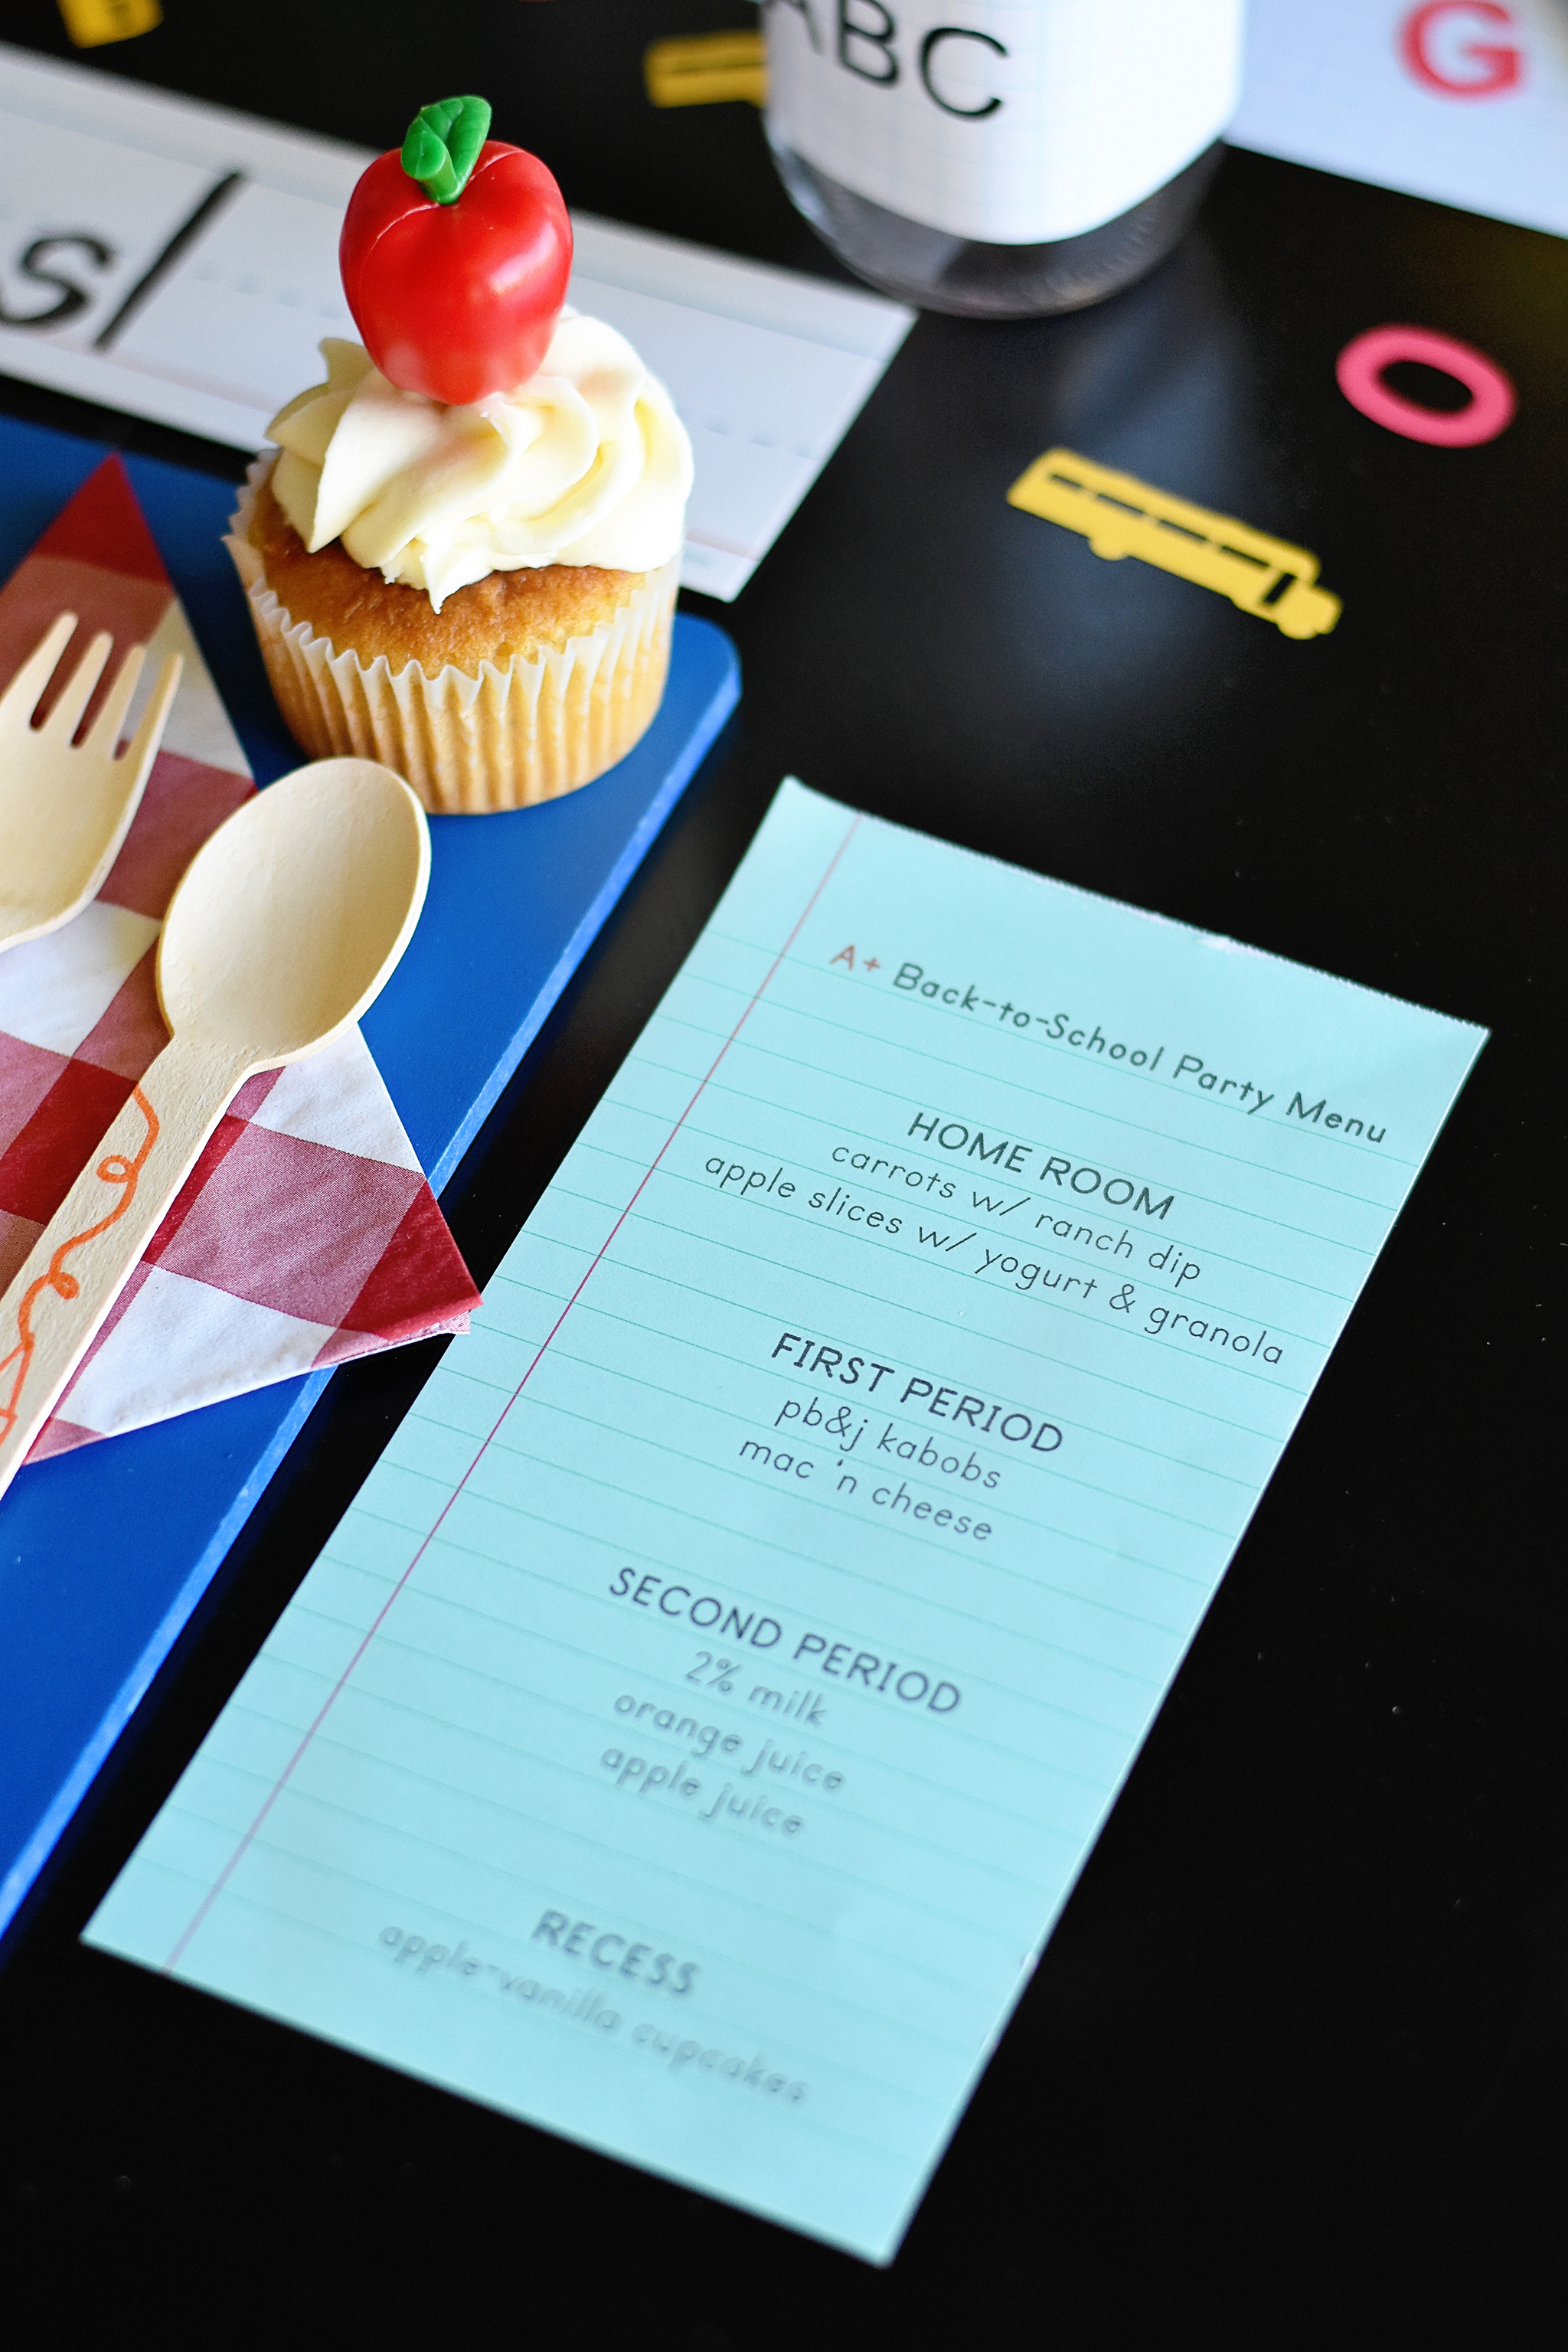
You’ll also need an awesome table set up so the kids can experience their first “school lunch!” Make a fun menu filled with tasty treats that the kids will love! I printed mine on aqua ruled notebook paper.
I used more of my Target dollar bin ceramic pencils and apples as the centerpiece for the table. I found these adorable lil’ apple plates online which are perfect plates and actually resemble the divided school lunch trays! The wooden forks and spoons ar the perfect complement to the place setting. And putting each one on a colorful clipboard is another easy, yet decorative idea.
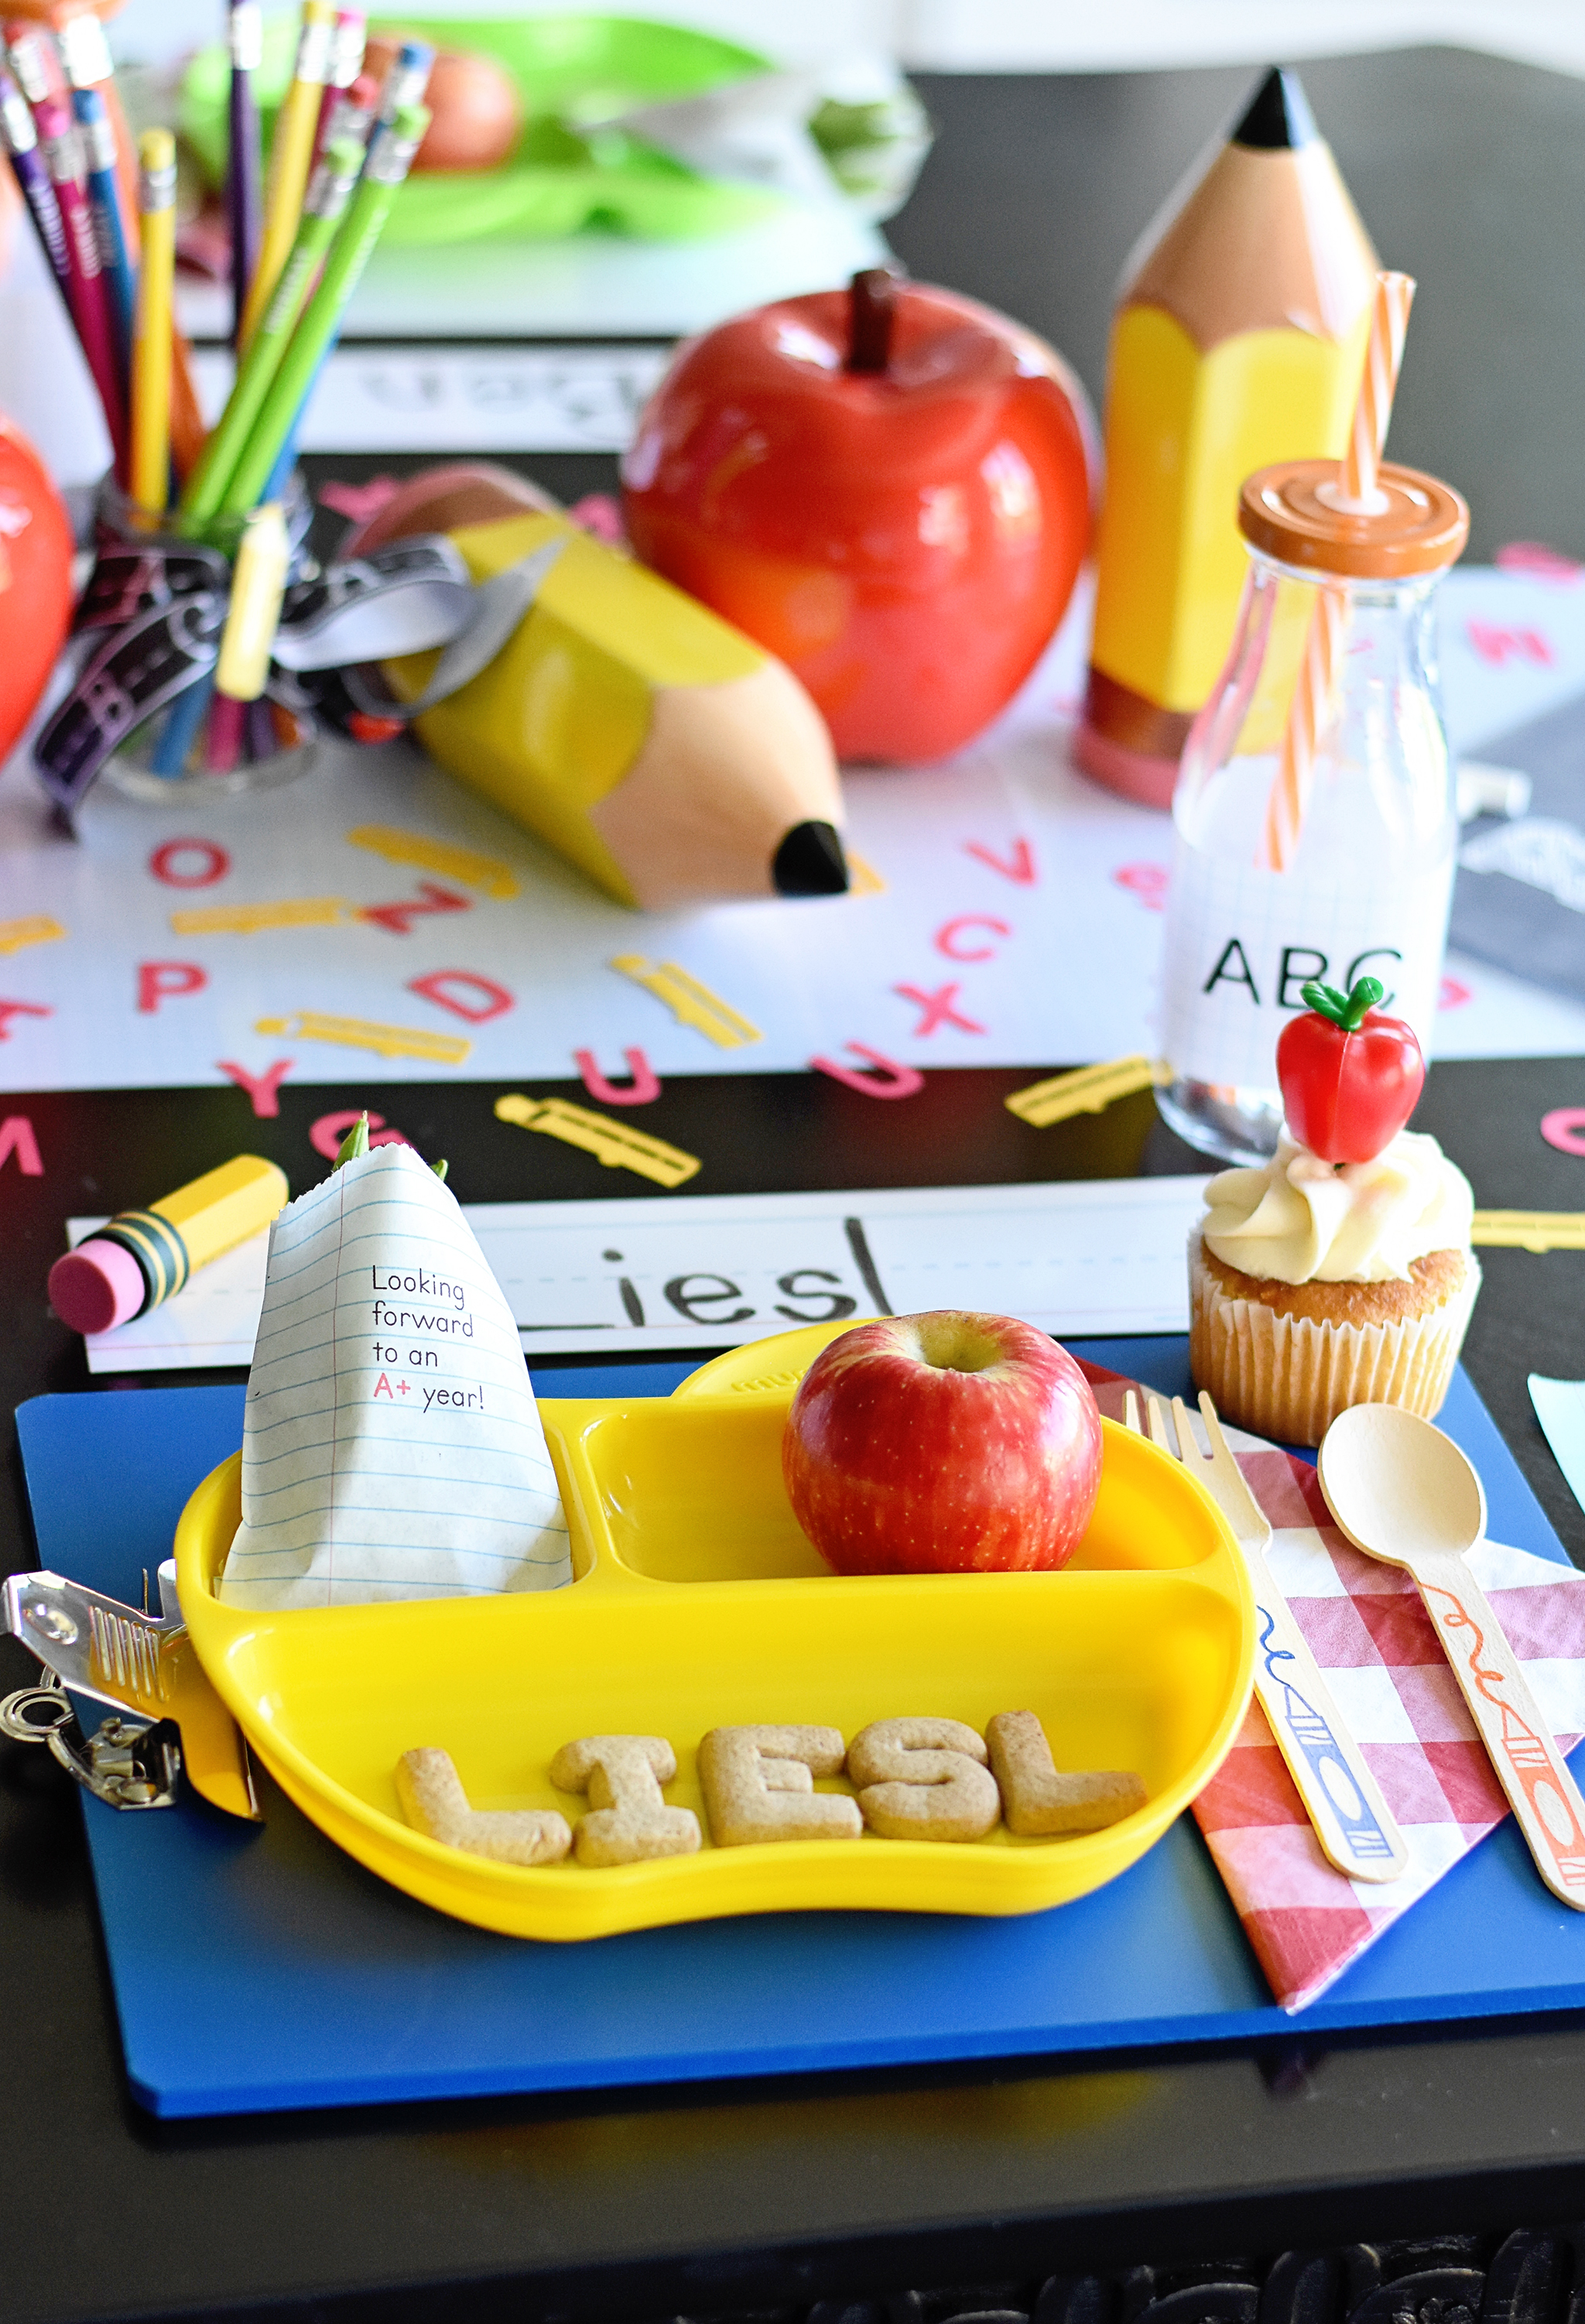
I sprinkled alphabet and school bus confetti all around the rest of my centerpiece.
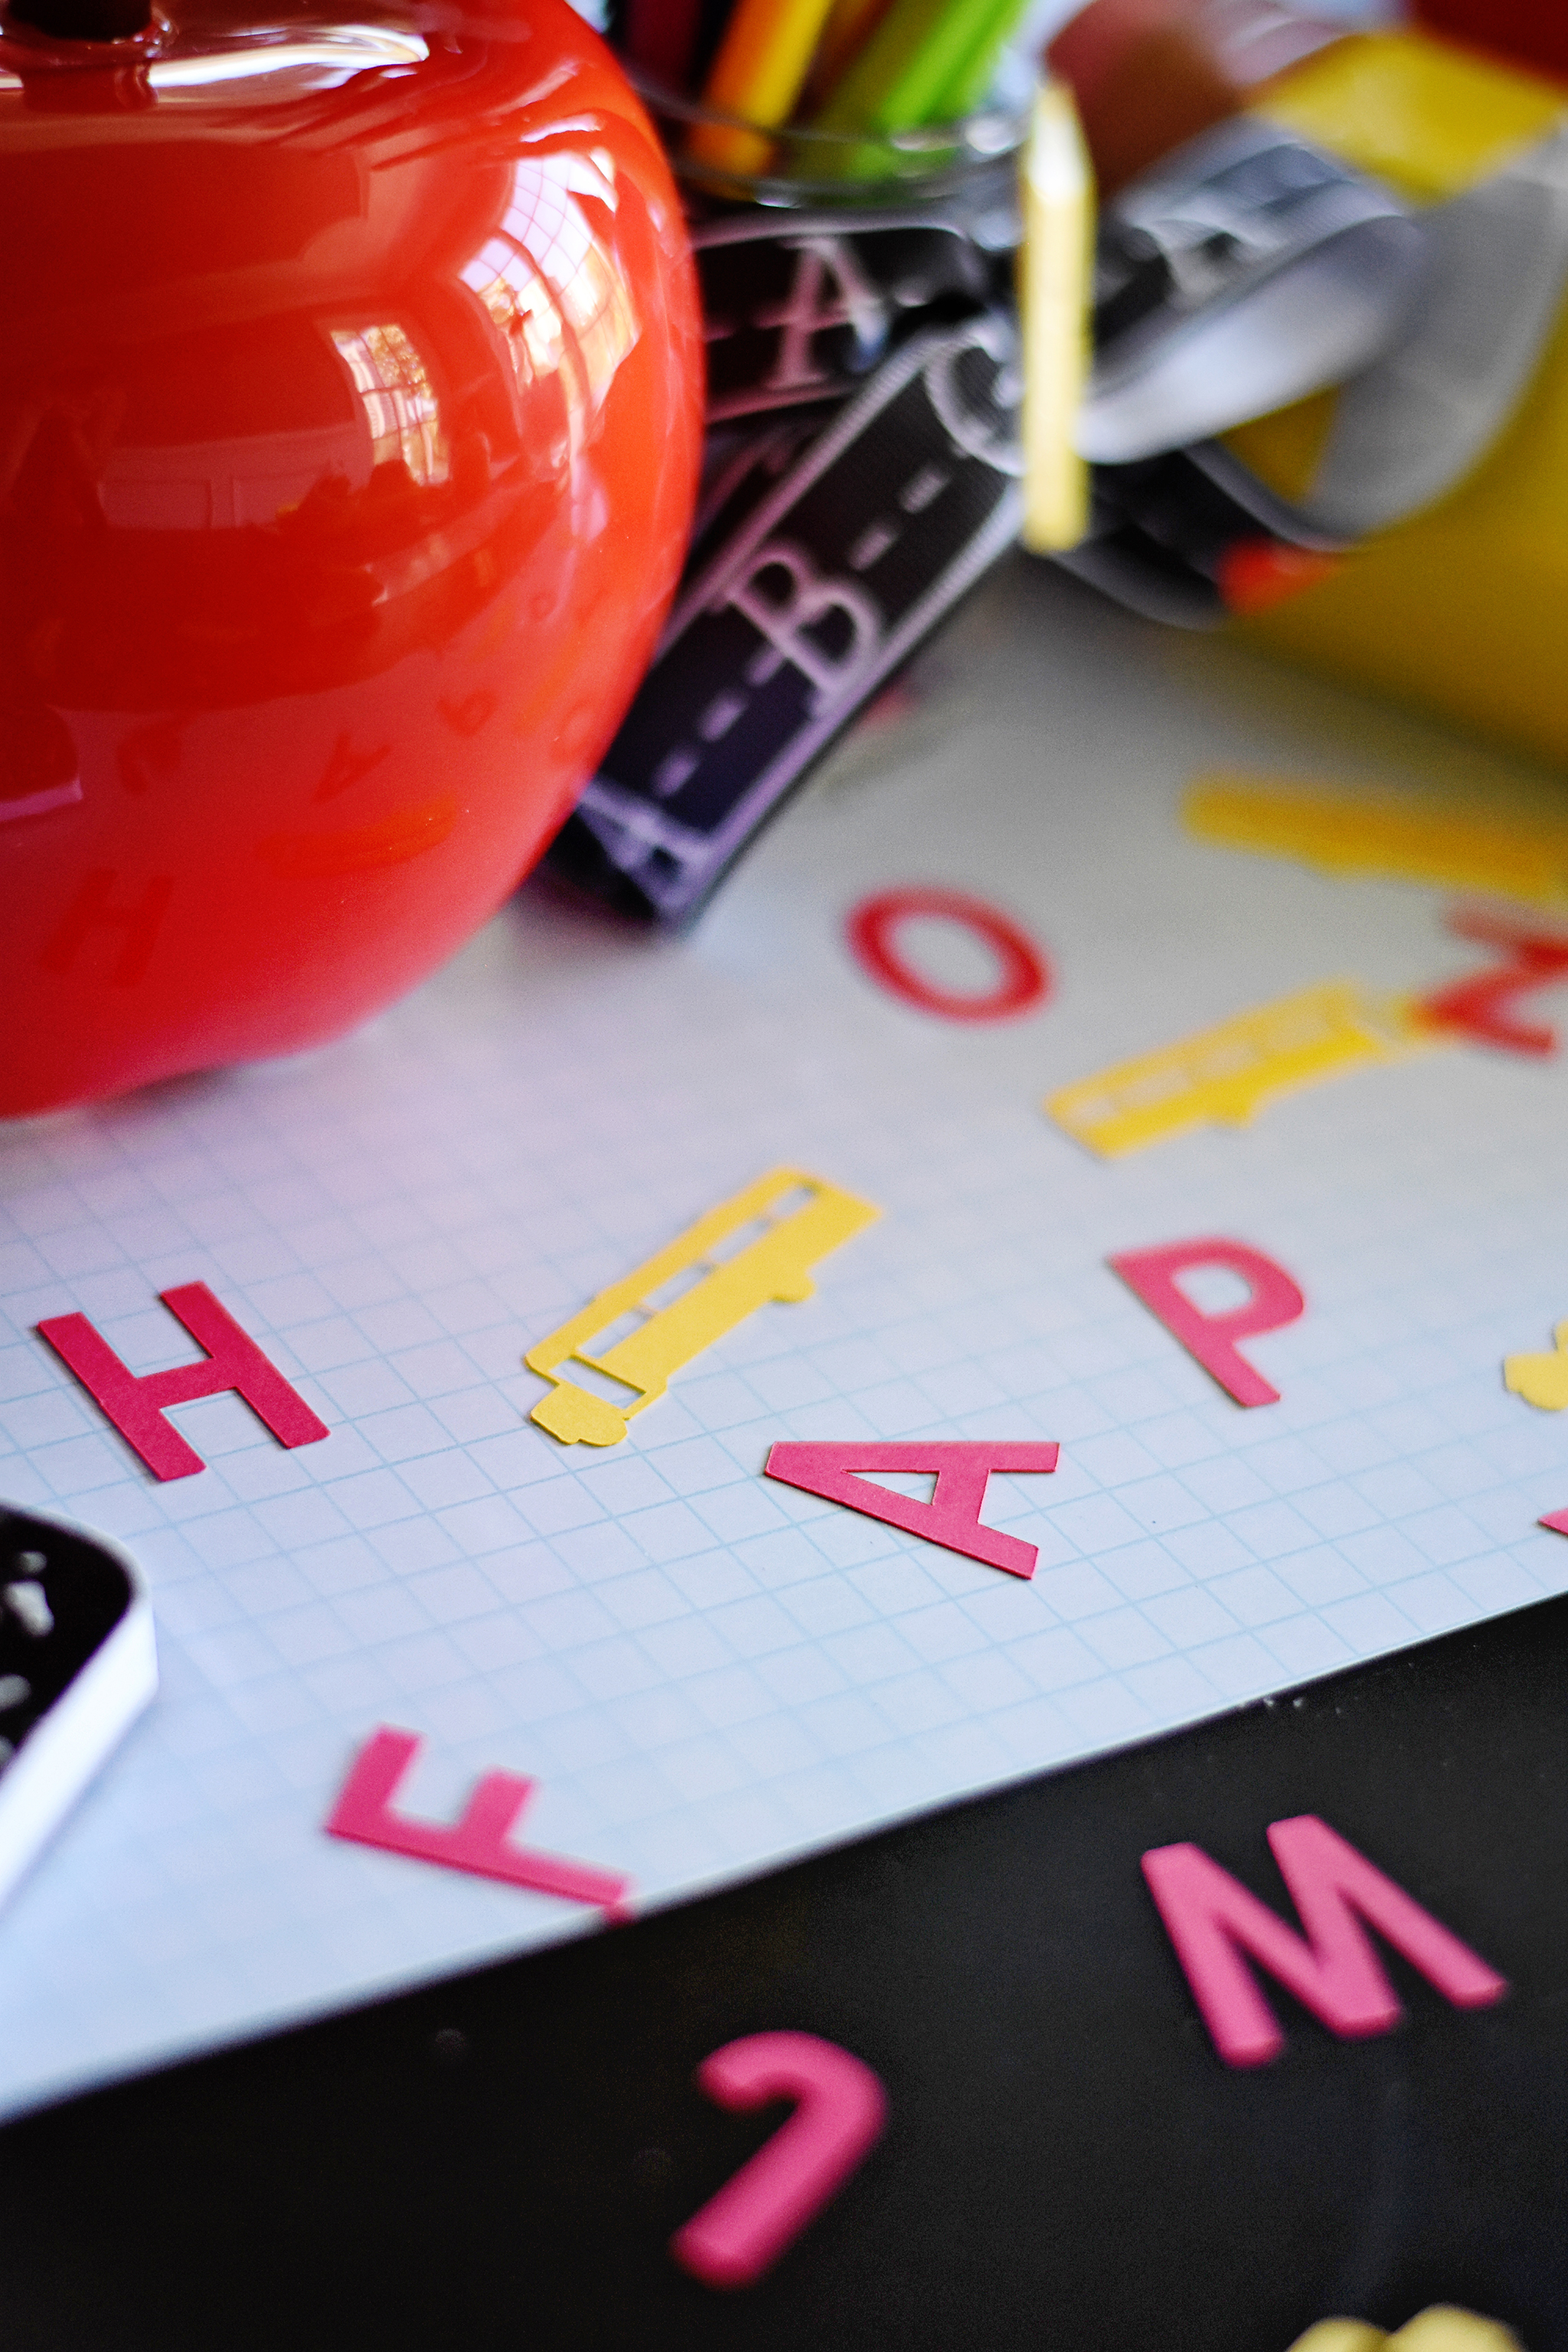
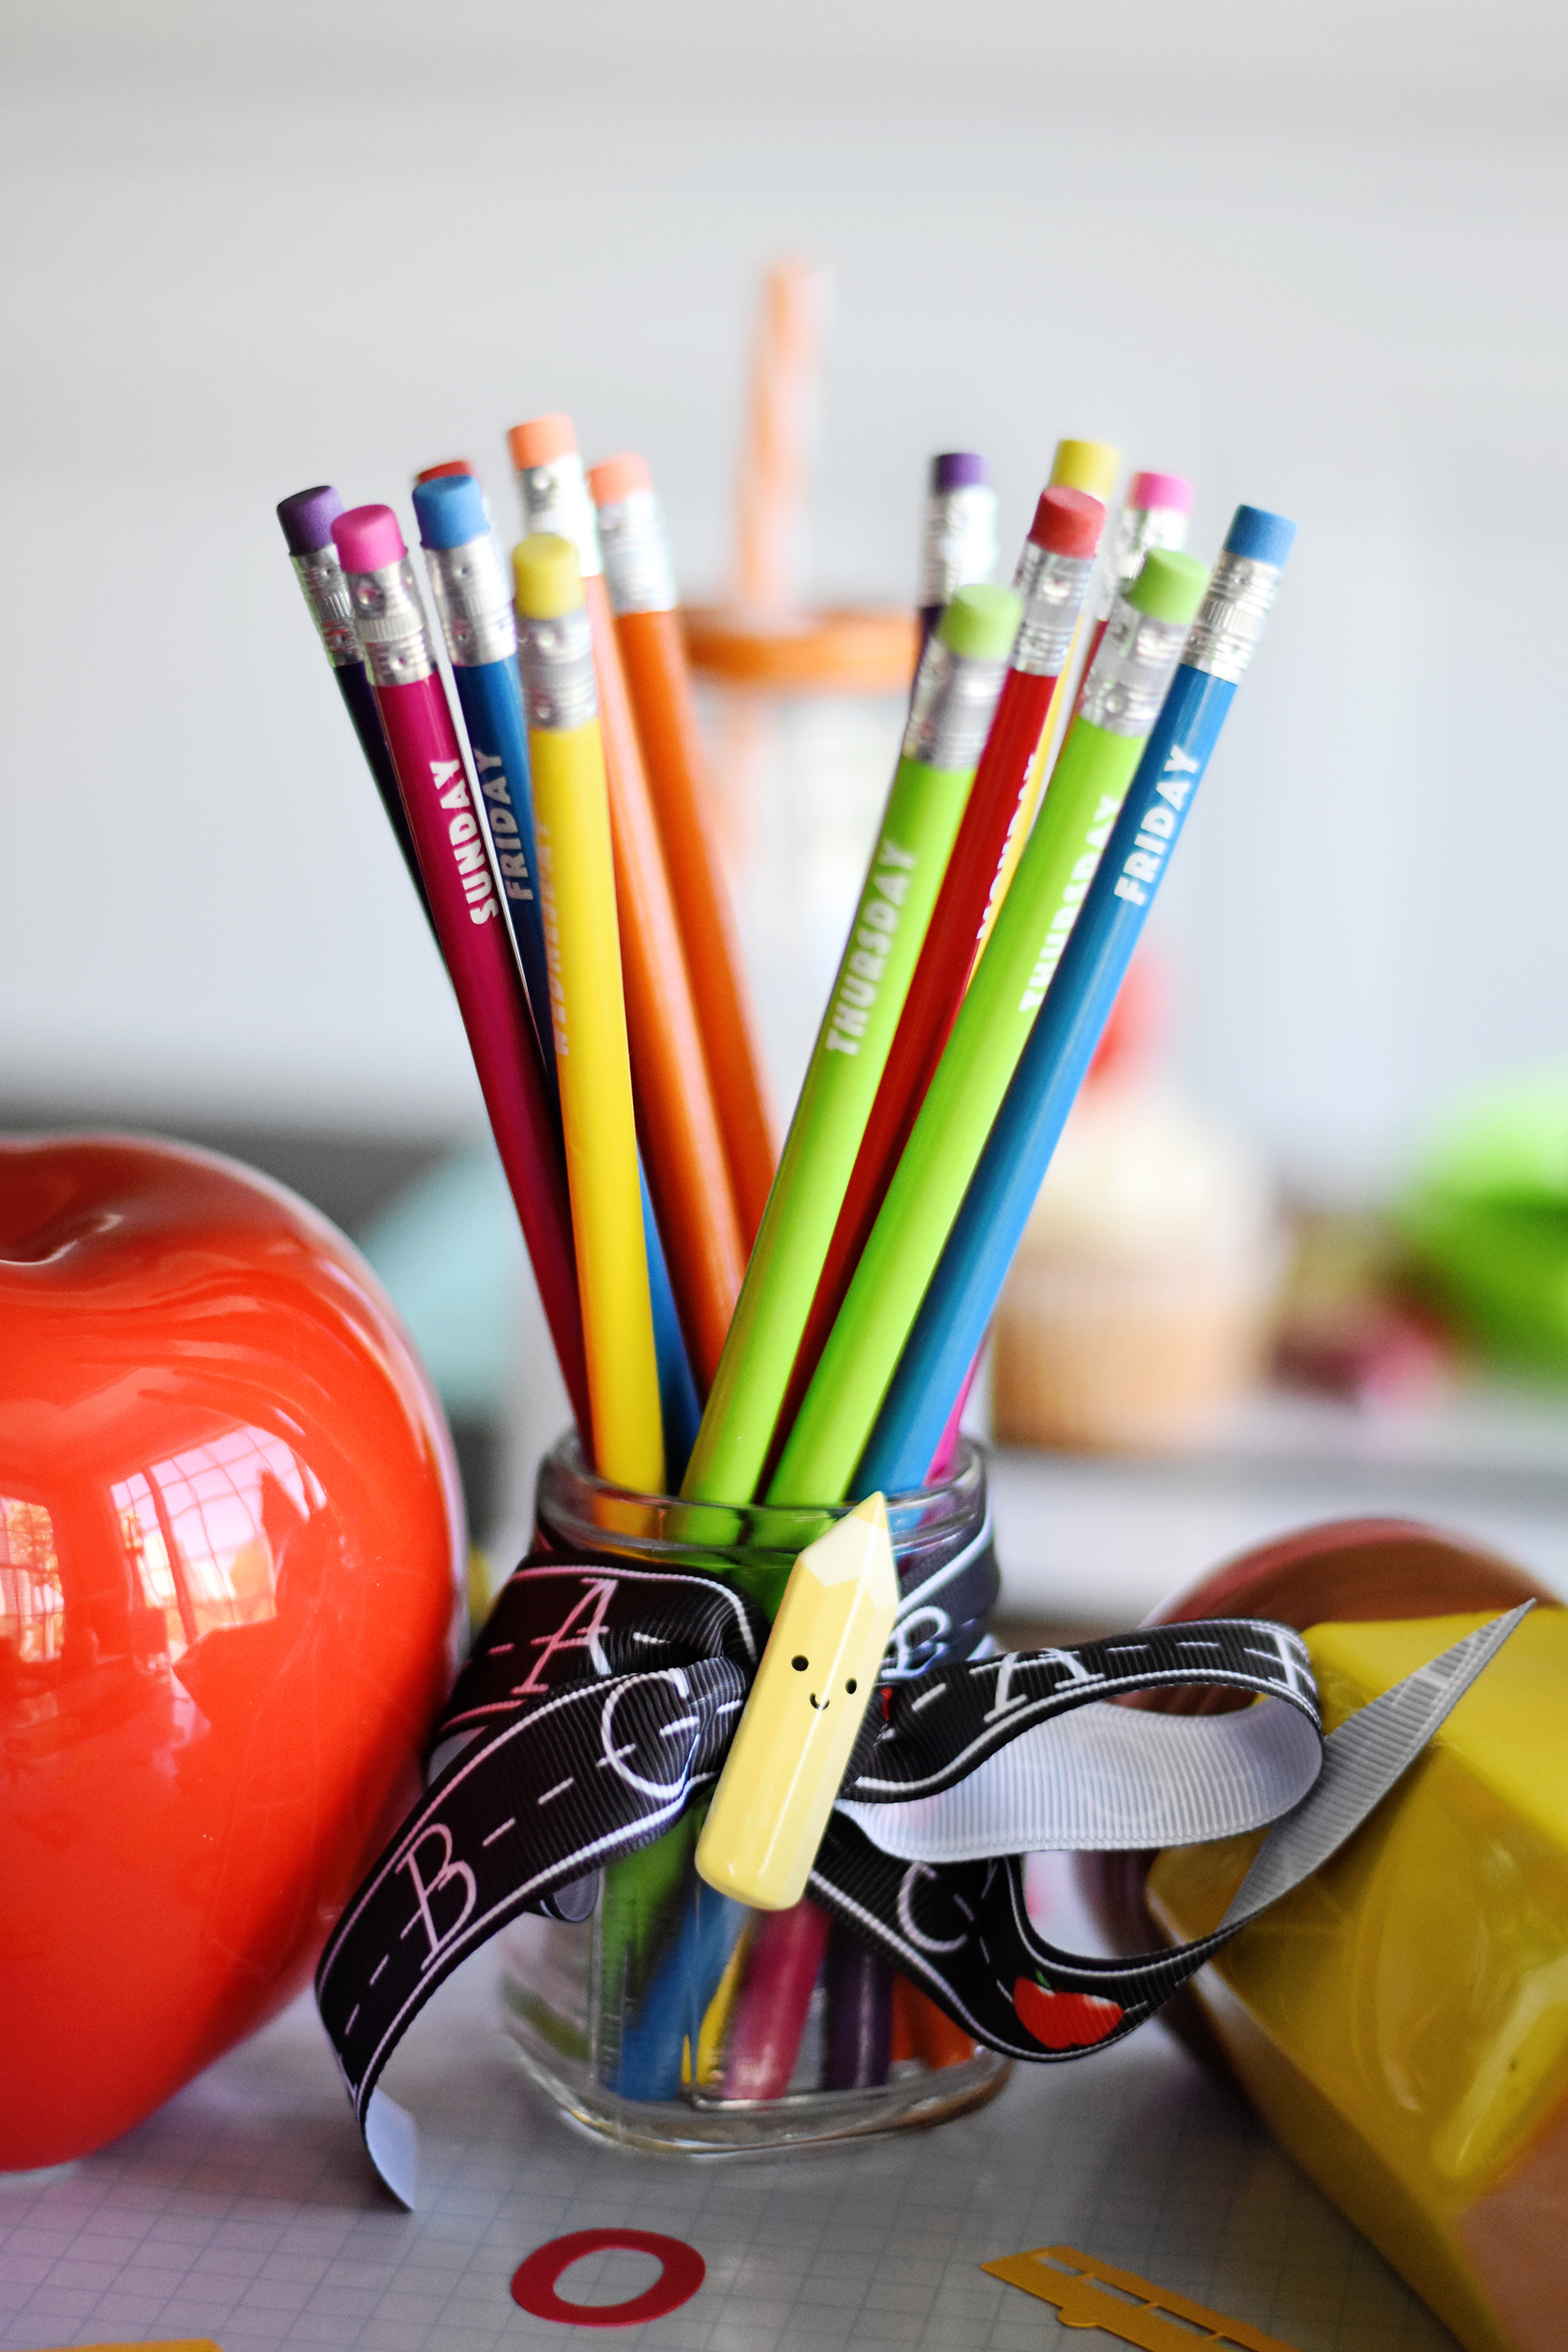
Part of my centerpiece display also included these colorful “day of the week” pencils in a glass jar (both from The One Spot at Target) with a piece of ABC chalkboard ribbon tied around it. I used self-adhesive grid contact paper, again from The One Spot, and stuck it right onto my table to act as a table runner.
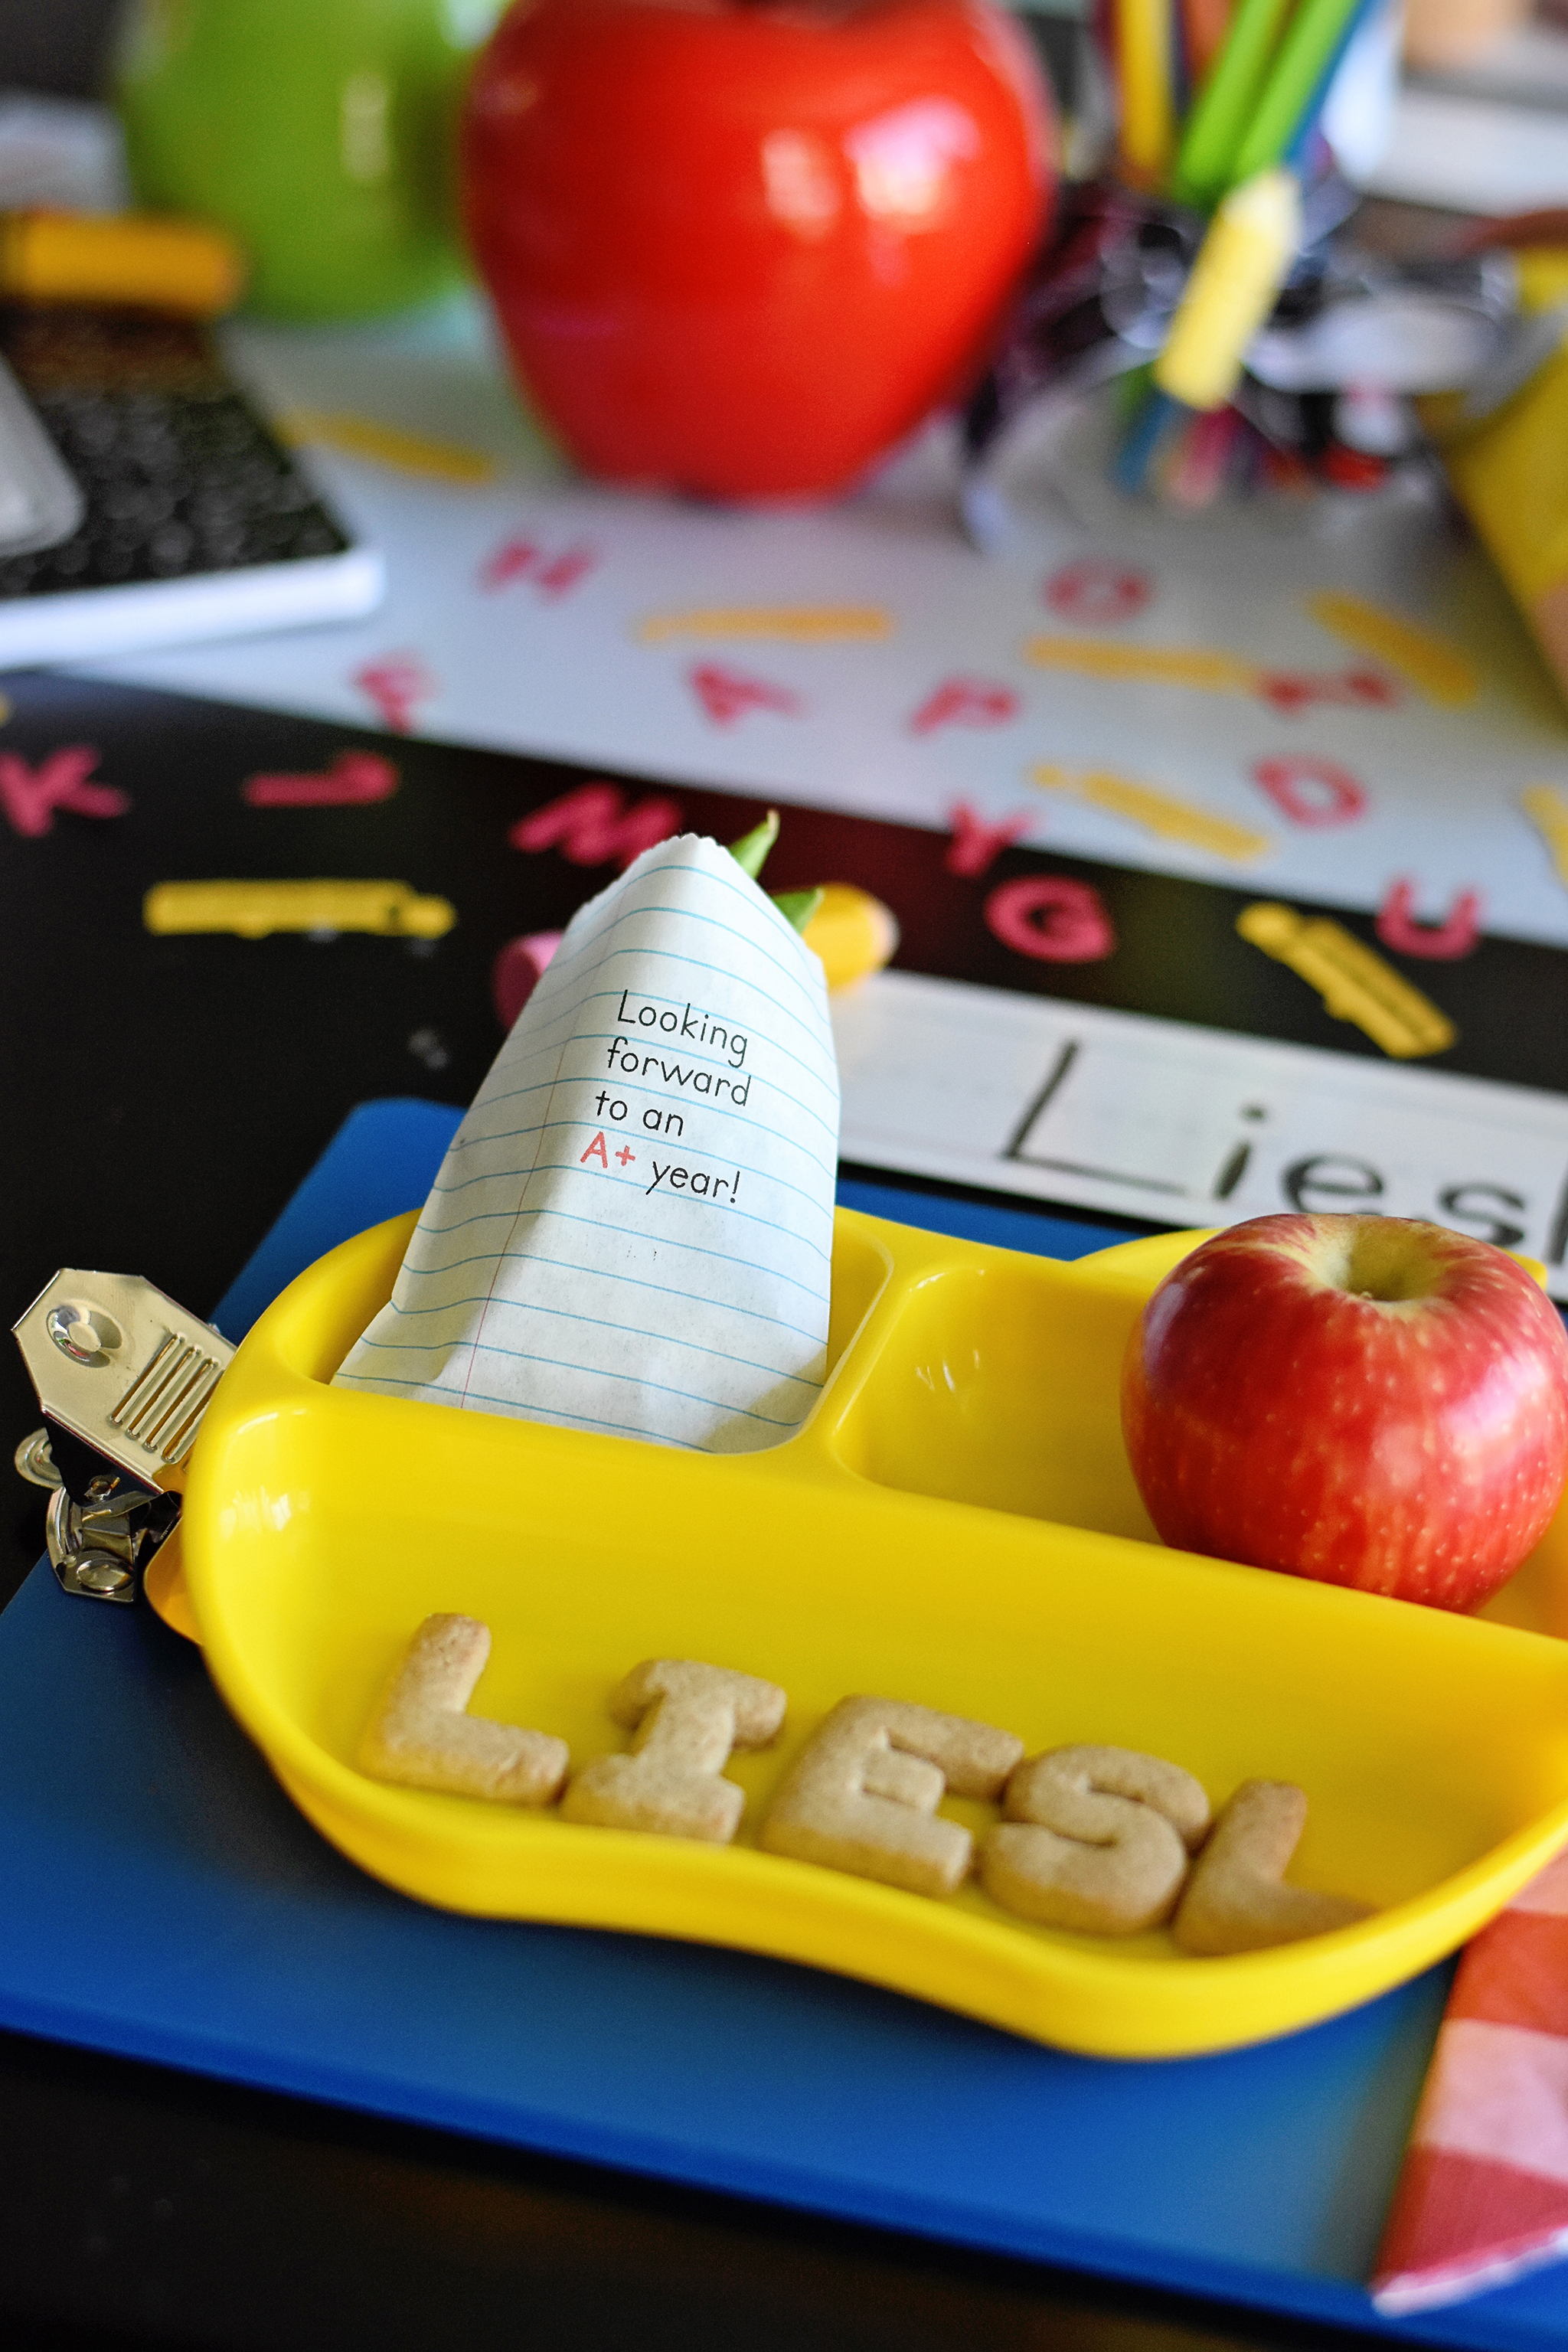
On to the main event—school lunch! I found the most perfect and tiny paper bags with a notebook pattern, and like the invitations, I taped them down to a sheet of paper and sent them through my desktop printer to print the text. Then I stuffed them with a healthy snack, like sugar snap peas. The name cookies are cinnamon schoolbook cookies from Trader Joe’,s and the kids loved finding the letters to spell out their names!
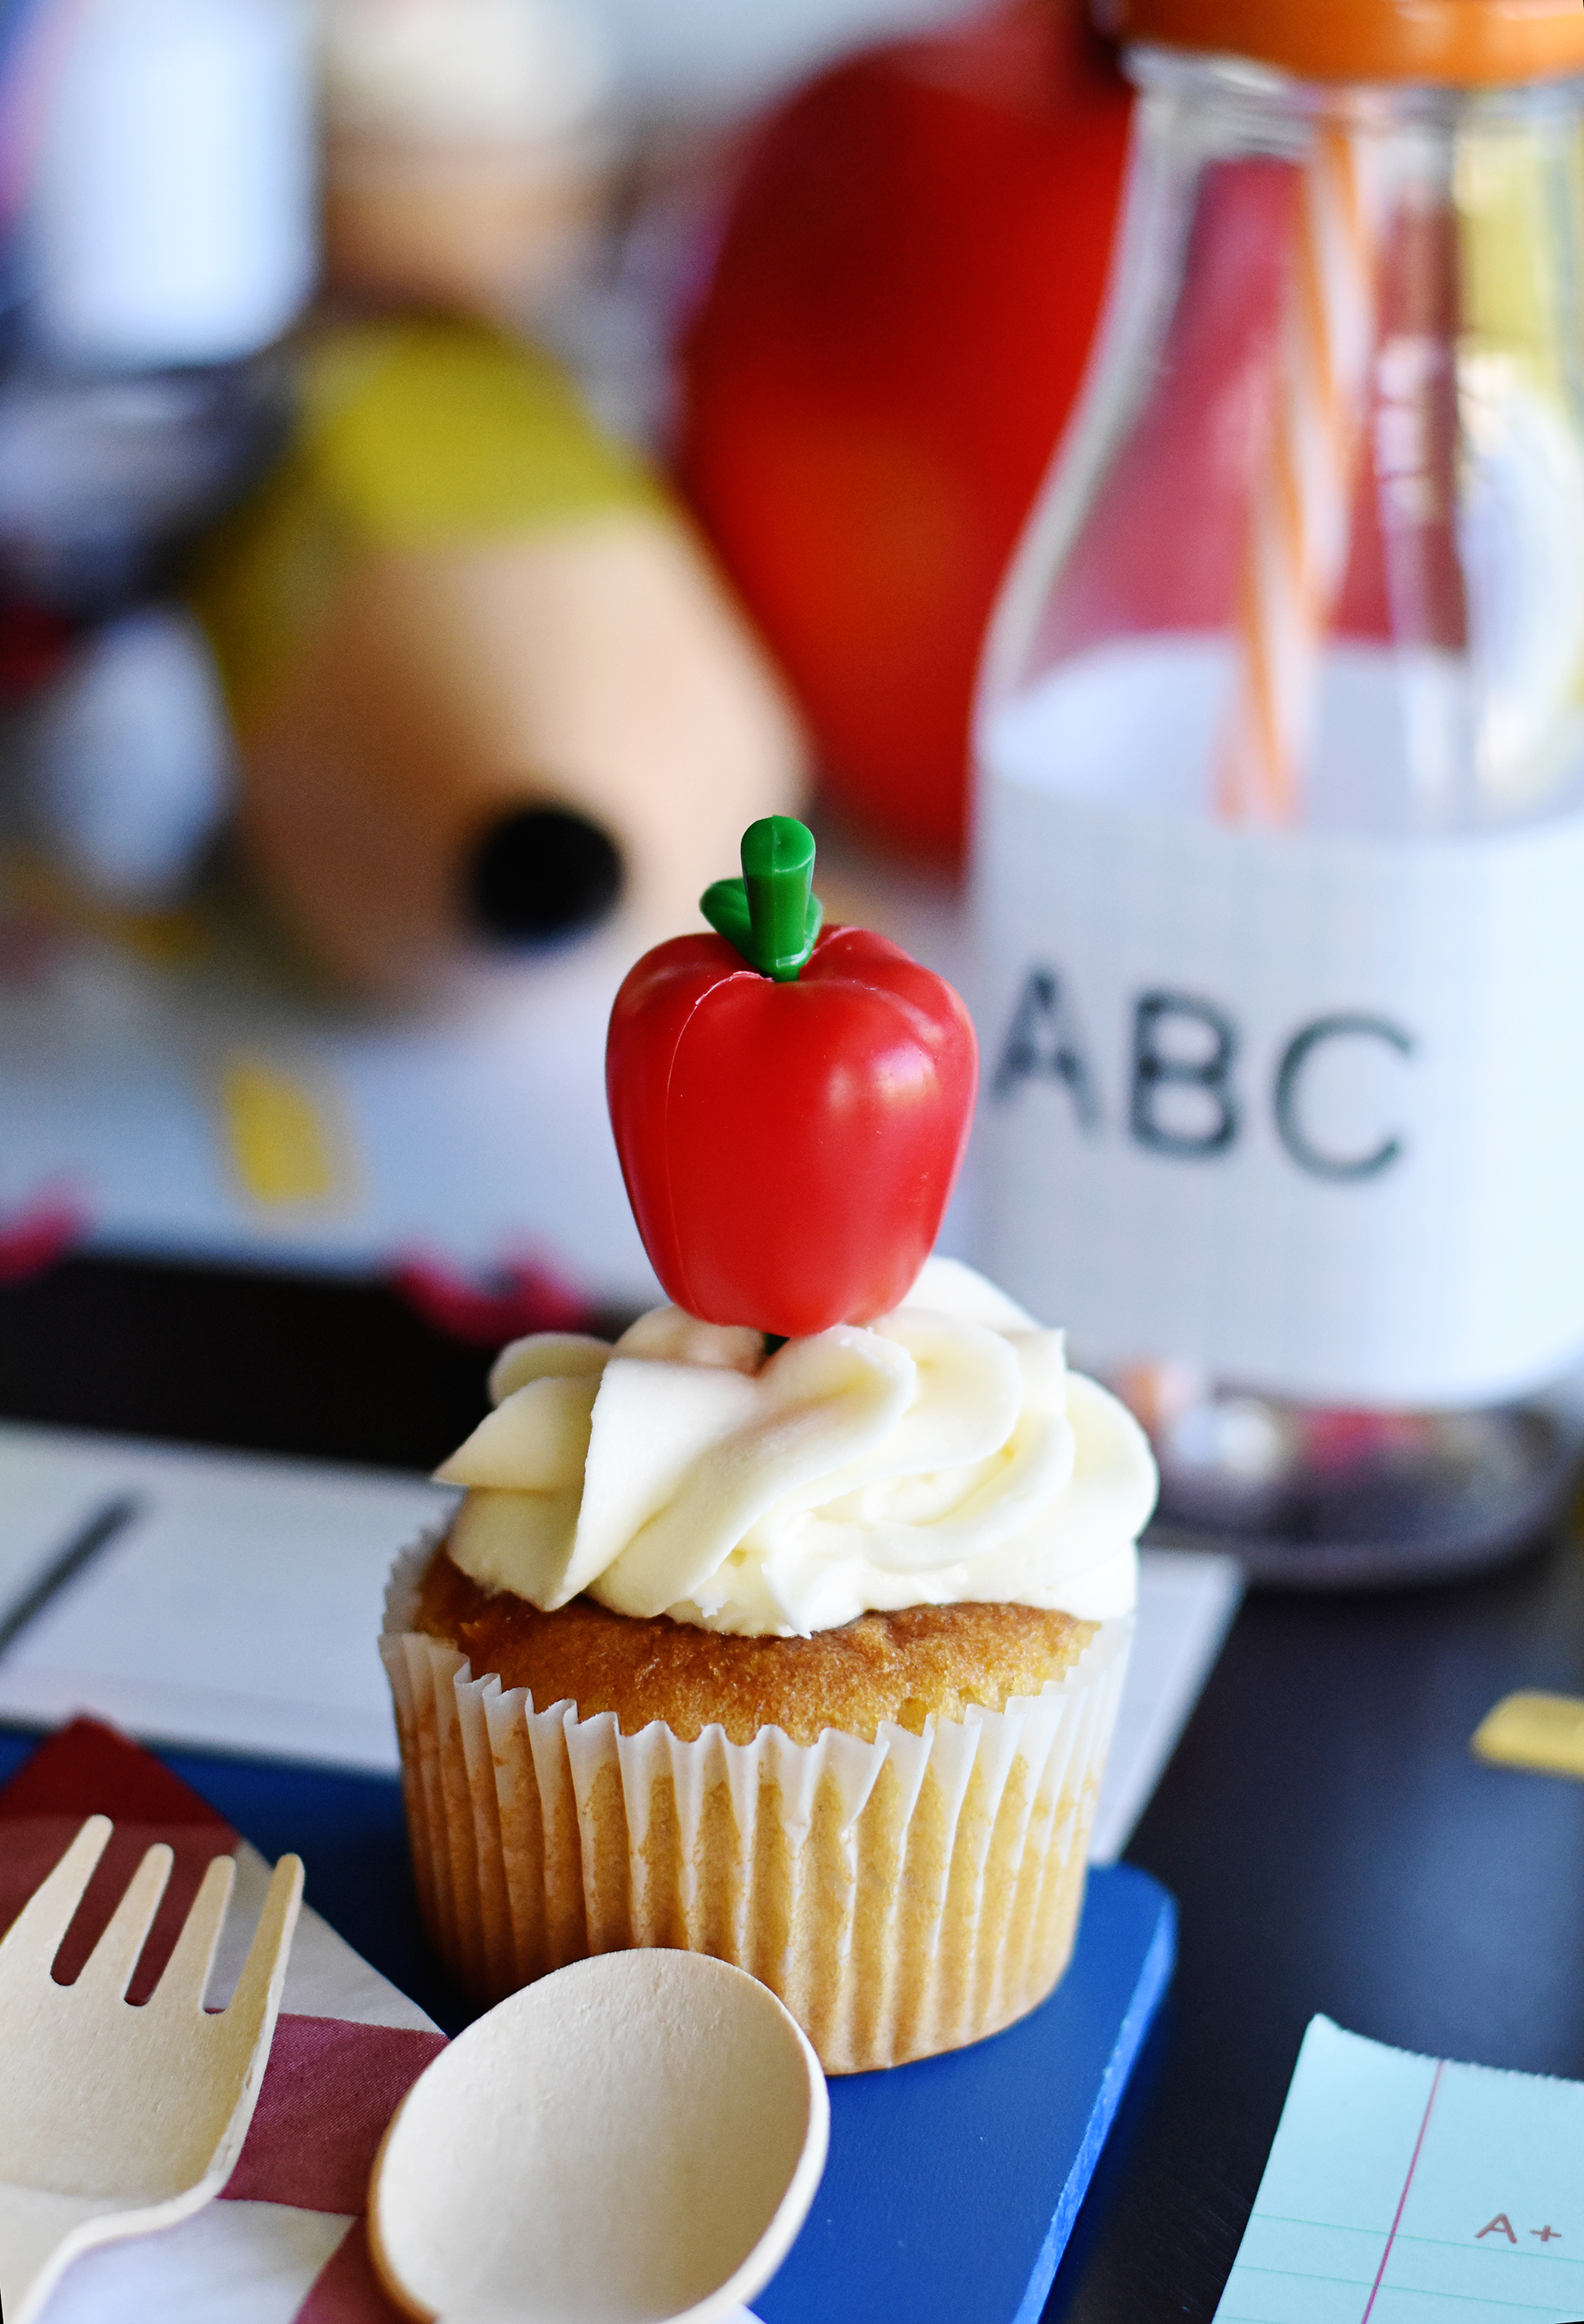
To top the meal off with dessert, I added apple picks to each cupcake.
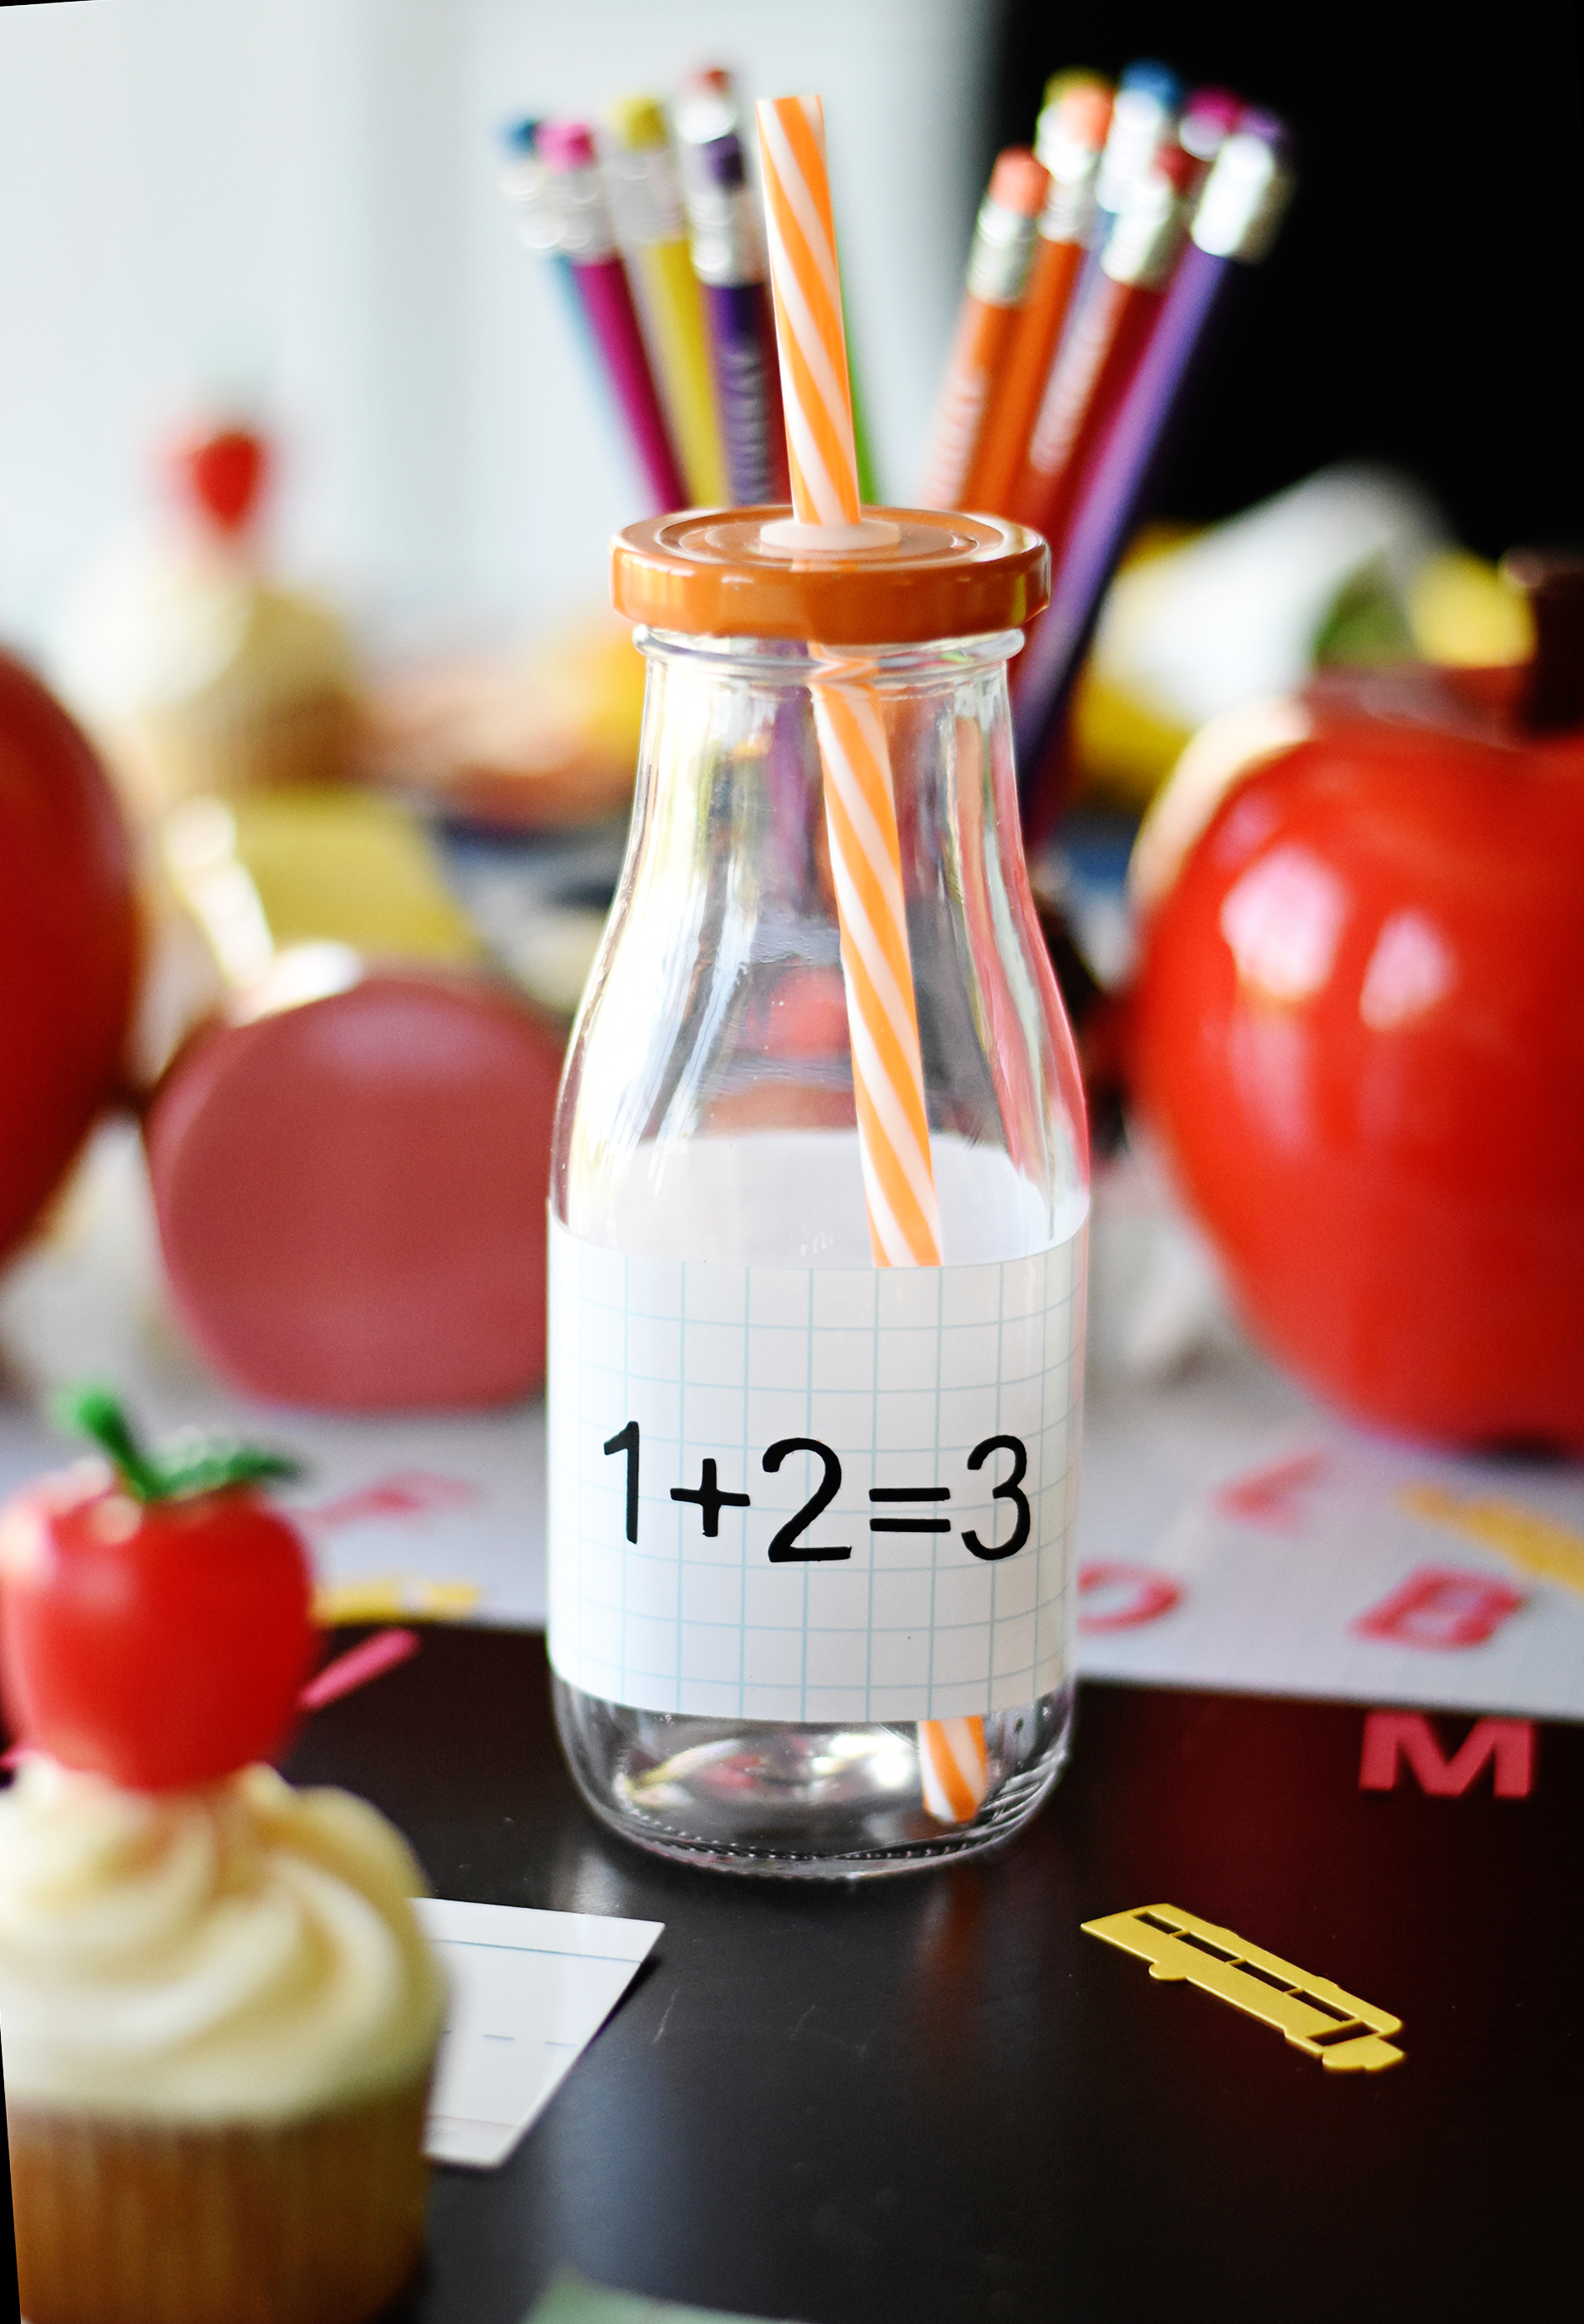
I found these milk bottles with orange lids and straws in The One Spot (I know…this post is starting to sound like an ad for the Target dollar bin, but I swear—it’s not!). I cut up some of the grid contact paper and made a 2″ wide band to go around the bottle. I then used my Silhouette Cameo cutting machine to cut out the black numbers and letters on self-adhesive craft vinyl.
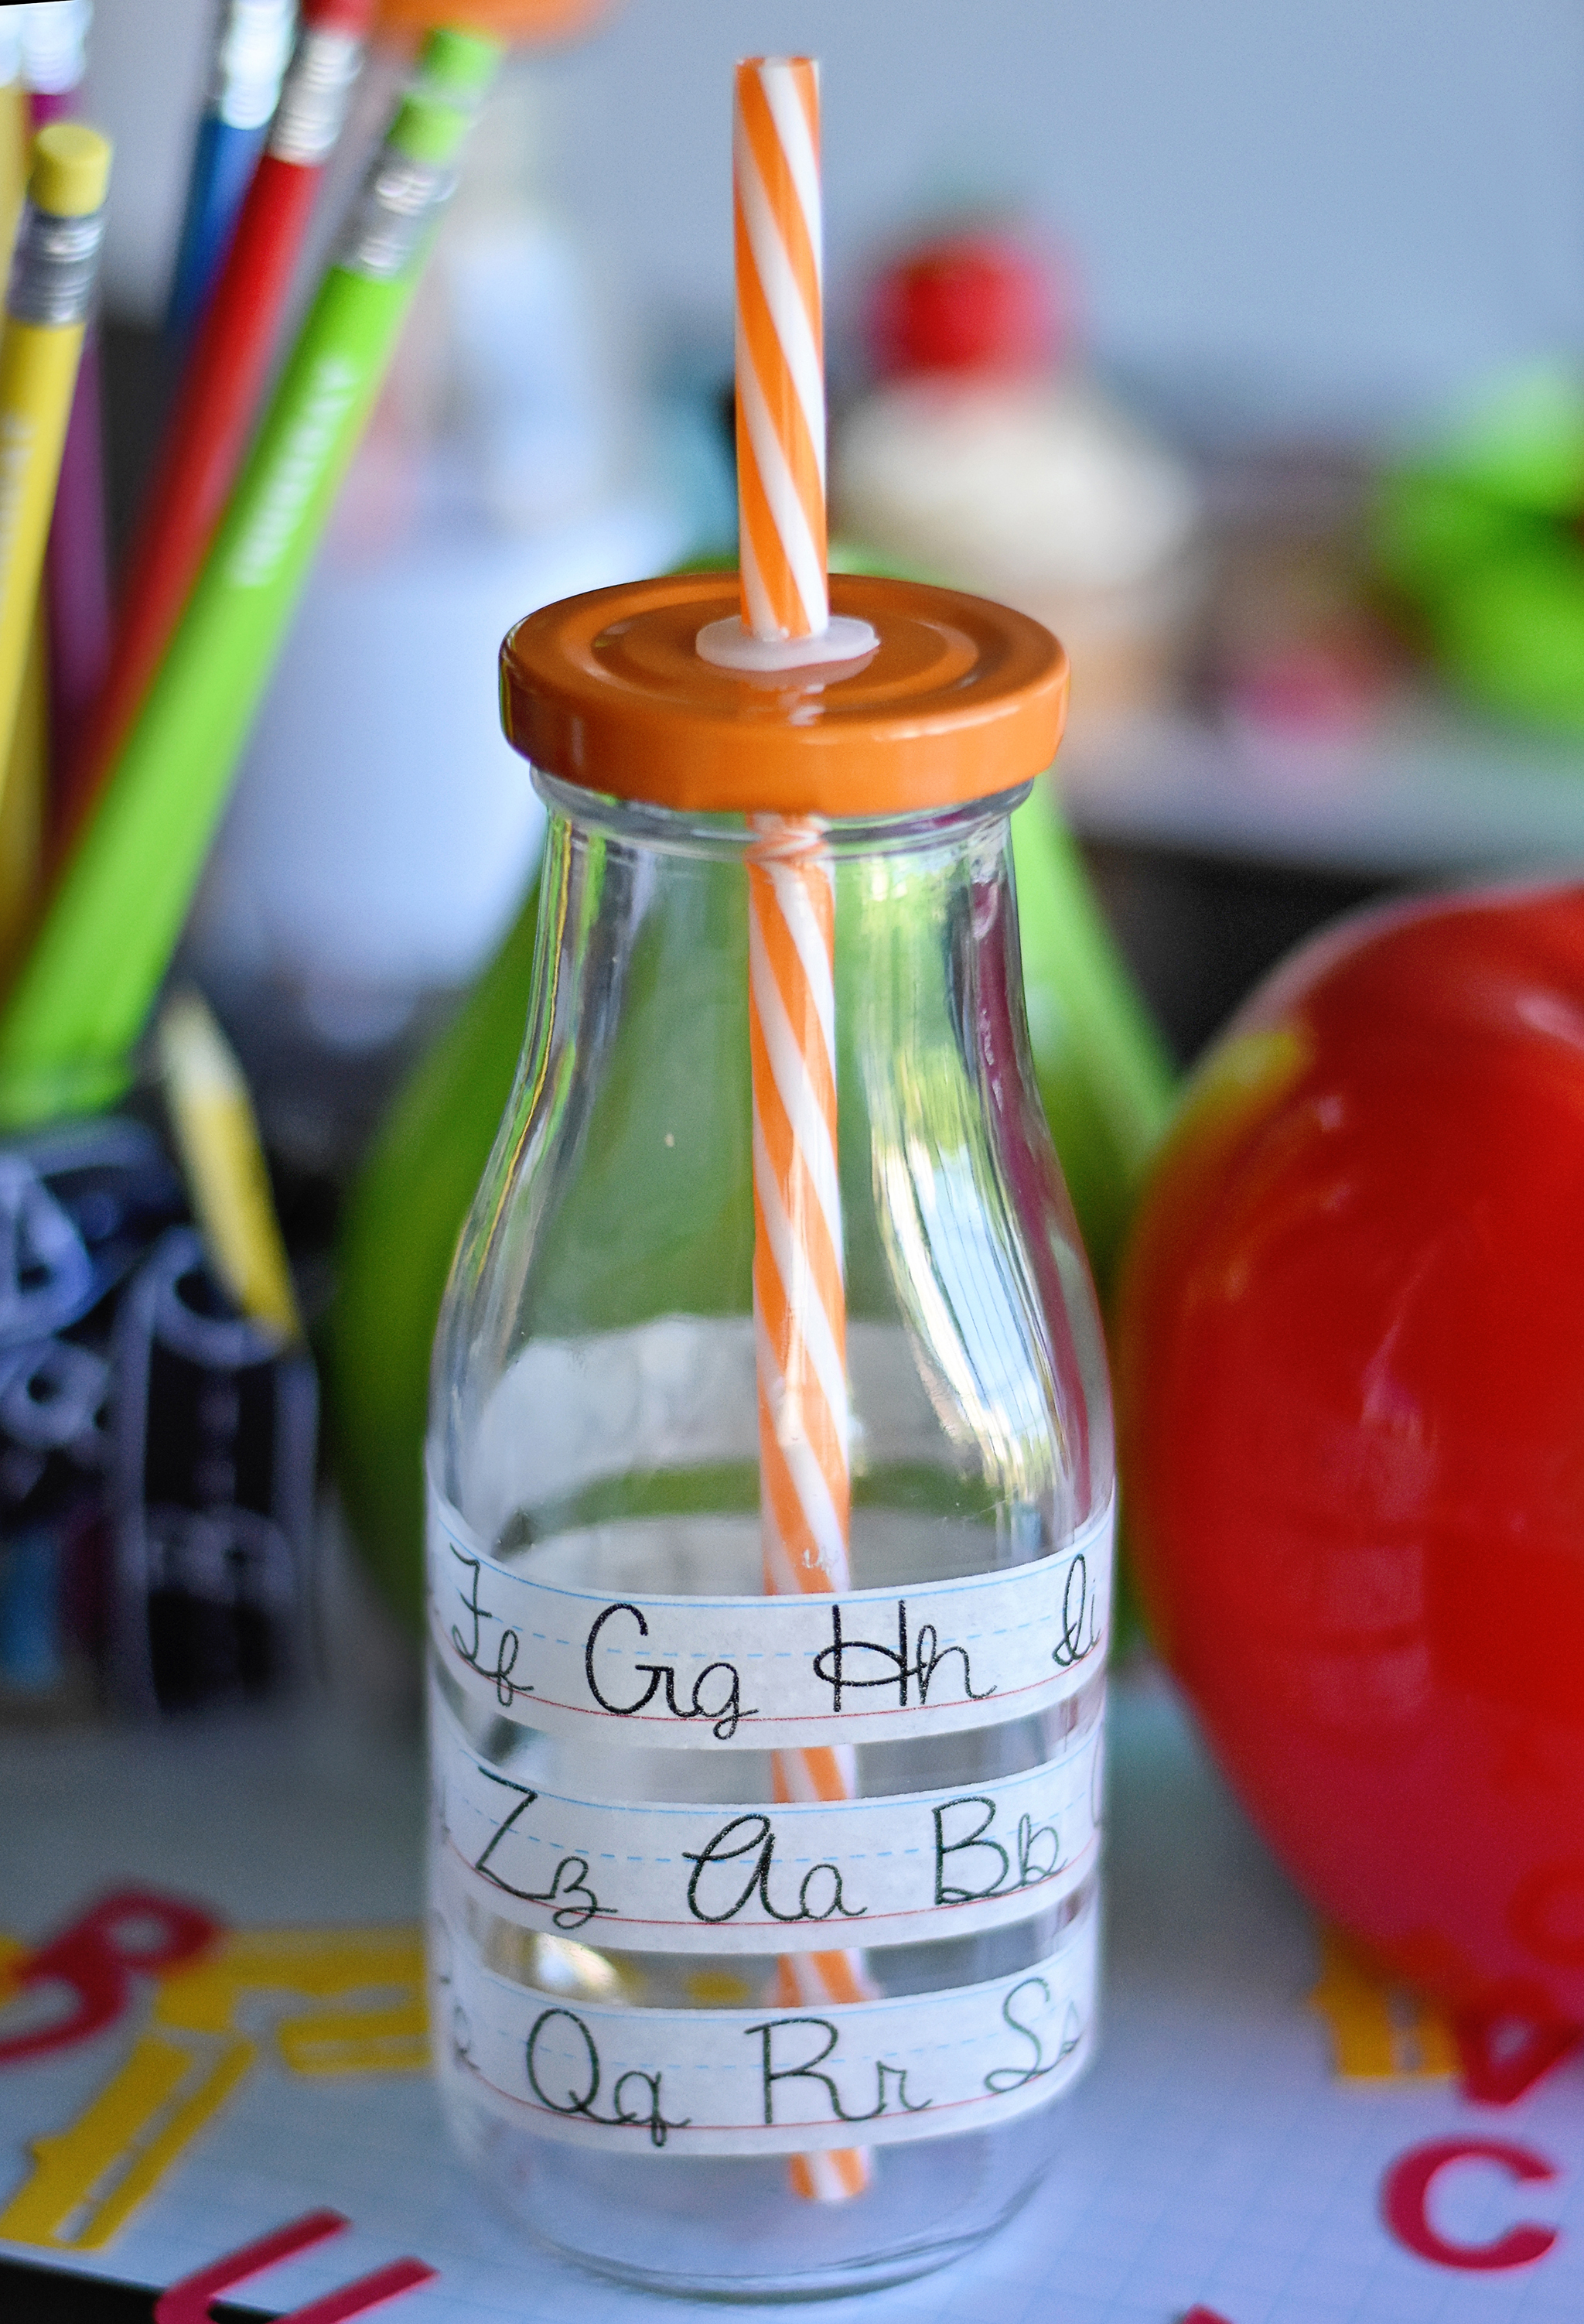
I also did another version of the milk bottle where I stuck cursive letter washi tape from The One Spot around the bottle. It was very simple and took less than two minutes to do!
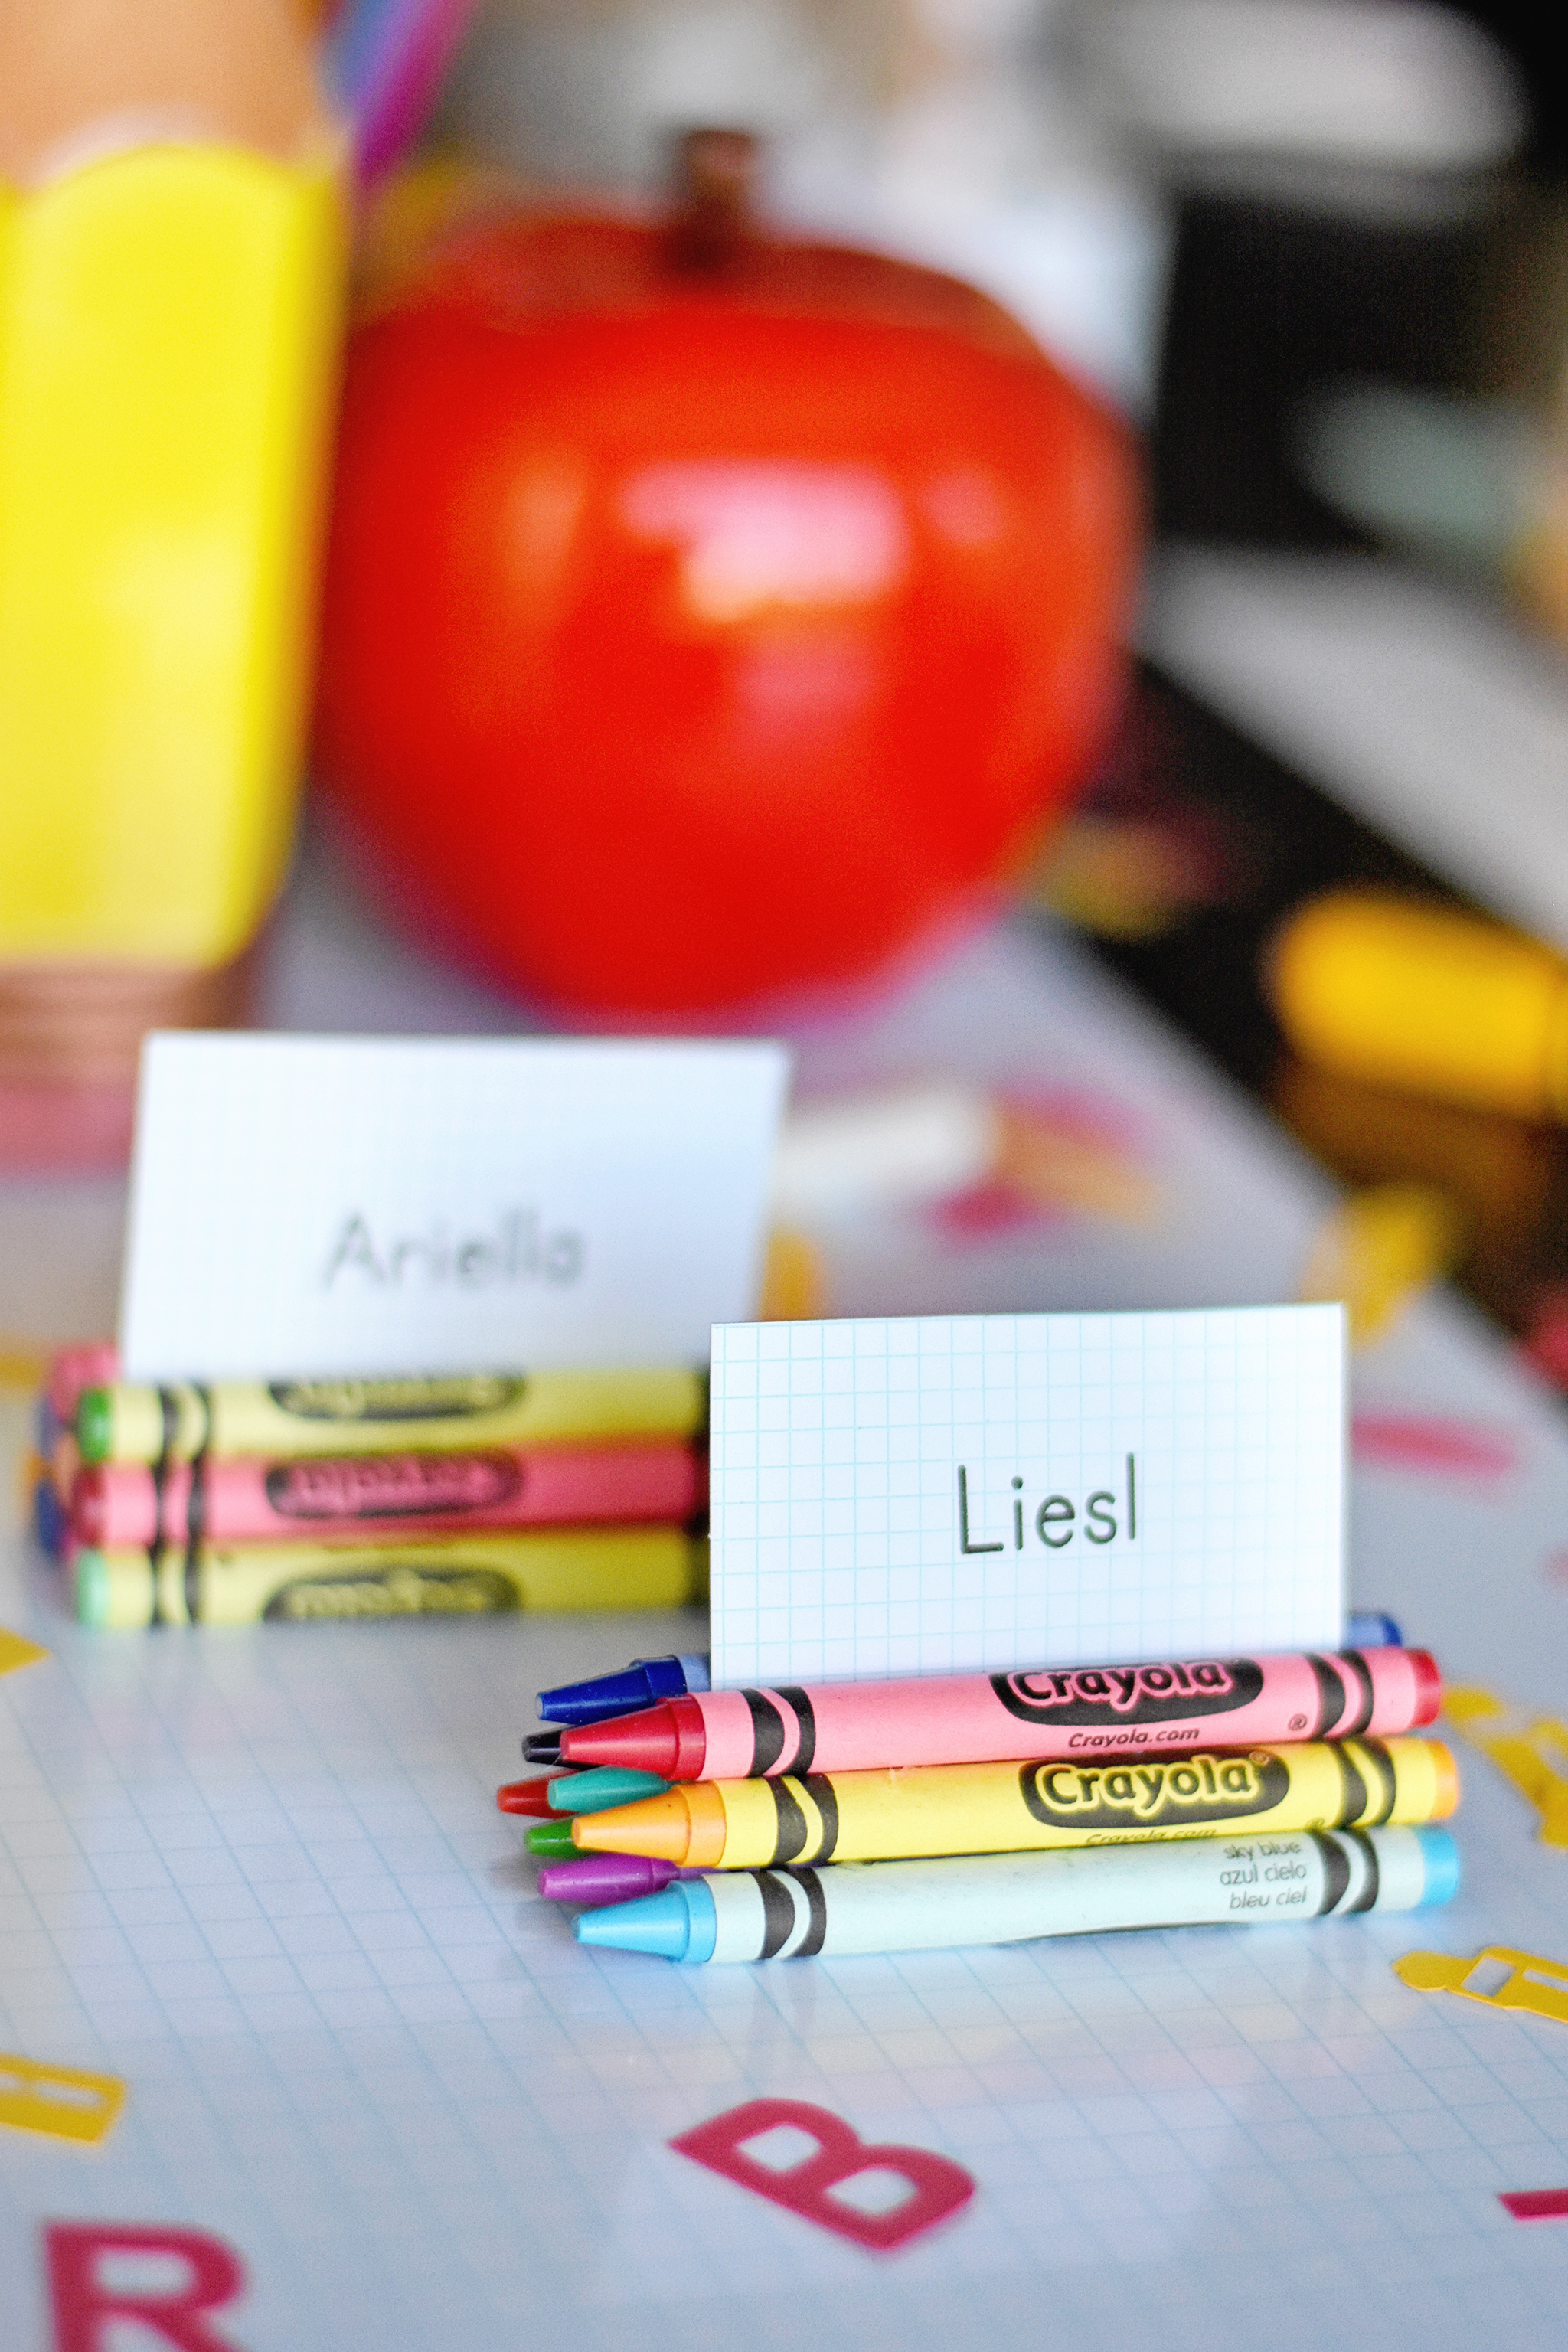
For place cards, I came up with three different, but equally cute options. For option #1, I hot glued a stack of 9 crayons together into a pyramid and put the place card on top of the stack.
For option #2, write the child’s name on a dry erase sentence strip, just like they do at school!

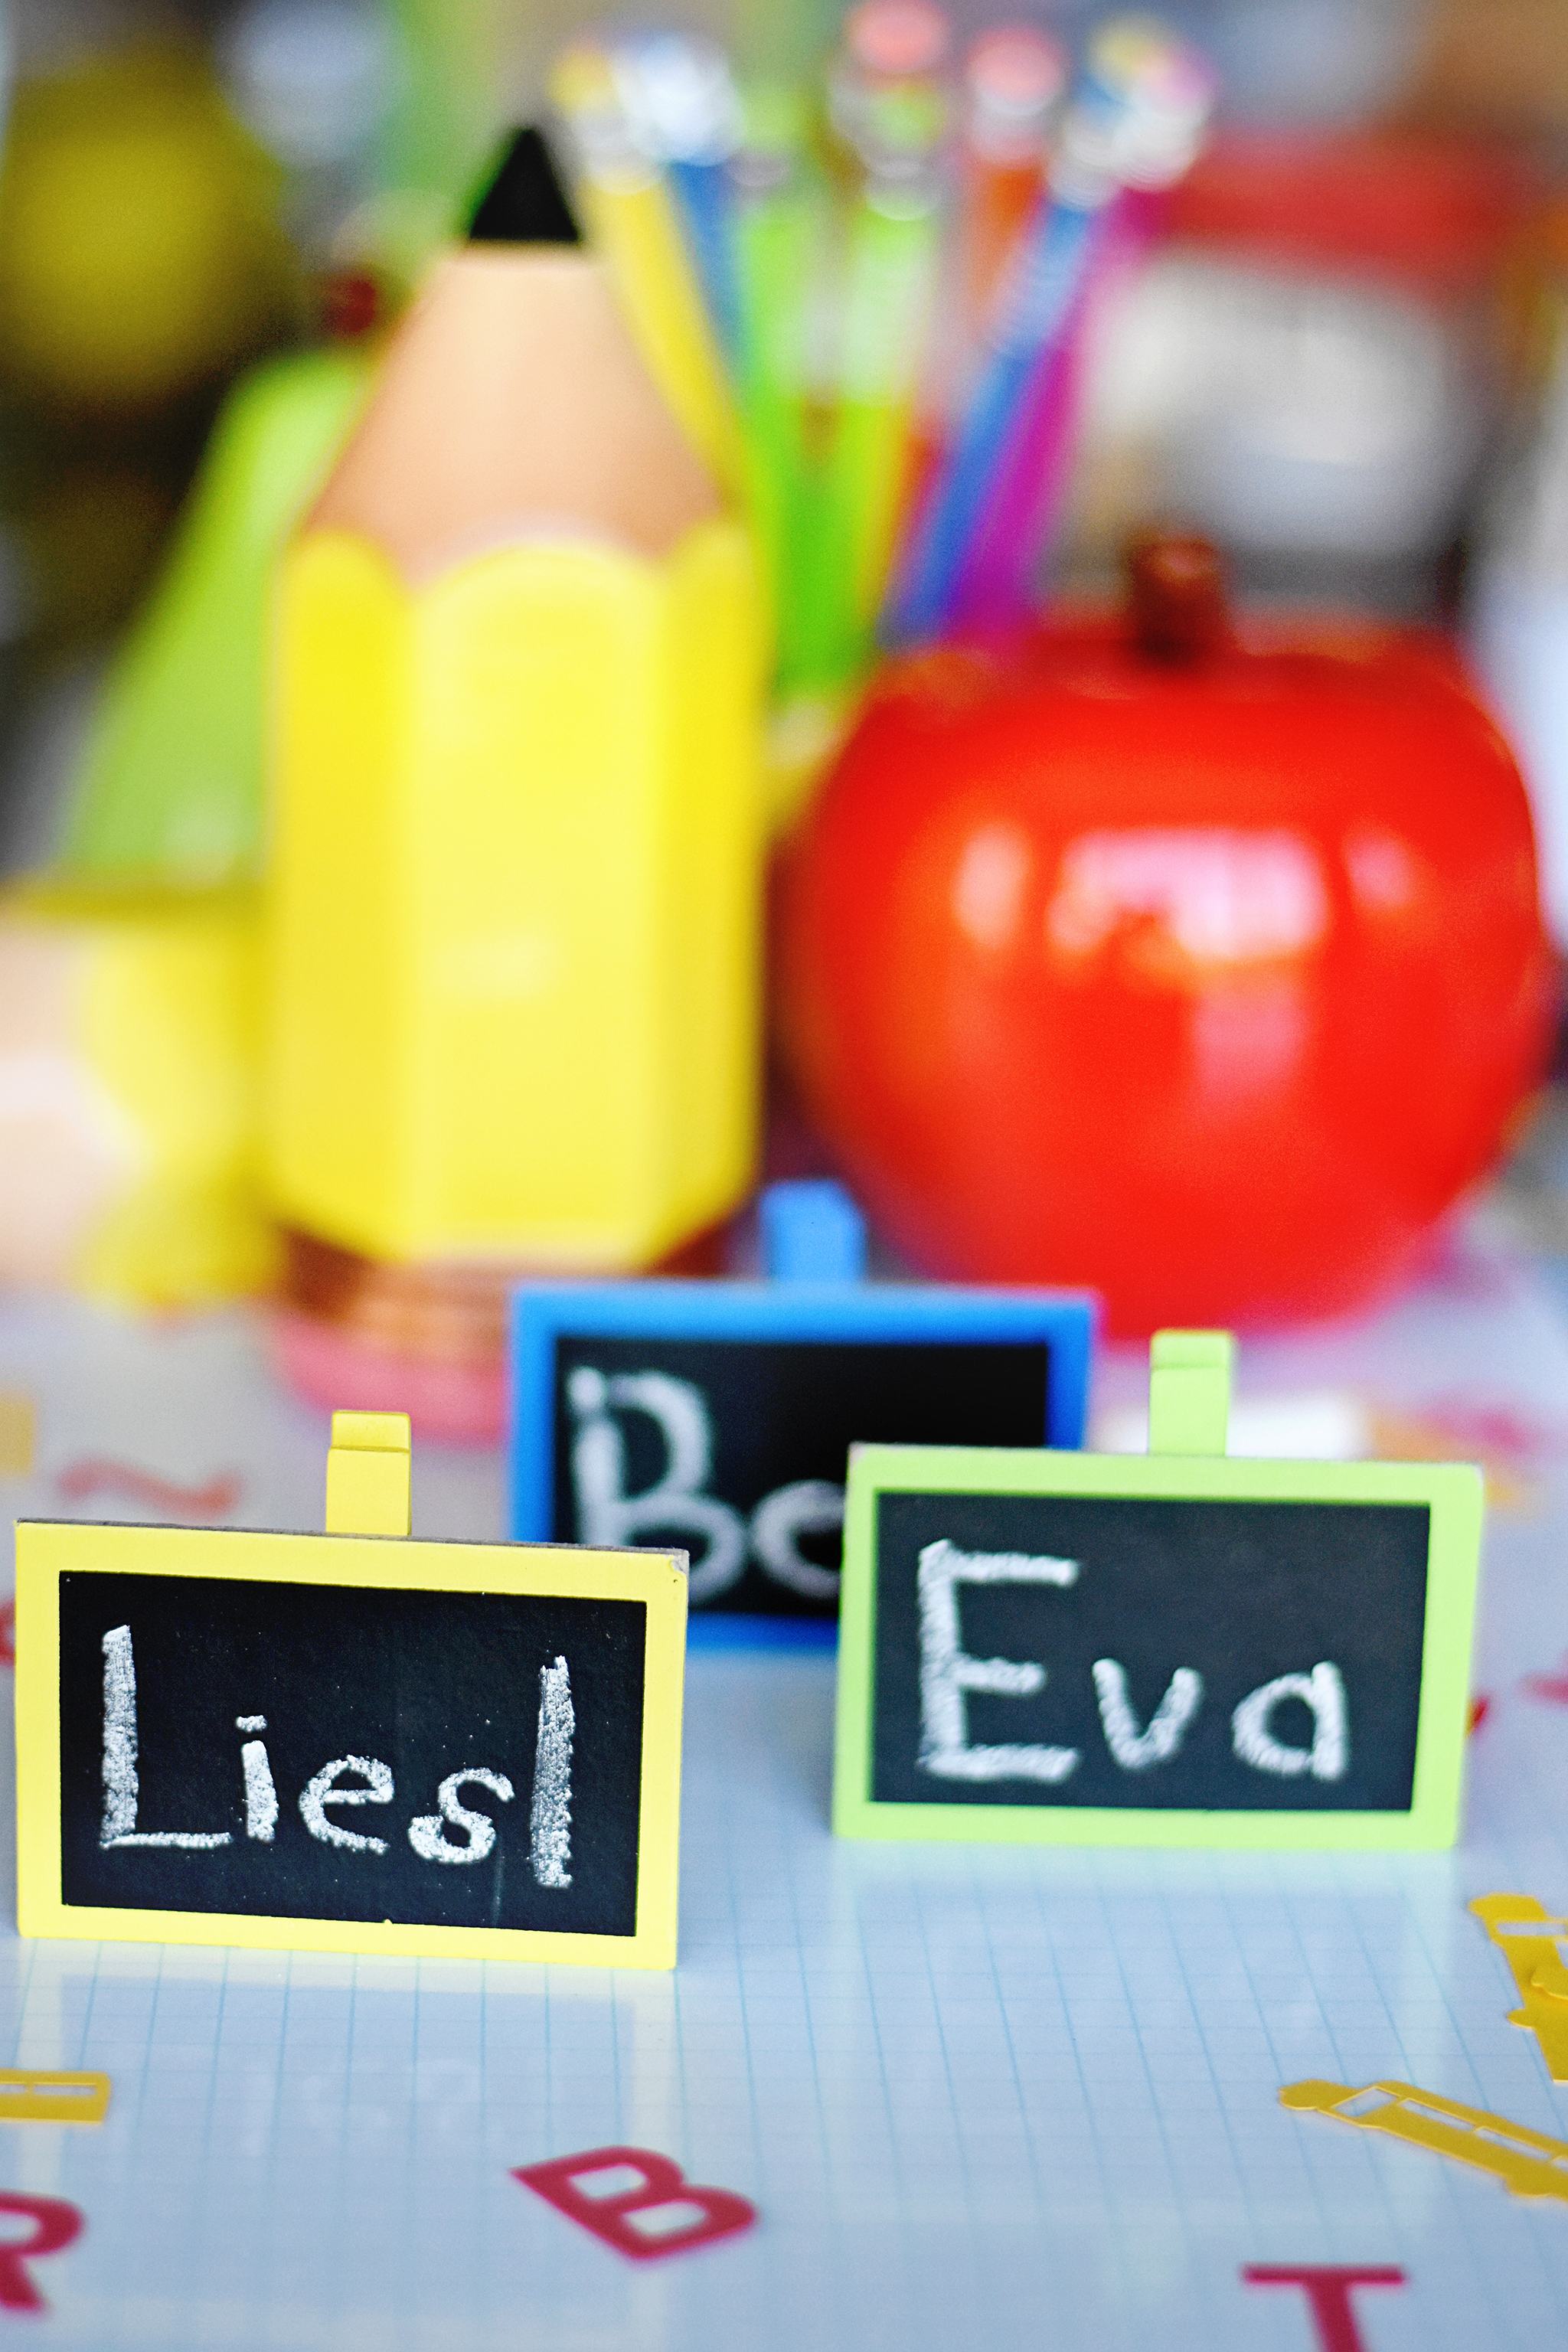
And for option #3, write the child’s name in chalk on a mini clip chalkboard (from The One Spot).
I hope you have the BEST YEAR EVER this school year! Come September, you can find me asleep on the sofa, or perhaps perusing The One Spot—without my kids in tow.



Comments
Marcy
I love your party!! its adorable!!
I’m also addicted to the dollar spot but love ideas that bring all those goody’s to life!!