I’ve been dreaming of owning a Cricut for years and was so excited about the opportunity to attempt my first official project! When I was planning our son’s nursery, I fell in love with a boutique felt mobile with the sweetest little nature characters. Unfortunately the mobile was not in my budget, and it looked much too intricate for me to attempt to make on my own. But when I learned the Cricut Explore cuts your own custom shapes and can cut felt, I knew I had to create my dream mobile!
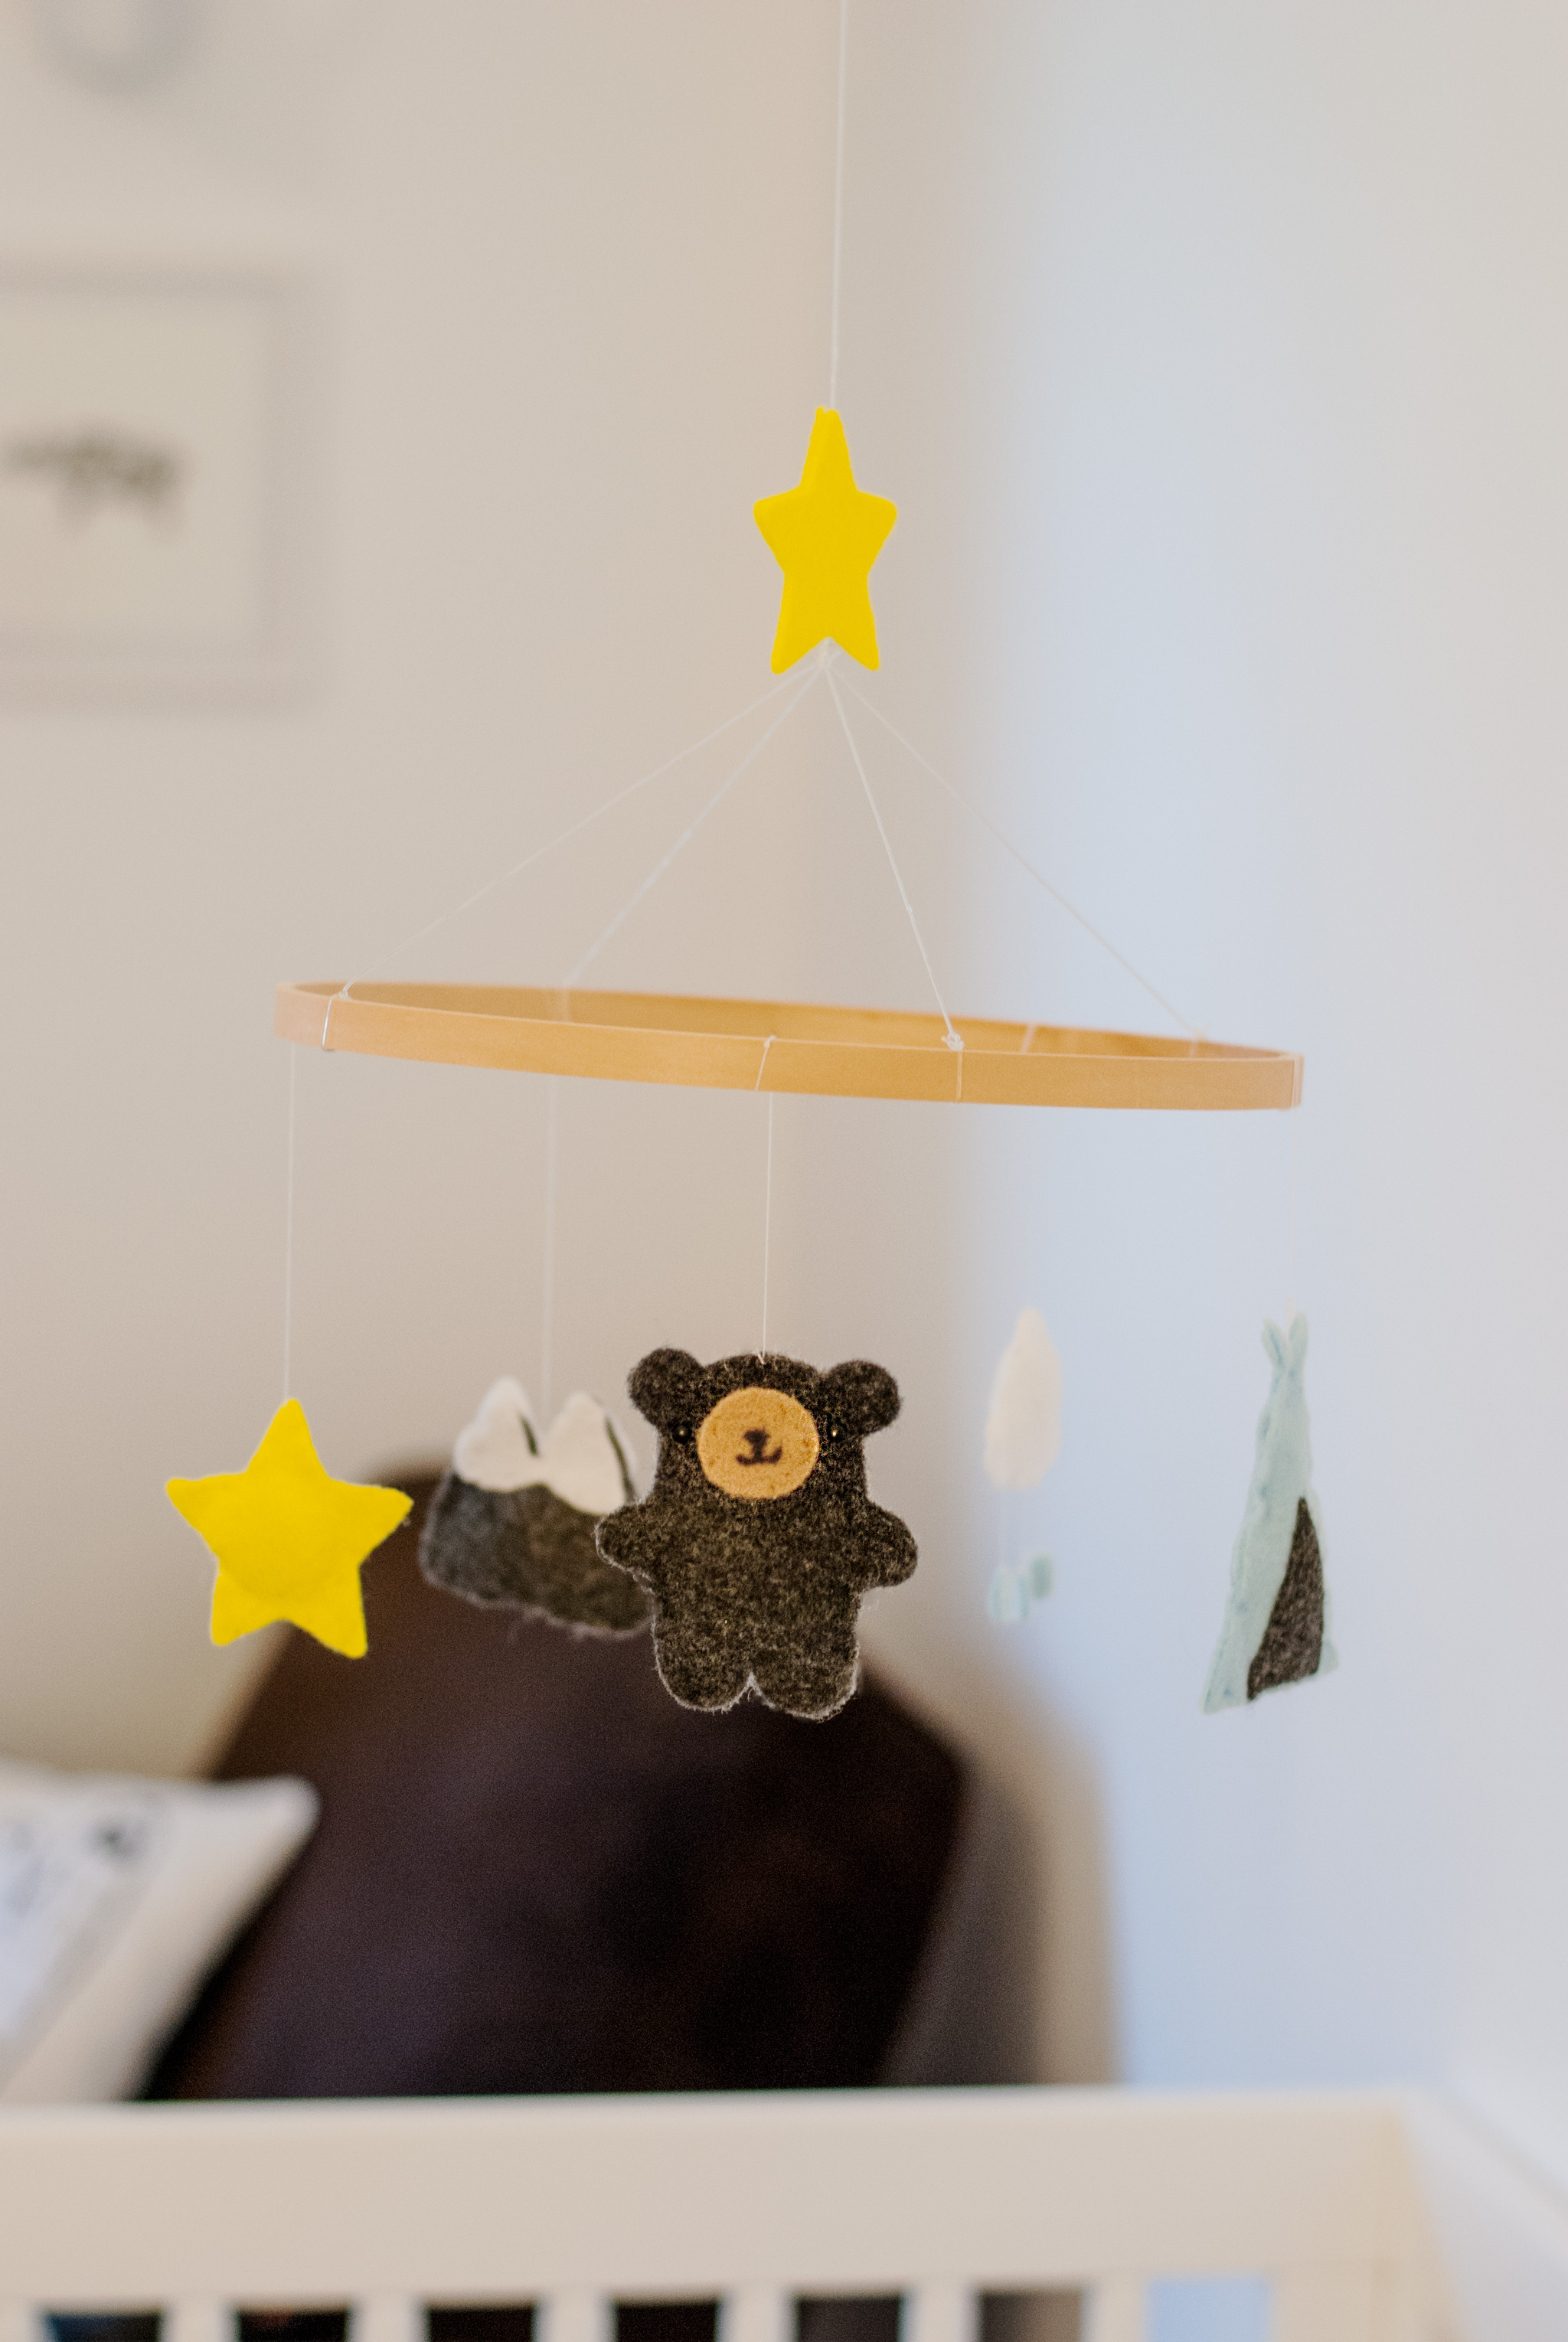
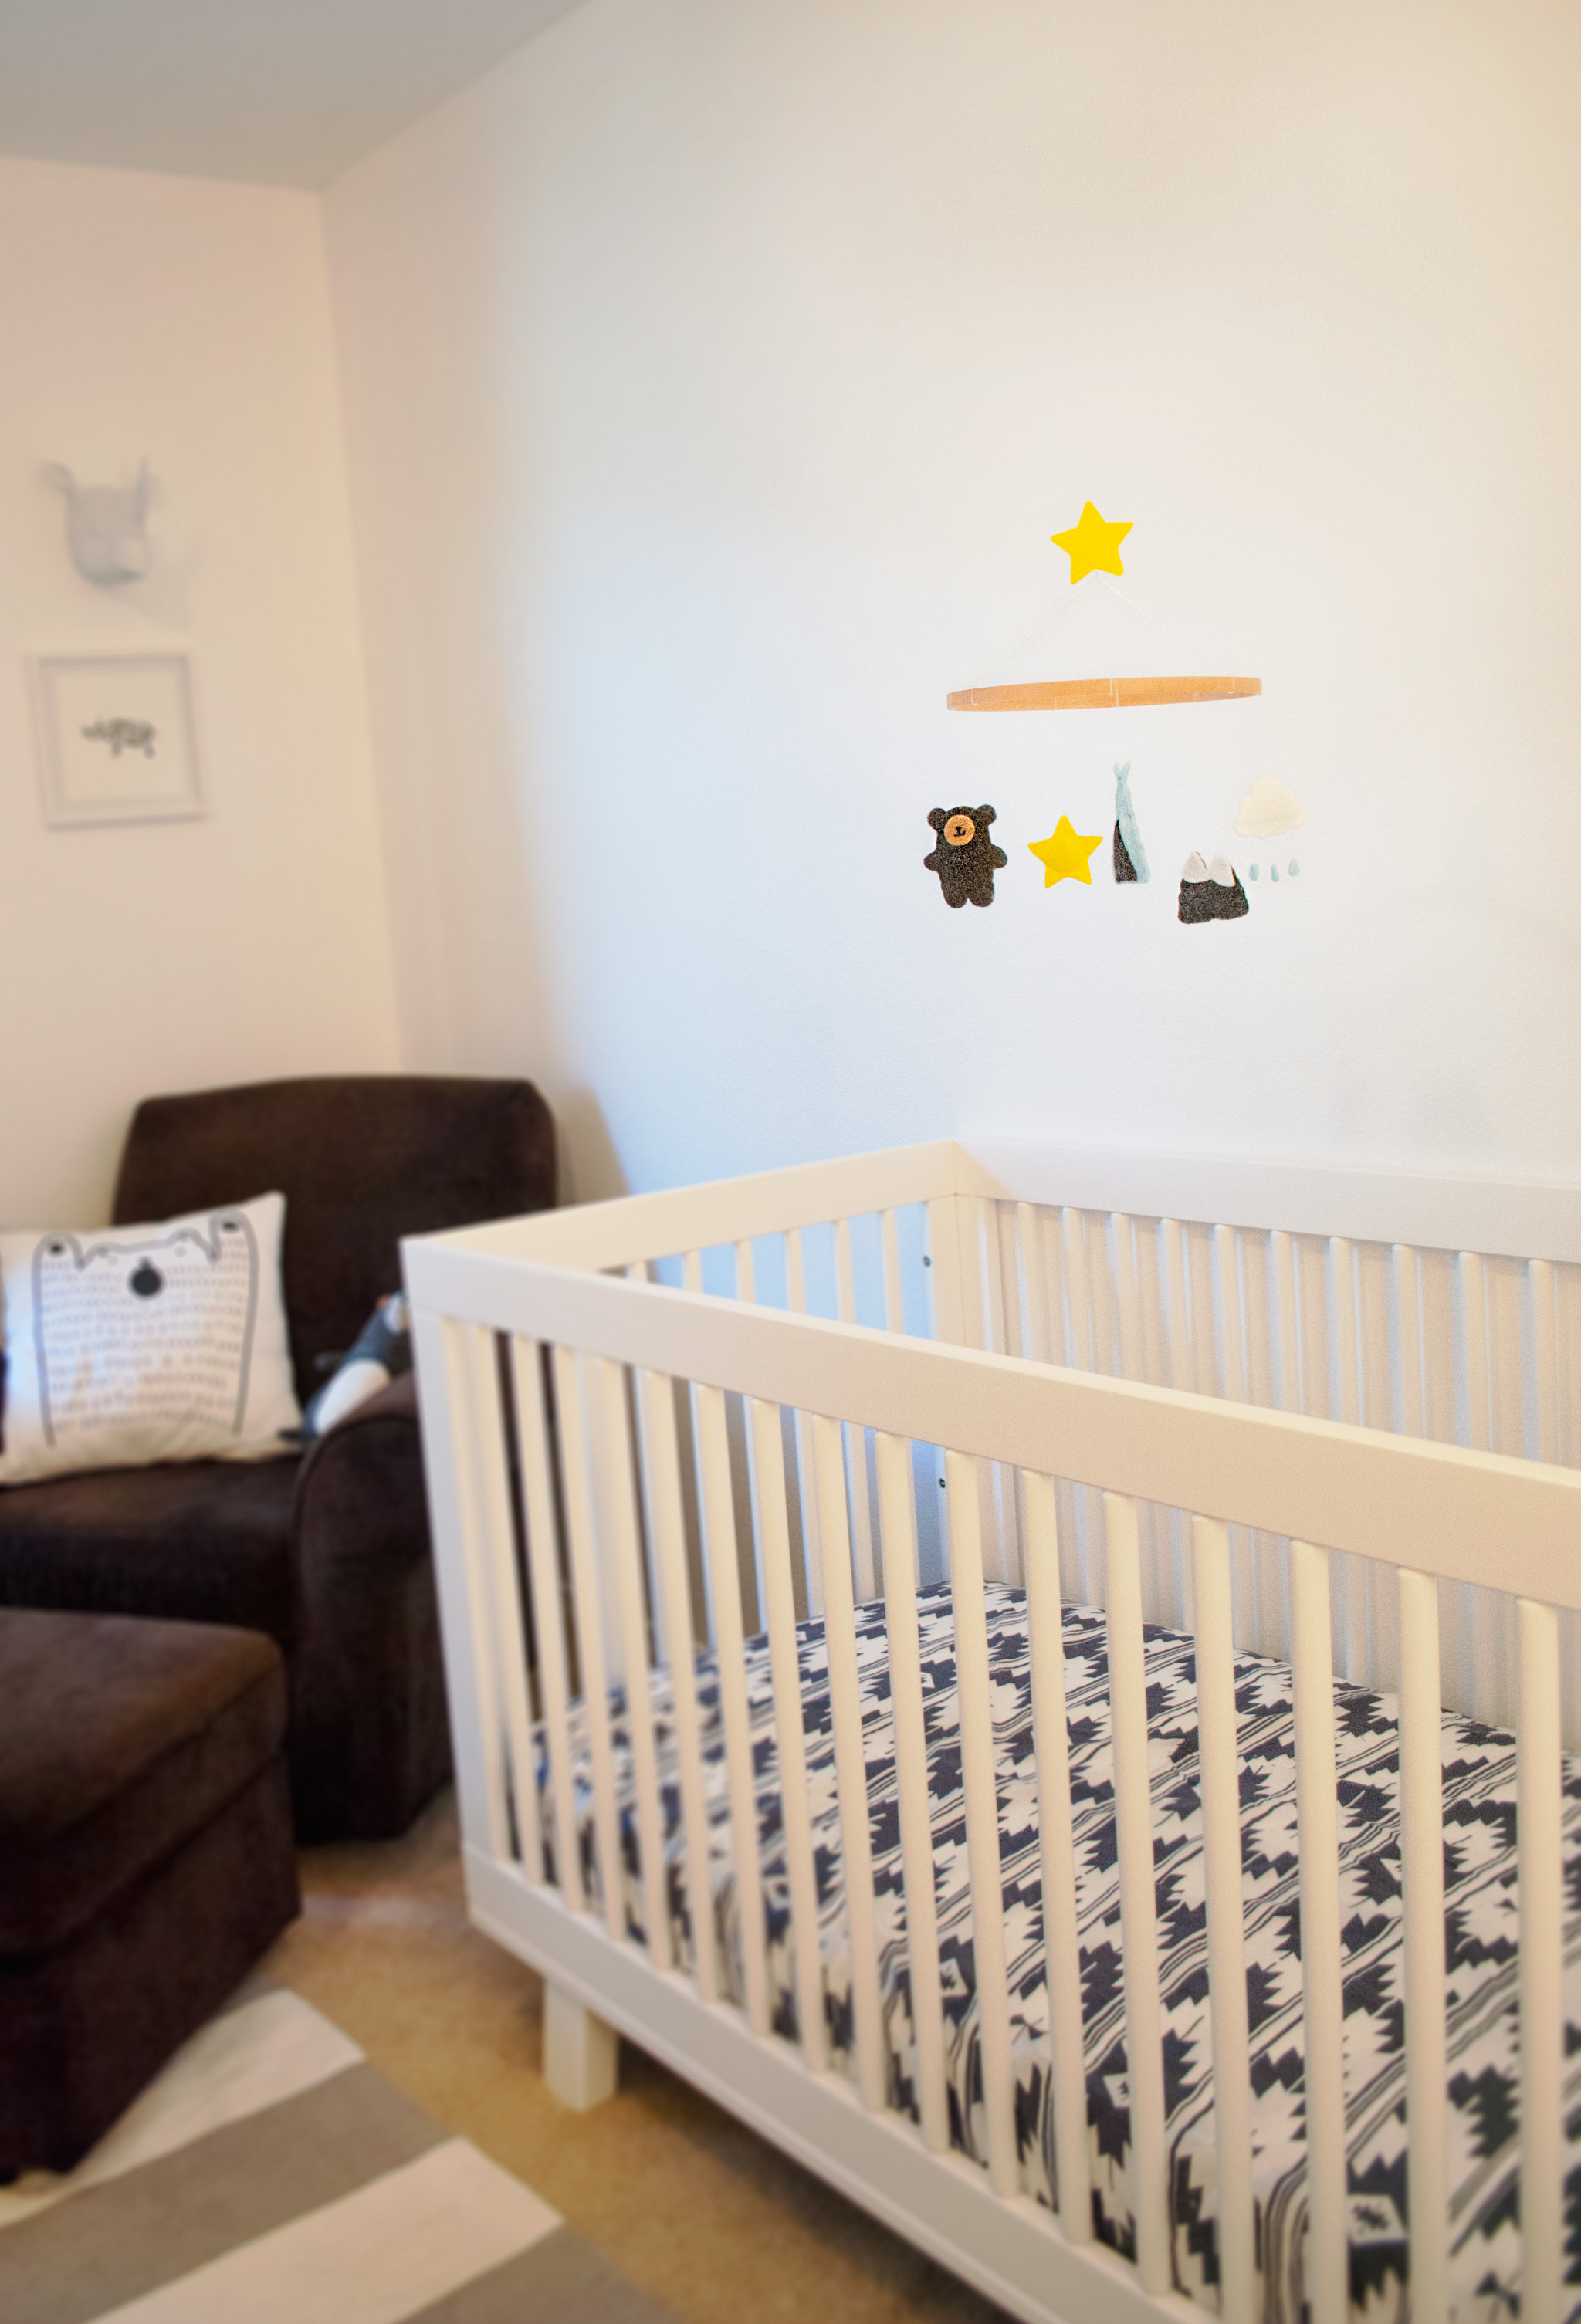
I started by illustrating characters to fit my nursery’s theme and then created .png files of them to upload to the Cricut Design Space. The Design Space is filled with a ton of different designs already if you don’t want to create your own. Setting up my own design was surprisingly easy, and to keep this project simple, I decided to make it a no-sew project. The results are a custom mobile, with the cutest characters and no sewing or hand cutting required! I love the Cricut, and I adore our new mobile. I’m sharing my character files below for those of you who want to follow this tutorial to create your own!
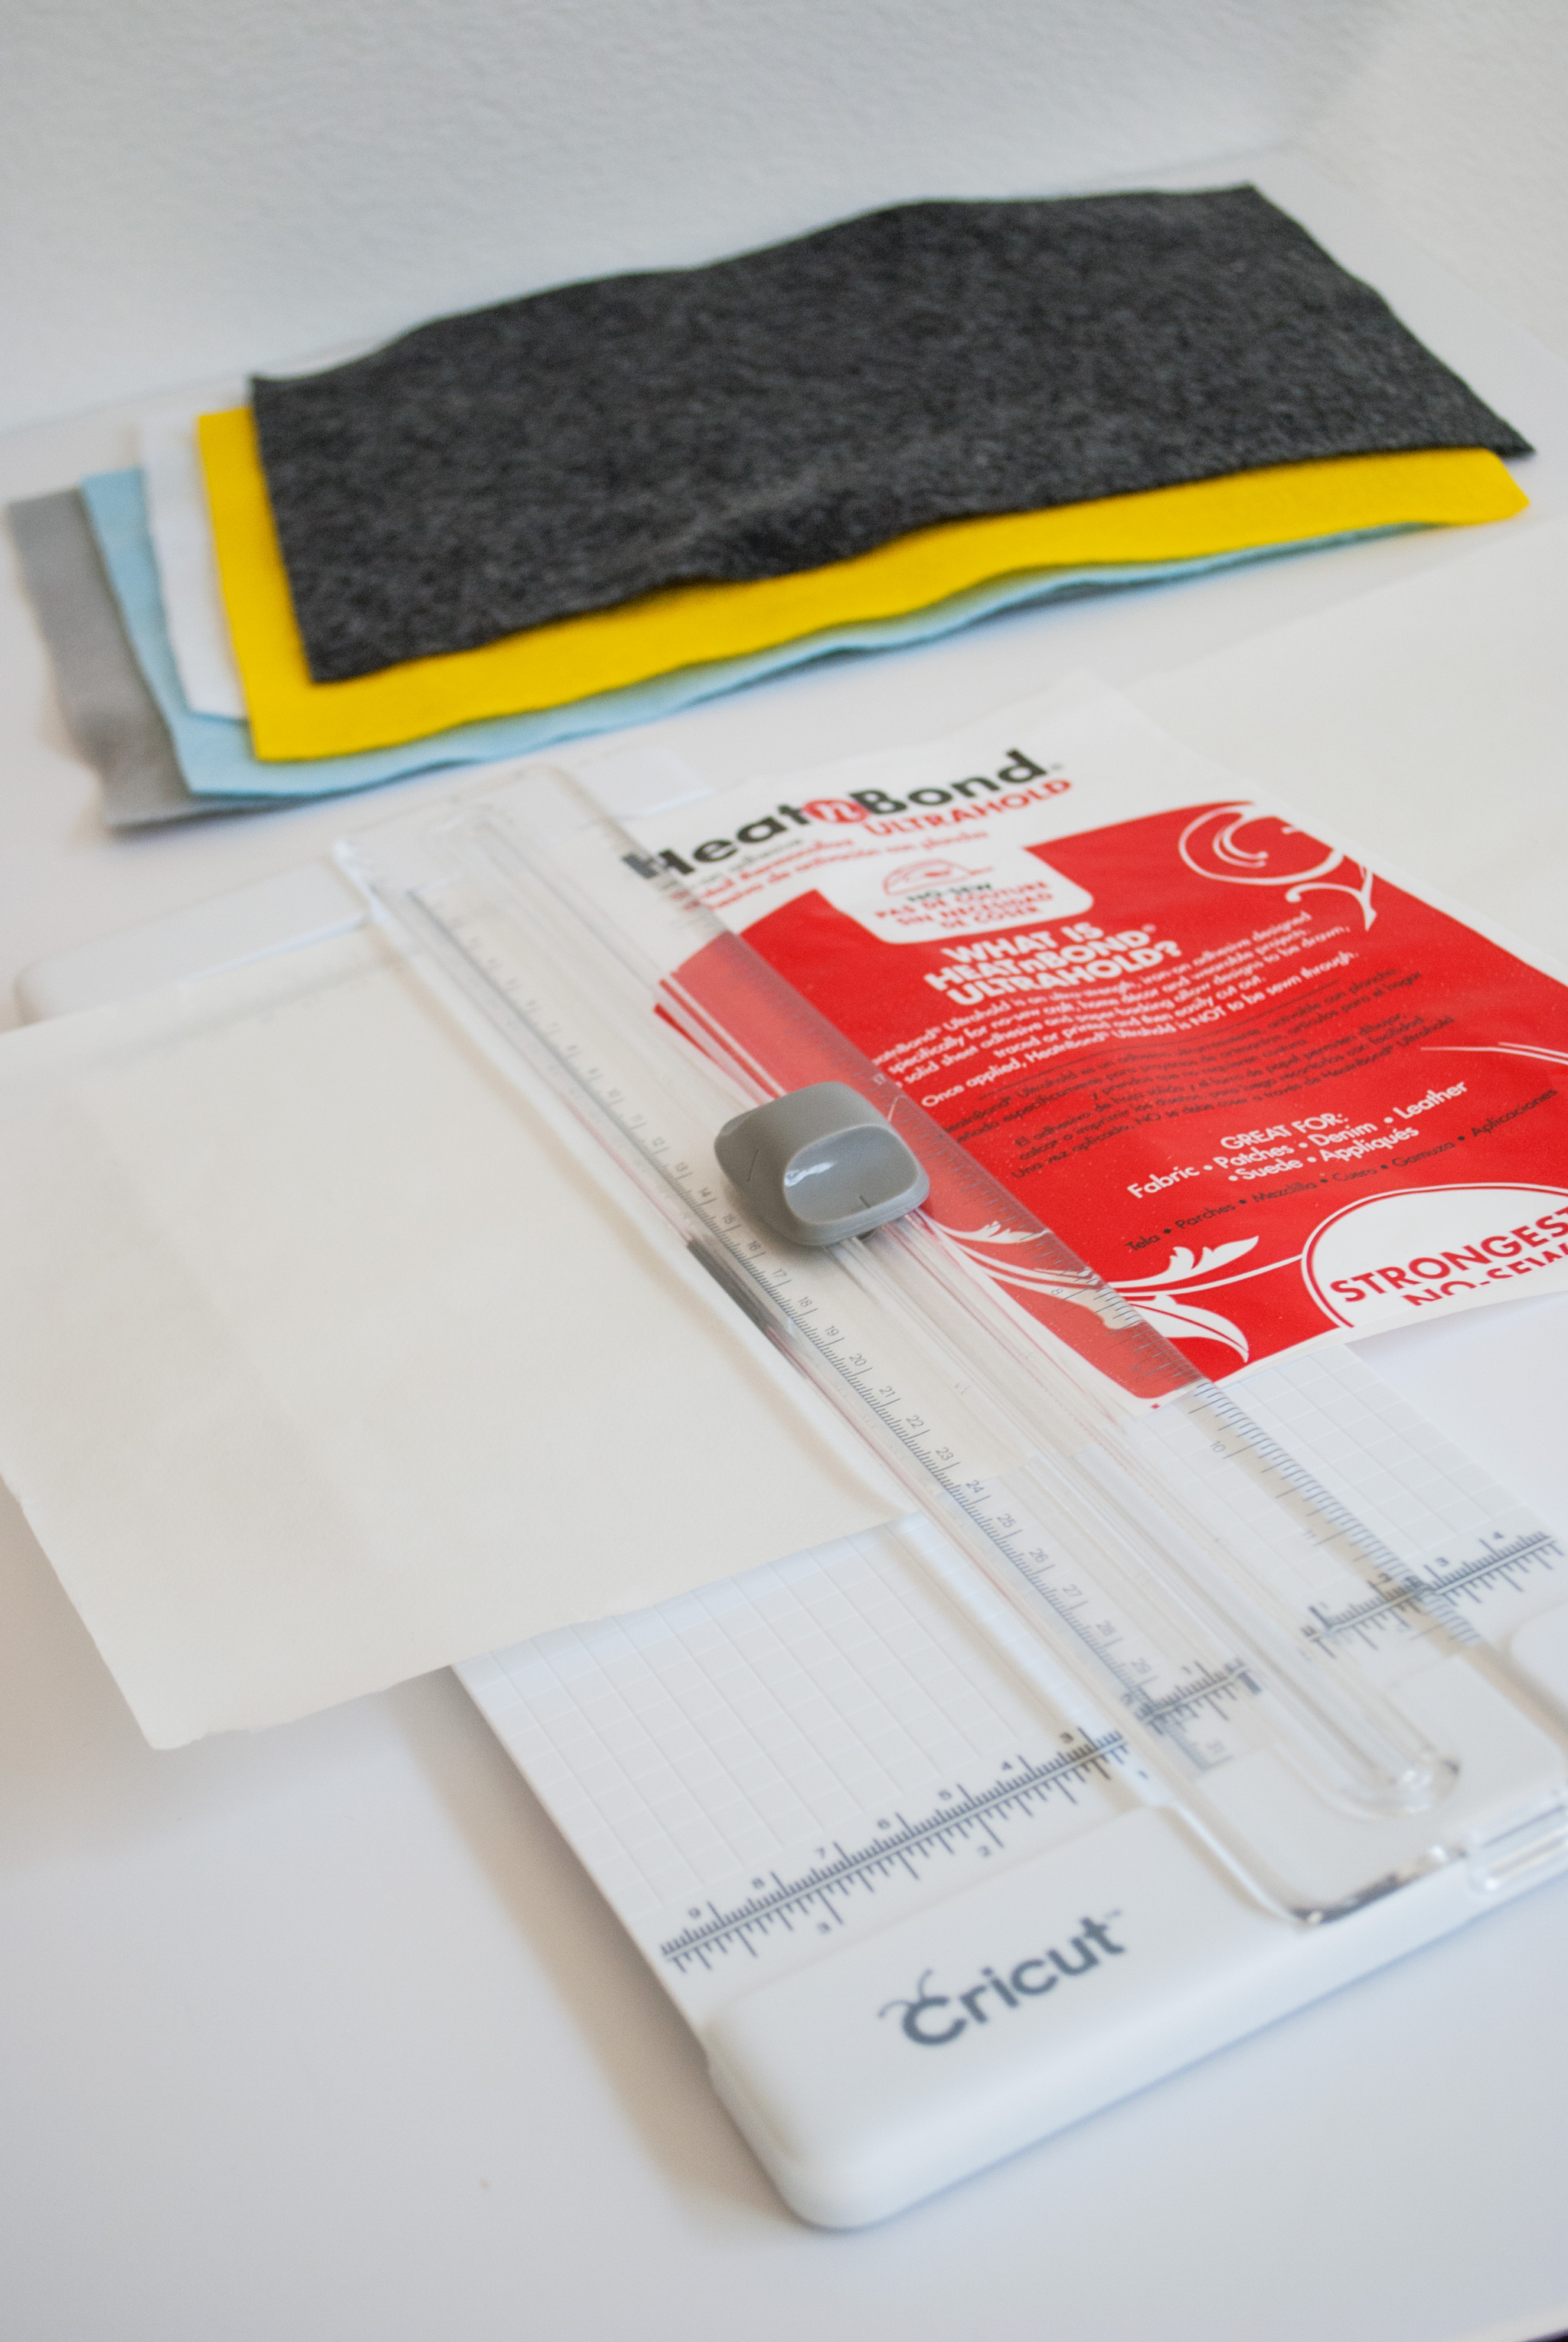
Materials: Felt in colors of your choosing (I used charcoal, yellow, white, blue, and tan), inner circle of an embroidery hoop, Heat ‘n Bond UltraHold Iron-On Adhesive, pins, needle and thread, buttons or brads for bear’s eyes, fabric pen for bear’s nose and mouth (or you can stitch with thread), batting, clear monofilament cord to hang mobile, hot glue
Start by cutting the Heat ‘n Bond sheets down to fit your felt pieces.
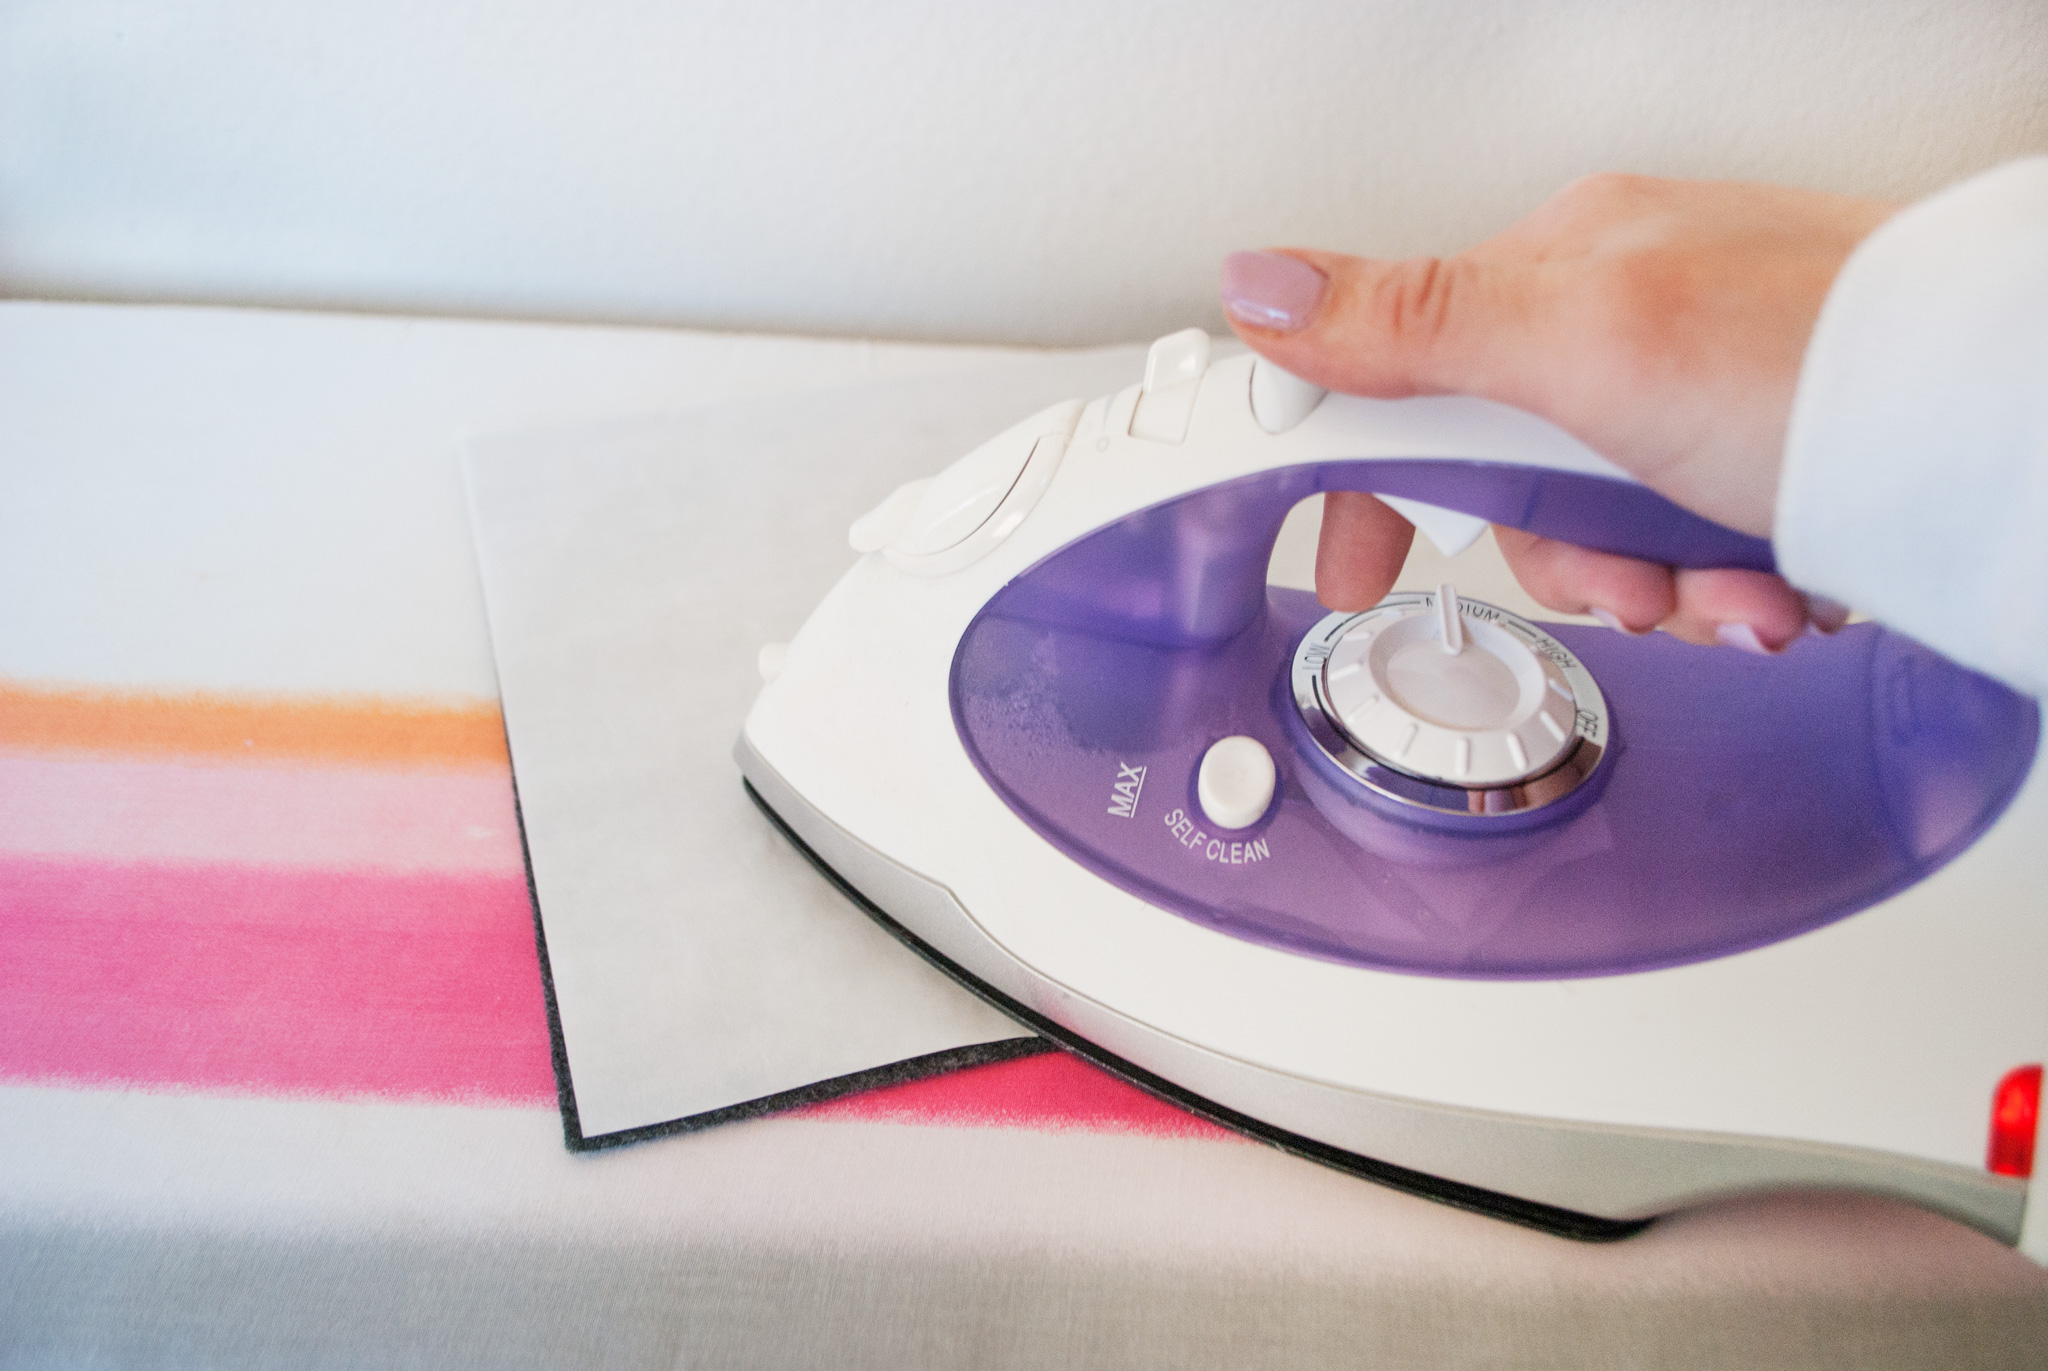
Then iron the Heat ‘n Bond to the back of each piece of felt.
Save the .png files of my illustrated shapes, grouped by color, to your computer (star, cloud, teepee, mountain and bear, bear snout). Upload those to the Cricut Design Space. The process is very easy, but if you get stuck you can watch their instructional video.
Load your felt with the Heat ‘n Bond side down onto a regular or light grip mat. Set your dial to custom for the heaviest cutting setting on the Cricut, and select felt from the dropdown menu.
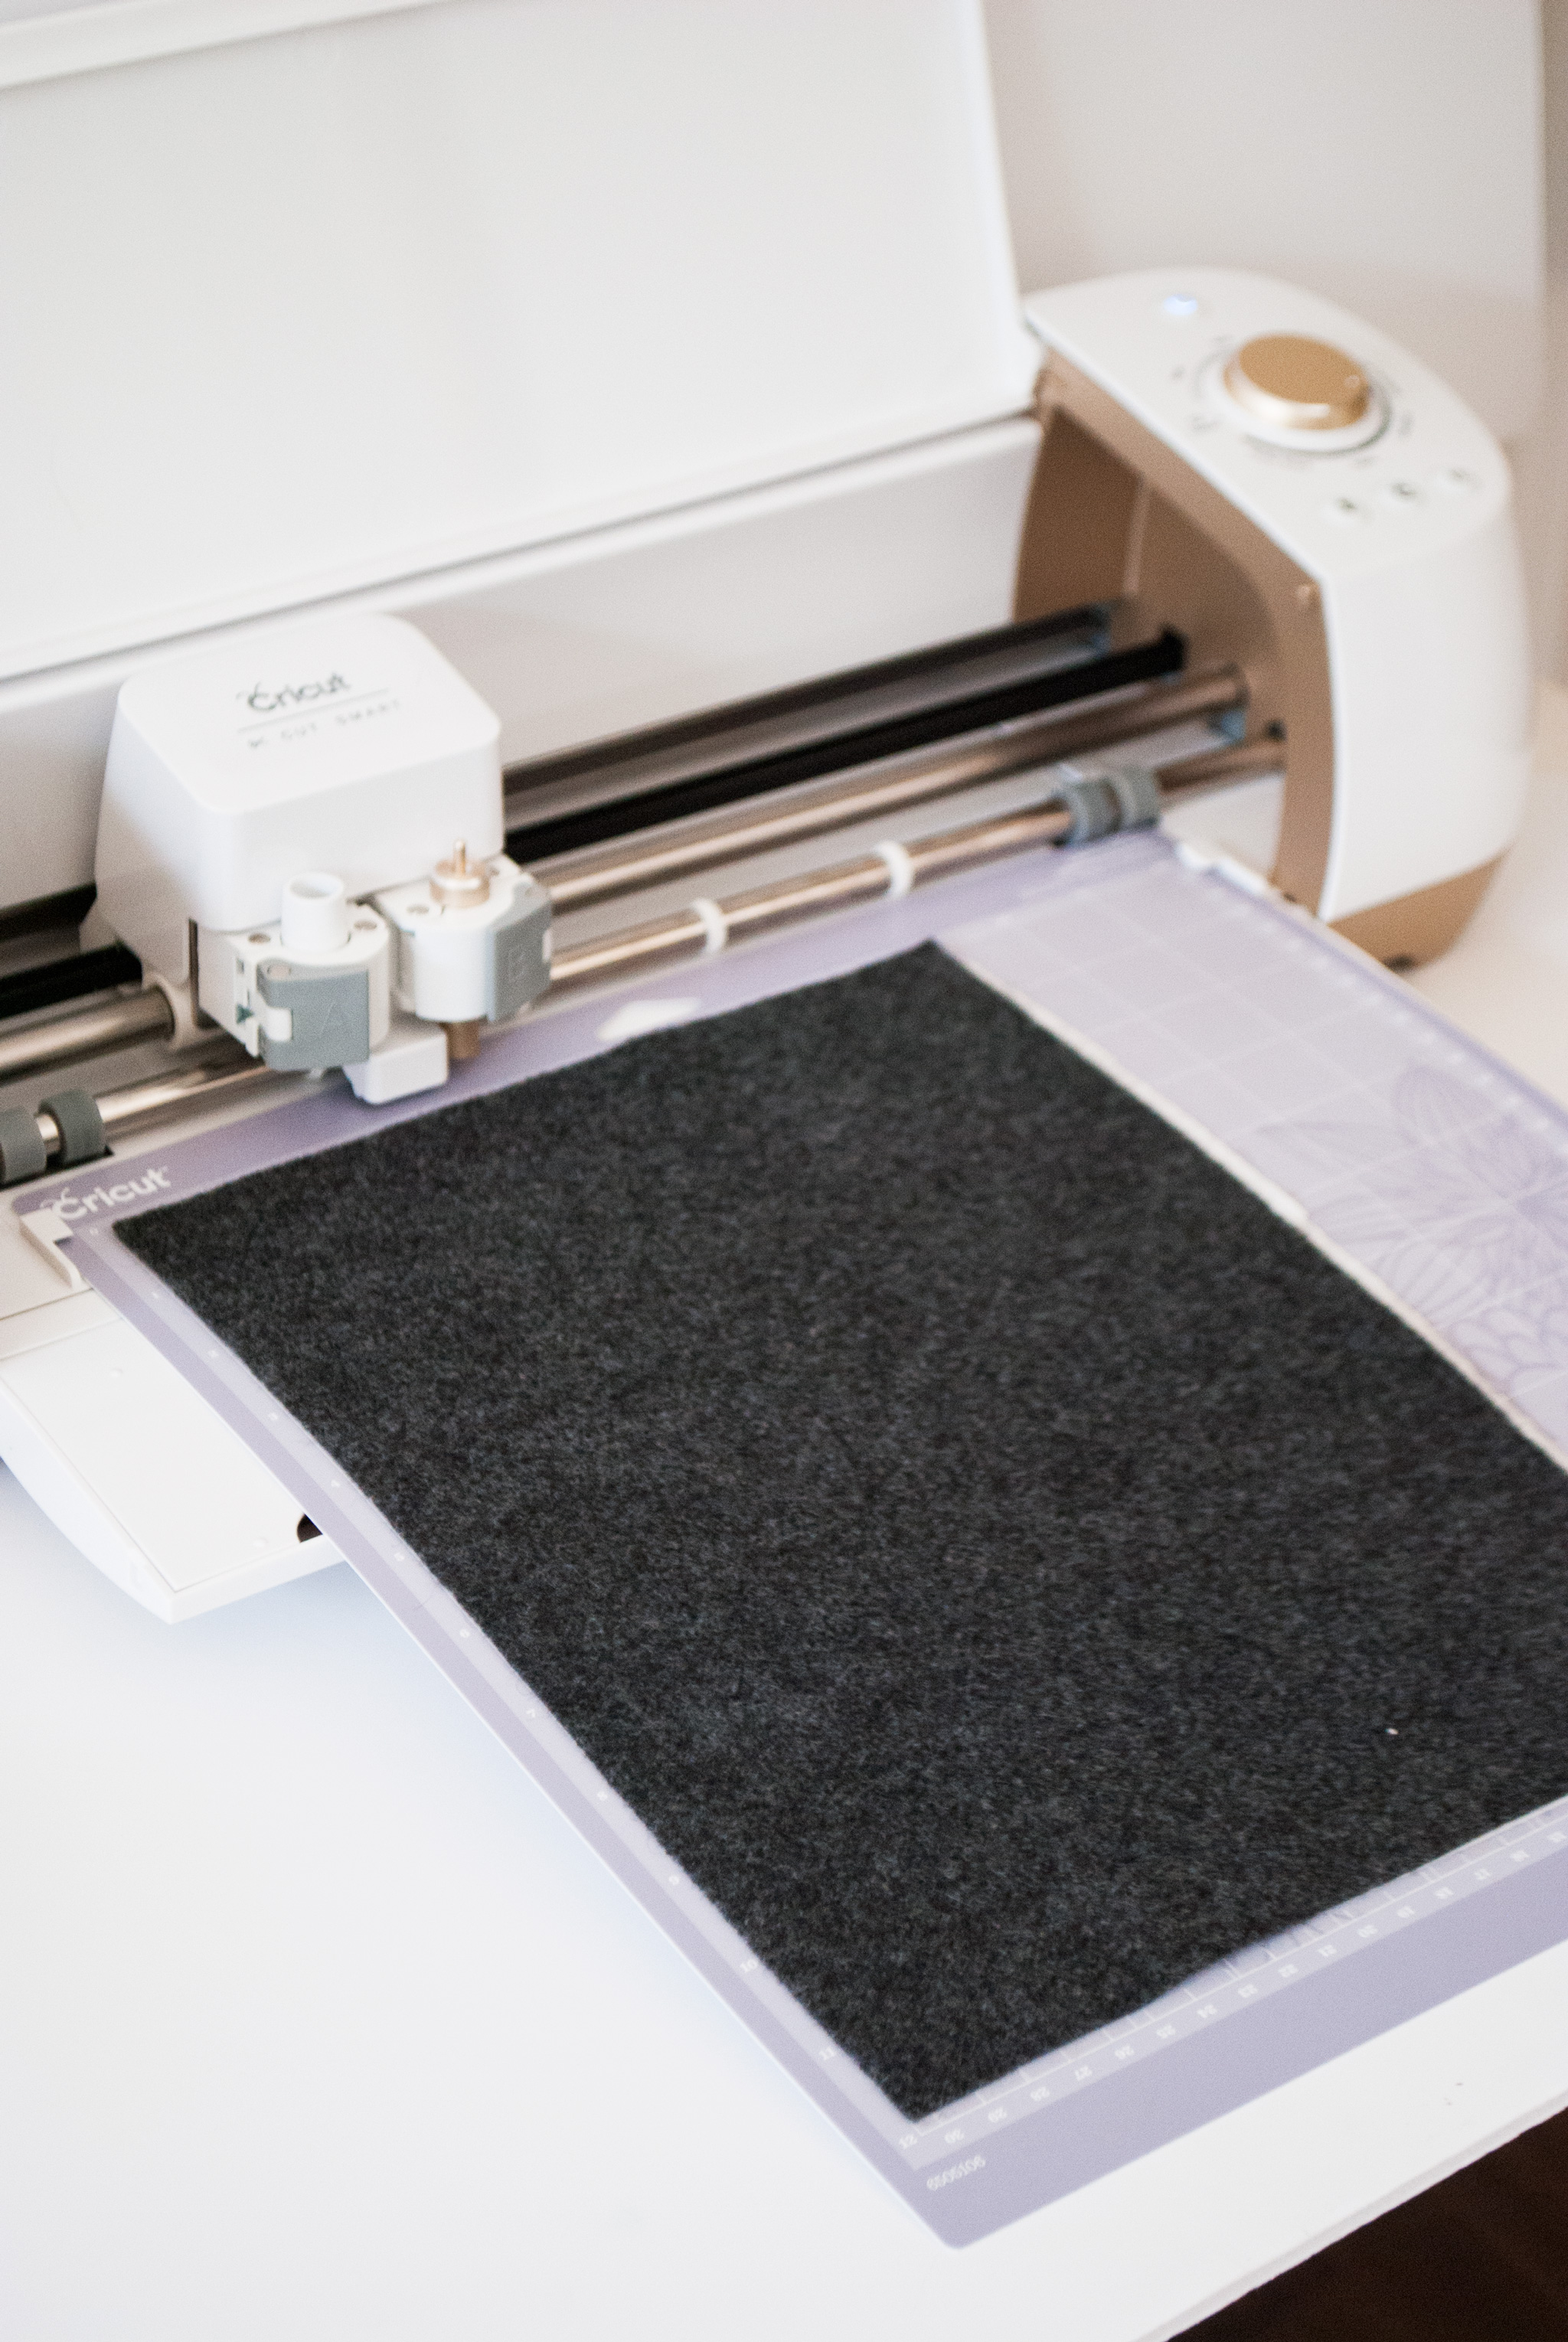
Cut out shapes for each felt color on your Cricut using the templates in Cricut Design Space here. In case you aren’t familiar with Cricut, think of it as working like a printer, but instead of printing, it’s cutting out your shapes with a built-in blade. It’s pretty amazing.
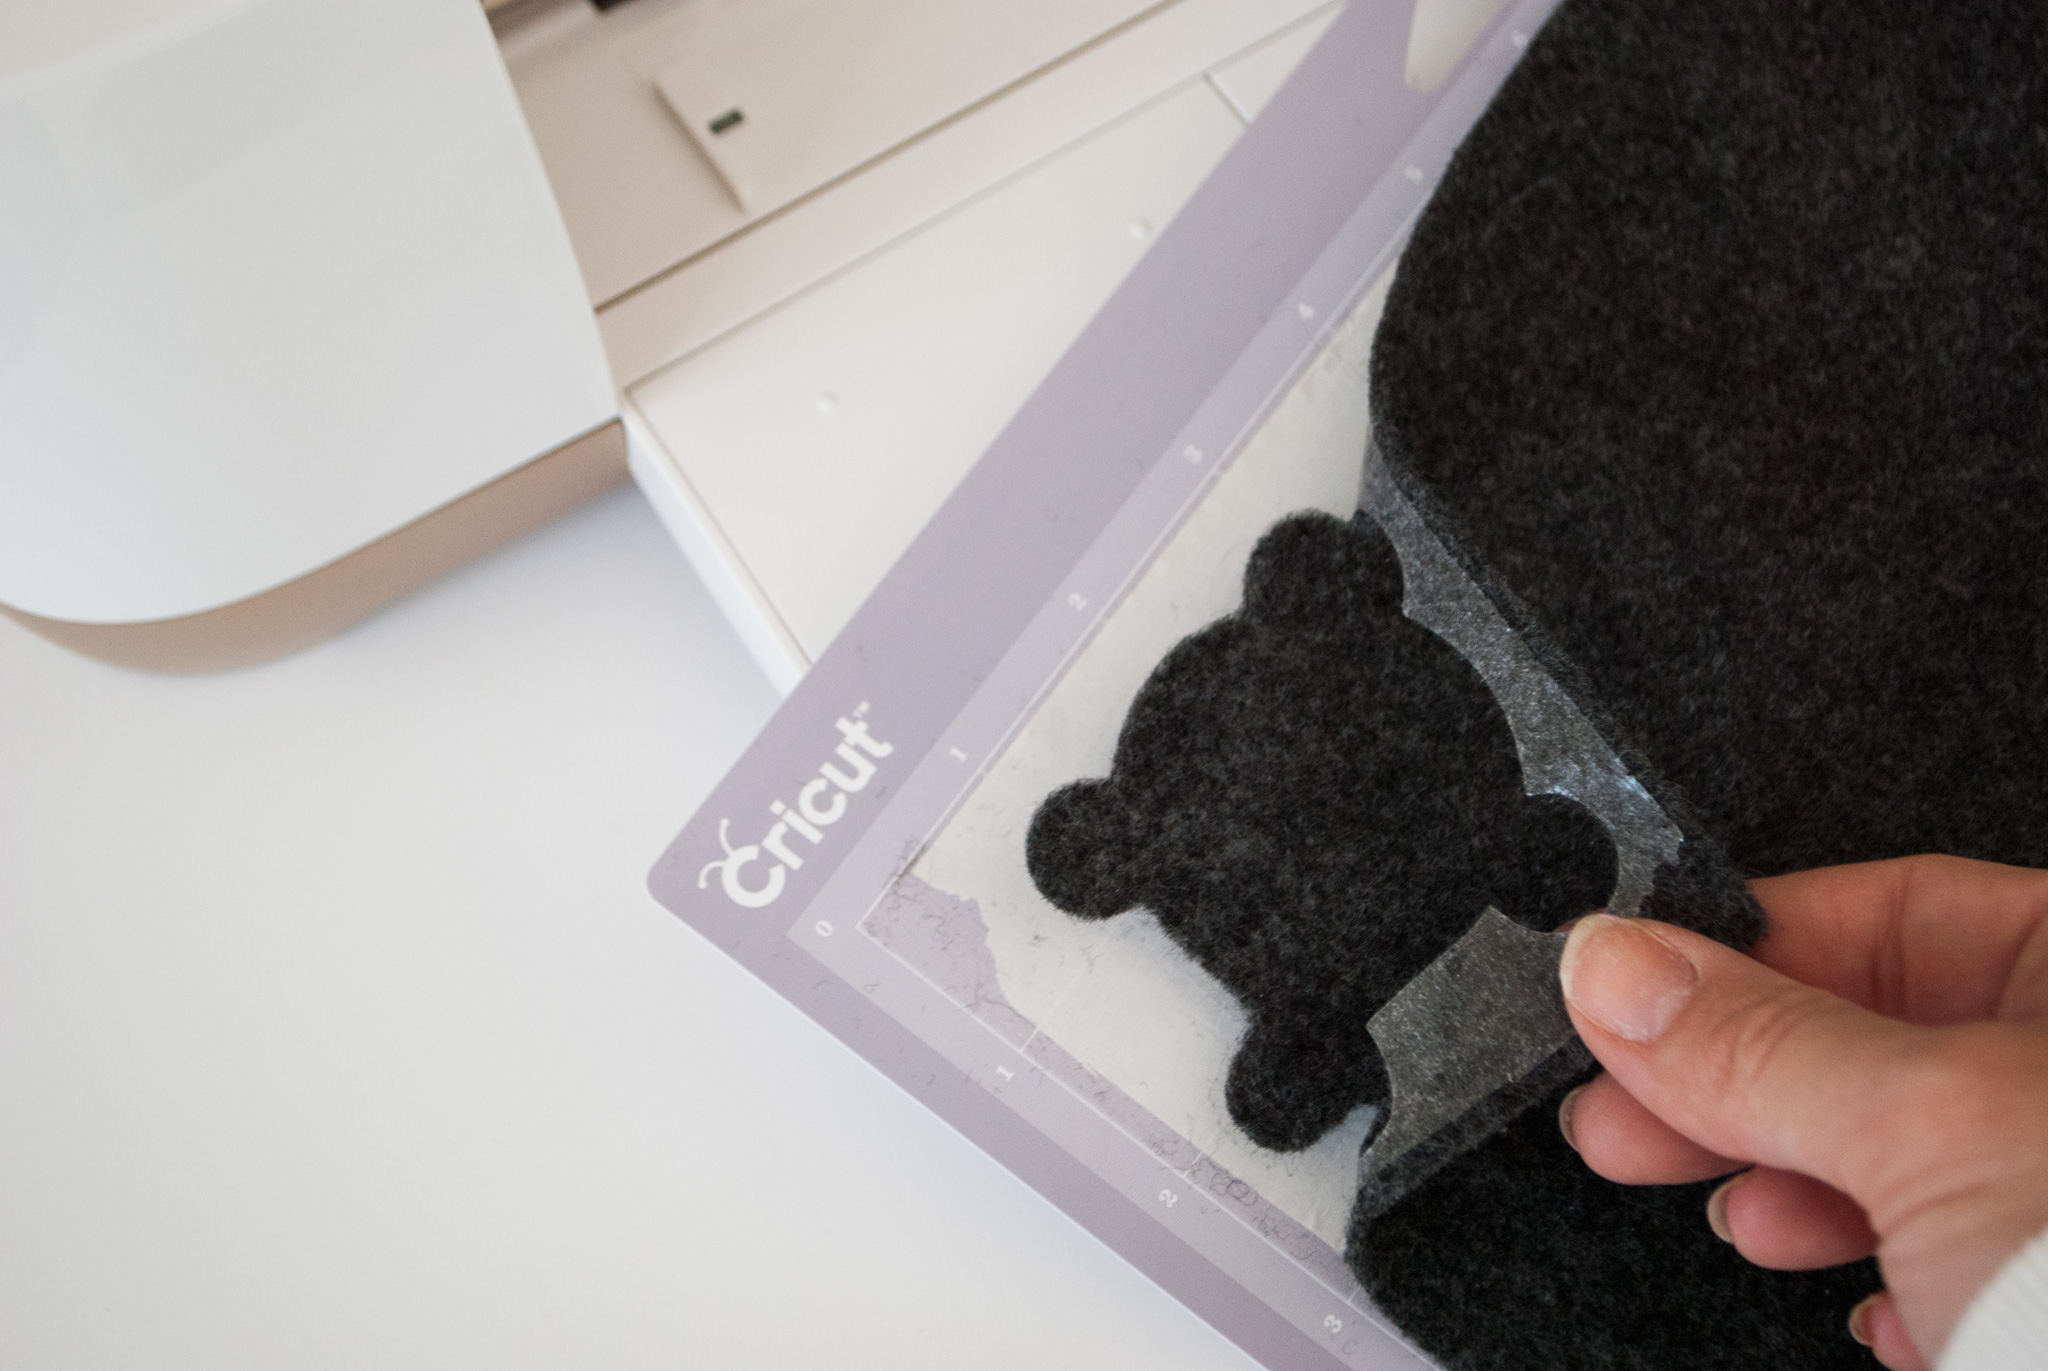
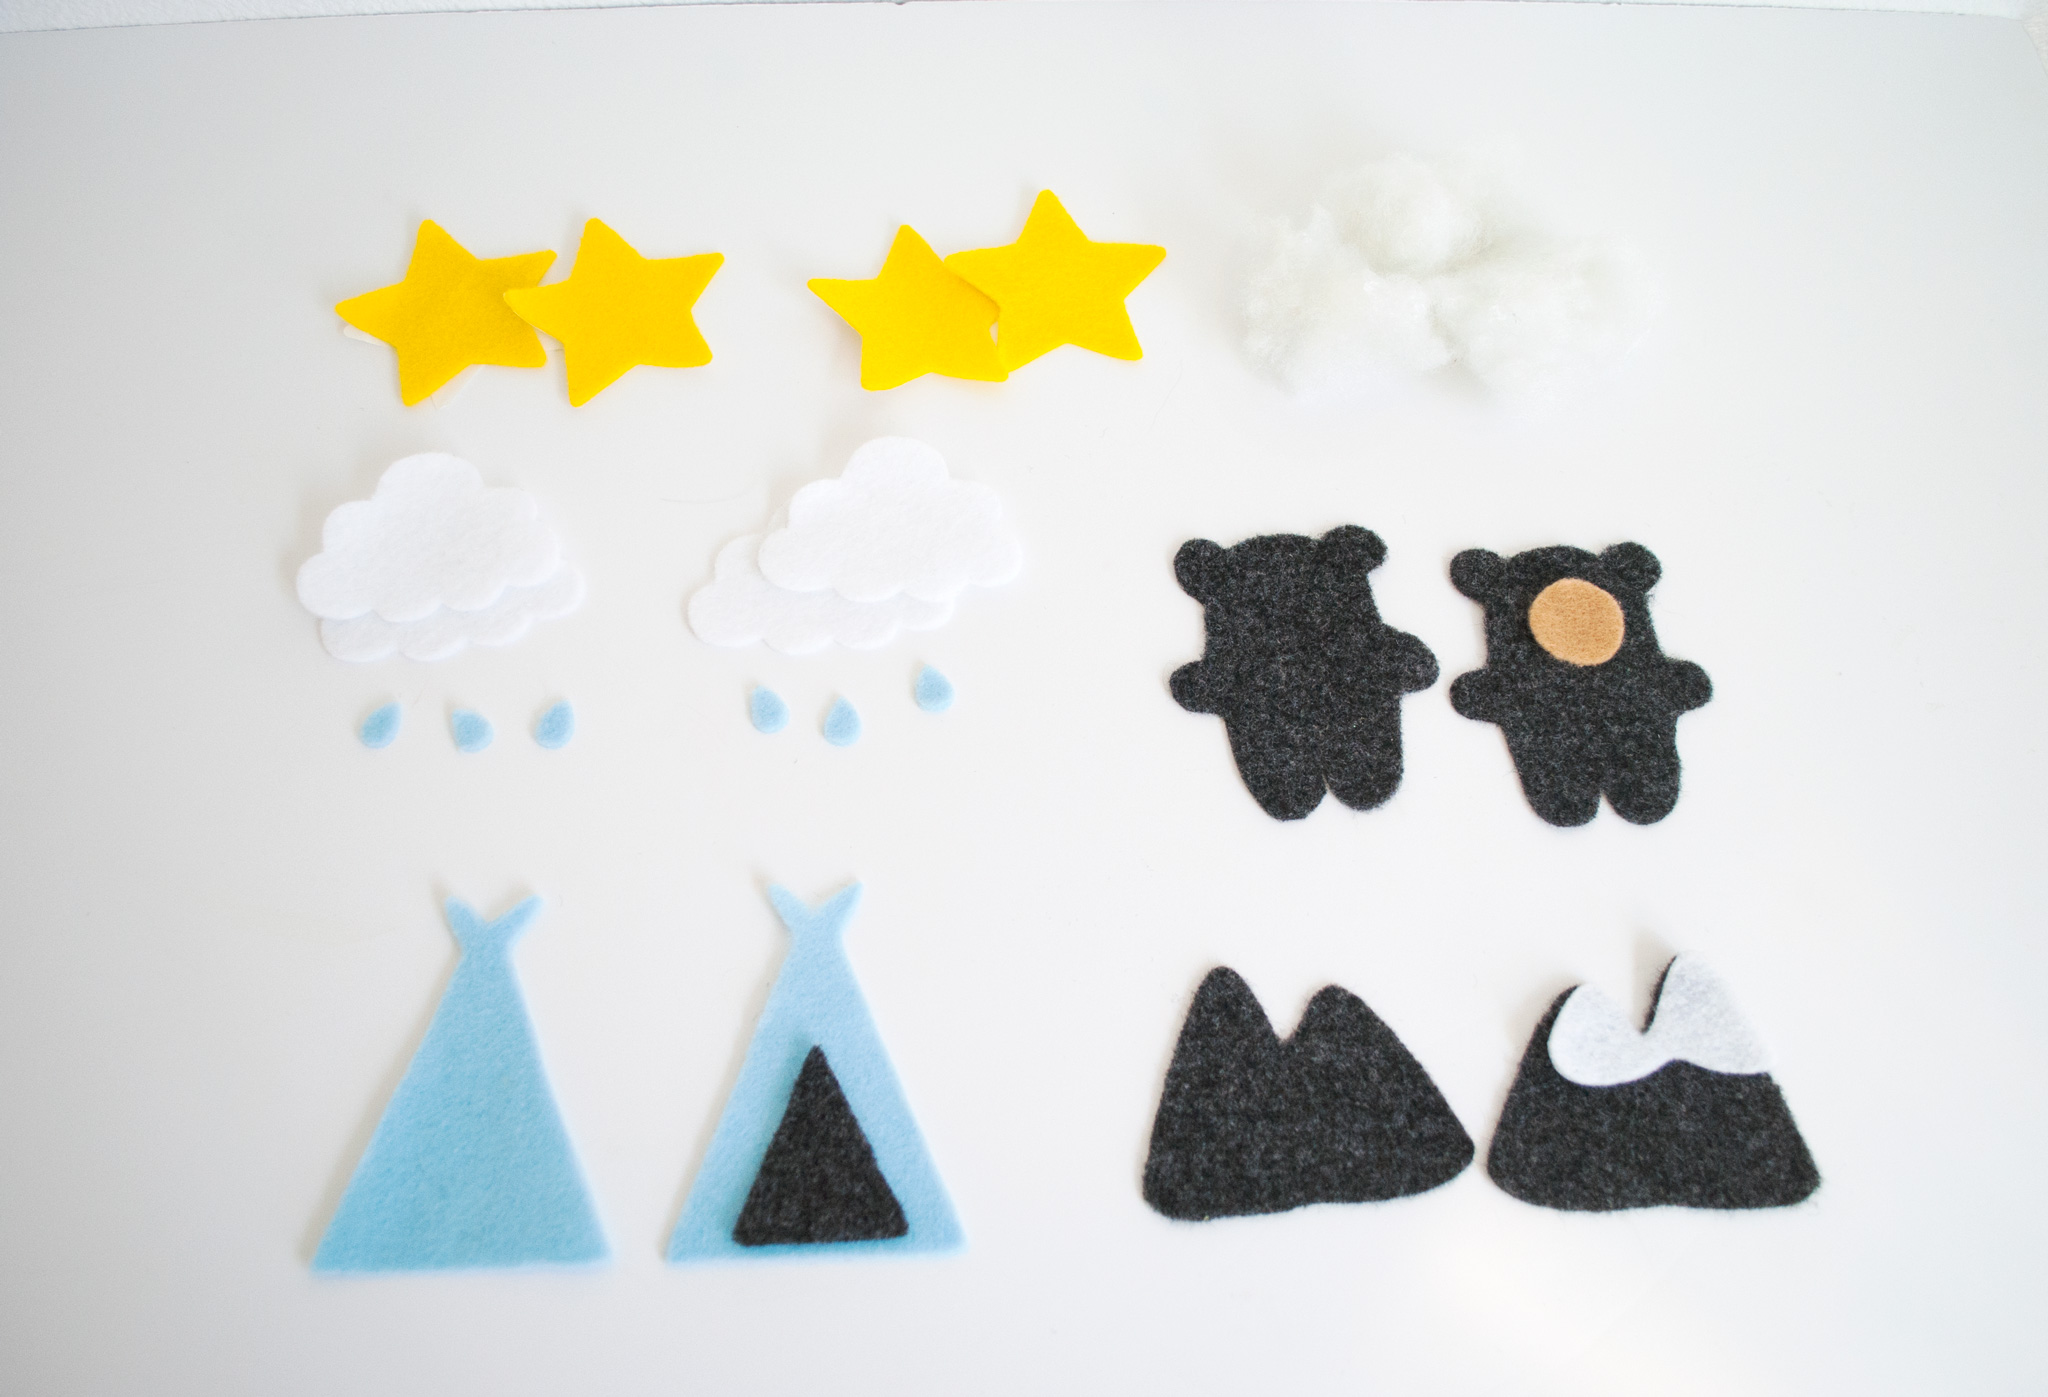
Remove your felt shapes. The back of the Heat ‘n Bond may stick to your mat; just be sure to scrape it off with your Cricut scraping tool before laying down your next piece of felt. When you’re done, you’ll have a back and a front for each shape.
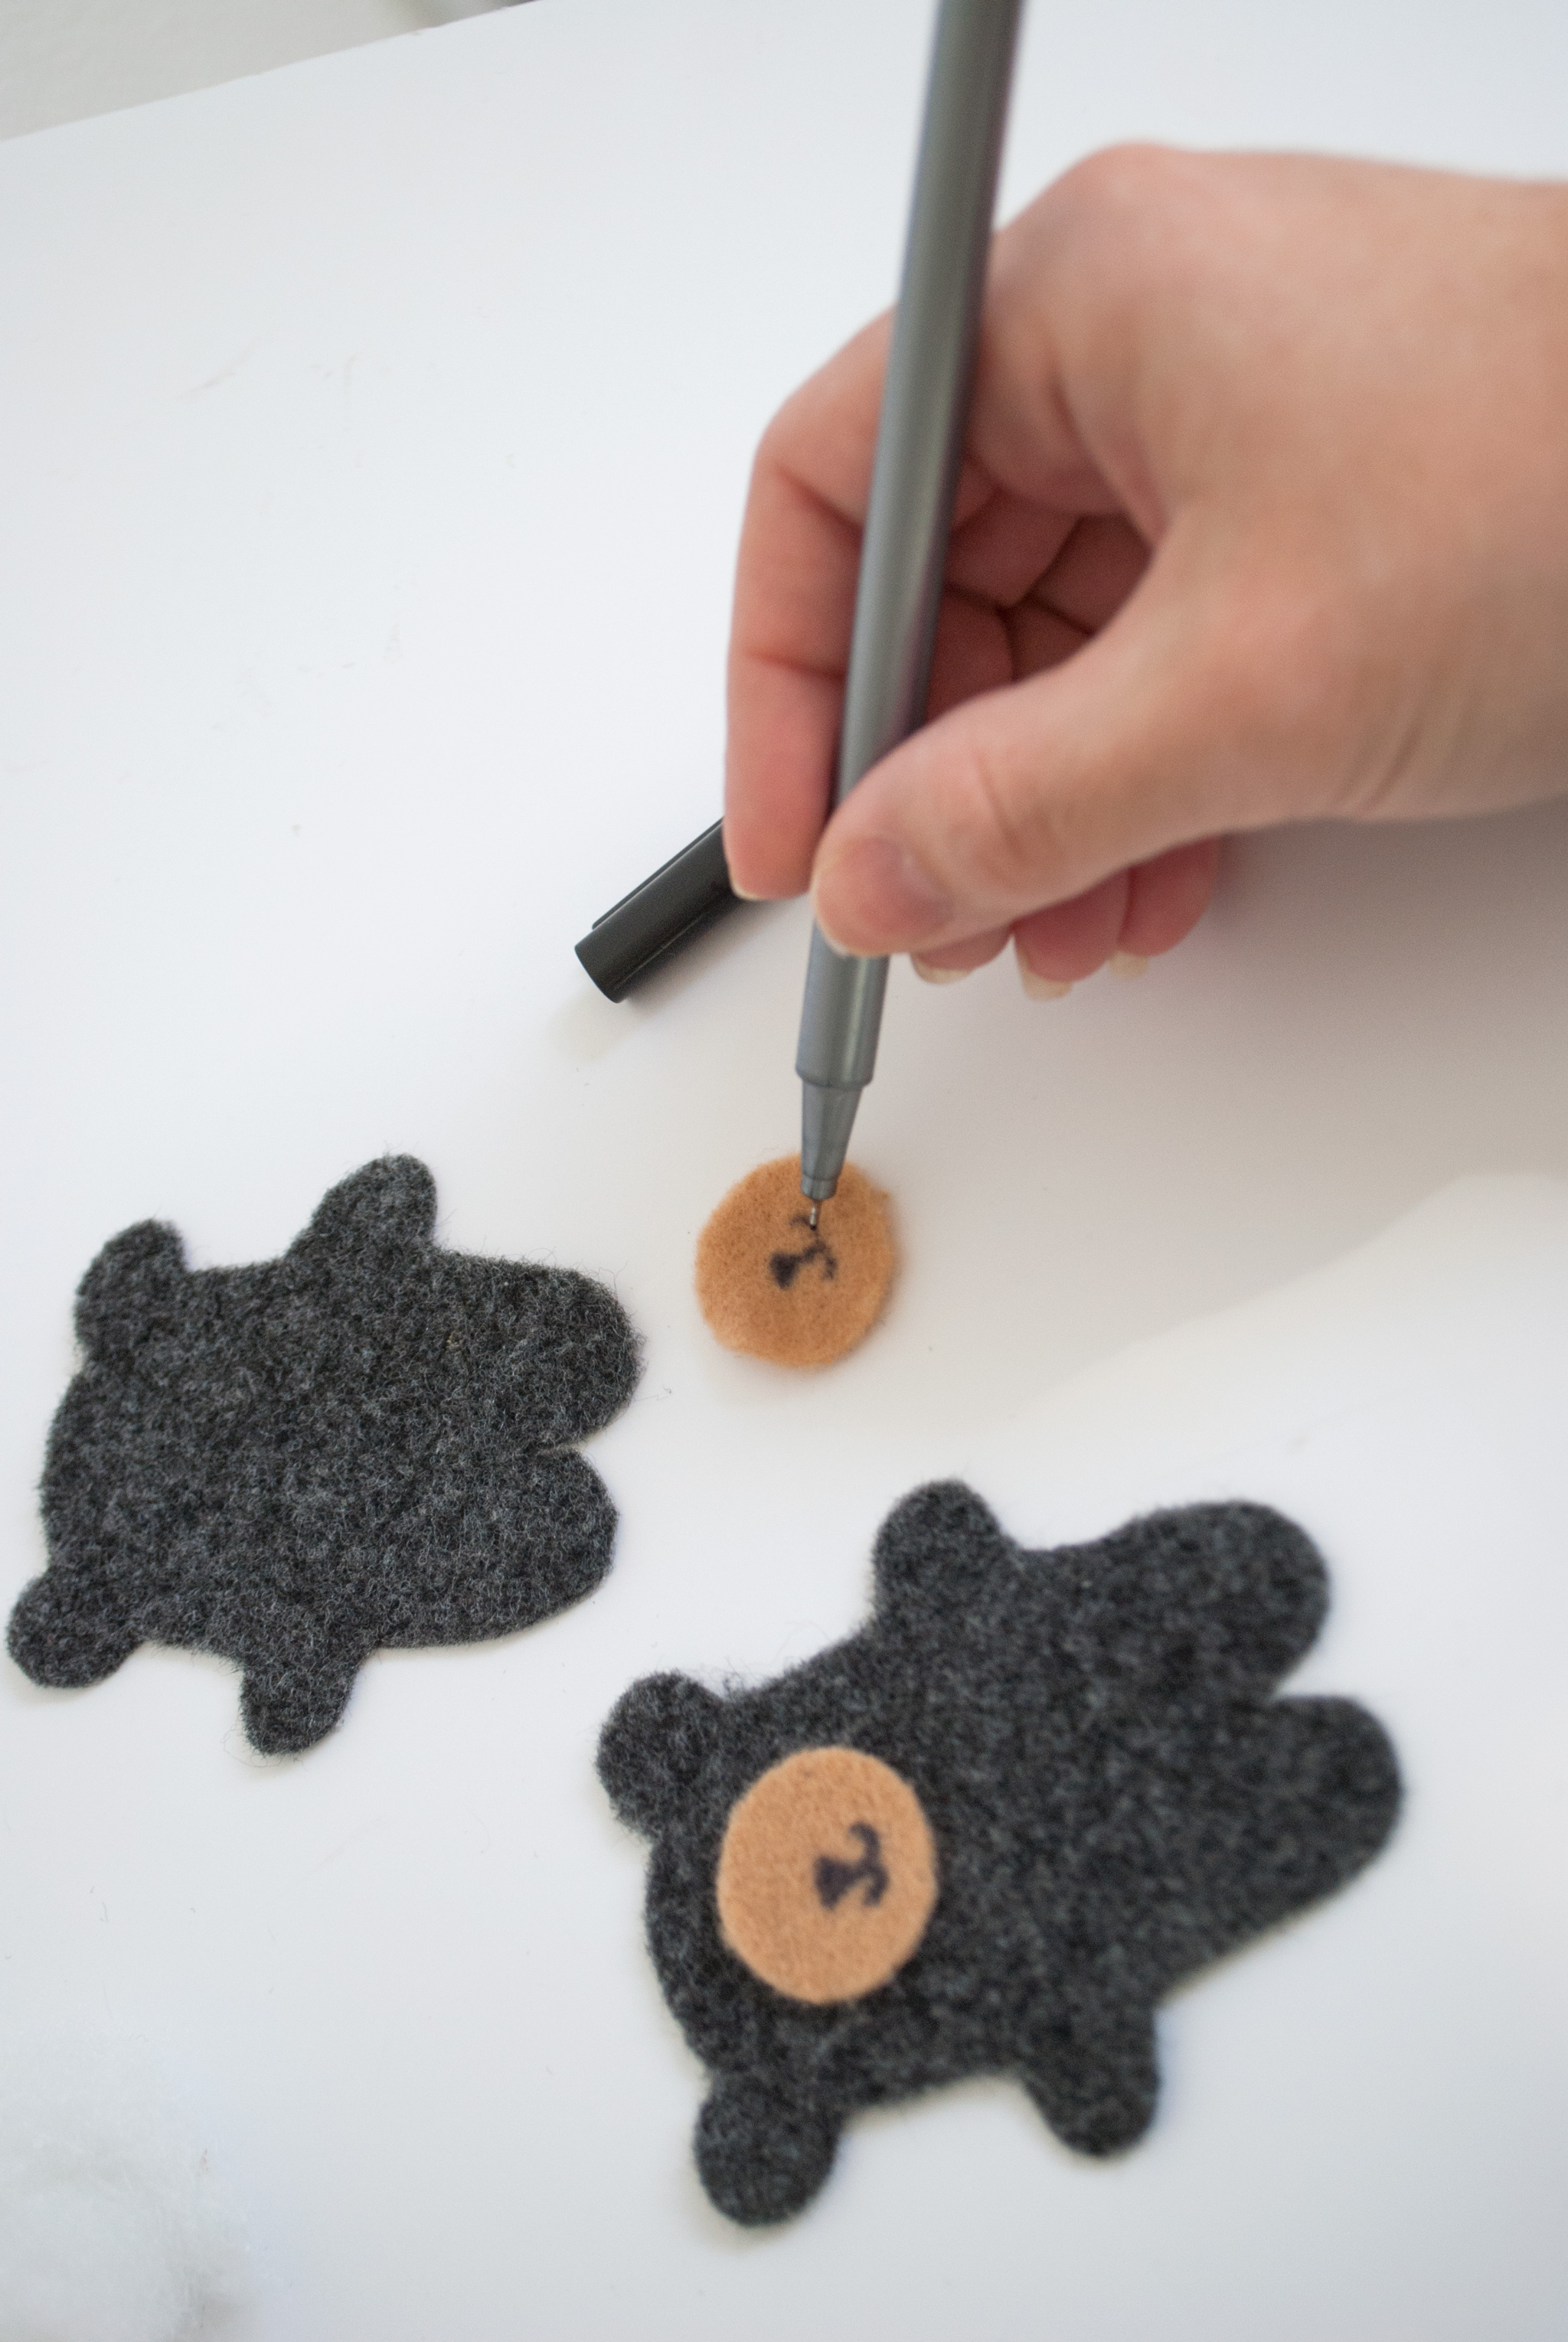
Use your fabric marker to draw on the bear’s nose and smile (or stitch on with thread if your prefer).
Pin the felt circle for the bear’s snout, the teepee door and mountain snow onto the coordinating shapes. Stitch buttons or insert brads for the bear’s eyes on the bear shape. I used black scrapbooking brads I had on hand and just pushed them through the felt.
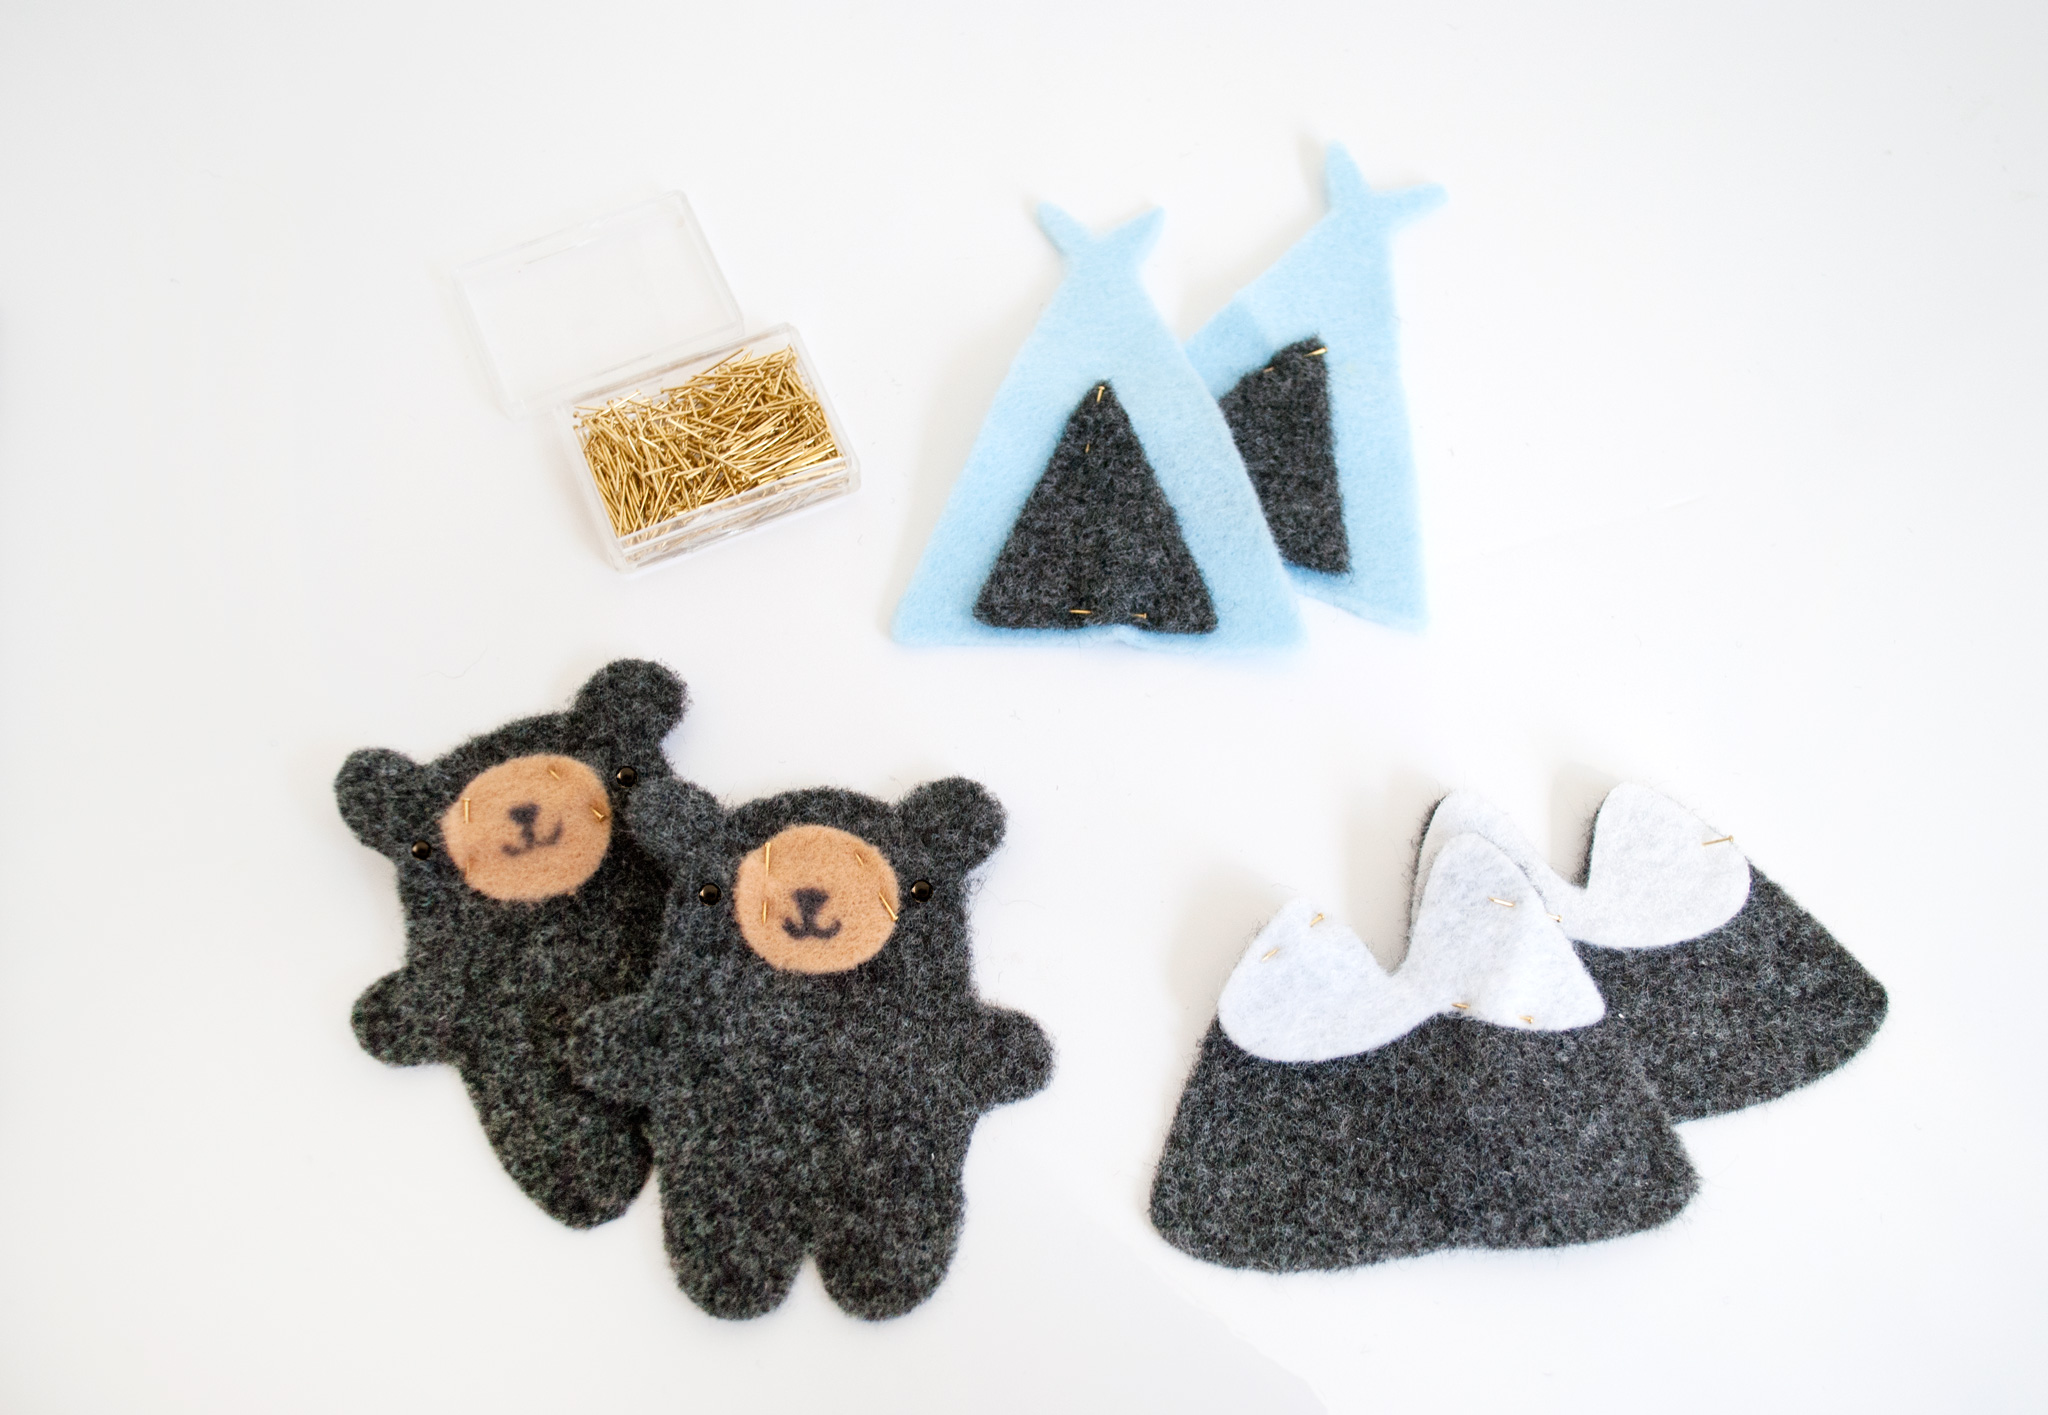
Match the two sides of each shape and pin around the edges, leaving a gap to insert batting.
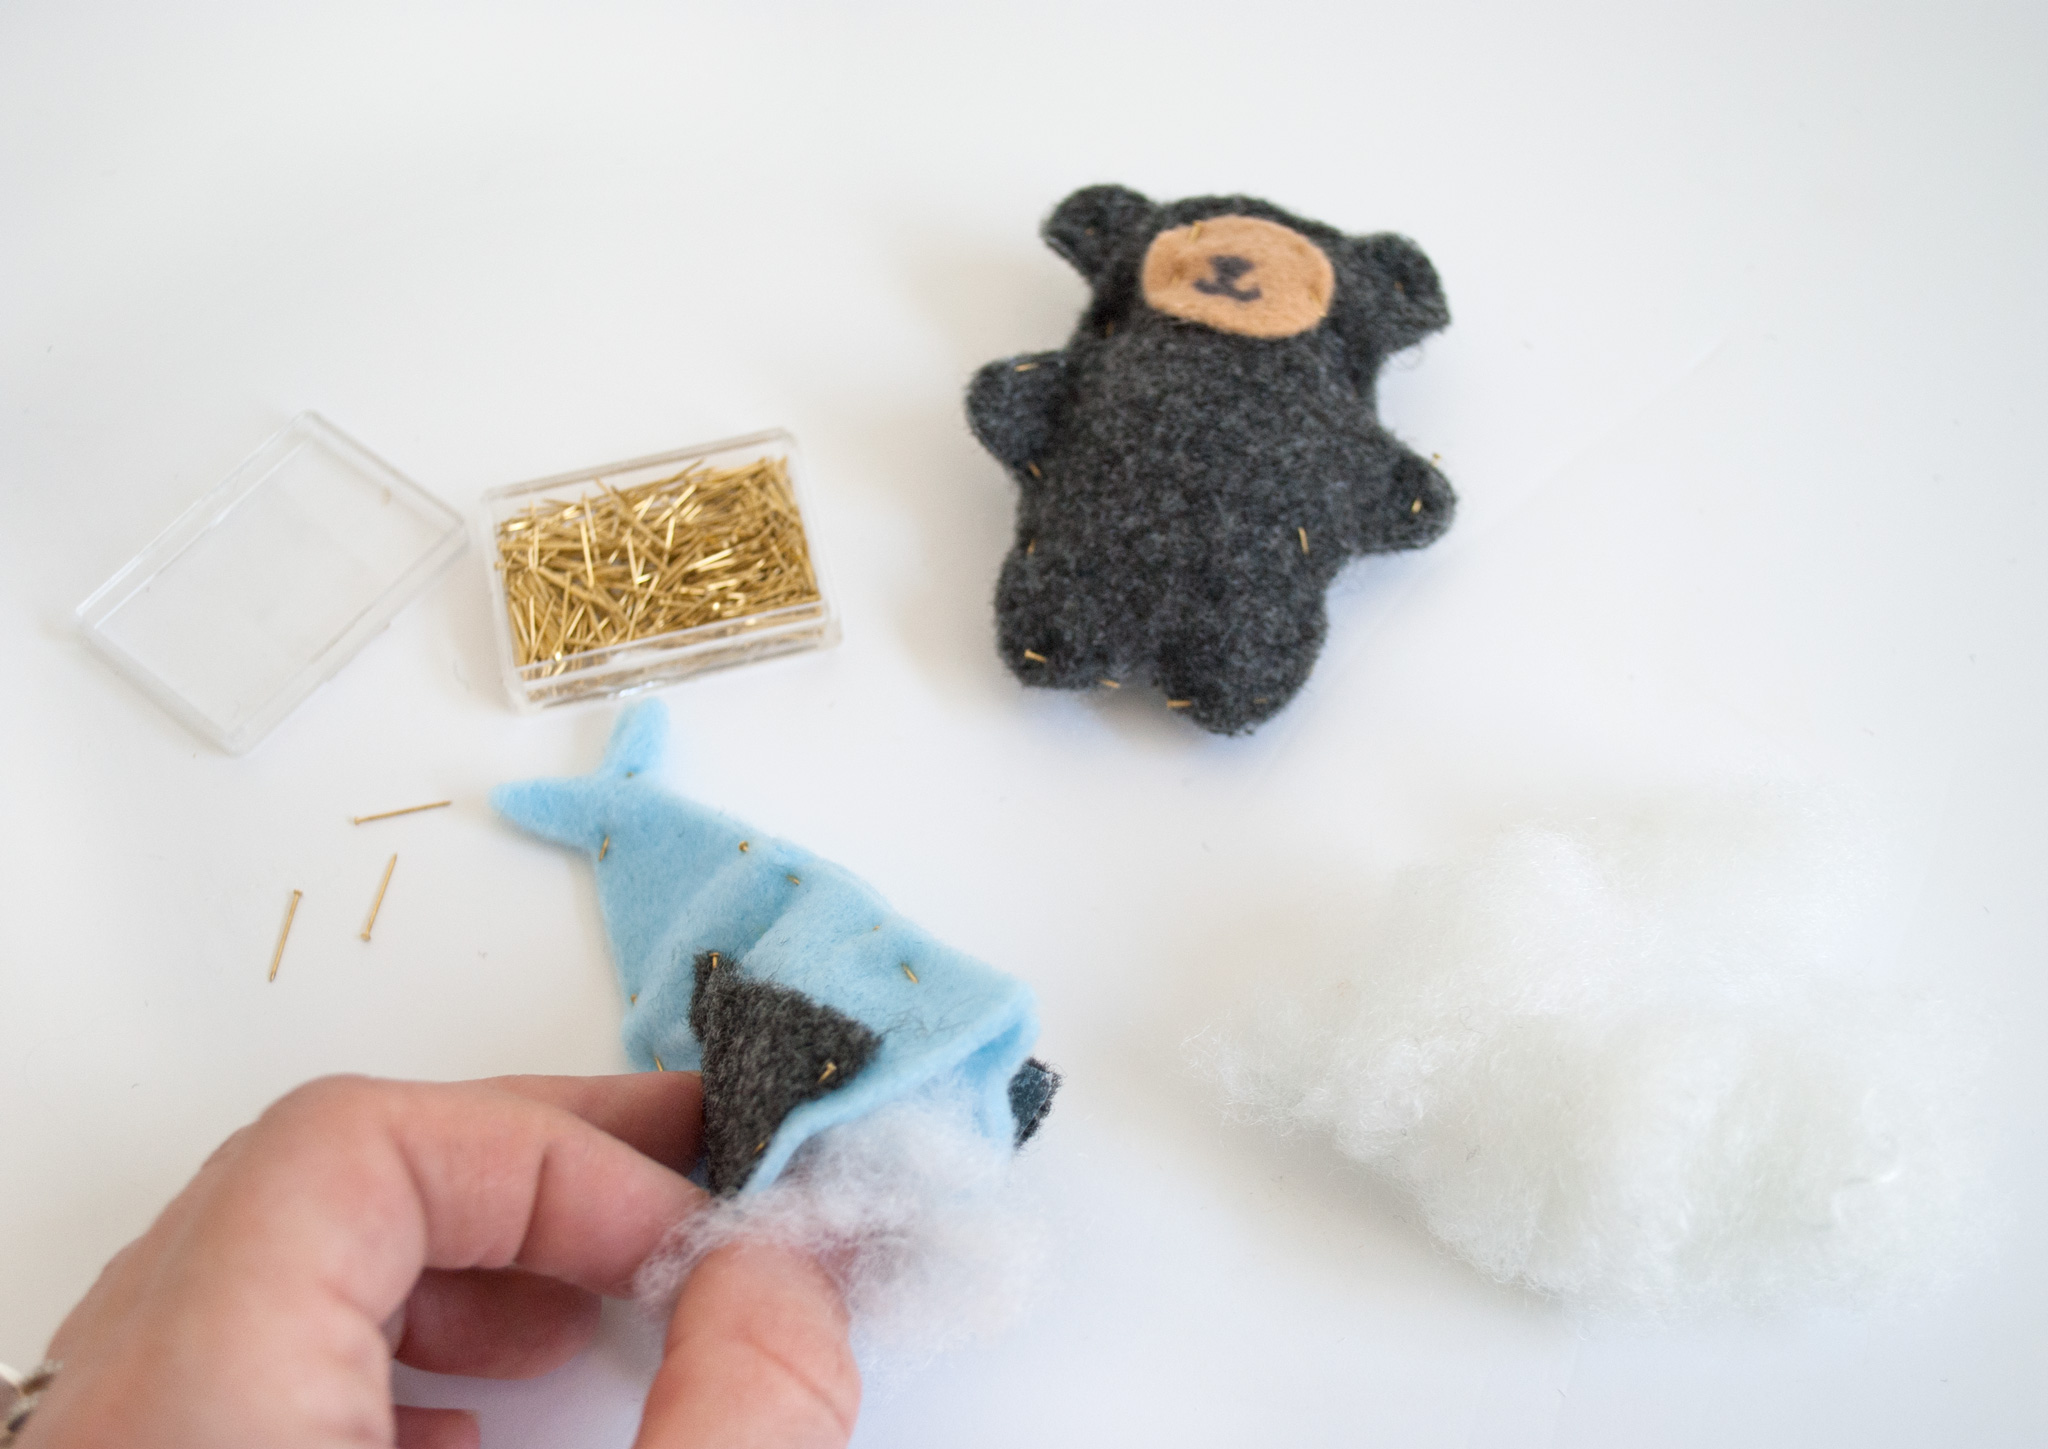
Stuff the inside with batting. Use a thin object to get the batting in more easily (the Cricut tweezers worked great for this!). Pin each character closed once it’s filled with batting.
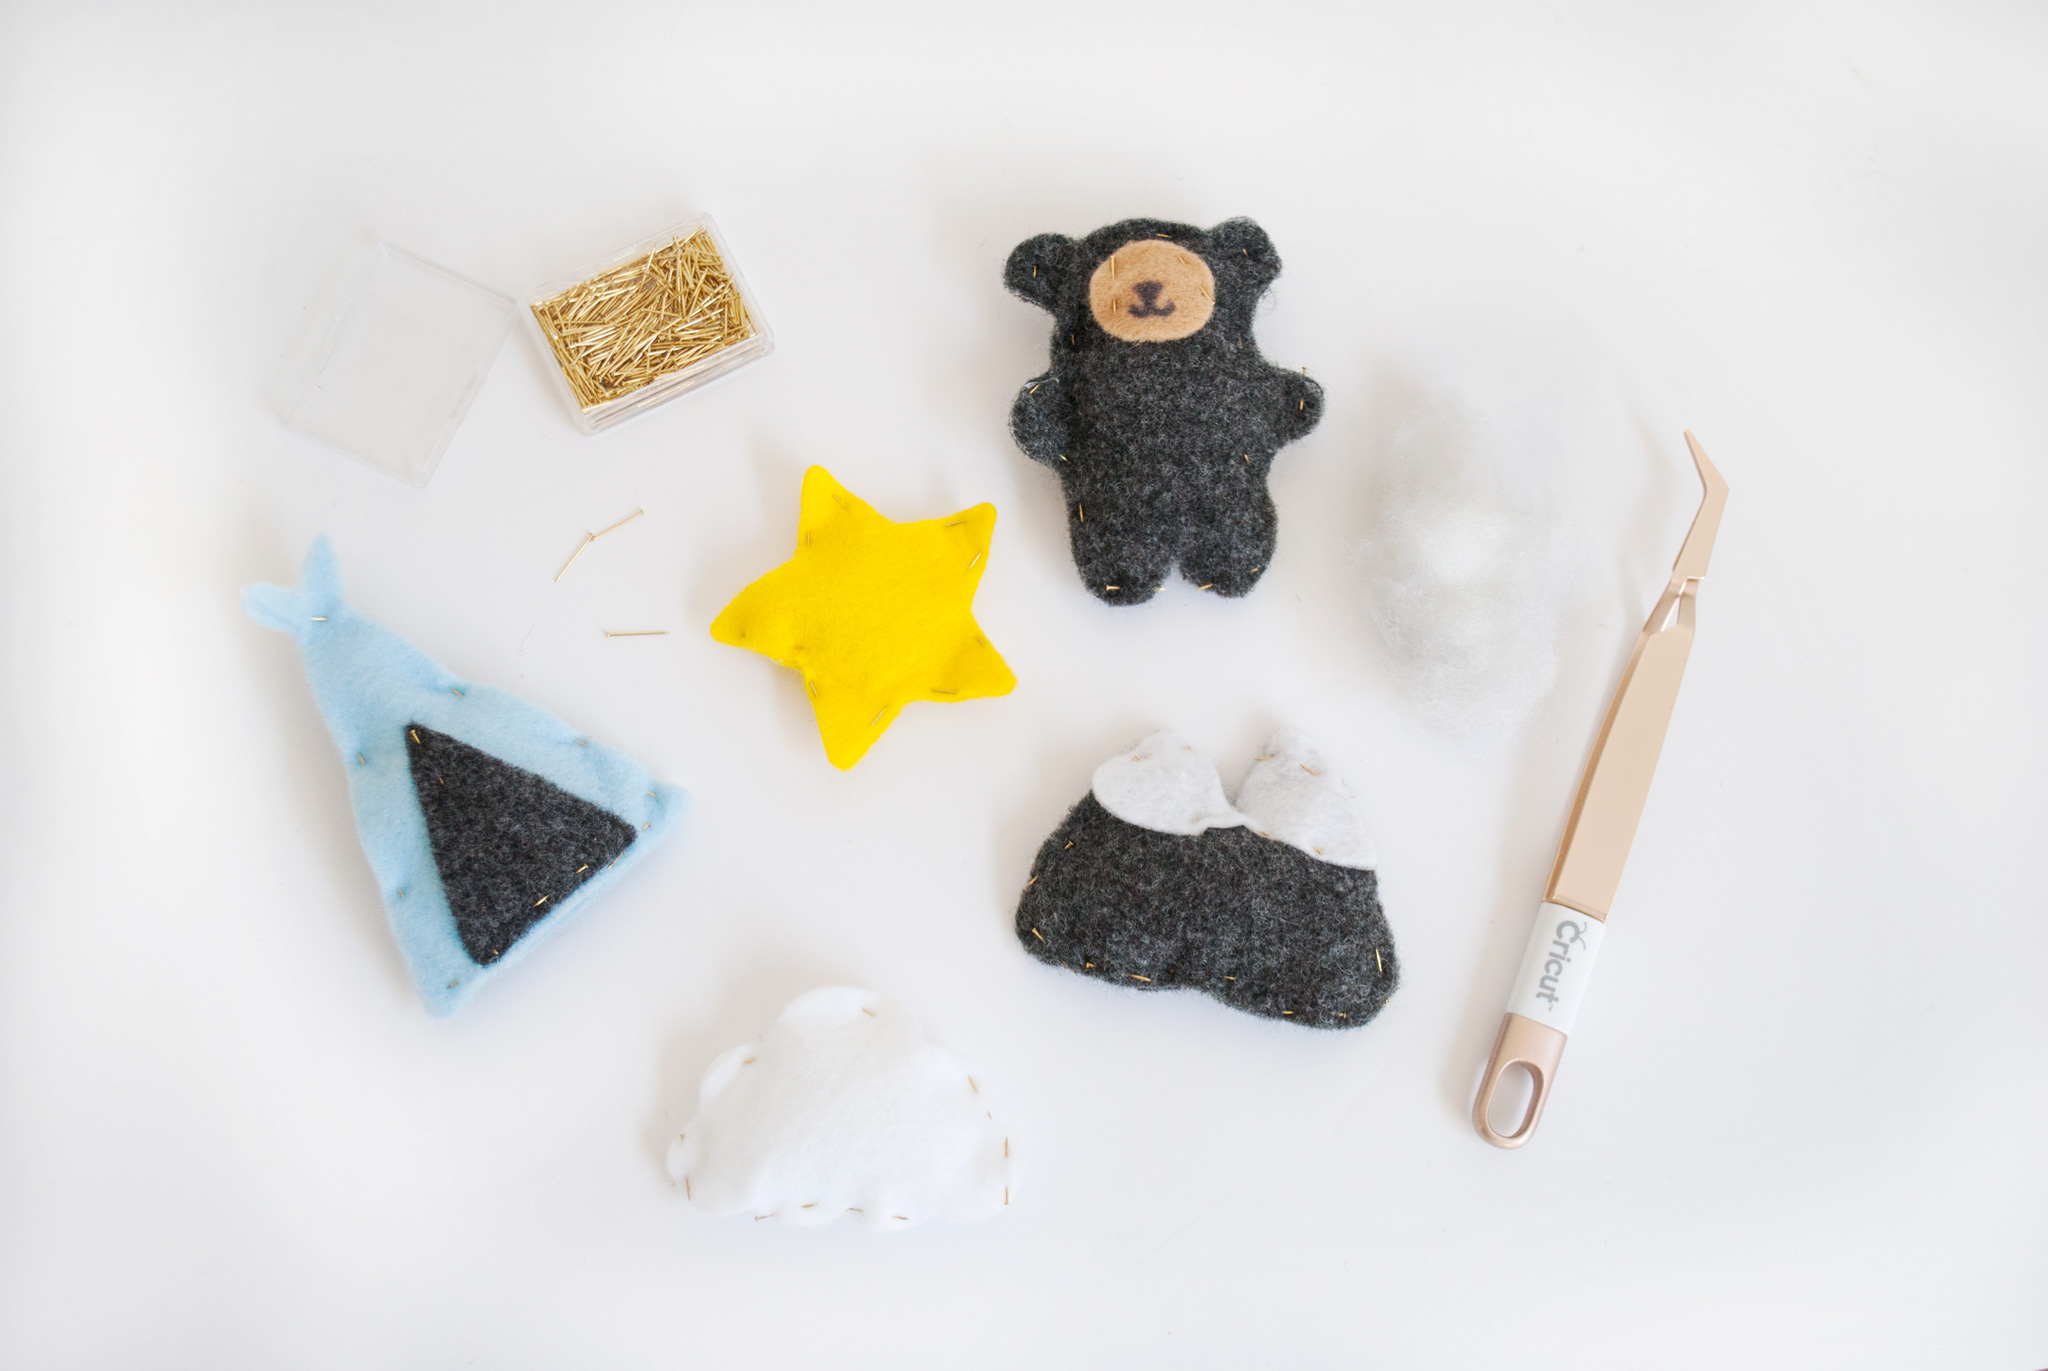
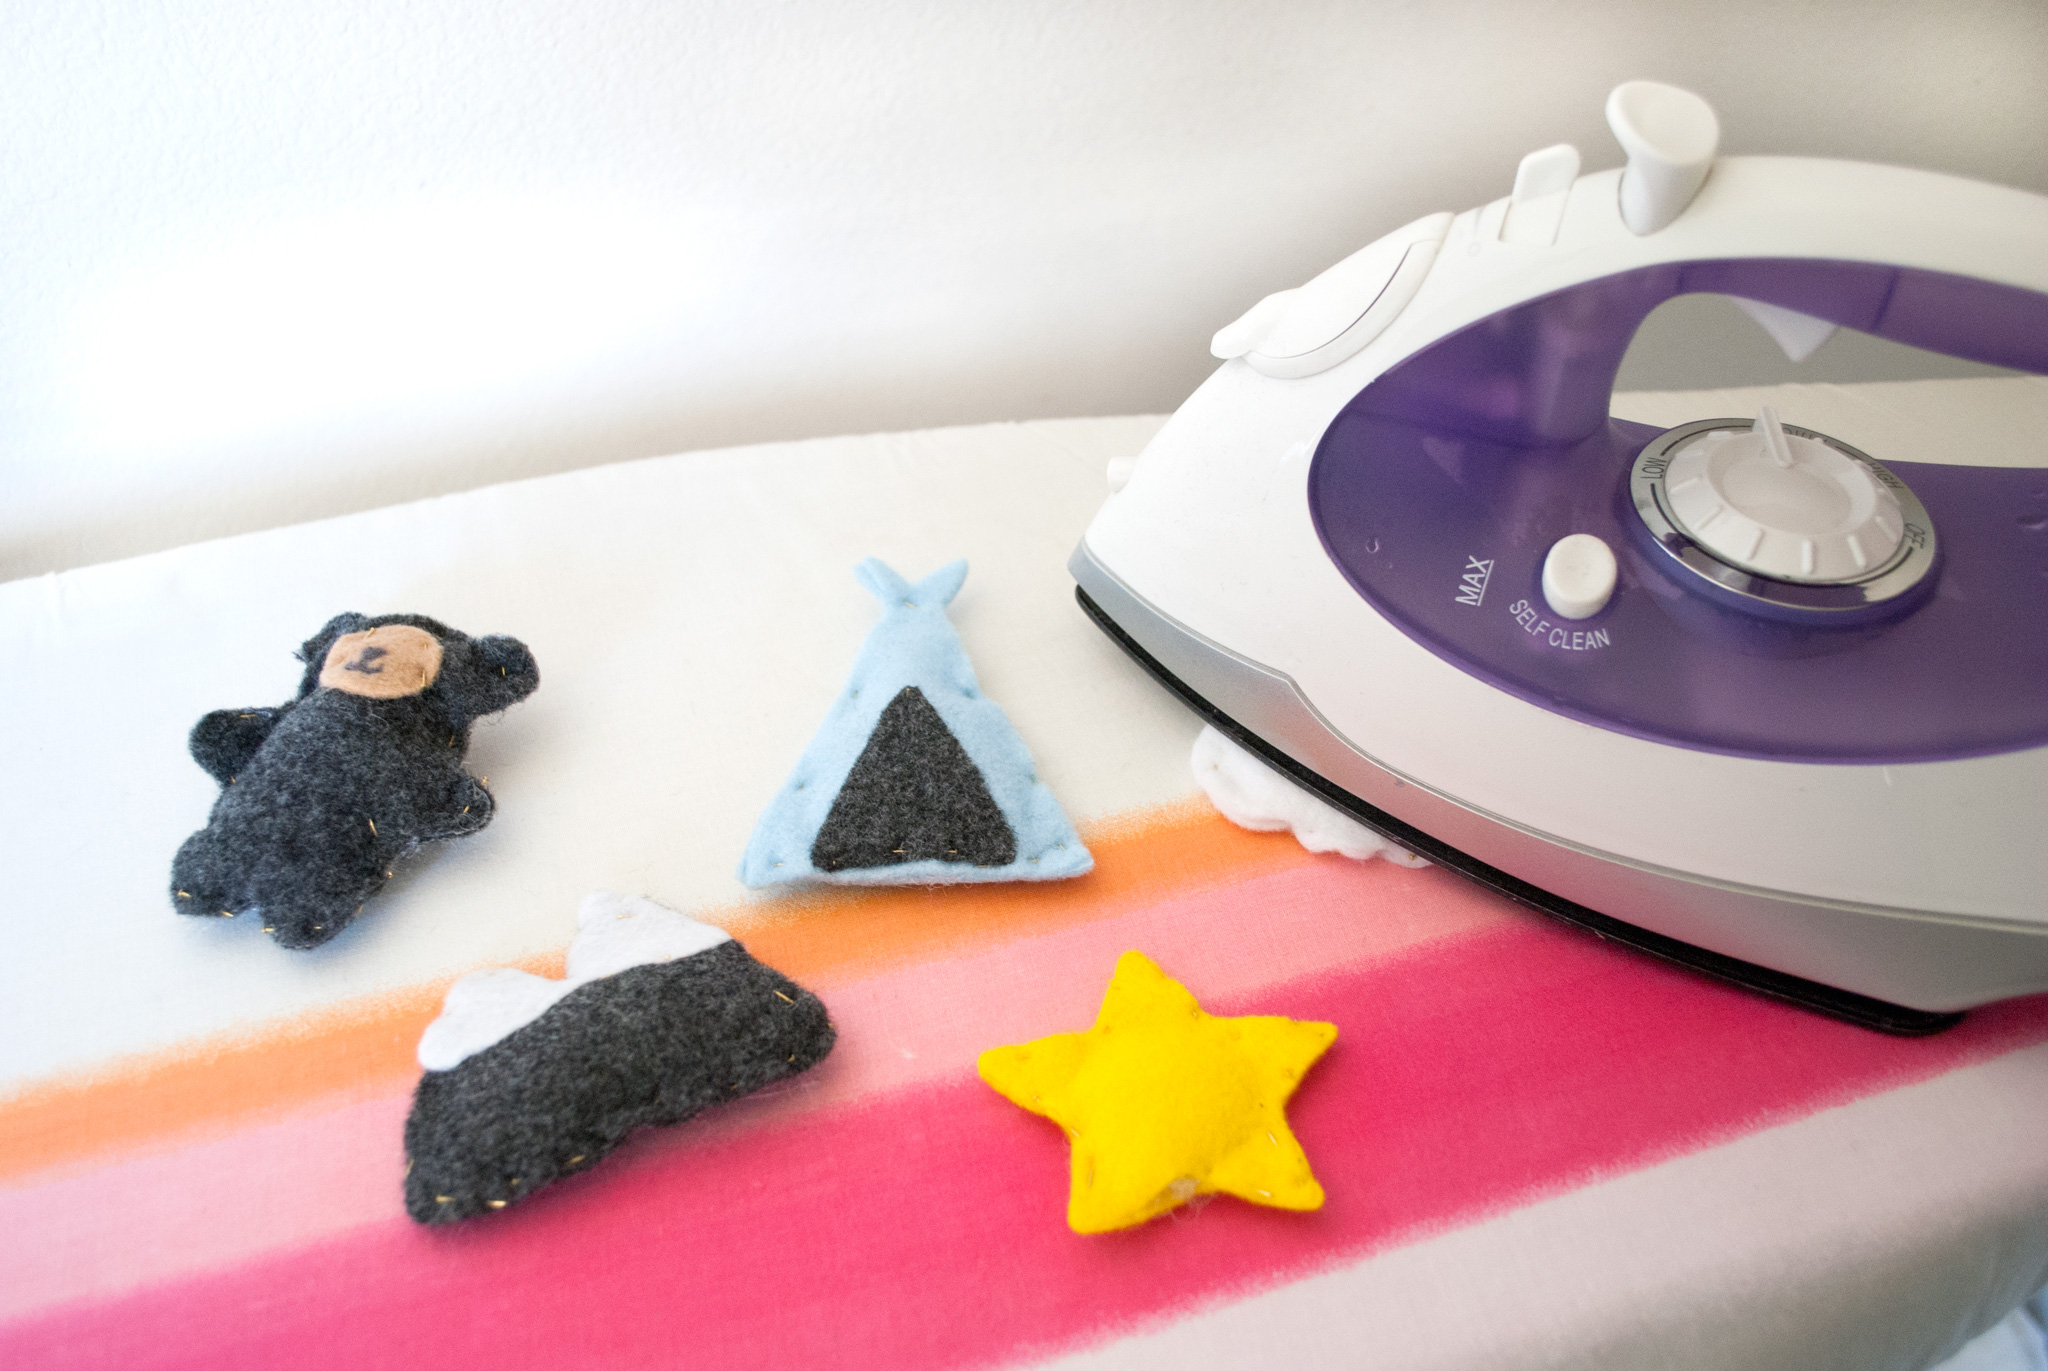
Iron each character to bond the two sides with the Heat ‘n Bond. Remove your pins once cooled.
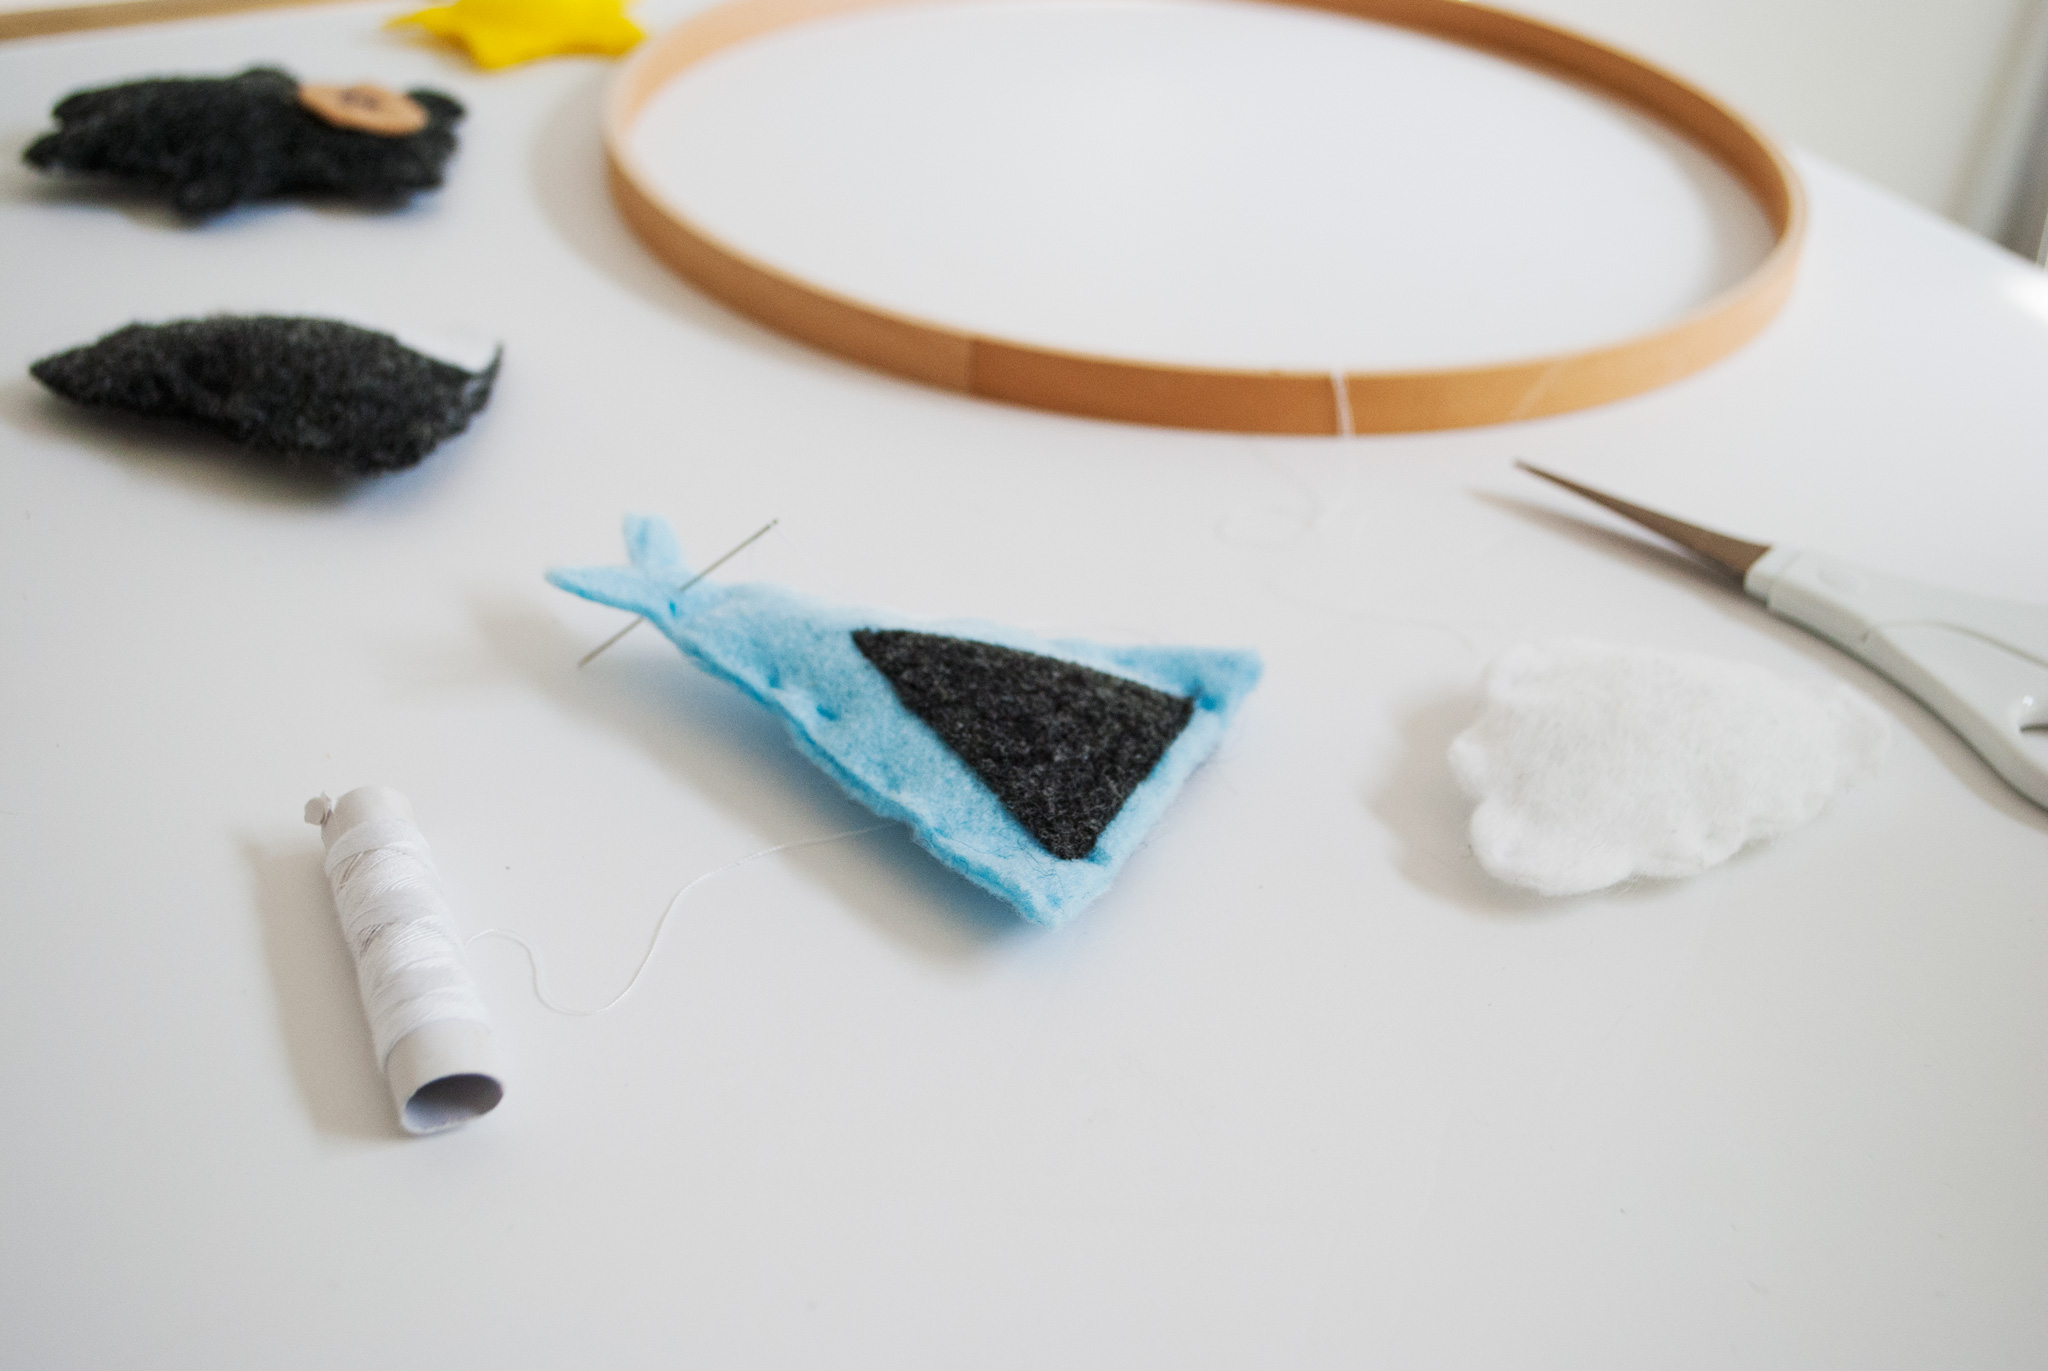
Using a needle, thread the characters on lengths of white string (I used pieces about 6″ long). You can attach the raindrops to the cloud with thread at this point too. Tie knots to anchor each character. Attach each character to the embroidery hoop, spacing them out evenly.
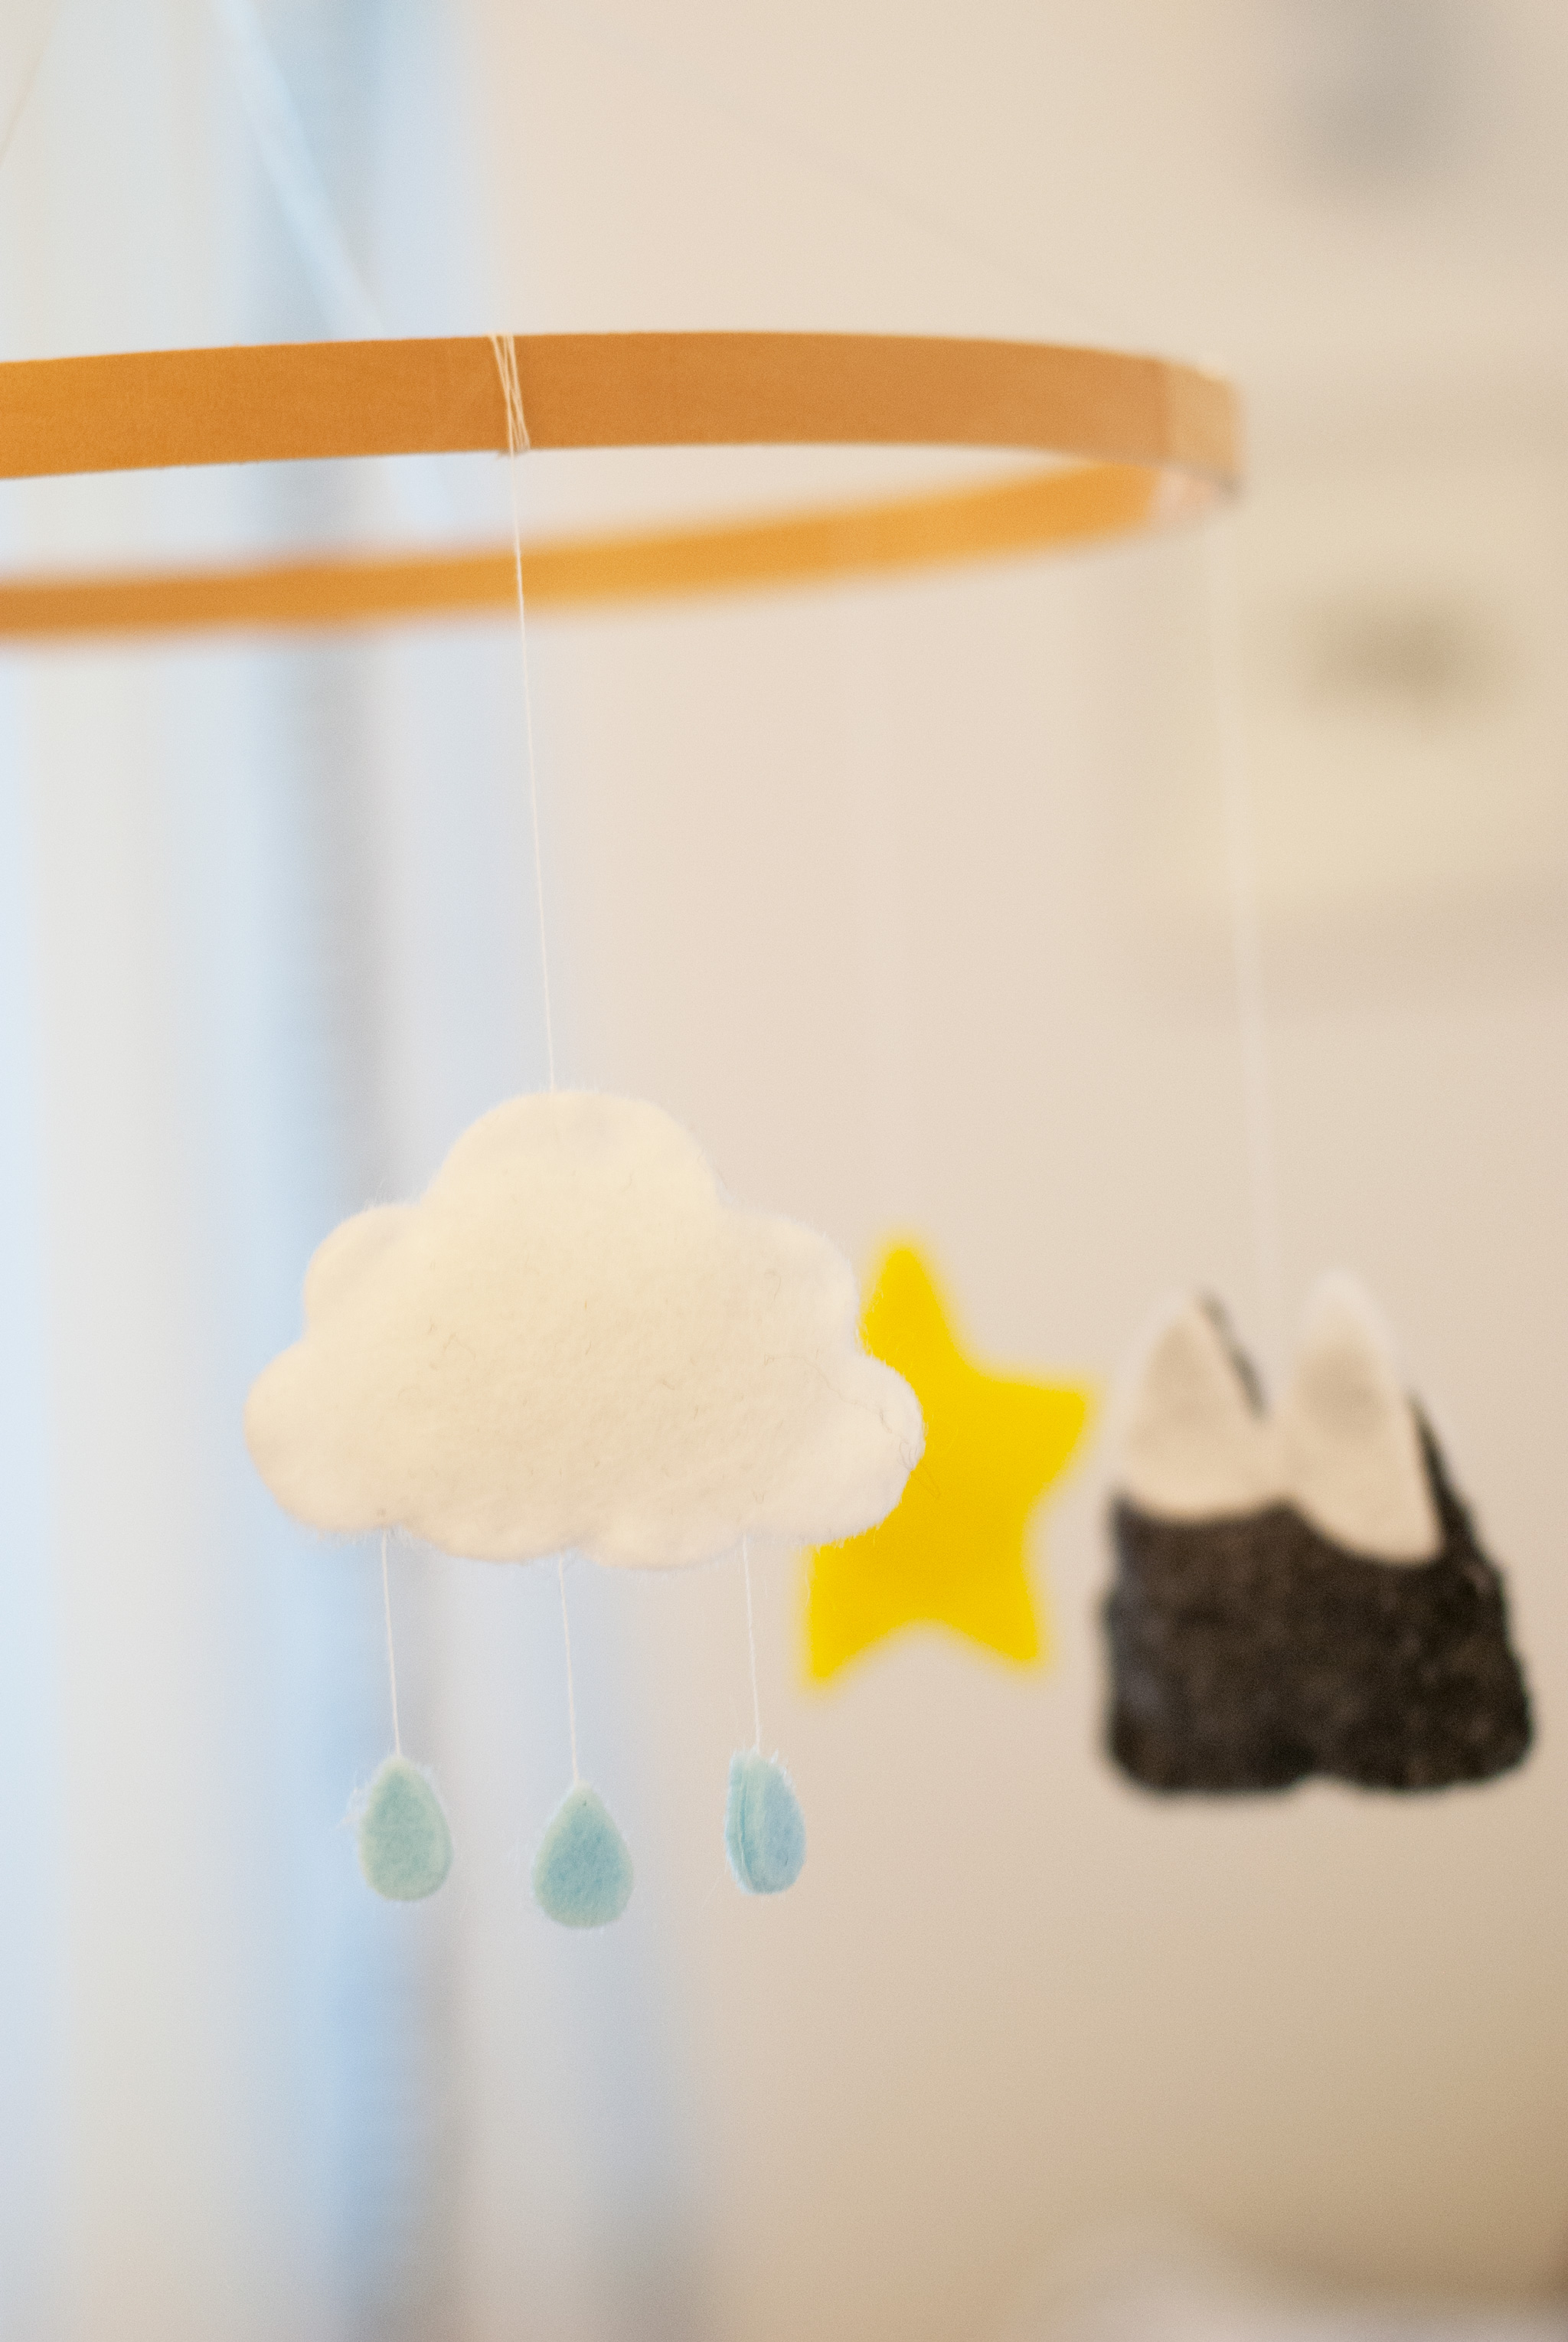
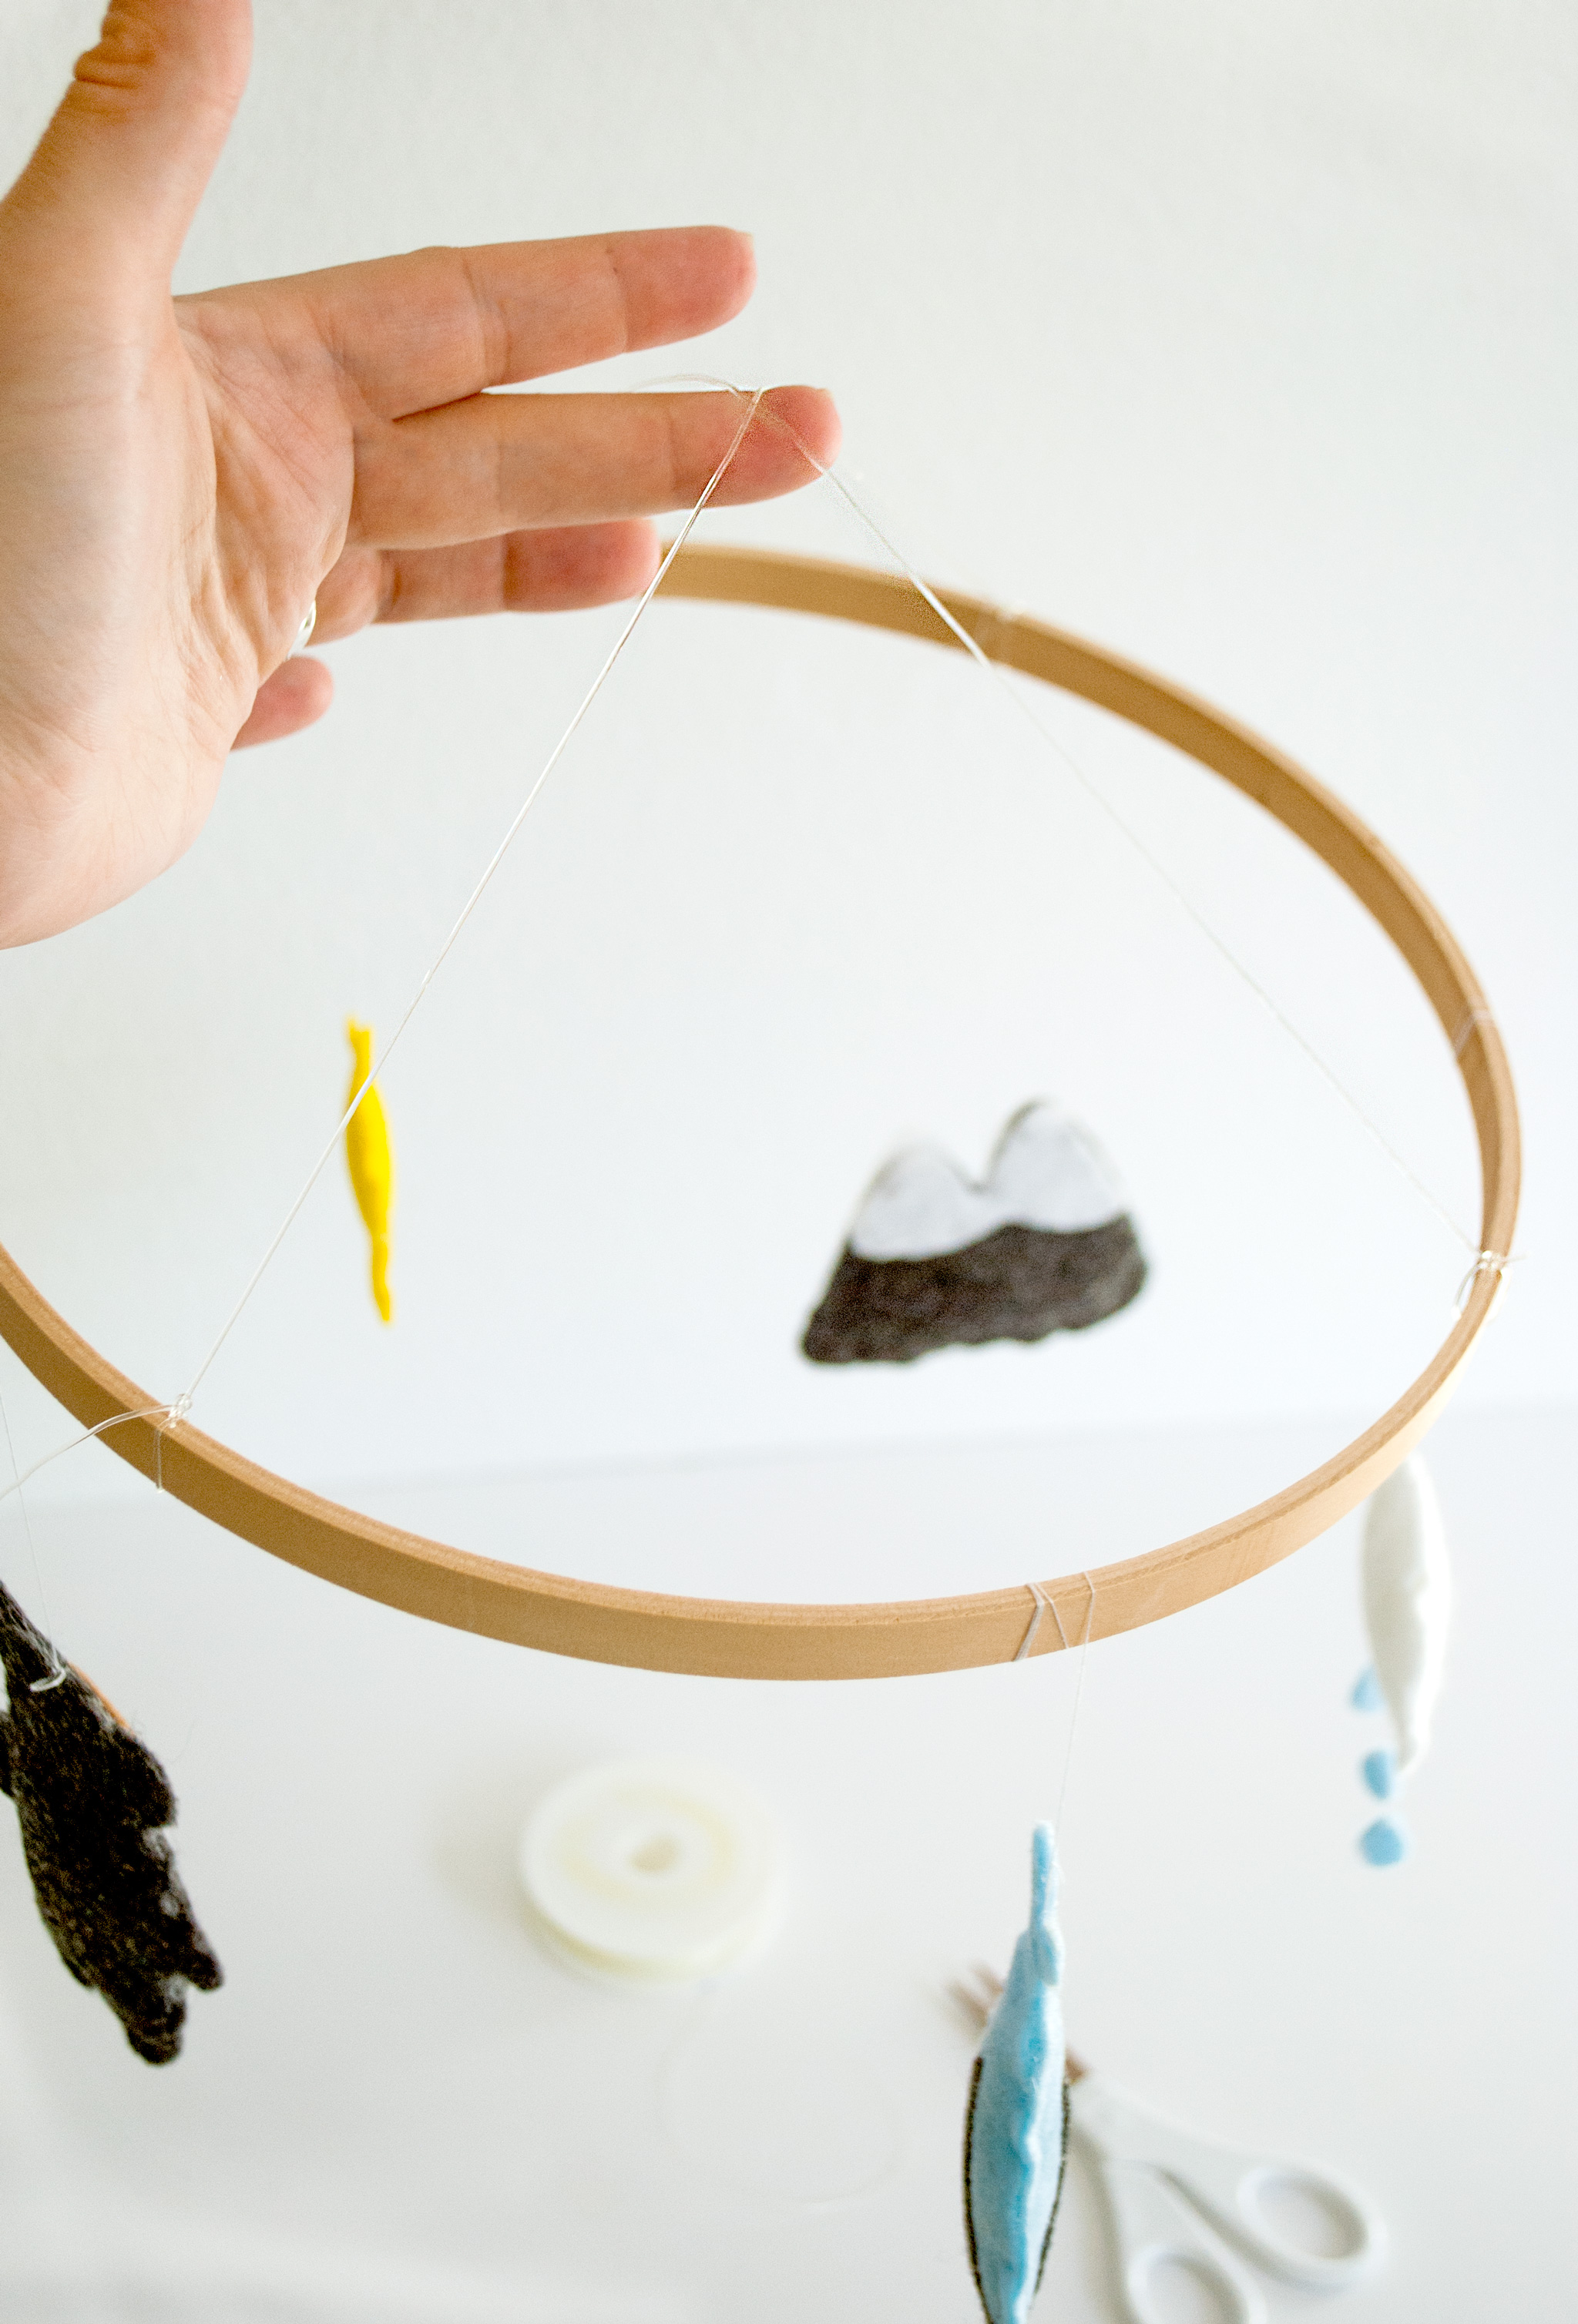
To hang the mobile, cut two lengths of monofilament to tie across the top of the embroidery hoop creating an X, and cut one more long piece to tie at the center of those two pieces to attach to the ceiling (see pictures above and below). Adjust the lengths until the center hangs where you want it. Test out the mobile at this point by suspending it from the center loop. If it needs to be leveled out, move the characters around until it’s balanced. Once you are happy with the placement, put a small drop of hot glue on each knot you made. You want to make sure everything is very secure before hanging over baby.
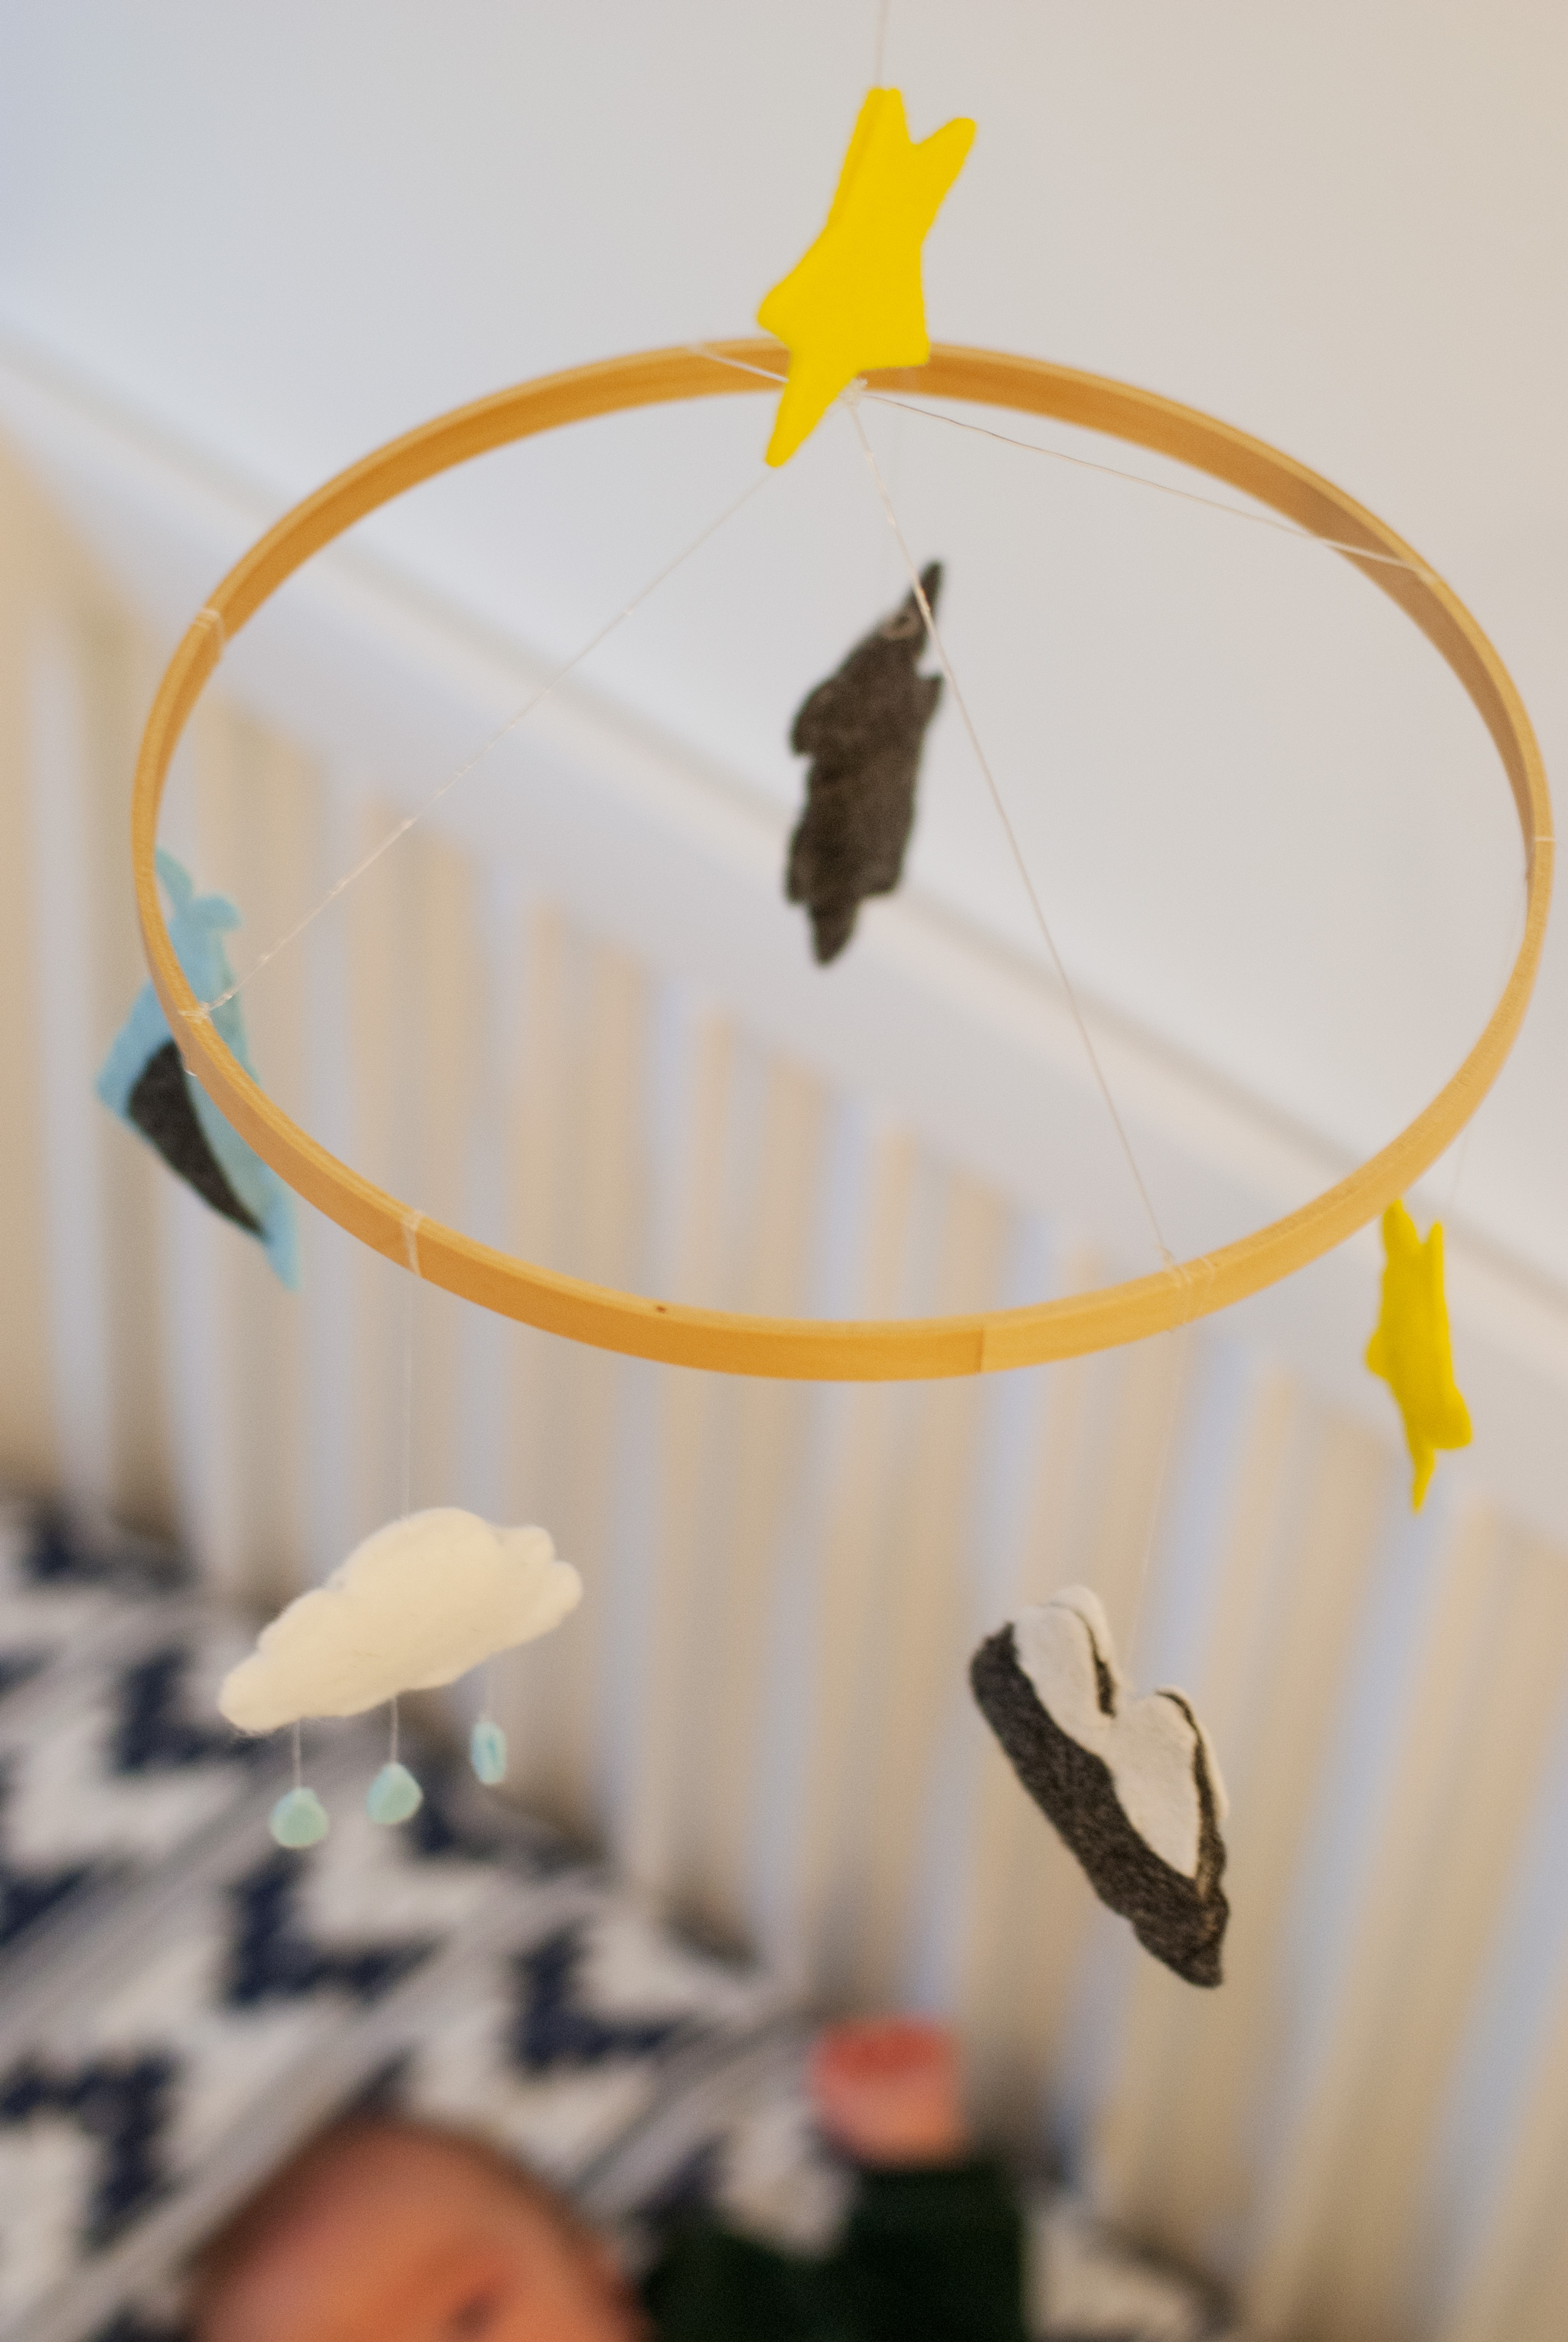
And there you have it! Hang your mobile using the long piece of clear monofilament to attach it to a hook on the ceiling above your crib for baby to enjoy. Make sure it always remains out of reach of your baby.
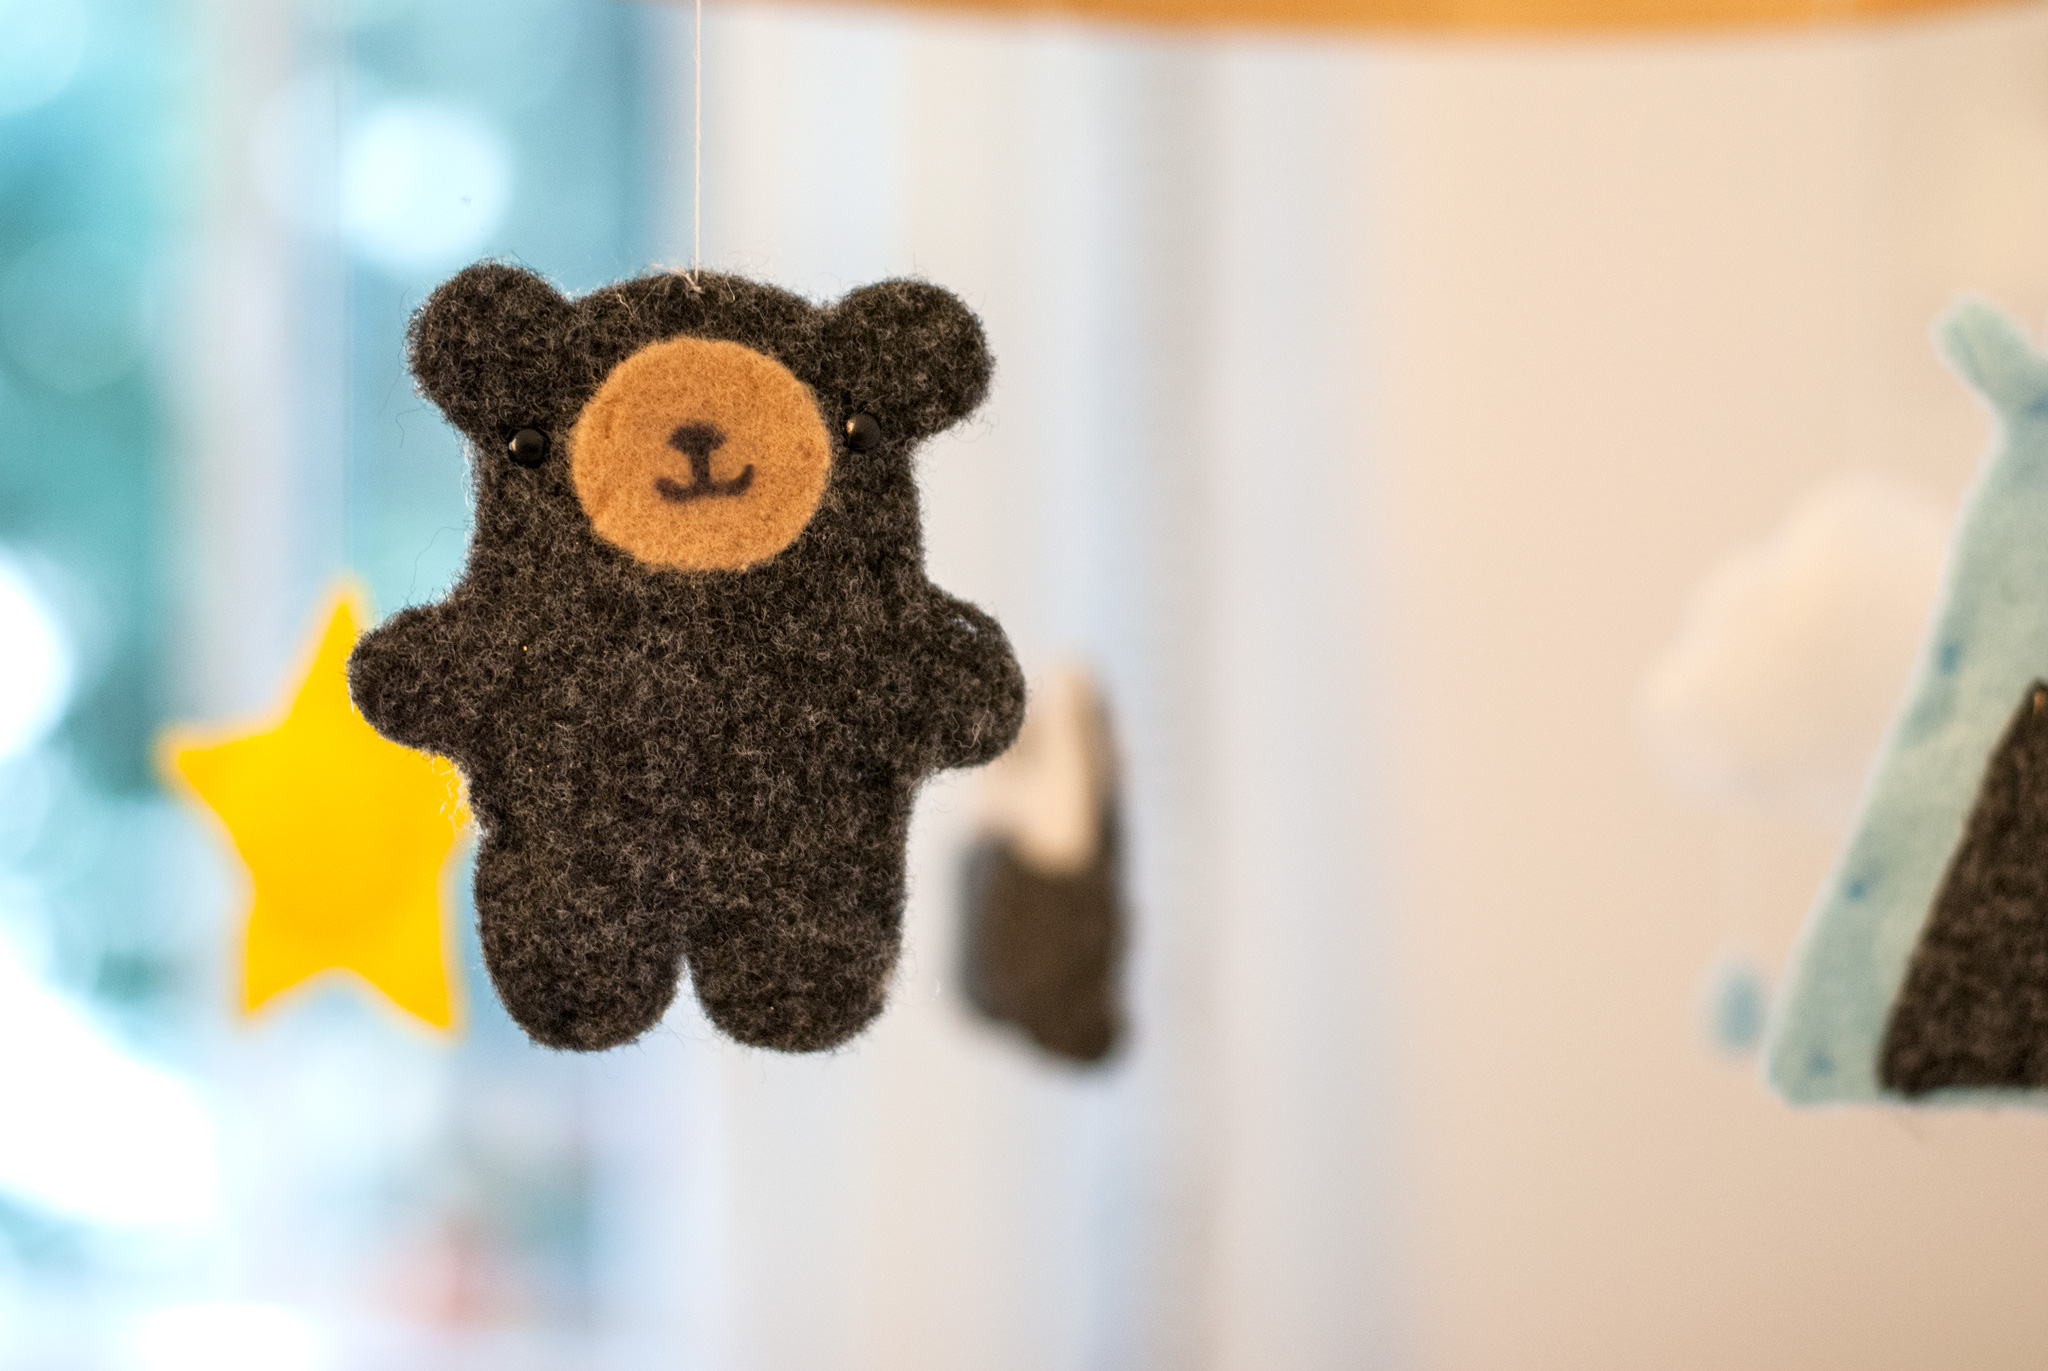
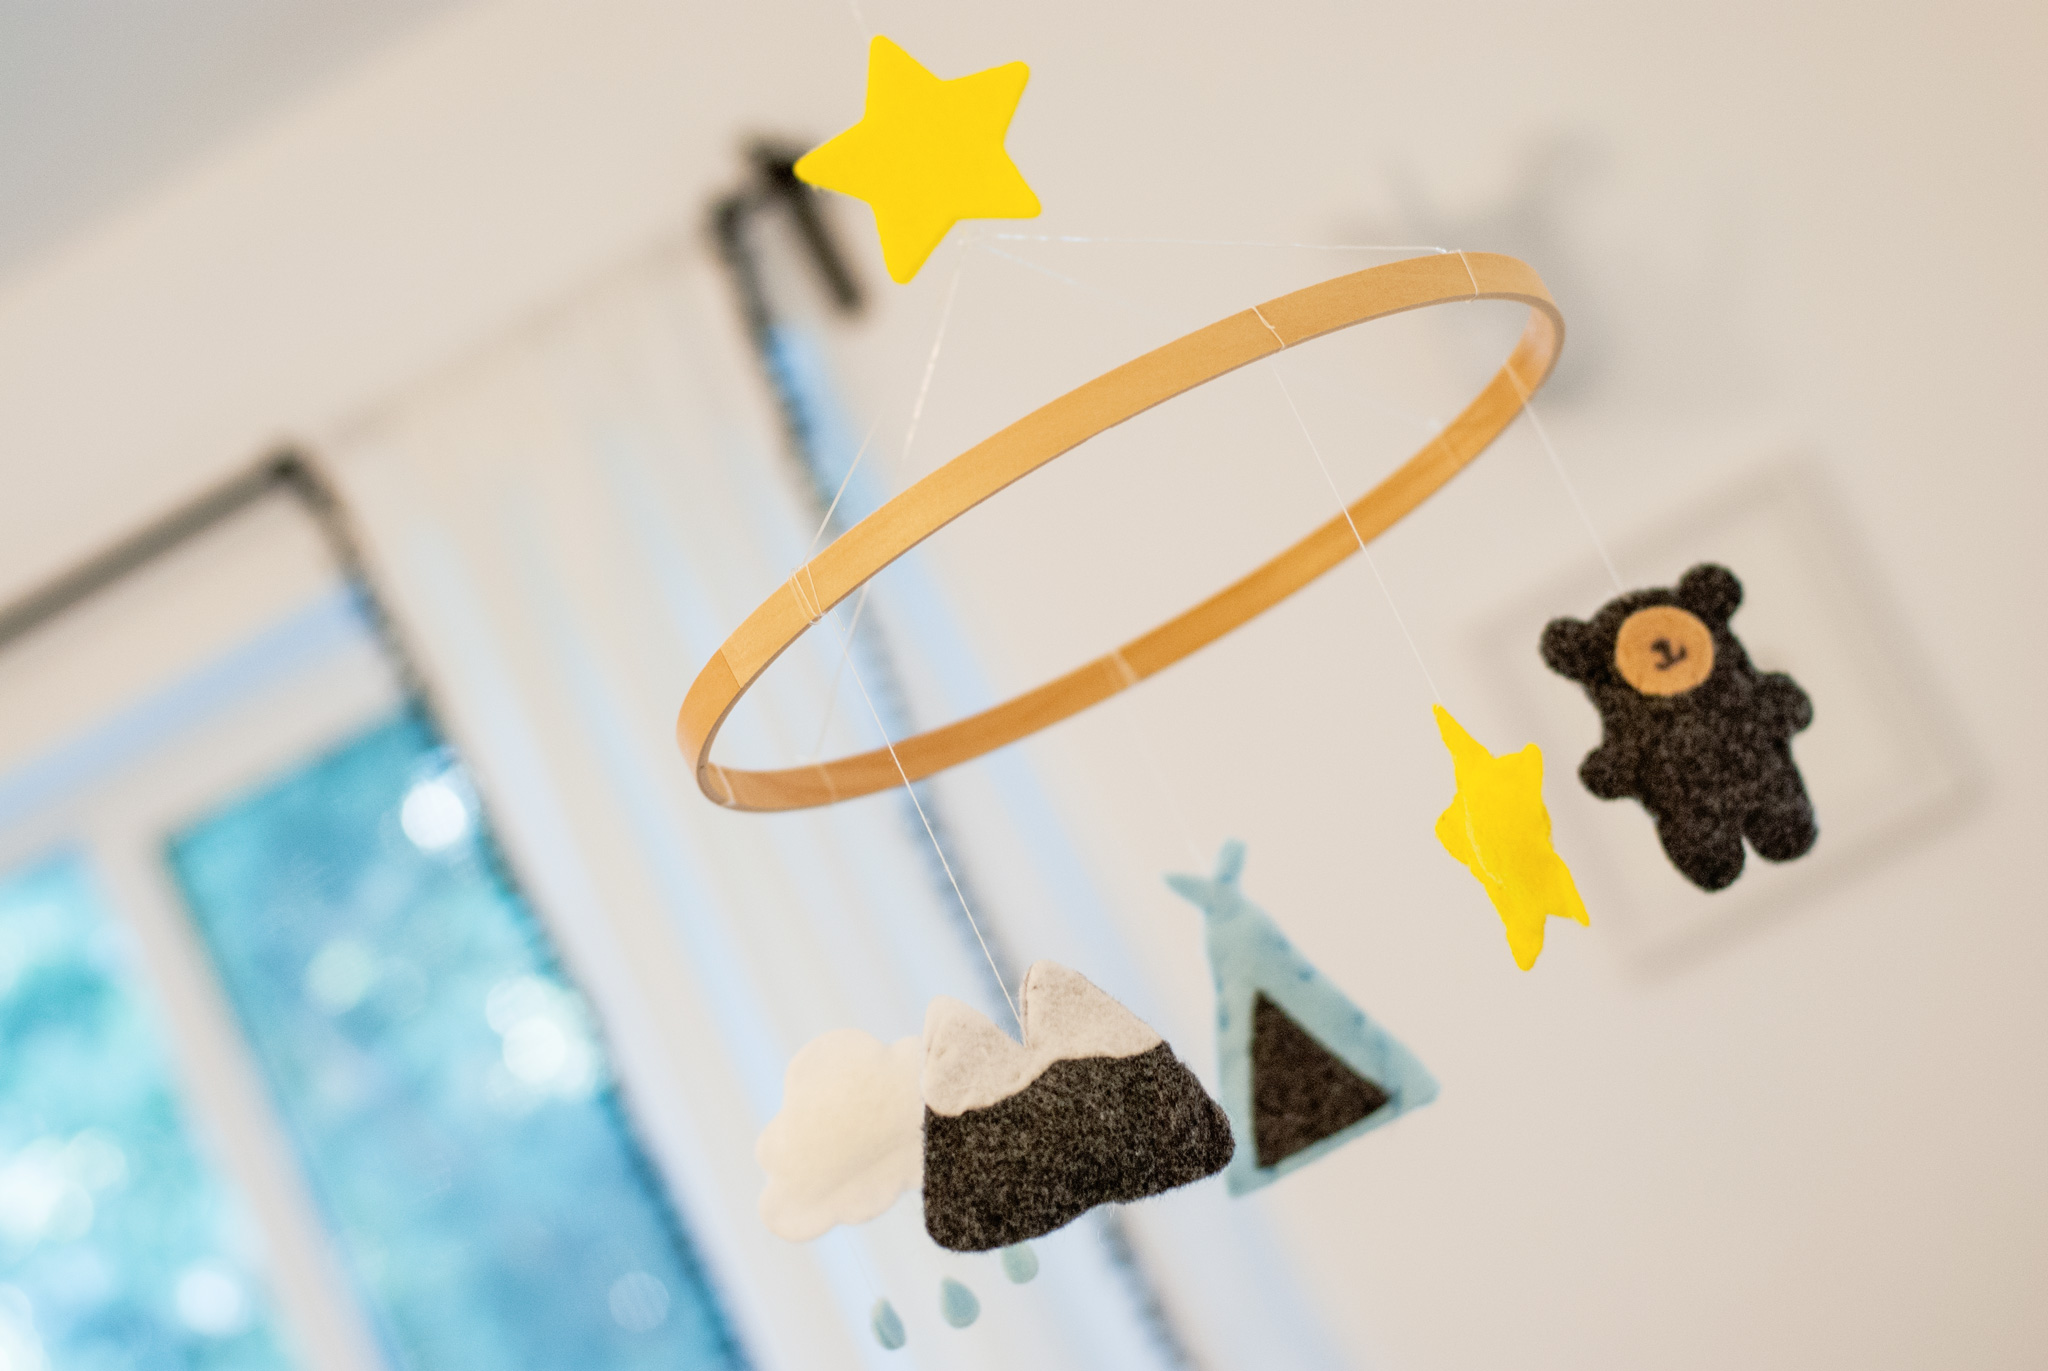
I am so pumped by my mobile success, I can’t wait to see what else I can create with my Cricut!
PERK ALERT! Project Nursery readers can get 15% off their purchase and free shipping on the Cricut site by using the code: PROJECT NURSERY (cannot be used toward Cricut Access image library subscriptions). Coupon code expires 7/6/2016.
Get this, Cricut is also hosting a contest for your chance to win $2,500 towards the nursery of your dreams, and lots of other great prizes, too. The contest ends on Monday 4/19 at 12:00PM MST though, so make sure you get your entry submitted today!
This is a sponsored post. Product was received for review.
Thanks for your support in our effort to bring you exciting content.
SaveSave





Comments
Carrie Tomaschko
I love how sweet and simple this mobile looks! It’s so great to find projects that I can do myself to make a kids room or nursery just one step above to make it unique. :)
Bunny
This is such a fun idea! Great job! I bet baby loves his new mobile :-)