We’re quickly approaching the holiday season, and it’s time to pull out the festive decor! My kids LOVE to decorate for the holidays, and they’re always thrilled to help me out, so I came up with this DIY Christmas tree art to get them holiday happy. This project is budget-friendly and great for kiddos—I take on a lot of DIY and design projects that are not so kid-friendly, so I wanted to come up with something so they could all participate.
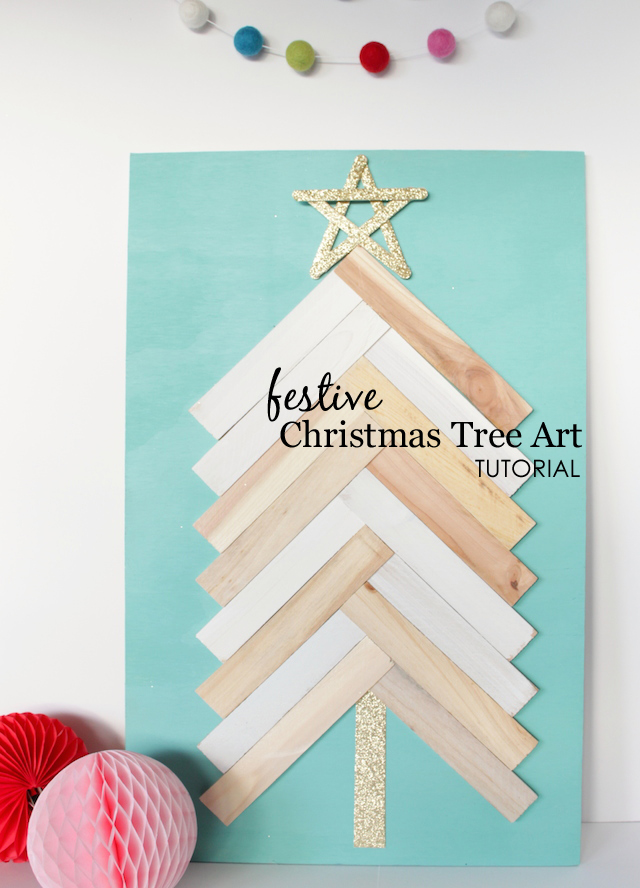
Materials: 16″ x 24″ plywood (I used 1/4″ thick plywood from Home Depot—they can cut it for you in the store if you don’t have the tools to do so), (2) bundles of wood shims (I used 16 for this project), (5) popsicle sticks or a star ornament, craft paint in two colors (I used paint I already had on hand), hot glue gun, saw tooth hanger (if you want to hang it), glitter, school glue

First, lightly sand and paint your plywood—I only used one coat. If you like a distressed look, you can sand the edges and other areas once the paint is dry.


Here’s where the kids come in. I recommend lightly sanding the shims in advance to avoid any splinters in little hands. Then give your kids a few shims each to paint however they like. Let the shims dry before moving on to the next step.

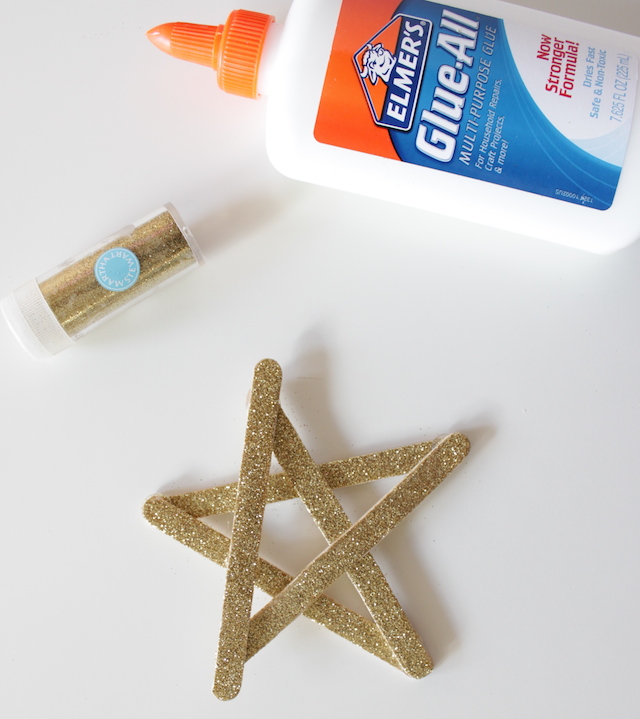
Every Christmas tree needs a star, and there are so many different options for this project—we used popsicle sticks with a thin coat of school glue and craft glitter. Glittering the popsicle sticks is another step that the kids can help with. Once the glitter is dry, use a hot glue gun (adults only!) to assemble the star by gluing the ends of the popsicle sticks together.
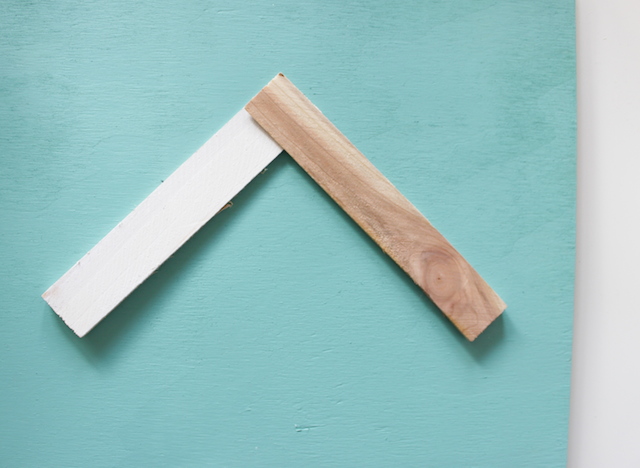
Once all of the shims are dry, lay out the pieces in a tree pattern on the painted board. Starting at the top, overlap two shims, right side over left at a 90 degree angle, placing the thin sides of the shims towards the center. Then take the next two shims and reverse, left over right at a 90 degree angle.
Keep alternating all the way down the board until it looks like the photo below. I did this step without glue first to determine my overall placement on the board before I started gluing the shims into place.

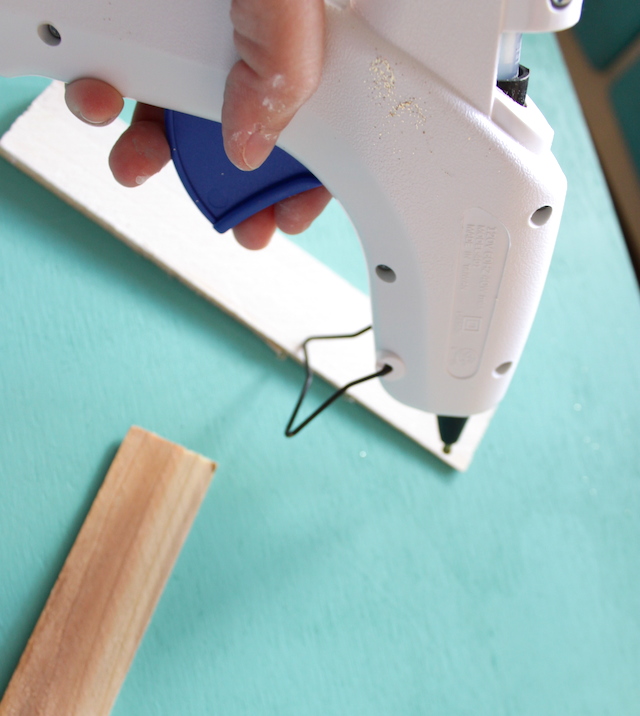
Once all of the pieces are dry fit, starting at the top, remove one shim at a time and use hot glue to secure them to the board. Using a hot glue gun is important—I tried other types of glue, but the moisture warped the thin ends of the shims.
Once all of the shims are secure, add a tree trunk and star. I used a scrap piece of glitter card stock for the trunk, but you could also paint a tree trunk directly on the board, use a shim or leave it off completely.

Finally, top your tree with the glittered star made from popsicle sticks.

If you plan to hang your Christmas tree art on the wall, attach a sawtooth hanger to the back, and you’re good to go! You can even add on to the piece by allowing your kids to find things to glue onto the tree that look like ornaments—the options are endless!
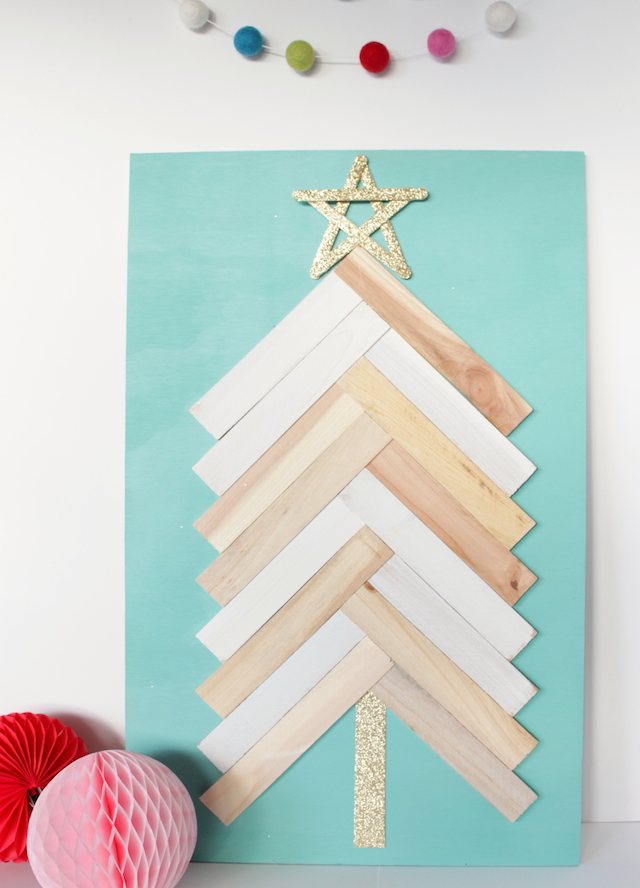
So there you have it! A darling, festive art piece that’s easy to assemble and perfect to add to your holiday decor collection.





Comments