Shop Suggestions
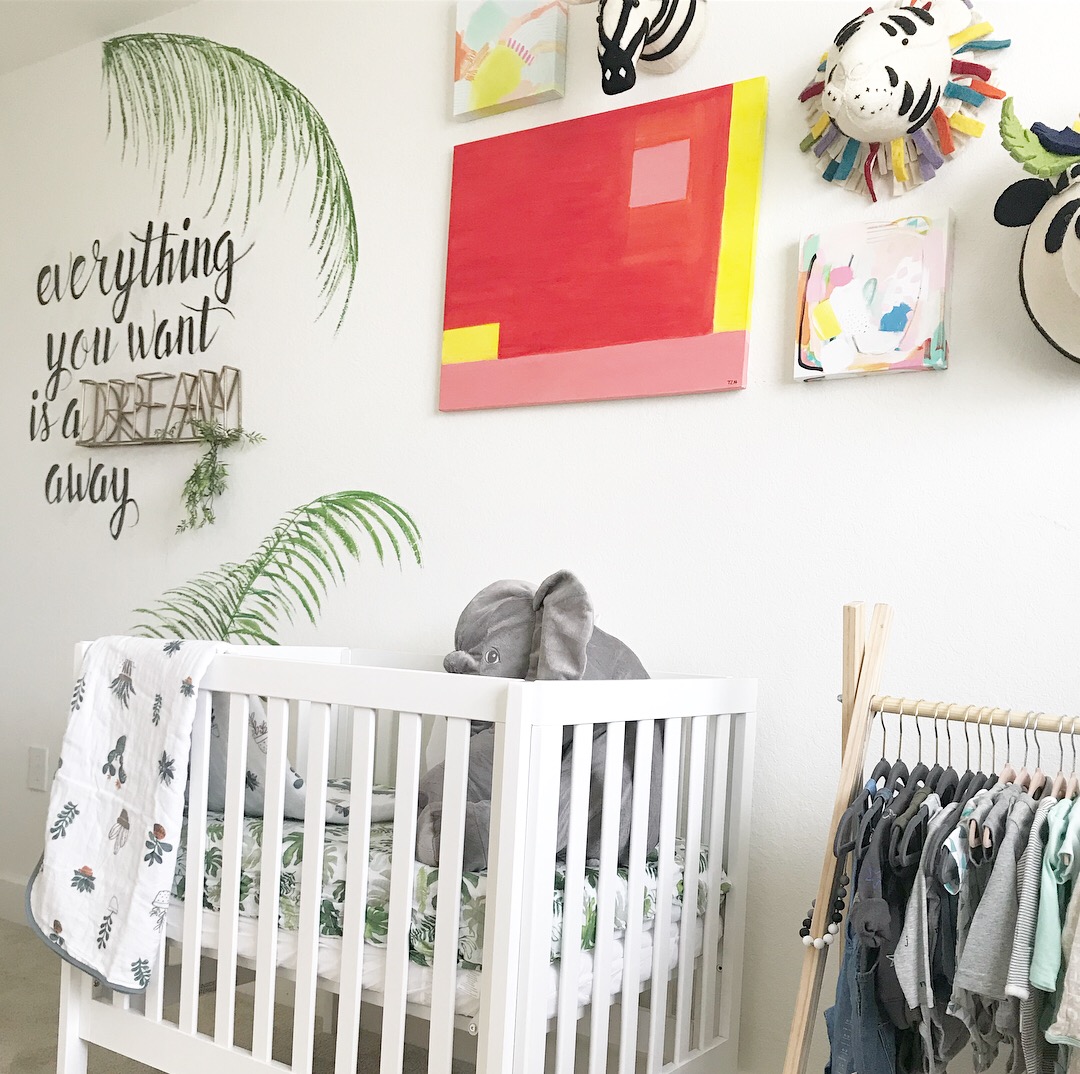
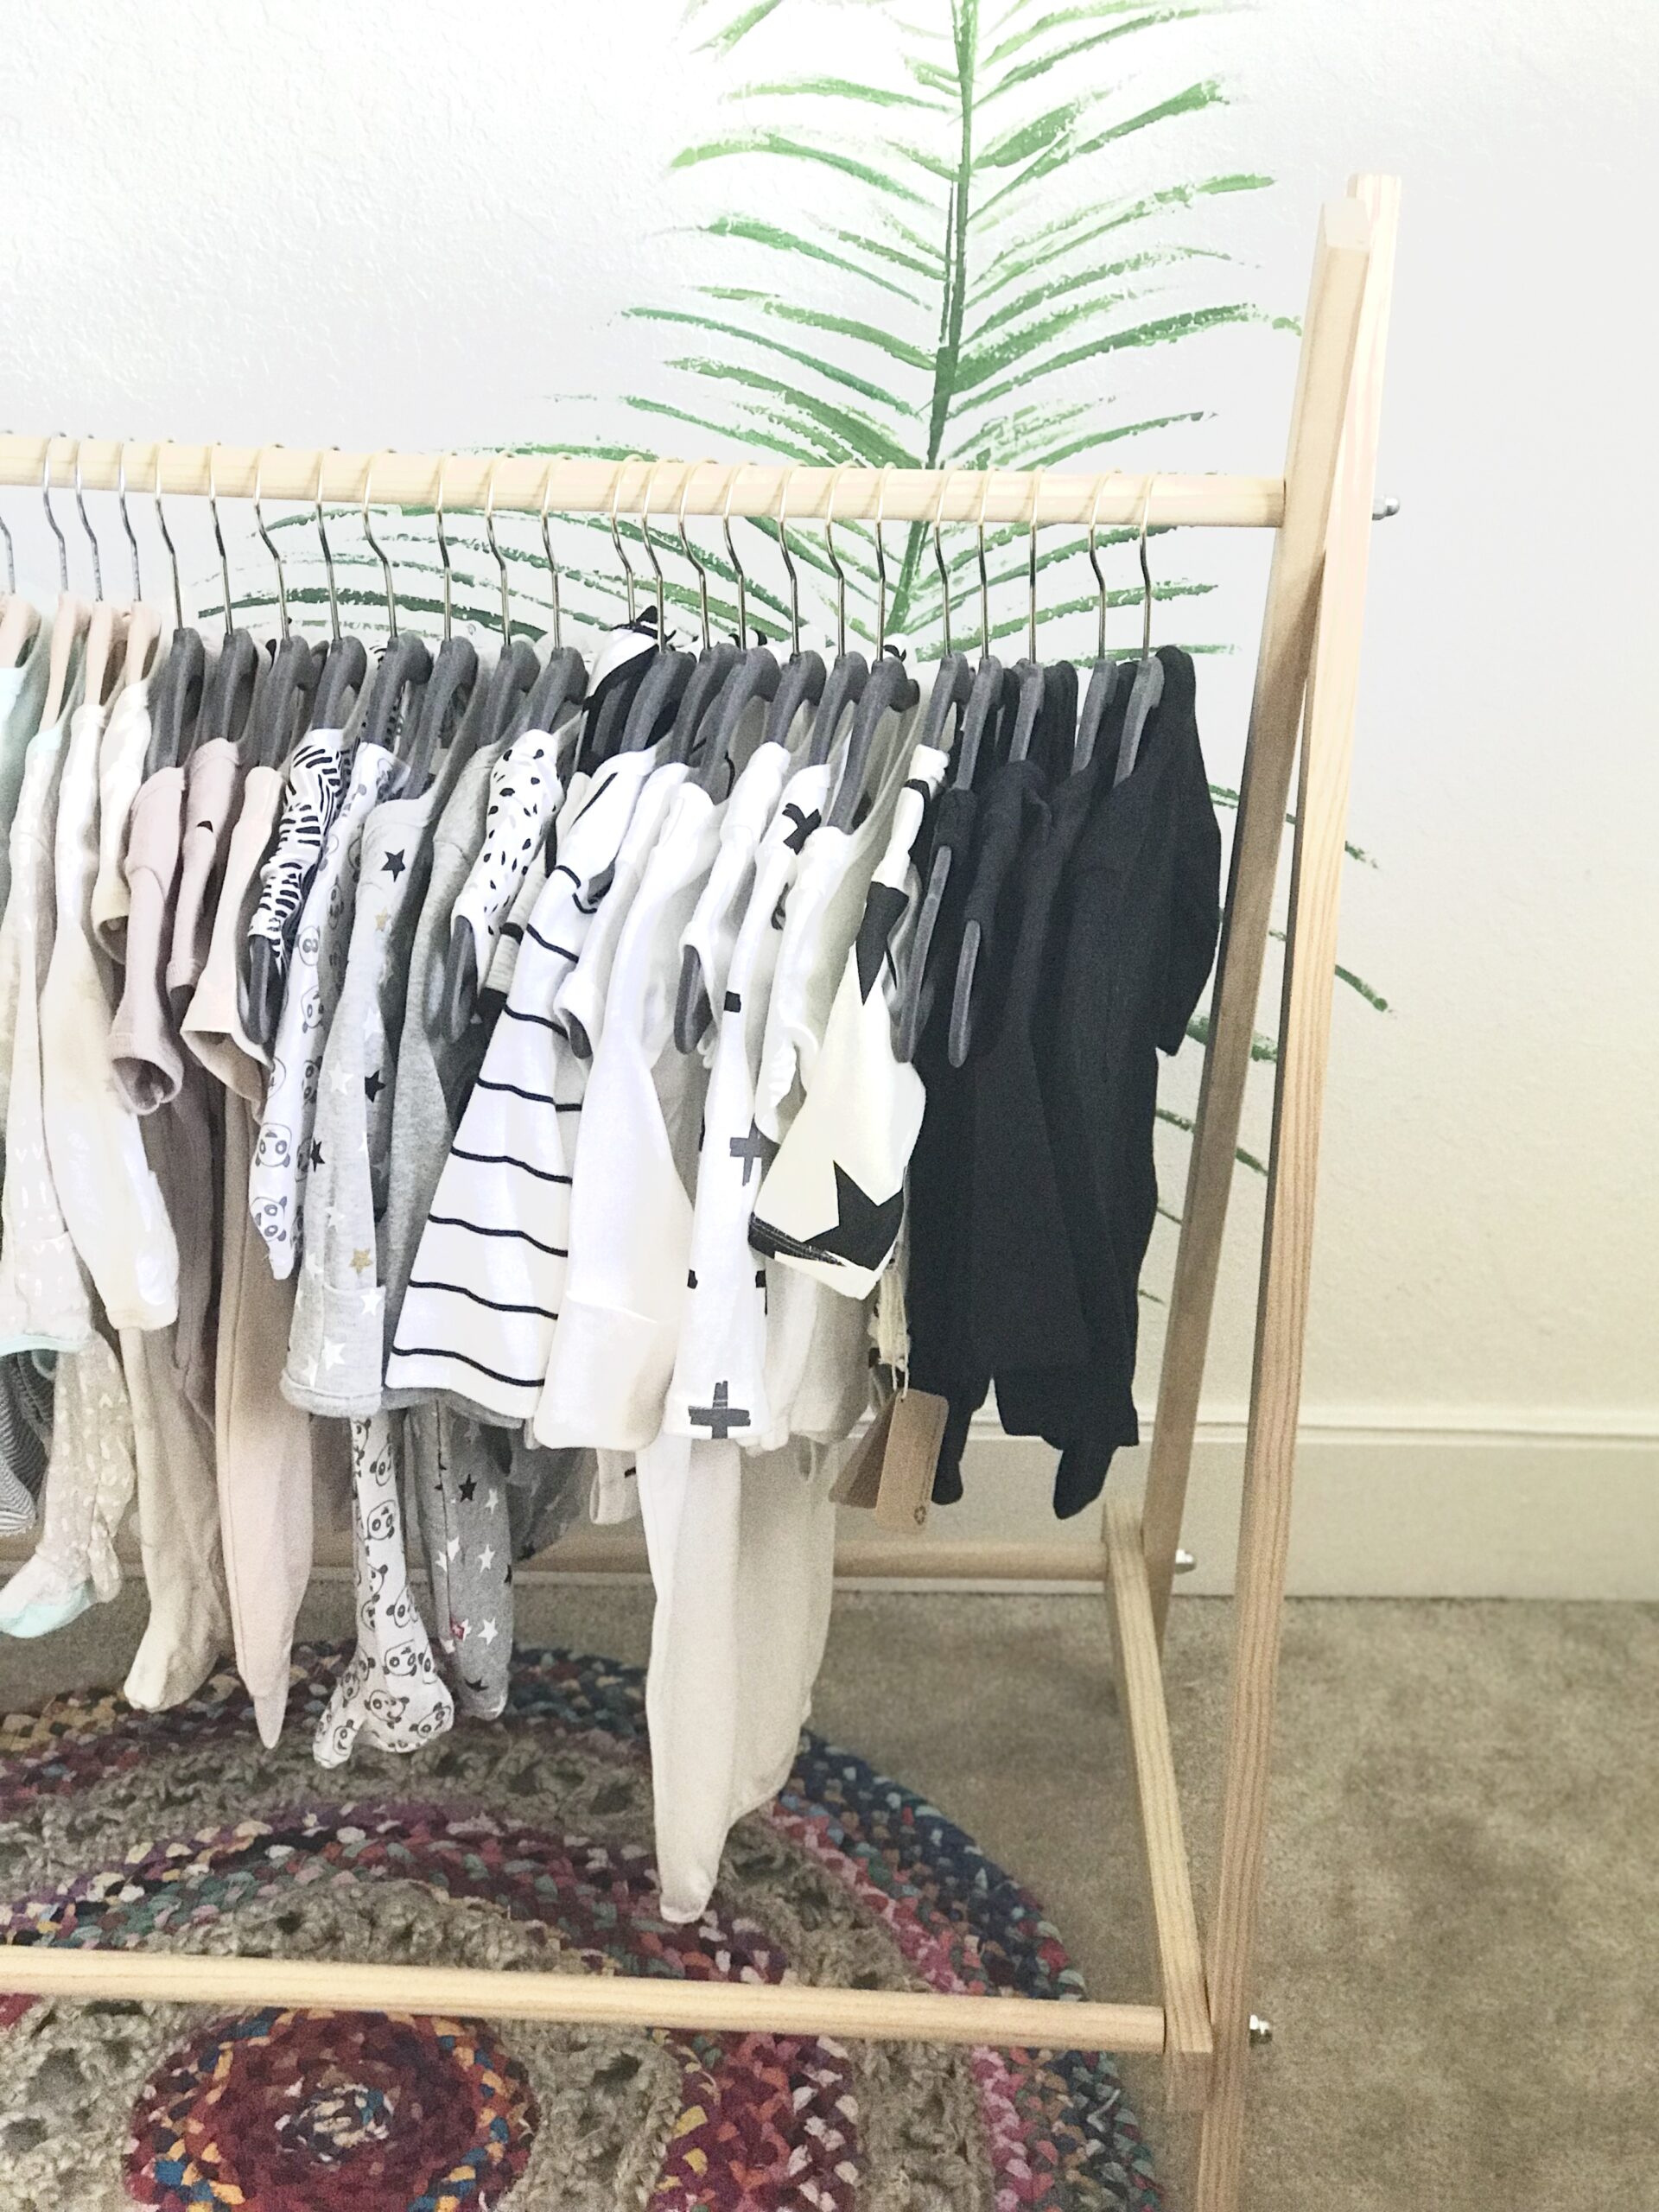
Found out I was pregnant in the mist of planning an opening for a store! ::insert all types of anxiety here:: Feeling like I was growing two babies simultaneously, the nursery went kind of hand in hand with the store and opting out from not knowing the gender of course added even more excitement to the project. With everyone puzzled around me on my desicion, no one ever hesitated from asking the obvious… “so how do you do the nursery? Yellow, Grey!?” My answer would always be “NOPE actually color, lots and lots of color! I’ve never wanted anything that screamed GIRL or BOY so this worked to my advantage from people gifting too much pink or blue.
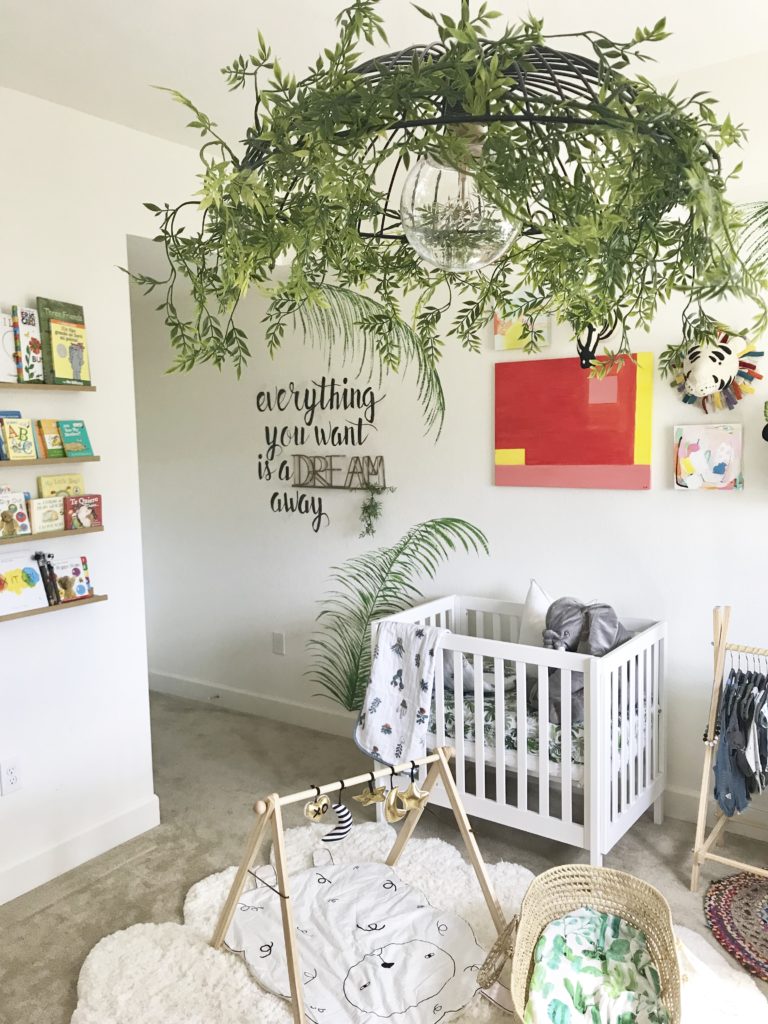
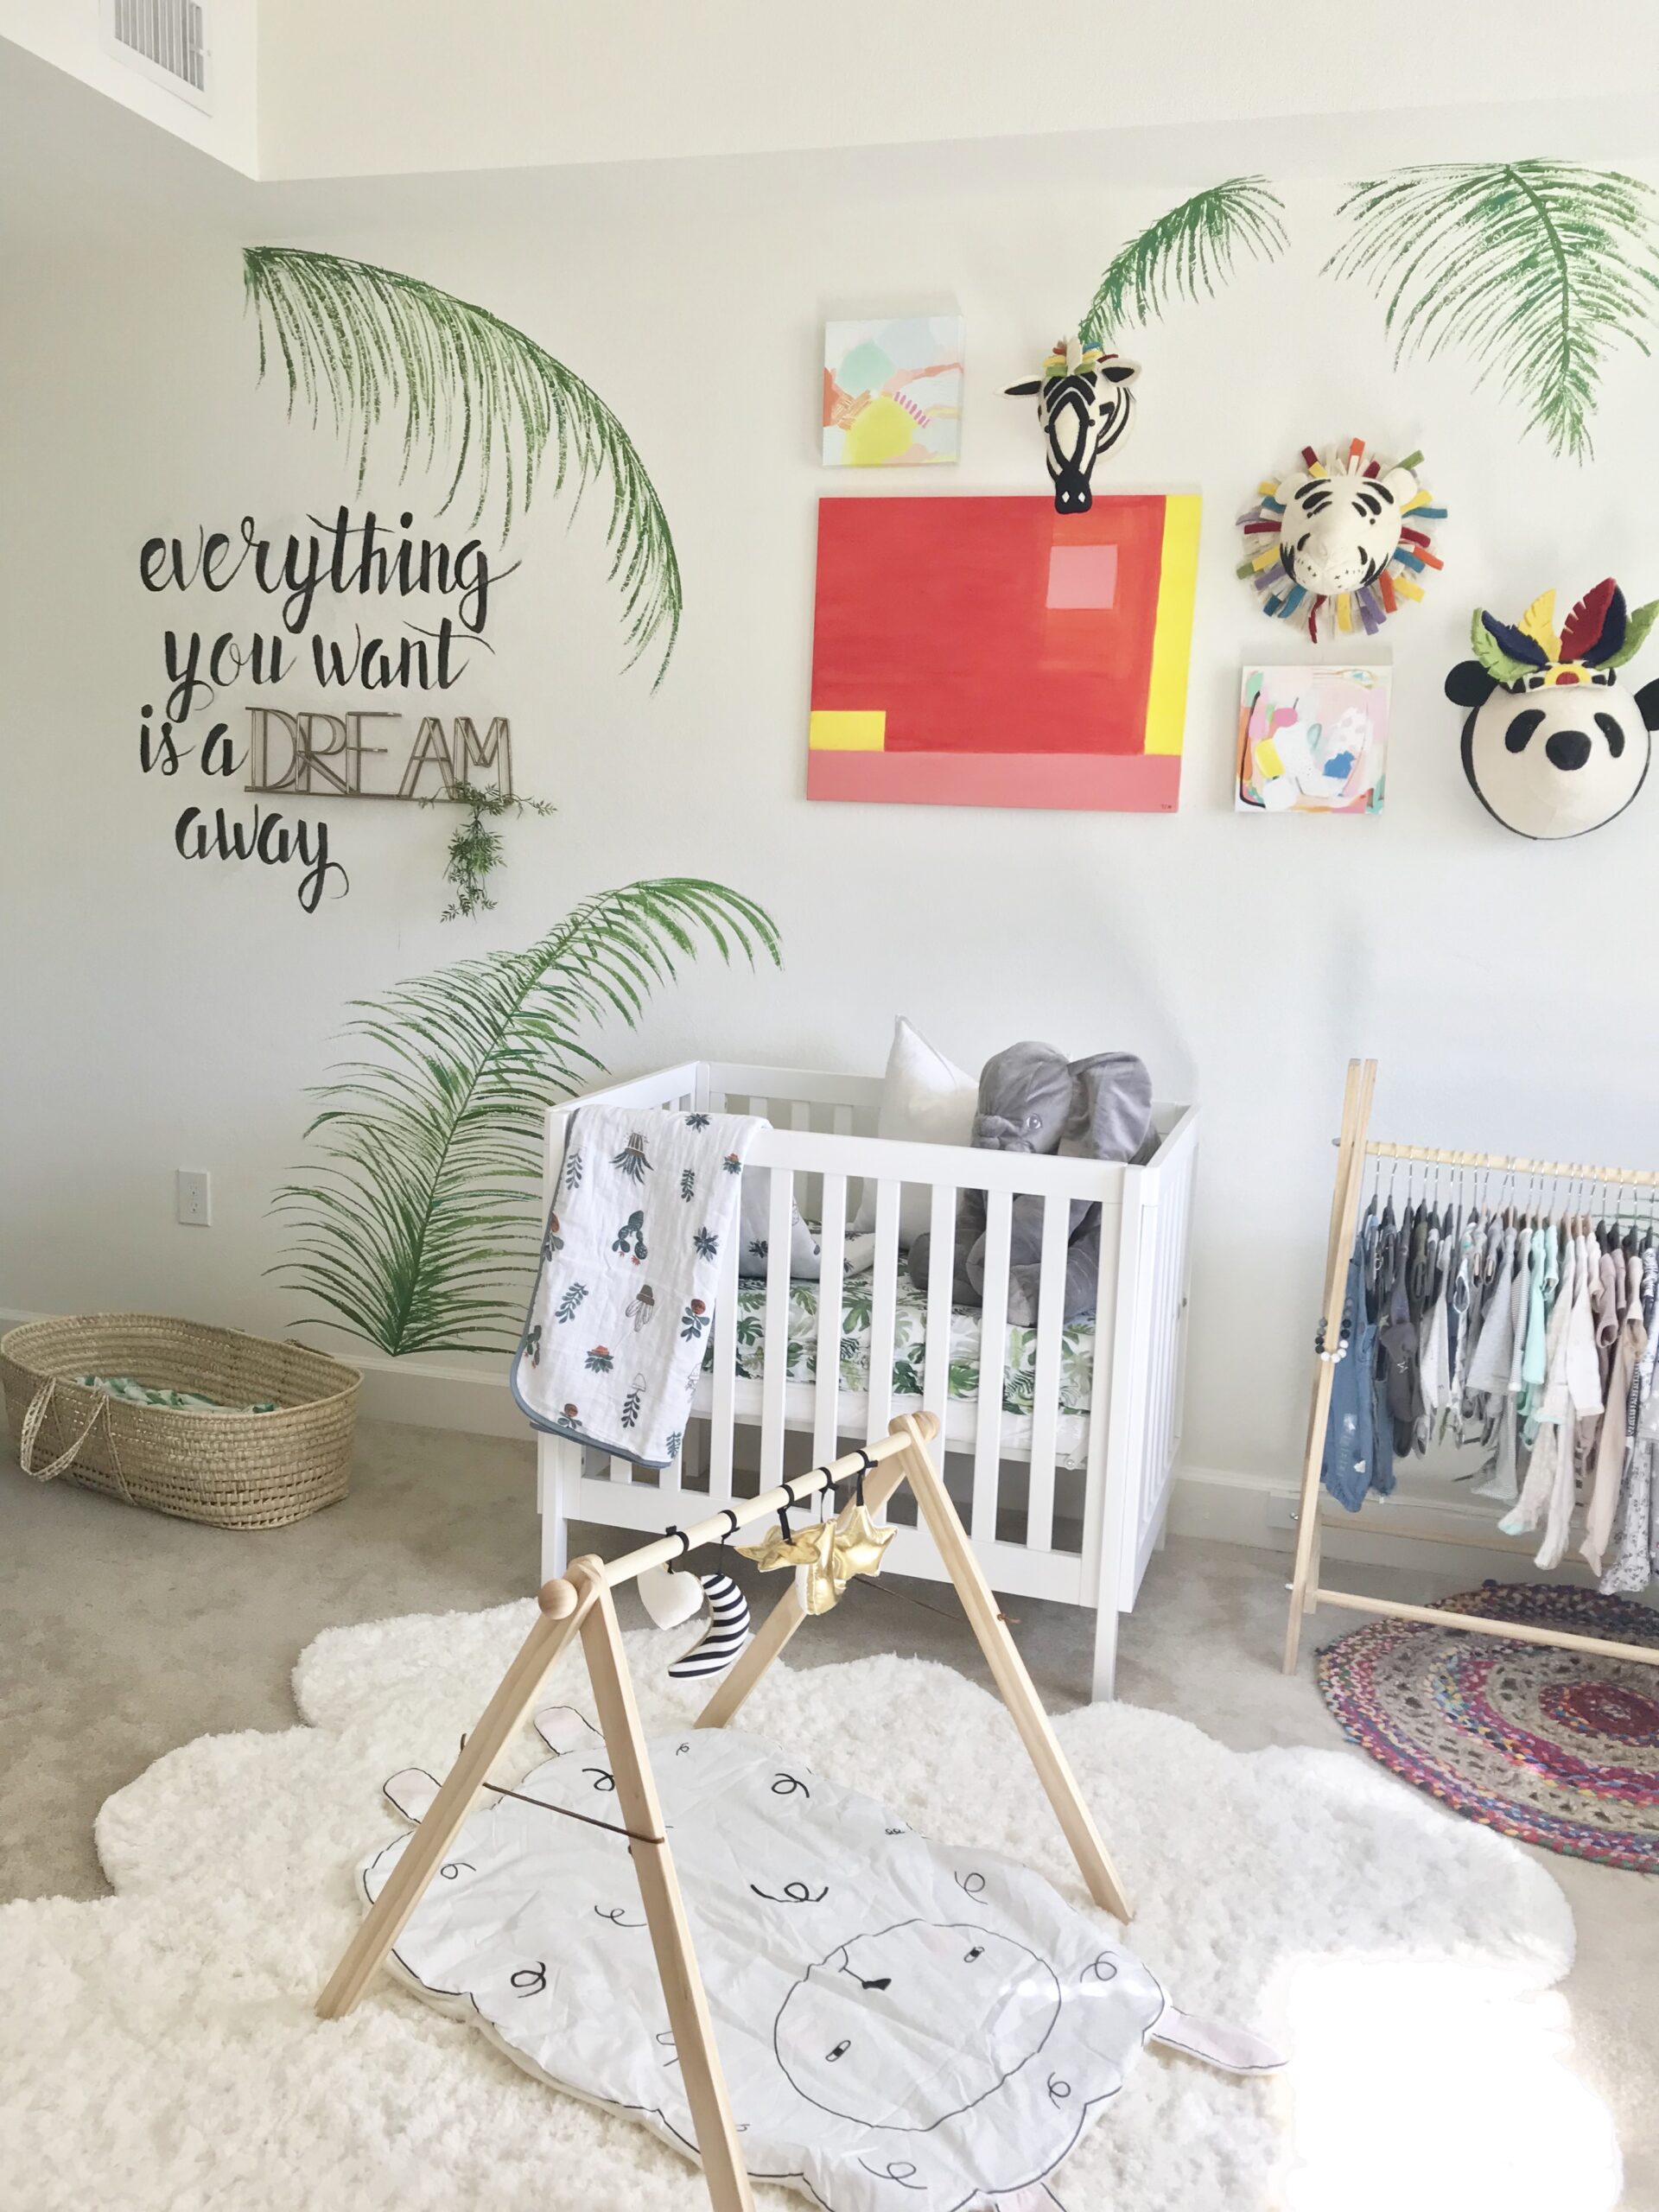
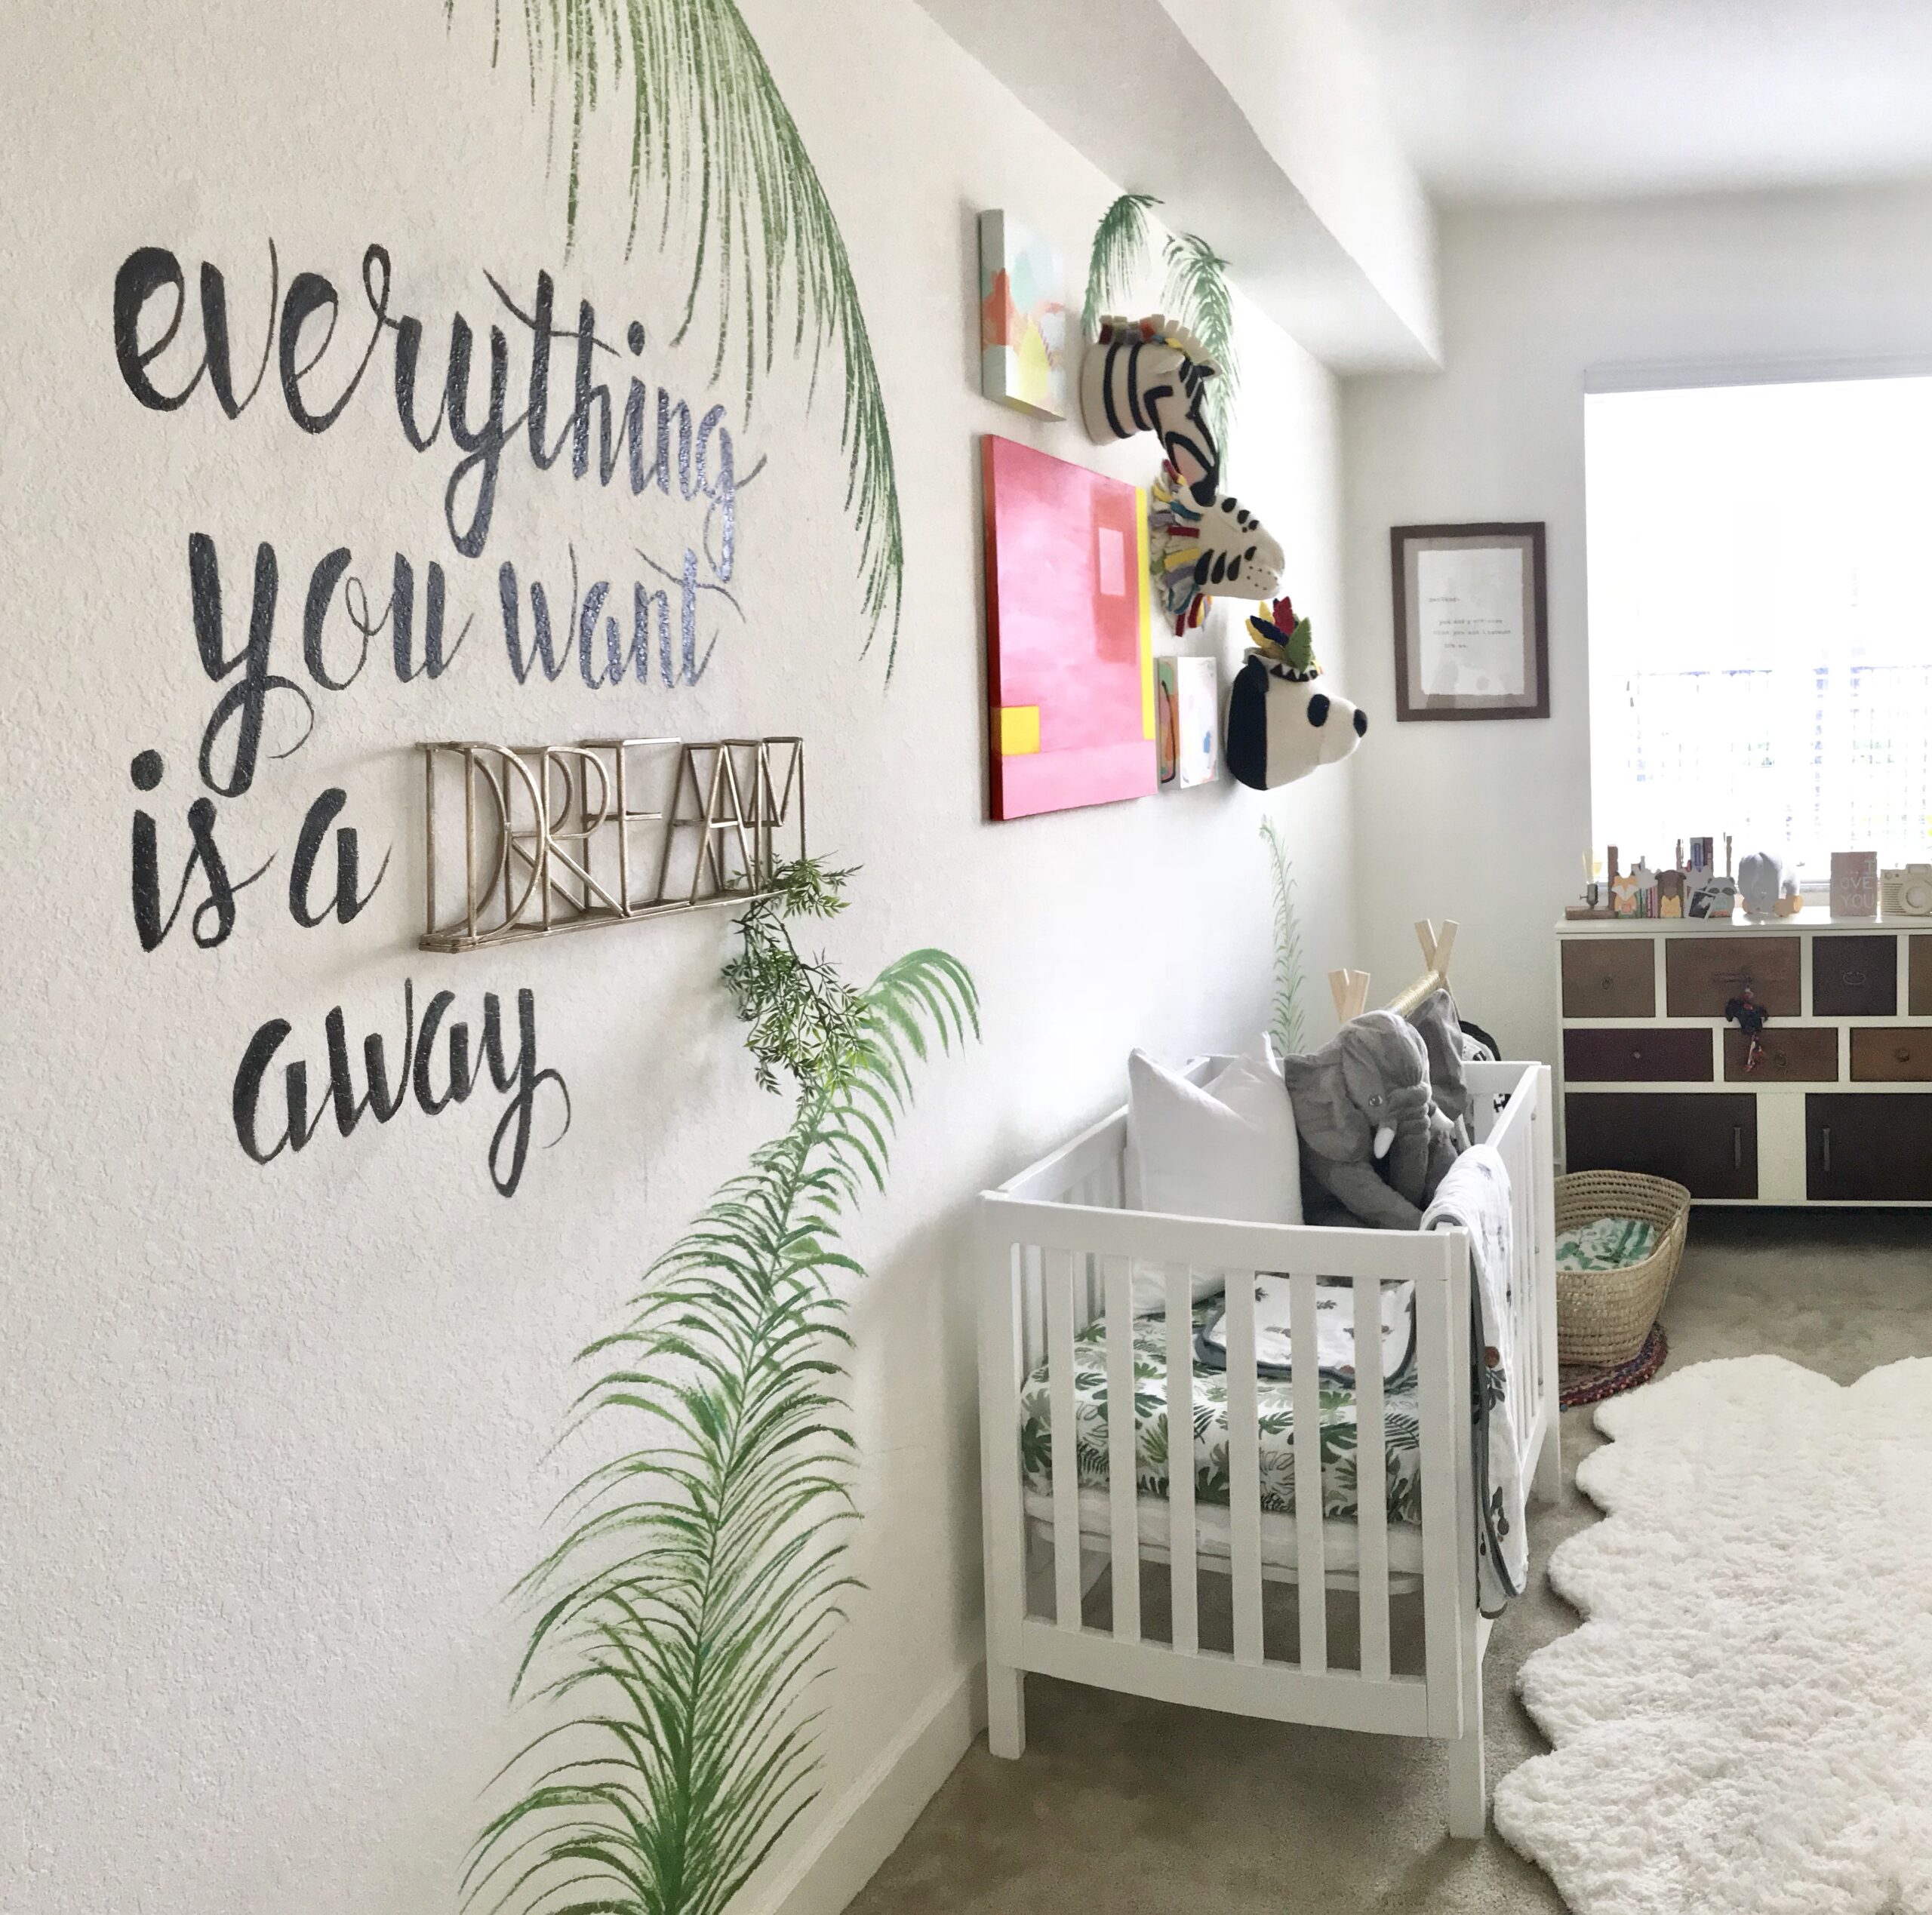
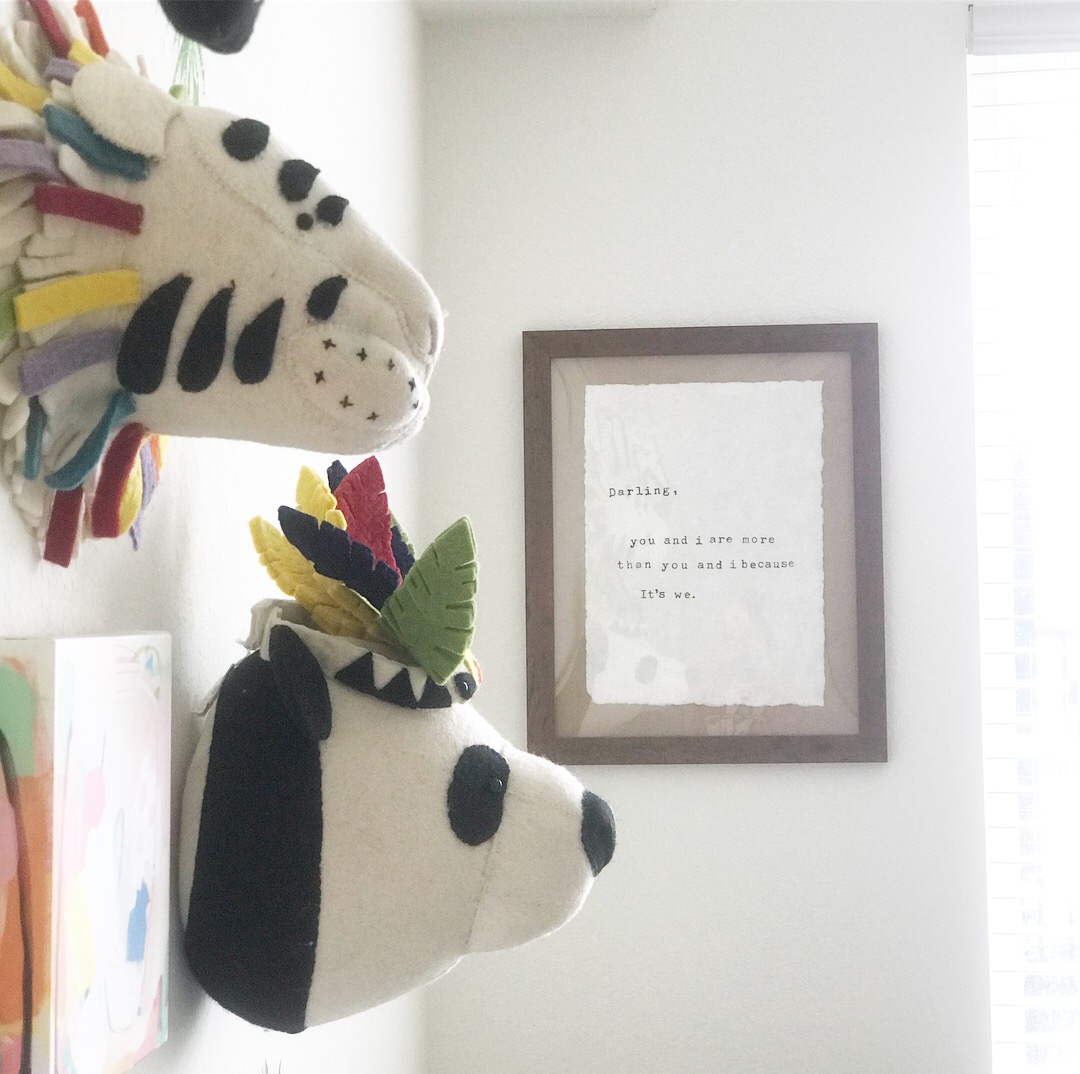
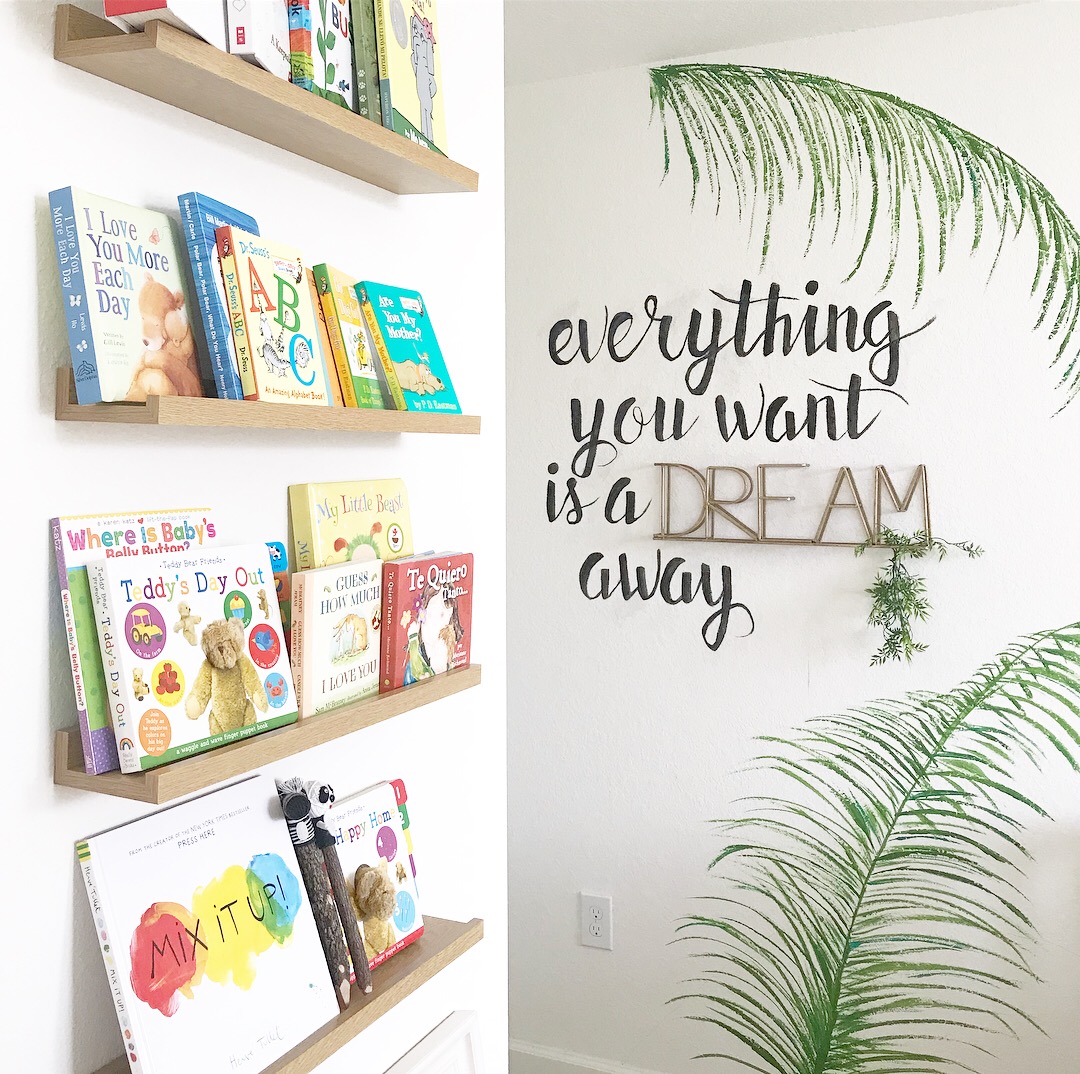
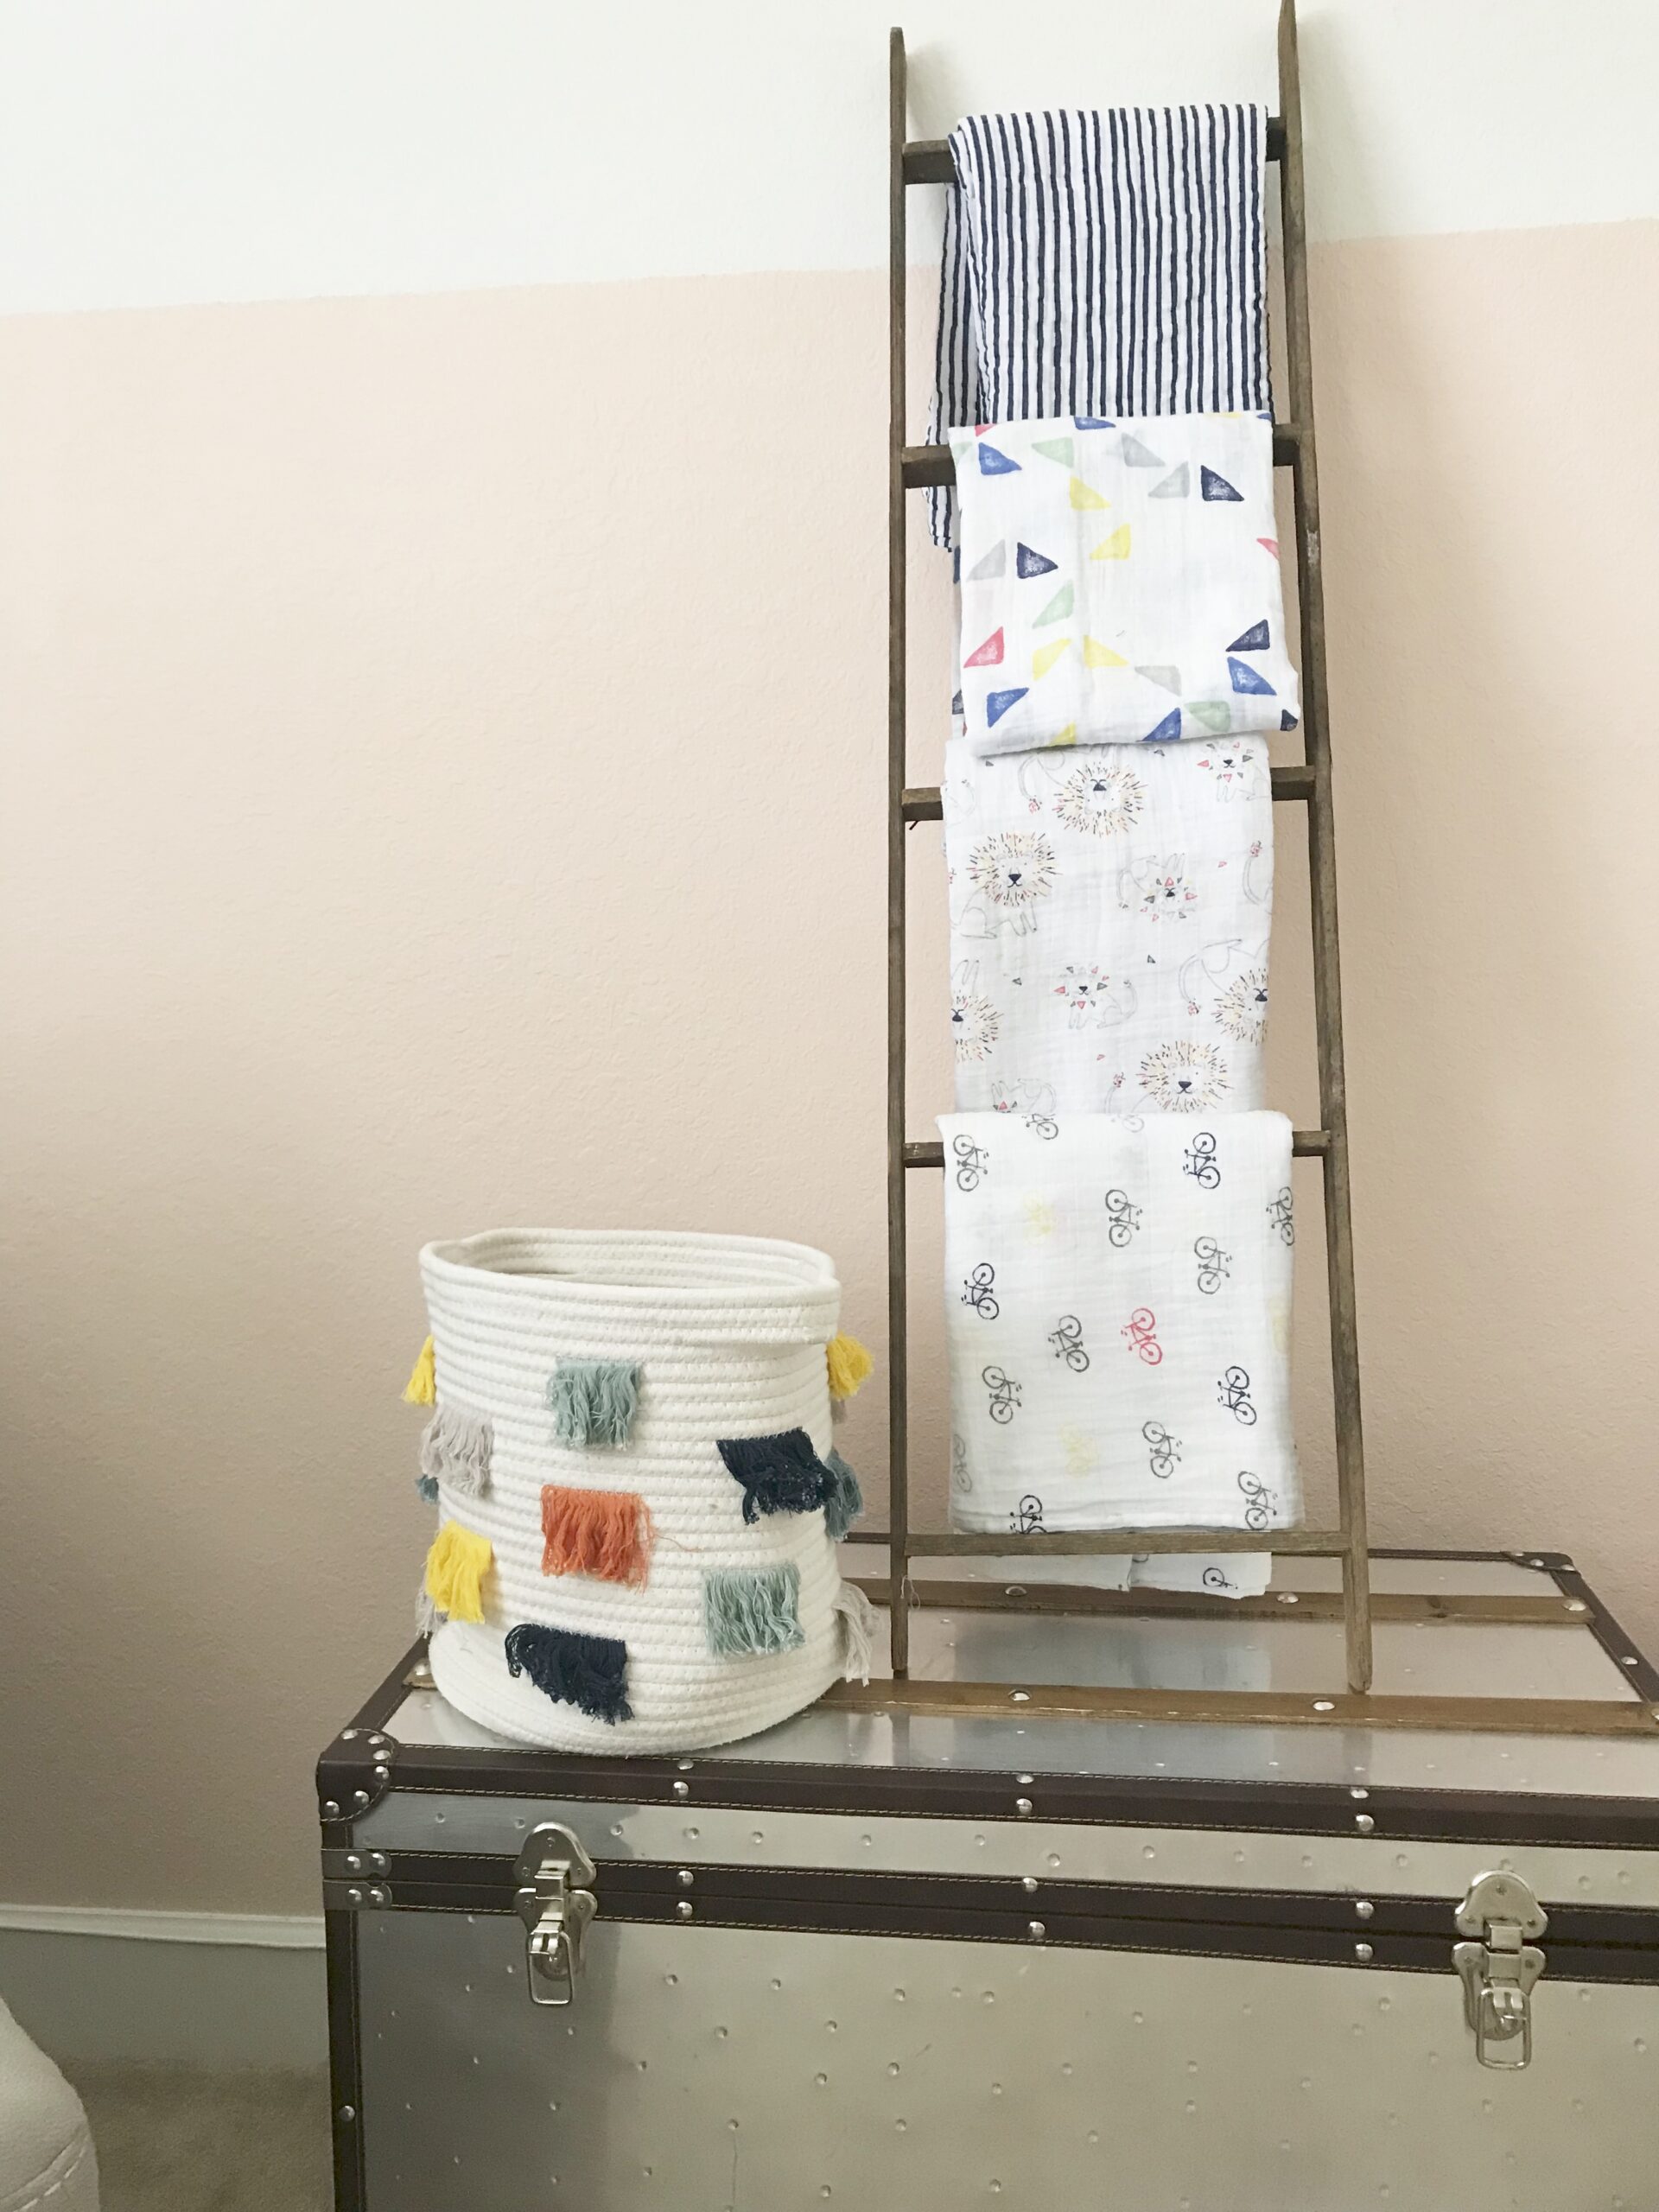
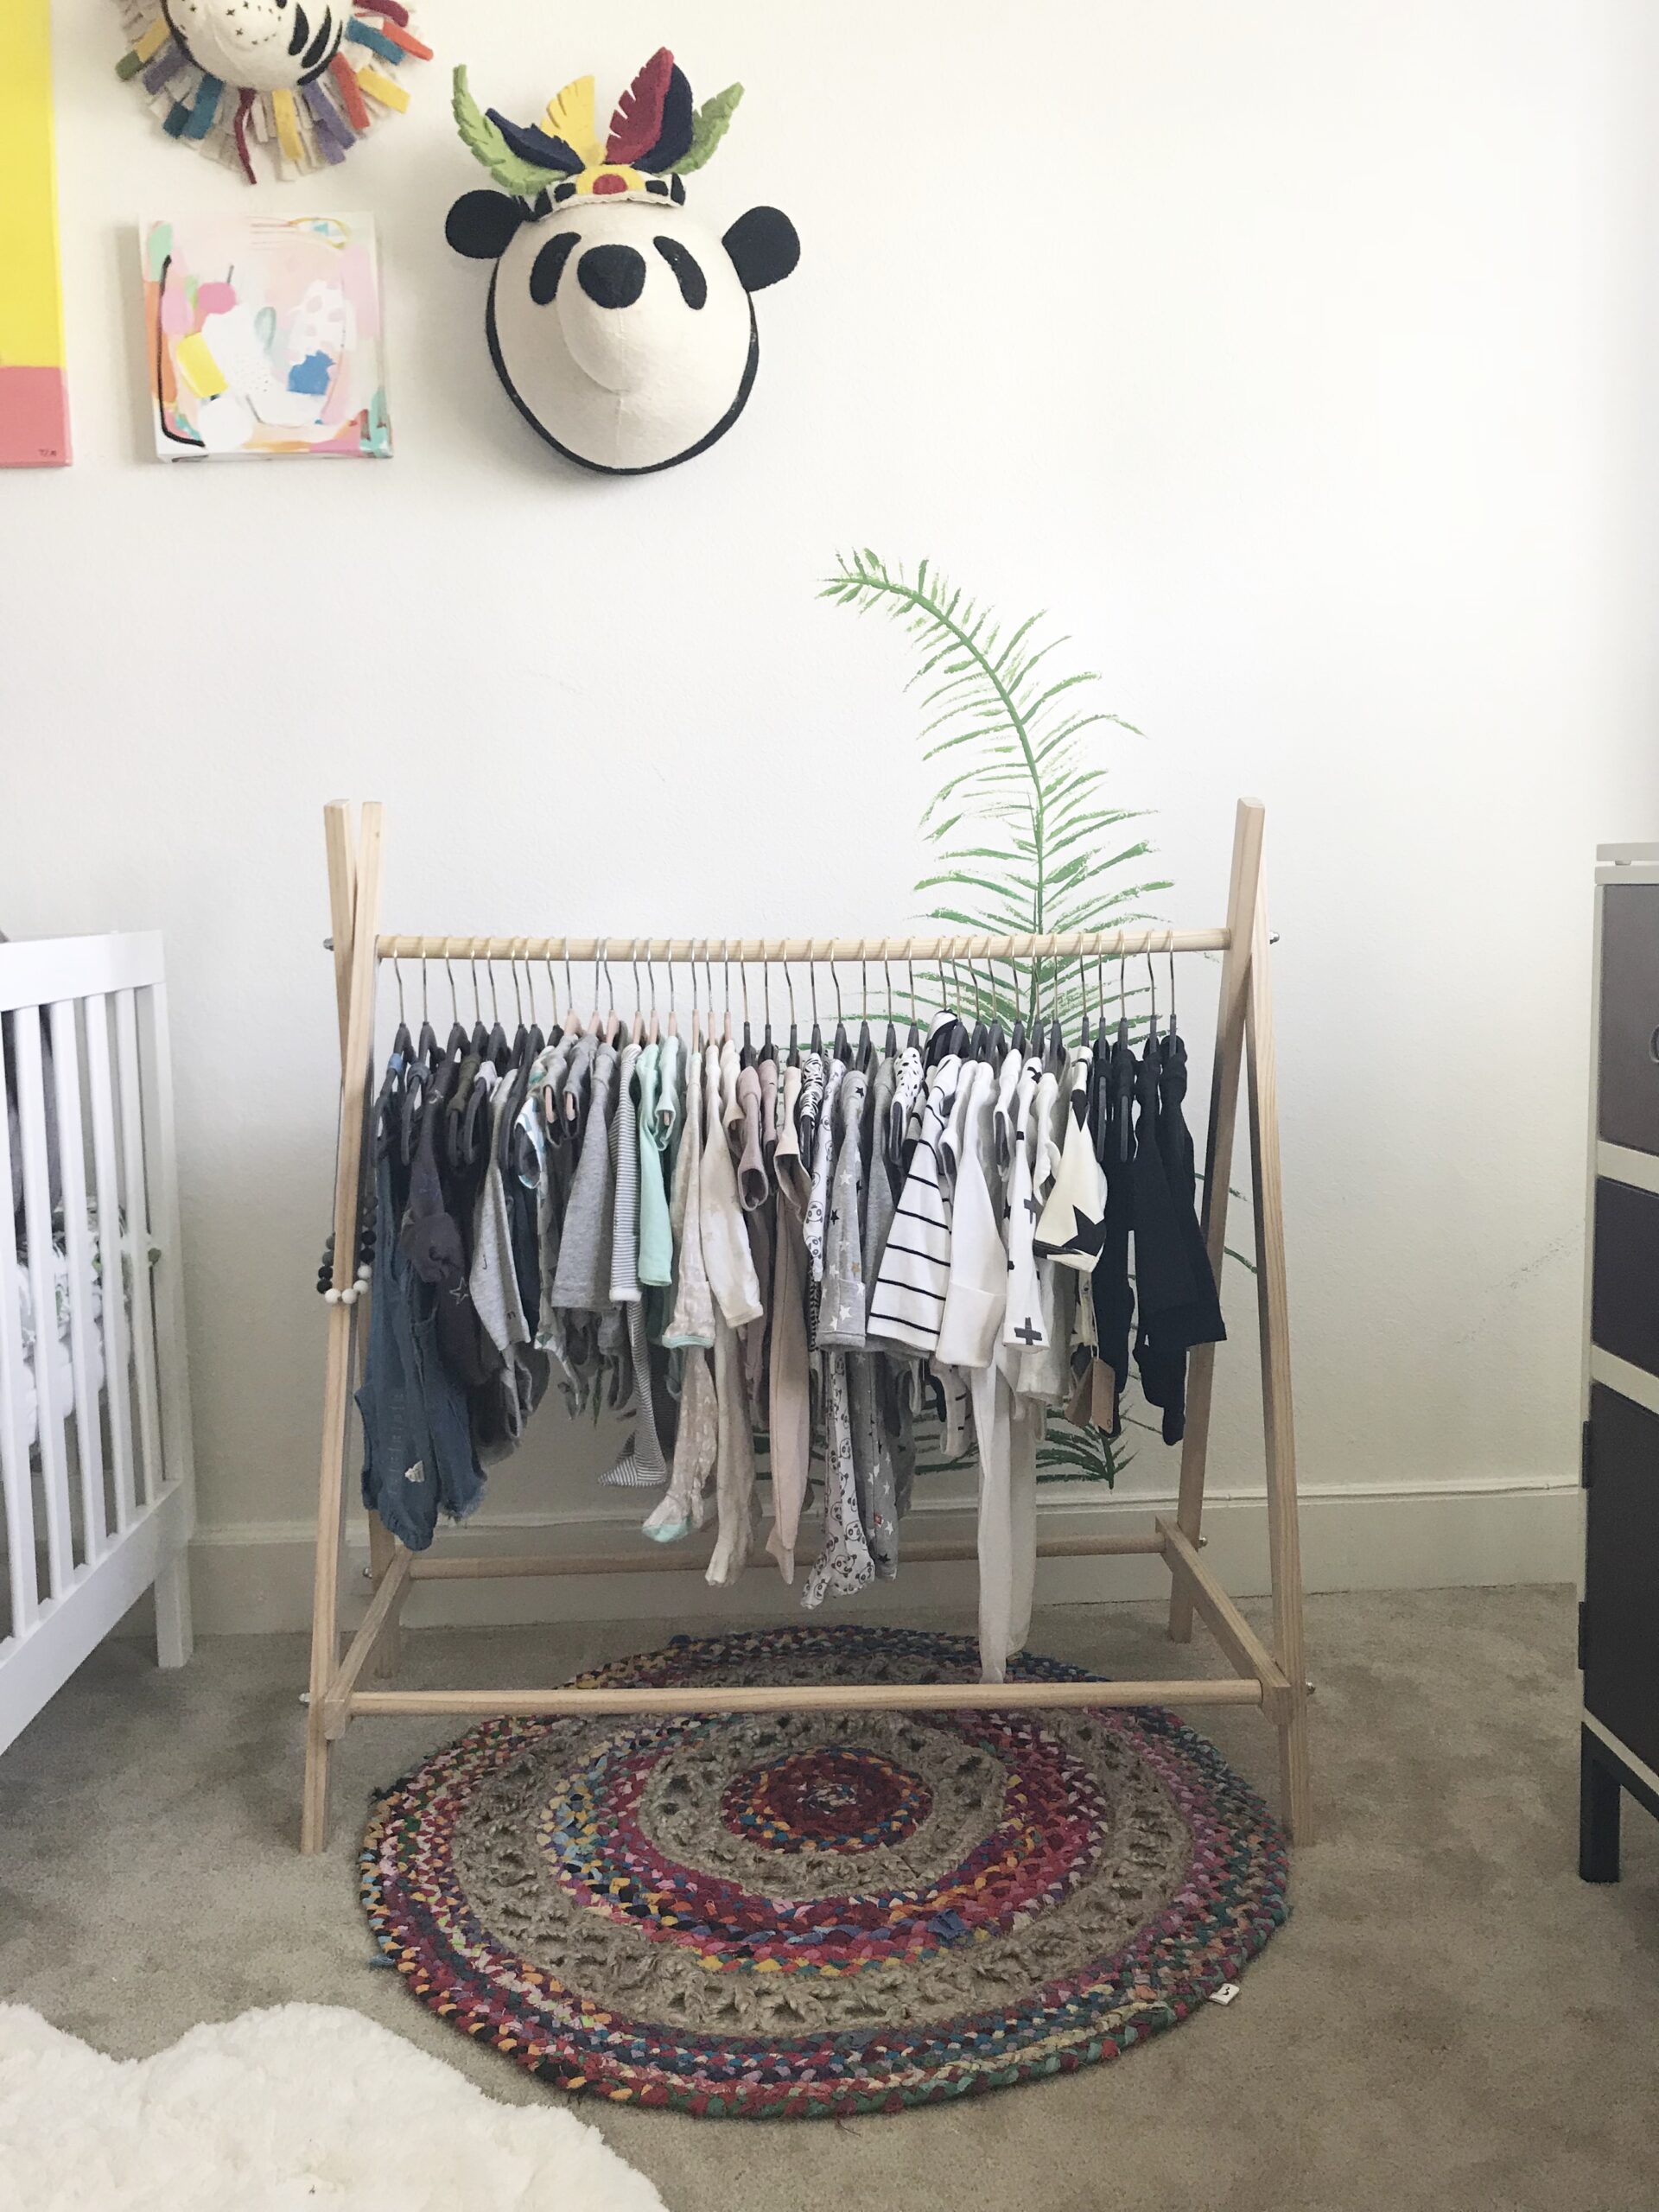
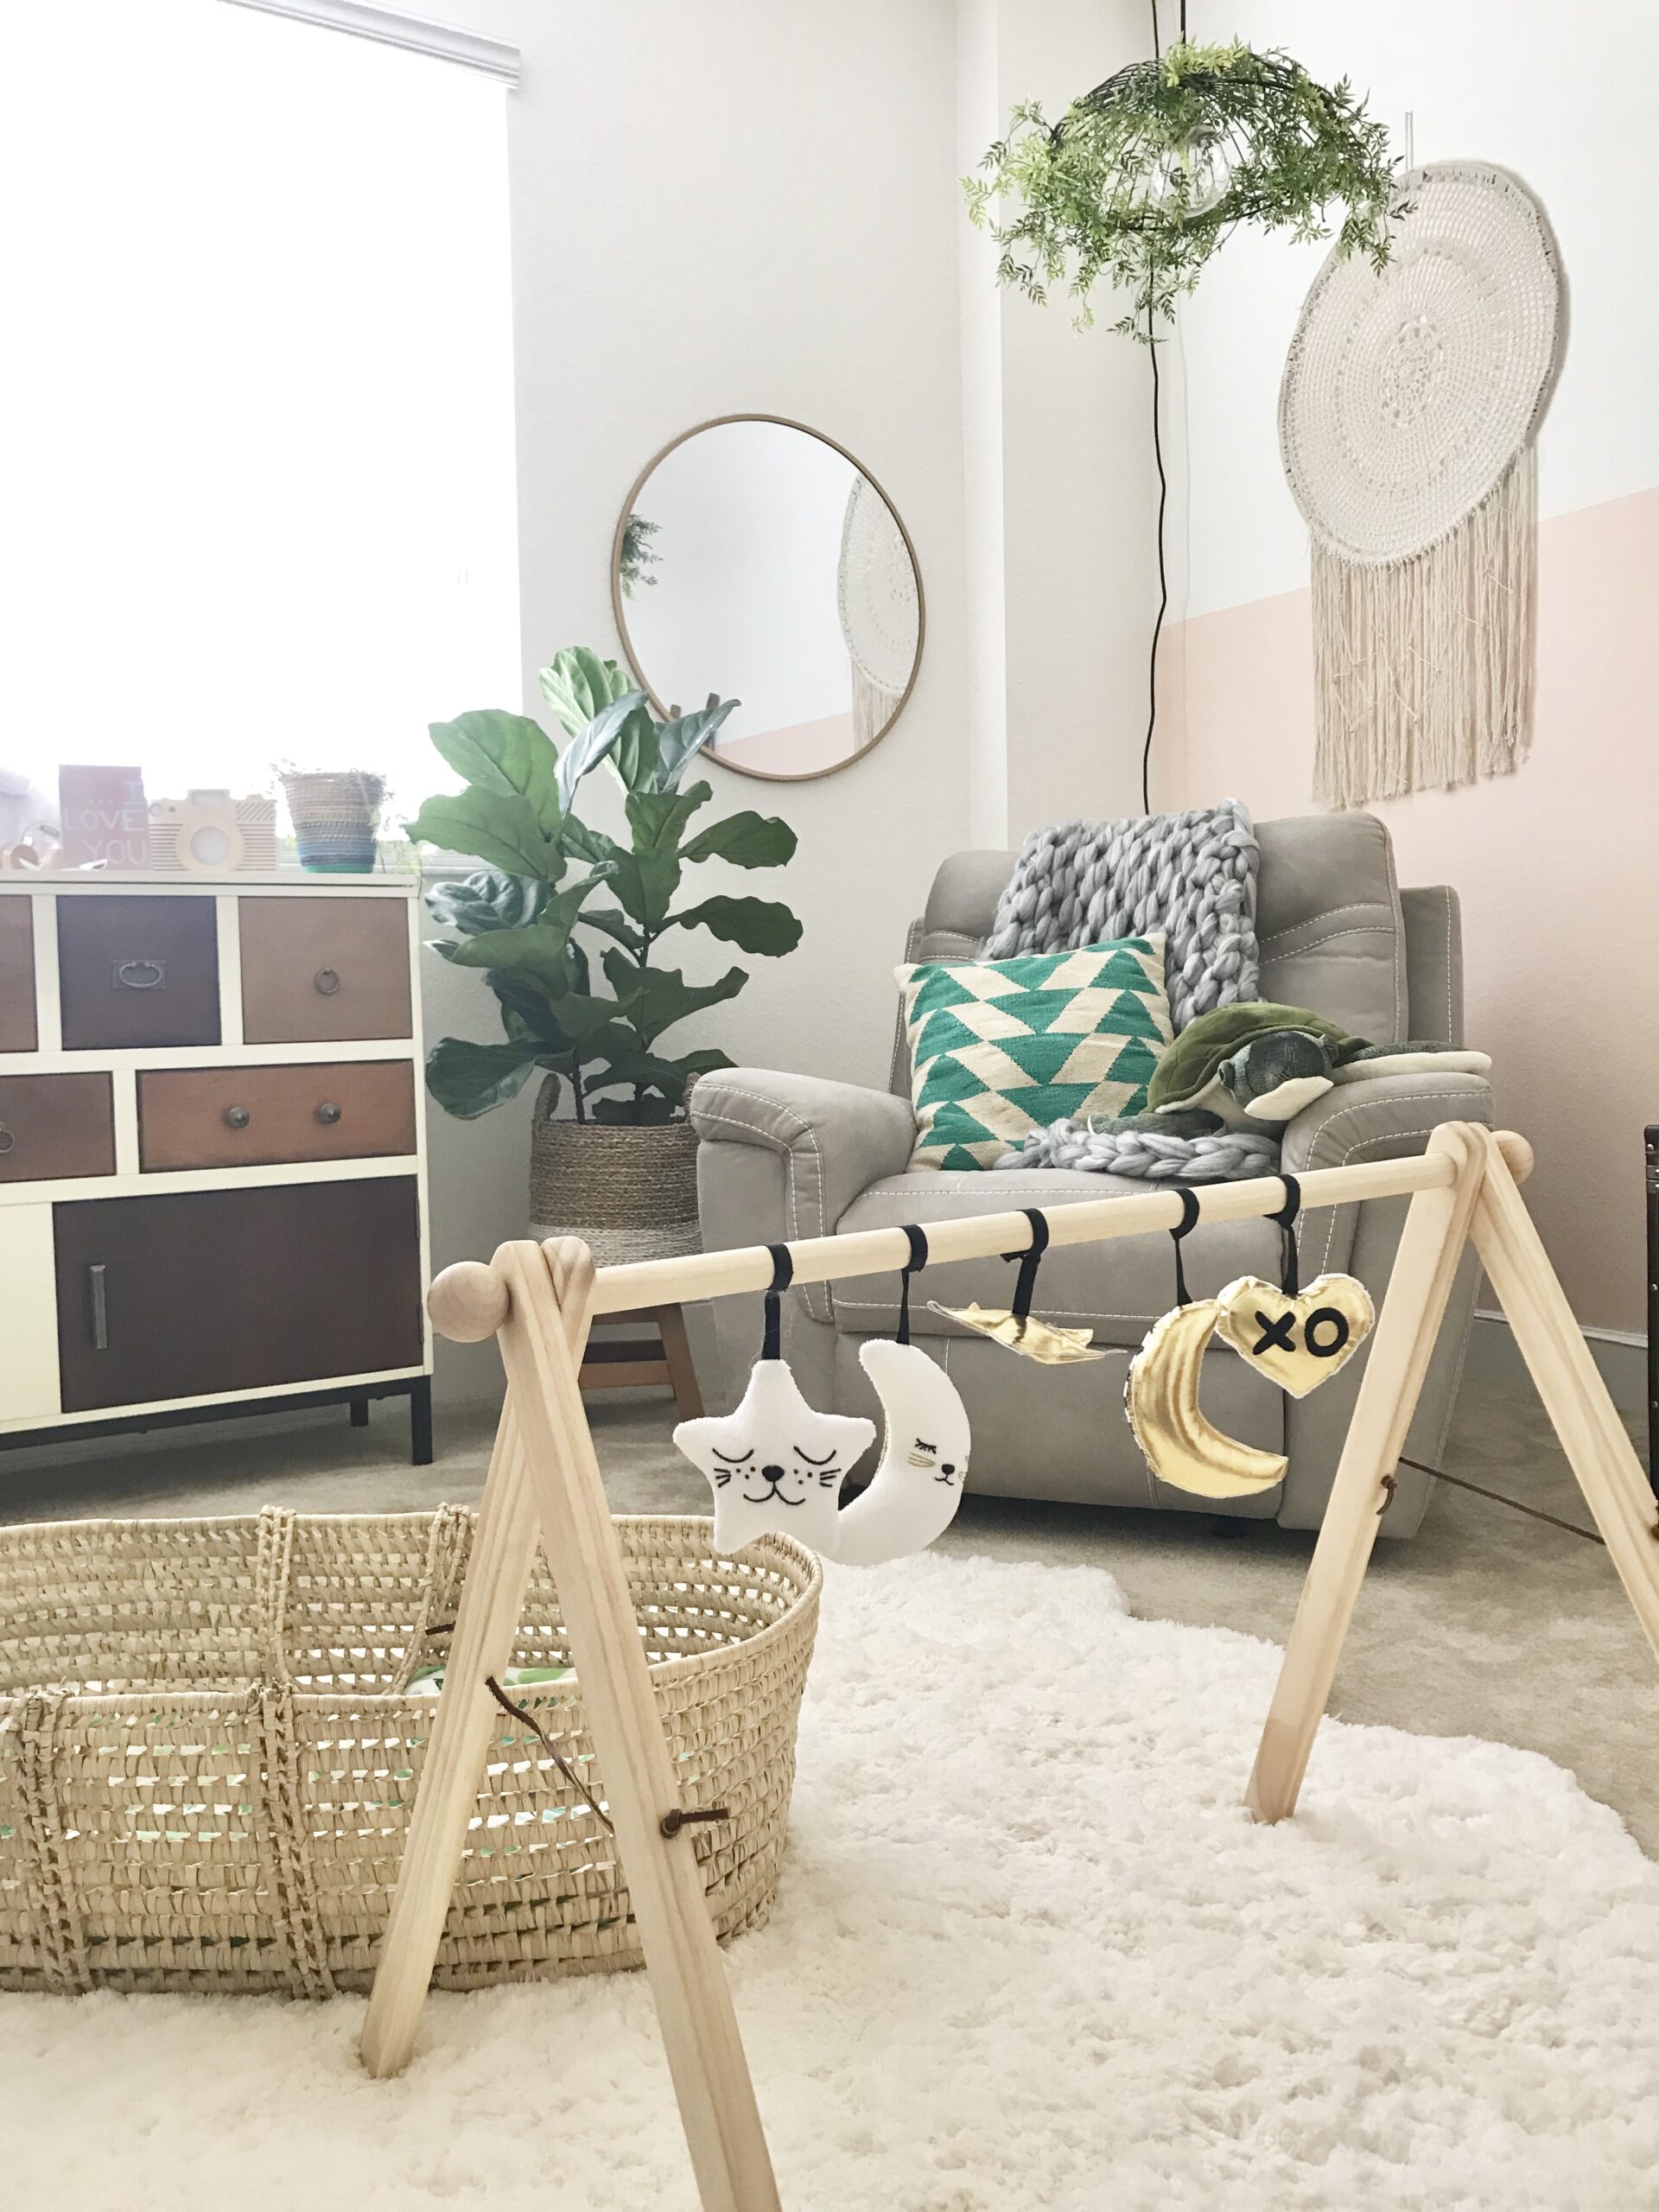
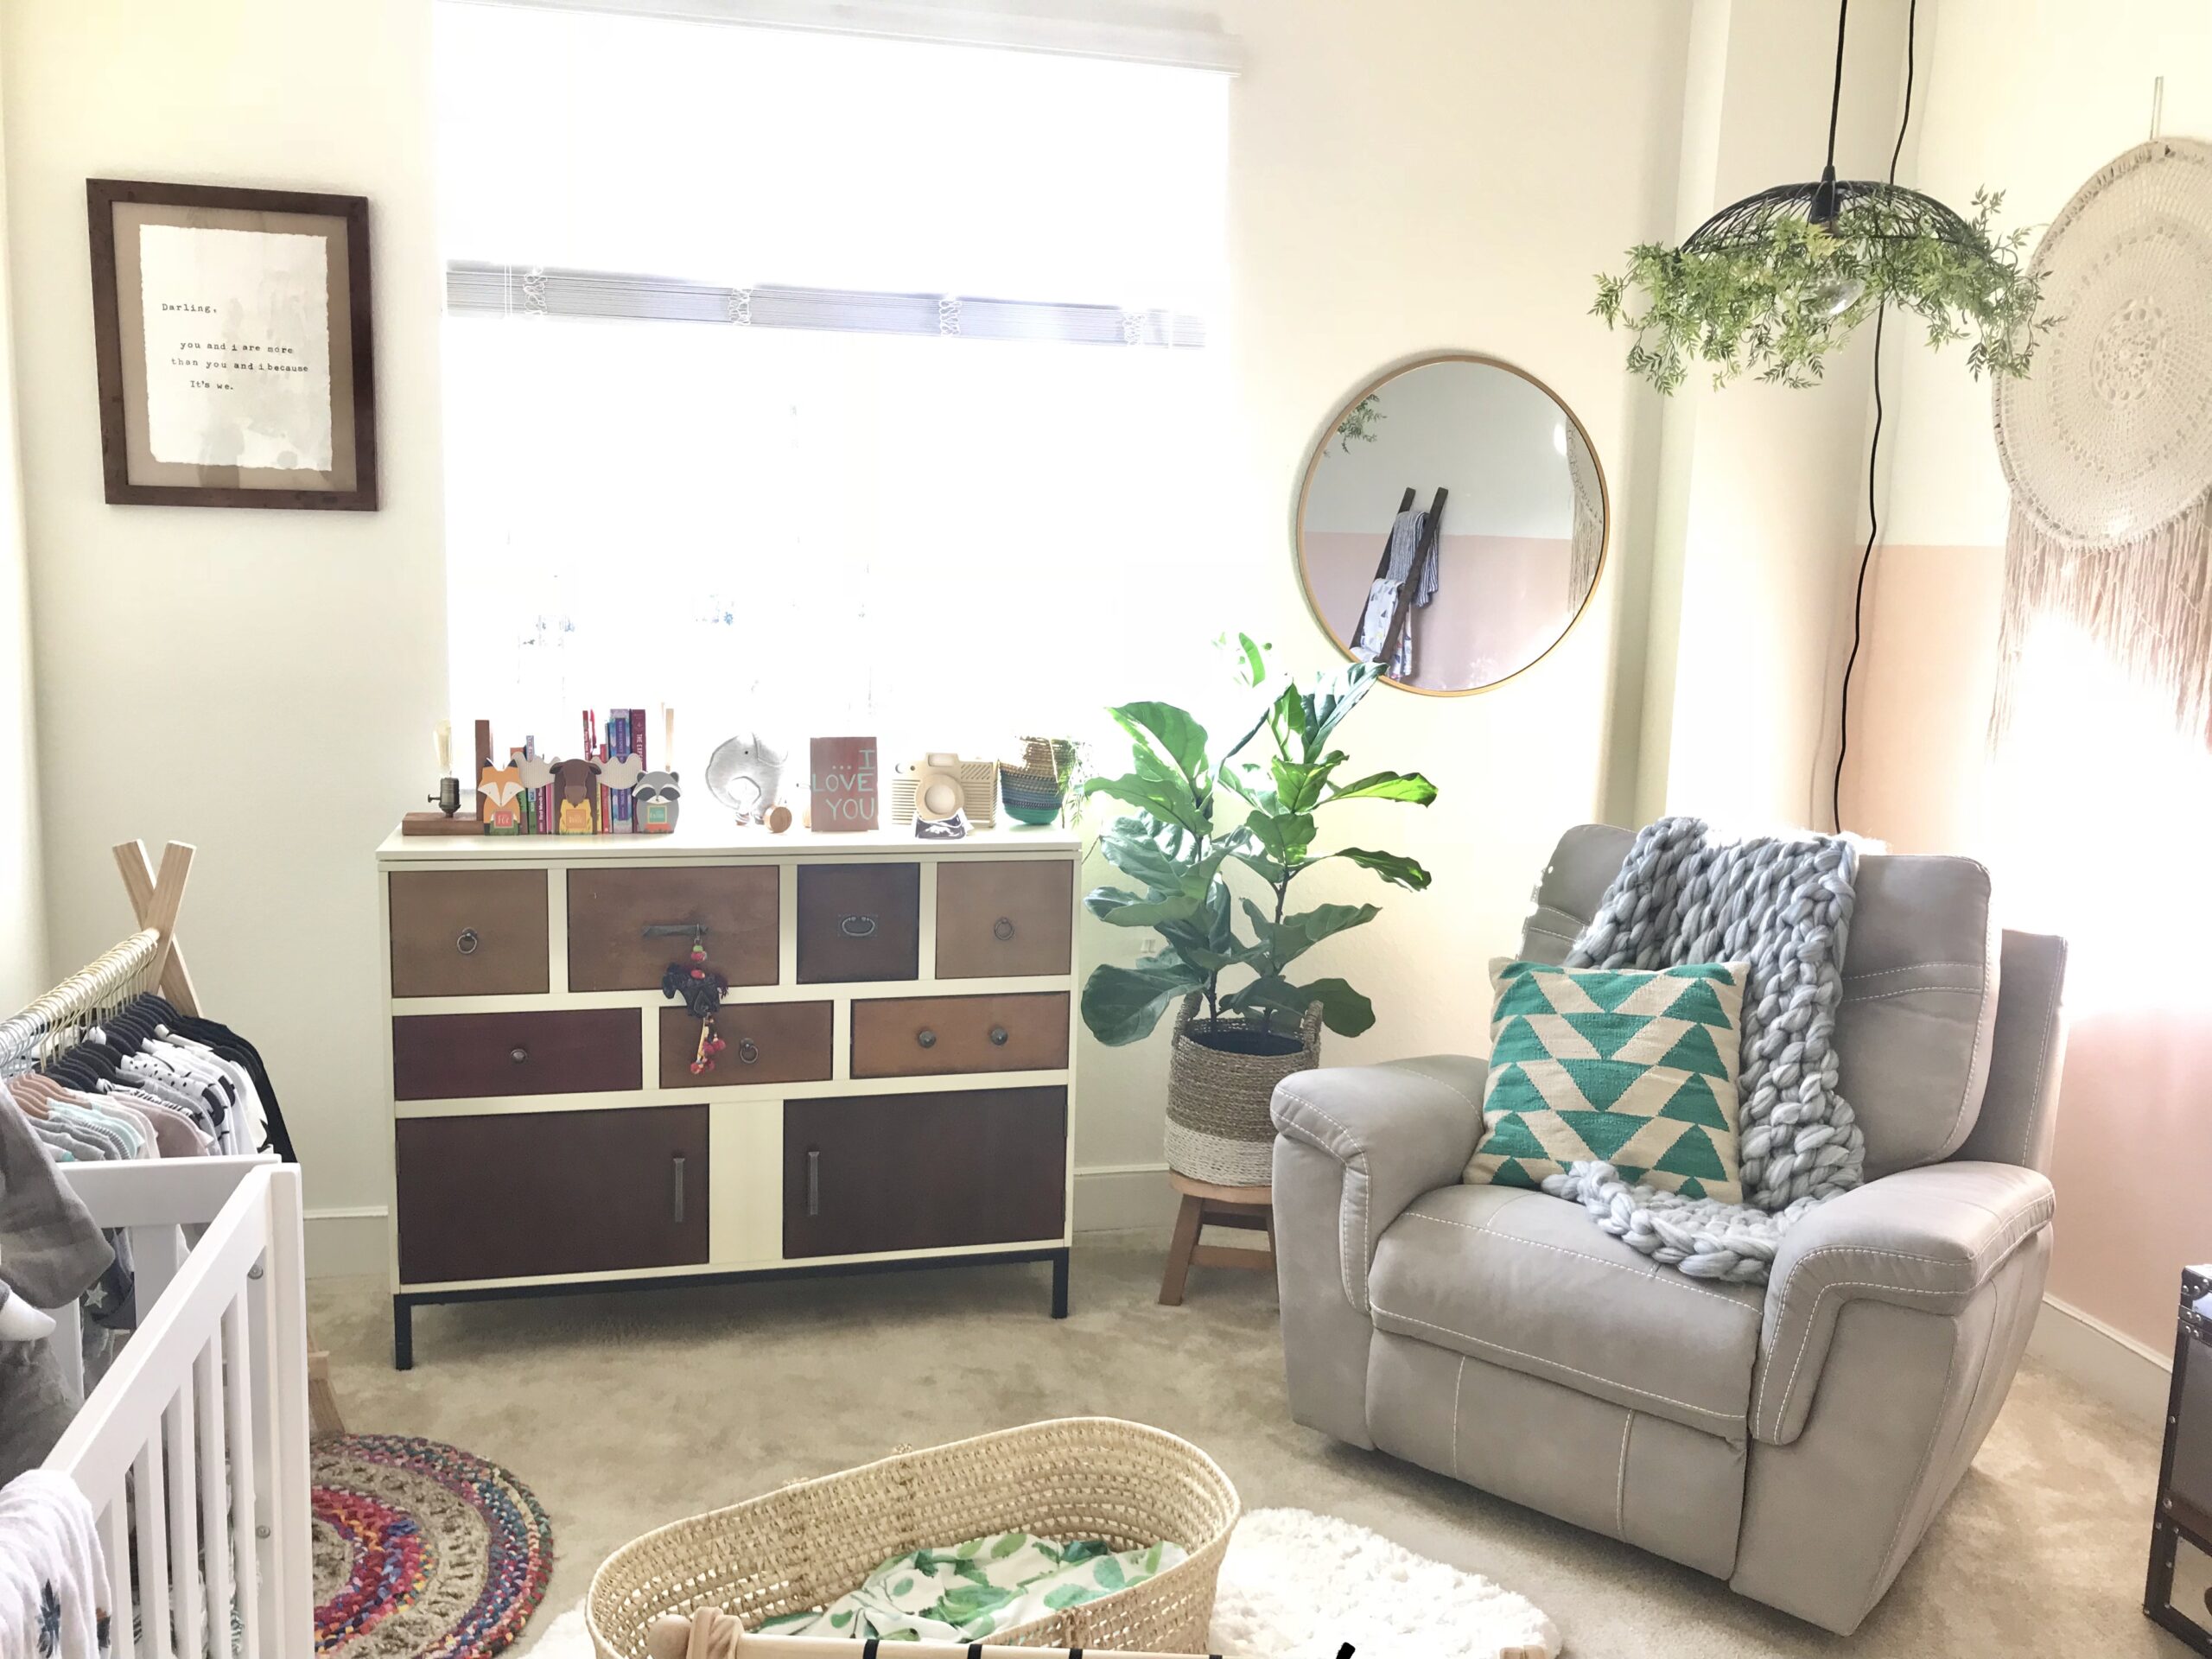
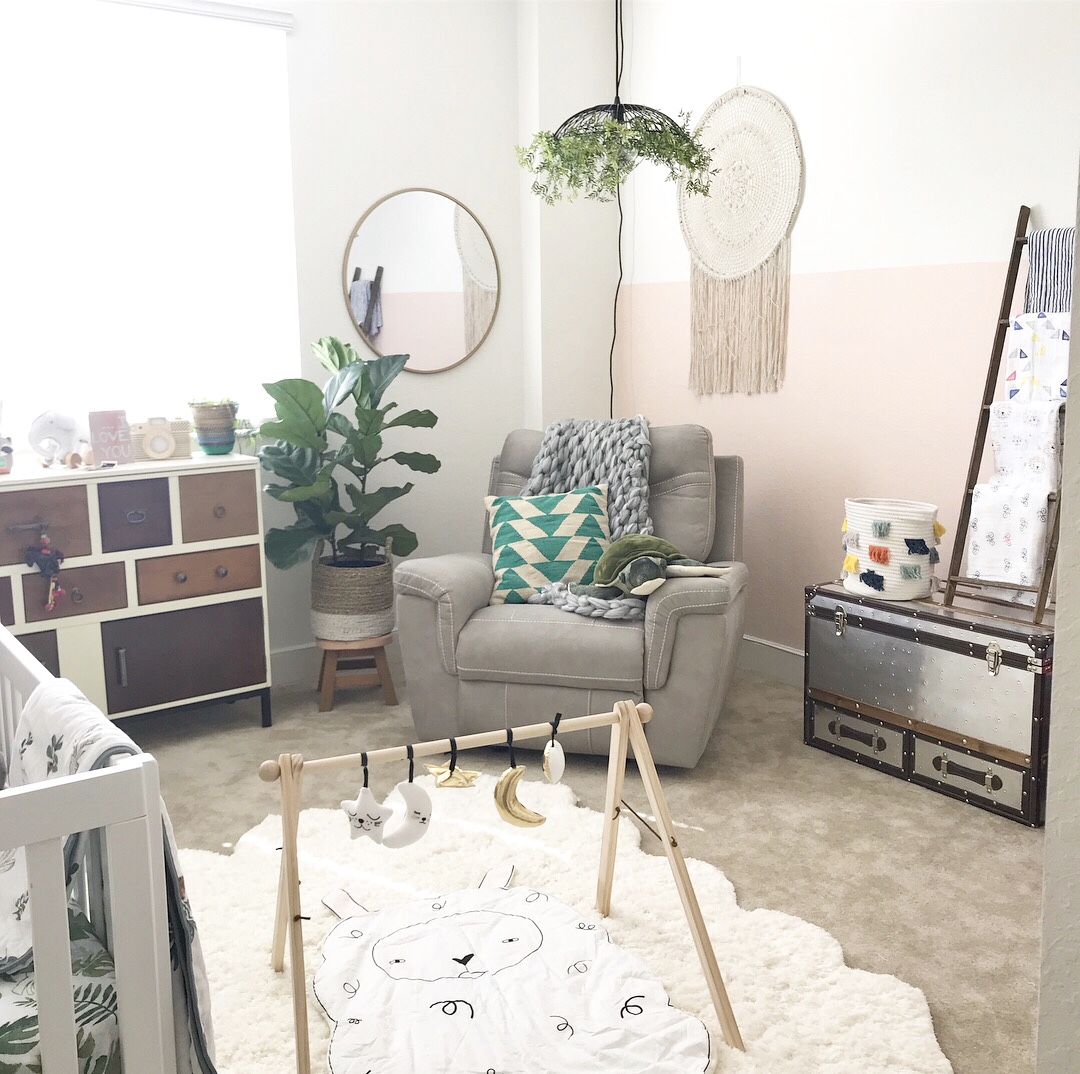
I first recycled the dresser we had in our room because I knew I wanted to work with different color woods and white giving it a touch of midcentury. The trunk was also something we weren’t using and decided to make it an accent piece of the room as well as good blanket storage (not to mention a gem I found at Homegoods years ago so I couldn’t give it up) Little by little started adding things with pop color. I also knew I wanted to get the artist in me to play draw something on the wall so thats when I chose to do some palm fronds. Later found that there was an empty space I could not figure out how to fill until my husband gave me the wonderful idea to put a quote in the room. Light bulb immediately lit up and I said “huh I know exactly the spot for it”. Quickly turned to our favorite band [Coldplay] and in minutes found the perfect quote! (Details on how I painted that below) I guess what it all comes down to is that I really never started with a set plan. Just months and I mean months of searching and finding things I liked here and there. Pretty much improvised my whole way through. Everything somehow came together into what now looks like a bohemian stumbled upon a tropical paradise.
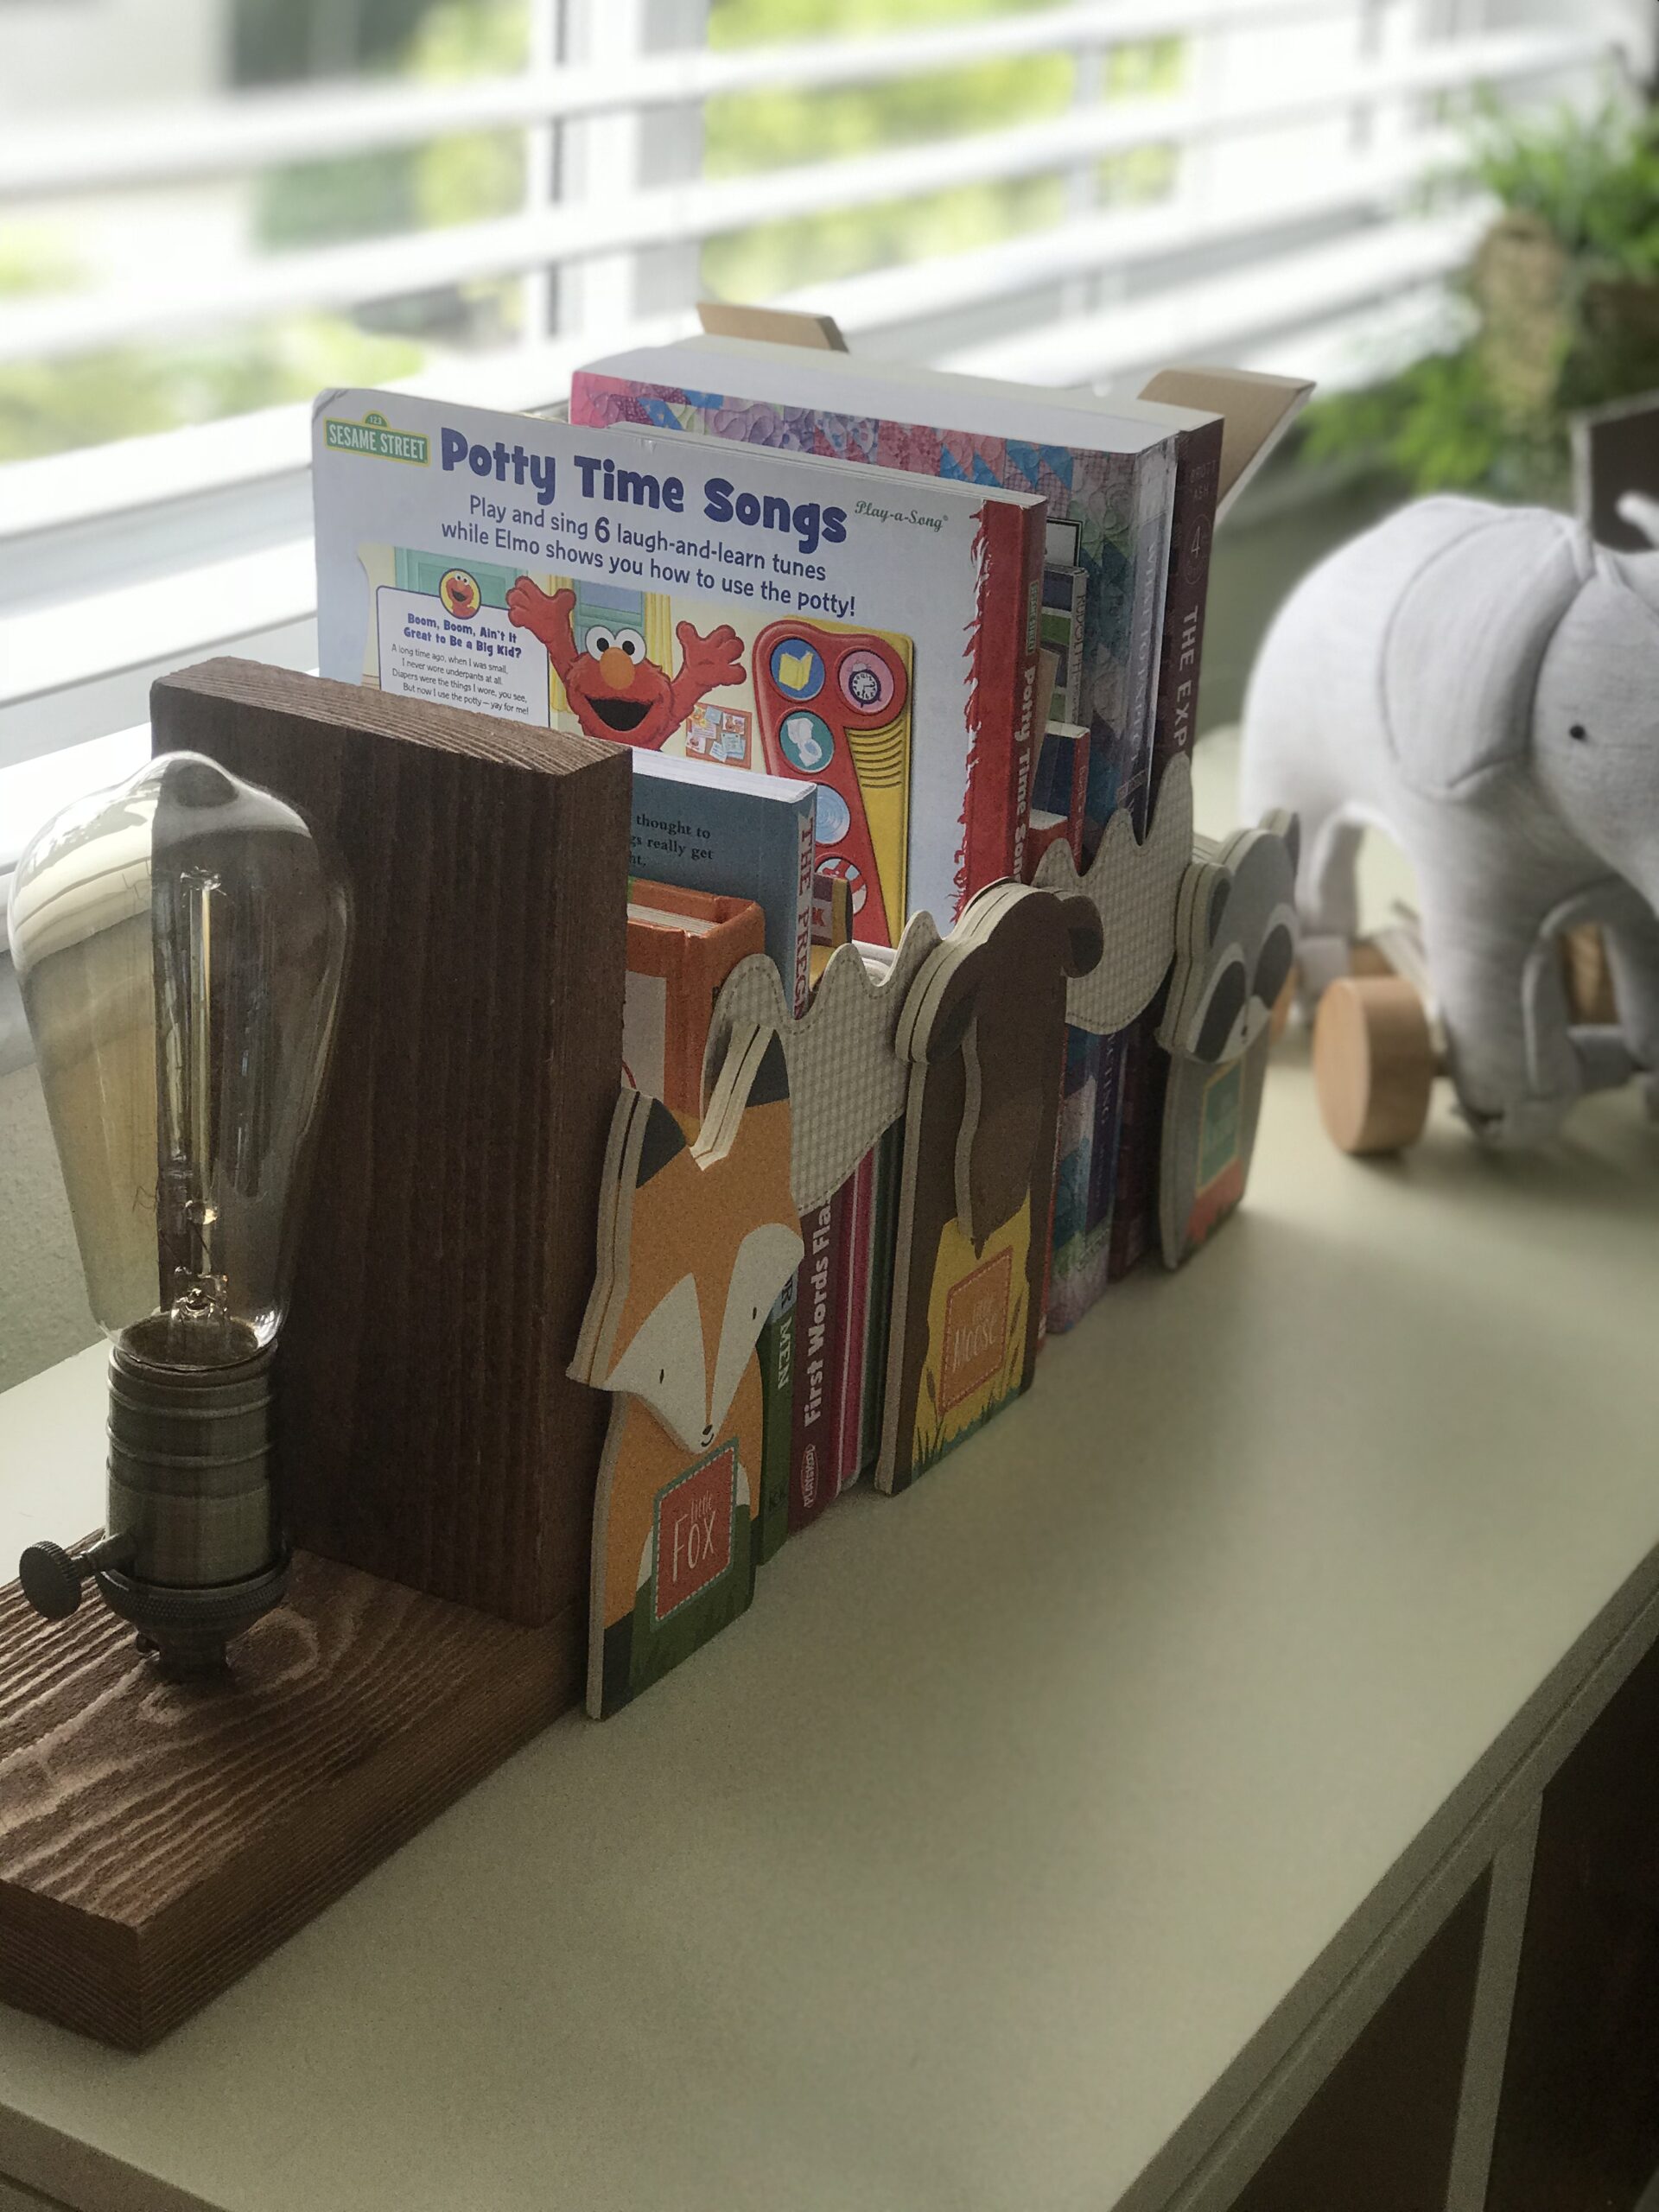
Aside from the great light the room gets during the day, my favorite part is when both edison lights are on which a little touch of the camera night light. Most relaxing nook of the house! To be honest I catch myself (very often) walking in for no reason which is why I think I may just in move there!
DIY Quote: “Everything is a DREAM away” – Coldplay “Adventure of a Lifetime”
1. First aligned scotch tape to make sure I was writing in a straight line lol.
2. Then I stared by hand sketching with pencil first
3. Carefully painted with water base paint. (Just an 8 oz sample paint) that’s actually more than enough but also the least amount I’ve found they will sell to you at Homedepot.
4. Next day I went in with magic eraser to remove the pencil marks left behind.
3D Dream metal sign: Michaels (dont forget your 40% coupon) and VOILA…. this became the centerpiece of the room!
THRIFTED mini ladder
THRIFTED red abstract canvas
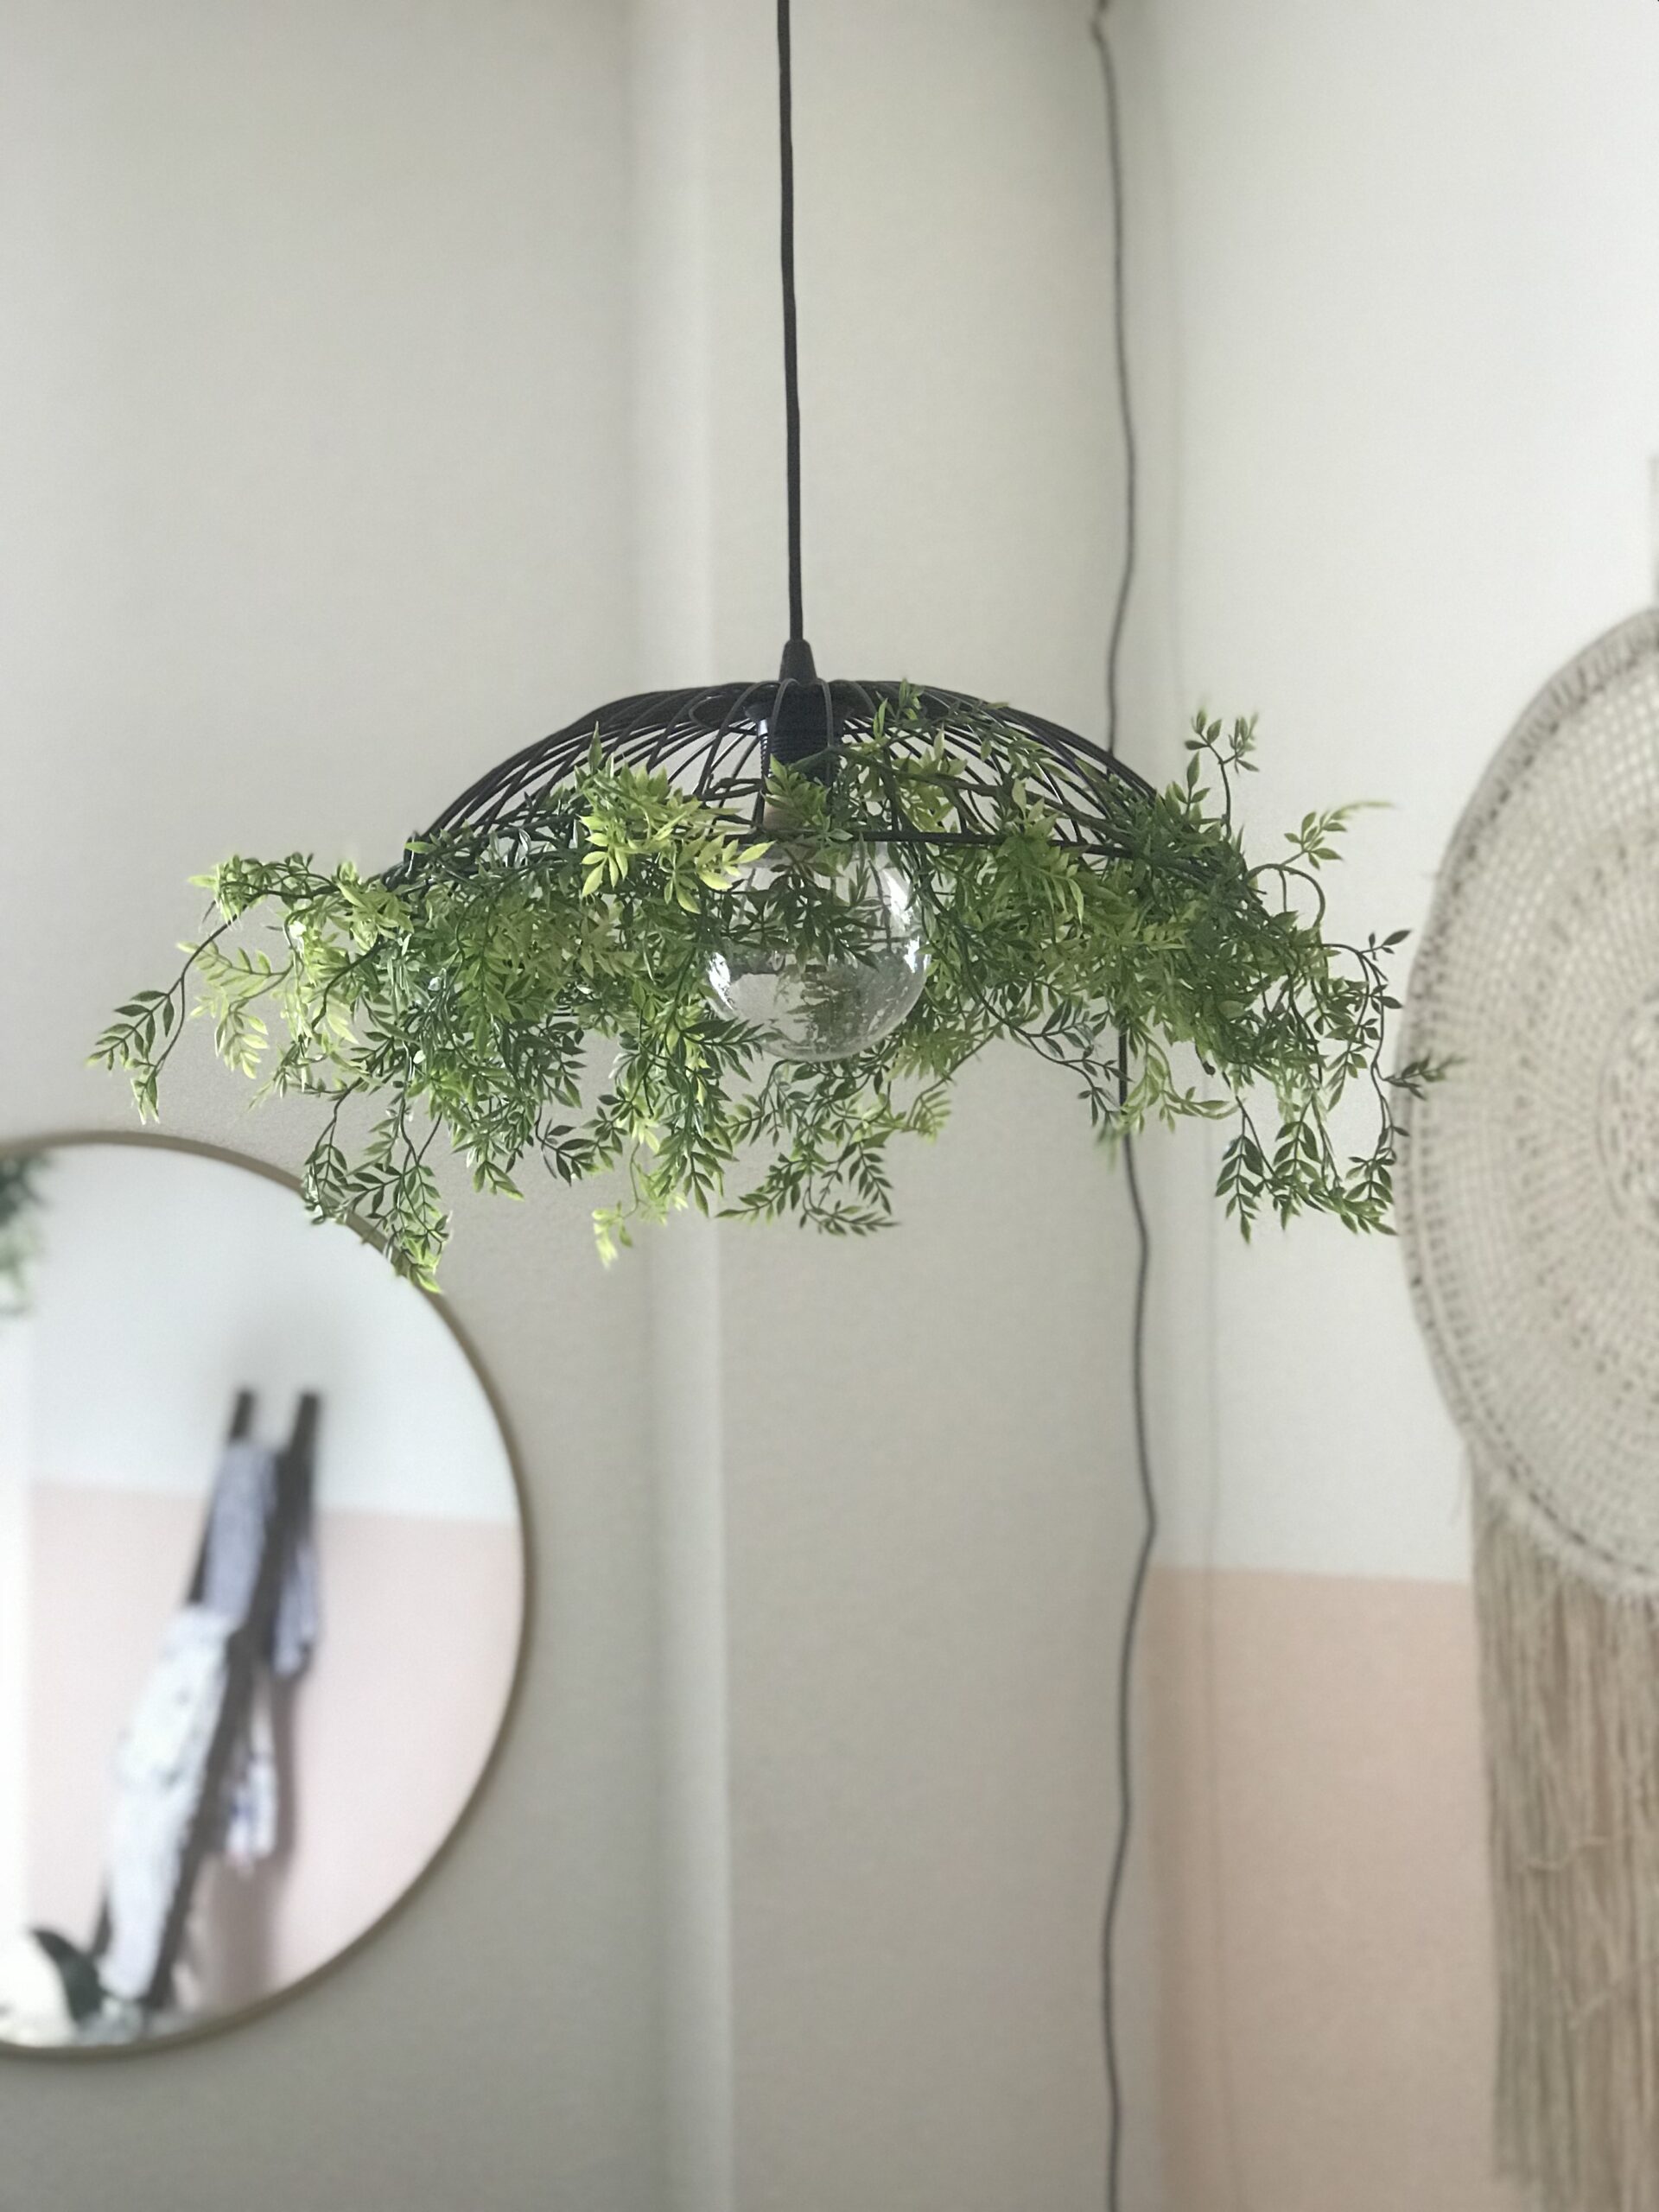
THRIFTED round mirror (awesome find)
Large dream catcher: Homegoods! $24 (had a lady following me around the store see if I would put it down. NOT TODAY!
DIY Handpainted …I LOVE YOU flat canvas. Made these years ago for my husband. Now passing the love onto Baby!
DIY Palm Leafs: Also hand painted with three shades of green (sample) paint. Used dense foam brush for the strokes. Video lapse on my page @natalia.estela
DIY Lamp: wire basket from Homegoods then ran a rope pendant light cord with an edison light bulb. Wrapped green garland from Michaels around the base. Lighting is not very bright. You can choose a brighter bulb but personally I like the dimness in the room. Makes it more cozy!!
***SEE OTHER SOURCES BELOW


Comments
Beth
Those hand painted ferns are AH-mazing! I totally thought they were real at first glance. Thanks for sharing all the details on how you created your DIYs!
Natalia Estela
Thanks for the love Beth!! This was definitely a fun project :)
Melissa Rodriguez
I love love love love it!!!!!!! You’re going to be such an amazing momma!!!!