
Shop Suggestions
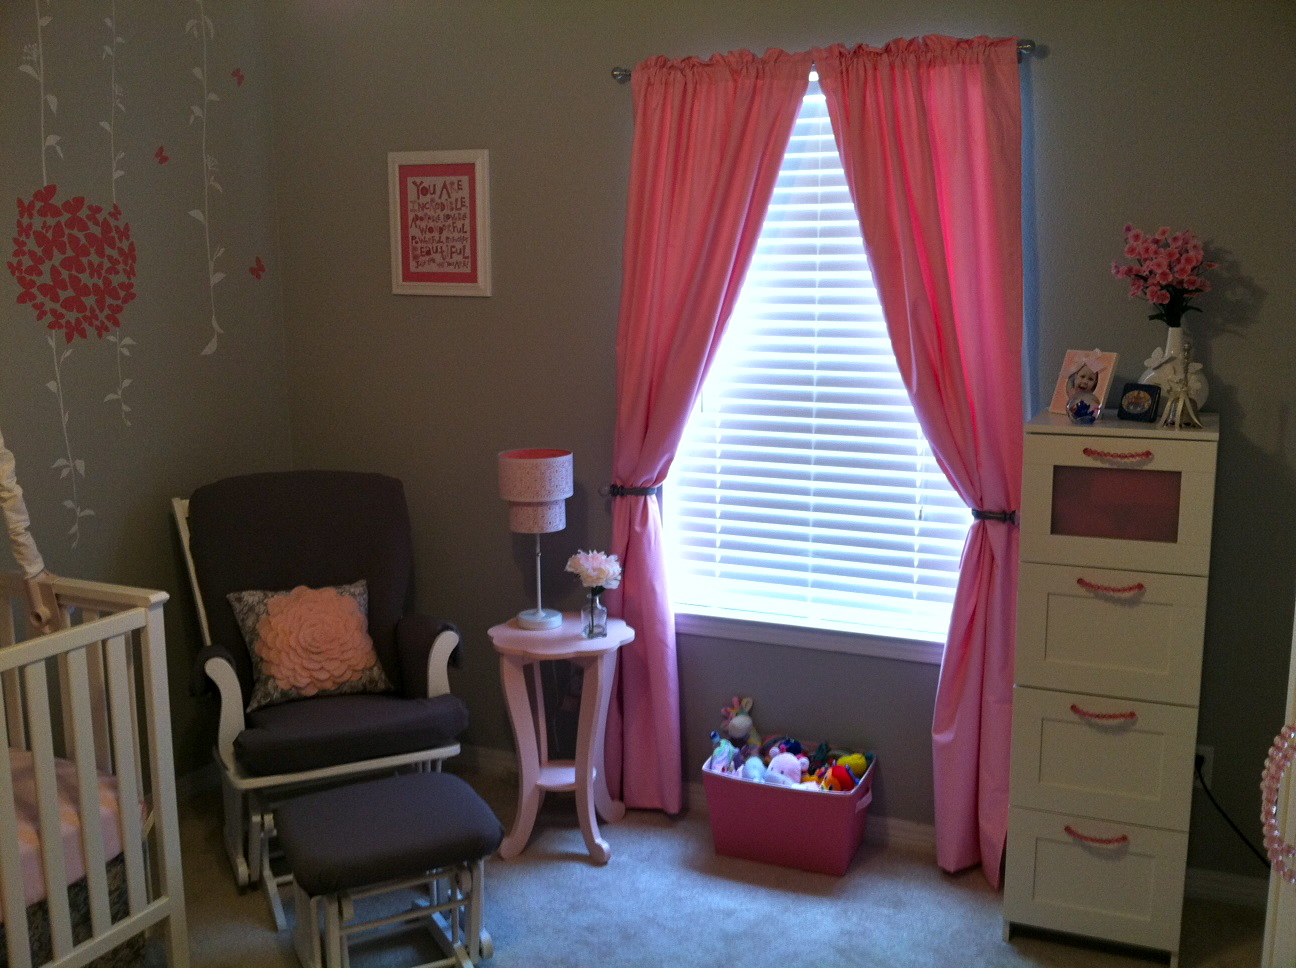
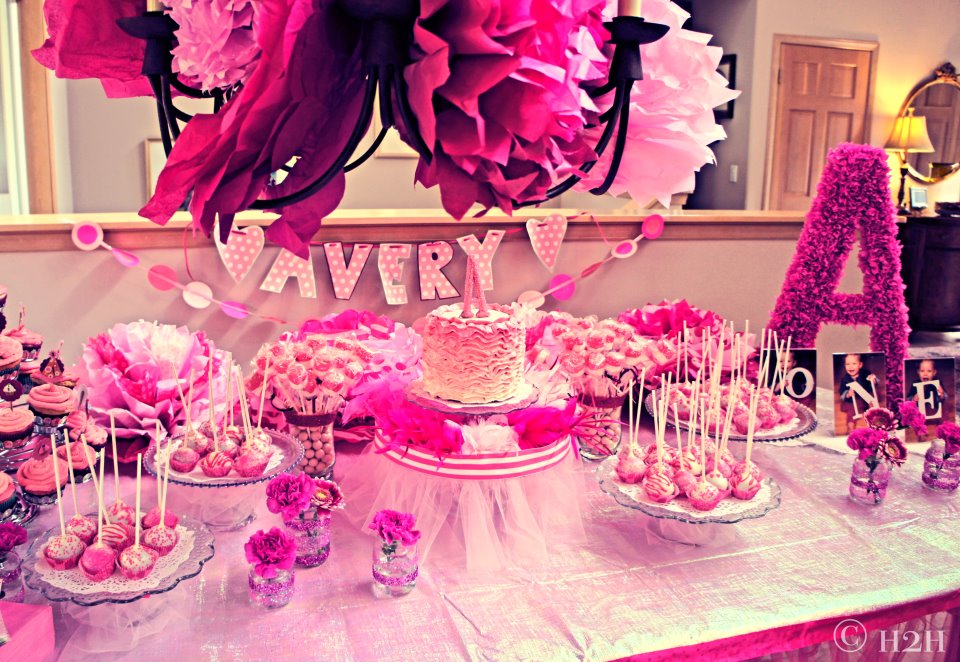
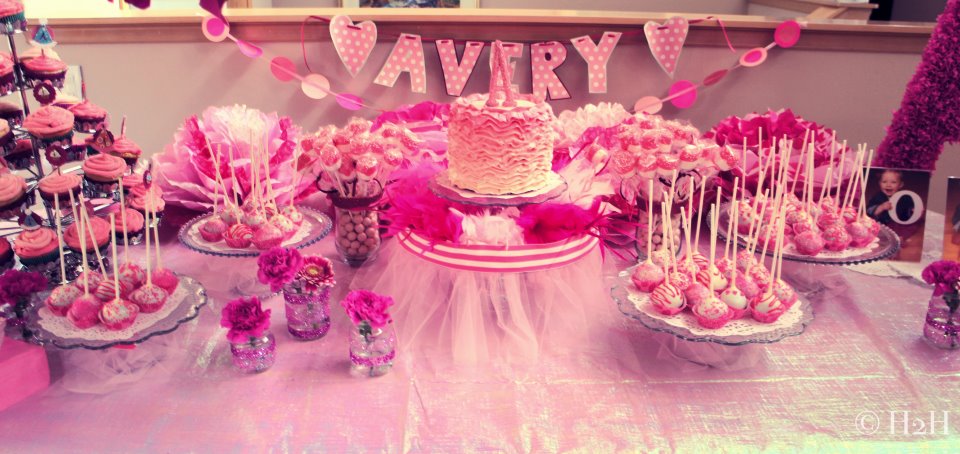
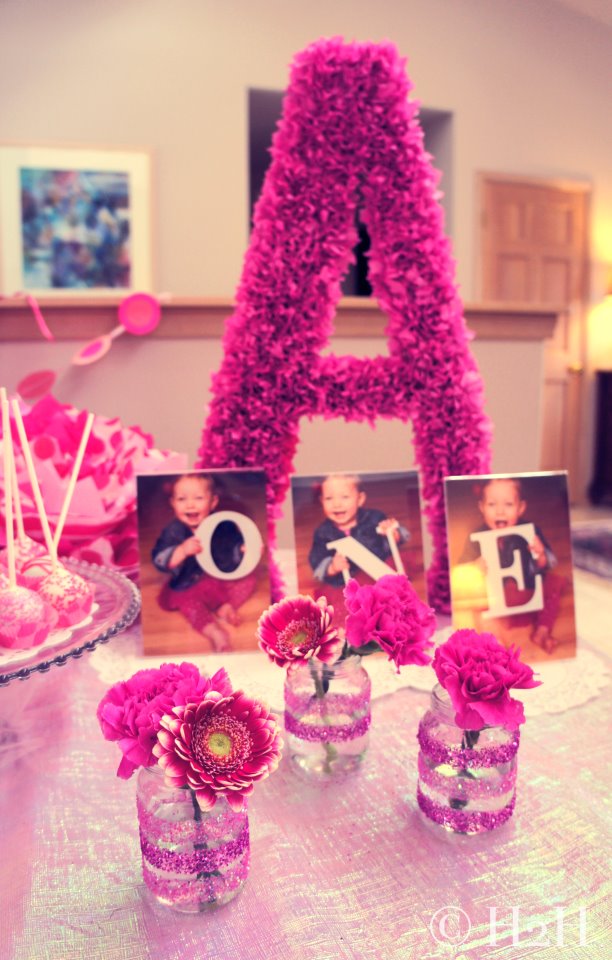
This first birthday party was fit for the ultimate girly-girl complete with tutu favors, a custom pink drink, ruffle cake, pink desserts and lots of style! A custom party by Hostess to the Host.

HostesstotheHost
Expectant first-time mom, but have been a mommy to my little man, a westie named Monsieur Kosmo for 7 years. I have a background as a graphic designer and am currently a third grade teacher. I've started up a side business styling and planning events...design, art, and making people smile with quirky, pretty style is what I live for!

Comments
sherri
How did you make the large letter “A”?
April
I love this theme. You did an awesome job! How did you make the large letter A?
Kristy
Did anyone make the A and way did you use
Summer
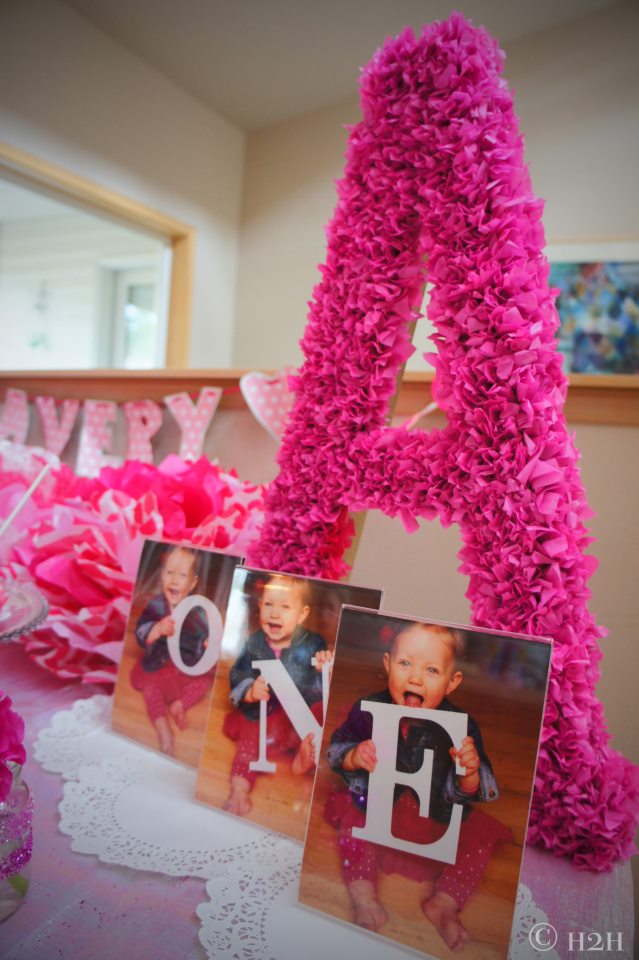
The letter A was made by purchasing a cardboard letter from Michaels or JoAnn Fabrics. I then cut up tons of small squares of tissue paper (about one inch squares). The next step is to use the eraser of a pencil, place the eraser into the center of the square and twist the paper in a circular motion around the eraser until you’ve made a little ‘cup’ of paper. Last, you dip the paper ‘base’ (with the eraser still in it) into a bit of glue – I used Tacky Glue, then apply it to the surface of the letter. Once you get the hang of it, it goes fairly quickly but it is a bit of a process. The large A took me about an hour and 1/2 to complete. They now hang in my nieces room. Happy crafting!
Amber NeCamp
What does it say on the tutus you gave away??
Kathy
Do you have a video tutorial of how you did the later A?
Christy
Did you make the cake? Is that fondant used or icing? Adorable!
Stephanie
You can YouTube a lot of the stuff.. like the tissue flowers and diy birthday decorations. U can also probably Google how to make and decorate the cake like that or similar as well. I’m in the process of watching lots of videos for my daughter’s birthday
Shana
What size is that letter A?! 12 or 24″