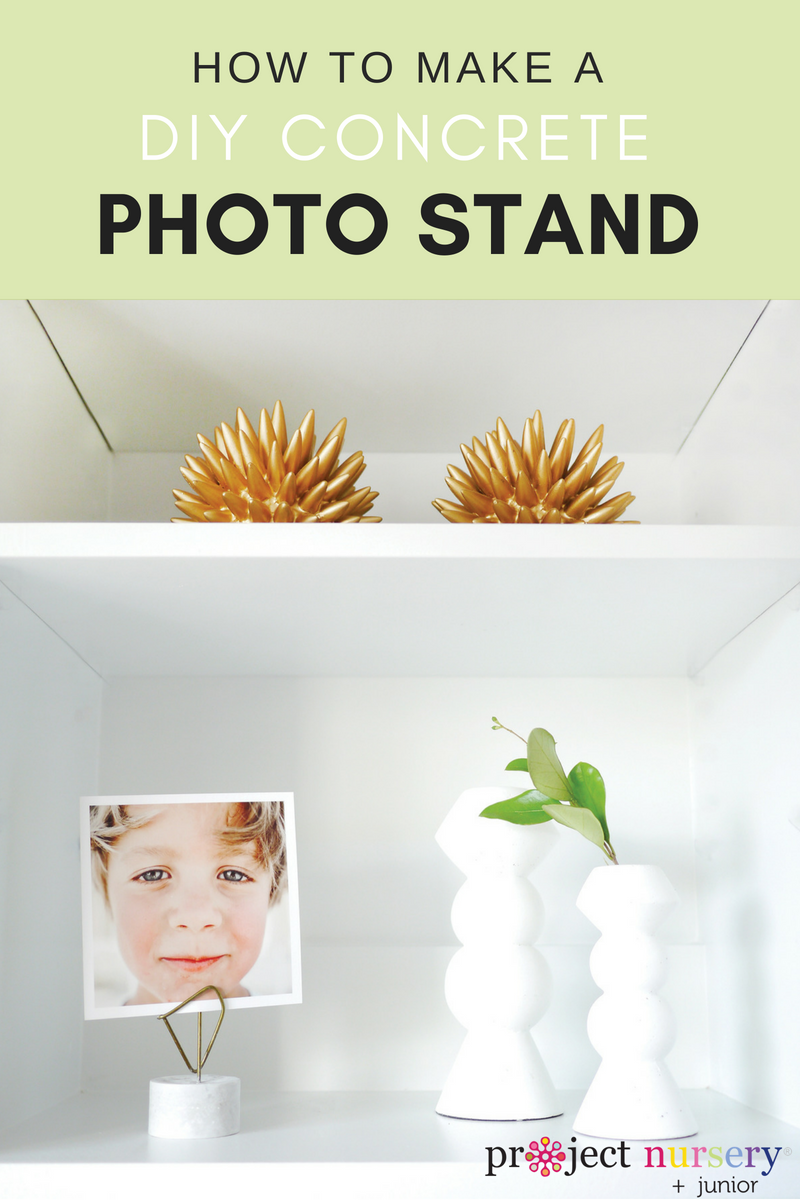
What do you get when you mix concrete with a mailing tube plus an old hanger? A beautiful photo stand, of course. Lately, I have been printing 5×5 photo prints of our family vacations to display around the house. I love the look of the square prints with the white borders around them, but I am not a big fan of picture frames. Why? Well, I guess I am still trying to figure that out myself. So, while I was thinking of the best way to showcase these prints, I opted to create small and elegant concrete stands for them.
 8 Pounds of Love Birth Announcement
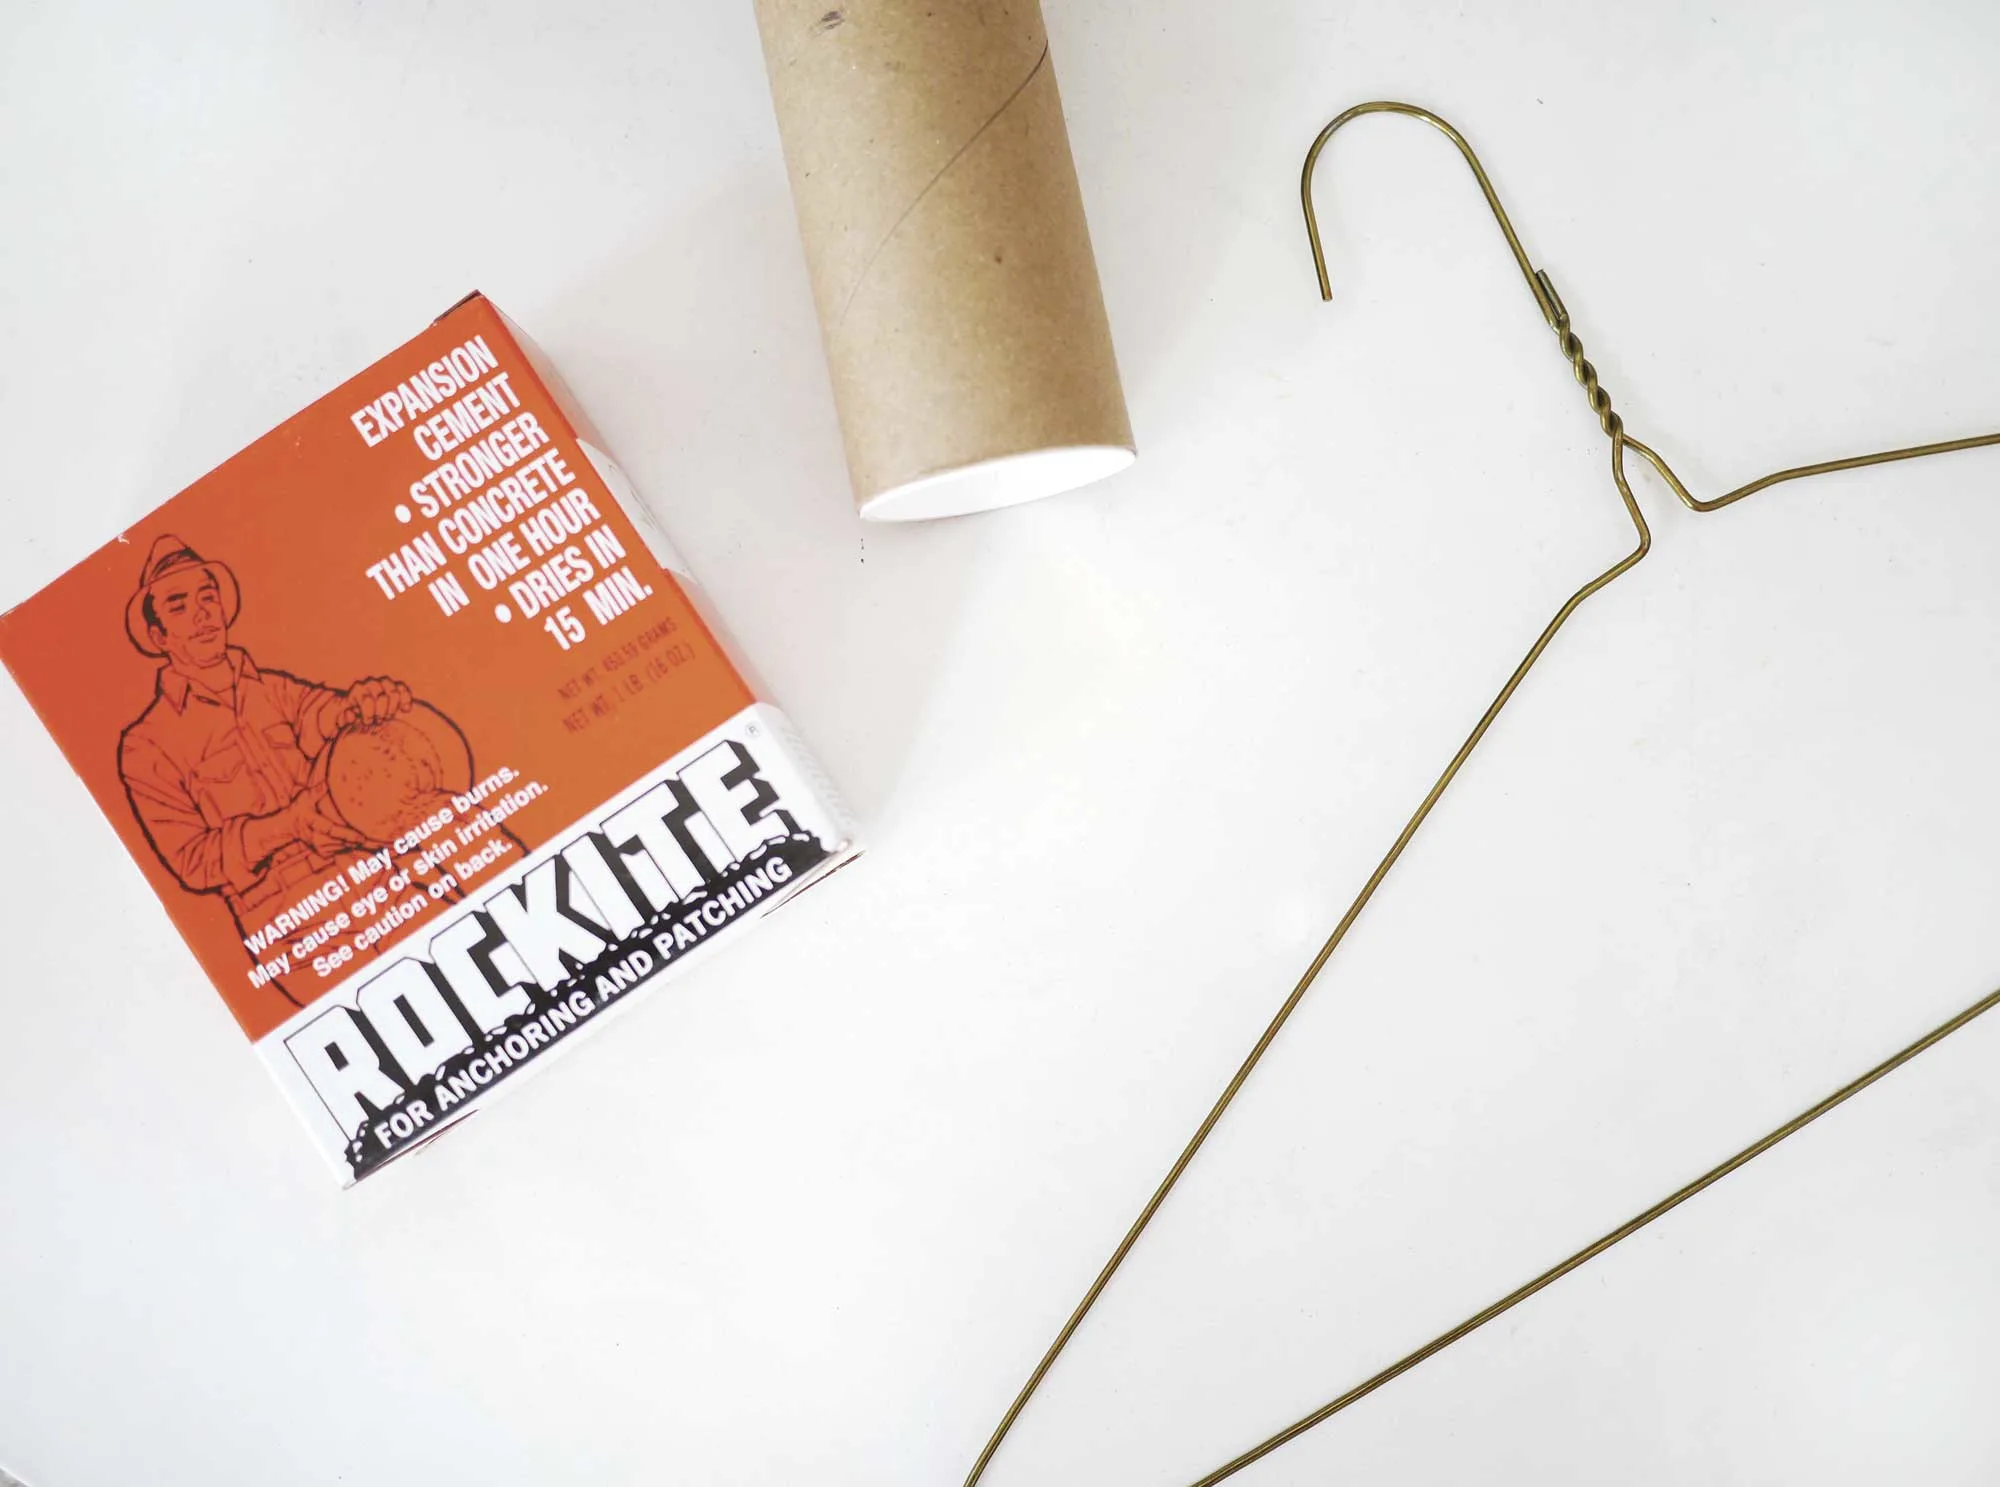
To tackle this project, you will need an old hanger, a mailing tube, and a small box of Rockite. You can also use any other type of wire that you find around the house instead of the hanger. But I do love the look of the antique brass from this old hanger.
 Materials: Rocktite, Brass Hanger or Wire, Mail Tube or similar

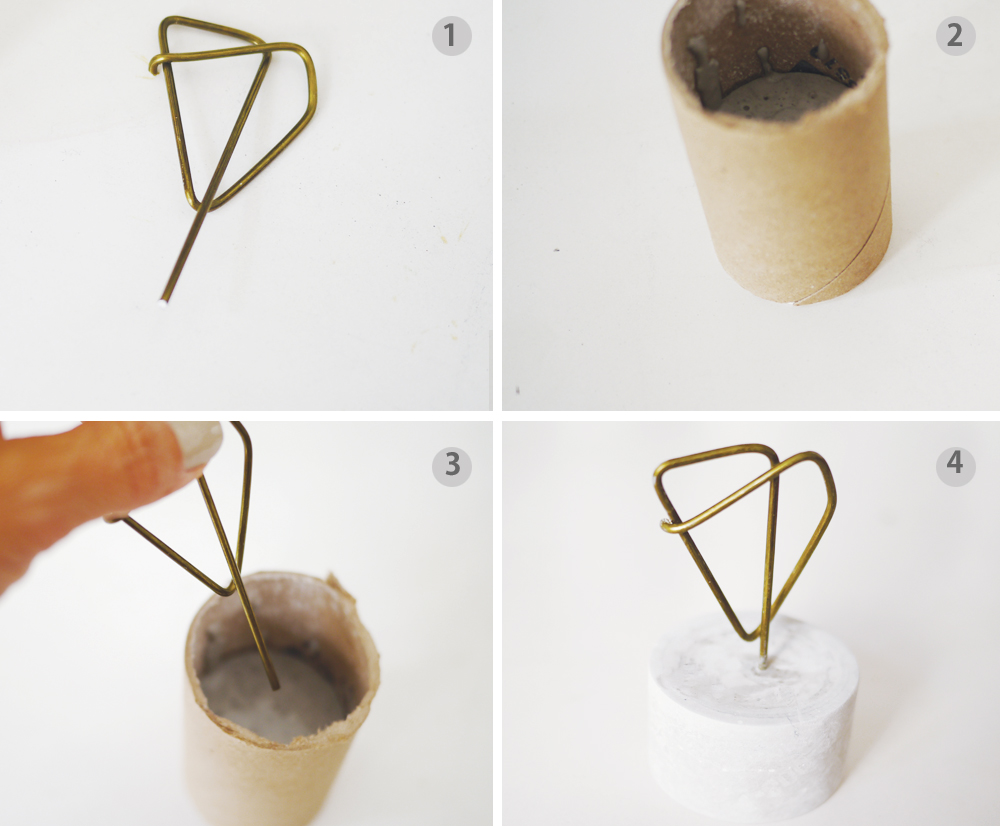
1. To start creating this photo display stand, you want to use pliers to mold the hanger piece just like the format you see on image 1 above. Make sure to leave about 1 inch of wire so you can place it into the cement.
2. Mix the cement following the directions from the Rockite box. Measure 4 inches and cut the mailing tube to size. Pour the cement into the mailing tube until approximately half of the tube has been filled. The finished concrete base should be about 1.5 to 2 inches high.
3. Wait for the cement to dry some but not completely (mine took about 7 minutes). Then insert the molded brass wire into place like image 3.
4. Once the concrete dries, peel off the mailing tube to reveal the photo stand. Sand it down to make it more uniform, but leave some of the inconsistencies too. And that is it. An instant classic display for your photo prints.

This is a simple way to create a statement piece with your favorite photos. I really love the look of it and plan on making many more to have around the house.
Do you want to see more DIY projects? So visit us here.
*this post contains affiliate links*
