Cricut has introduced a lot of new products over the last year, but there is no product that has me more excited than their new SPORTFLEX Iron-on. Let’s just say, I had my own personal mom fail not too long ago attempting to DIY my kids’ sports jerseys with traditional iron-on. Spoiler alert, it didn’t work! Now with SPORTFLEX Iron-on, I can finally get my iron-on to stick (and stay put) to activewear. I love personal workout gear, and I can’t wait to customize my own workout tees. But for you all, I’m sharing a fun DIY maternity workout shirt that will let everyone know you’re working out for two. Get ready mamas-to-be, this one is for you!
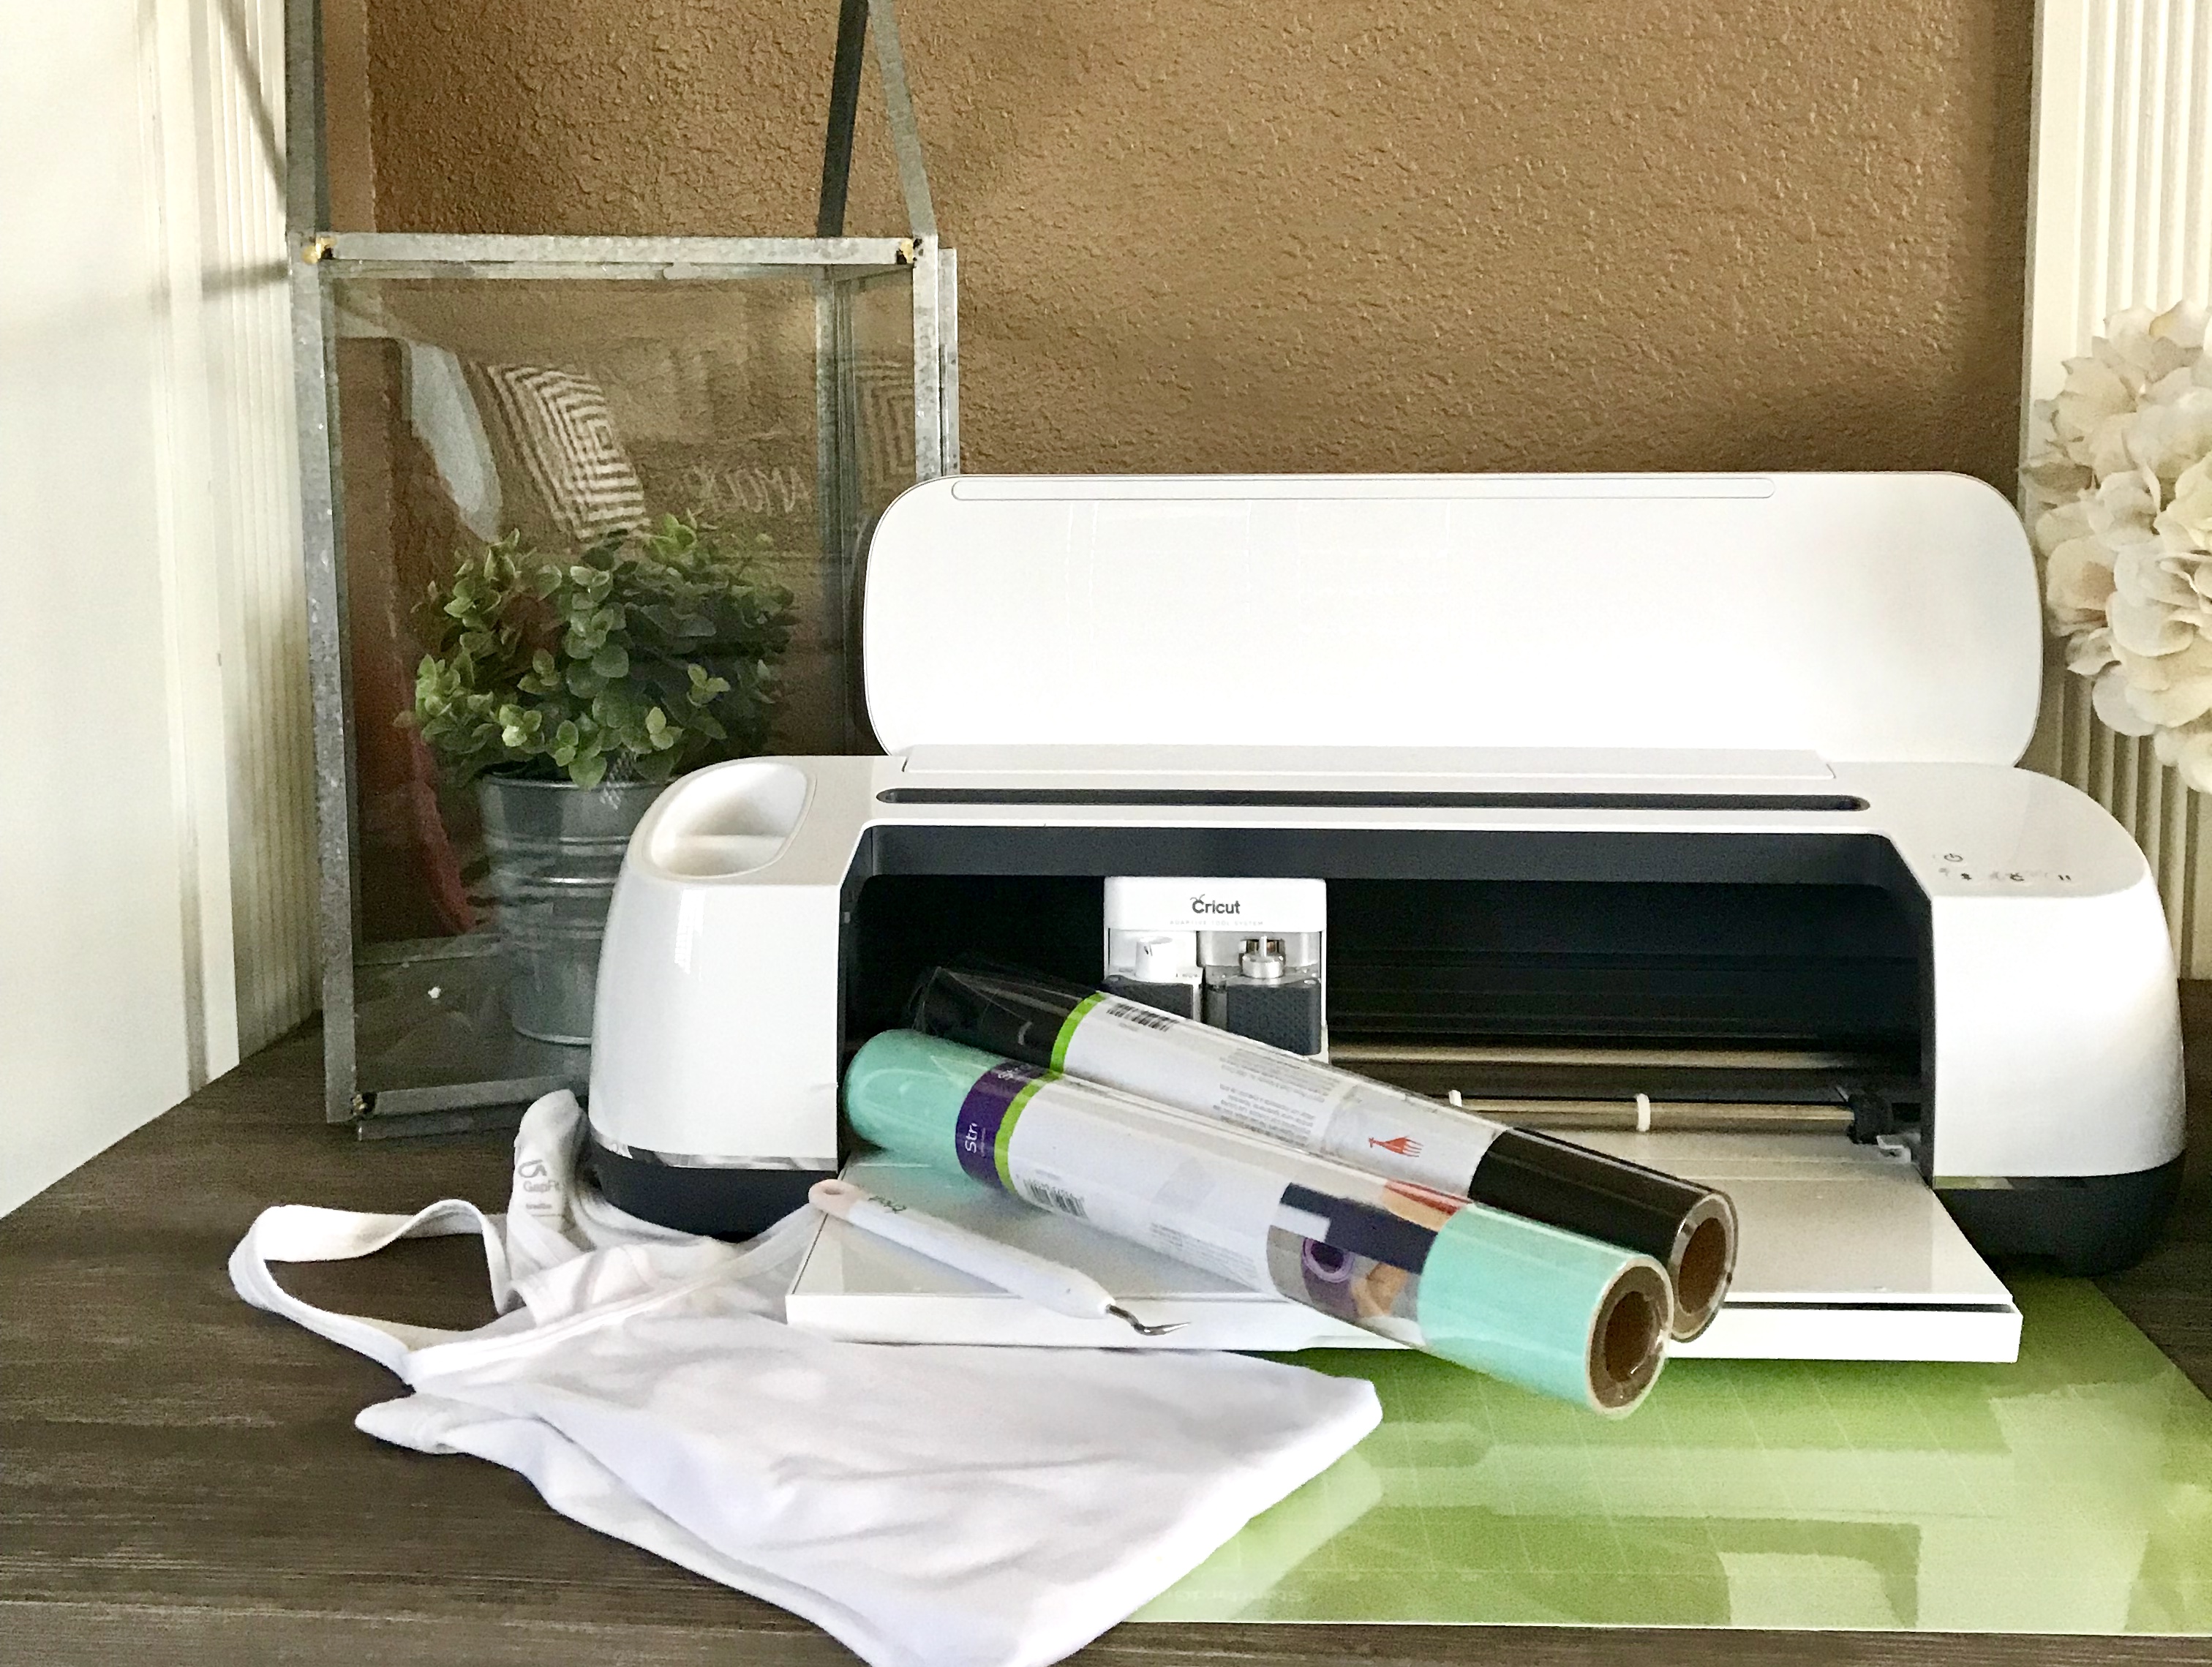
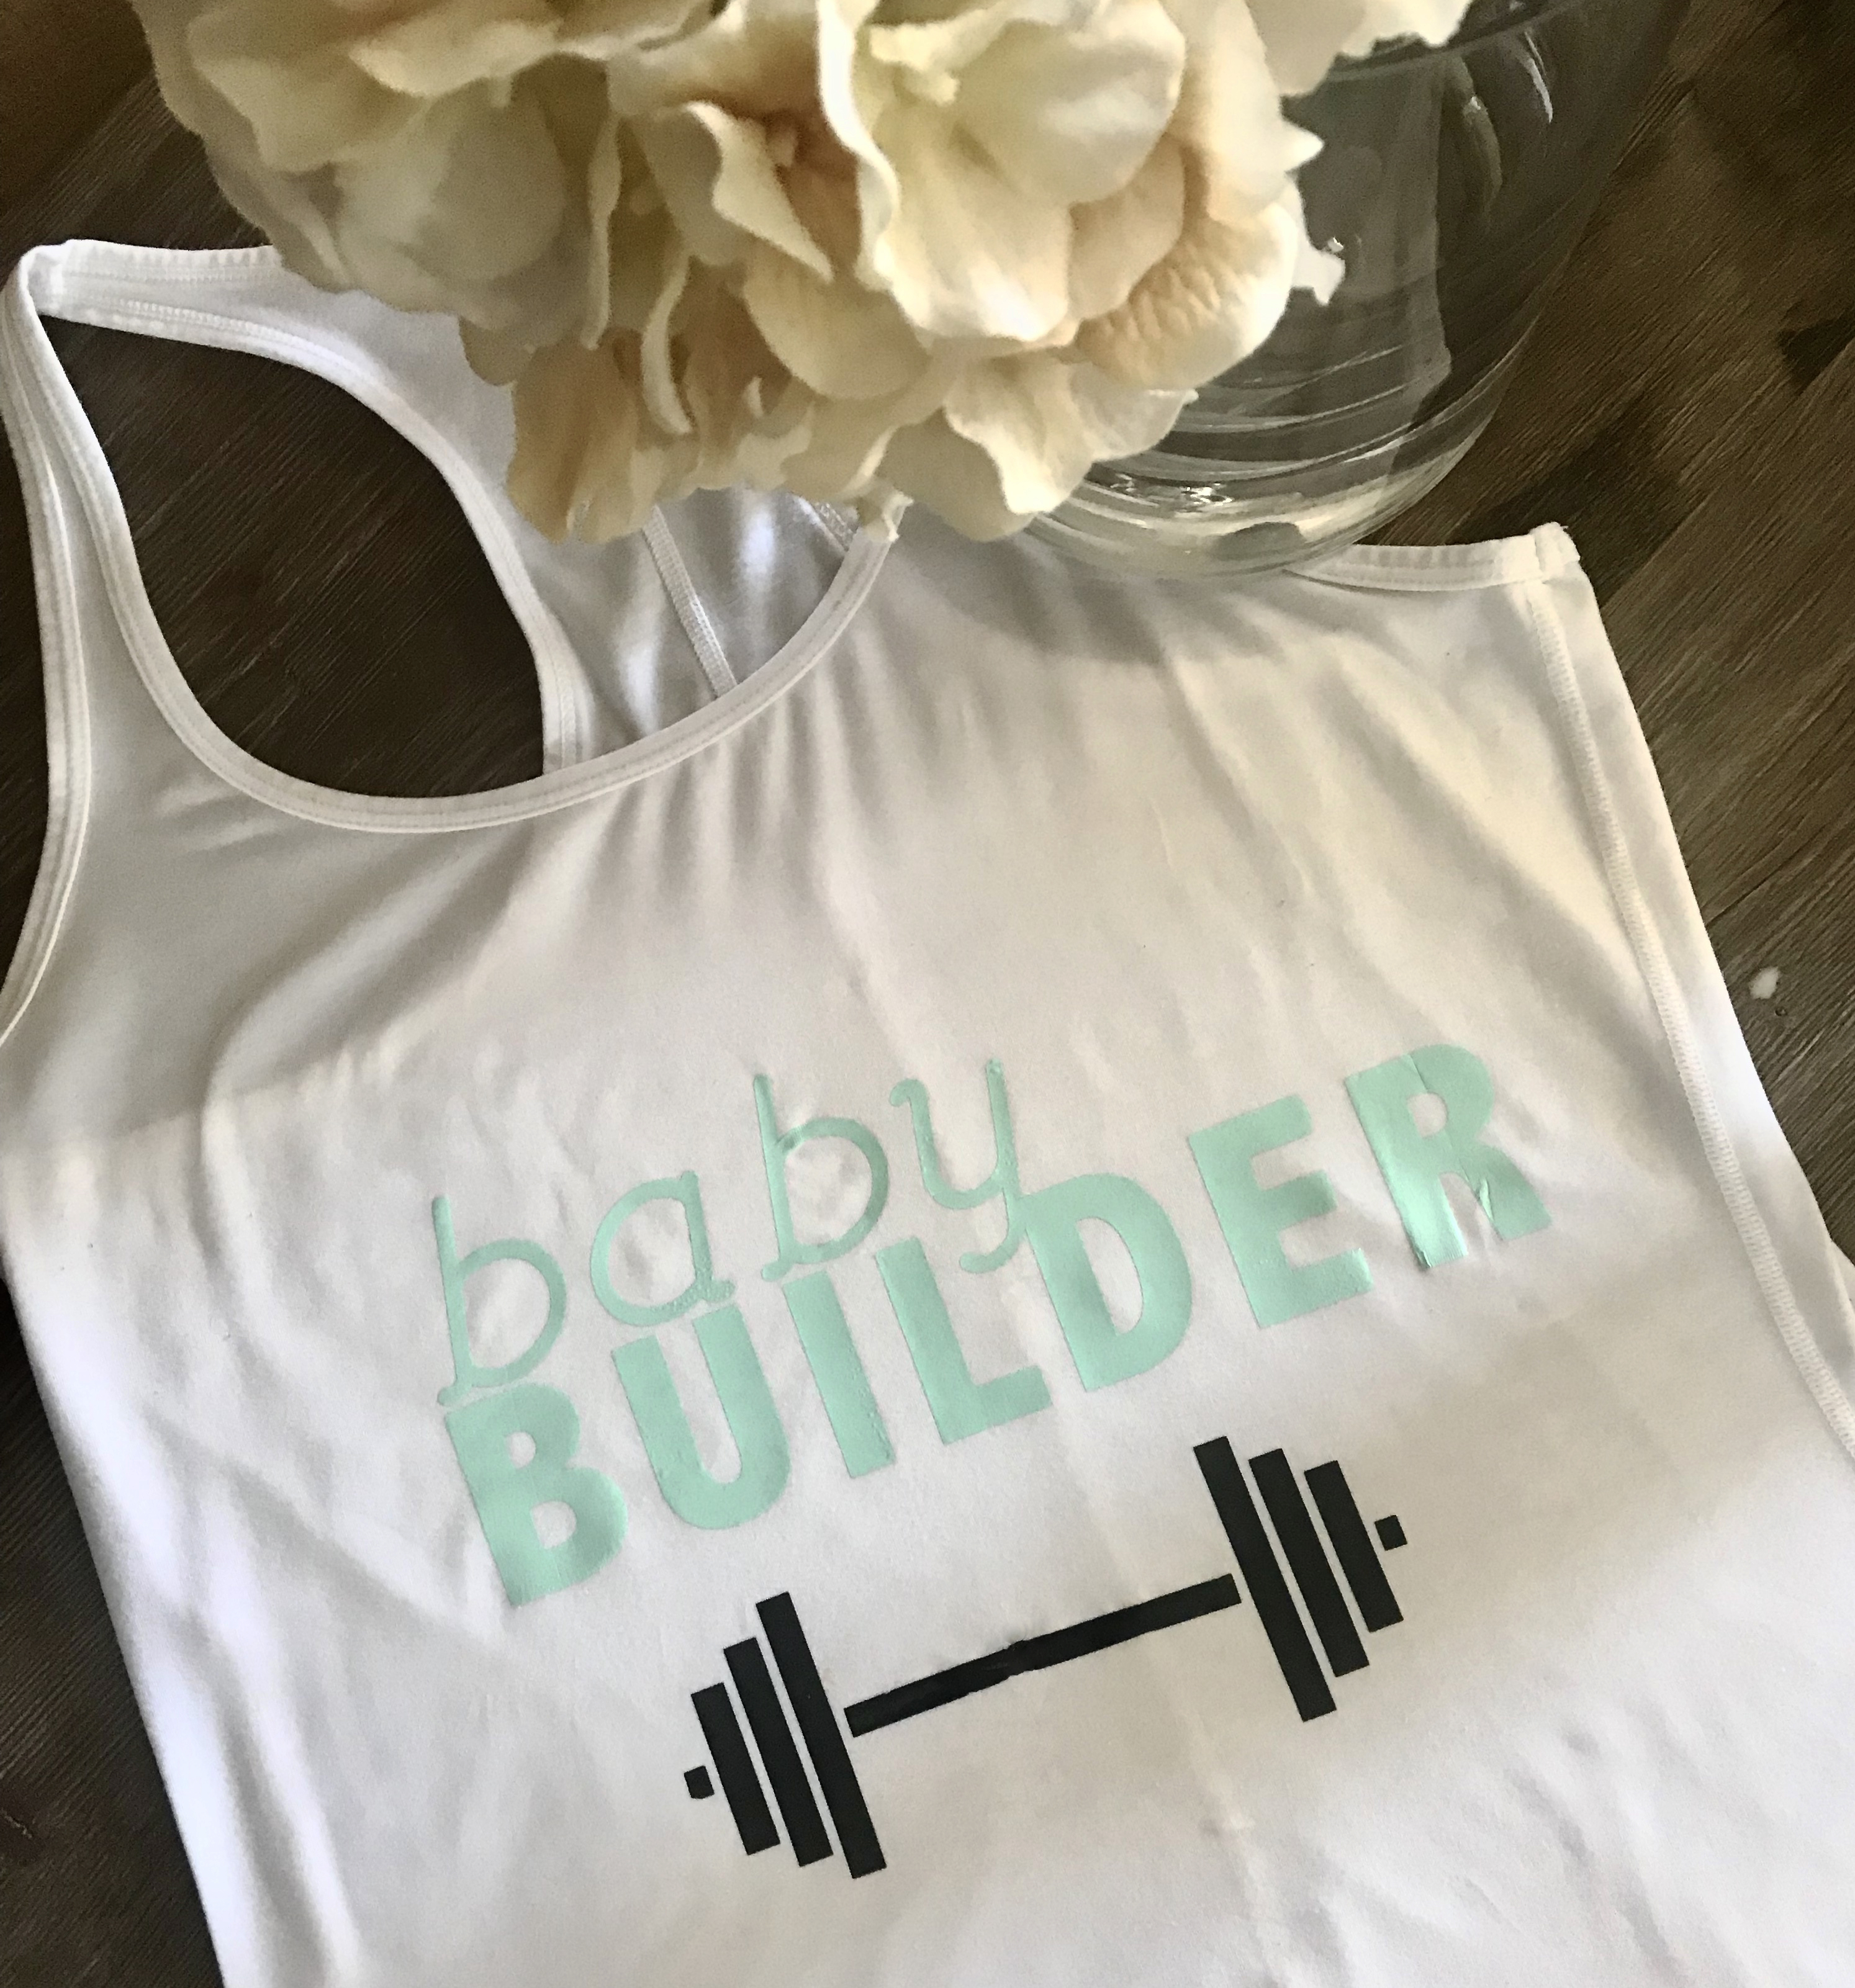 Materials: Maternity work-out top (similar), Cricut Explore Air2 or Cricut Maker, 12×12 Standard Cricut Cutting mat, SPORTFLEX Iron-on (you pick the colors!), and Cricut Easy Press
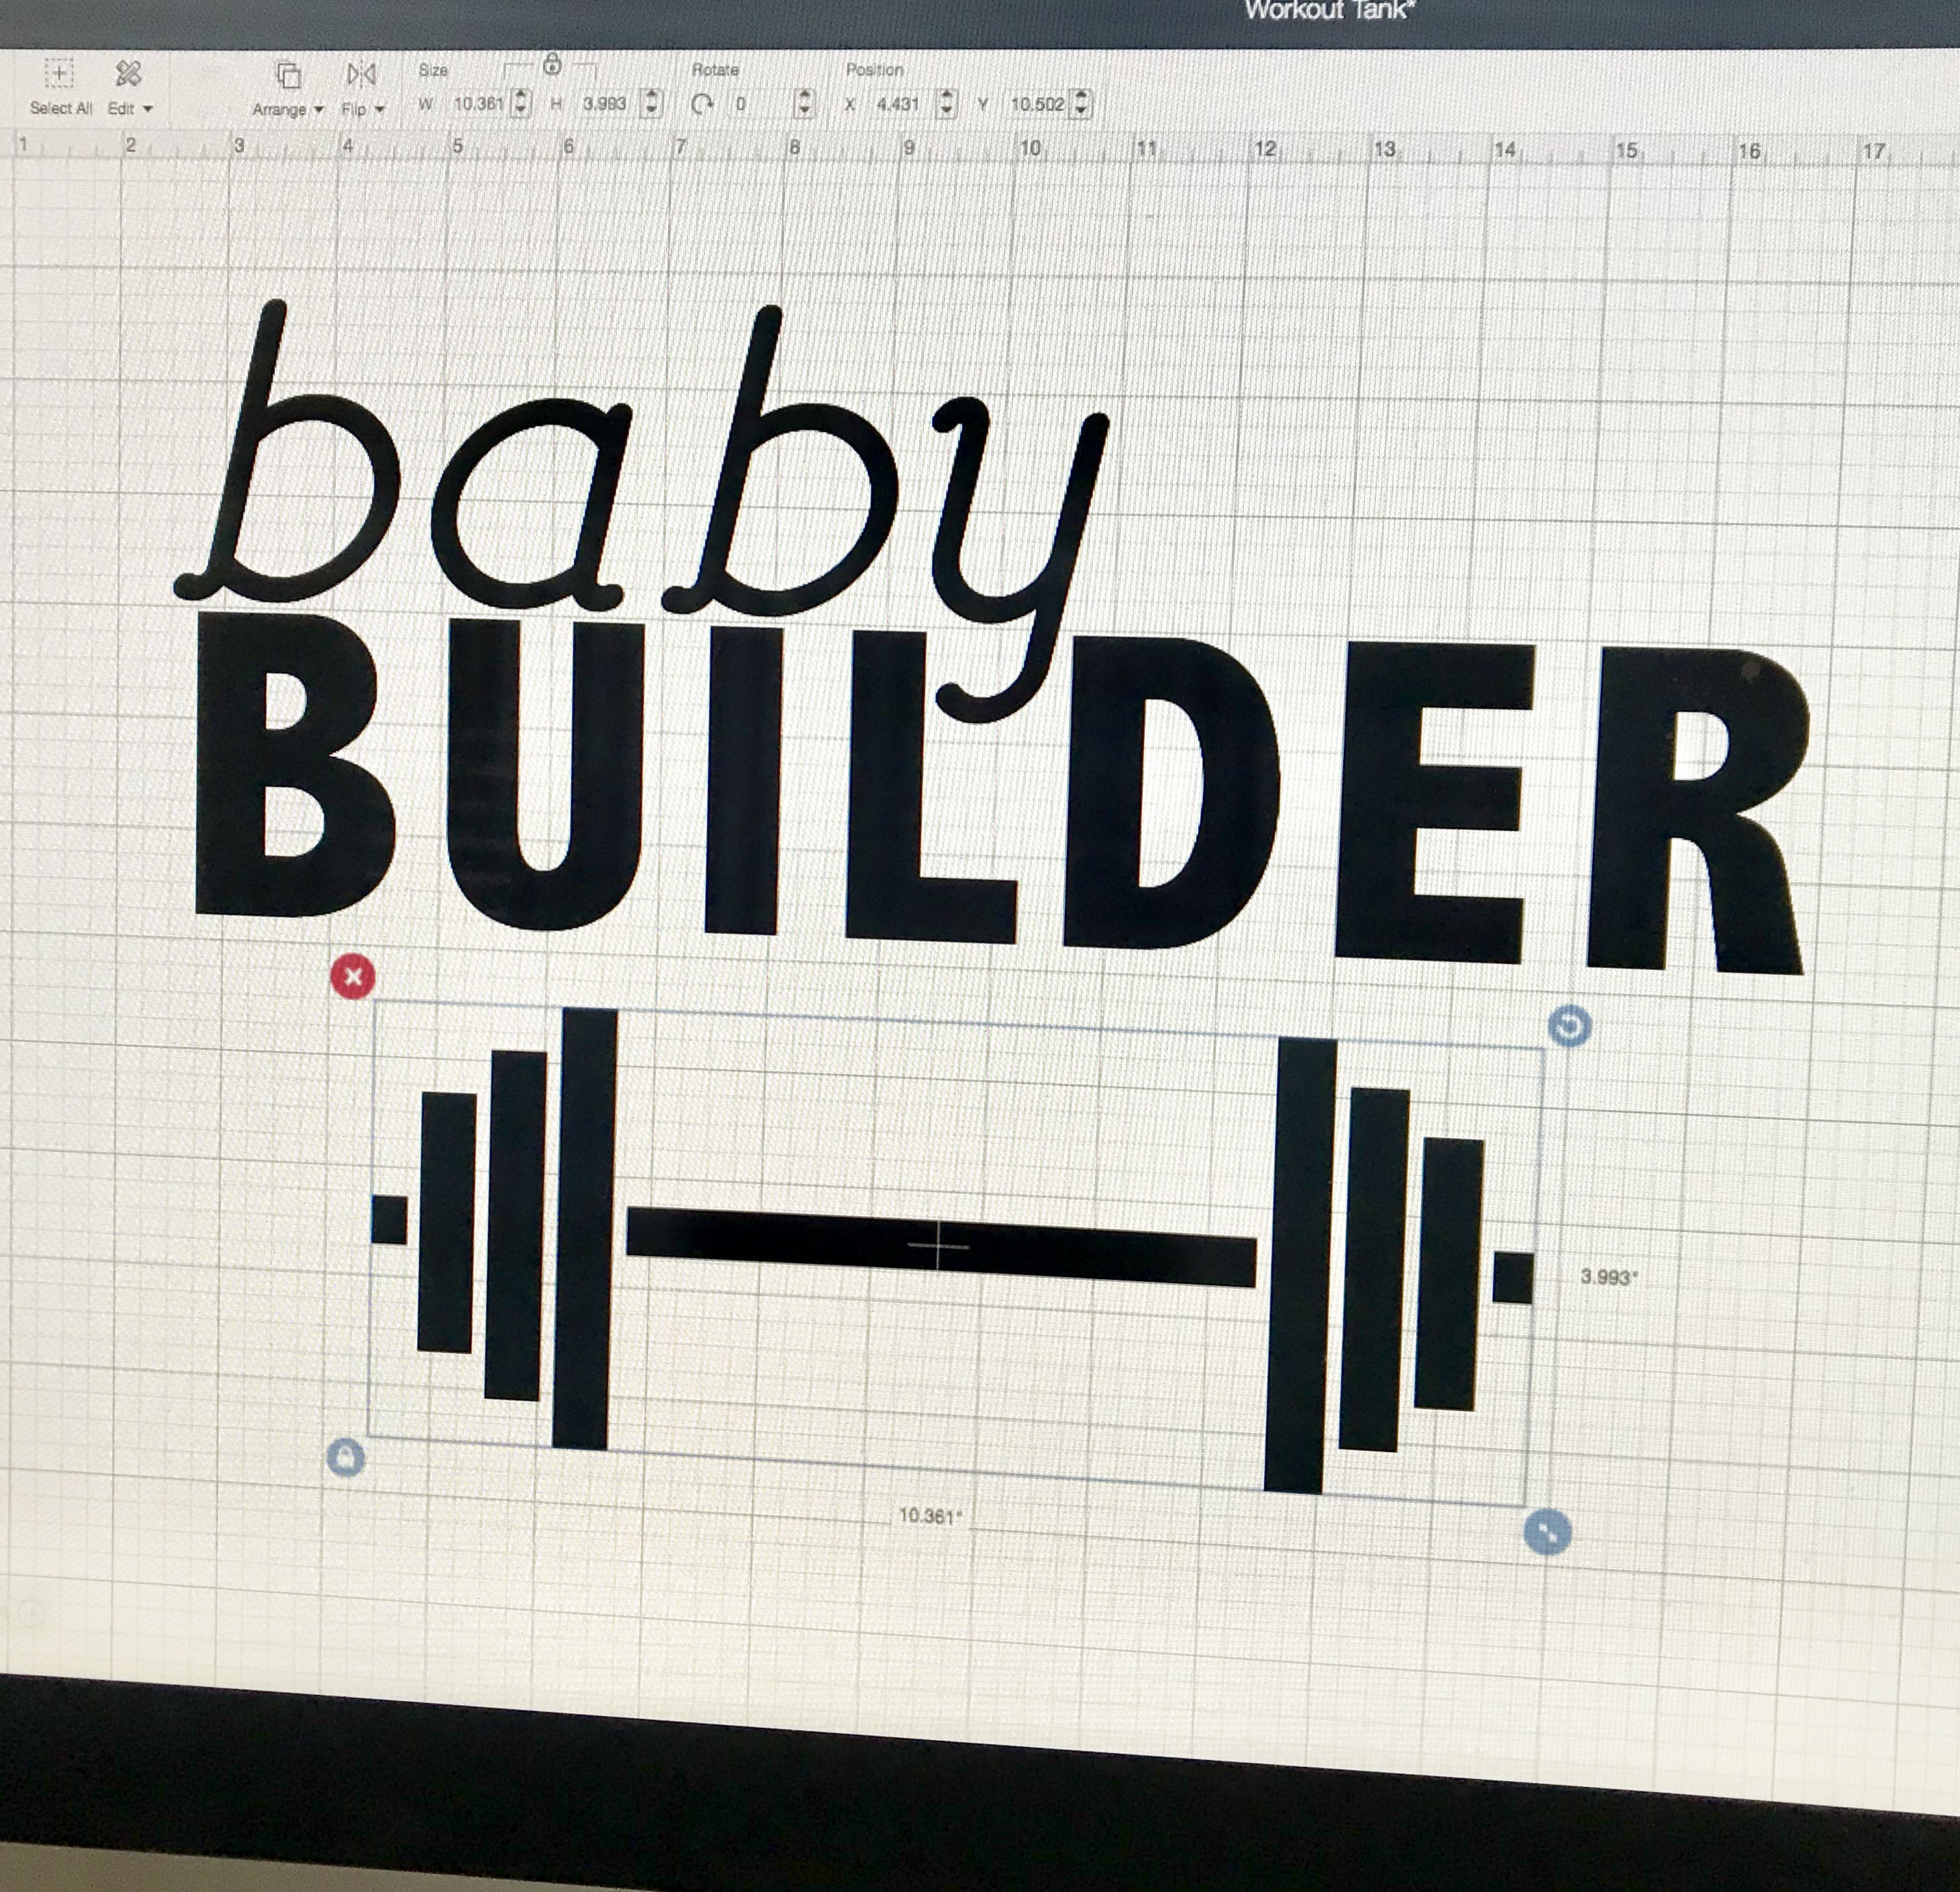
Follow the link to our Maternity Workout Top design in Cricut’s Design Space. Once you have your design formatted, click “Go.” Be sure to check the mirror image box for iron-on. Load your iron-on face down onto a regular or light grip mat and set to the vinyl setting.

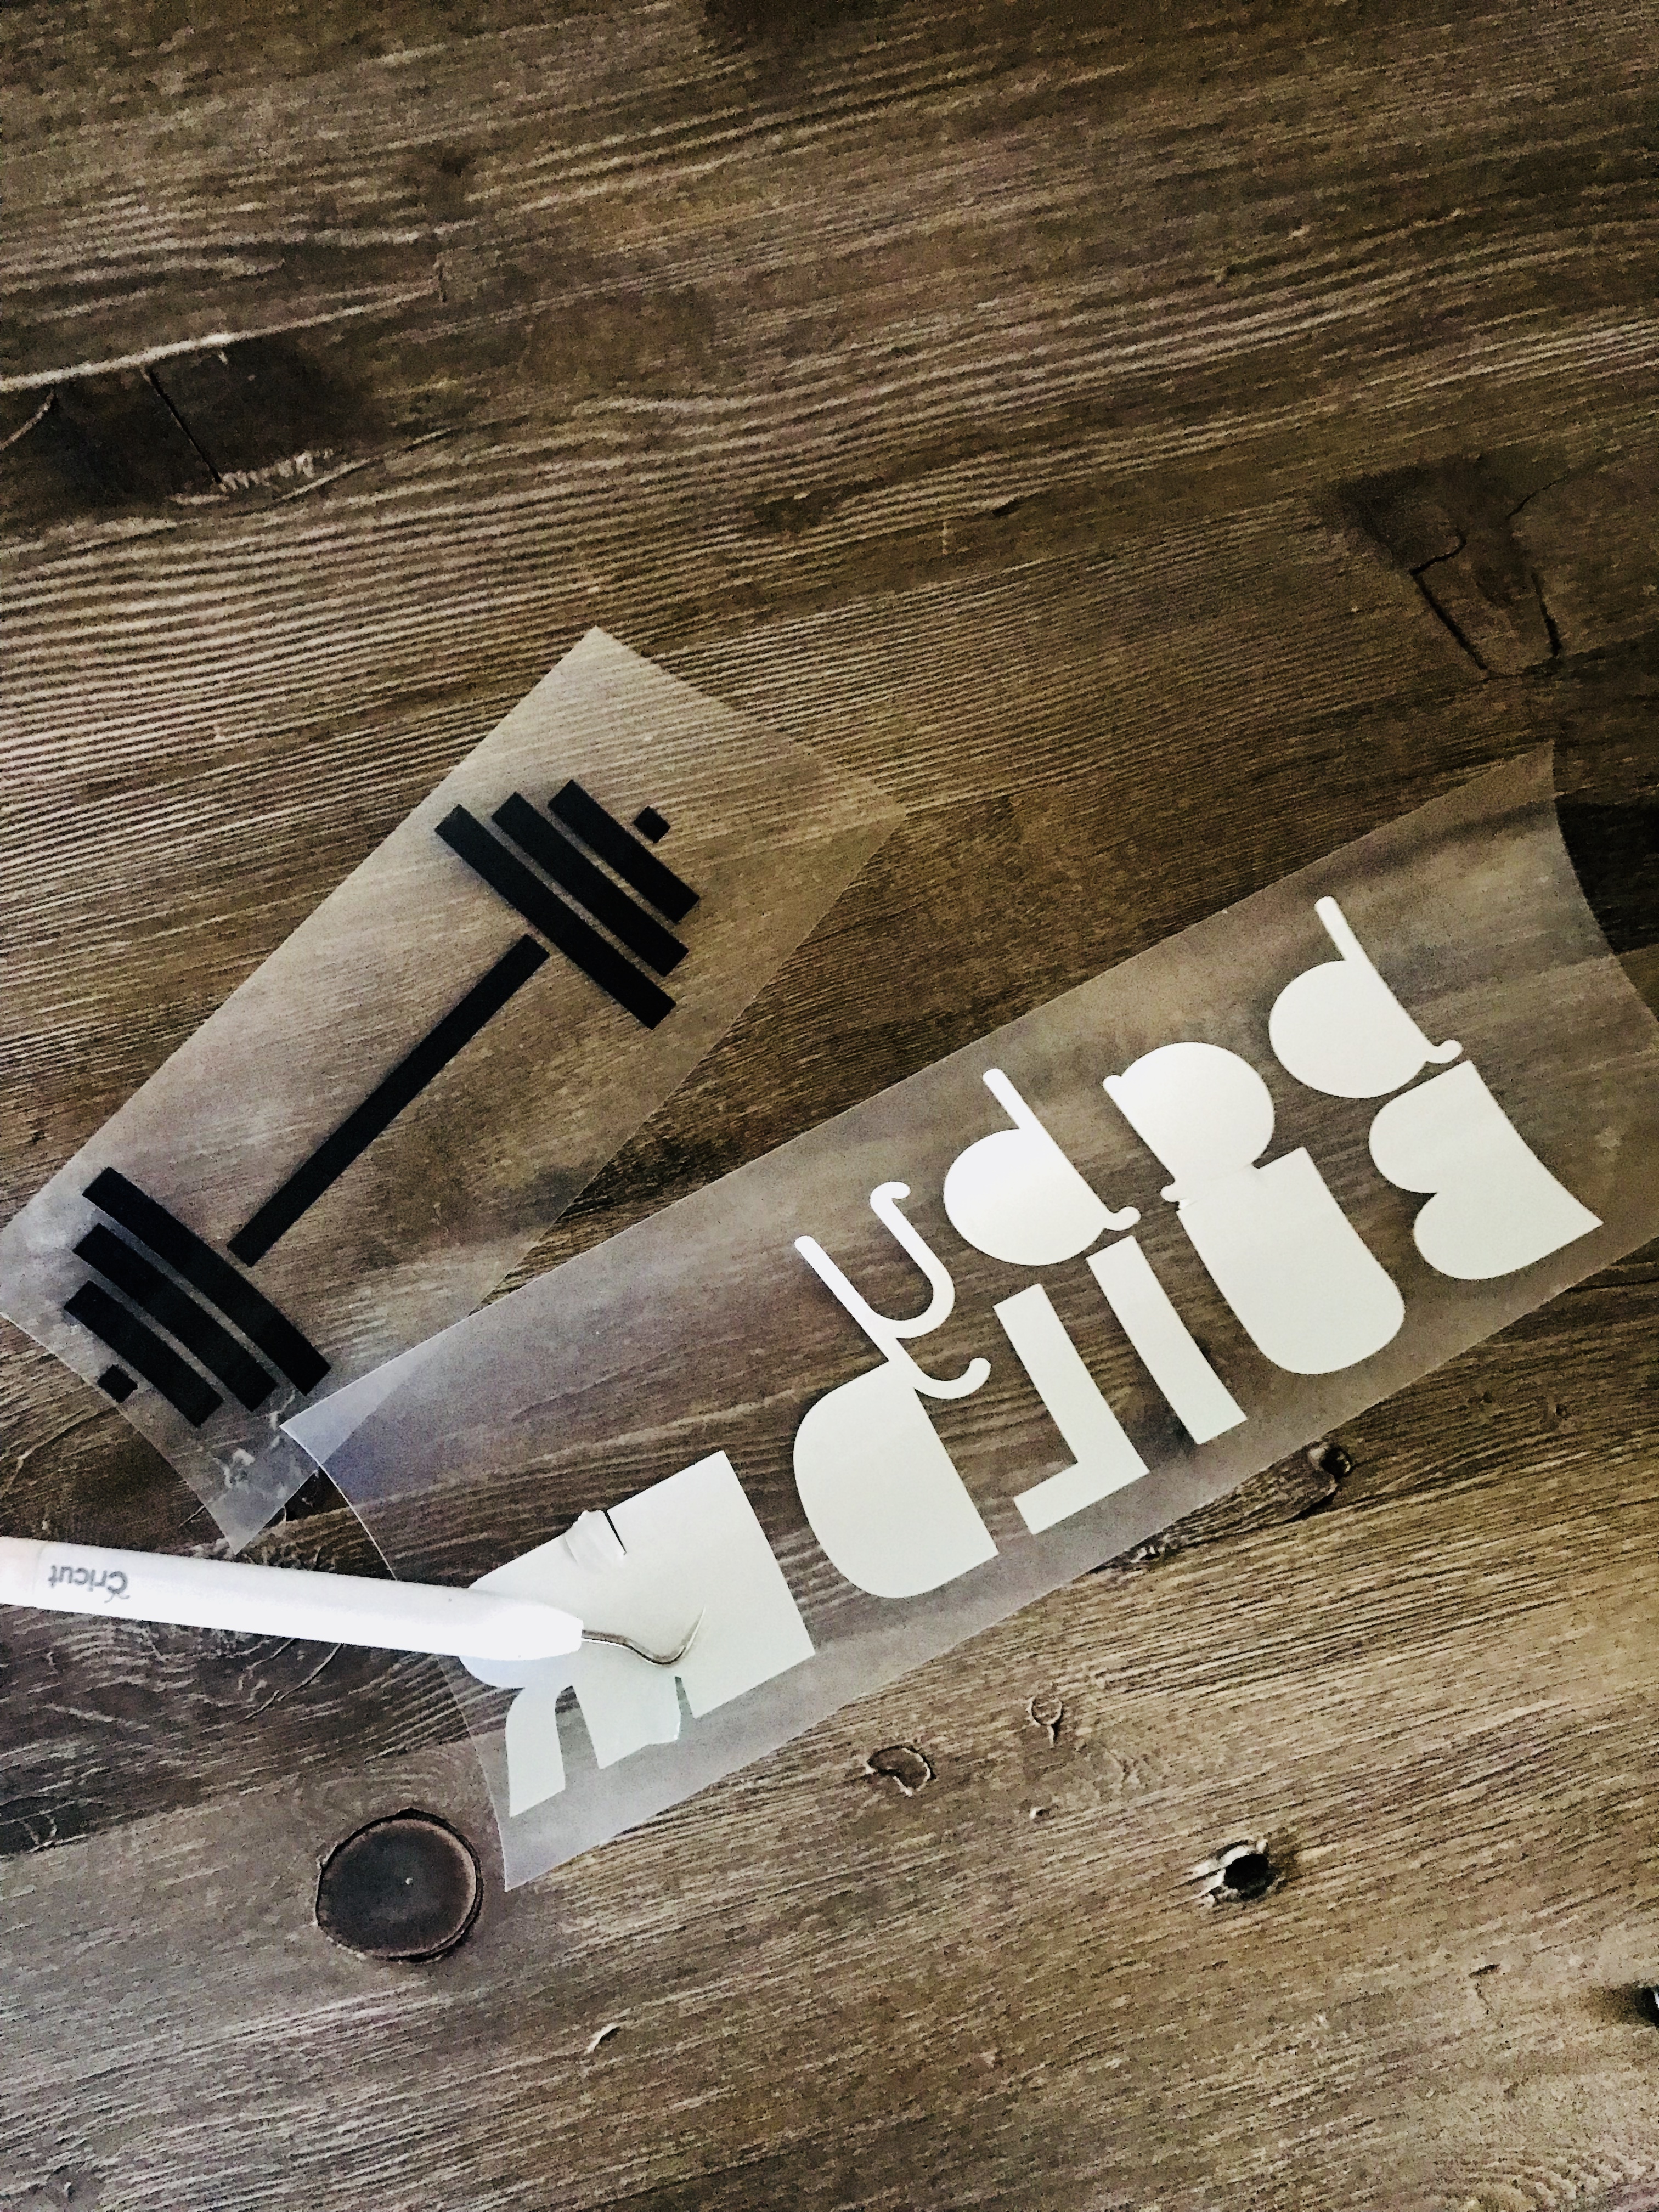
Once you have your design cut, it’s time to start weeding! Carefully remove all the excess vinyl using your Cricut weeding tool to reveal your design.
Next, lay the iron-on design onto the top, lining side up. Be sure to lay it out exactly how you want the final design to look. Once you apply heat, the design can’t be changed.
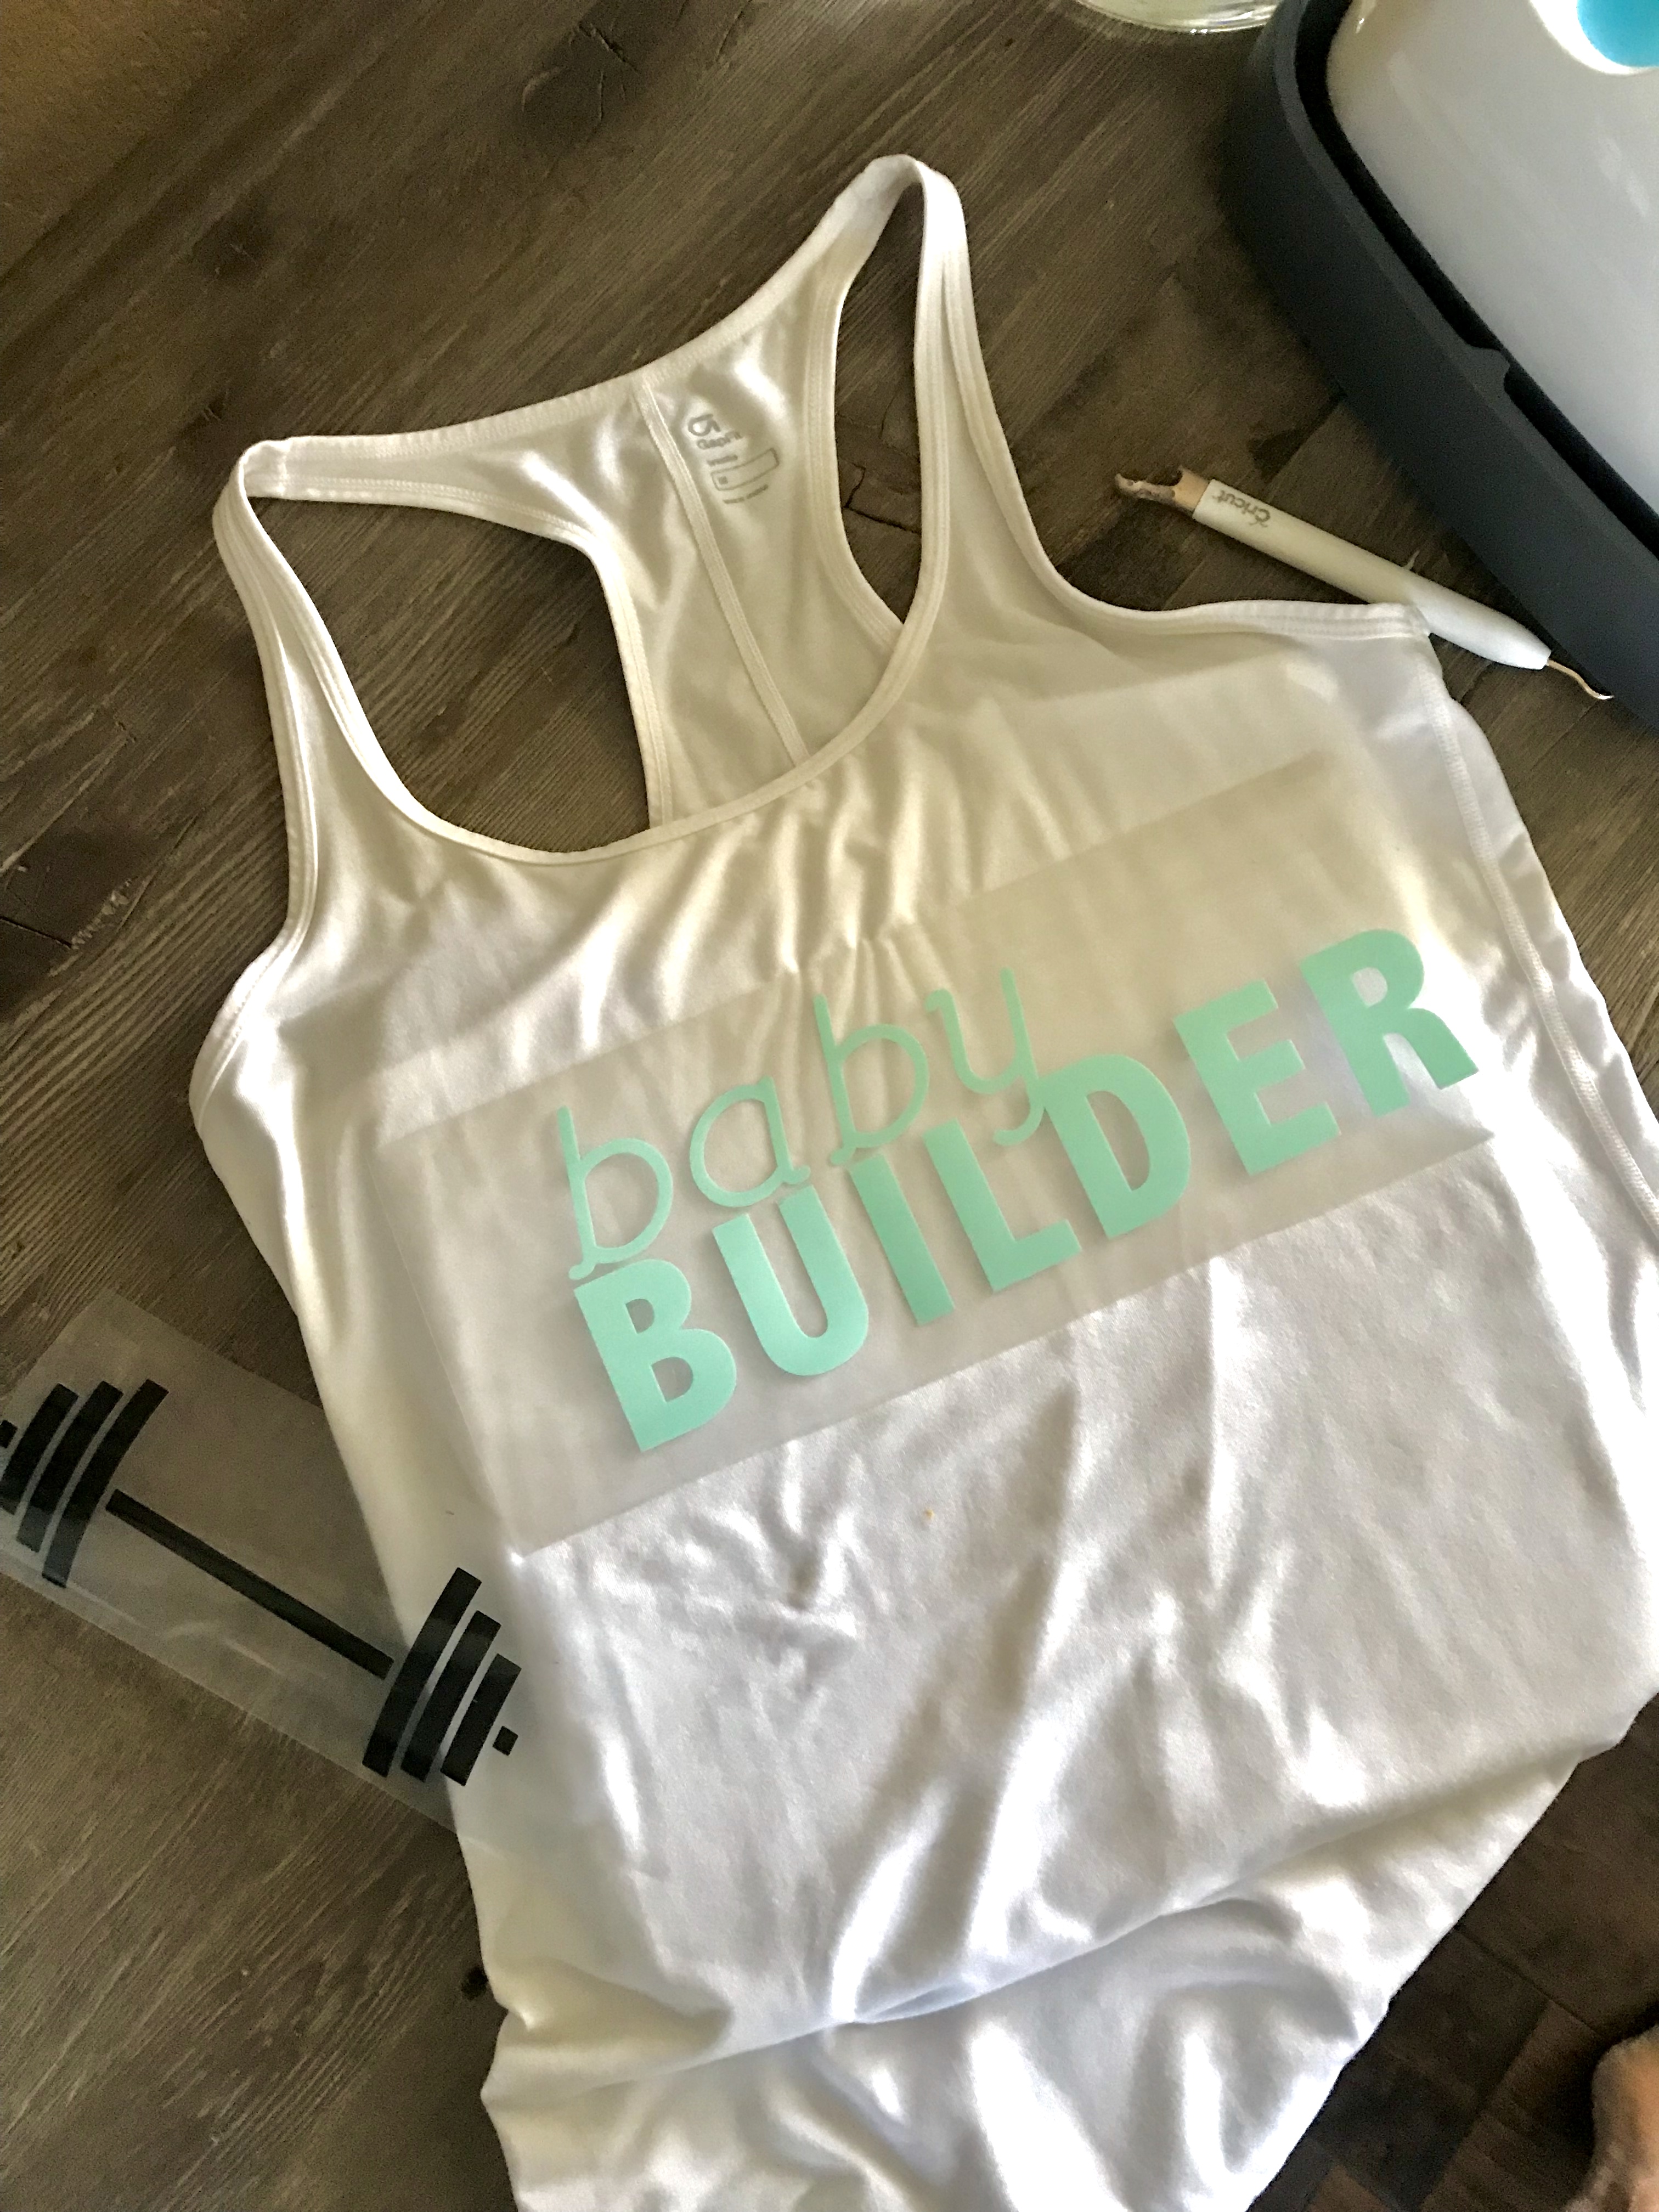
You can iron the material on with either the Cricut EasyPress or your standard iron. Believe me when I say, the EasyPress lives up to its name and makes the process SO much easier.

If you are using the EasyPress, set the temperature and timer. Once the Cricut “C” light turns green, it’s ready! Place the EasyPress over the top of your project, hit the “C” and apply a little bit of pressure. If you are using a standard iron, be sure to set your temperature according to the instructions on your iron-on material.
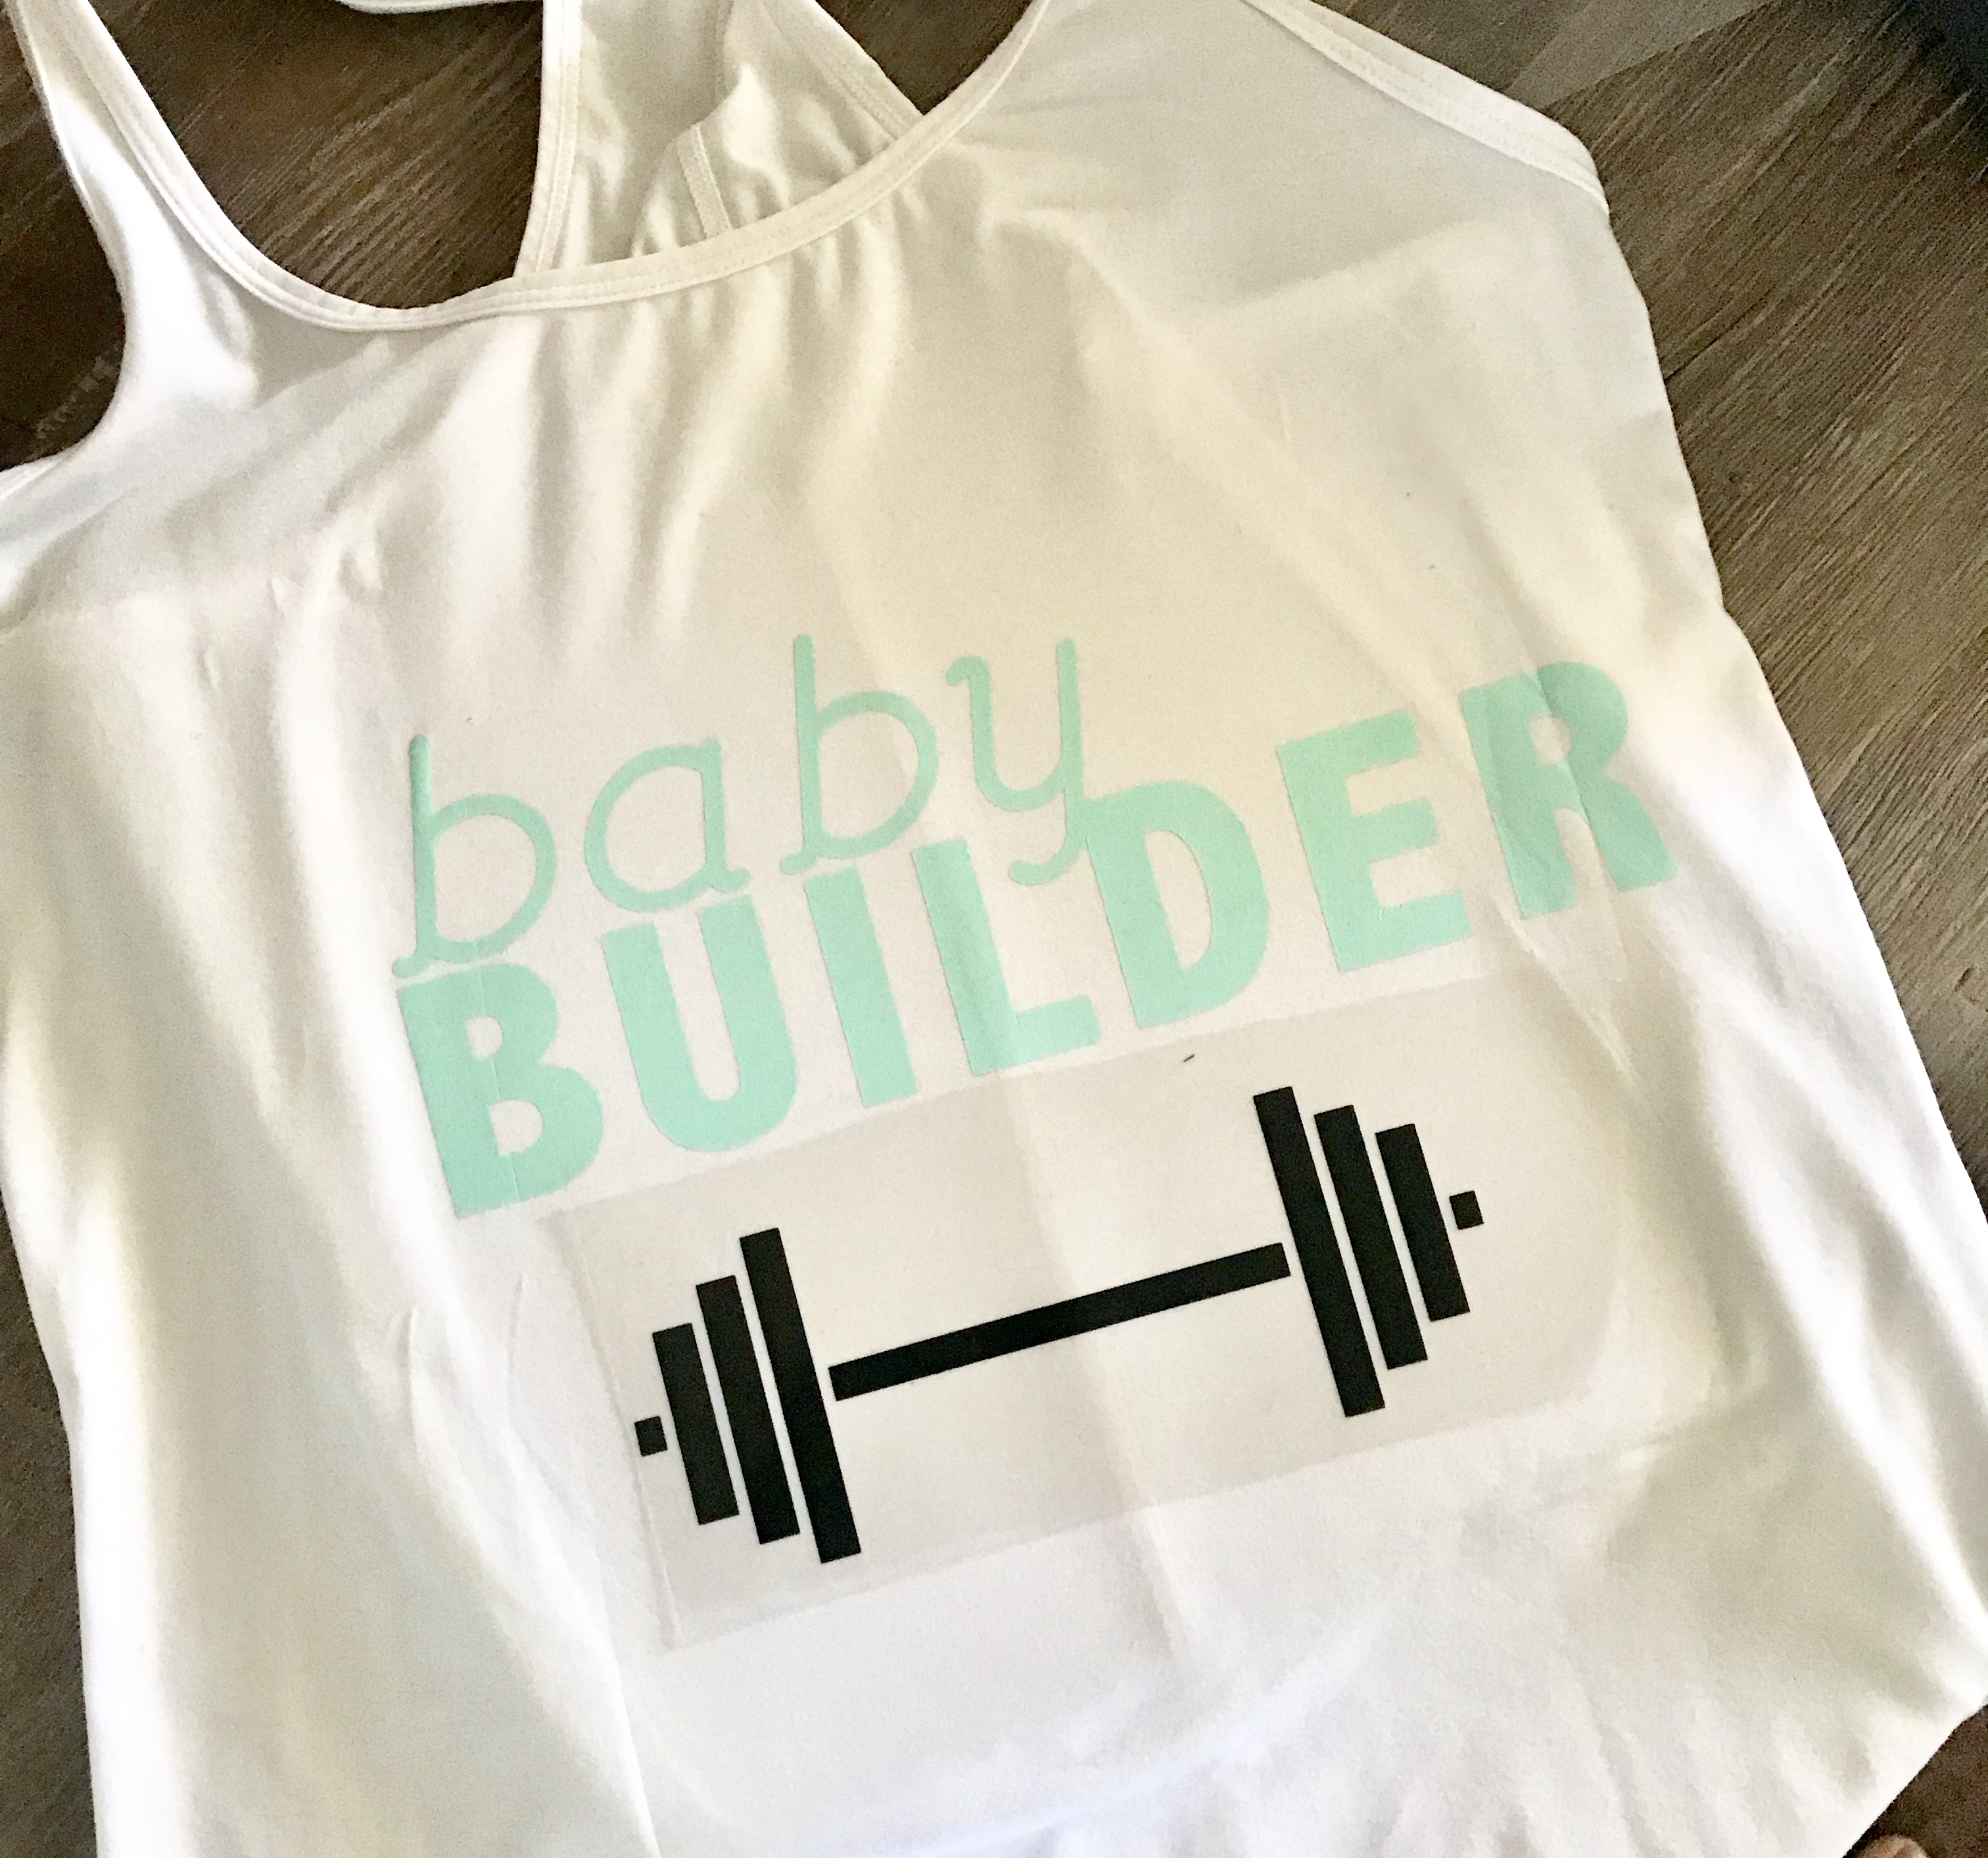
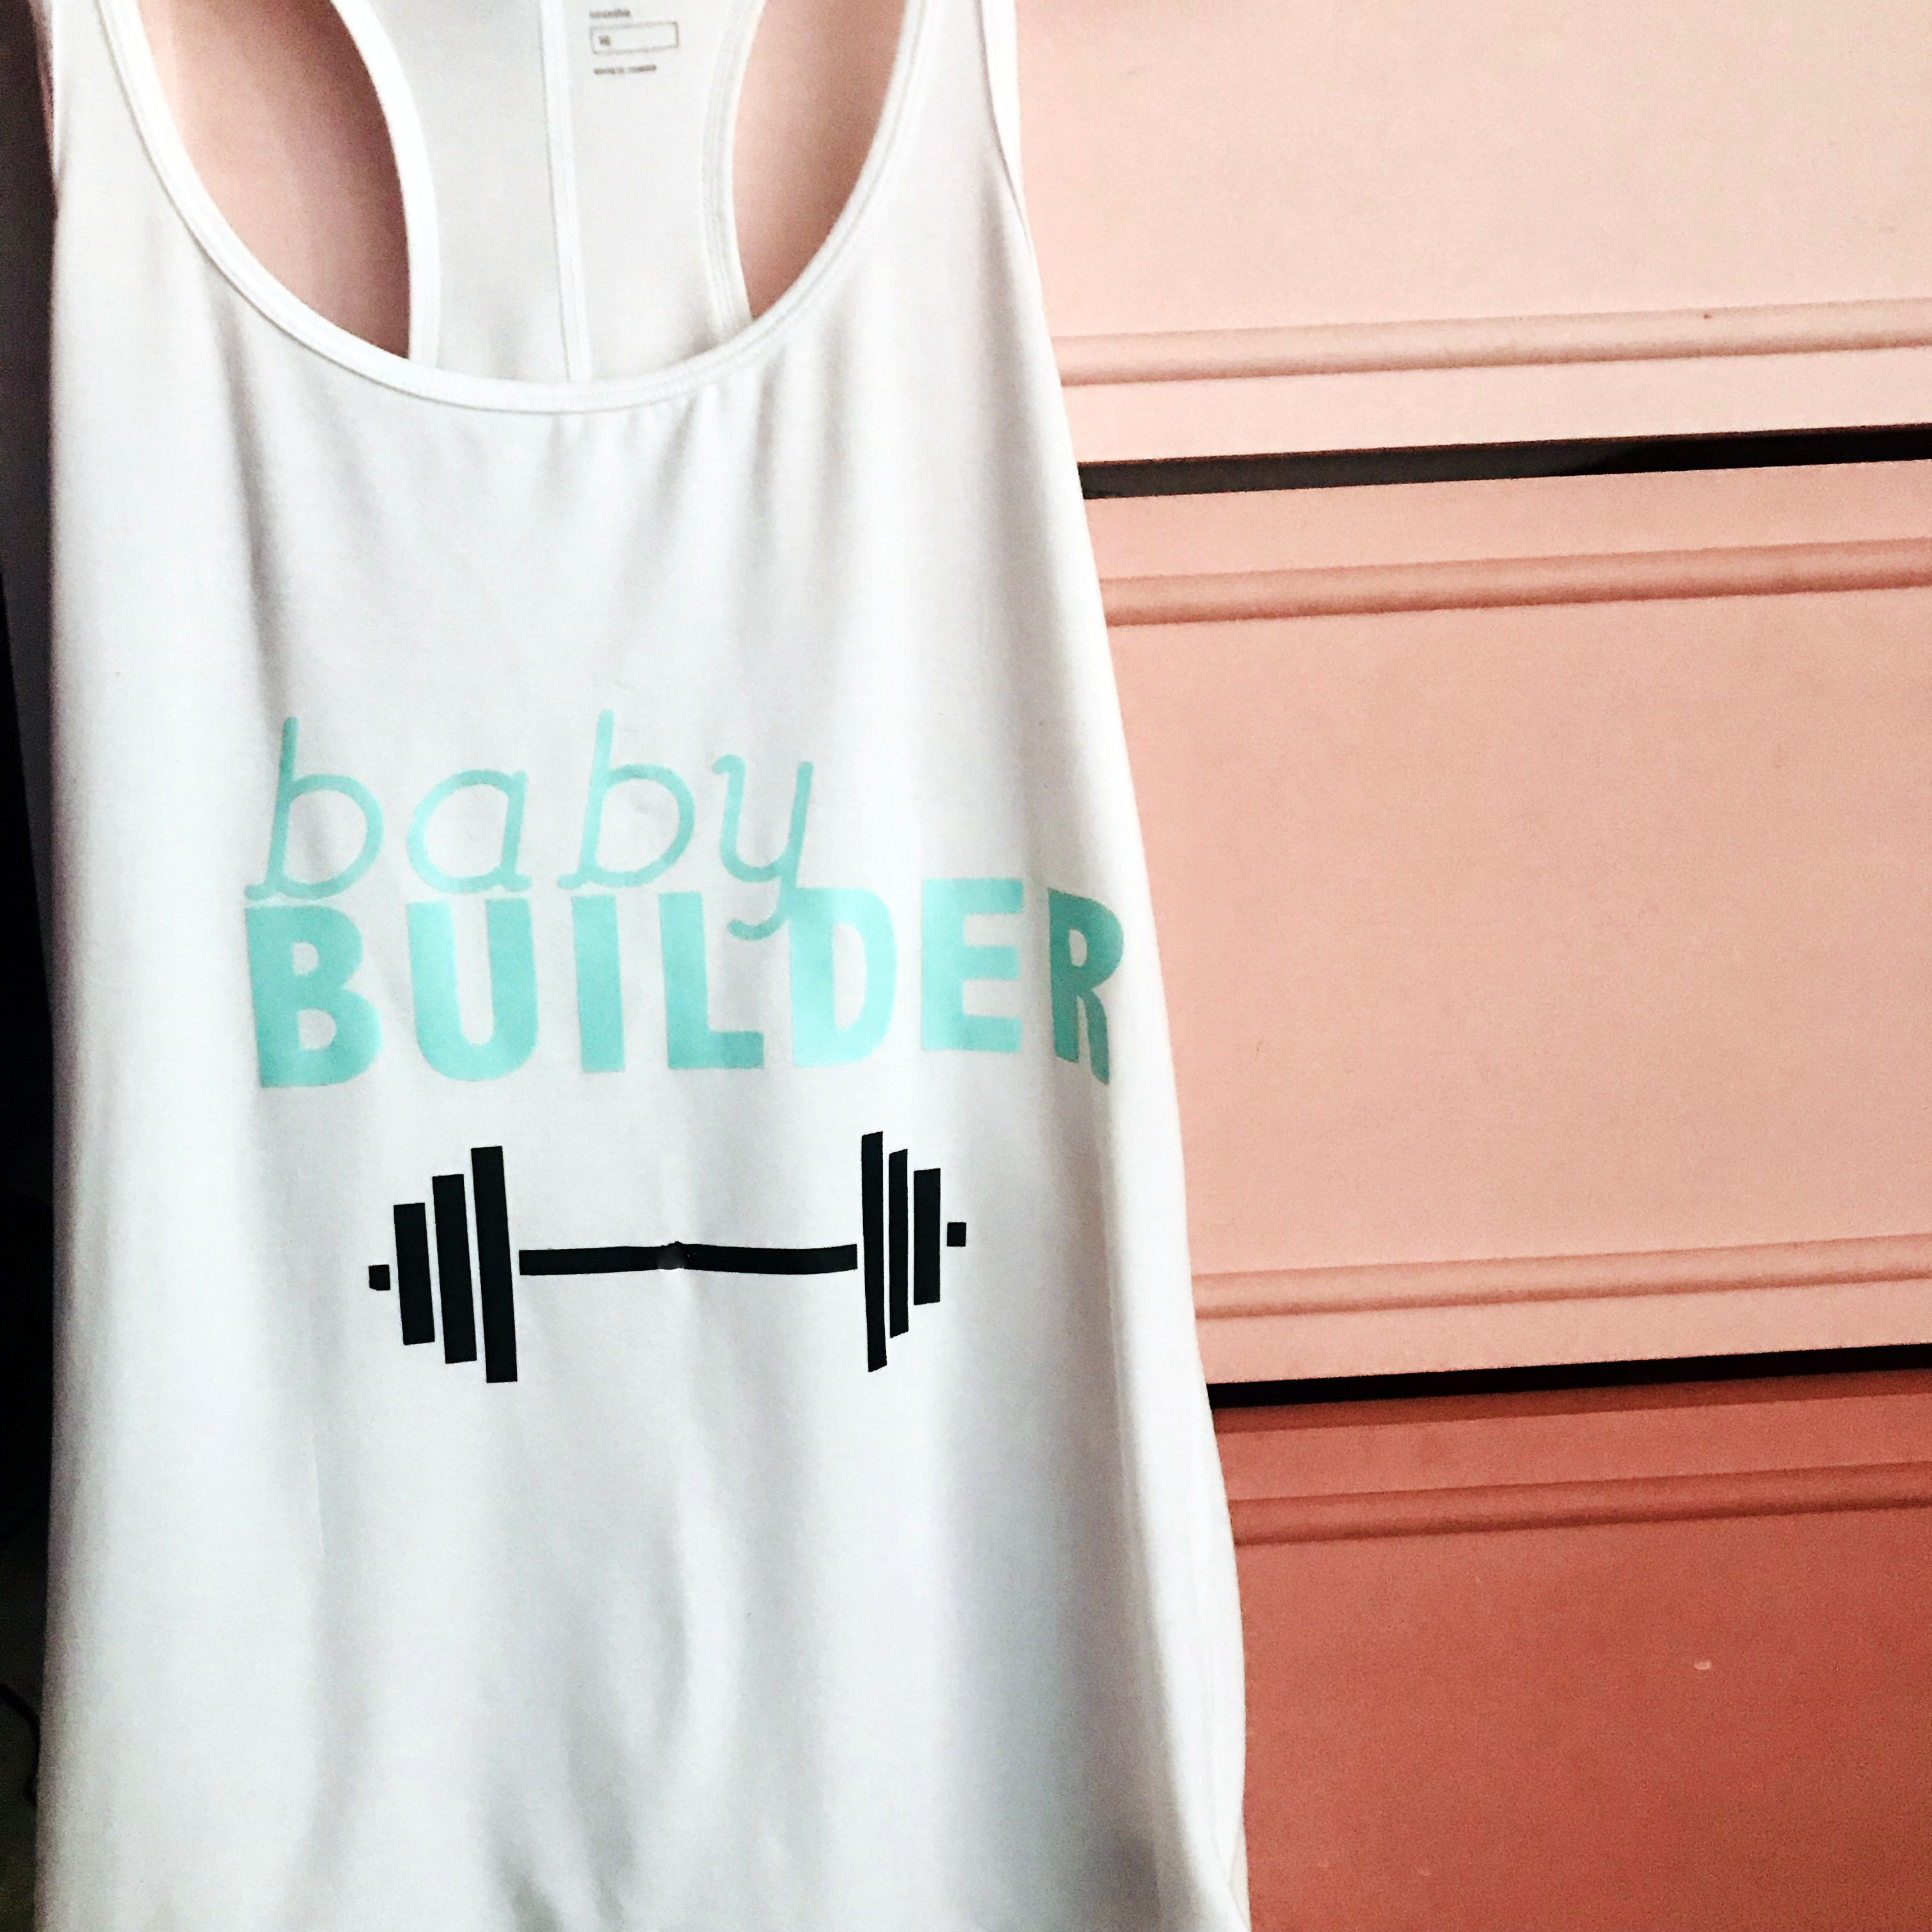
Once the heat has been applied, removed the plastic! It’s as easy as that. Now you are ready to rock your new top!
*this post contains affiliate links*
This is a sponsored conversation written by me on behalf of Cricut. The opinions and text are all mine.
SaveSave
SaveSave


