Okay, mamas, I know you have been there. You finally get the baby to sleep and then it happens…the postman rings the doorbell or a group of neighborhood kids come running through the house. We’re giving you the tools to help spread the word that your little one is snoozing. Get your craft tools out because we’re about to get crafty and make a DIY sleeping baby sign—plus we’re showing off a few new products from the Cricut family.


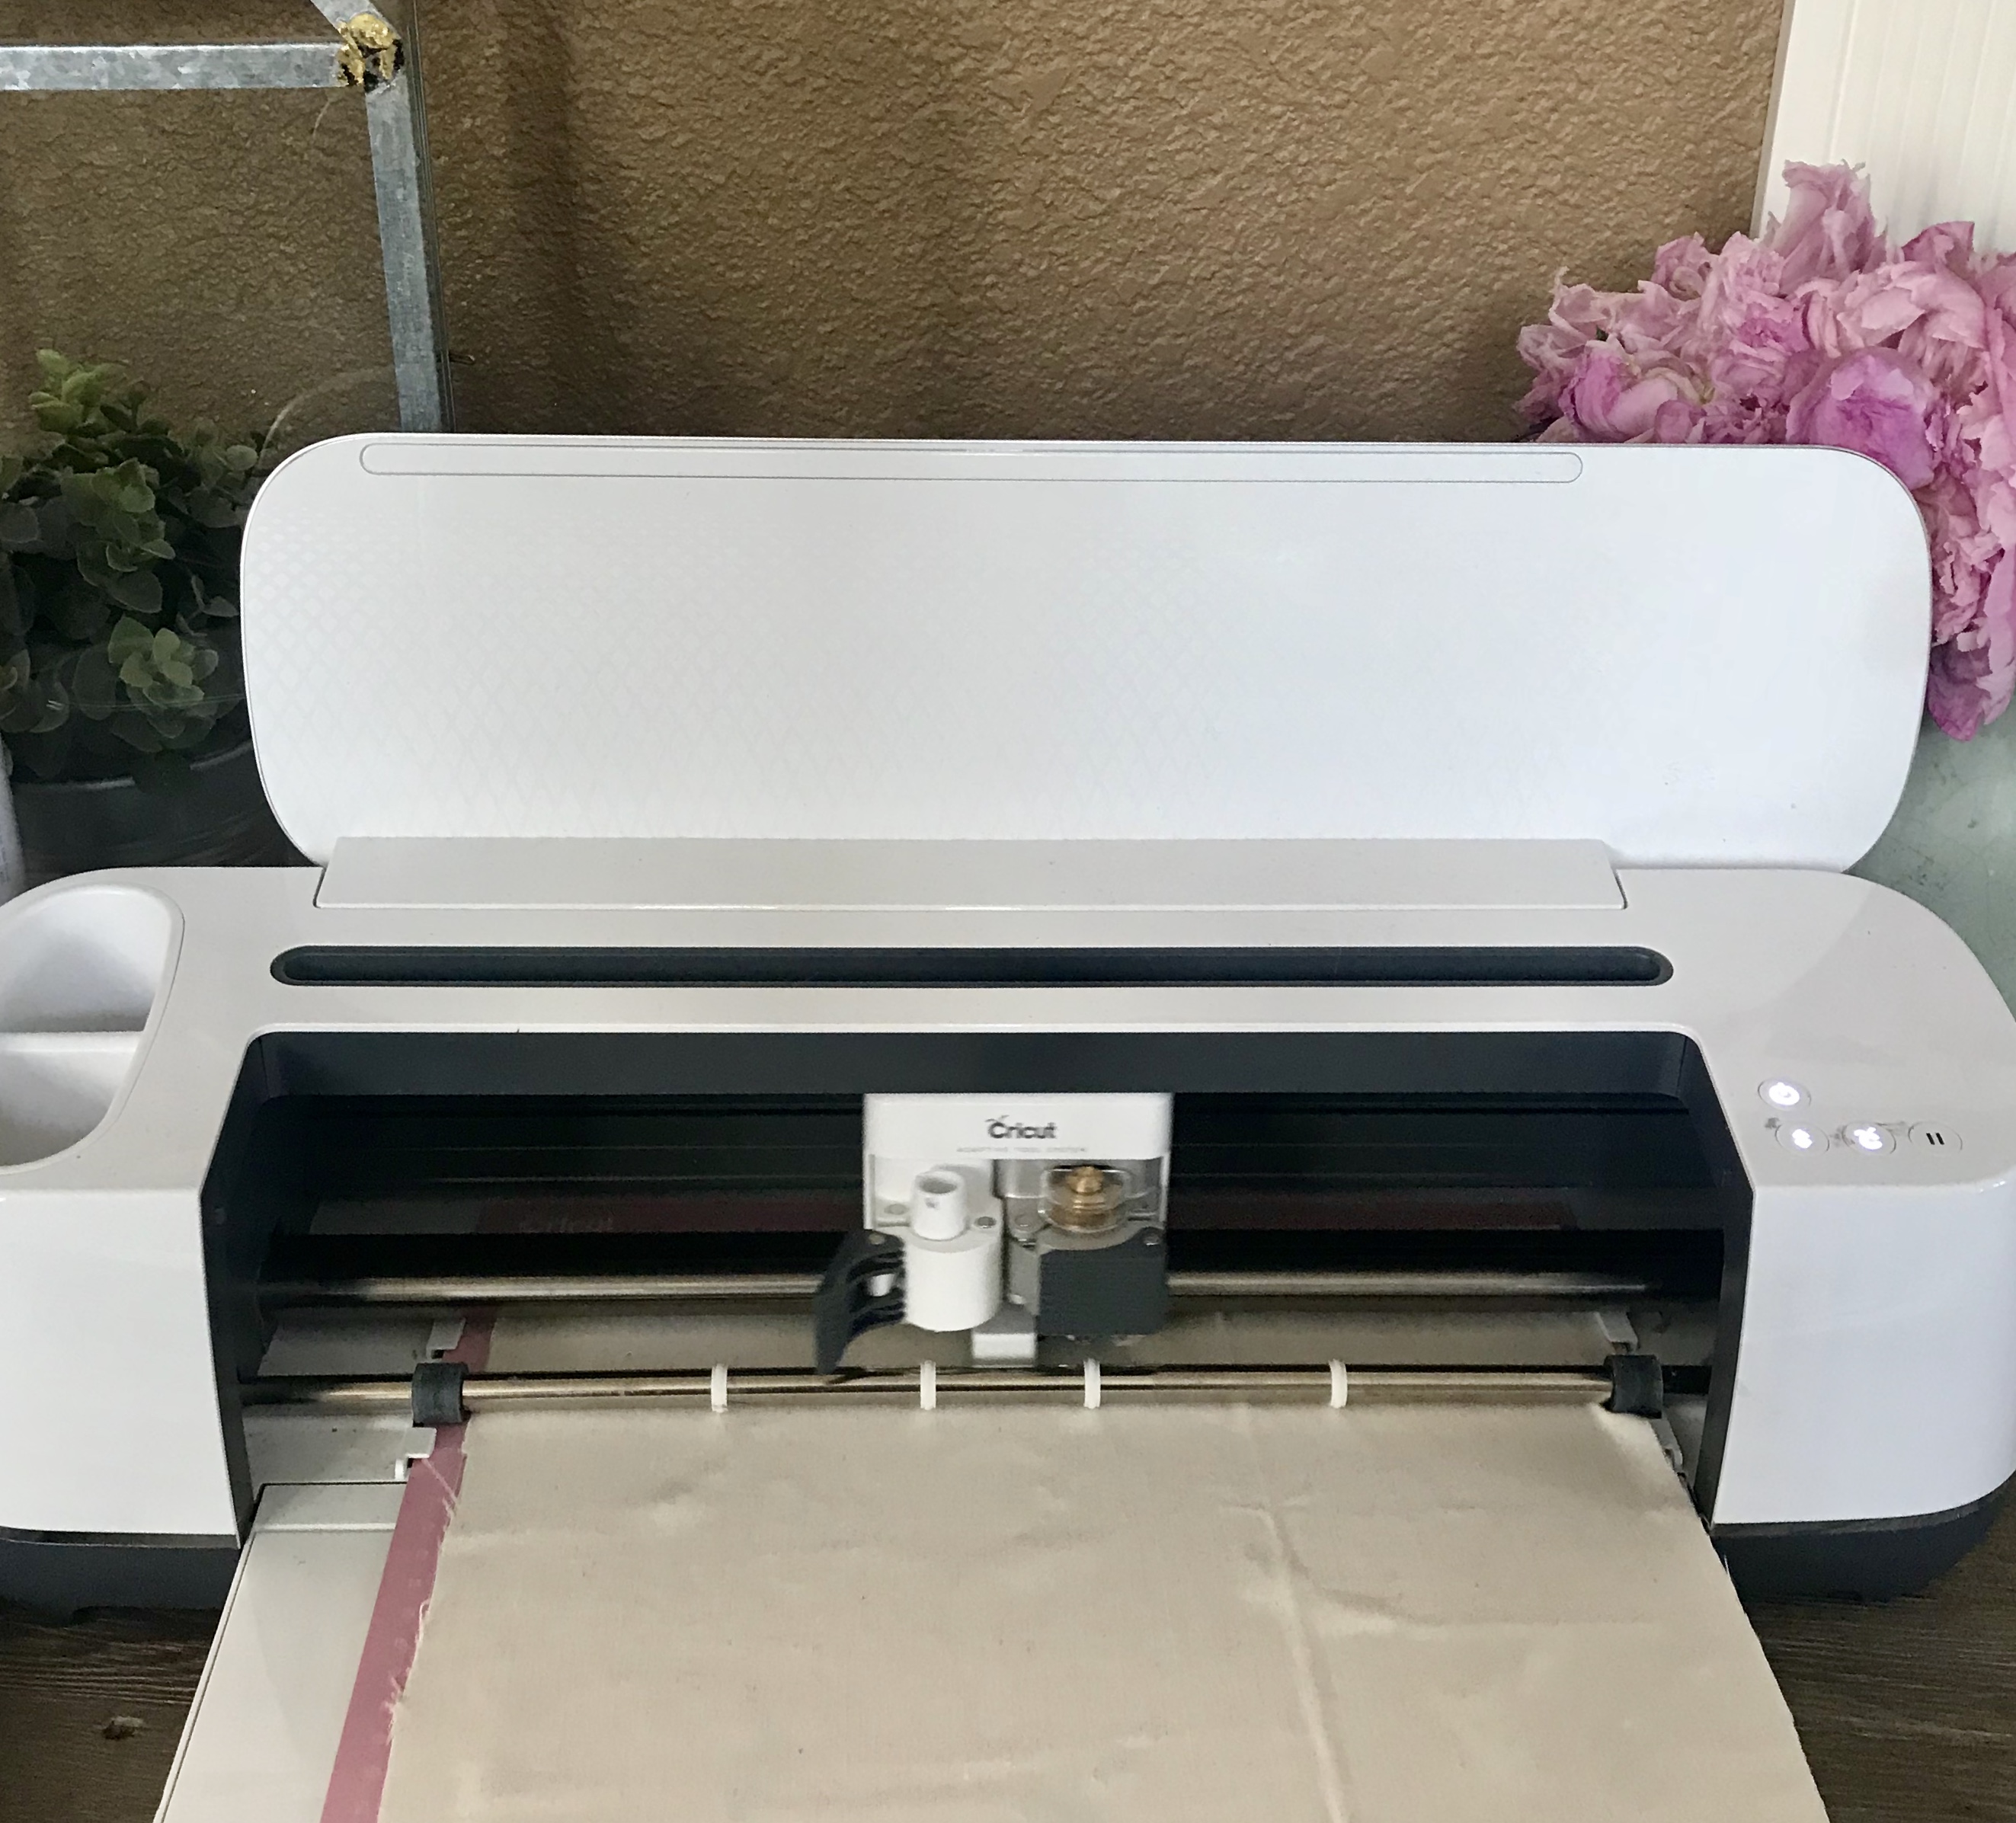
 Materials: Canvas, Cricut Maker, Standard Cricut Cutting Mat, Cricut 12×12 FabricGrip, Black Cricut iron-on, Pattern Iron-on, Twine, Hot Glue Gun, Wood Dowel, Cricut EasyPress, Cricut EasyMat
Follow the link to our Sleeping Baby design in Cricut’s Design Space. You can customize the size and colors of your sign. If you are feeling creative, you can also change up the text and write your own saying.


Once you have your design formatted, click “Go.” Start by making the canvas cut first. You’ll need the 12 x 12 FabricGrip Mat and the rotary blade. Once your have your mat and blade loaded in, click “Go.”

Next, you’re going to cut the iron-on. This is our favorite thing—Cricut now has patterned iron-on. I was so excited to put it to use in a new project. We used the Nature Walk Basics Patterned Iron-on Sampler. For this cut you are going to use the standard blade and the 12 x12 Standard Cricut CutMat. Be sure to check the mirror image box for iron-on. Load your iron-on face down on the mat and set to the iron-on setting. The final cutting step is to cut out the words and eyelashes. You can do both cuts on one mat. Again, make sure the mirror image box is checked. Once both cuts are complete, carefully remove all the excess vinyl using your Cricut weeding tool to reveal your design.


Next, lay the iron-on design onto the fabric, lining side up. Be sure to lay out the iron-on material exactly how you want the final design to look. Once you apply heat, the design can’t be changed.


Now we are excited to showcase another new Cricut product—the EasyMat. The mat protects your work surface, eliminates moisture and directs heat to your iron-on, making the transfer extra easy—just what this crafting mama wants. Follow the iron-on instructions that are found on your roll of material. You’ll want to set your temperature and timer to the recommended setting for the type of iron-on material you picked for the project. If you do not have an EasyPress, you can use a standard iron, just be sure to follow the instructions on the package.
First, iron on the oval, then apply the eyelashes and words.

To clean up the edges of the canvas, I folded up the side and bottom edges and secured with a glue gun (leave the top open for the next step). Next, secure the wood stick to the top. Carefully fold the top part of the canvas over the wood stick and glue down.

Finally, tie the twine to the ends of the wooden dowel. Now you are ready to hang your sign anywhere. My favorite places are on the nursery or on the front door.

Happy napping!
This is a sponsored conversation written by me on behalf of Cricut. The opinions and text are all mine.